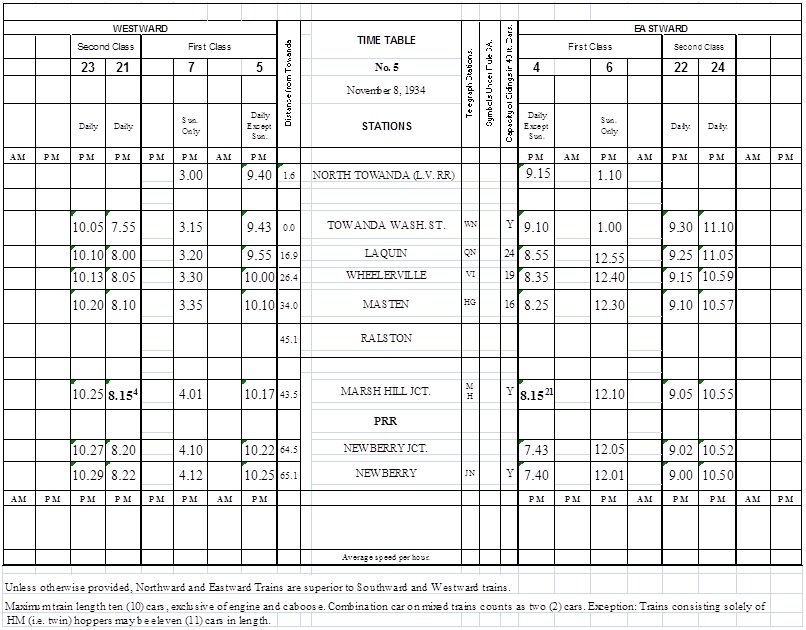
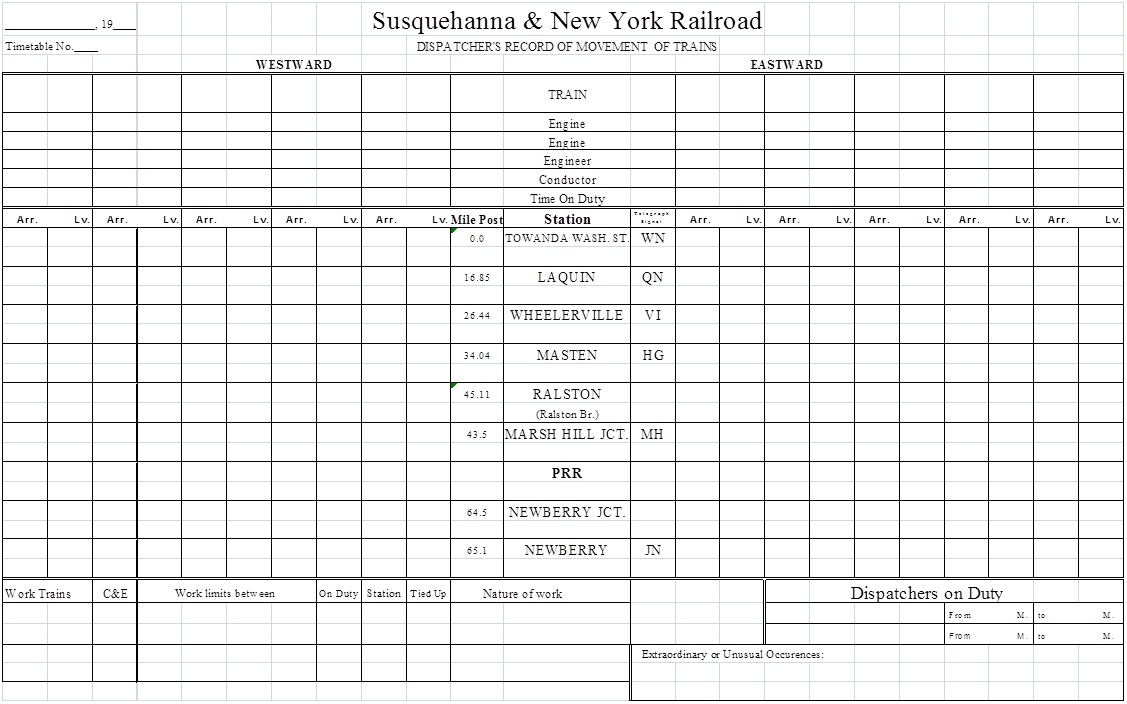
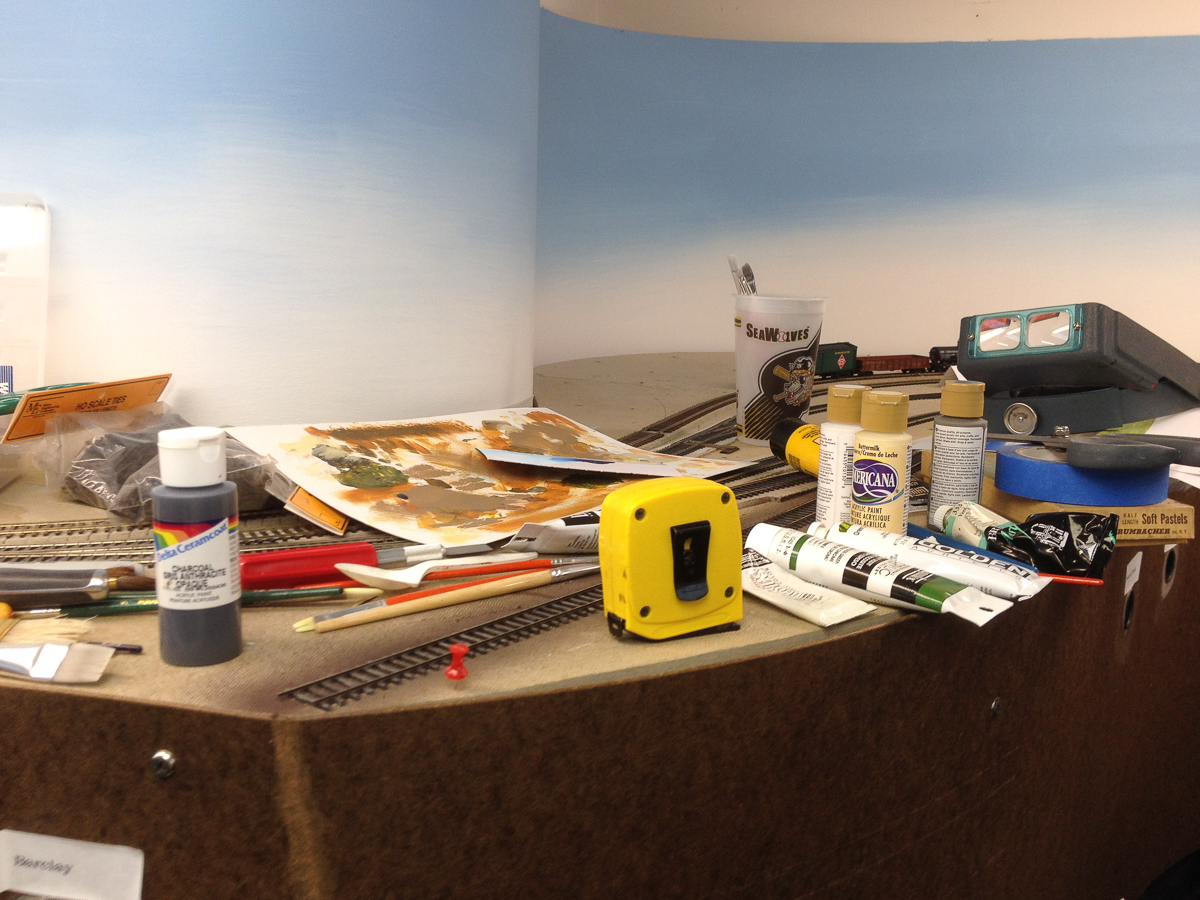
This past fall, after around 11 years of construction, my model version of the Susquehanna & New York Railroad had nearly reached a stage of completion where a preliminary shake-down operating session was possible. Having some extra free time over the 2013 holidays due to an unexpected job change, I decided to shoot for late January 2014 for the first op session. After assessing what truly needed to be done, I embarked on a frenzy of last-minute car-building, waybill and car-card writing, and place-marker creation to culminat in the trial op session on the evening of Saturday, January 25th, 2014.
So, with much trepidation, I sent out an email invitation to 6 fellows who I consider to be “serious” model railroad operators who I am familiar with from previous op sessions over the years at other local railroads. I figured these guys could appreciate what I was trying to accomplish with the model S&NY, and at the same time bring in their collective experience for constructive criticism and suggestions for improvement.
Braving single-digit temps and blowing snow showers, all 6 gentlemen (including a trio driving from Cleveland) made it for the session. After a quick brief on the background of the real SNY and the construction of the model version, and a quick orientation to the railroad, we commenced. The model SNY had finally come to life after 11 years!
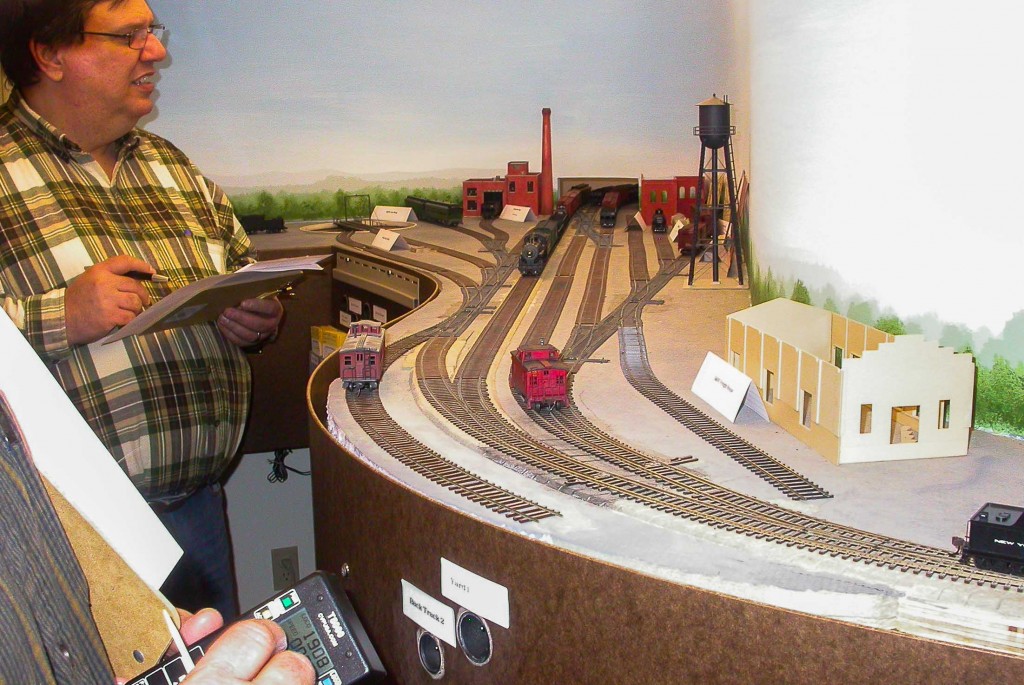
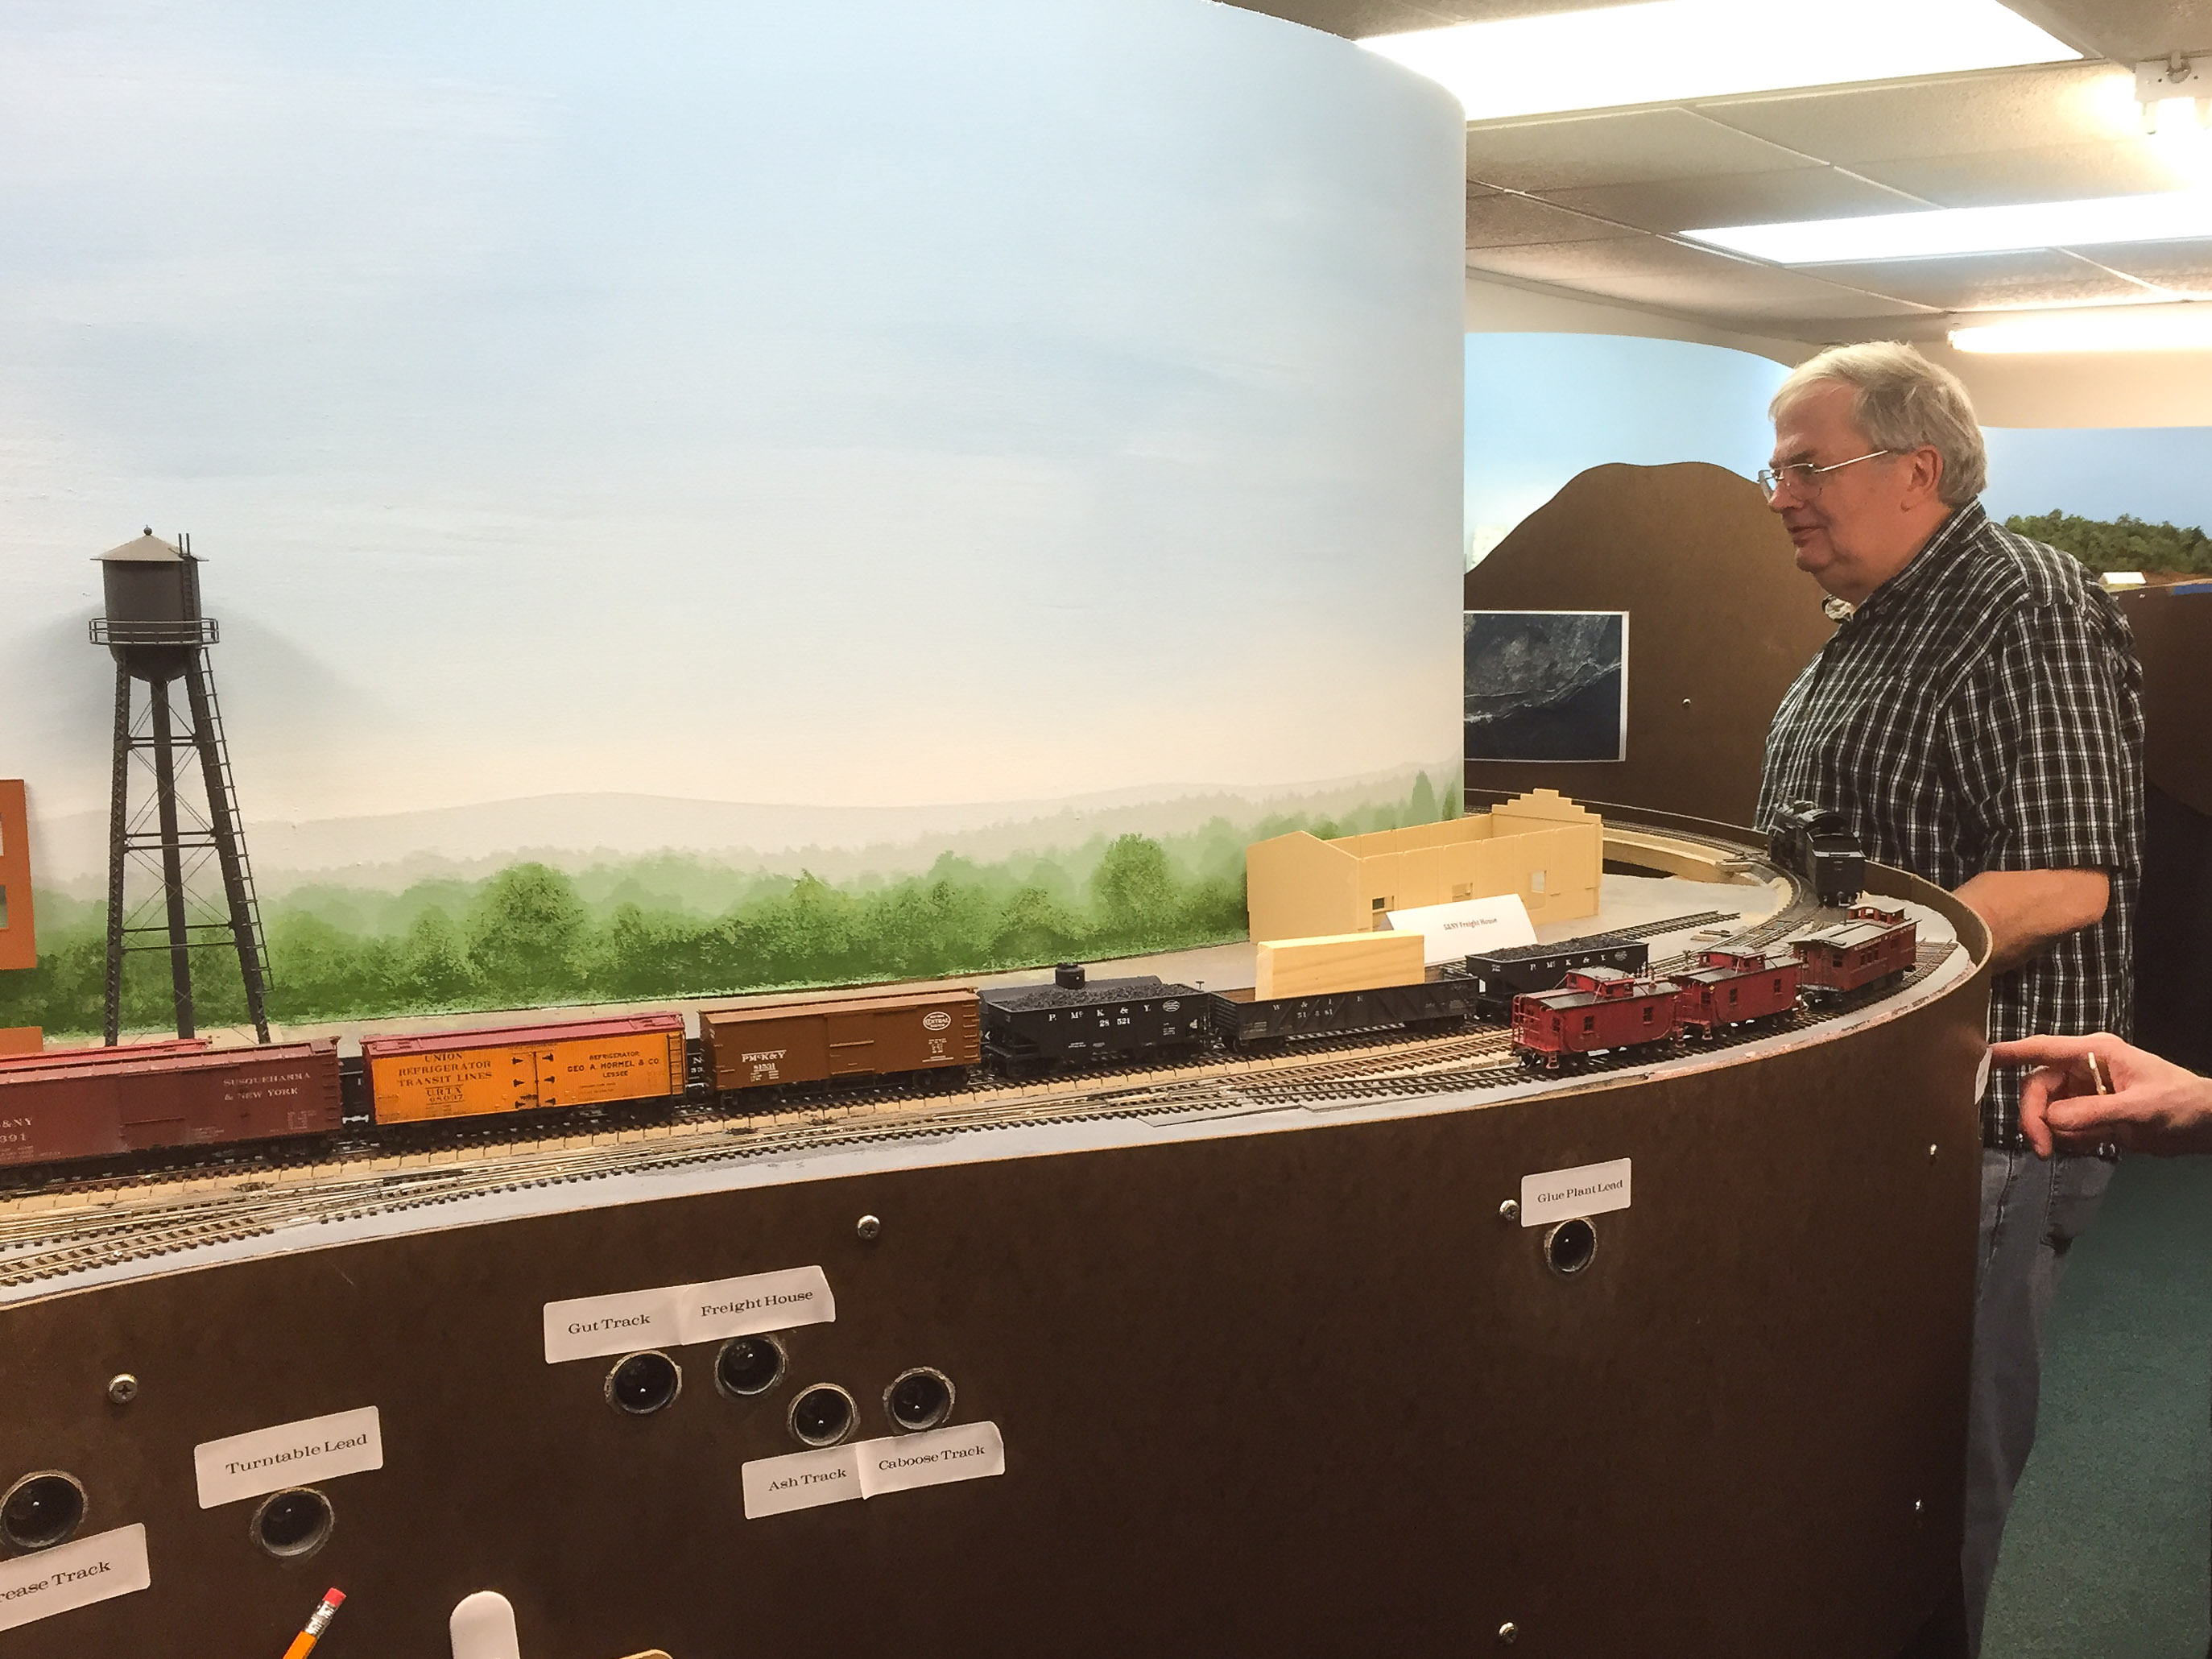
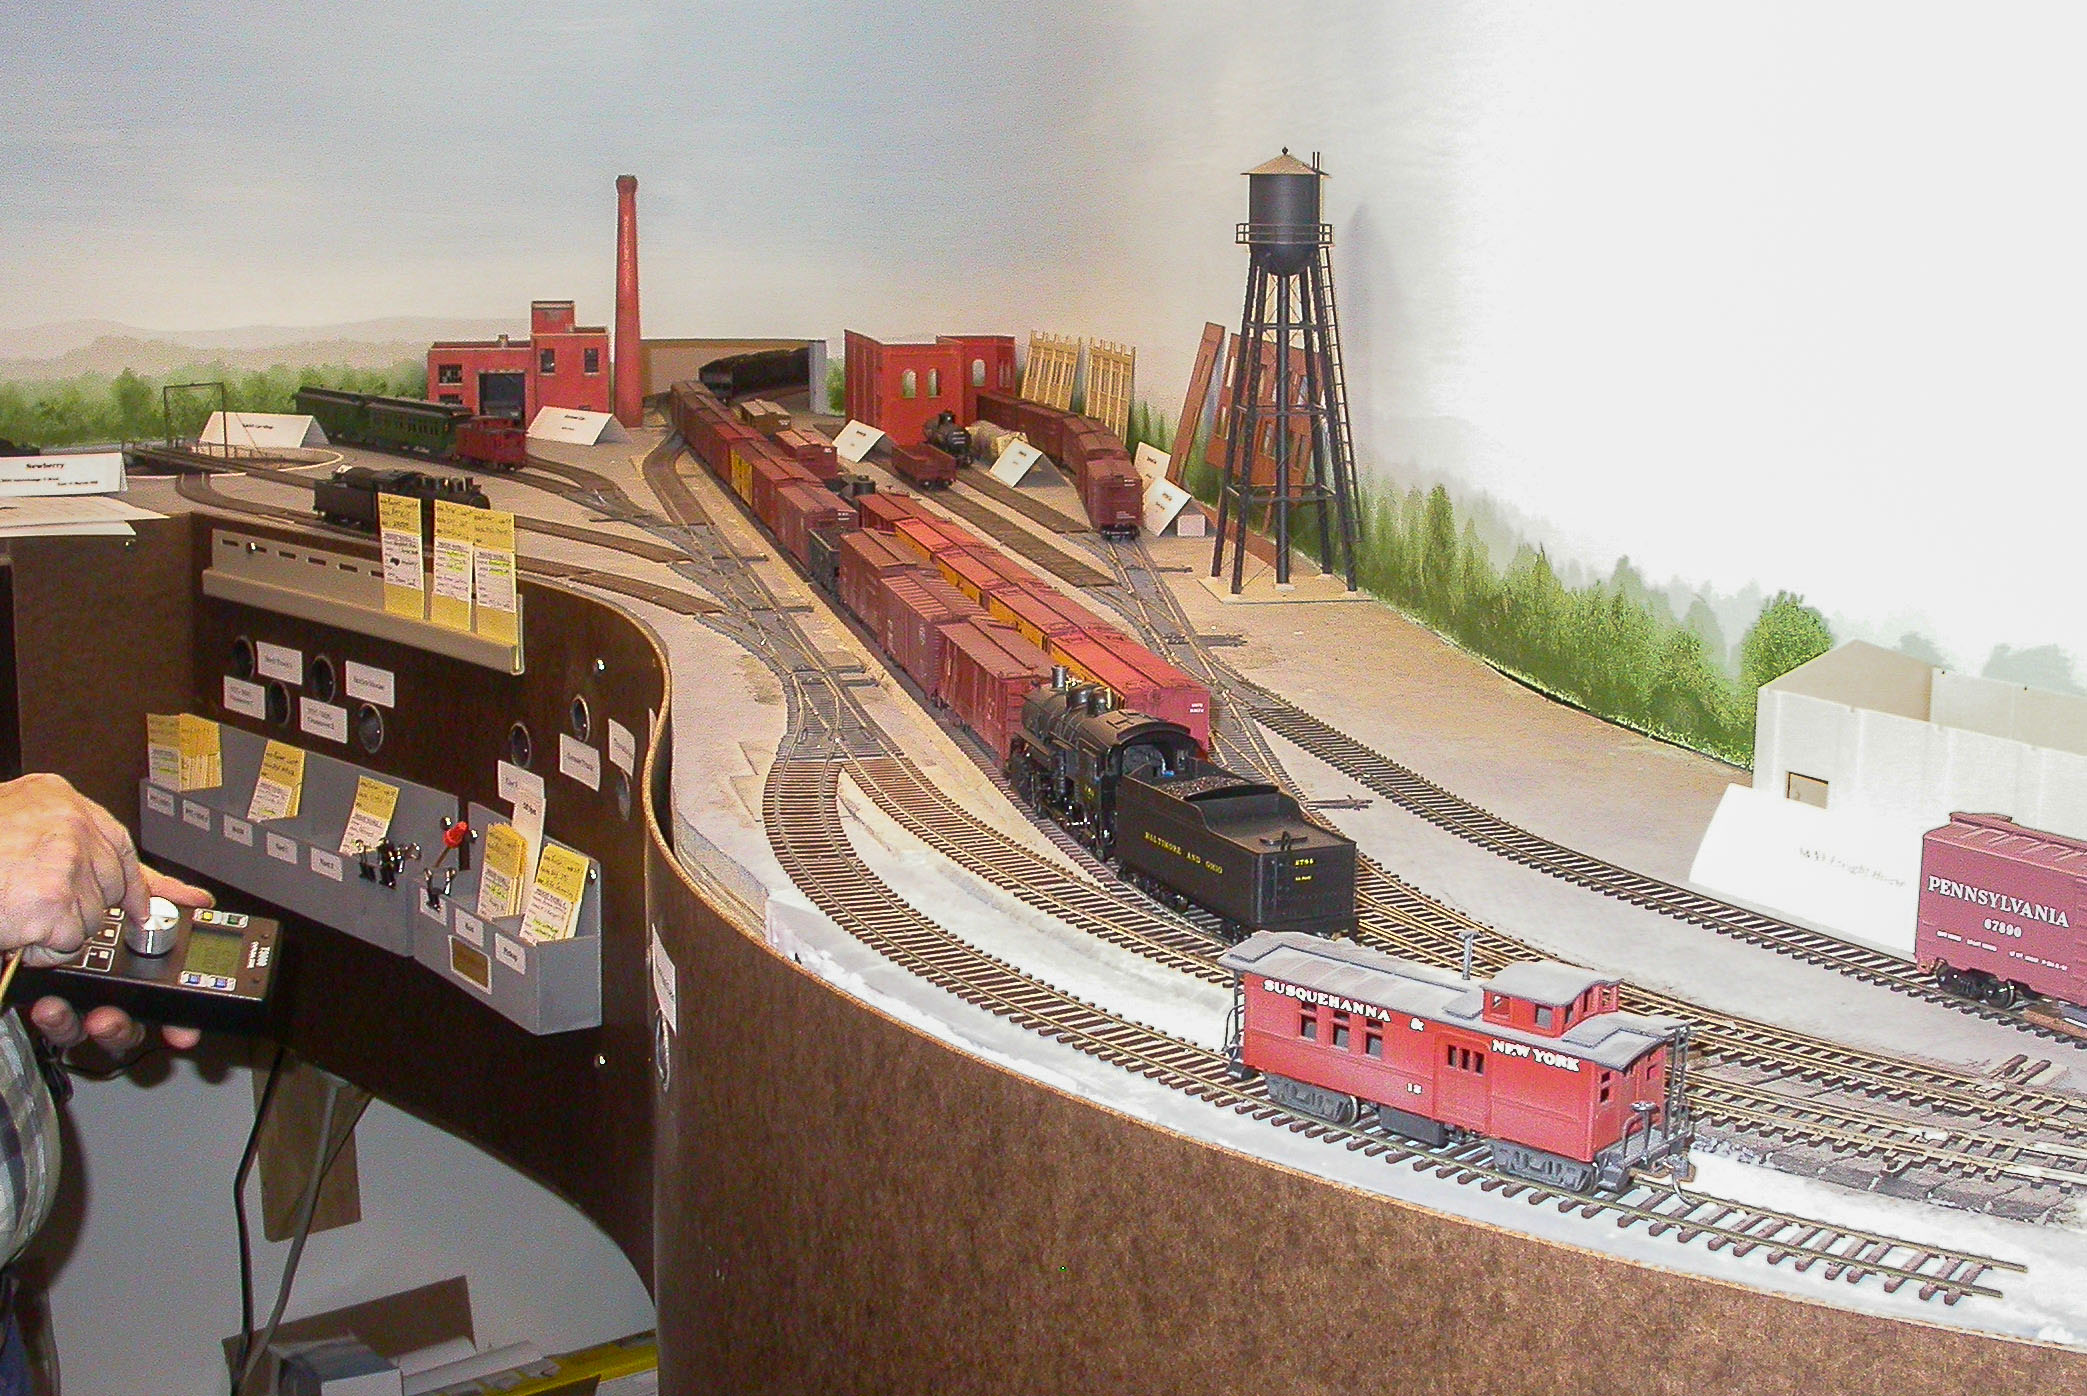
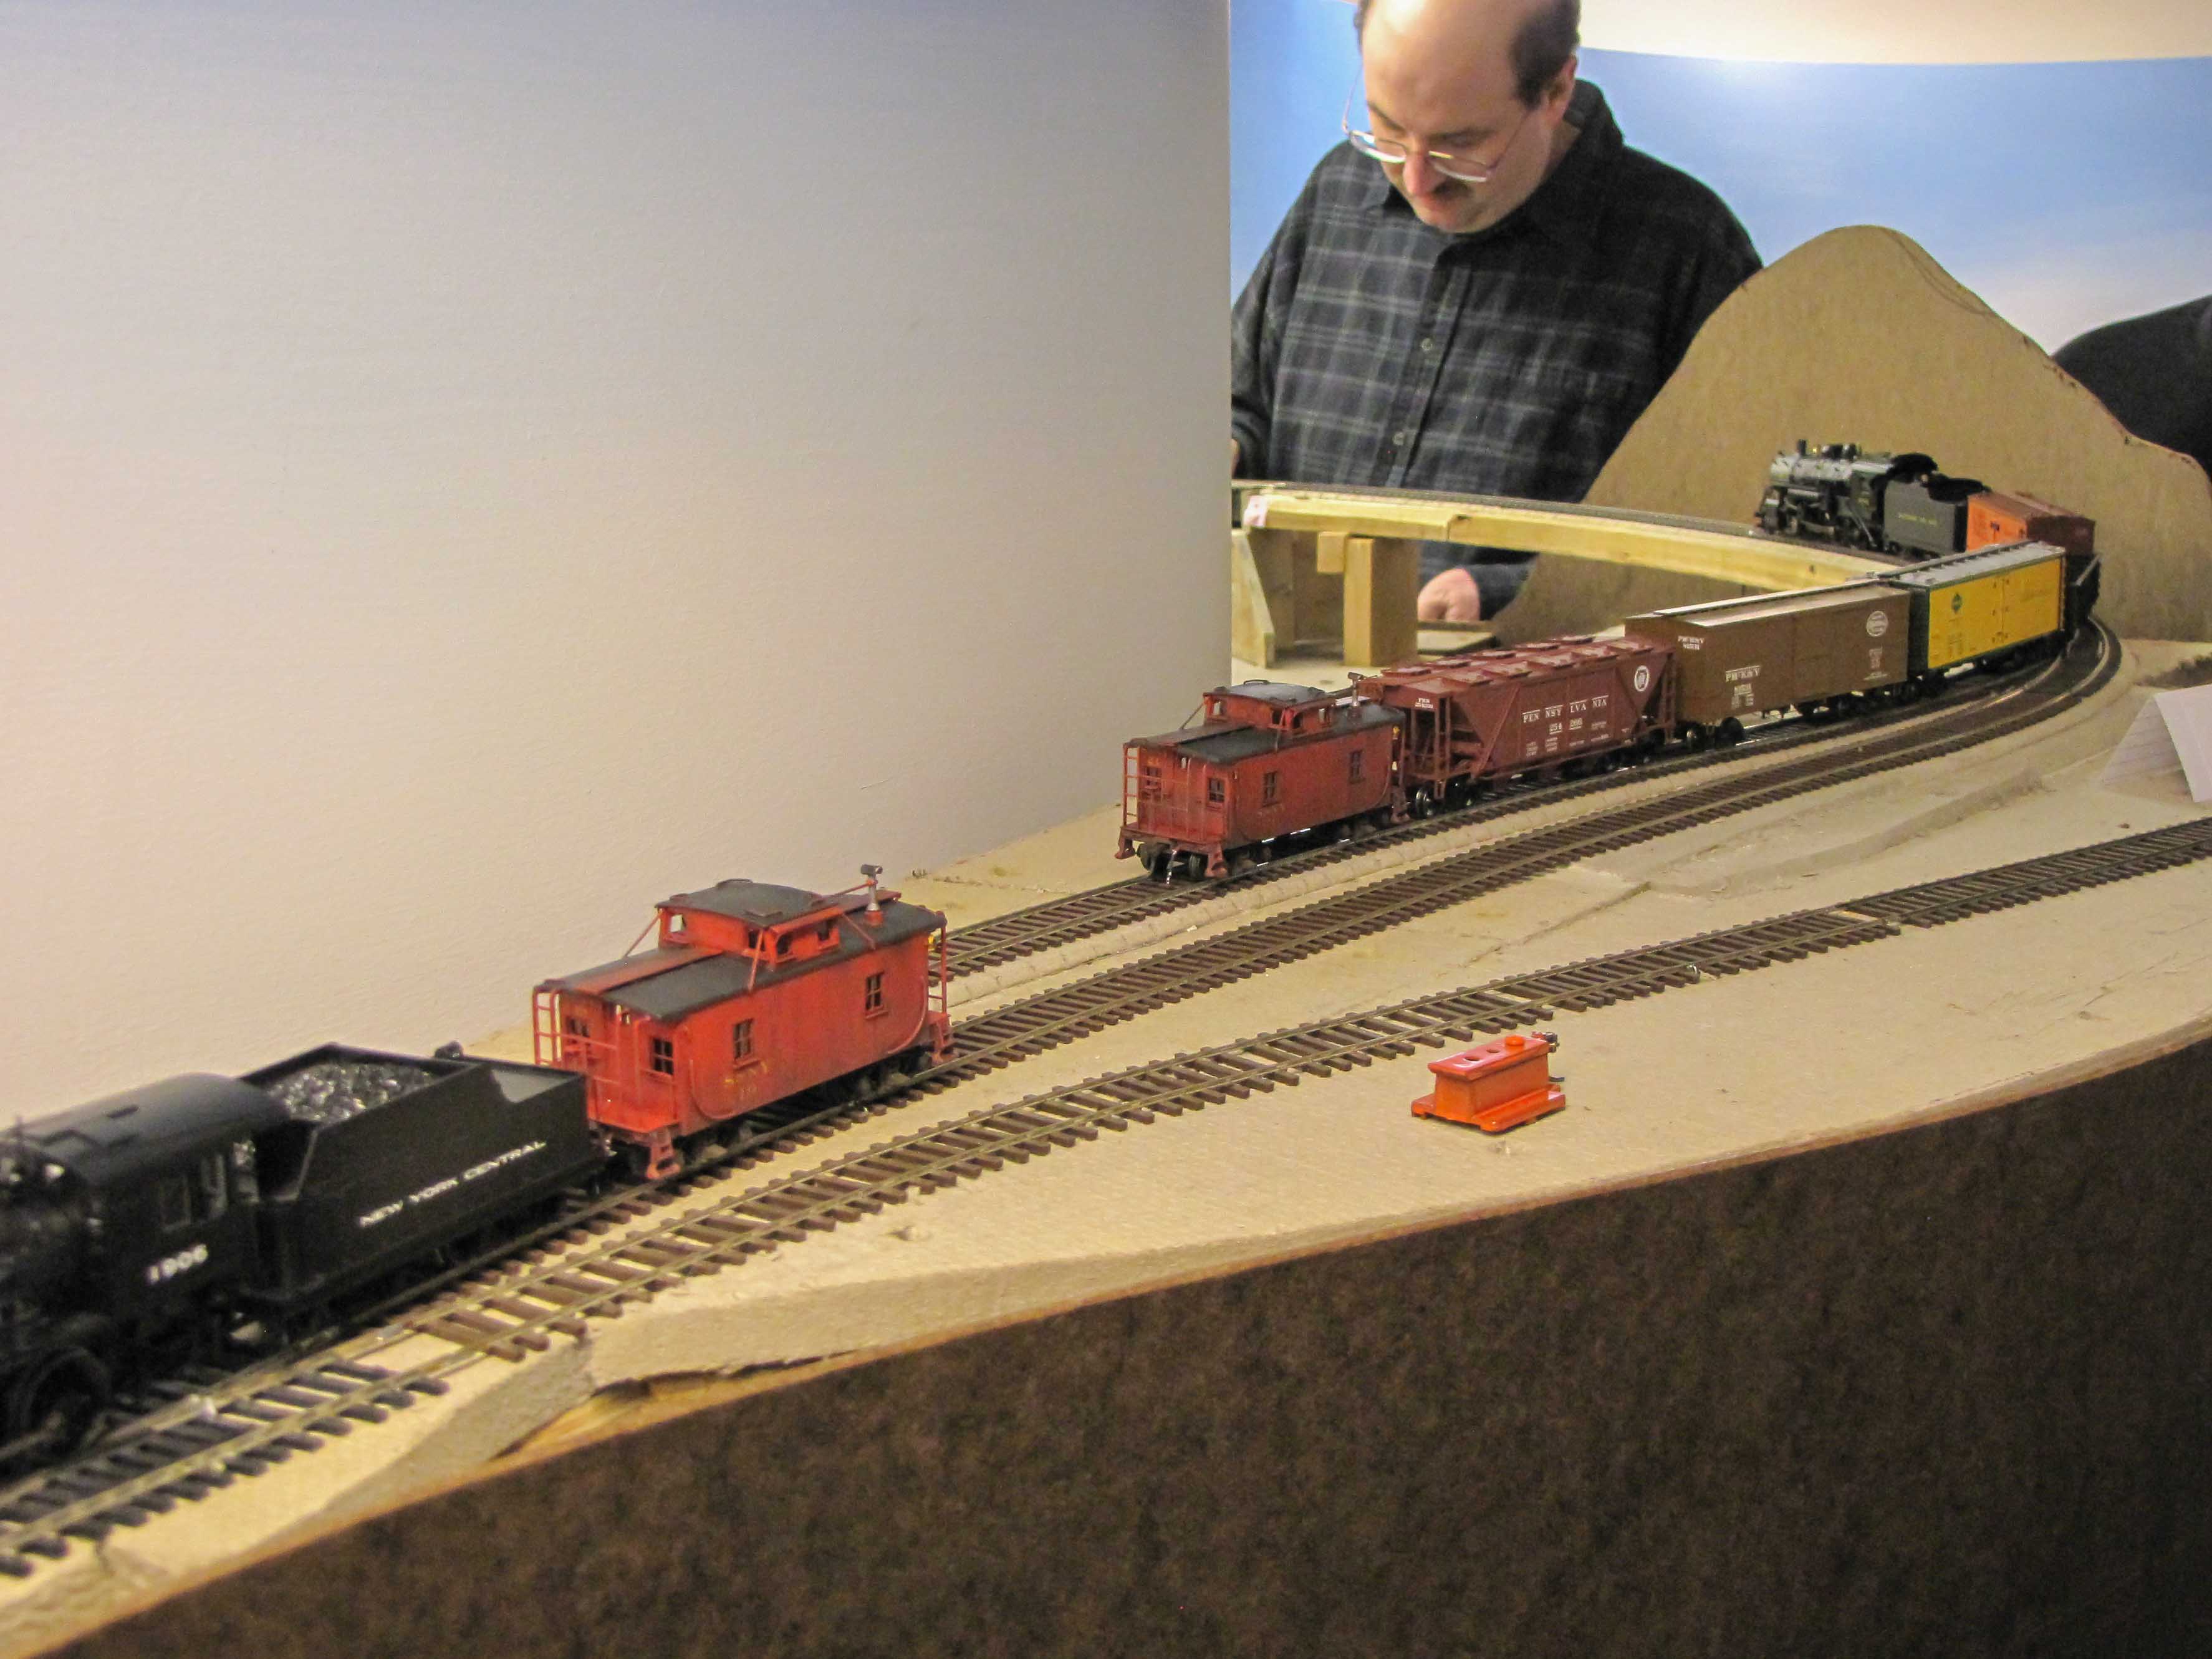
Brad W. looks over Newberry yard prior to departure of eastbound mixed Train #6.
Photo by John Webster
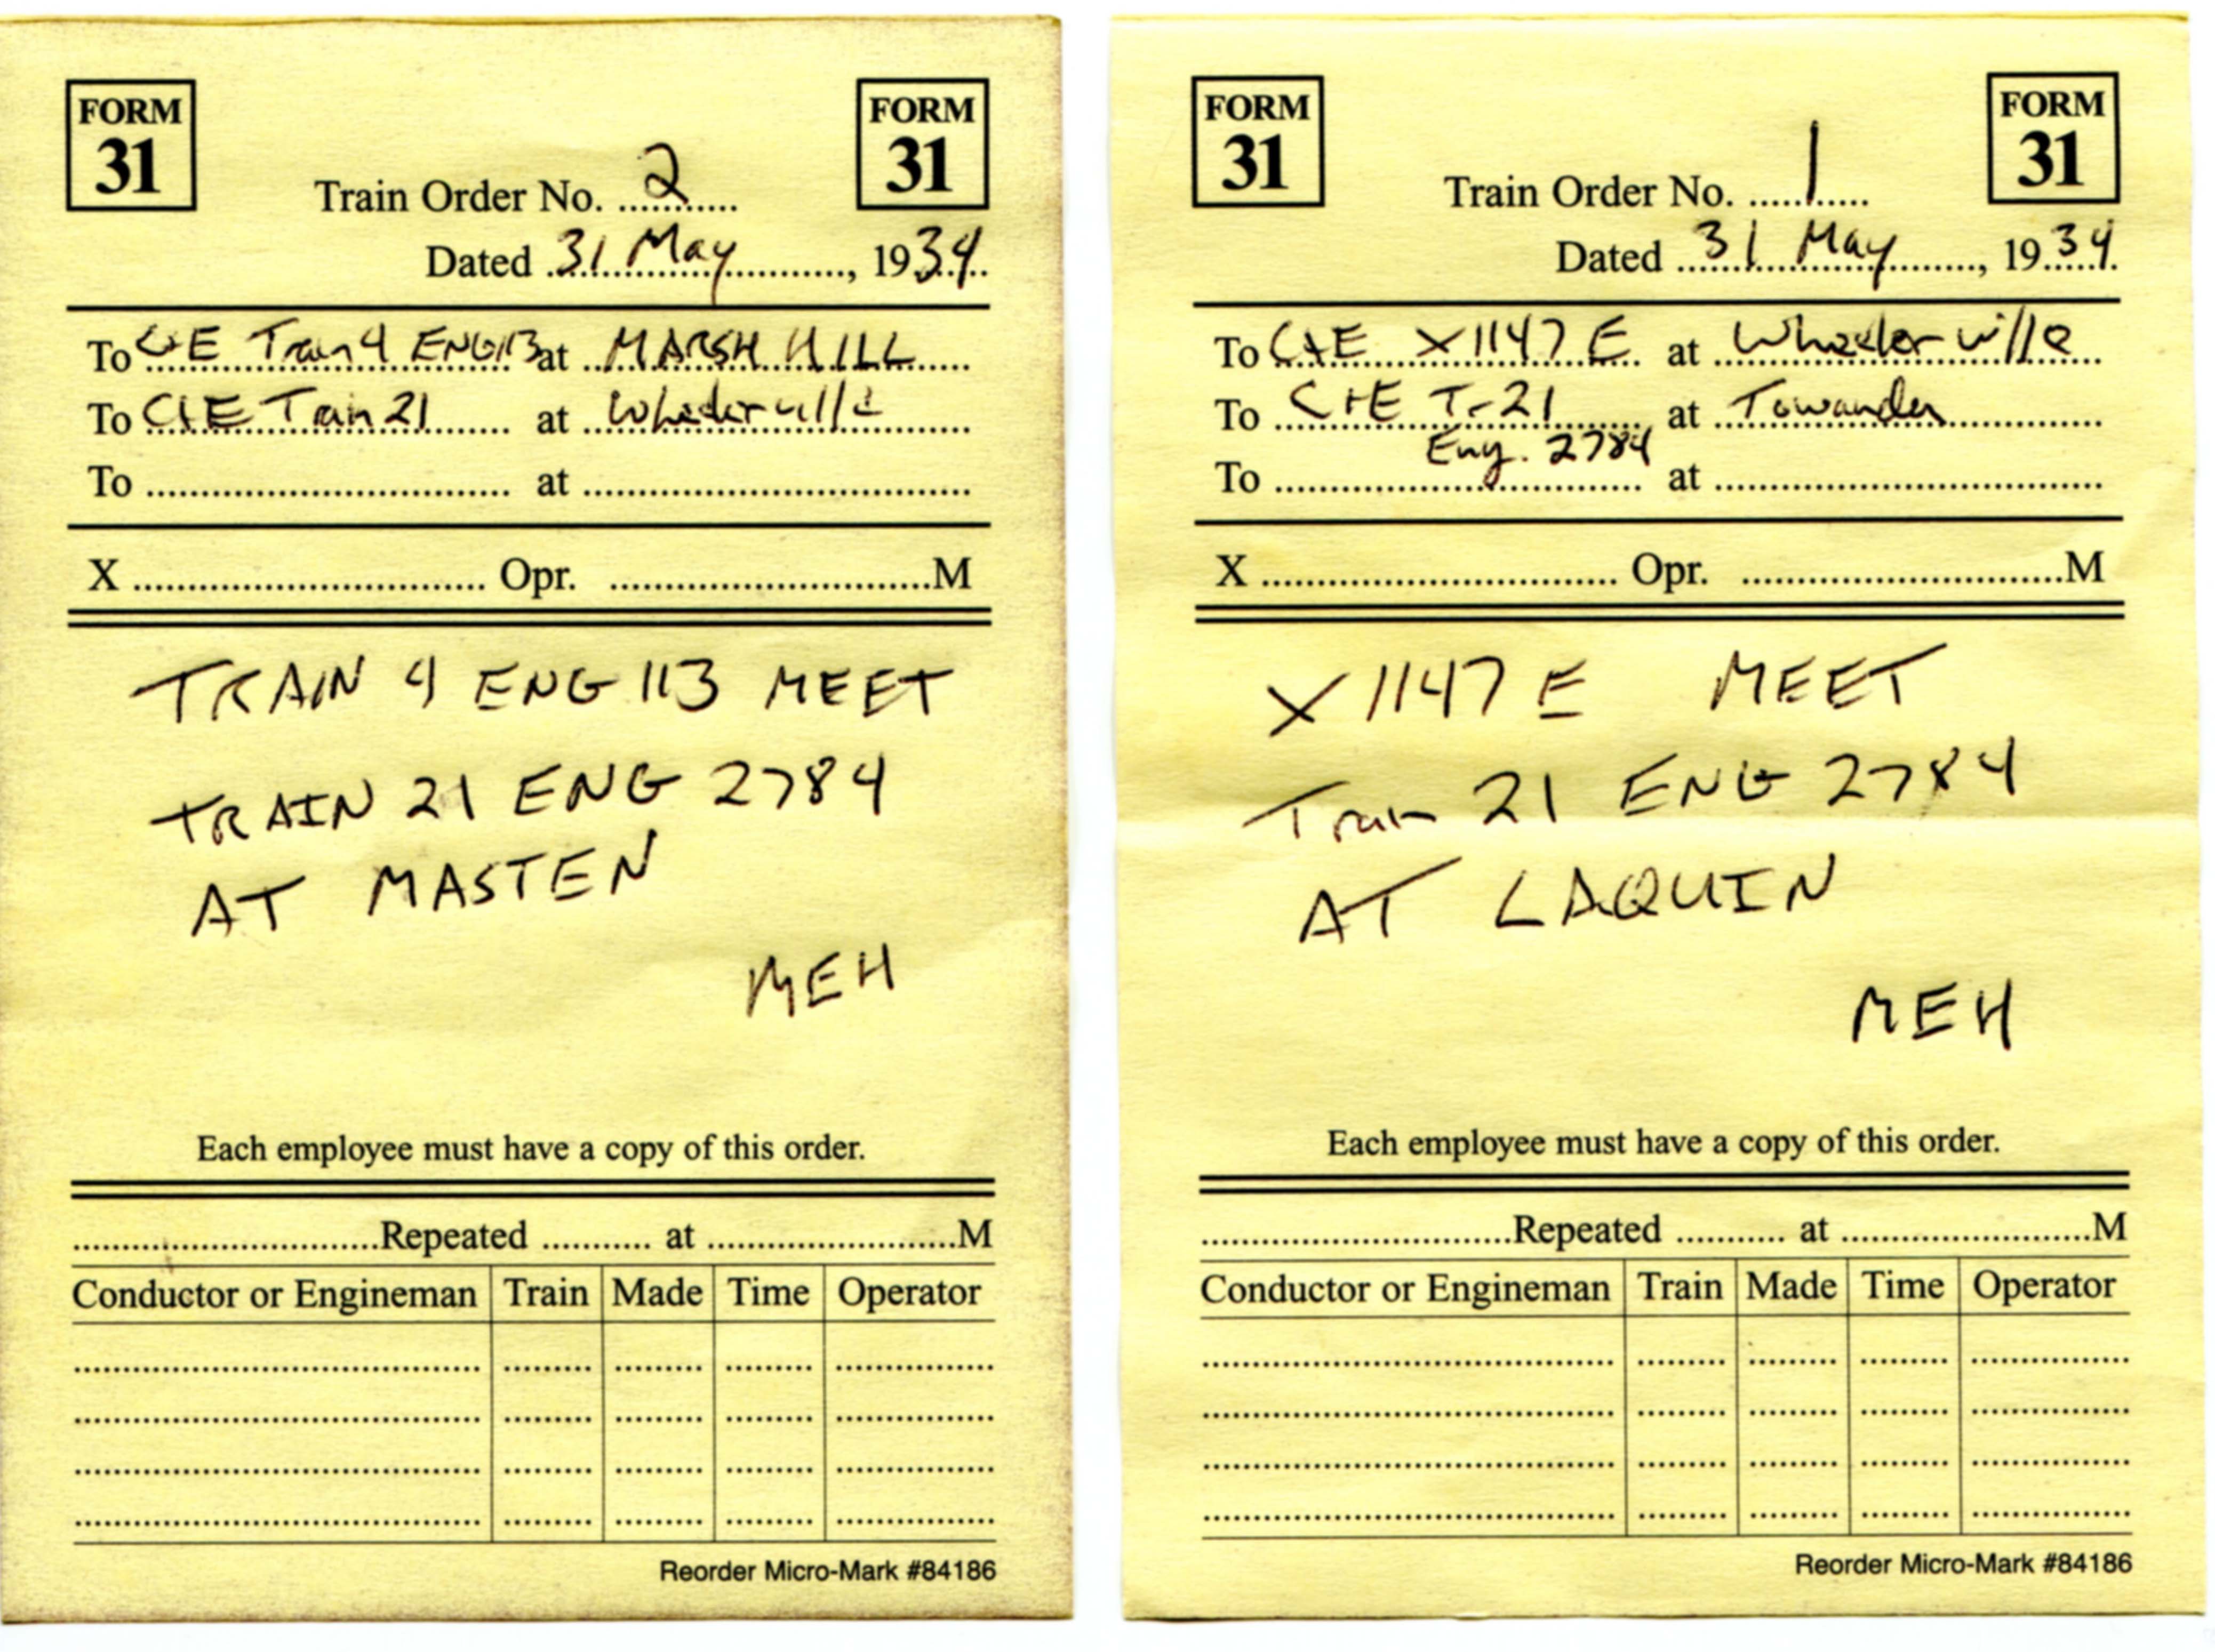
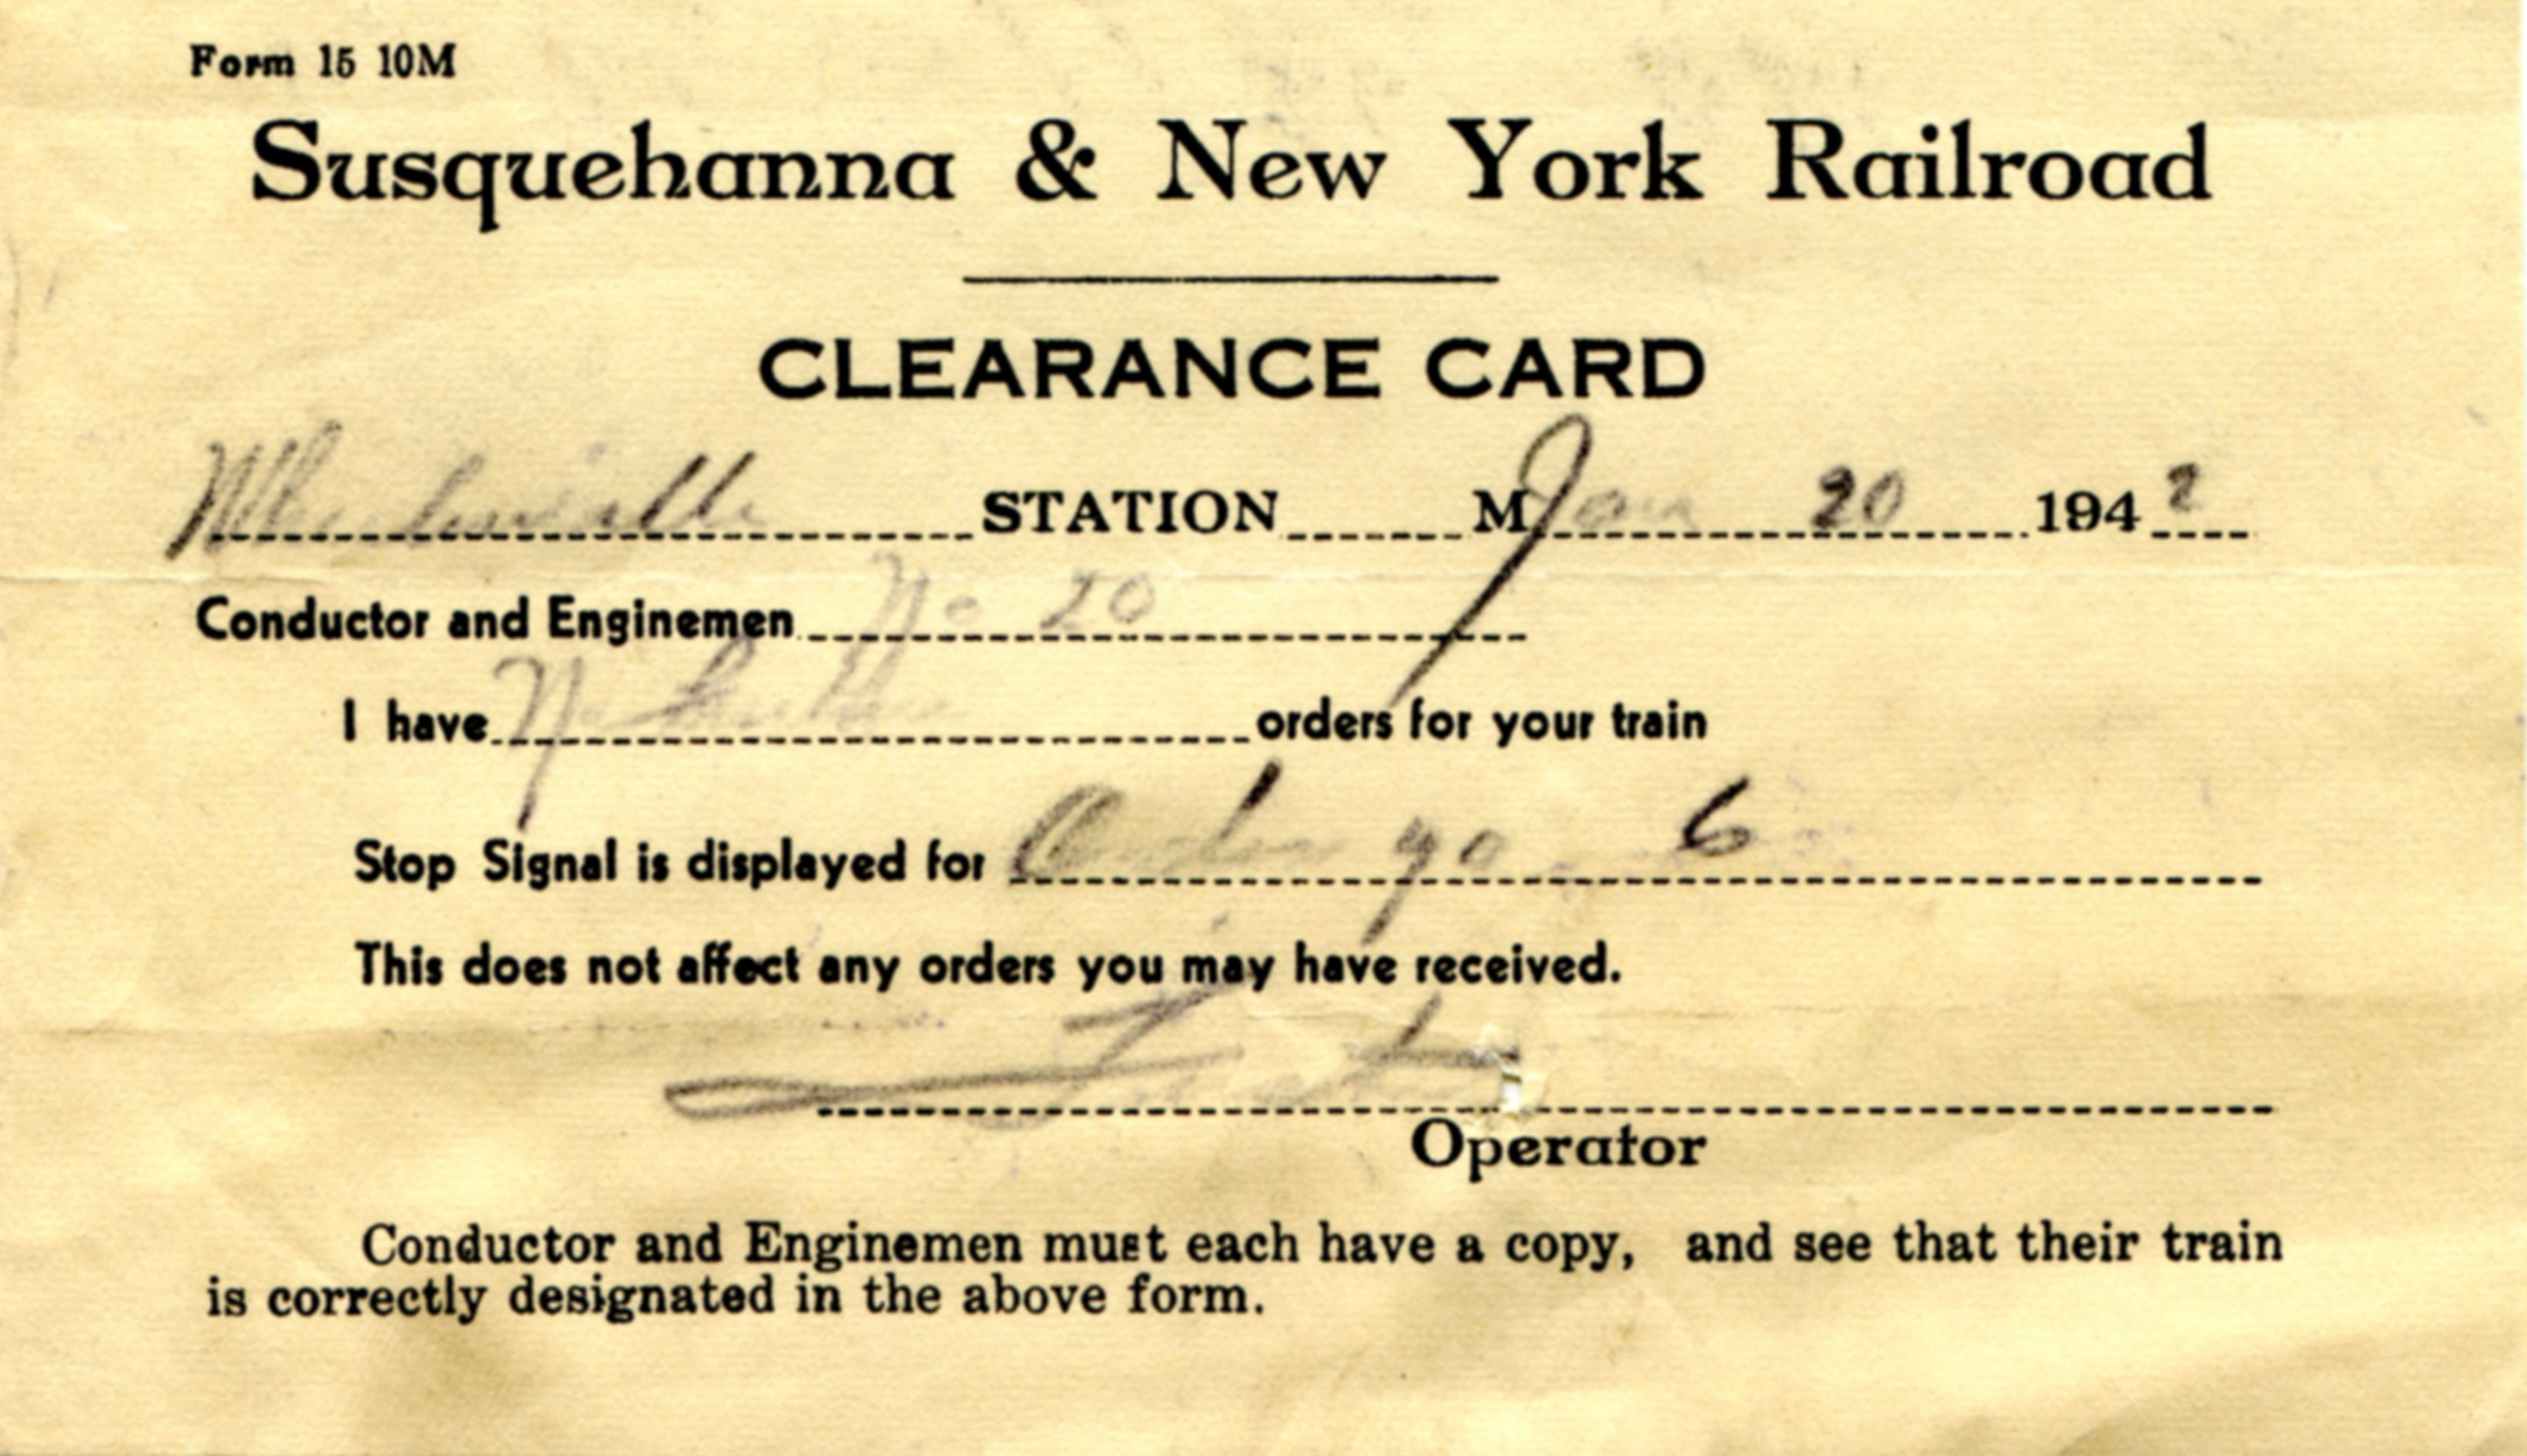
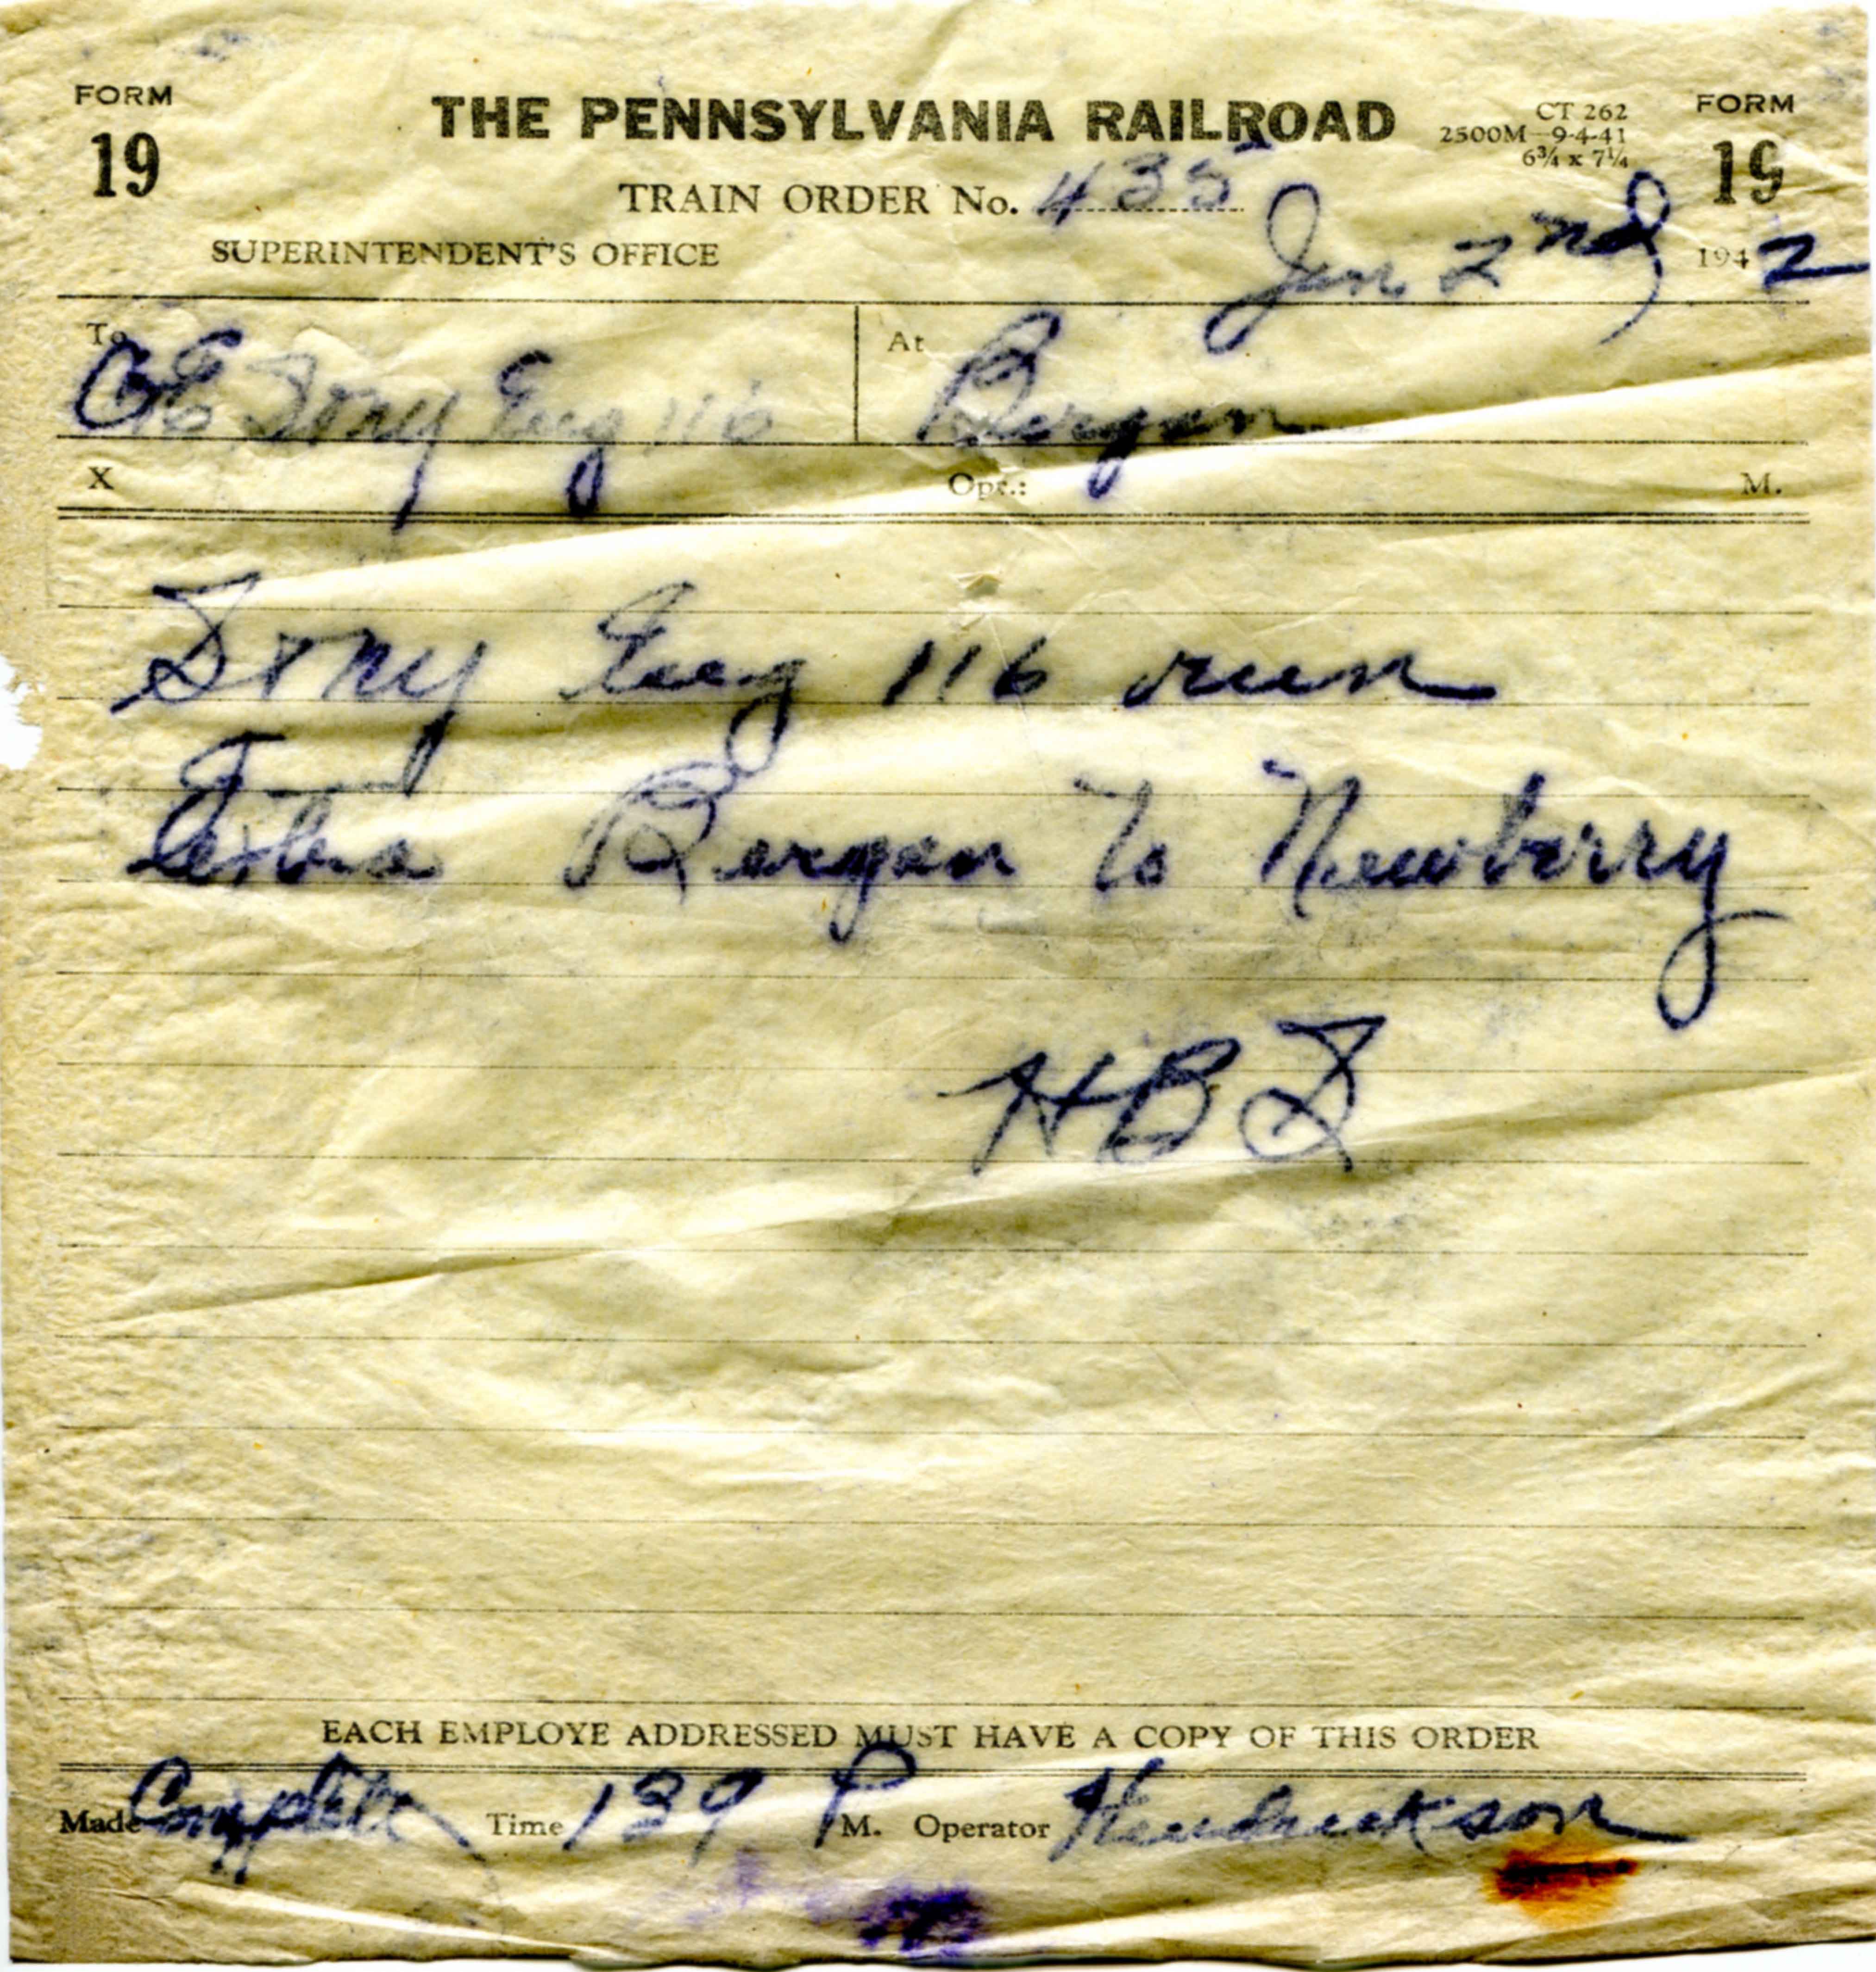
As expected, several issues immediately became apparent. Right out of the gate, I had failed to specify clearly that 1st class train #6 was a mixed train, and that instead of a caboose, the crew should build the train with a combination car on the rear. THAT caboose, in turn, was to go with a light engine to Marsh Hill yard. It only took a couple of minutes to sort out, but it sent my anxiety level through the suspended ceiling. Having “lived” with the railroad for so long, I just took it for granted that “everyone” would know that trains 5 and 6 were mixed. Hoo boy, what ELSE had I overlooked in my hasty preparations?
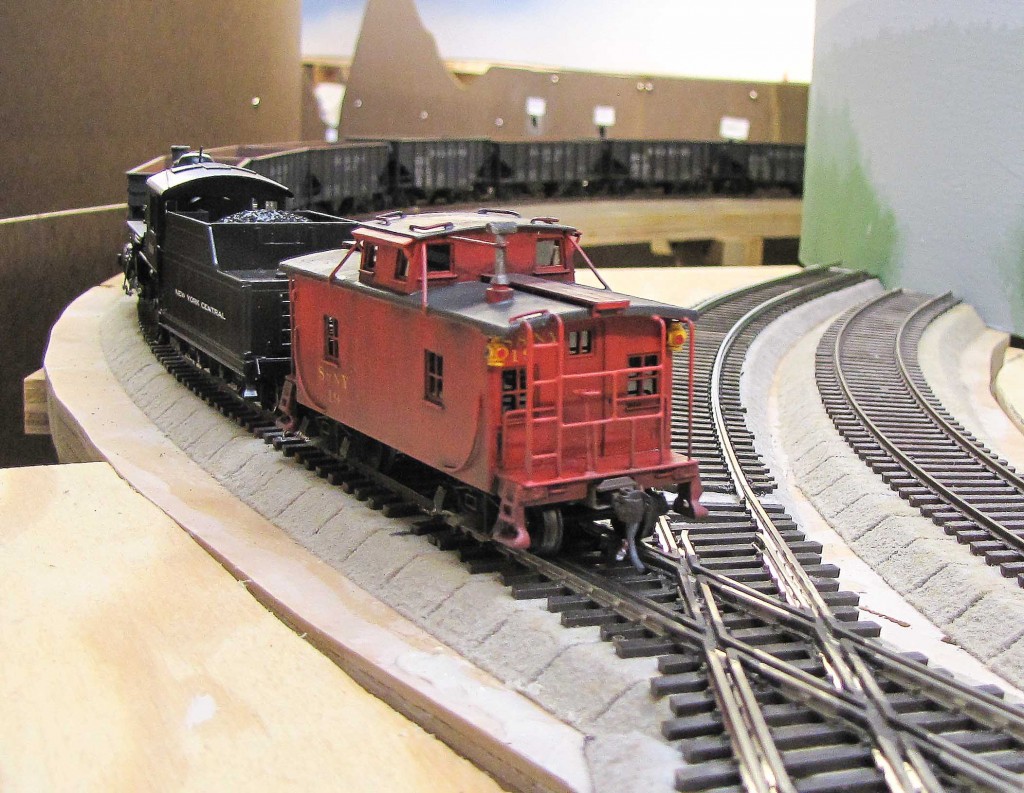
Westbound empty hopper extra returns to home rails after clattering across the junction of the PRR Elmira Branch and the PRR P&E line. Photo by Don Murphy
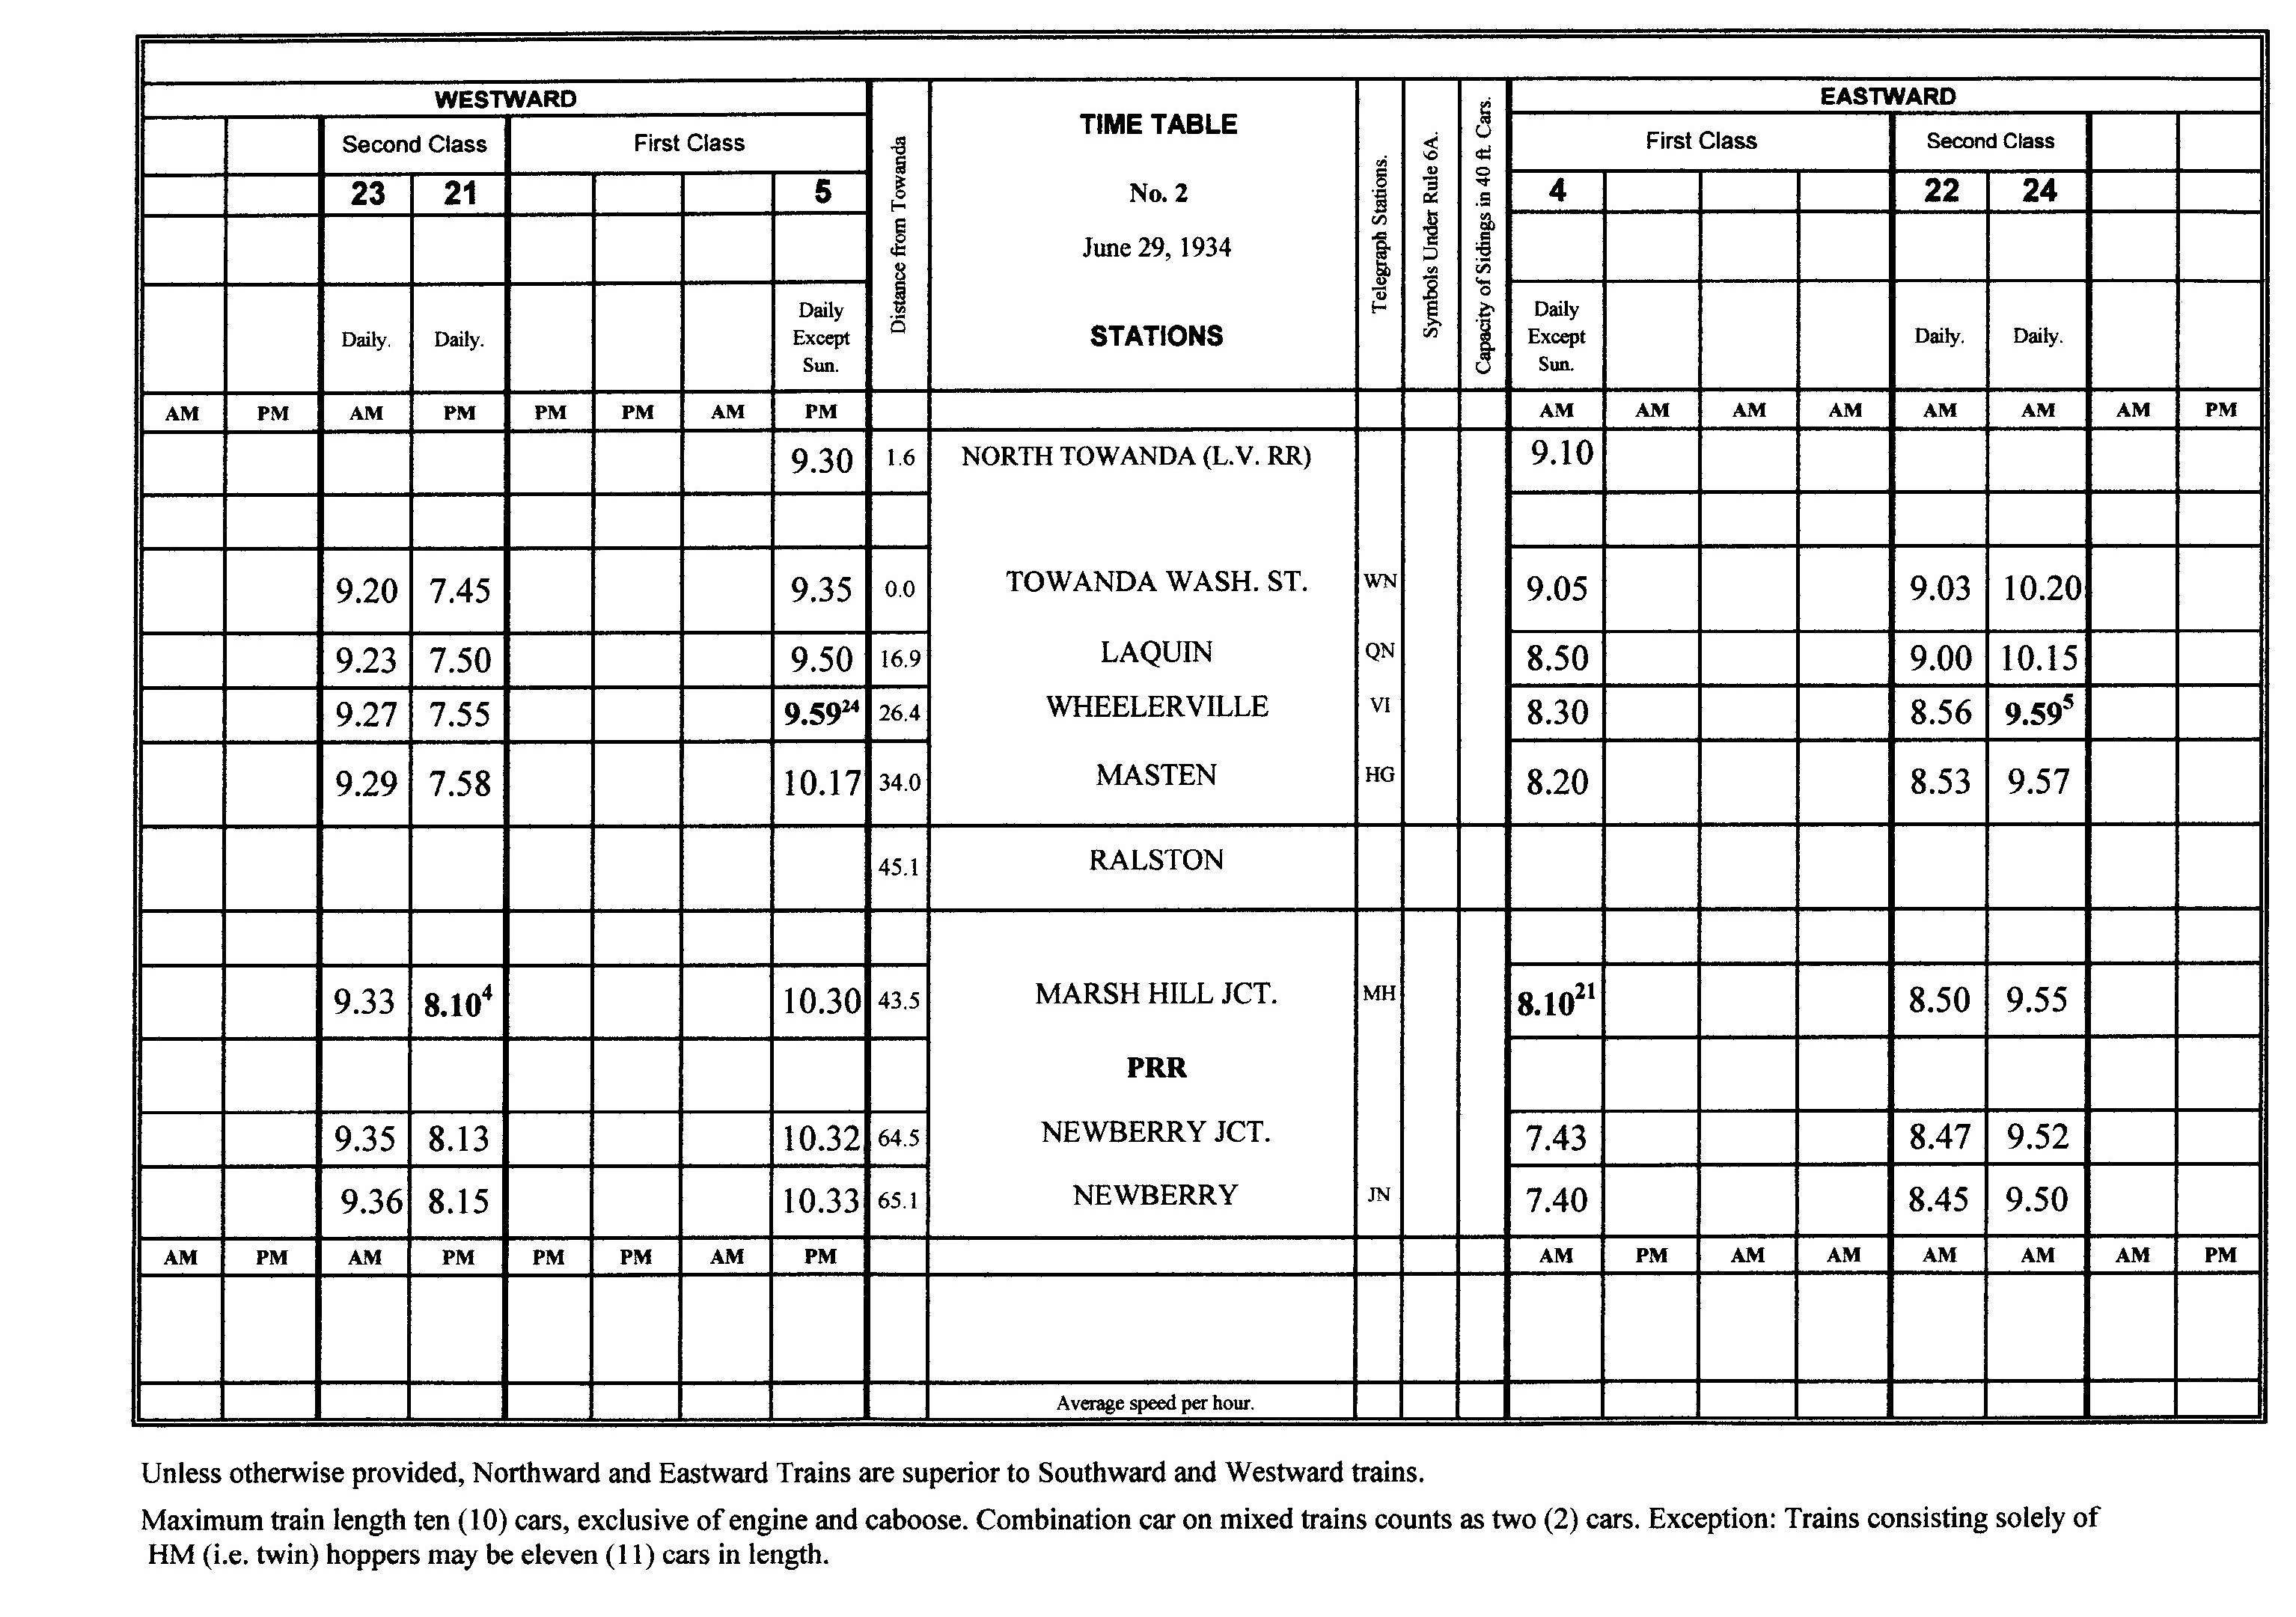
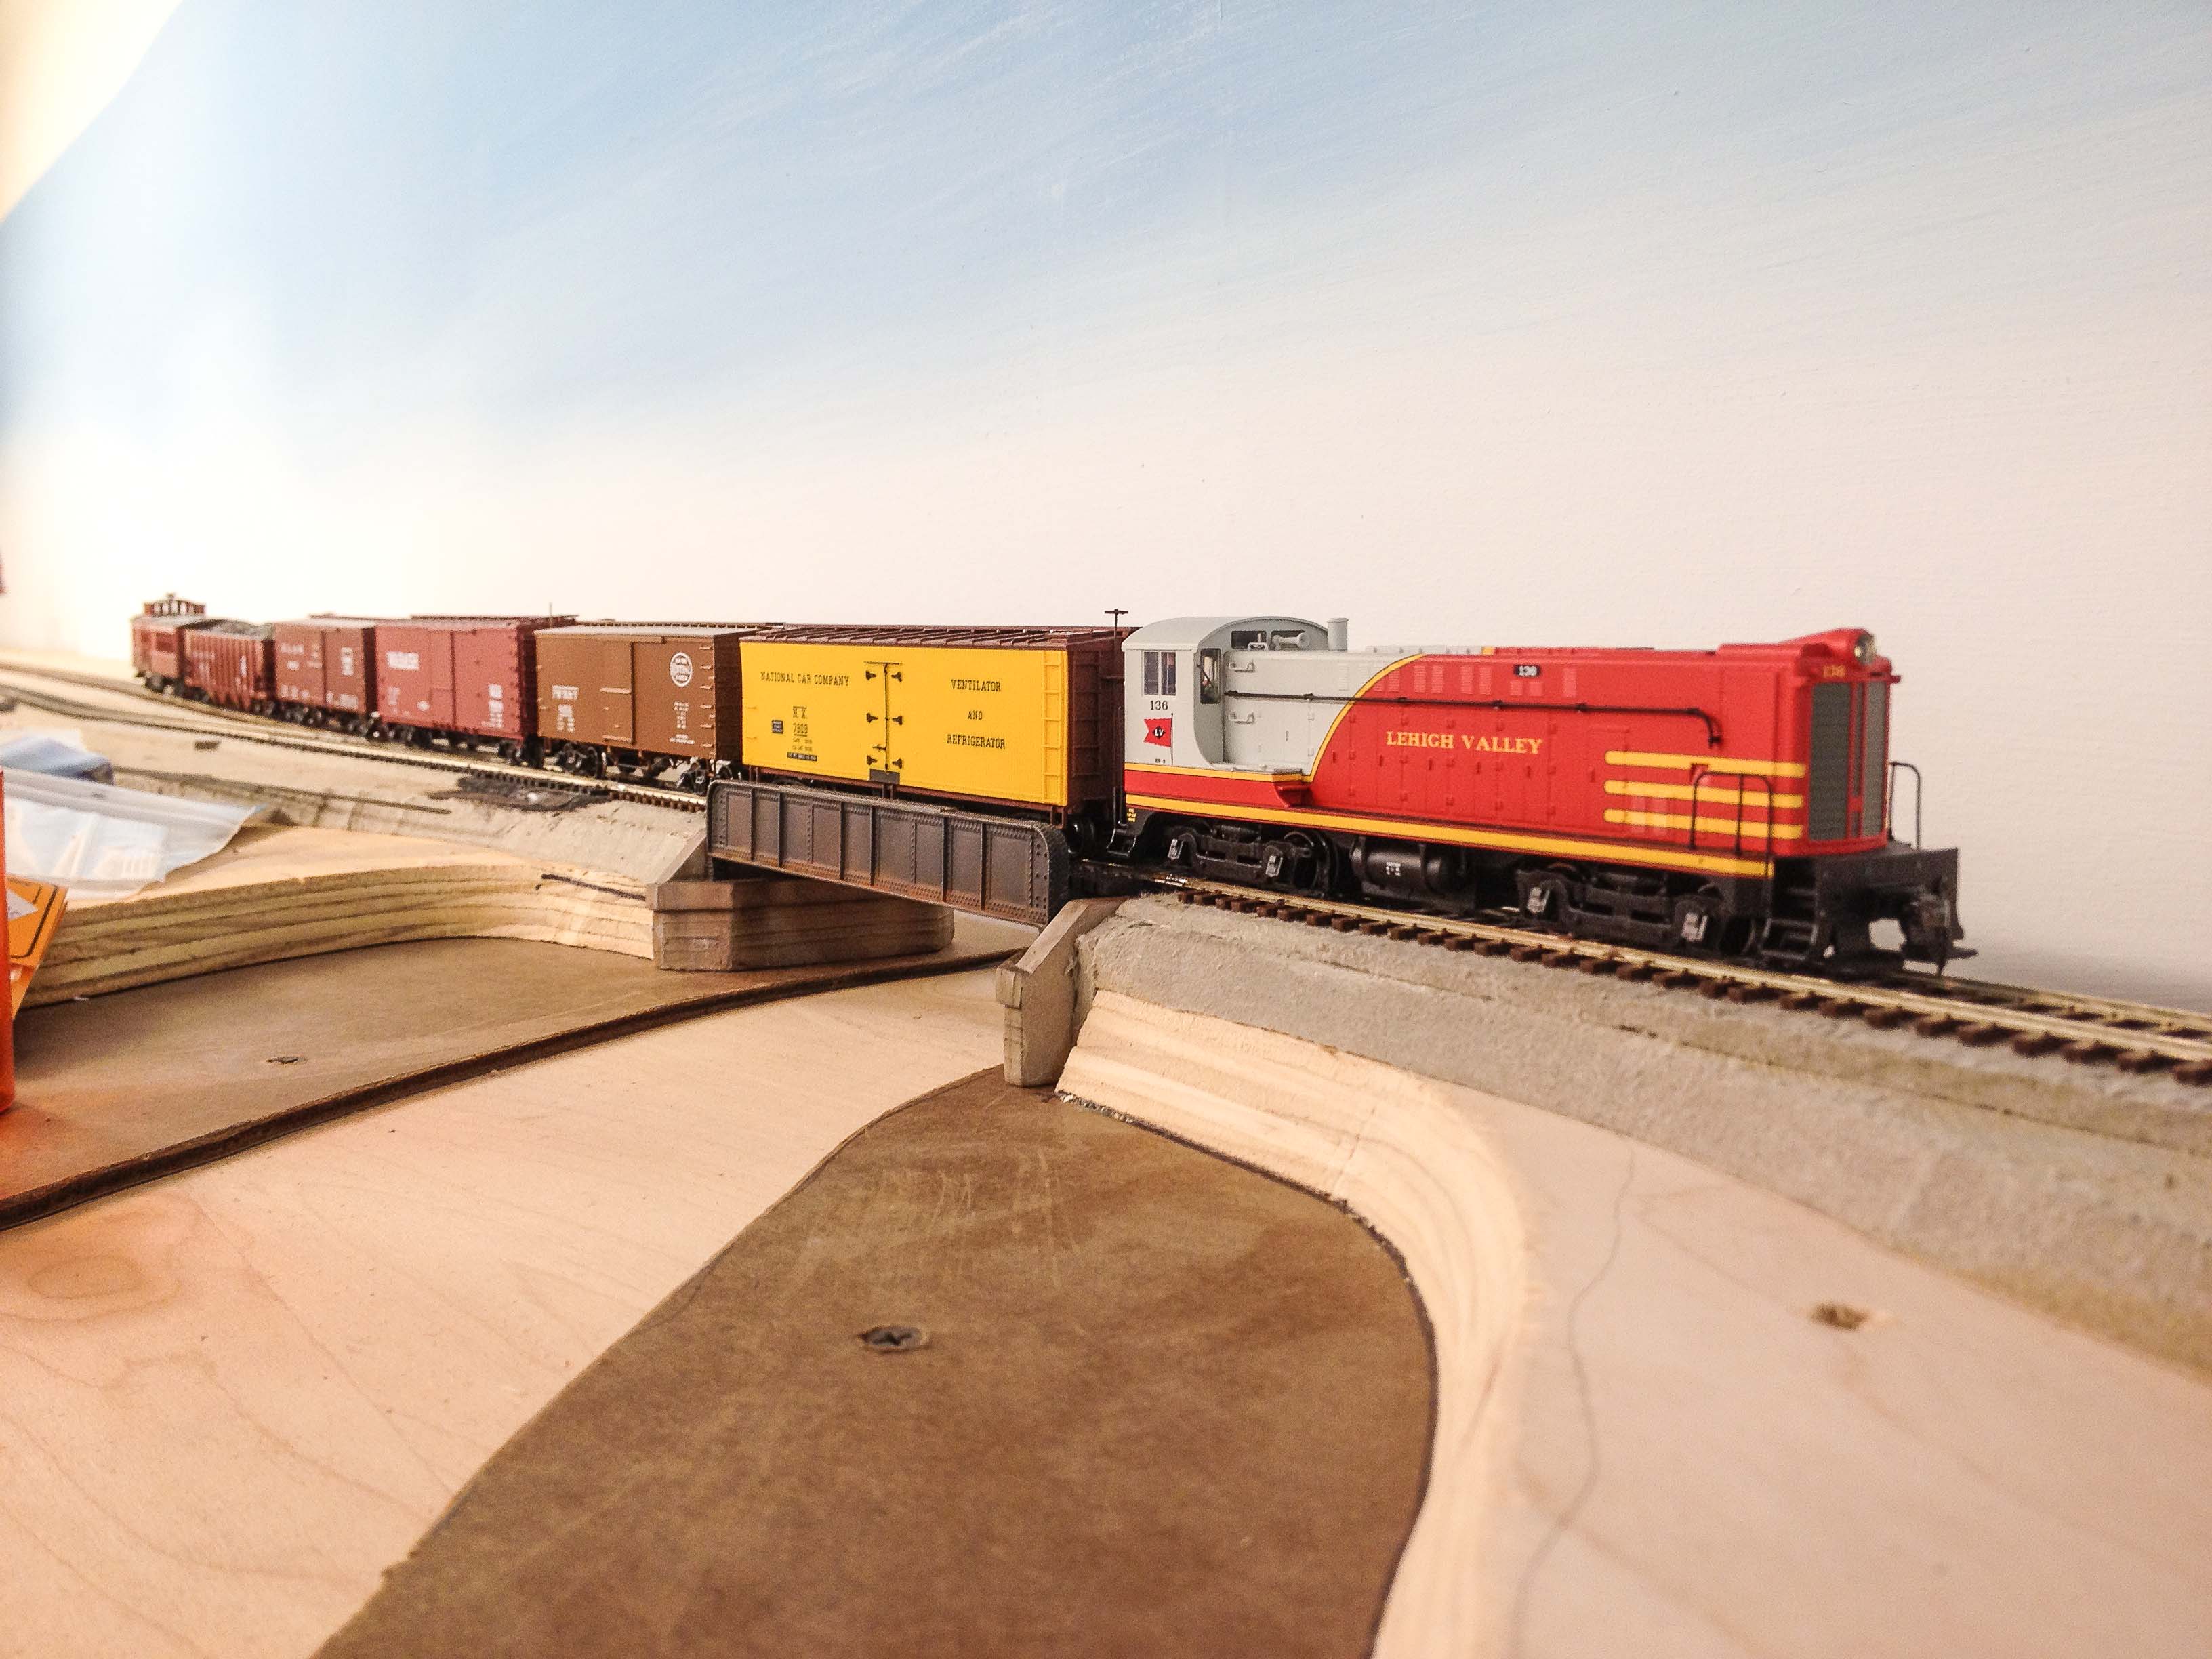
A second issue related to location, location, location. The first thing crews want to know, if new to a particular railroad, is “Where am I?” The second thing is “Which direction is to my right and which to my left?” I had designed the SNY such that the viewer is always looking at the railroad from the south facing north, with east to the right and west to the left, so the second question was not a problem. However, despite trying to label everything prior to the session, I did not label each town adequately. I had put town name signs on the bill boxes in each town, but they were not conspicuous enough for unfamiliar operators juggling throttles, uncoupling picks, and train instructions.
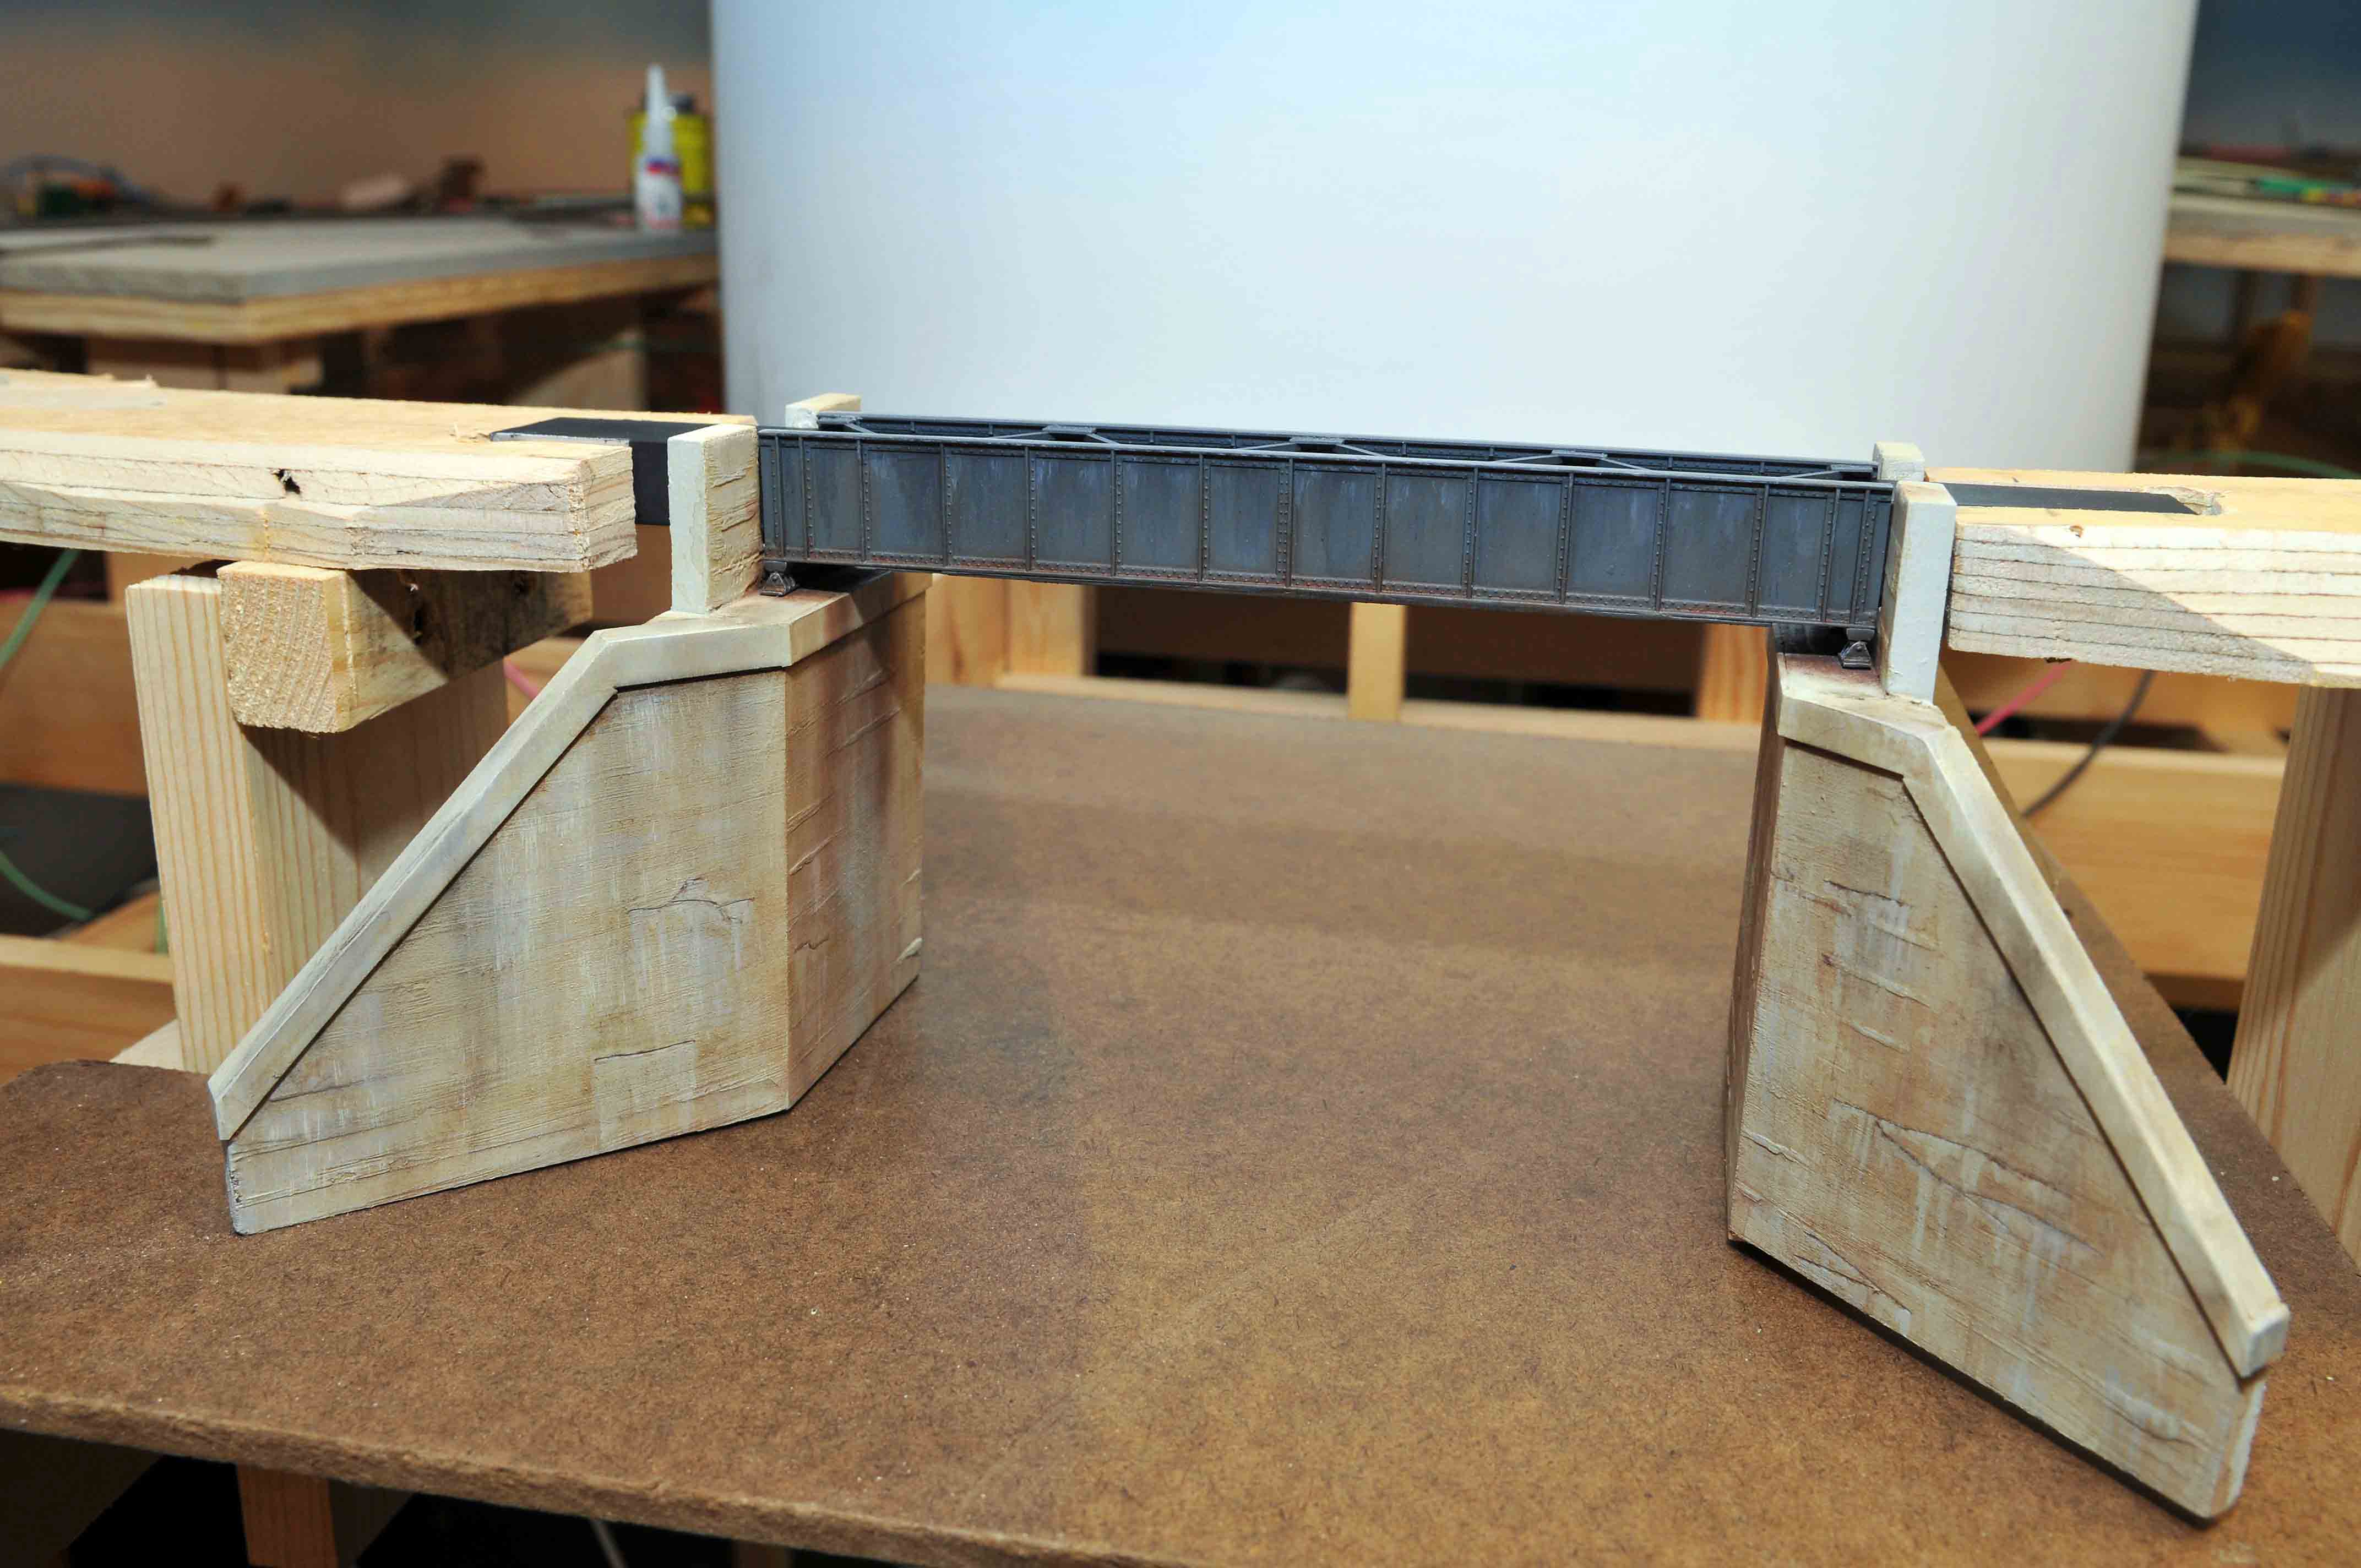
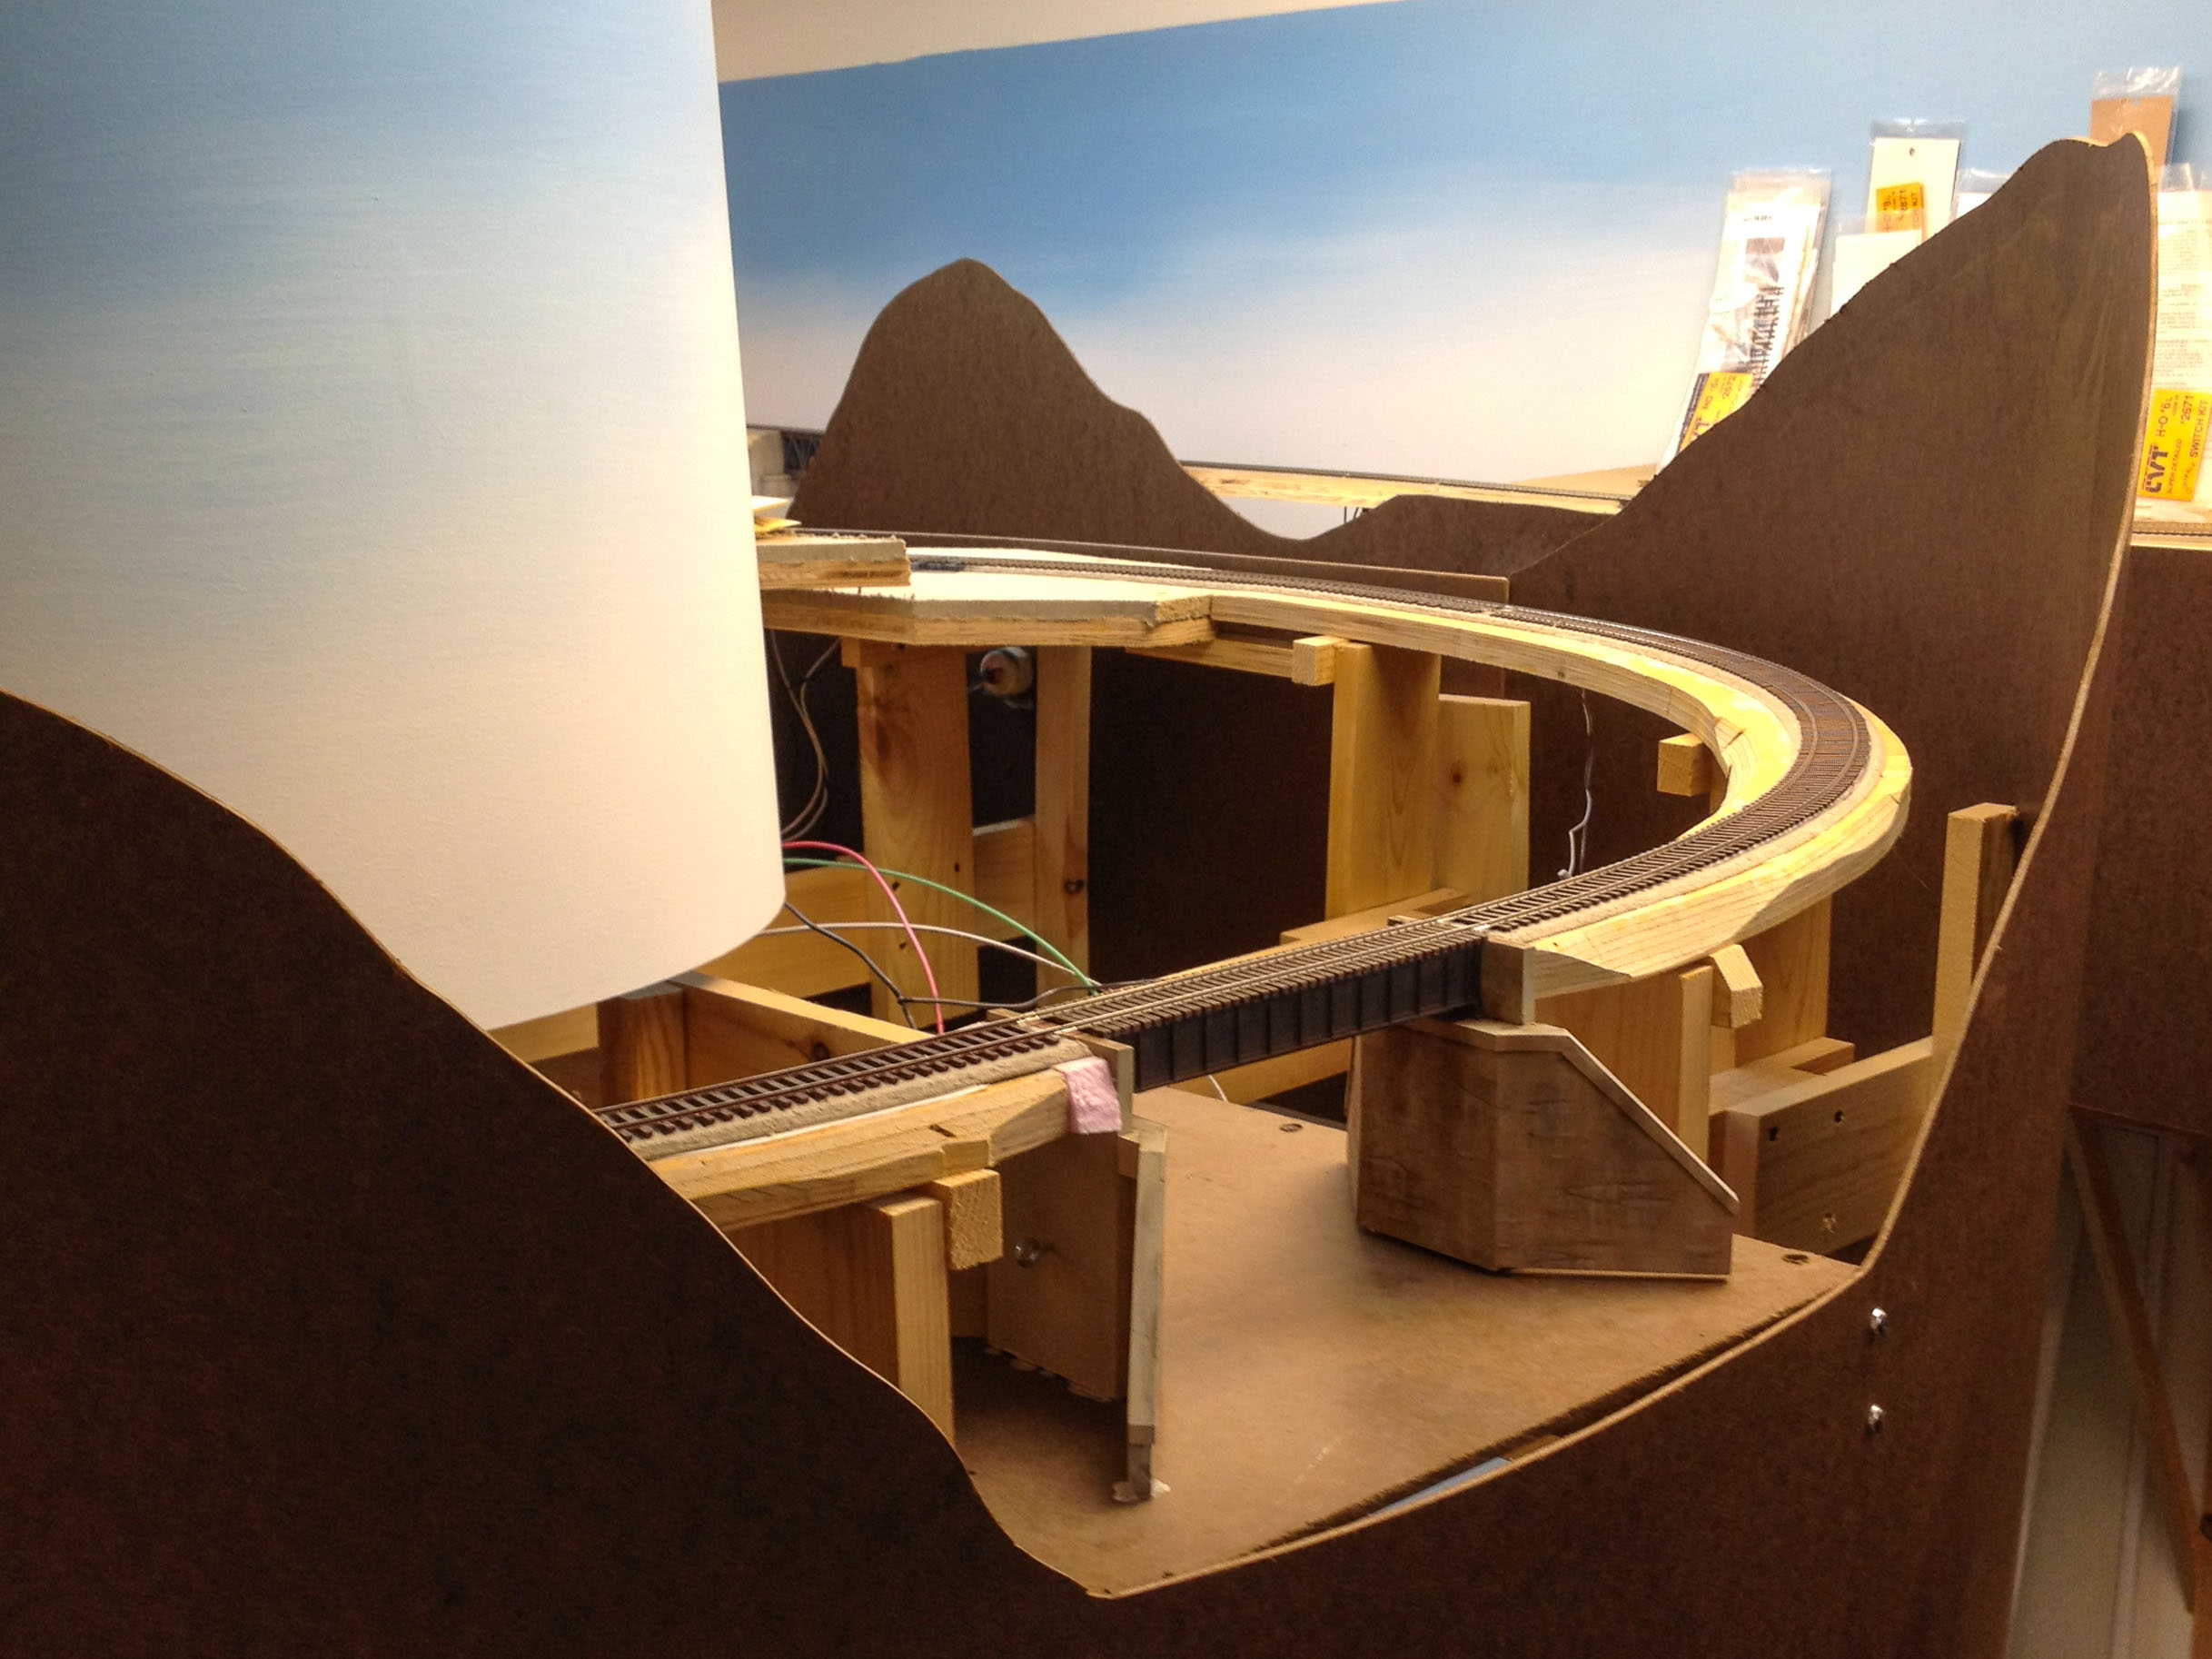
A niggling but recurrent problem had to do with some of the turnouts, particularly in Marsh Hill yard. Some of the engines’ tender trucks caused shorts at the frogs. These were all Central Valley number 5 and 6 turnouts with a fabricated plastic frog. A design flaw apparently allows the backs of the tender wheels to short the two closure rails where they insert the plastic frog. I had run into this problem the day before the session, and painted the offending rails with clear nail polish as an expedient temporary fix, but I didn’t do it to all of them. A contributing factor may have been the extremely dry air from the cold weather allowing the wheels to arc at the frogs. I will probably replace these frogs with all metal frogs from Proto:87 as time allows. These metal frogs were not available when I built Newberry and Marsh Hill. The newer sections were built with Proto:87 turnout kits, and we had zero issues with these, aside from one frog I had inadvertently powered with reverse polarity.
Another issue cropped up later in the session, when the crew manning trains 21 and 22 tied up early. I literally had no more cars on the railroad to be moved, and I had over-estimated the time it would take for these to trains to complete their switching and make their runs. The fellows were good sports about it though, and were content to browse some of my collection of SNY ephemera and kibitz with the two crews still working. However, I will make a concerted attempt to get more cars on the railroad to allow for a third through-freight run and/or balance the station work with trains 5 & 6, the crew of which finished up nearly 40 minutes after everyone else.

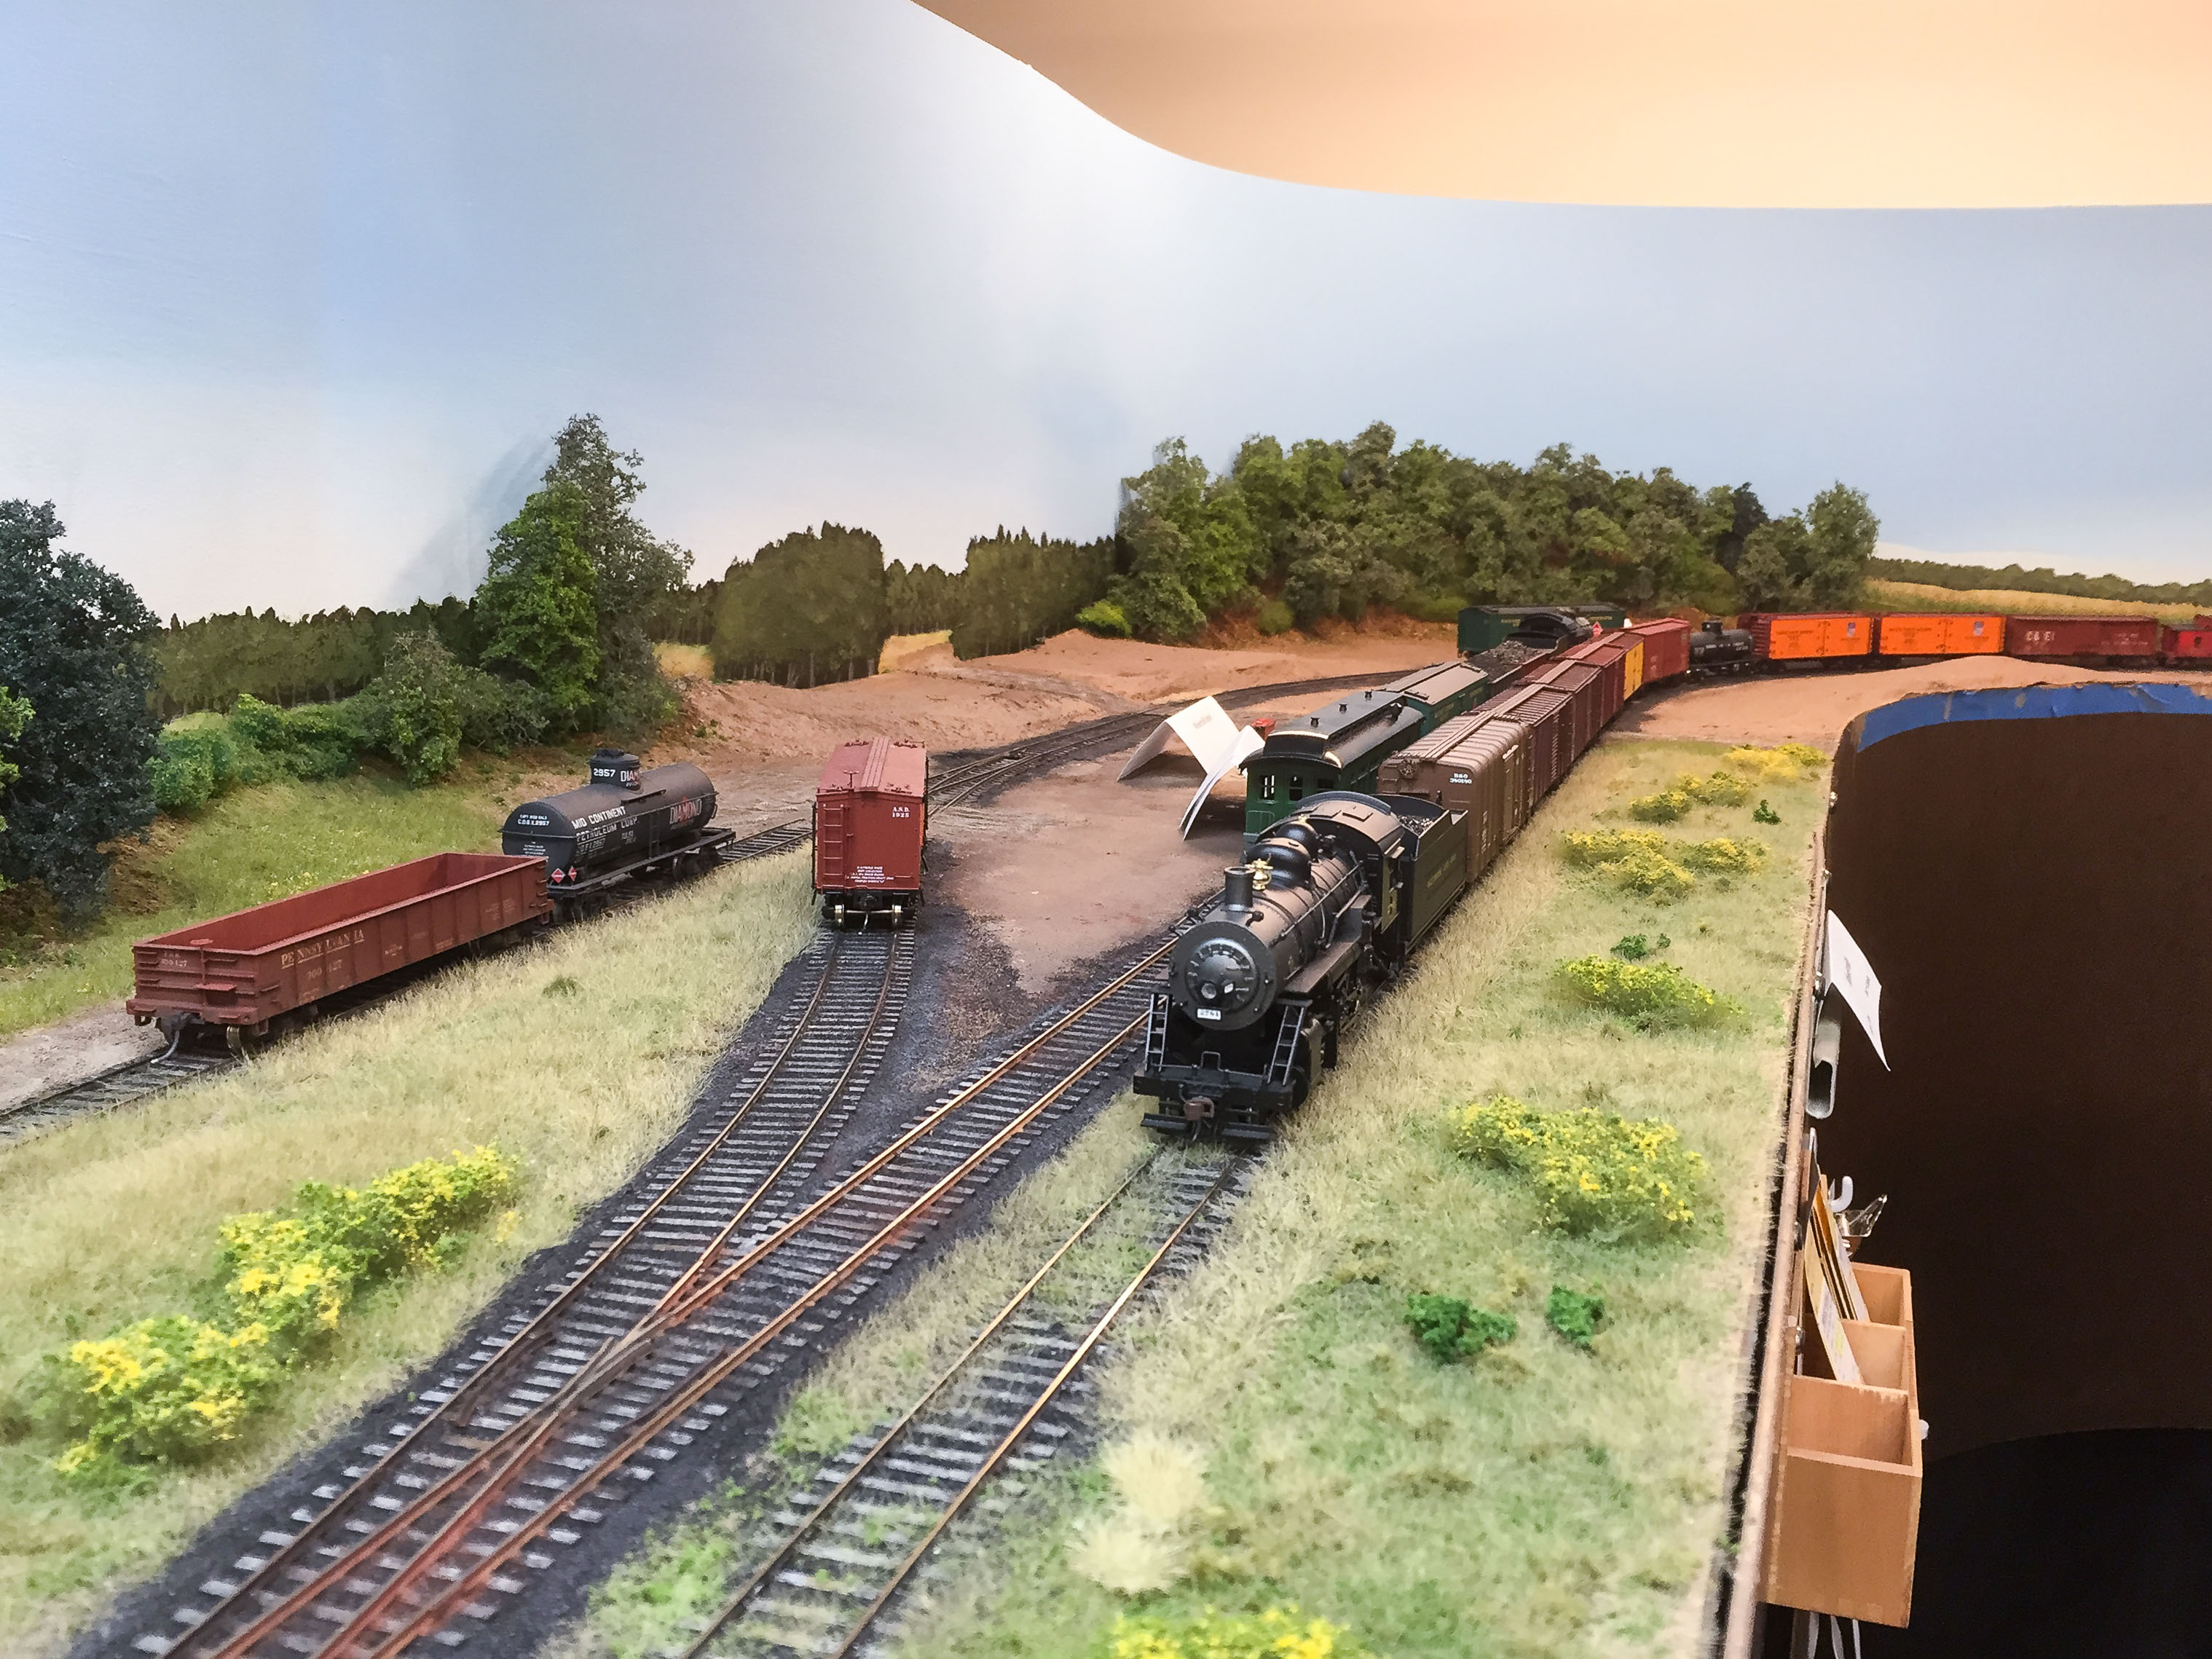
Eastbound through freight train #22 and westbound empty coal extra meet at Masten, PA. Jerry J. checks his paperwork in the background. Photo by John Webster
There were also occasional minor difficulties due to unfamiliarity with my control system. I use CVP EasyDCC, while all of my crewmembers use Digitrax. This diminished as the evening wore on, however.
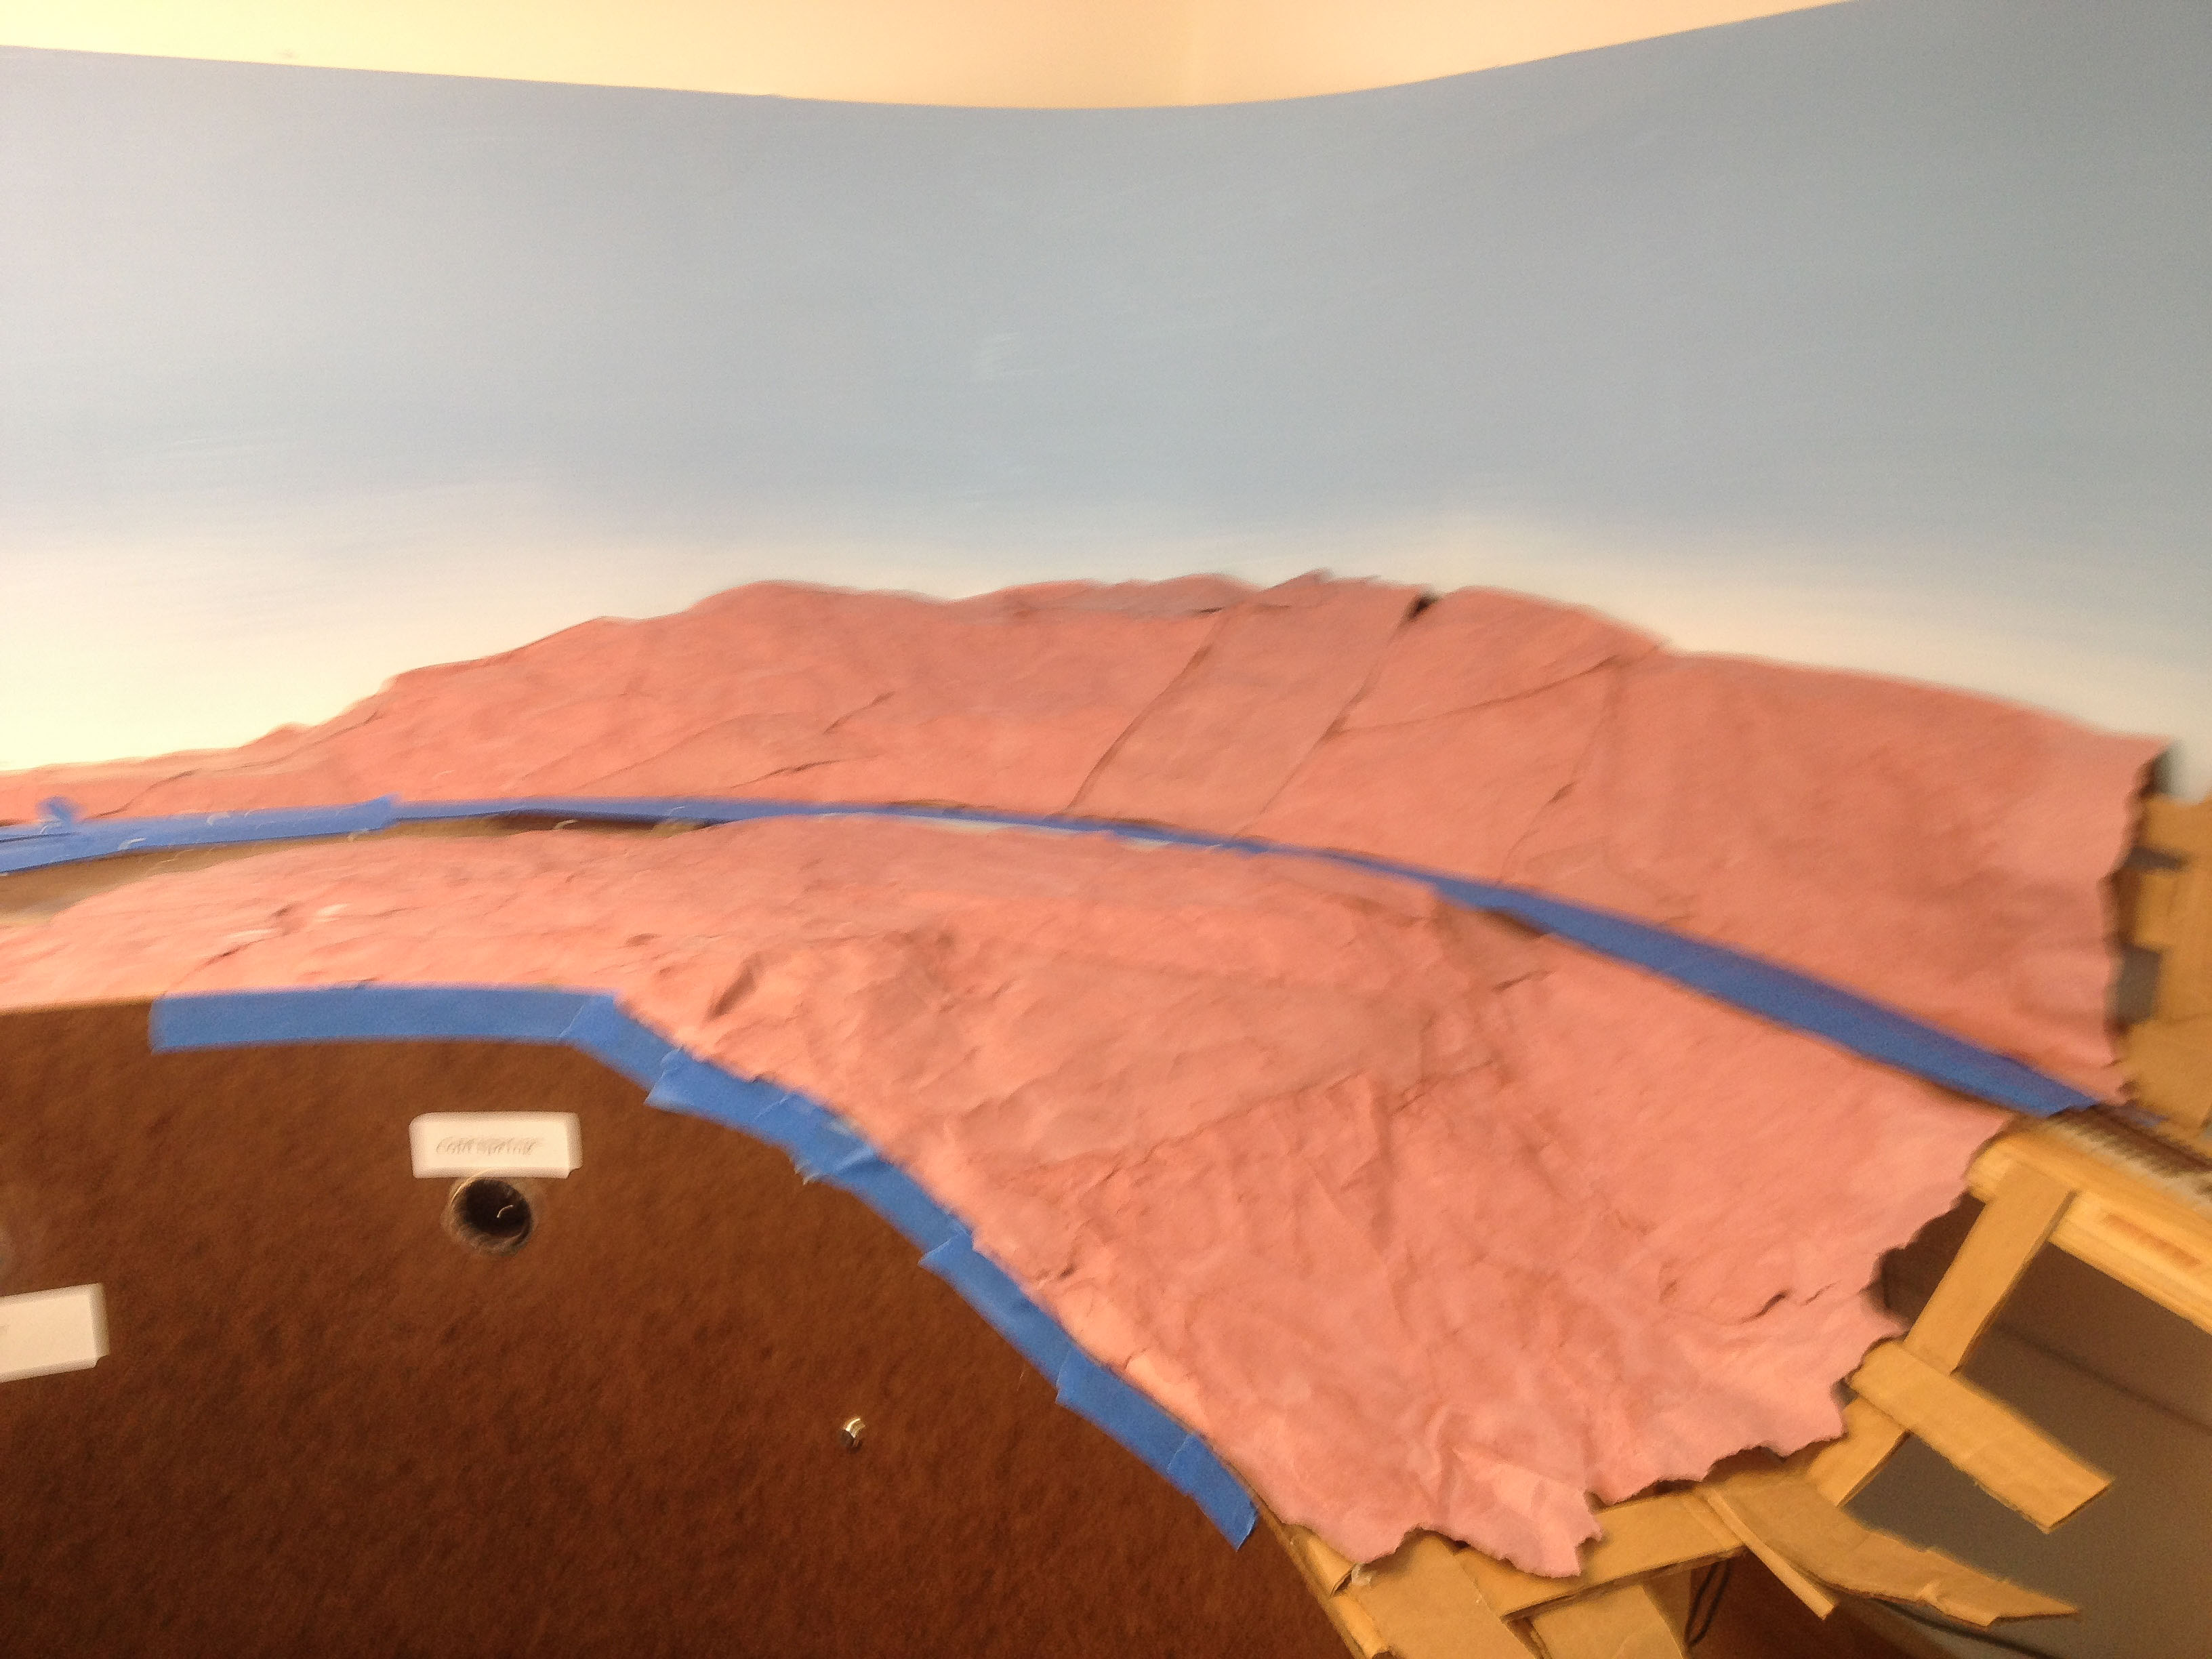
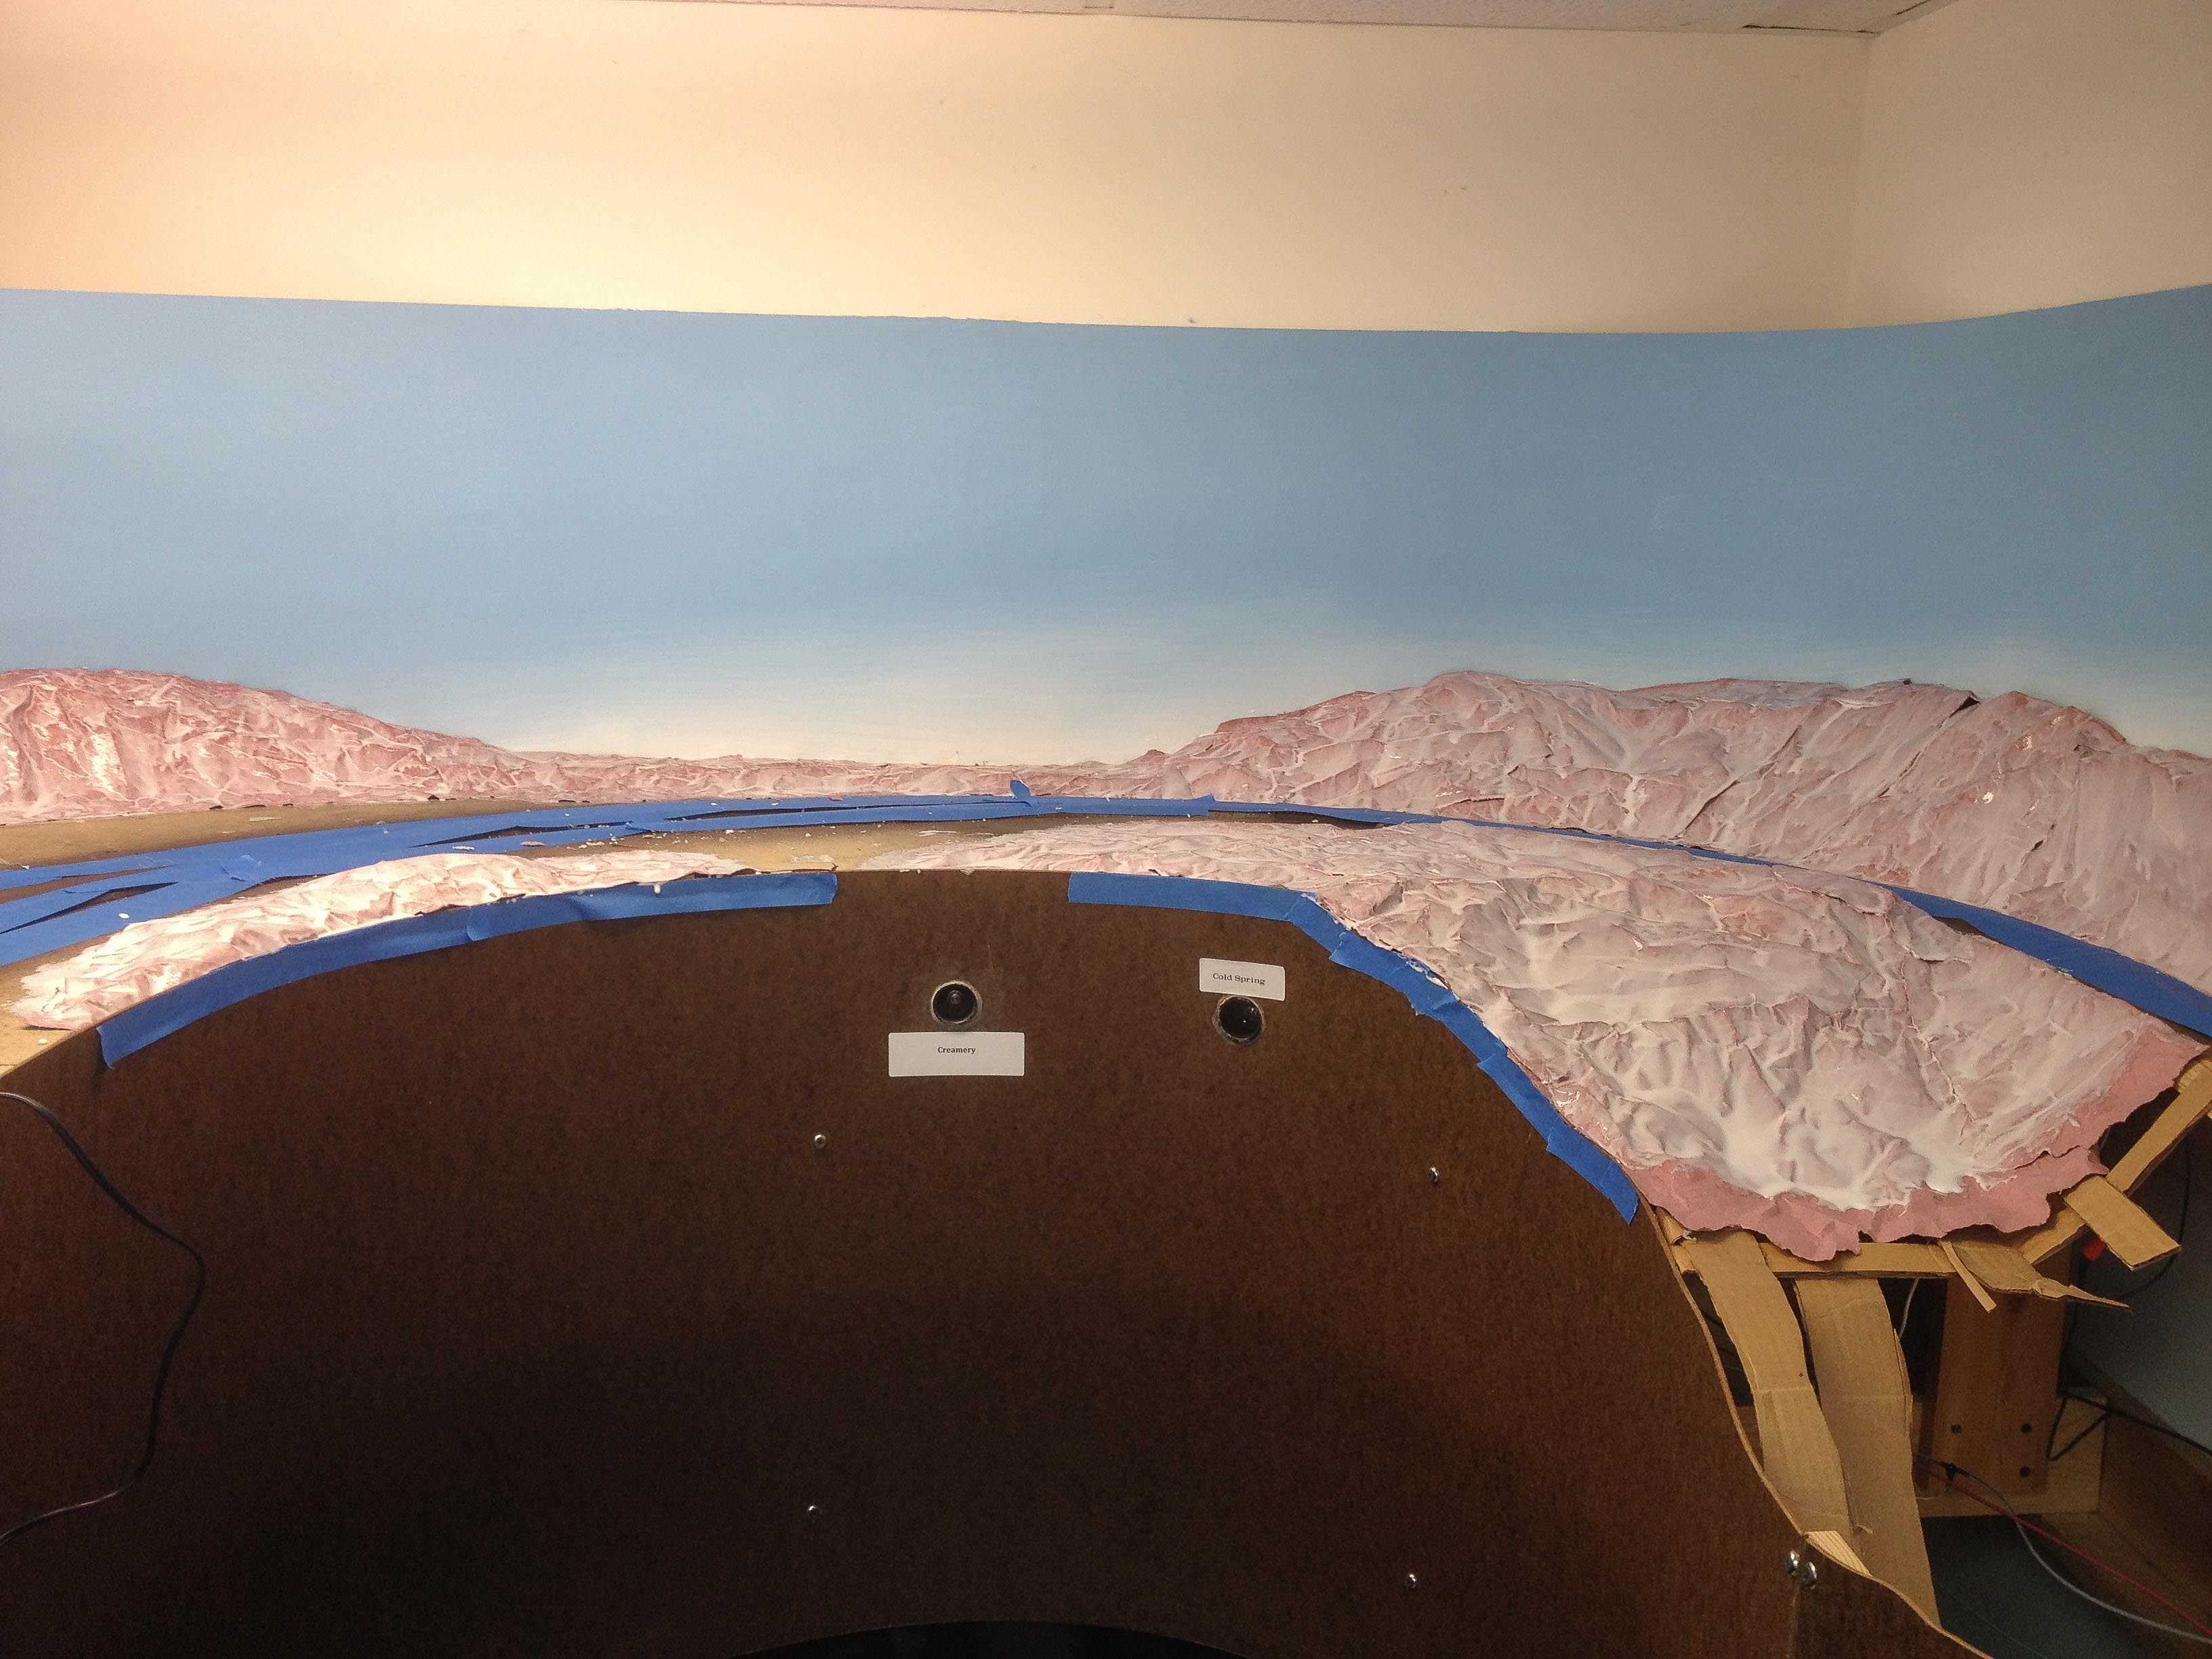
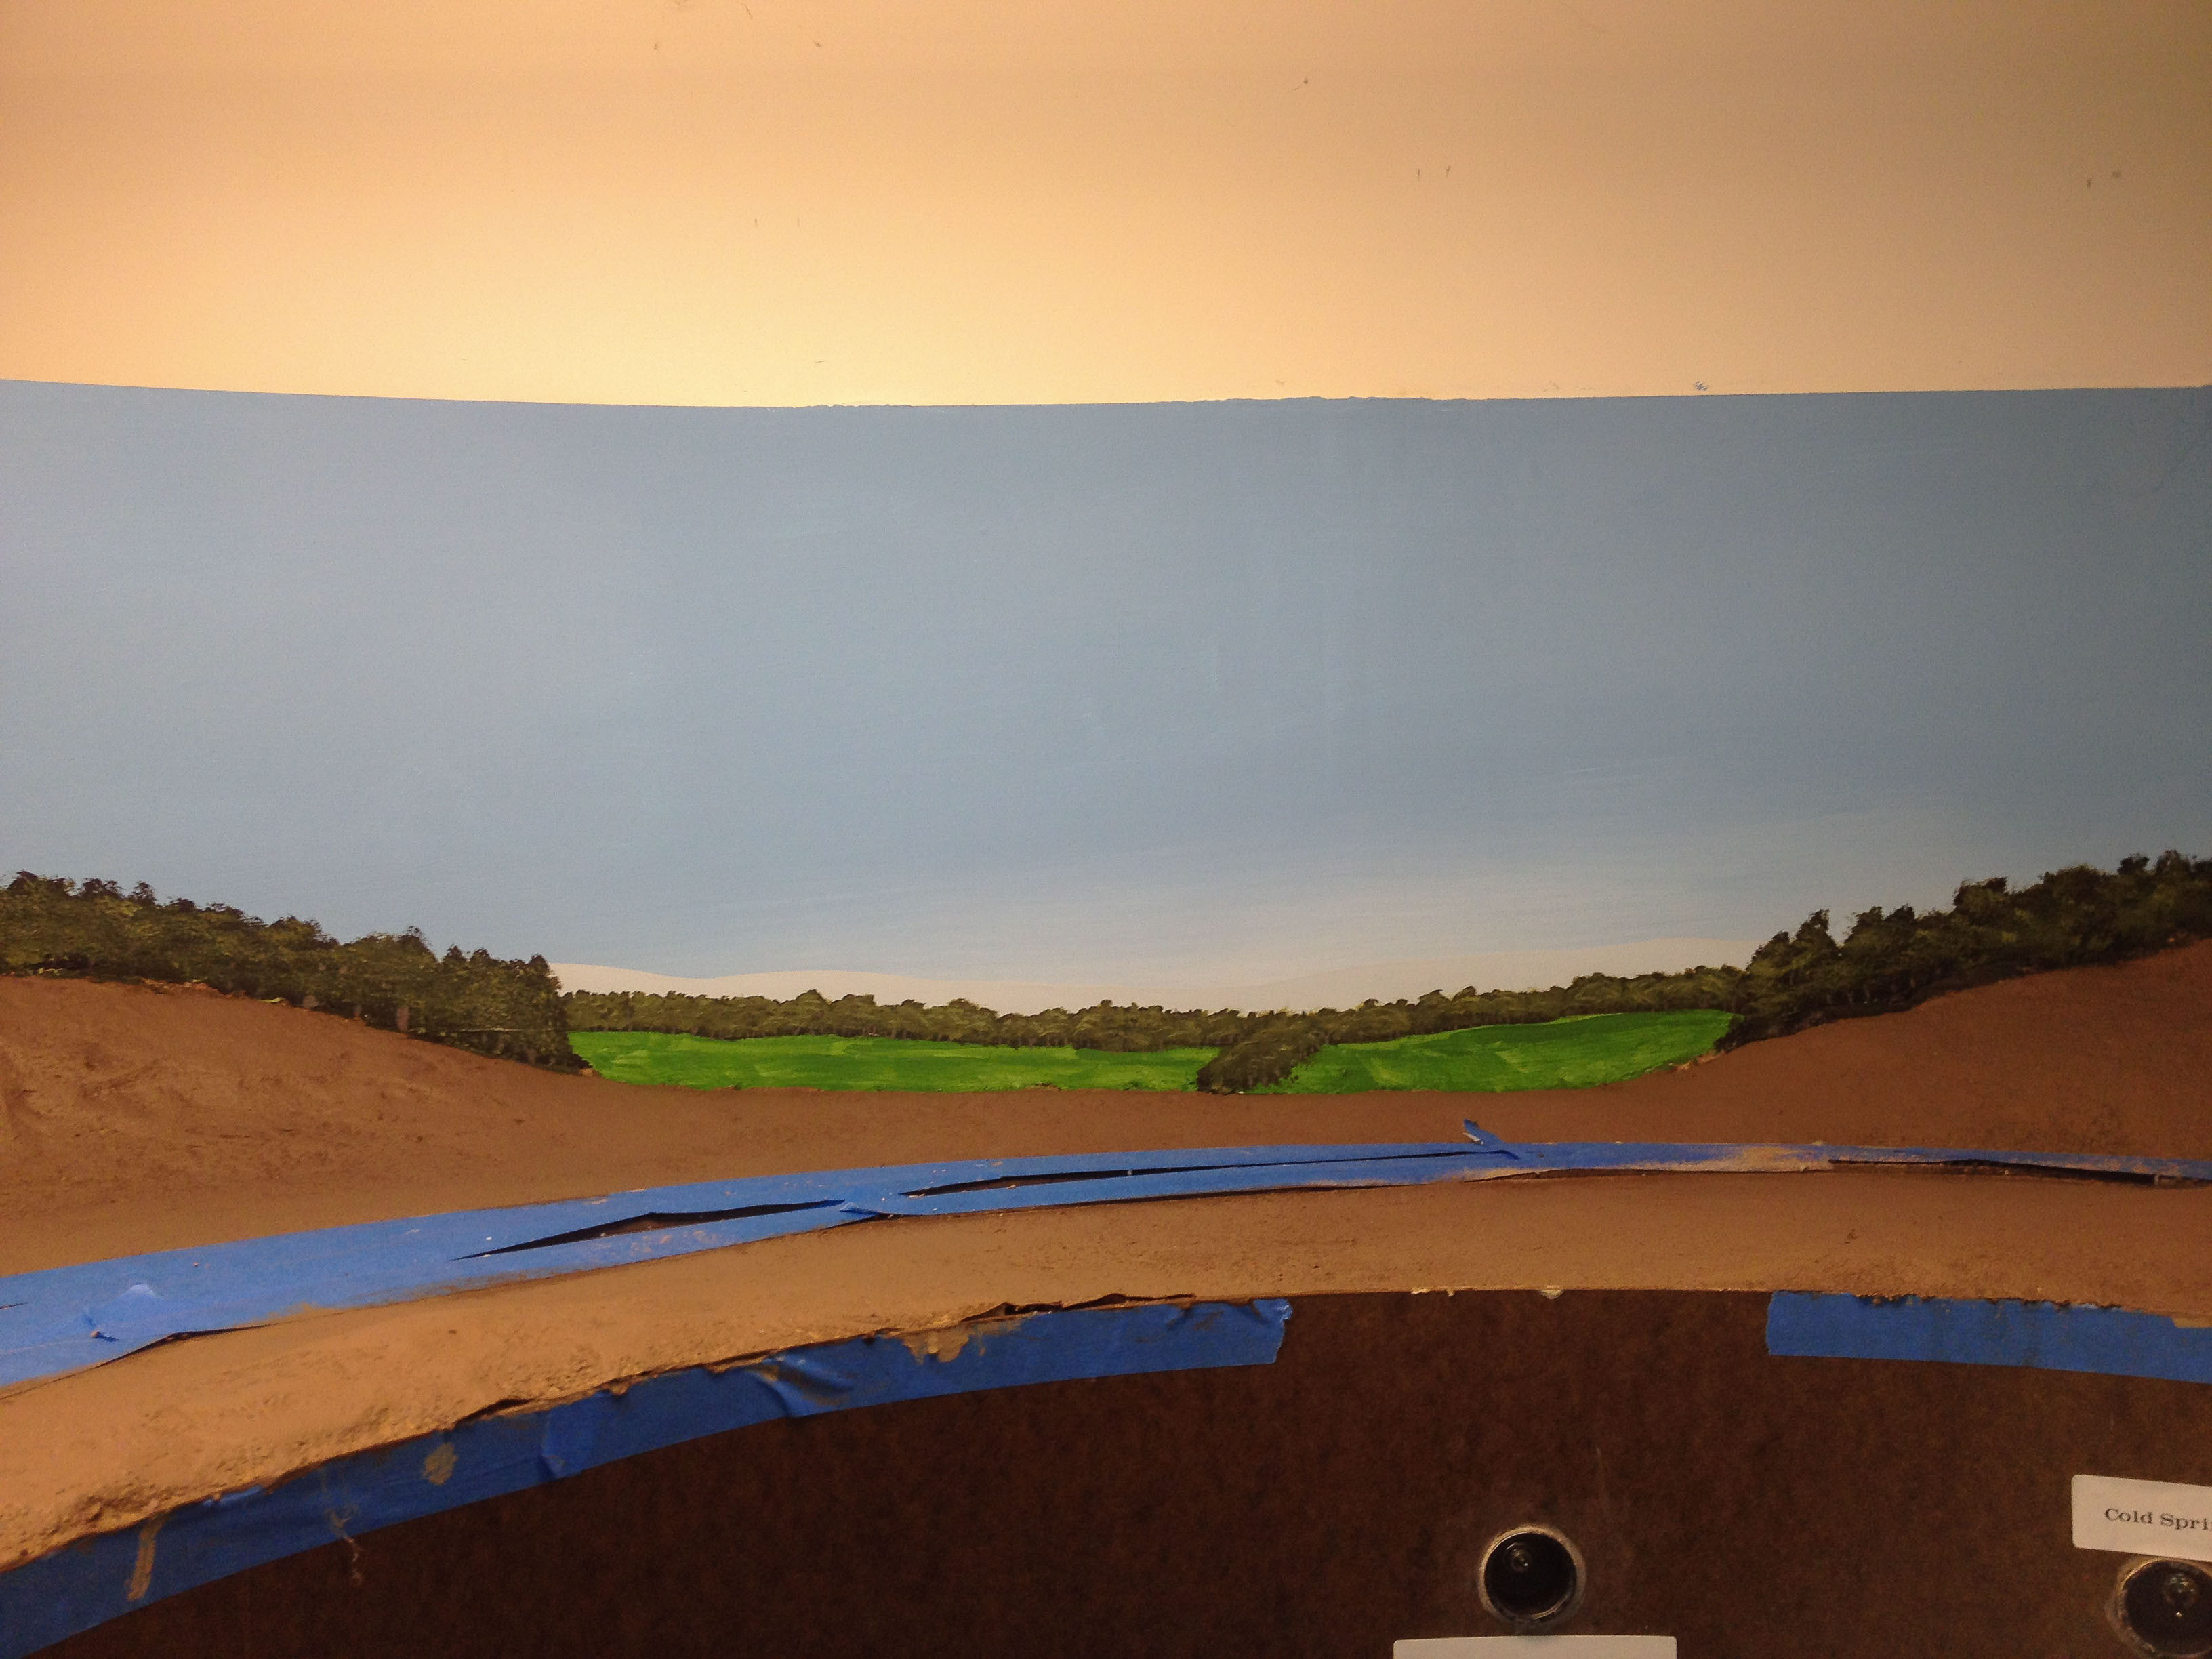
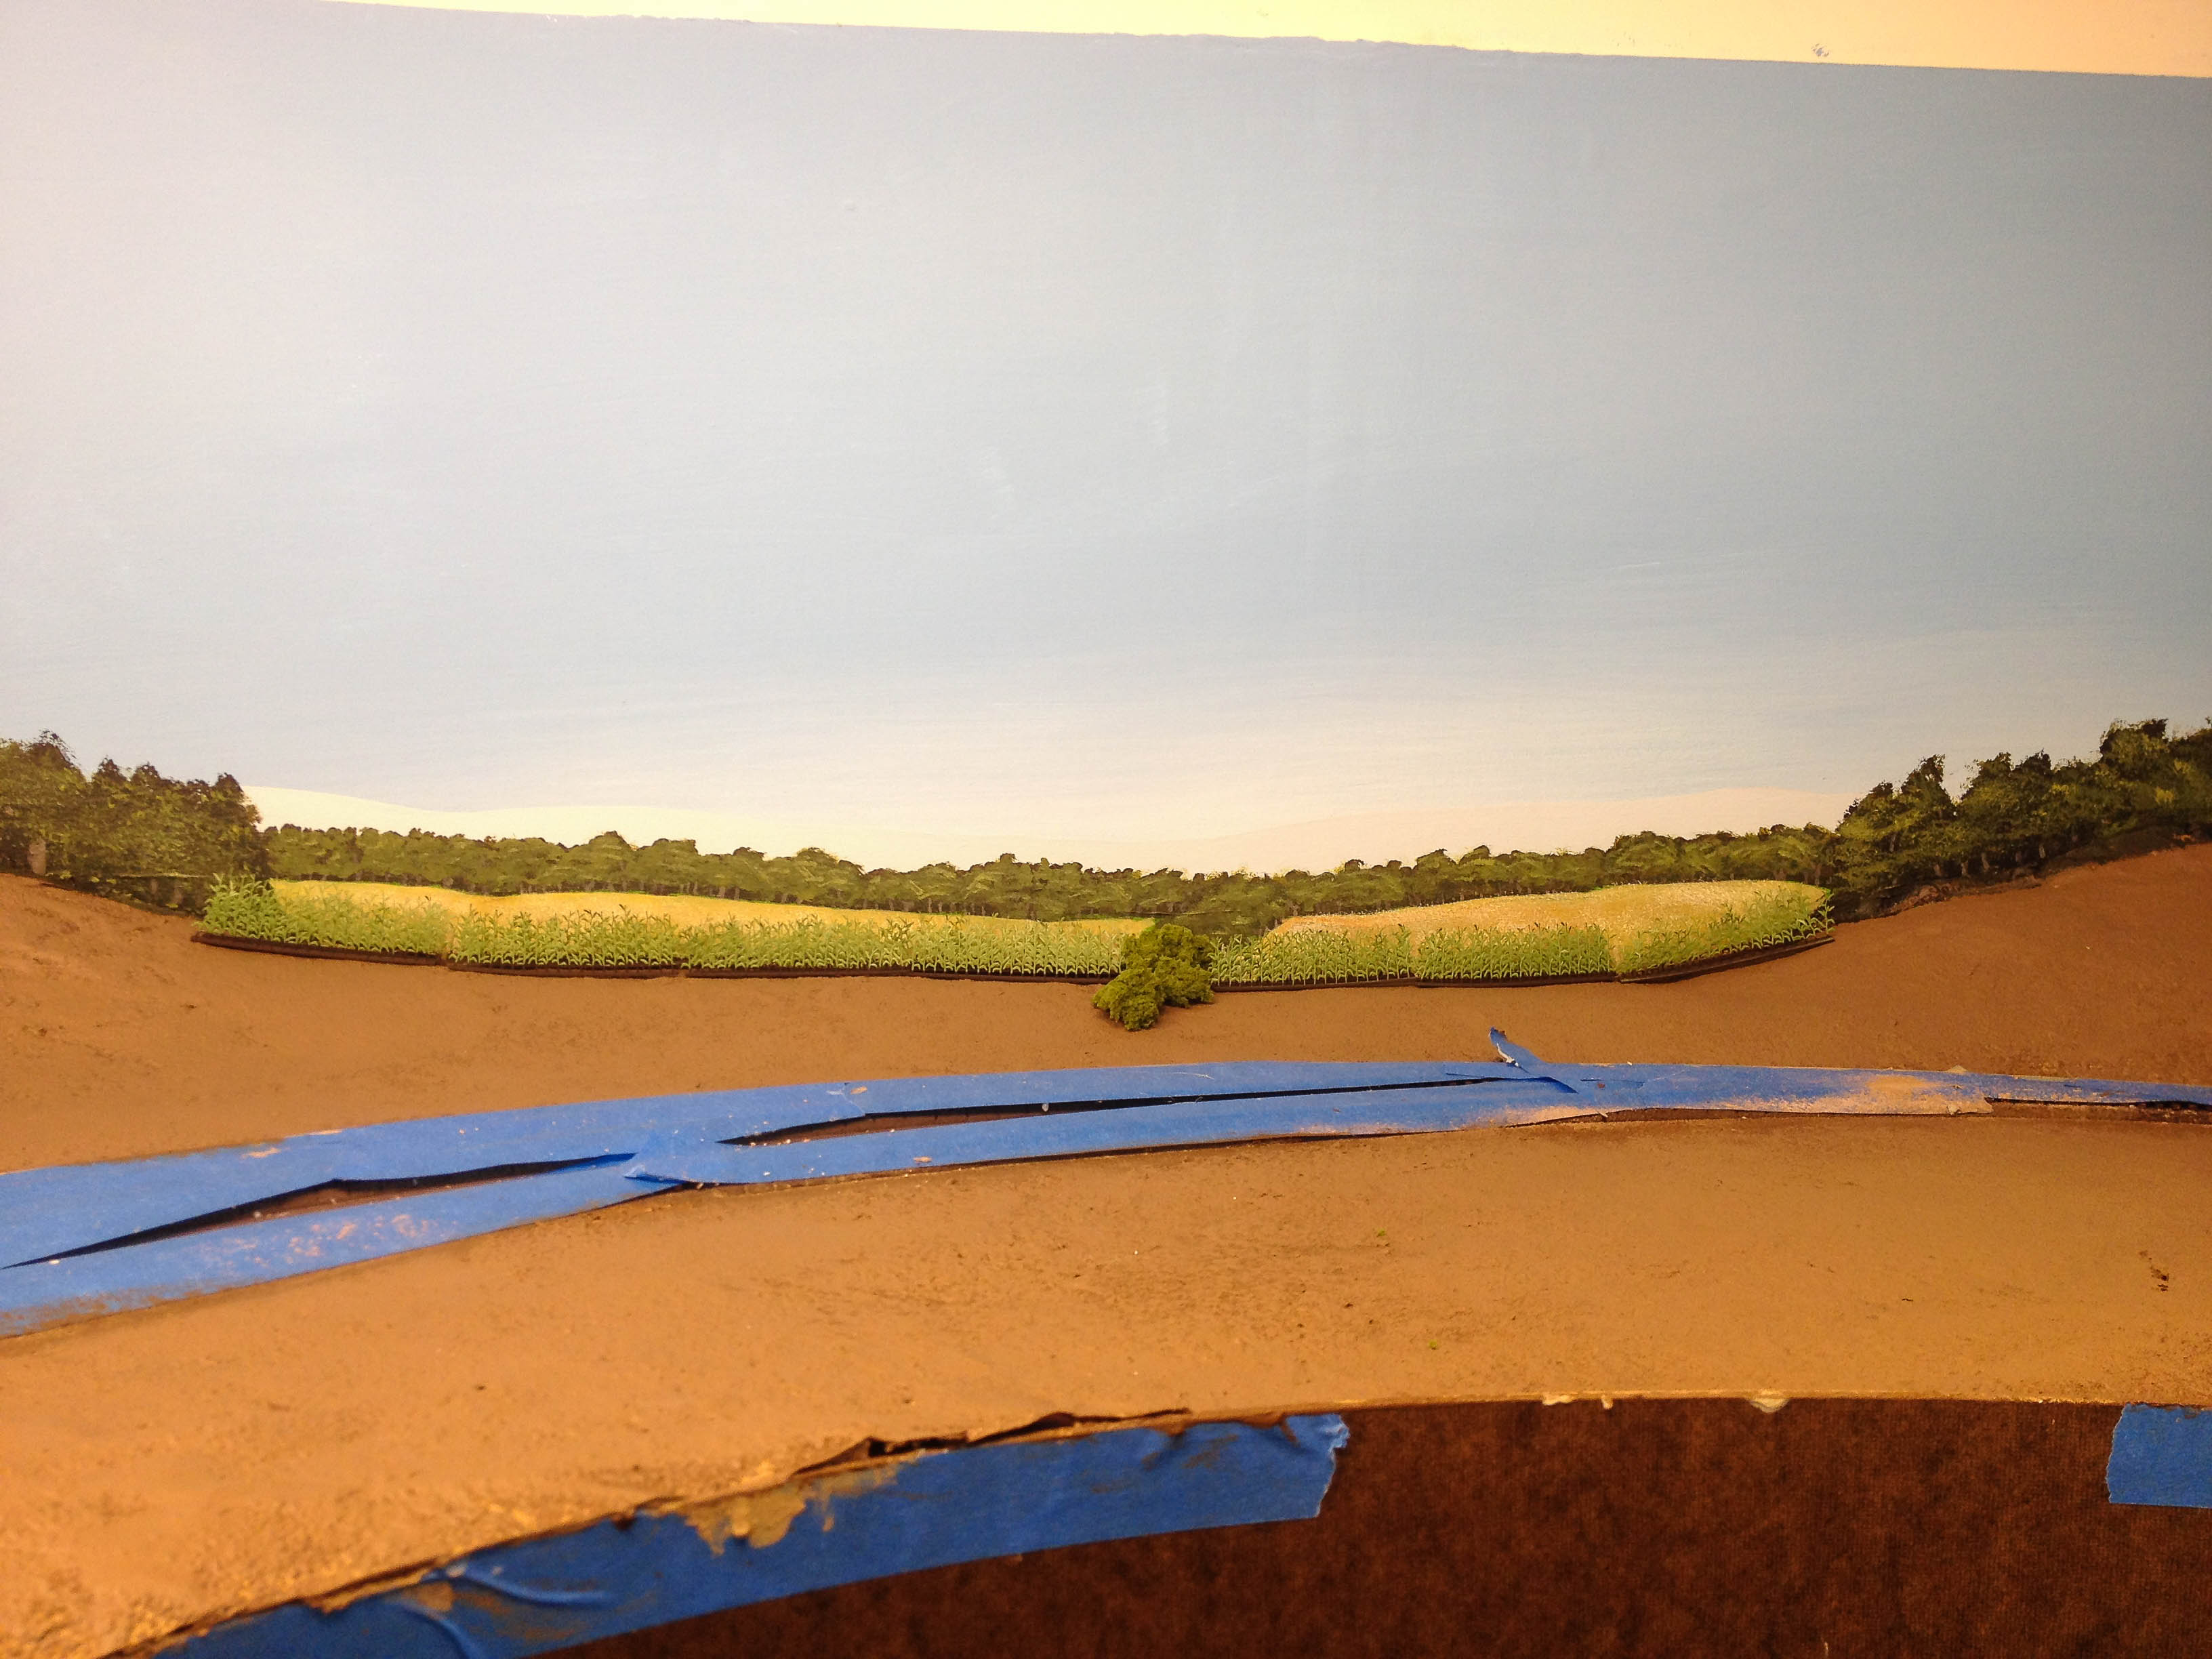
On the plus side, being meticulous during construction, while slowing the overall progress, has paid dividends with the relatively small number of trackwork “gripes” to be fixed; mainly the frog-shorting issues detailed above. I believe the labeling of ALL industries and turnouts helped the majority of switching go smoothly. The EasyDCC system handled 4 radio throttles with ease, and there were no problems with the control system whatsoever. Having a finished and carpeted basement, with good lighting helped the guys enjoy the evening and the railroad more, I believe; and having the fascia complete over the entire railroad added to the appearance despite the complete lack of scenery. I was quite worried that the whole concept of modeling an obscure pre-war shortline railroad might not “work” and the trackplan would be inadequate to the task, but the extremely favorable and positive comments from the fellows after the session has put those fears to rest.
On the whole then, I think the first session was a great success, despite the minor glitches. Everyone left with smiles on their faces, and I have already gotten inquiries regarding when I will run another session.


Recent Comments