Our NMRA division recently hosted a clinic put on by CMR Products. https://www.cmrproducts.com/ The clinic was an introduction to the use of NetzlofDesign weathering decals. CMR generously provided samples of the decals ahead of time to anyone who wanted to follow along during the hands-on portion of the clinic and put them to use. I think decals for weathering is an innovative concept, and was eager to try them out.
I dug a “train show deal” car out of the stash under the railroad that I thought would be a good test-bed for the decals. The guinea pig car is an old Ertl gondola in Lehigh Valley paint I picked up for around five bucks, if I remember correctly. The car is a complete “foobie”, as the LV never rostered any gondolas in this number series, but looks quite similar to a resin kit offered by F&C.
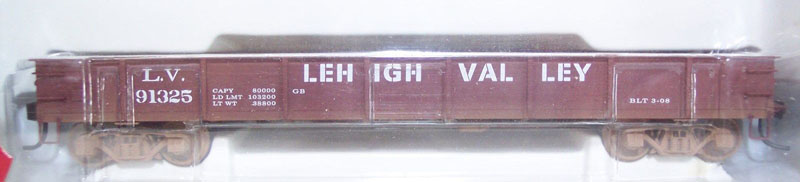
Ertl LV gondola
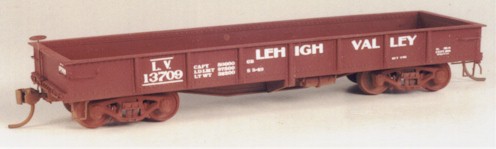
Funaro & Camerlengo kit #6700
The Ertl car also has some pretty crummy factory “weathering” consisting of a uniform tan sprayed along the bottom sill. The trucks are also molded in this tan color. The detailing is quite good for a ready-to-run car, however, with free-standing grabirons and underbody brake detail that looks great viewed from the side.
The CMR clinic was excellent, and the rust-streak decals are printed on an extremely thin film. I was initially skeptical of decals as a weathering technique, and my first inclination was to dismiss them a form of “cheating” somehow. However, during the clinic I was favorably impressed, and now think decals are a useful tool in ones’ weathering toolbox. I used appropriate “rust streak” decals from the set CMR provided for the clinic:
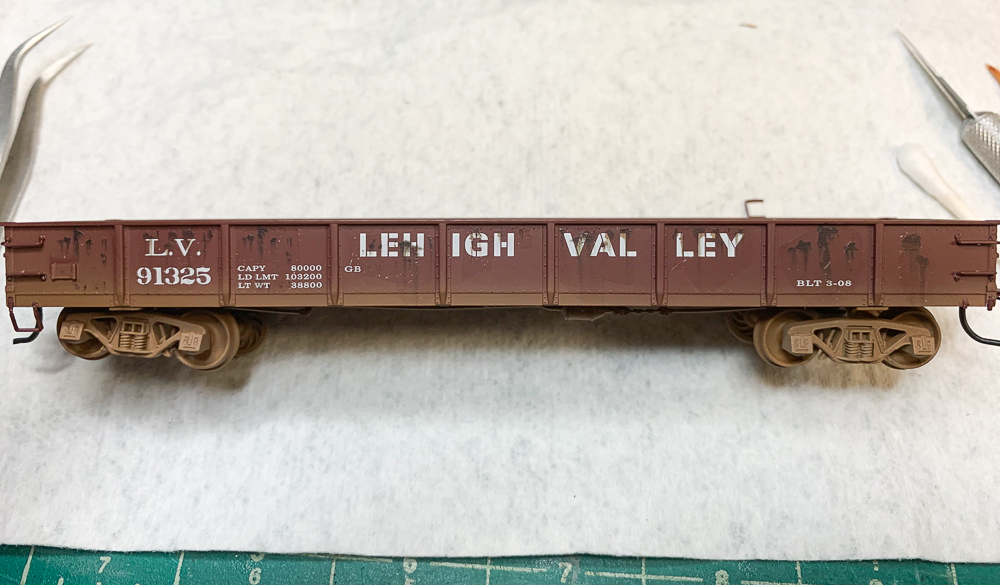
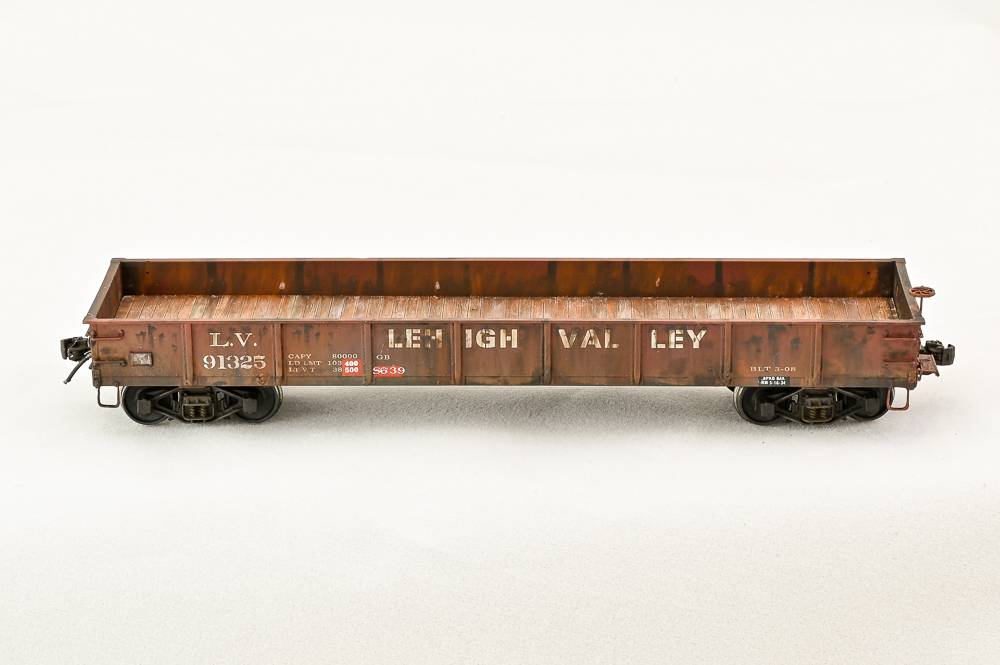
Ertl gondola with CMR decals applied
Now, with the clinic over, I had to decide what to do with the car. I figured, “in for a penny, in for a pound” and proceeded to try to make the car into something better than it was out of the box. Info on the Ertl cars online is limited, but the consensus I could find was that they were not considered good runners due to light weight. How hard could it be to turn this car into something useful? The car must operate well, regardless of how it looks cosmetically. Well, we’ll see…
The stirrup steps on the corners are quite fragile as you can see on the above photo. I managed to break off 3 of the 4. All 4 were then replaced by A-line metal stirrups. Once that happened, I went all-in on this model. I replaced the stock trucks with Bettendorf T-section trucks from Roundhouse. The body sits too high for Kadee scale couplers, so I filed down the bolsters on the Roundhouse trucks to try to lower the body. This wasn’t ideal, as those trucks are rigid and don’t track well. I ultimately replaced the Roundhouse trucks with the Kadee HGC version. Putting an $11 pair of trucks on a $5 train-show special may not be the best use of resources, but at least the car seems to track much better…
Moving on, I also added lead shot to the underbody to add some needed weight:

#9 shot applied to underbody
The car weighed out at 3 3/8 oz., still 5/8 of an ounce too light, per NMRA specs. It was necessary to nip off some of the brake rodding detail to allow the trucks to swing appropriately as well.
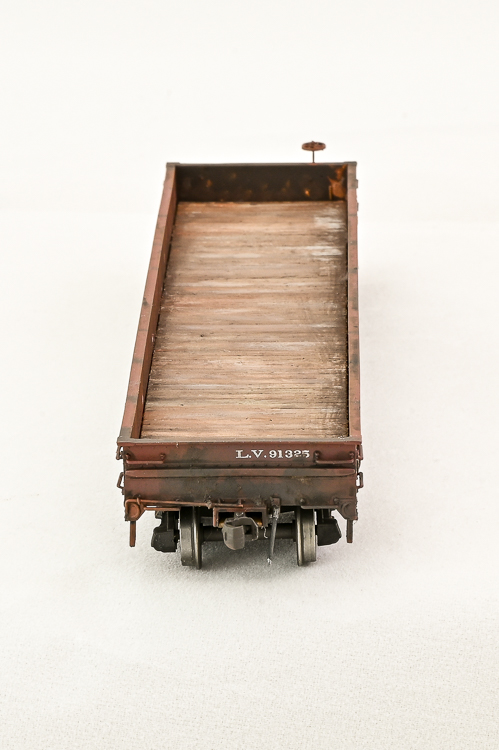
I changed out the modern power brakewheel equipment with a Tichy brakewheel on an Accurail staff. A short strip of Evergreen 1×2 was added as a support. An A-line stirrup and a short length of A-line 40 lpi chain was used to simulate the mechanism. The coupler box covers were popped off and the stud and box cover drilled and tapped for 1/8″ 1-72 machine screws. Kadee scale-head couplers fit perfectly into the box, but the entire body sits a little too high to match completely with the Kadee gauge. Carving off the boxes and replacing them was just a step too far for a $5 car, so if the mismatch becomes a problem operationally, I’ll bite the bullet and replace the scale couplers with Kadee offset head standard-size ones.
The car has a finely-molded air-hose bracket, so I drilled this out and used canopy cement to affix Hi-Tech Details rubber hoses to the mounts. The Kadee trip-pins detract from the fine Hi-Tech hoses, so I clipped them off in a frenzy of prototype detail madness. Cut levers were formed from .018″ phosphor bronze wire, and threaded through Cal-Scale eyebolts.
I grunged up the wood floor of the car with various craft paint grays and tans over a coat of flat gray primer. The whole car then got a wash of turpenoid and artist’s oil Van Dyke brown, sealed with Dullcoat. I also used weathering powders and alcohol to add some areas of scabby rust for more texture, and applied a few dibs and dabs of Pan Pastels here and there. Finally, I added the re-weigh and re-pack patch-out areas with some painted decal film and spare decals from various suppliers. A final mist of Dullcoat, and…done!
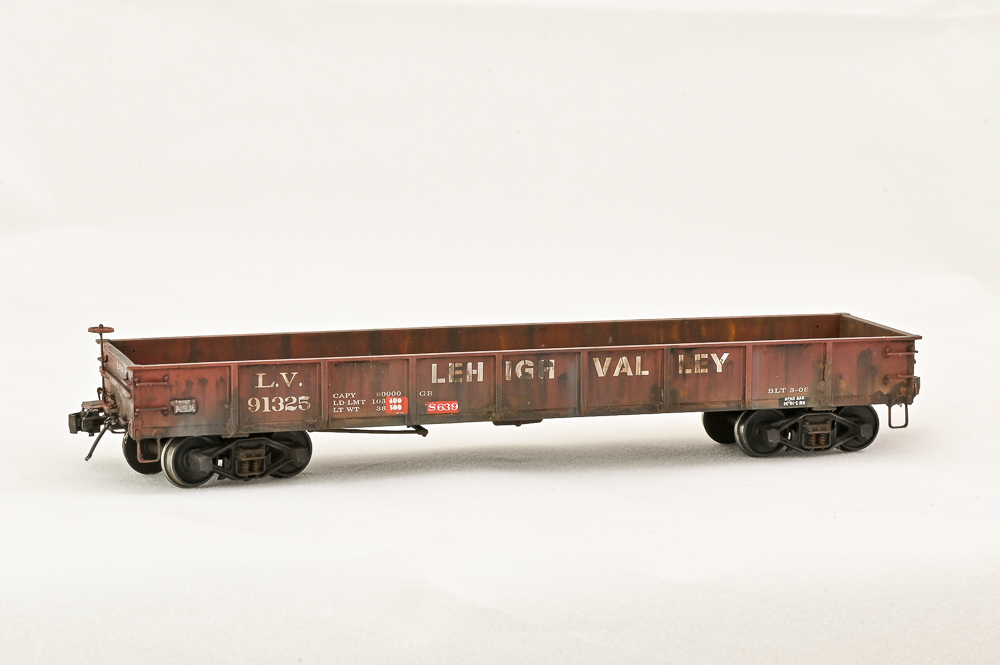
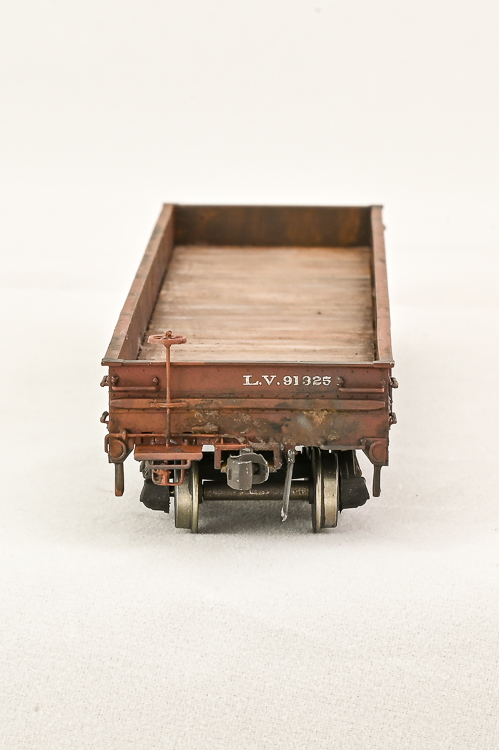
In retrospect, the car is missing a retainer and retainer line. I could also (and may yet) add some chalk marks to the sides.
Was it worth spending all this time and effort on this car? From a strictly utilitarian standpoint, probably not. I essentially turned a sow’s ear into a prettier and more expensive sow’s ear, instead of the silk purse I had hoped for. The body height is almost a show-stopper. On the other hand, it was a thoroughly enjoyable project that gave me a test-bed for techniques I will eventually put to use when I get to building my stash of resin kits. It was also a fun project I could work on while sitting down after minor foot surgery, during our weekly Zoom work sessions.
That said, if I see another $5 Ertl gondola at a train show in the future, I’ll probably take a pass…
Recent Comments