I originally posted this on the “Friends of a Modeler’s Life” Facebook group, but it was suggested I post it here as well, as finding it on FB will become increasingly difficult as time goes by. Eventually, I’ll polish it up and turn it into a clinic, but there are other irons in the fire to deal with first. I wanted to paint these Model-U figures use as photo props for a couple of articles I’m writing, and I’d been wanting to try them for a while, so now was as good a time as any. These techniques are widely known to military and fantasy figure painters and wargamers, but model railroaders may not be familiar with them. Some of the more advanced techniques are overkill for HO scale figures, but I’ll cover the basics below. There’s plenty of other information out there online and on YouTube for those desiring to know more. The main tip is keeping the paint thin and building up thin layers or glazes of color instead of one thick opaque layer of paint.
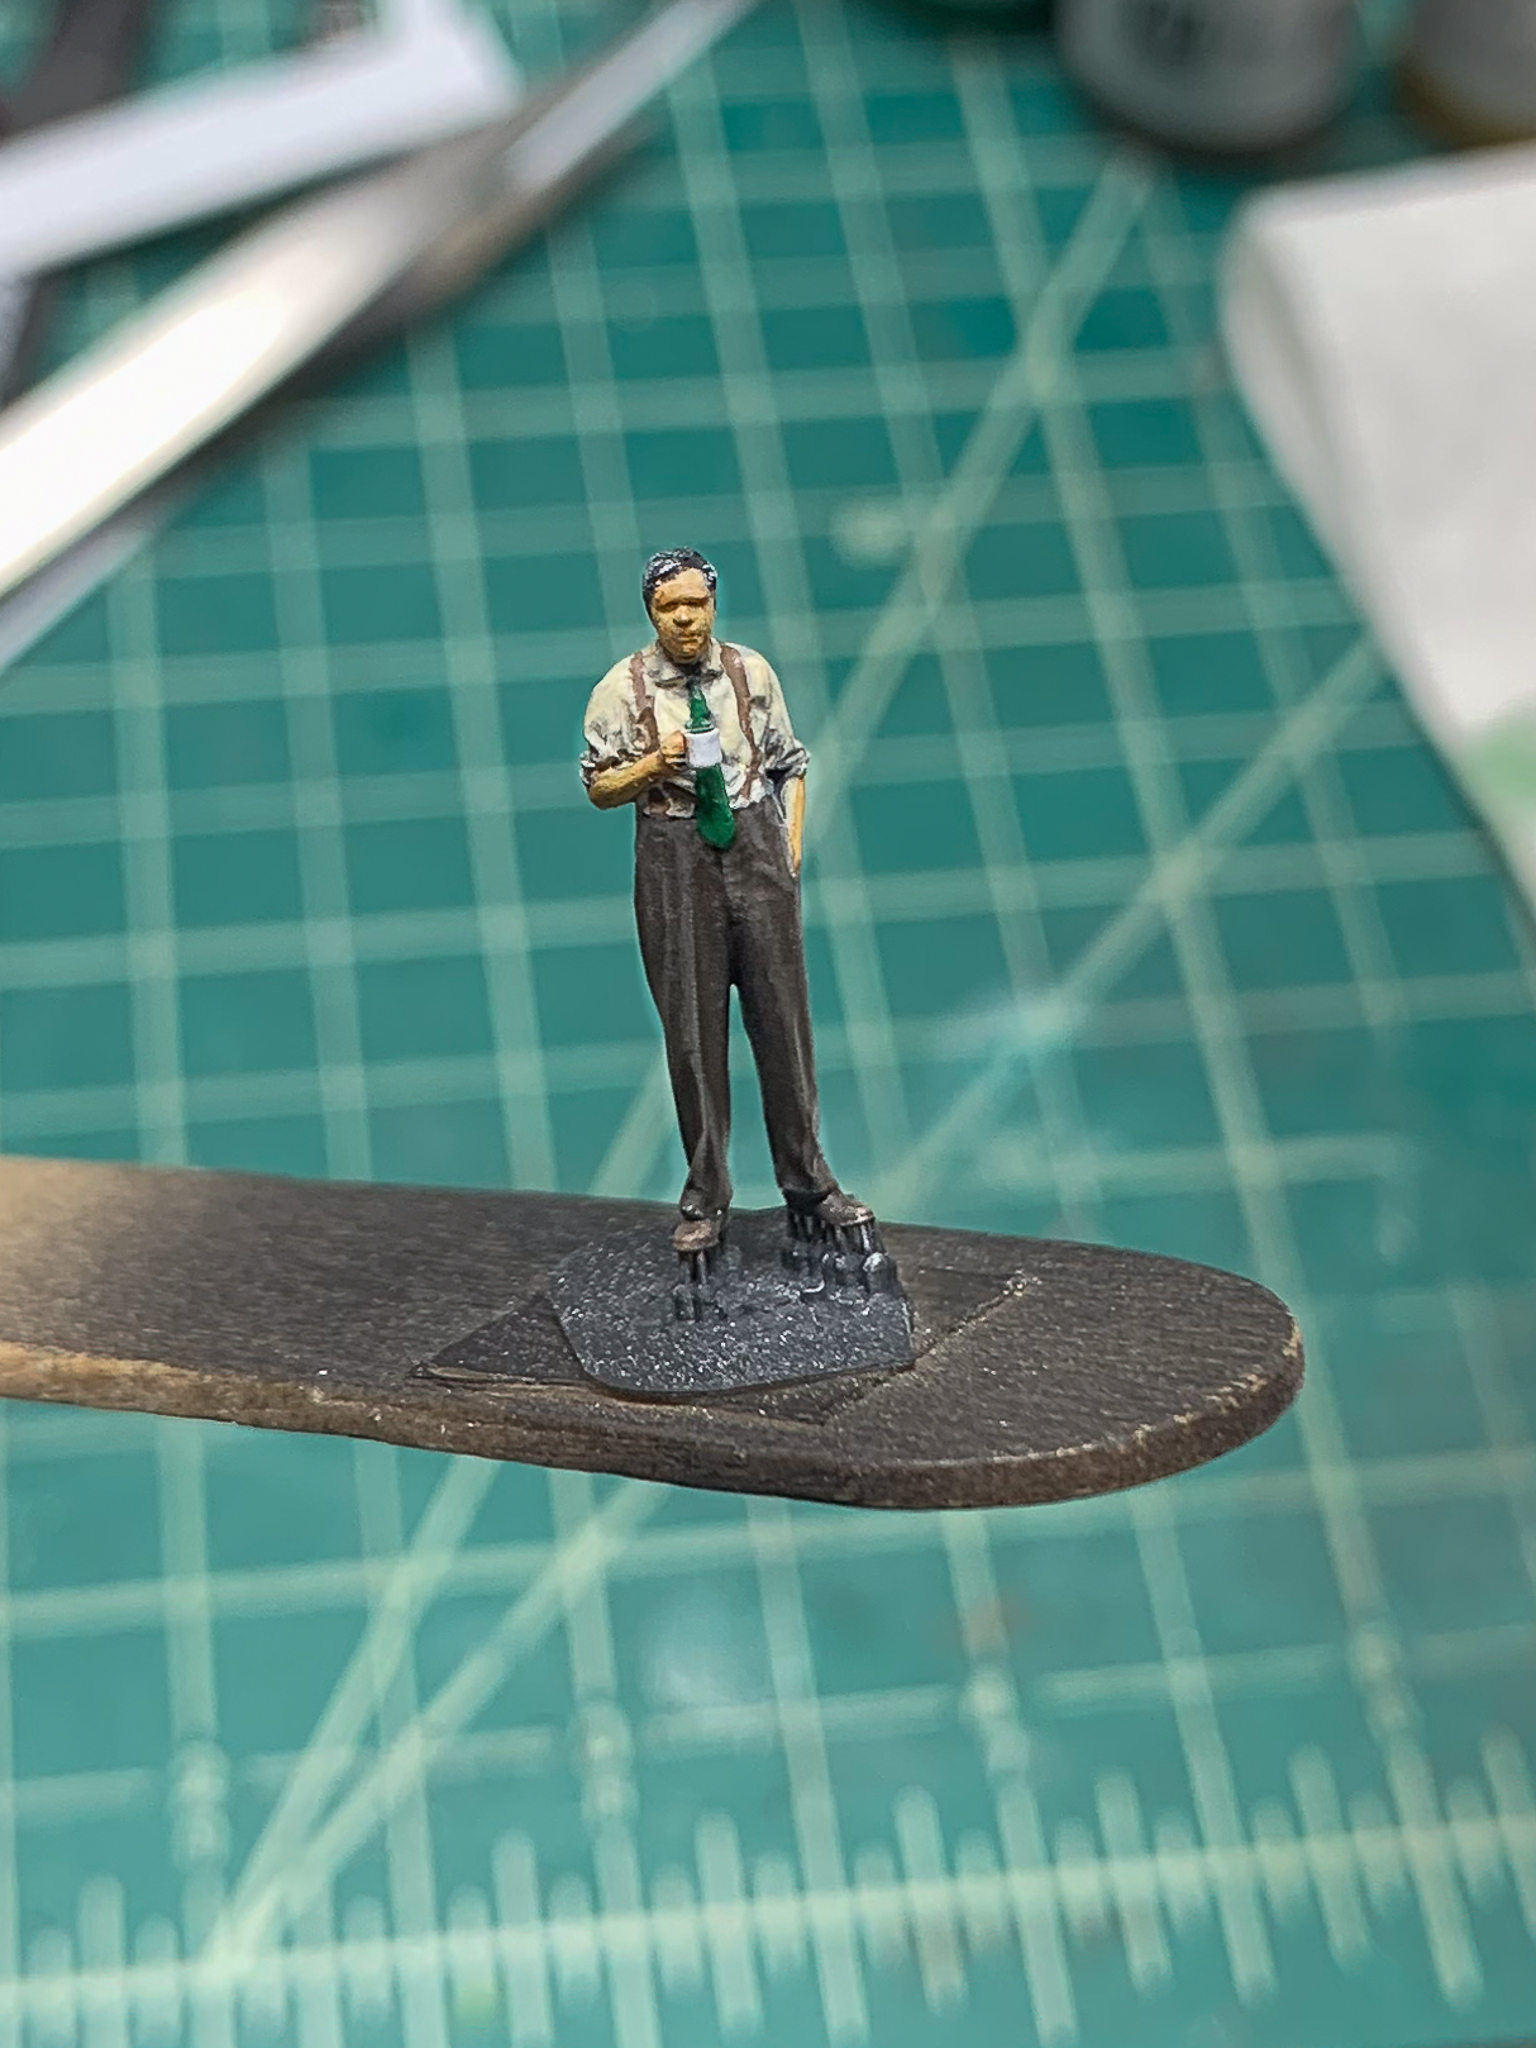
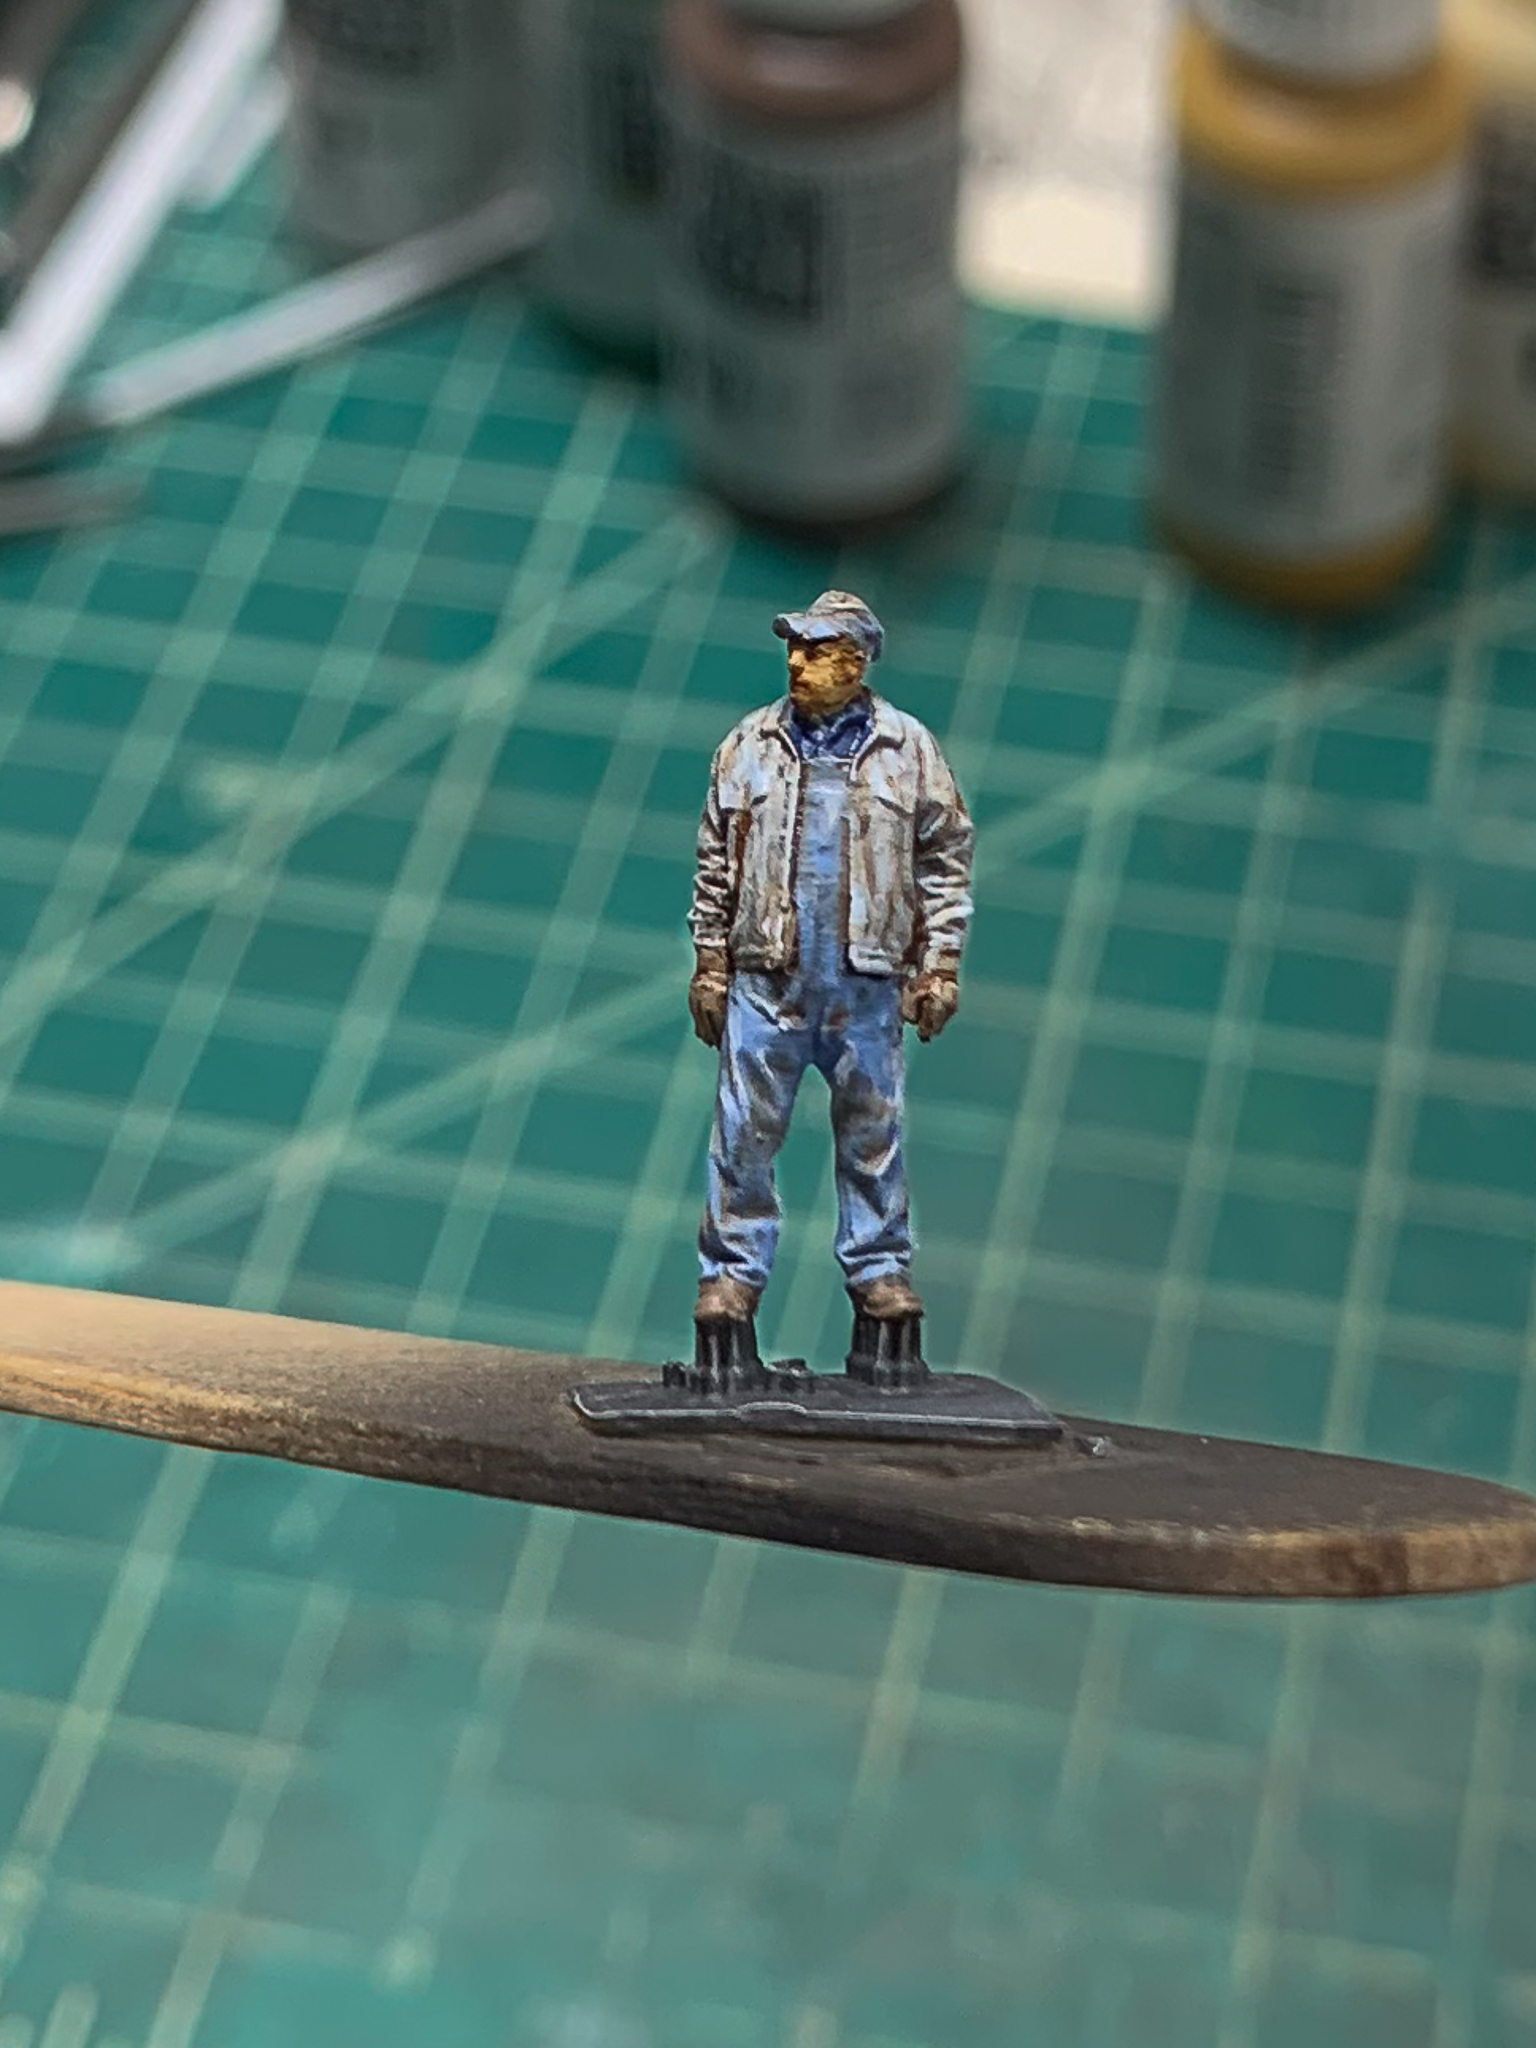
A couple of finished guys.
For materials, I used Vallejo paints, thinner, retarder, and washes, Glosscote, and a final Dullcote mist coat to seal everything. I used mostly an 18-0 brush, though a 10-0 will probably work just as well. Let’s get started…
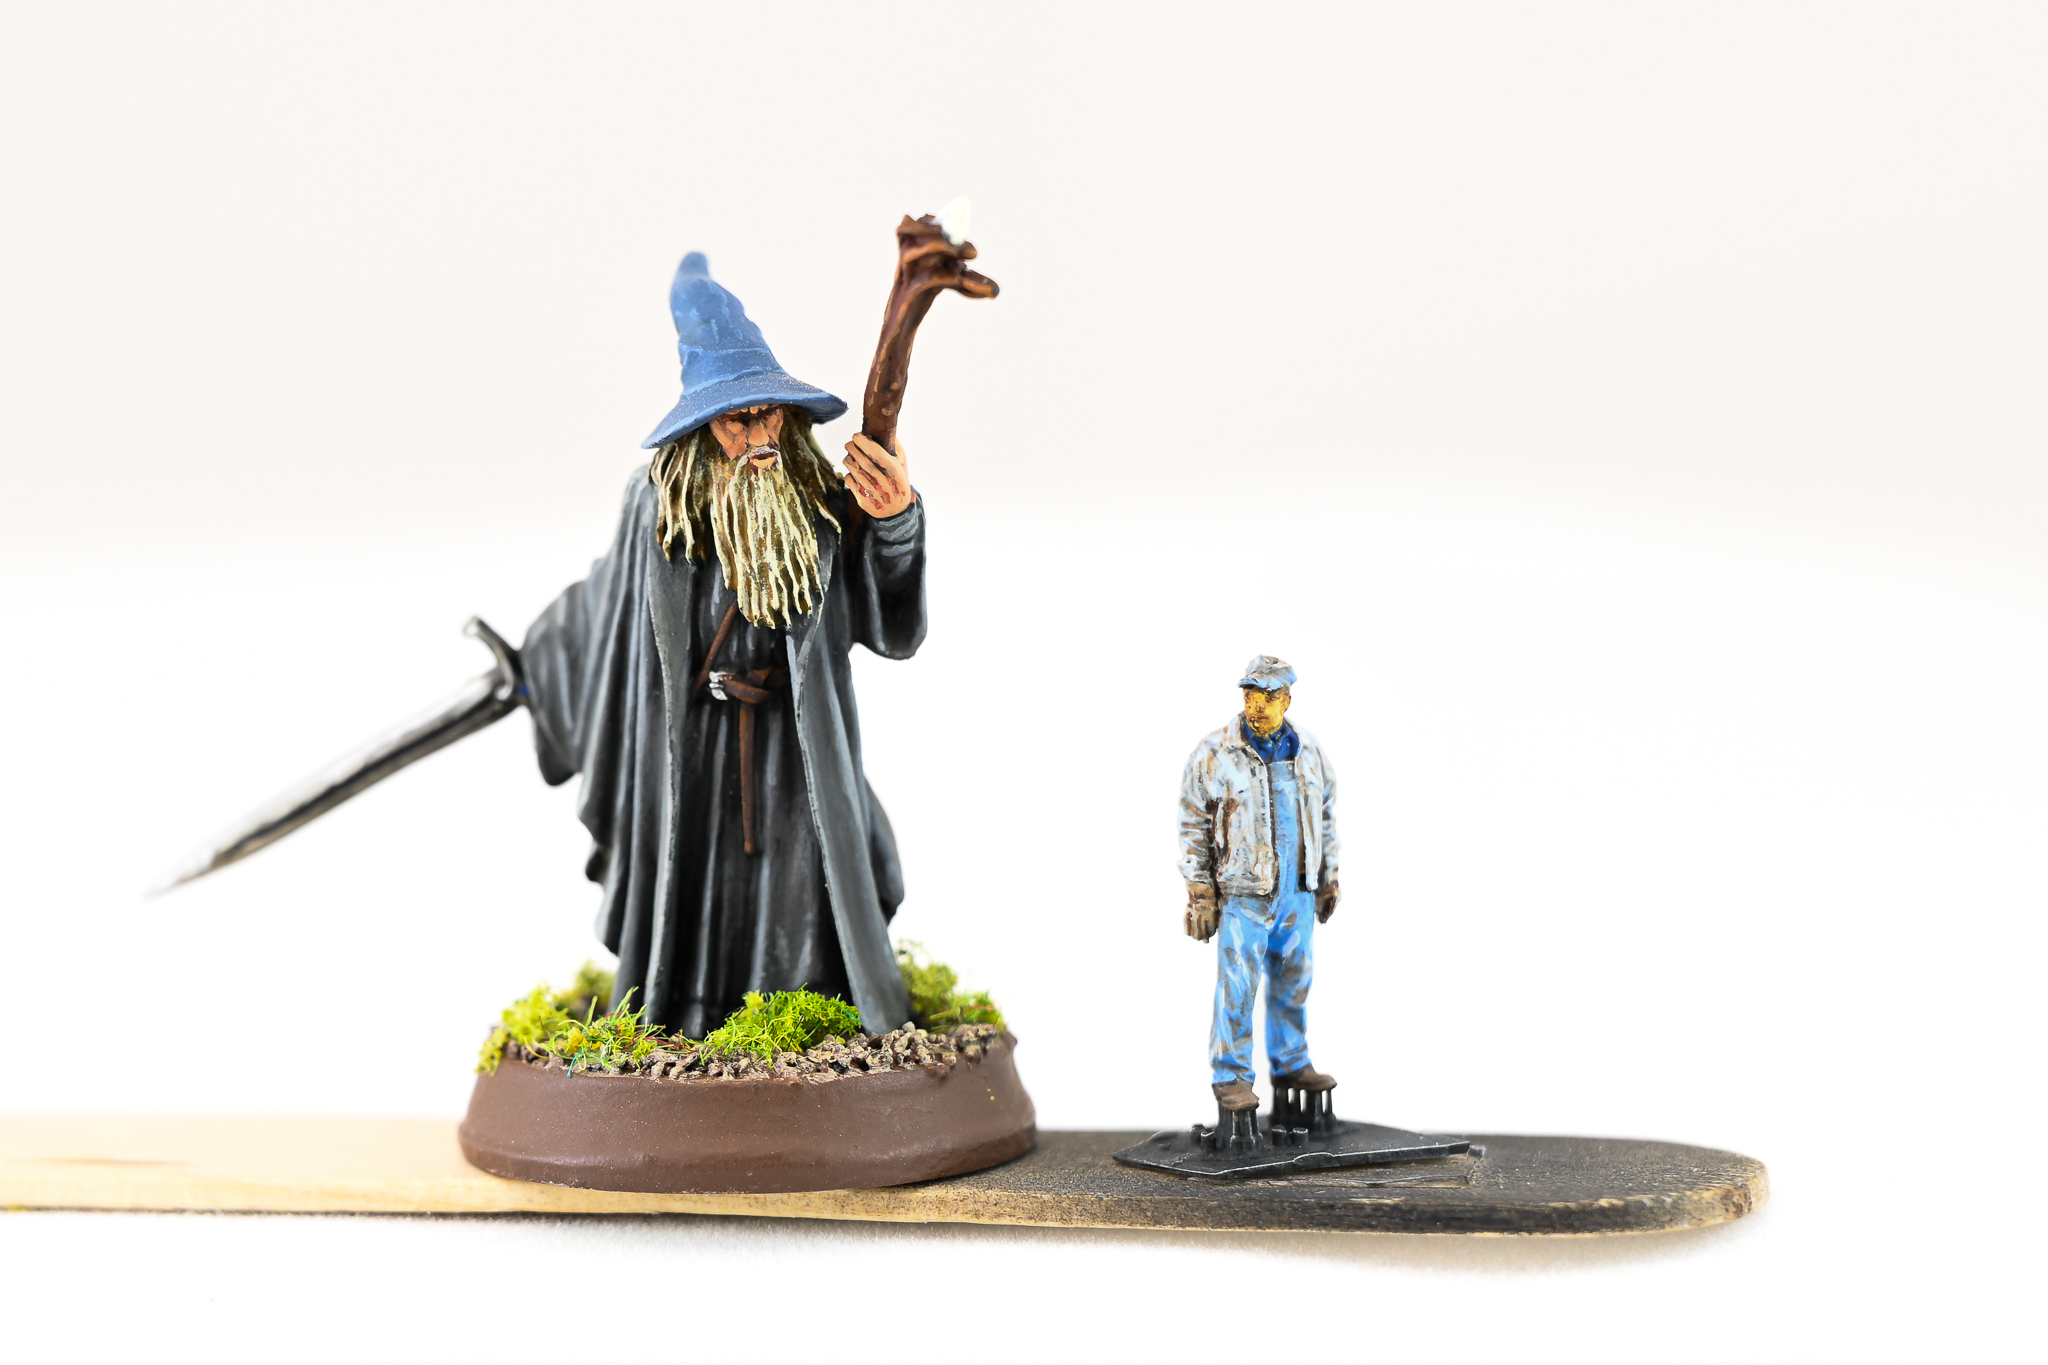 1. A quick note on scale. Here’s an HO train crew guy next to a 28mm GW Gandalf. HO is pretty small, but most of the techniques for larger figures will work in HO, within limitations.
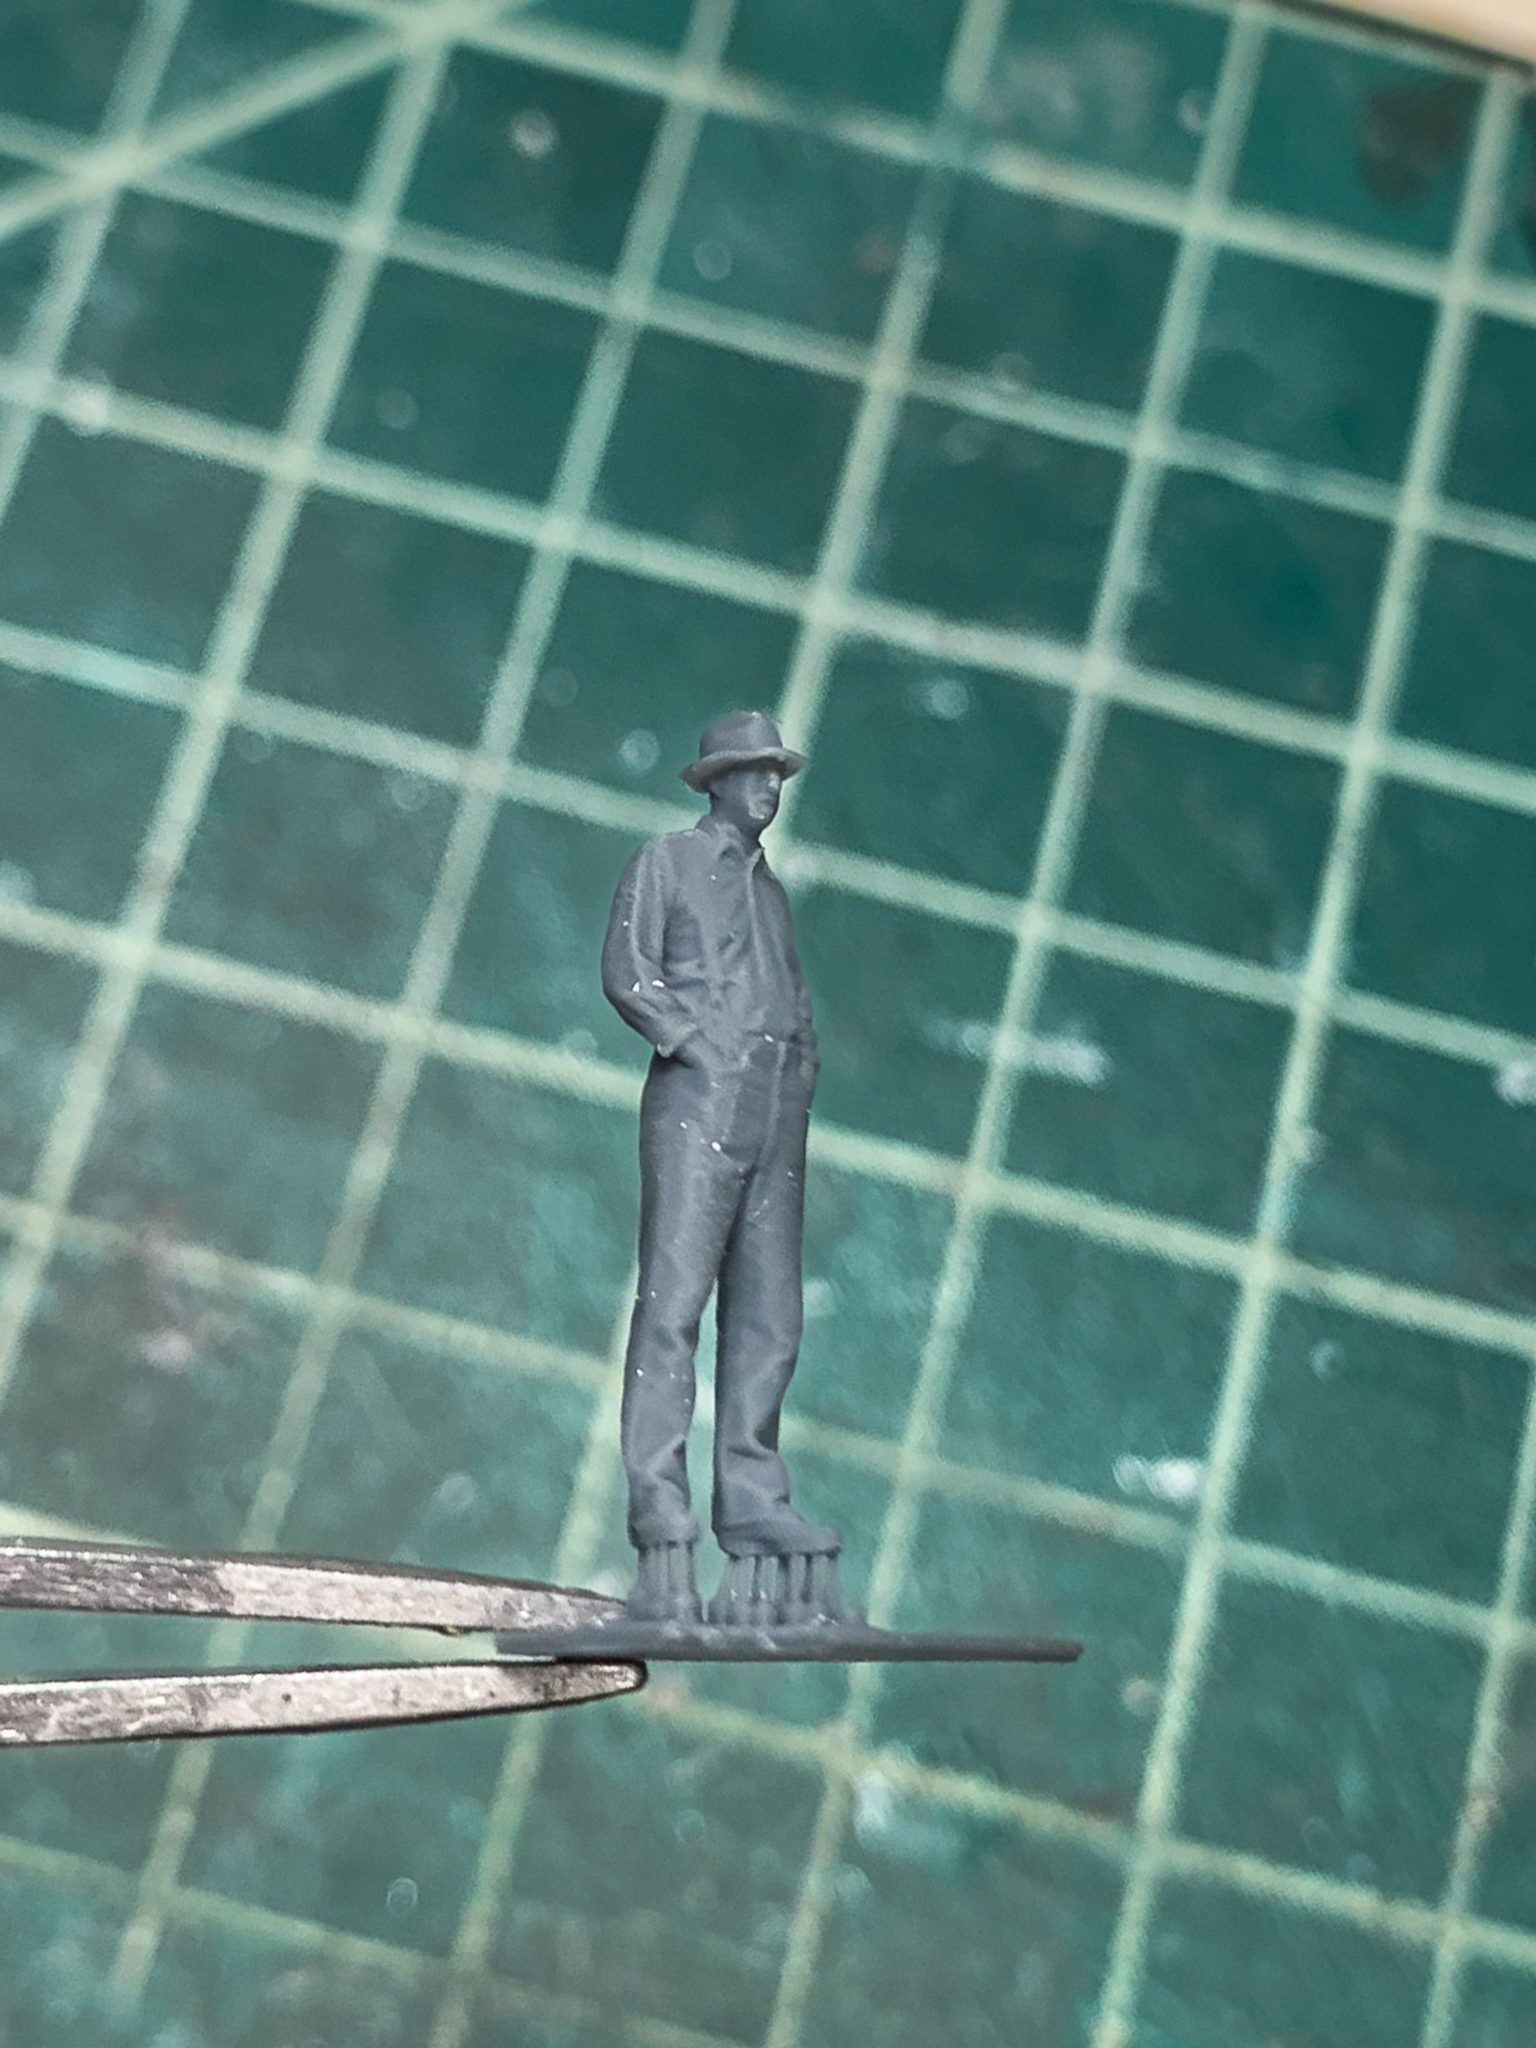
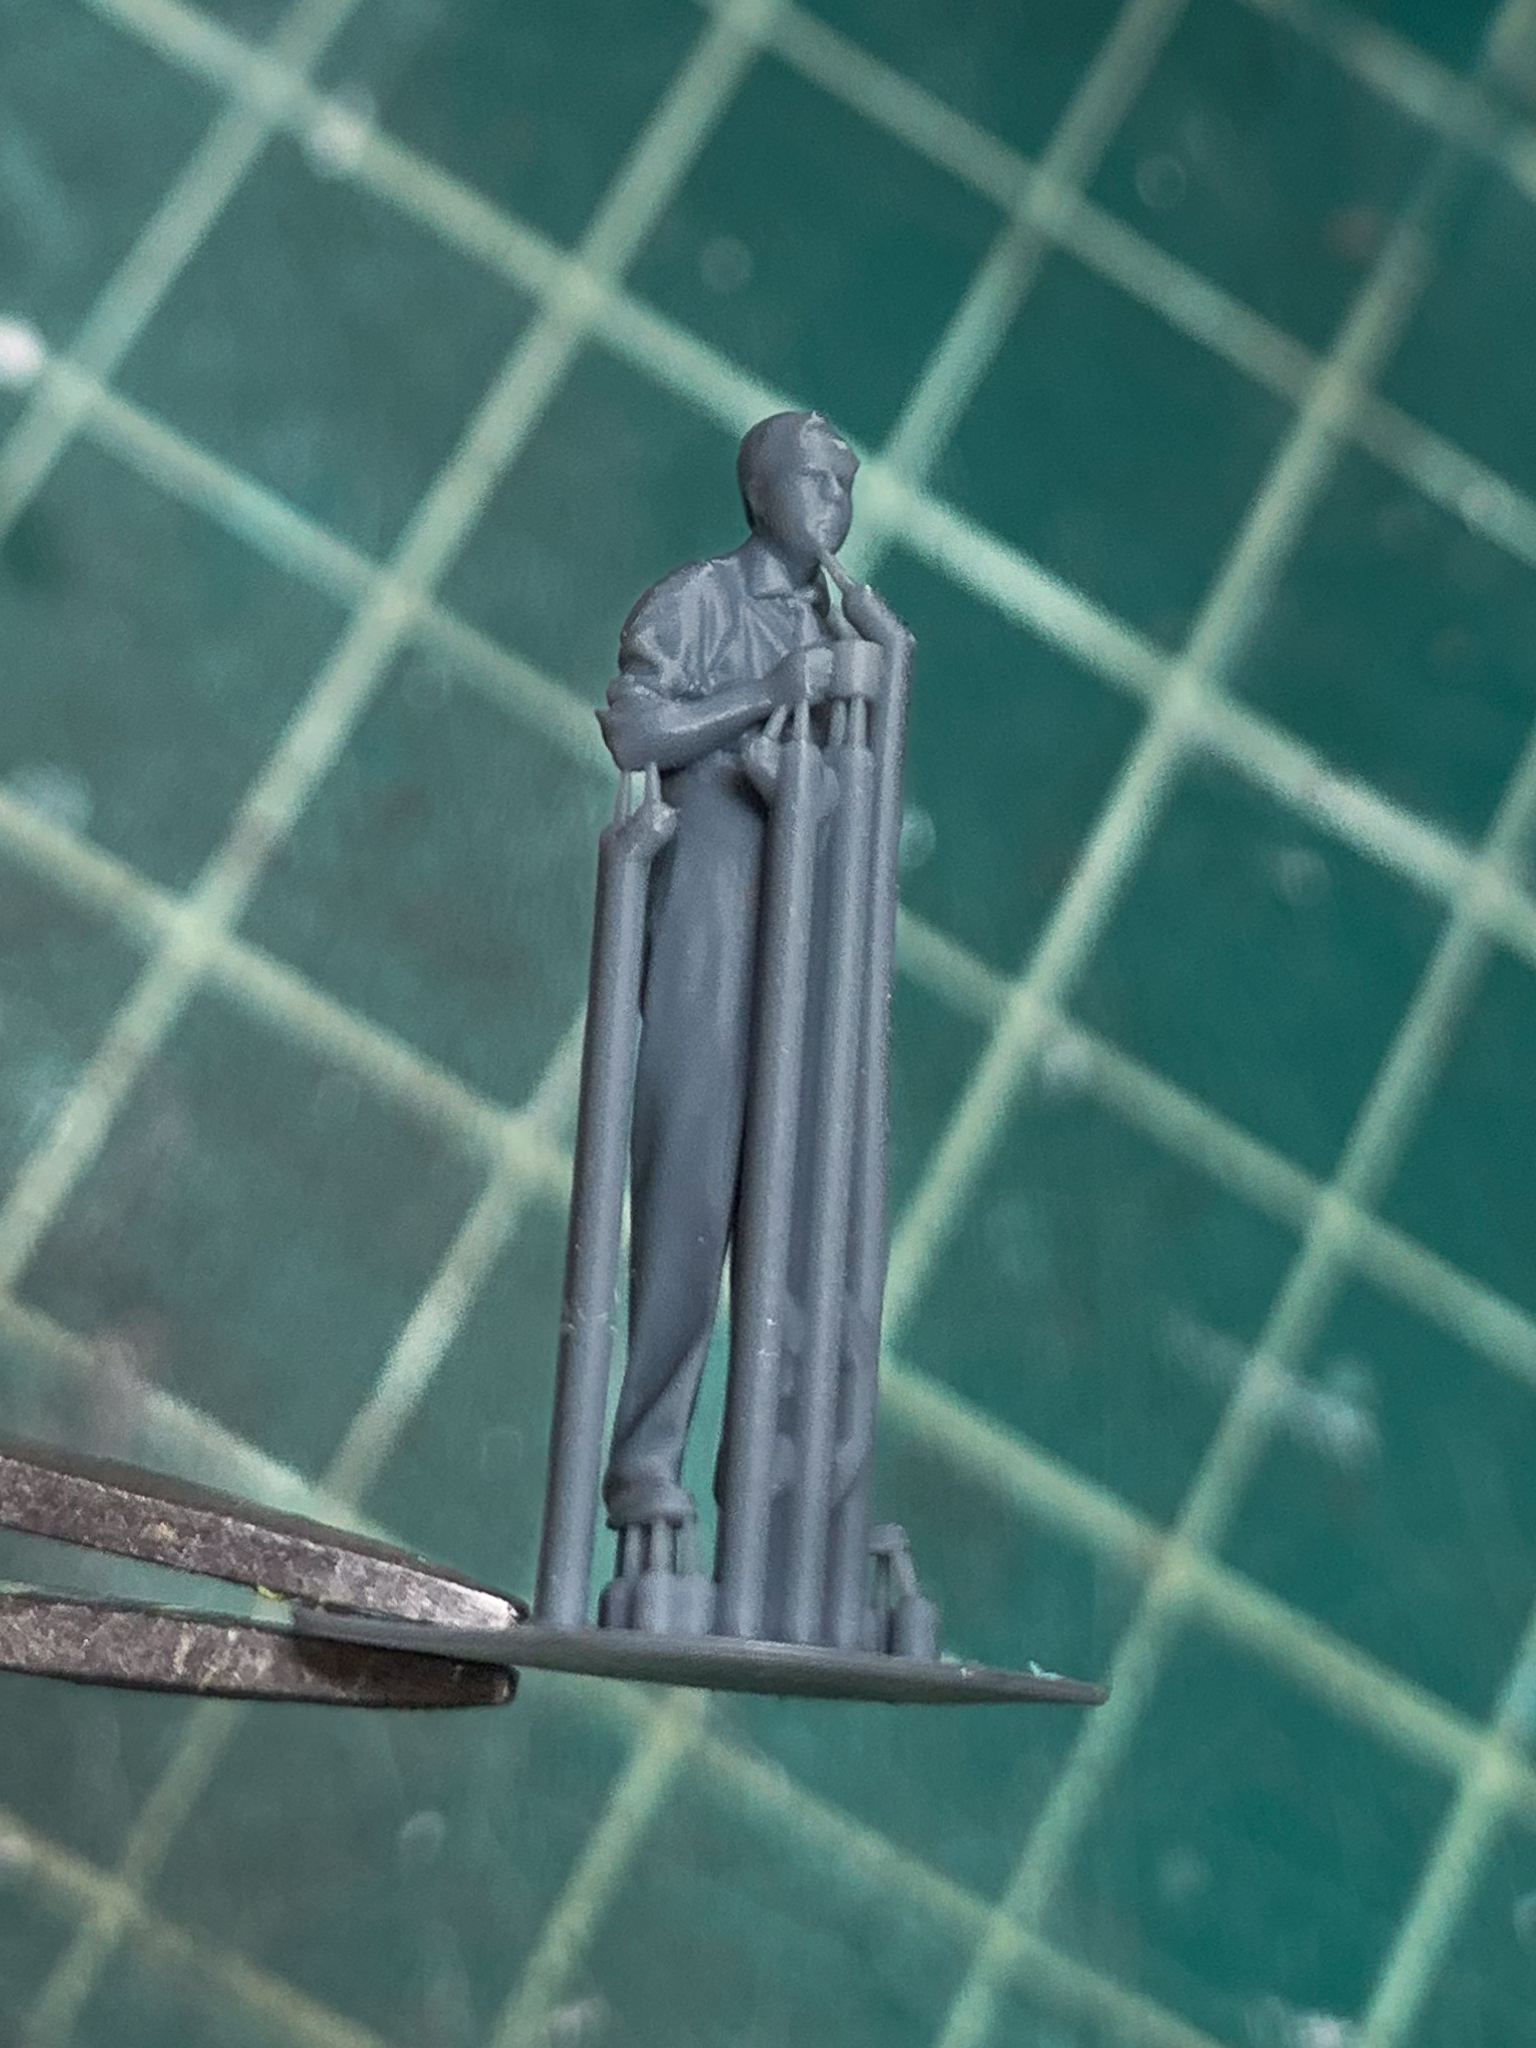 2. The Model-U guys come encased in these support sprues from the 3D print process. These need to be carefully removed. One of their figures has an HO scale pipe in his mouth; make sure you don’t break it or accidentally cut it off!!
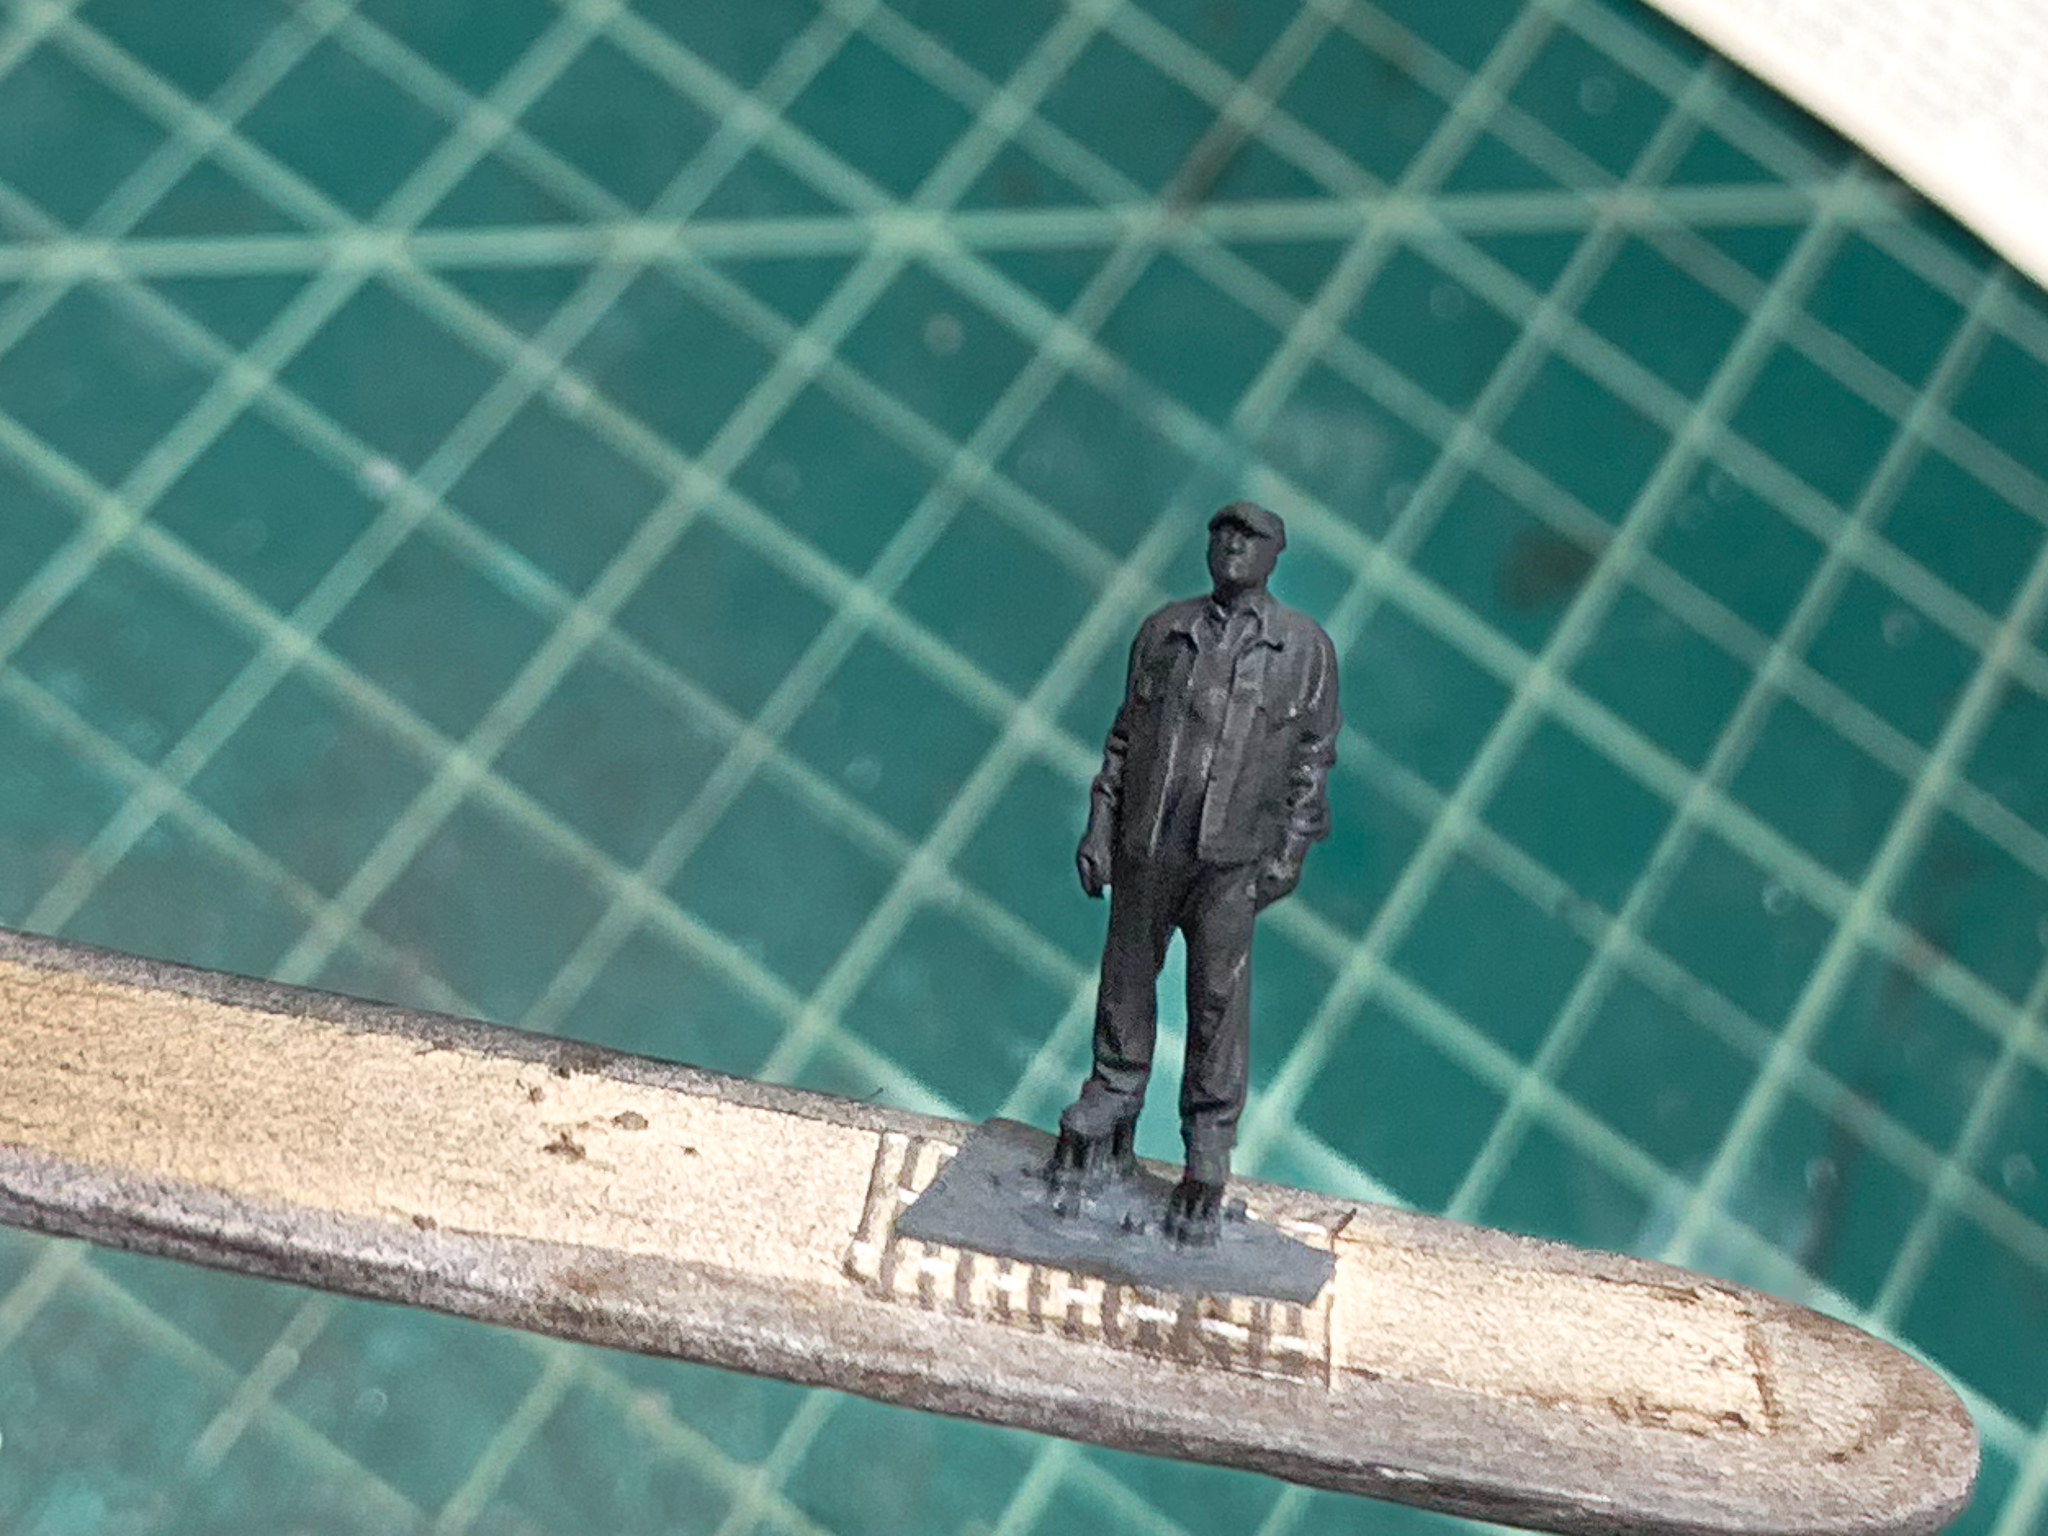
 3. This guy (I’ll call him “Klem”) is free from his prison!
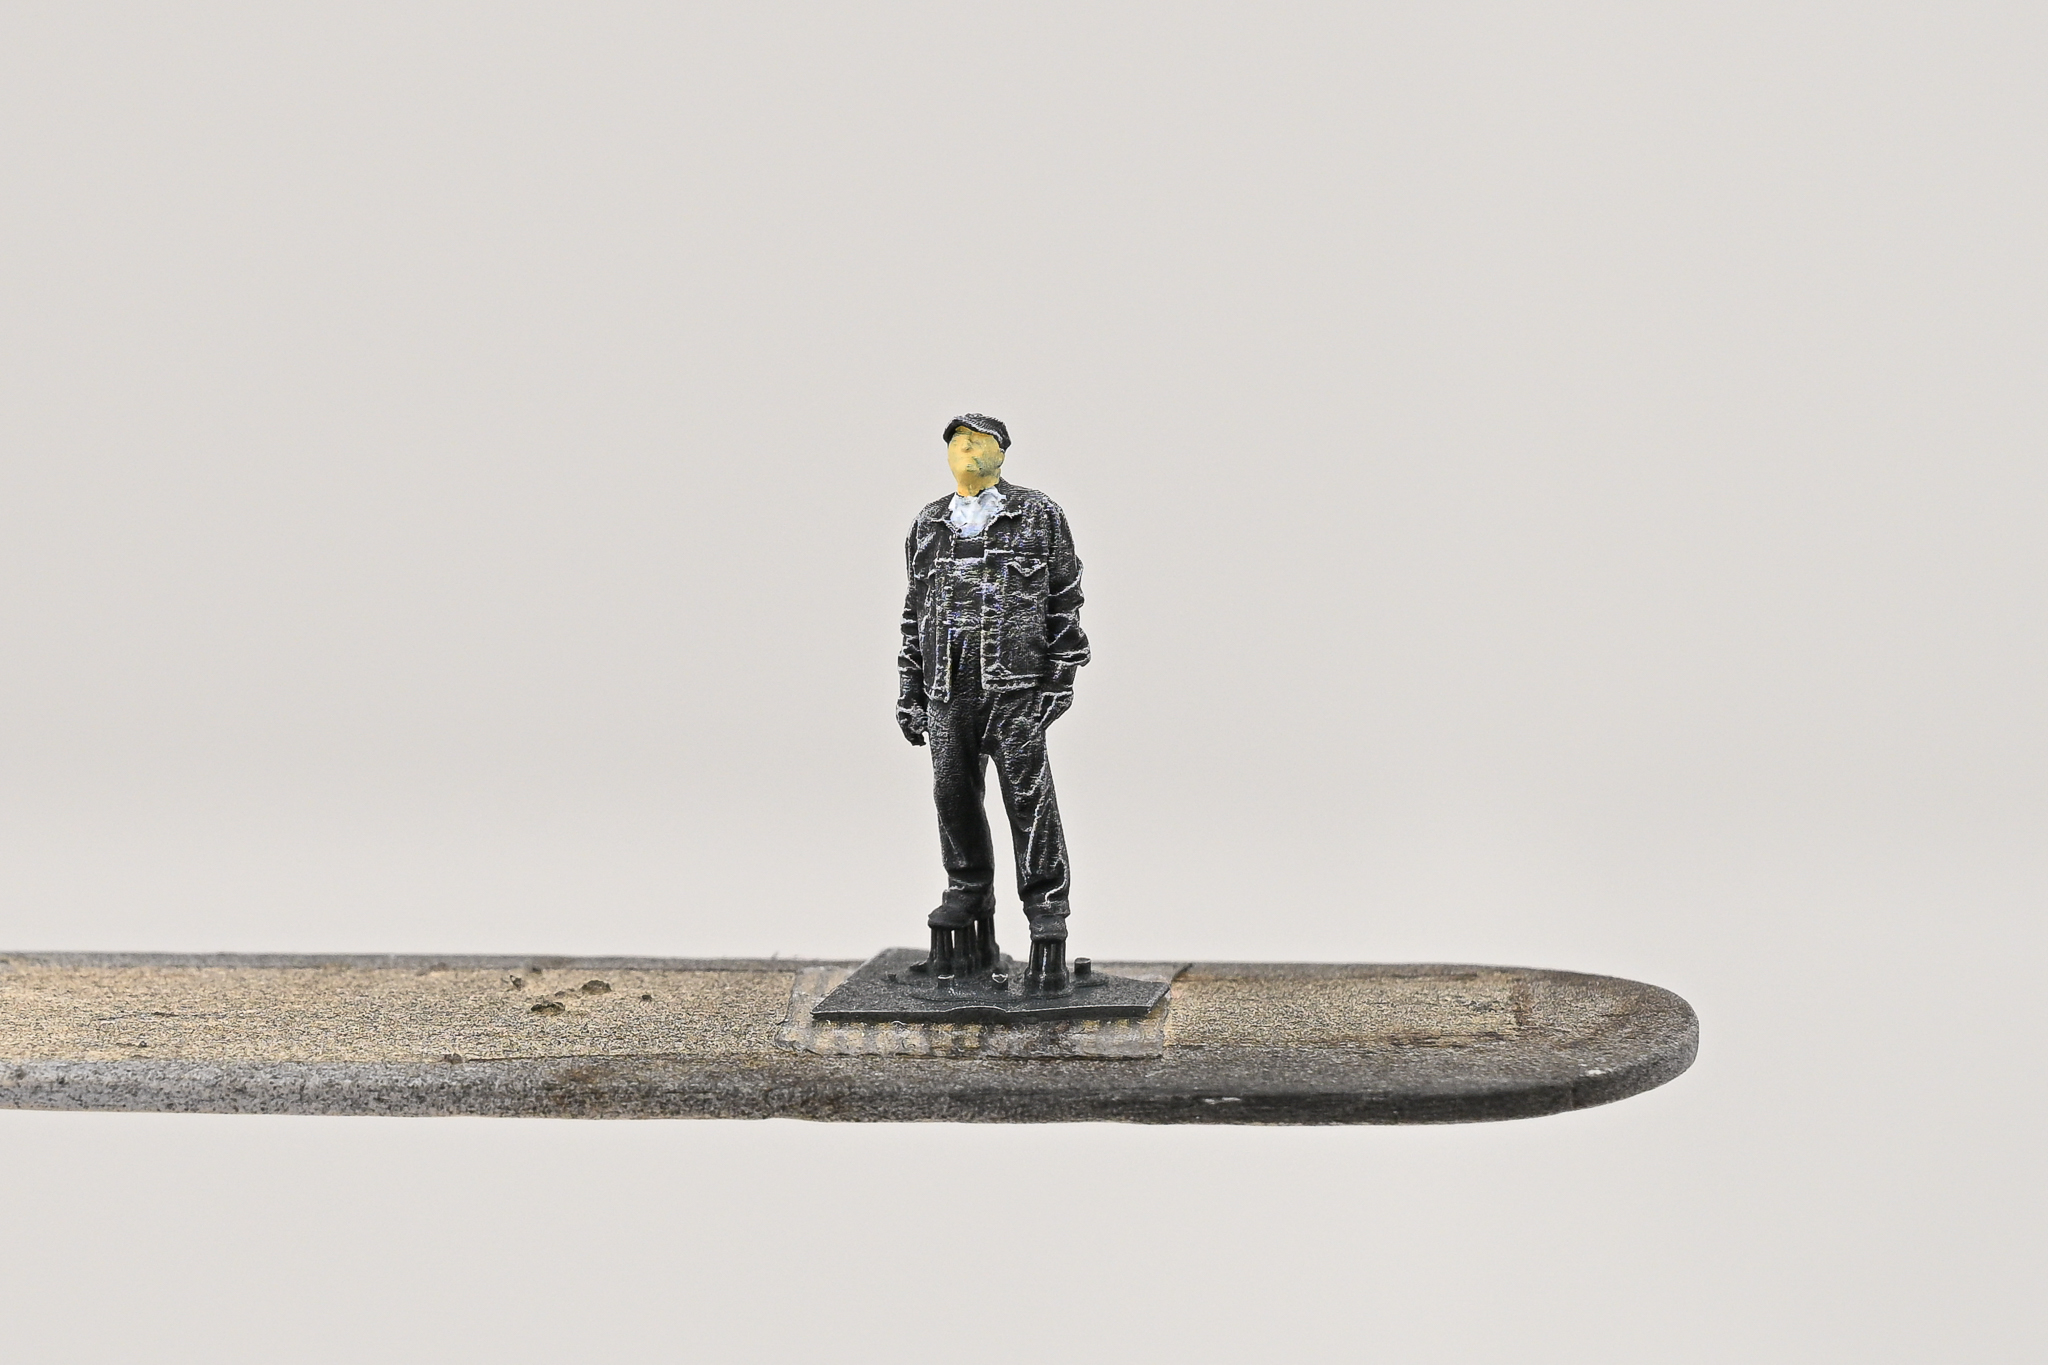
 4. Next step, prime with light passes of a black primer. I used Vallejo in a rattle can. Don’t put it on too heavy! Preserve the detail!!
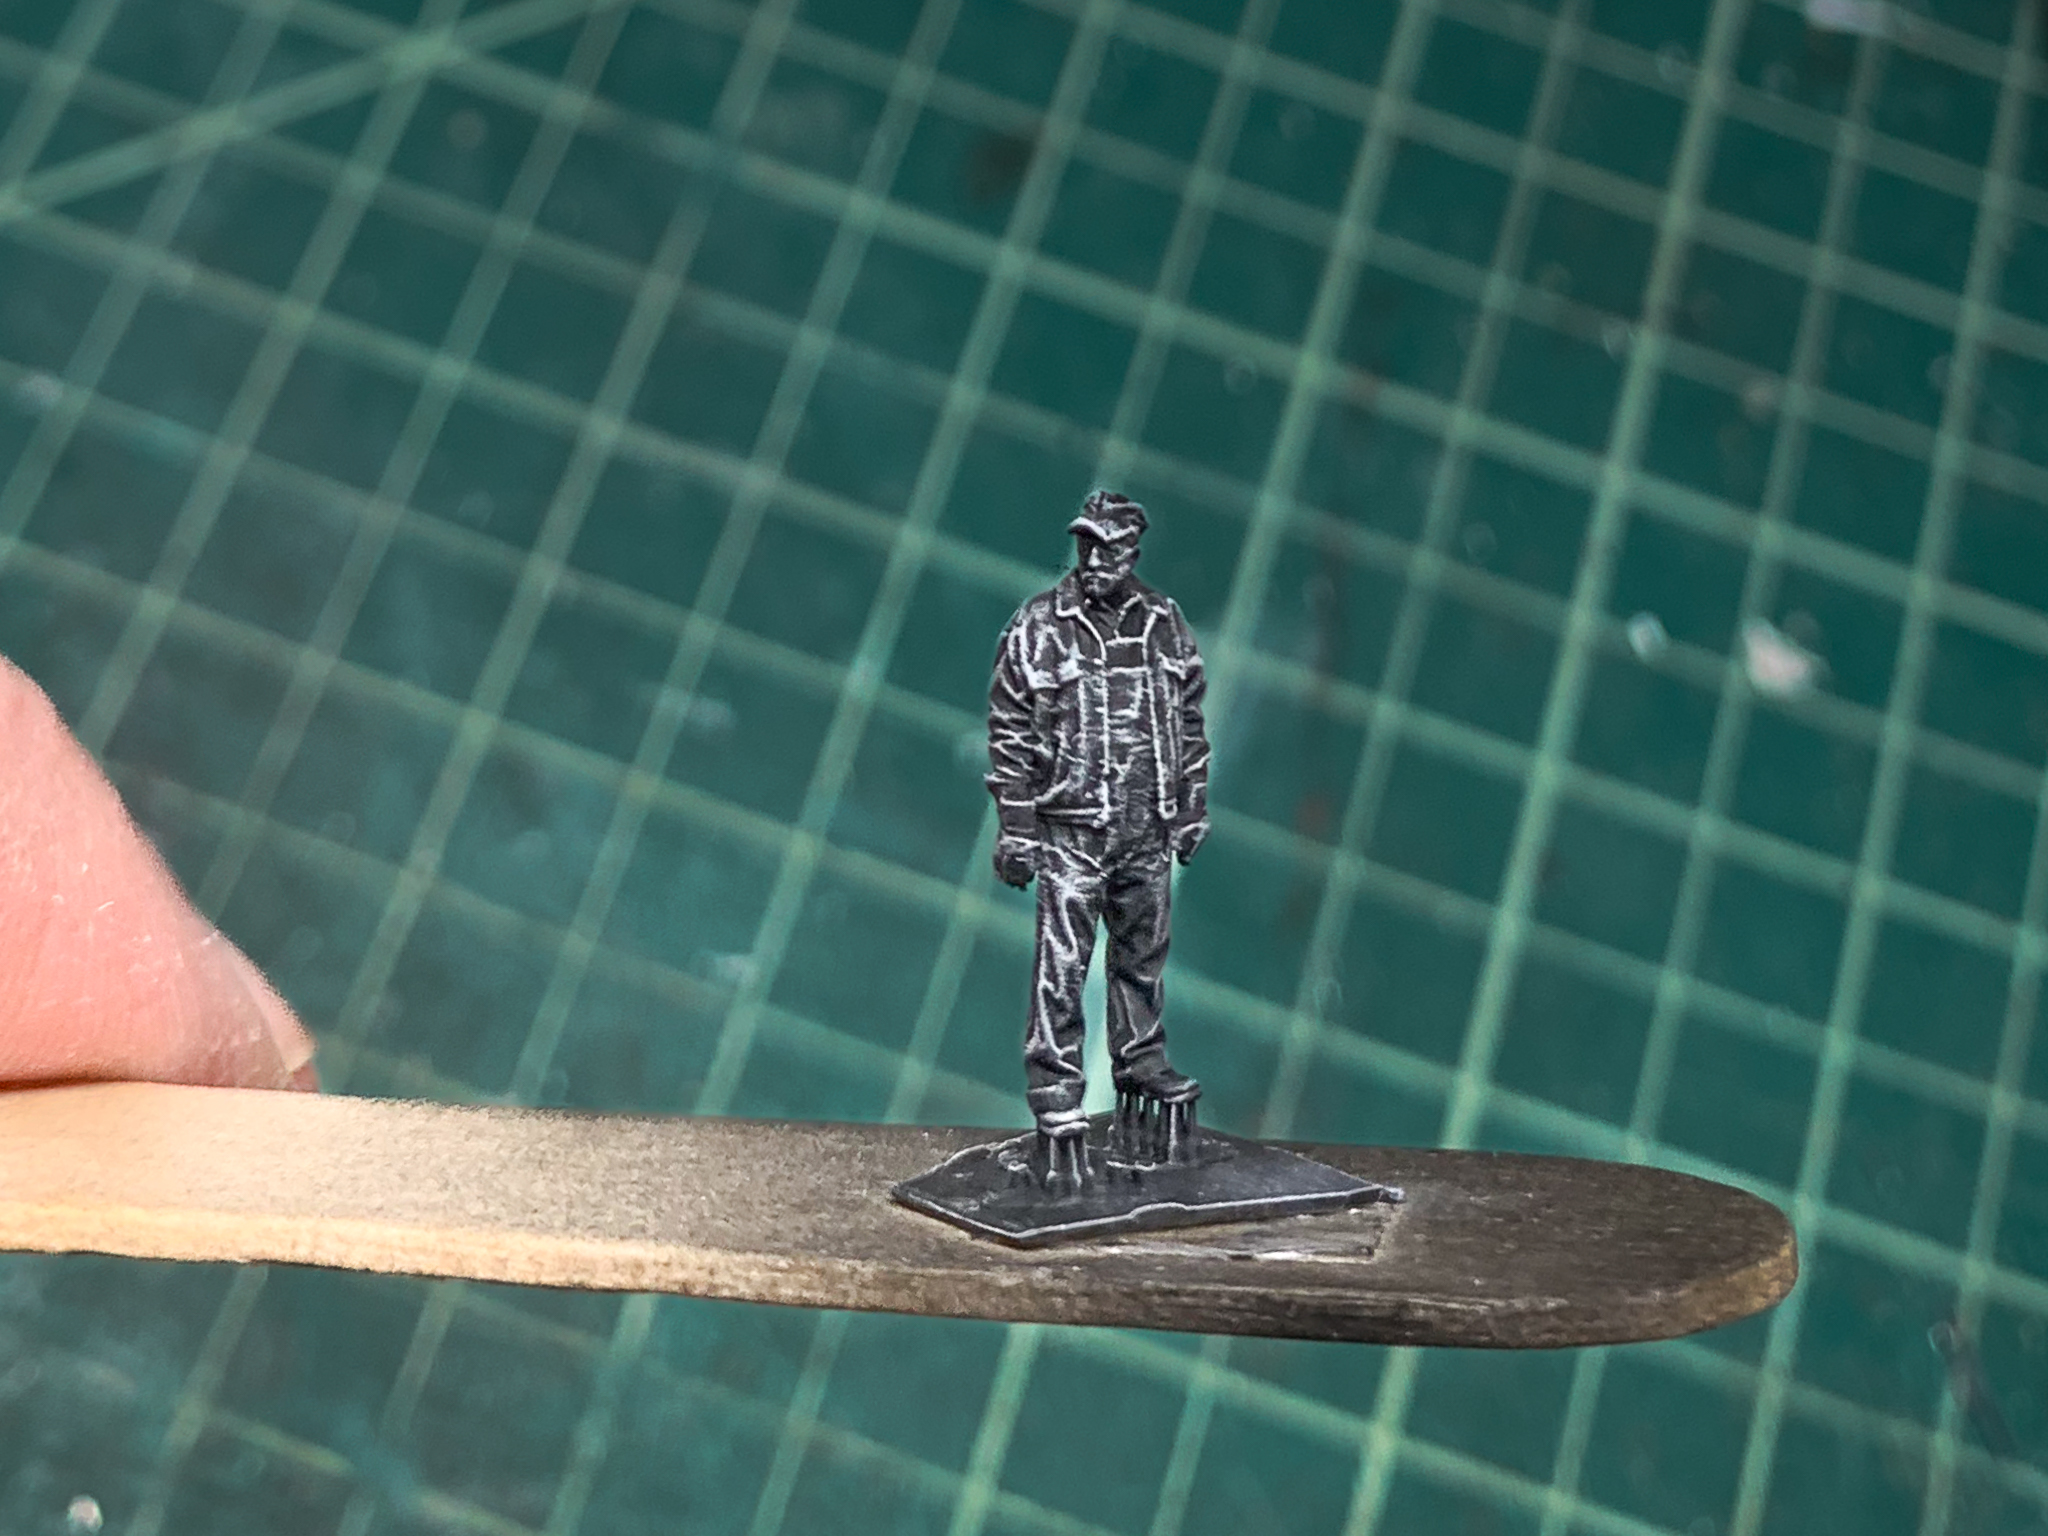 5. Dry brush with white from the top down to highlight the detail. The white will hopefully tint the lighter exposed areas when we paint with very thin coats, same with the black to accentuate shadowed areas.
 6. Start painting inner detail first. I usually work inner-to-outer, starting with the face and any exposed skin. I usually do the feet at this point as well.
 7. Here, after the face, I gave this guy a nice clean white shirt. His wife insists!
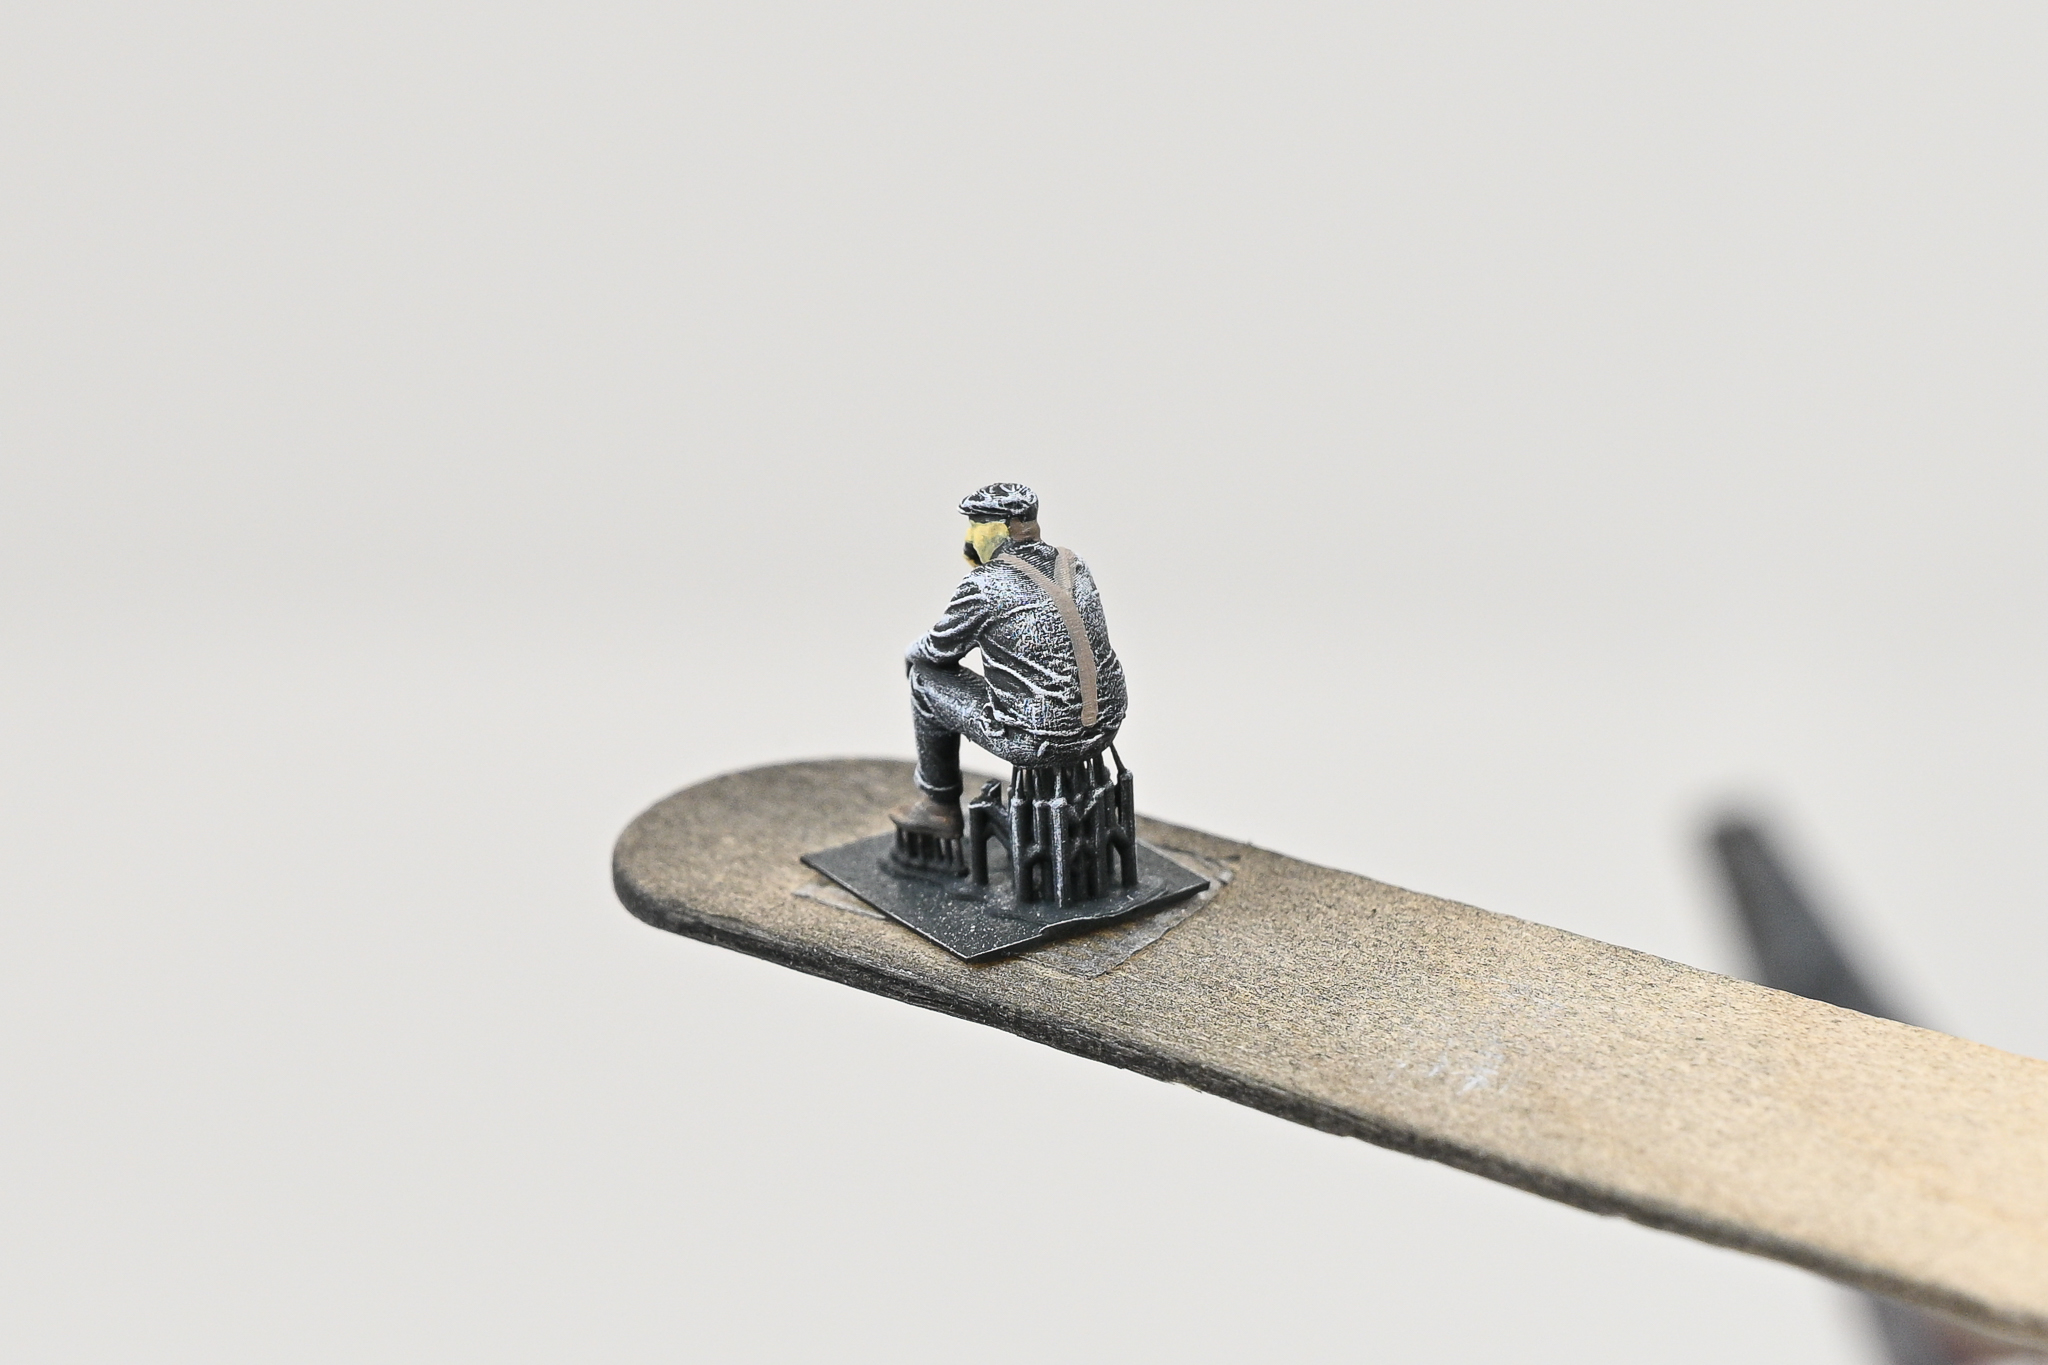 8. Raised detail like suspenders, belts, equipment, etc. gets paint before the adjacent clothing. Then work the adjacent clothing color up to the edges of the suspenders, etc.
 9. Base shirt color goes on next. Remember to keep the paint thin and build up thin layers of color. Don’t glop it on!
 10. Next we’ll do Klem’s pants.
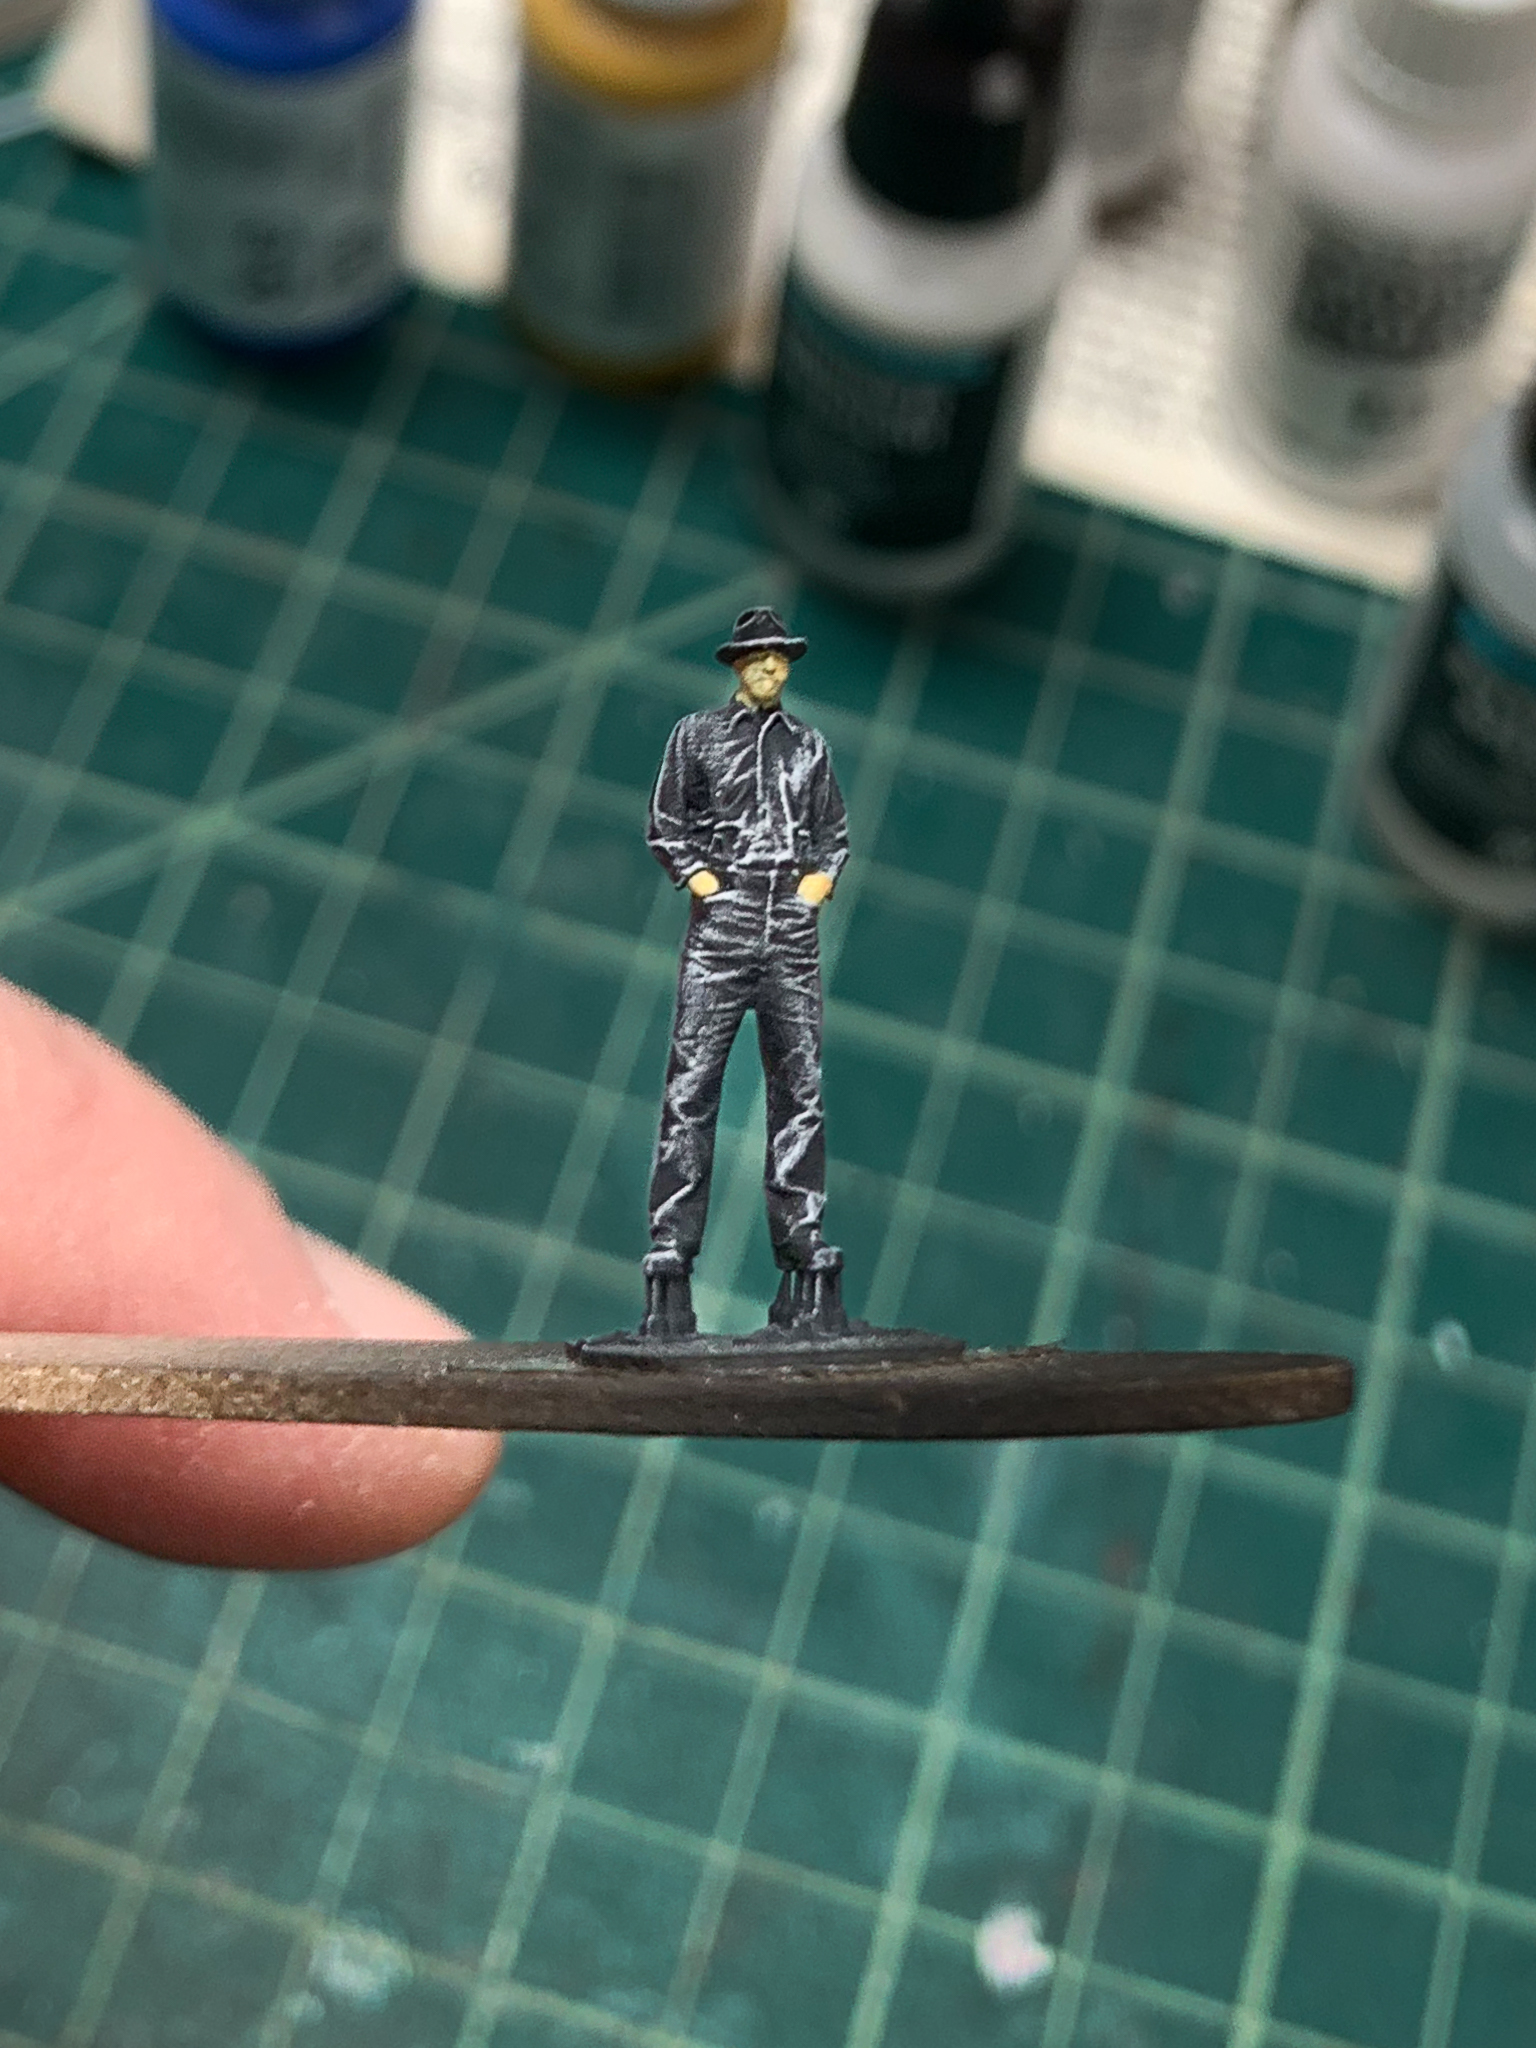
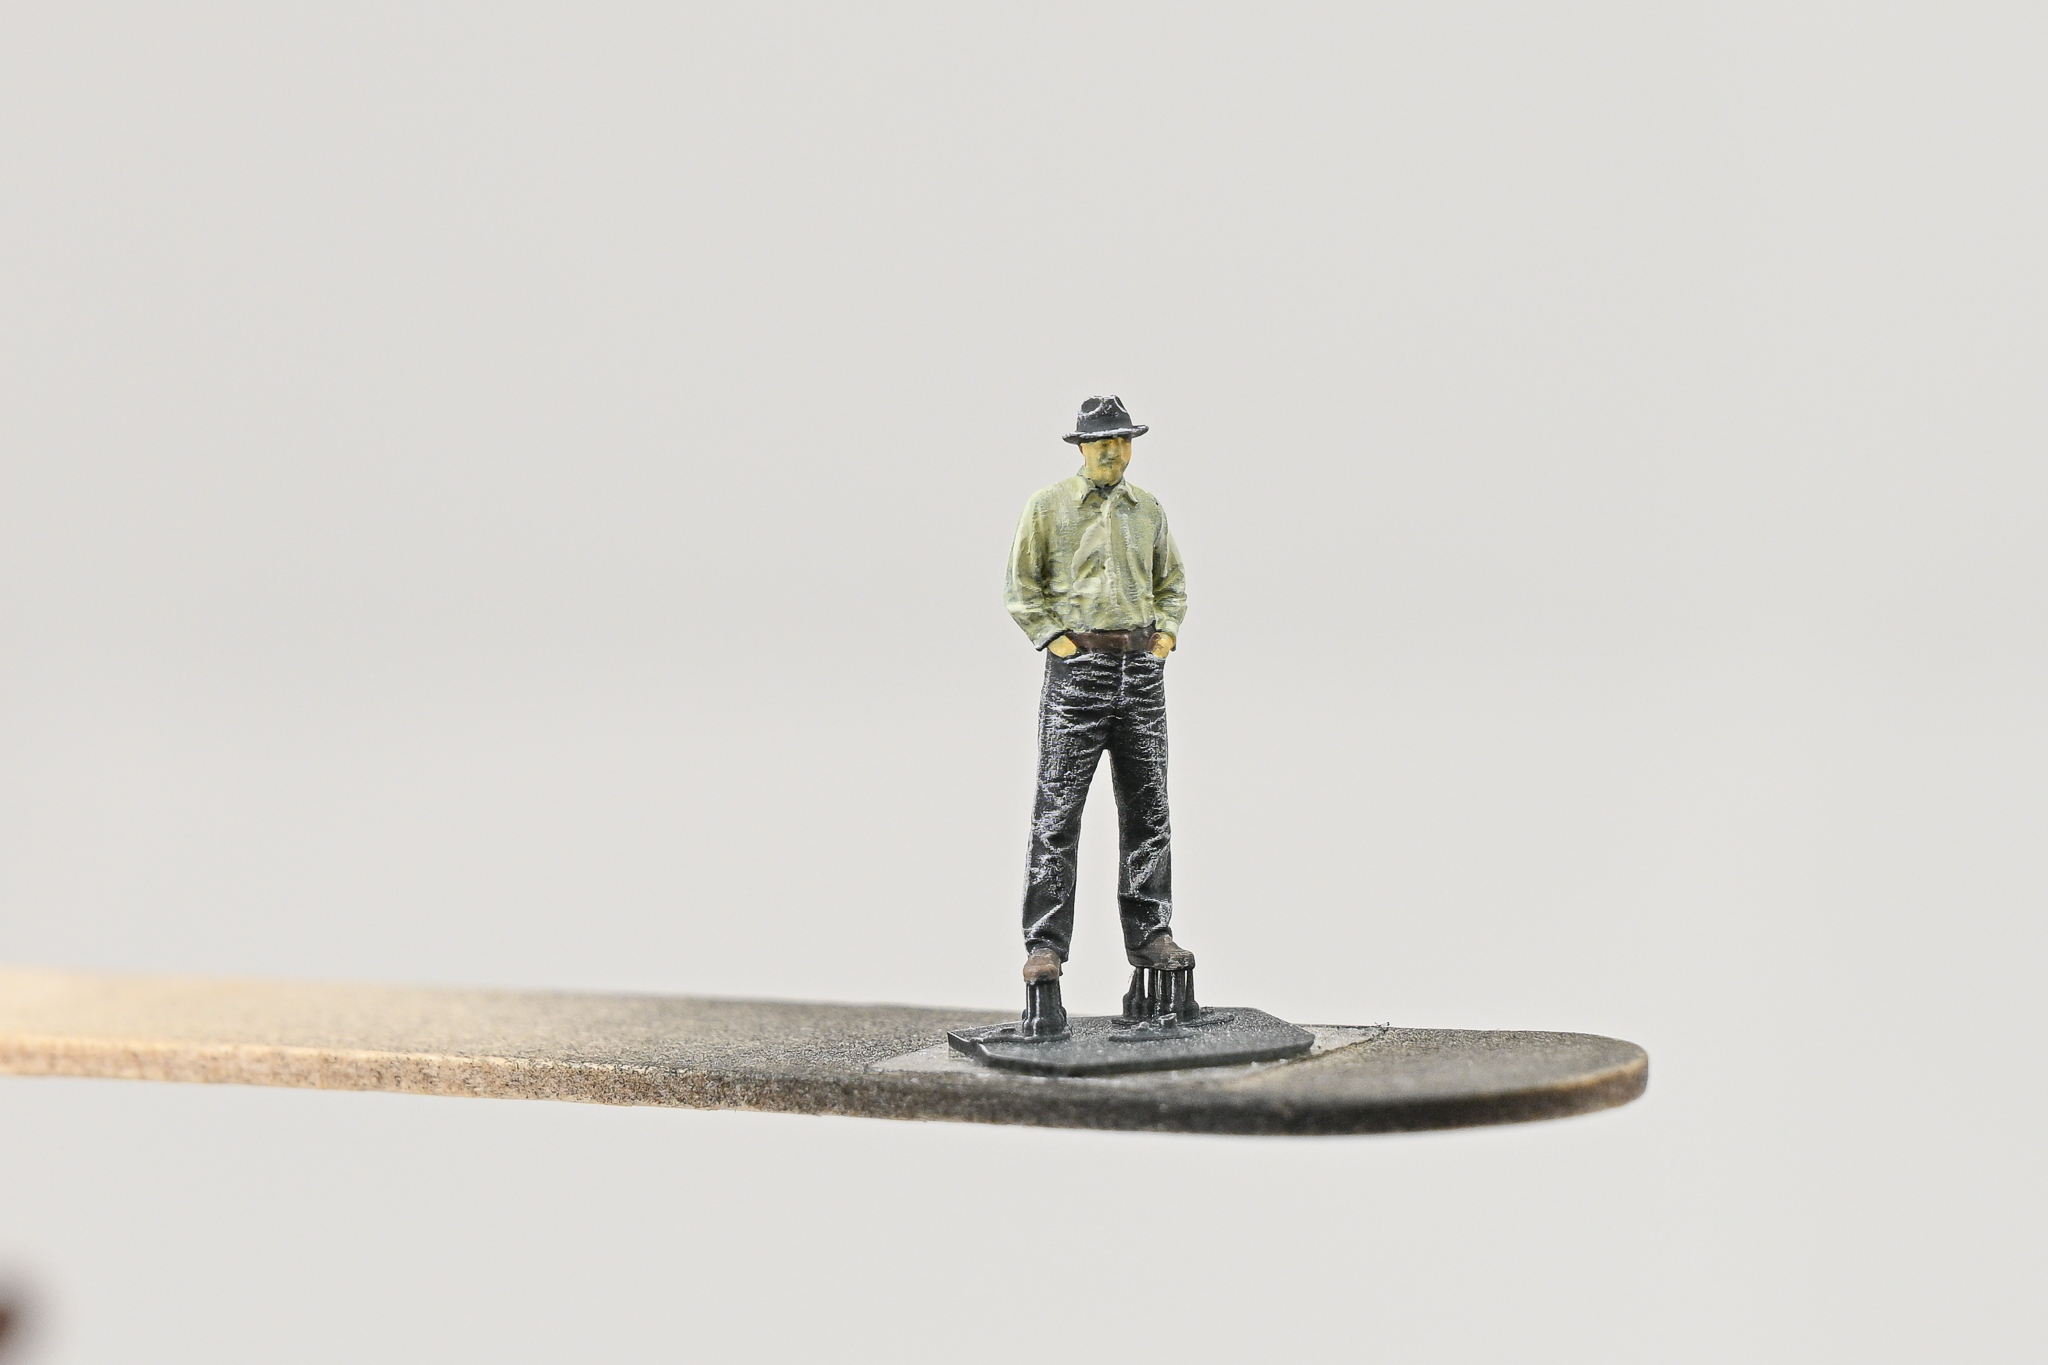
 11. Now we go back and lighten the clothing colors with a touch of white, and lightly brush thin layers of this lighter color over the raised folds of the clothing to highlight them. Under magnification this might look a little blocky, but we need to exaggerate a little due to the small size of the figure and the flat lighting on most layouts. I also painted a thin band of gray around the hat for a hat band before using the hat color. The hat also got some highlights around the edge of the brim and the folds of the crown.
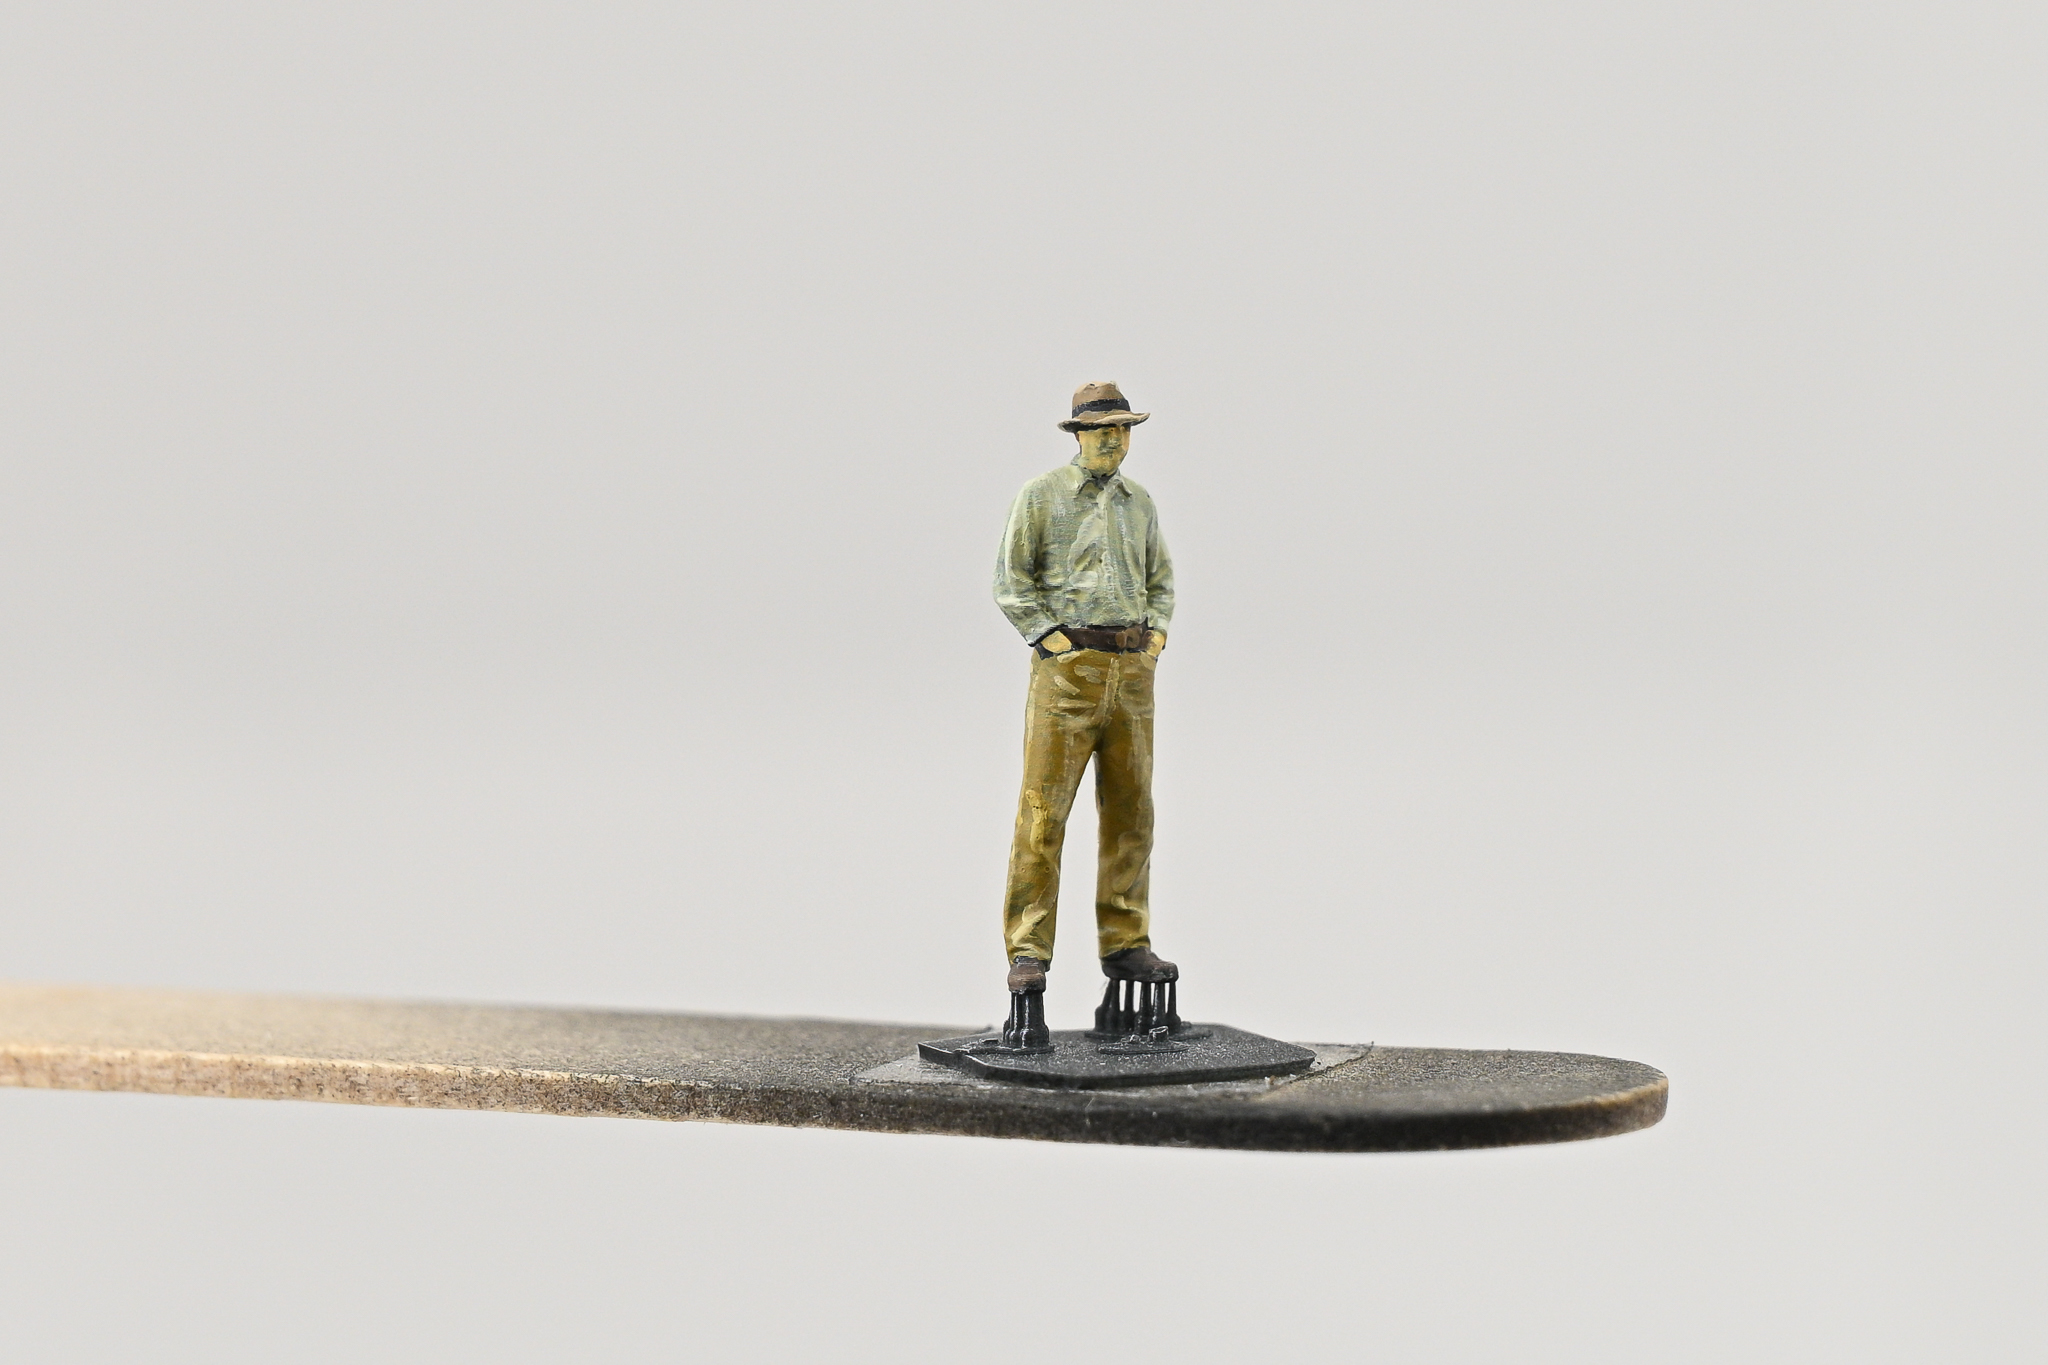 12. Next, I Glosscoted the figure. The smooth glossy surface allows the washes in the next step to flow and puddle in the recesses of the face and clothing. Next is thinned applications of flesh wash over the face and exposed hands, and a dark brown wash over the rest of Klem, carefully worked into the deeper recesses and folds of the model. A final sealing coat of Dullcote, and done!
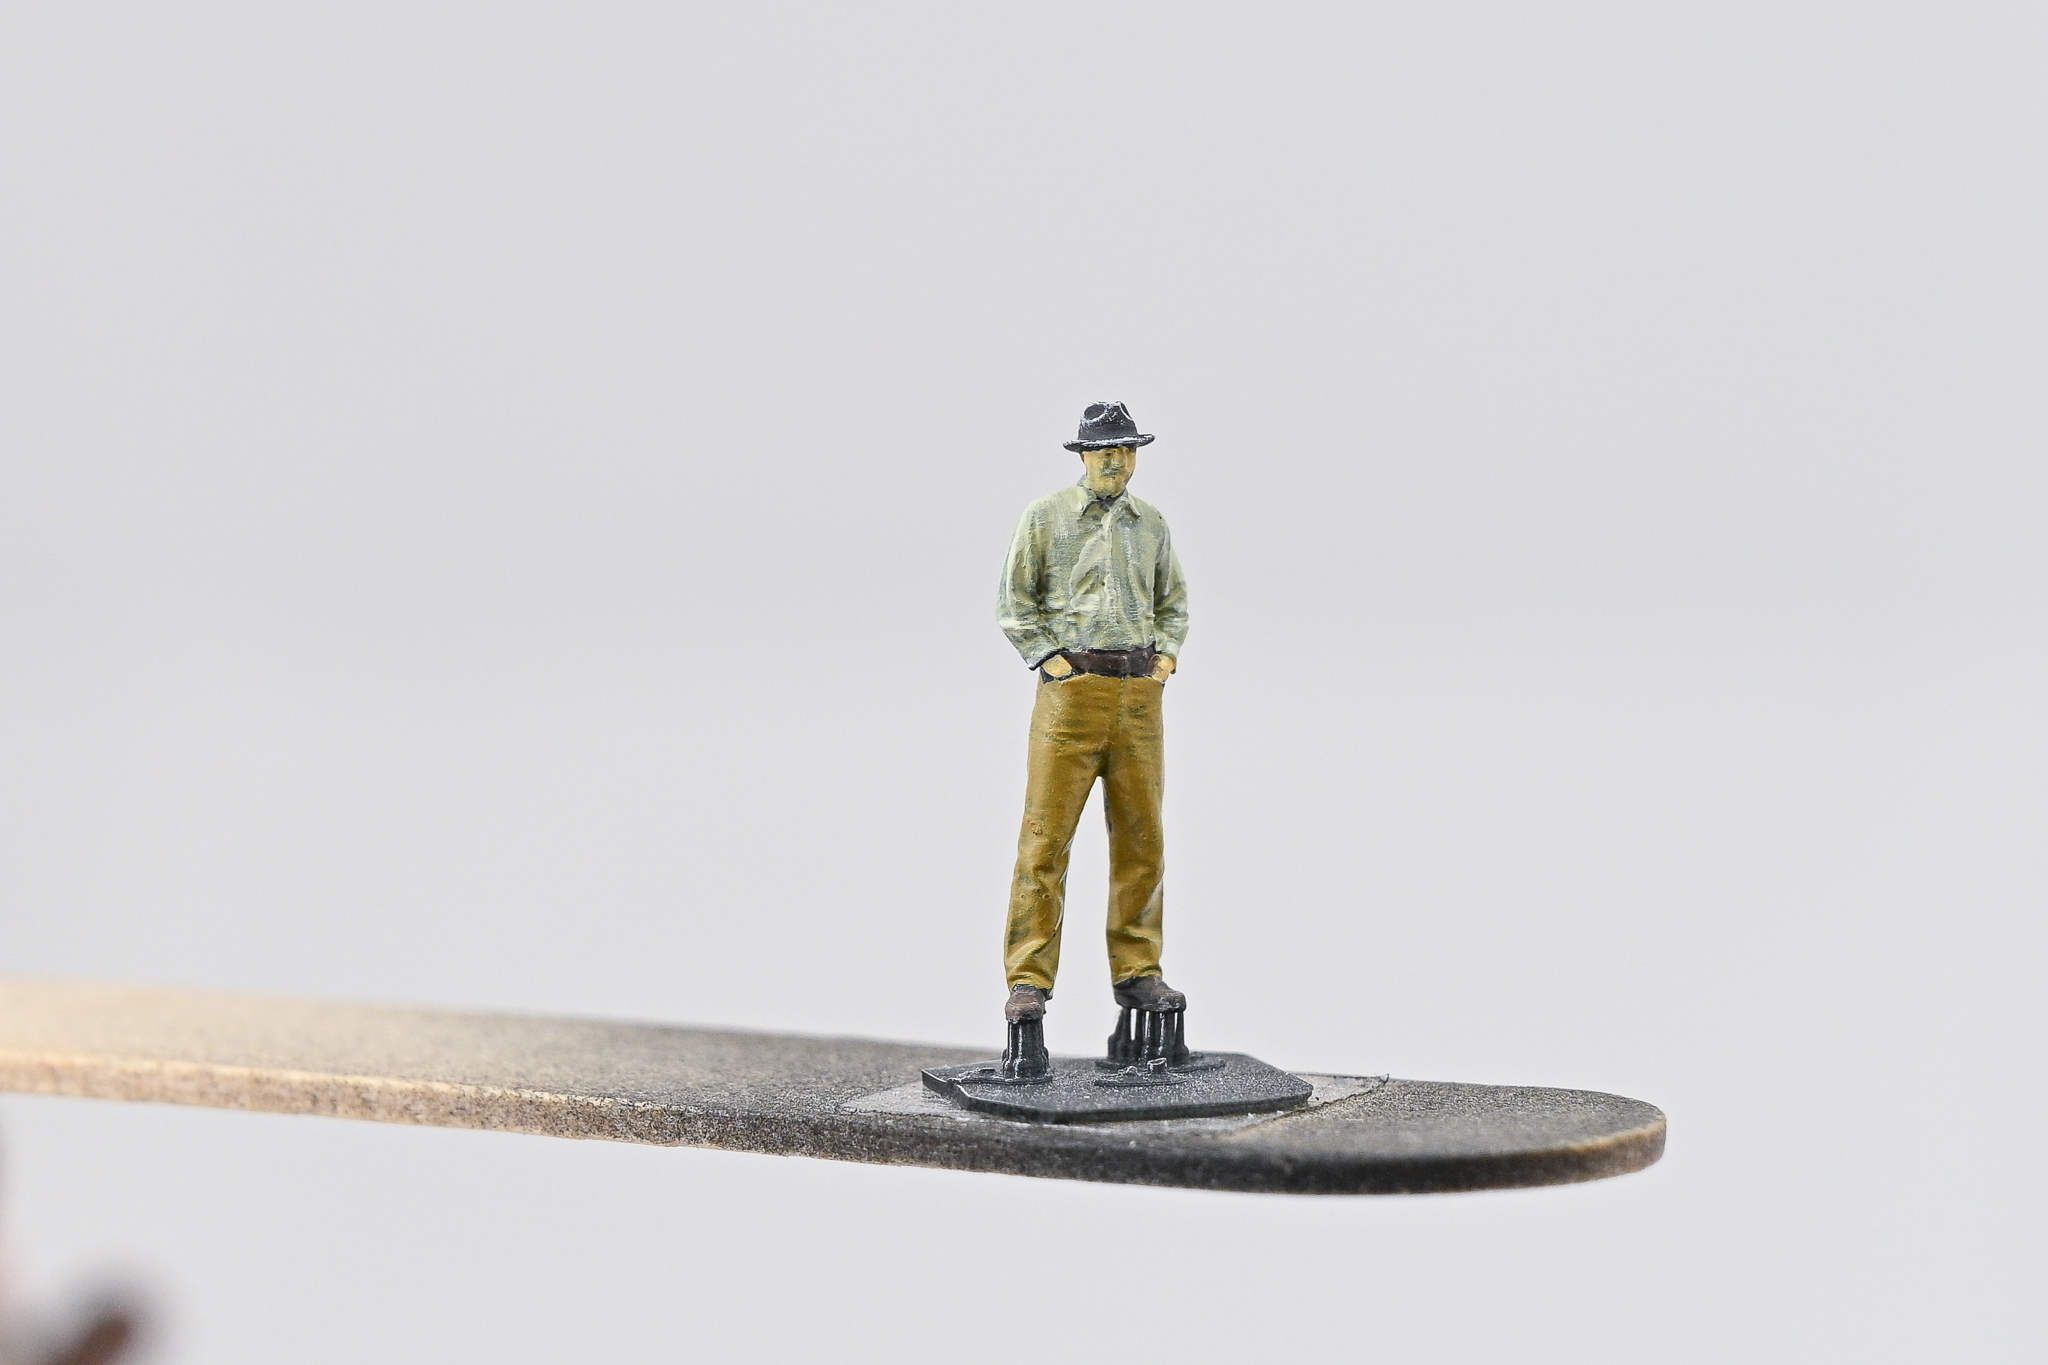
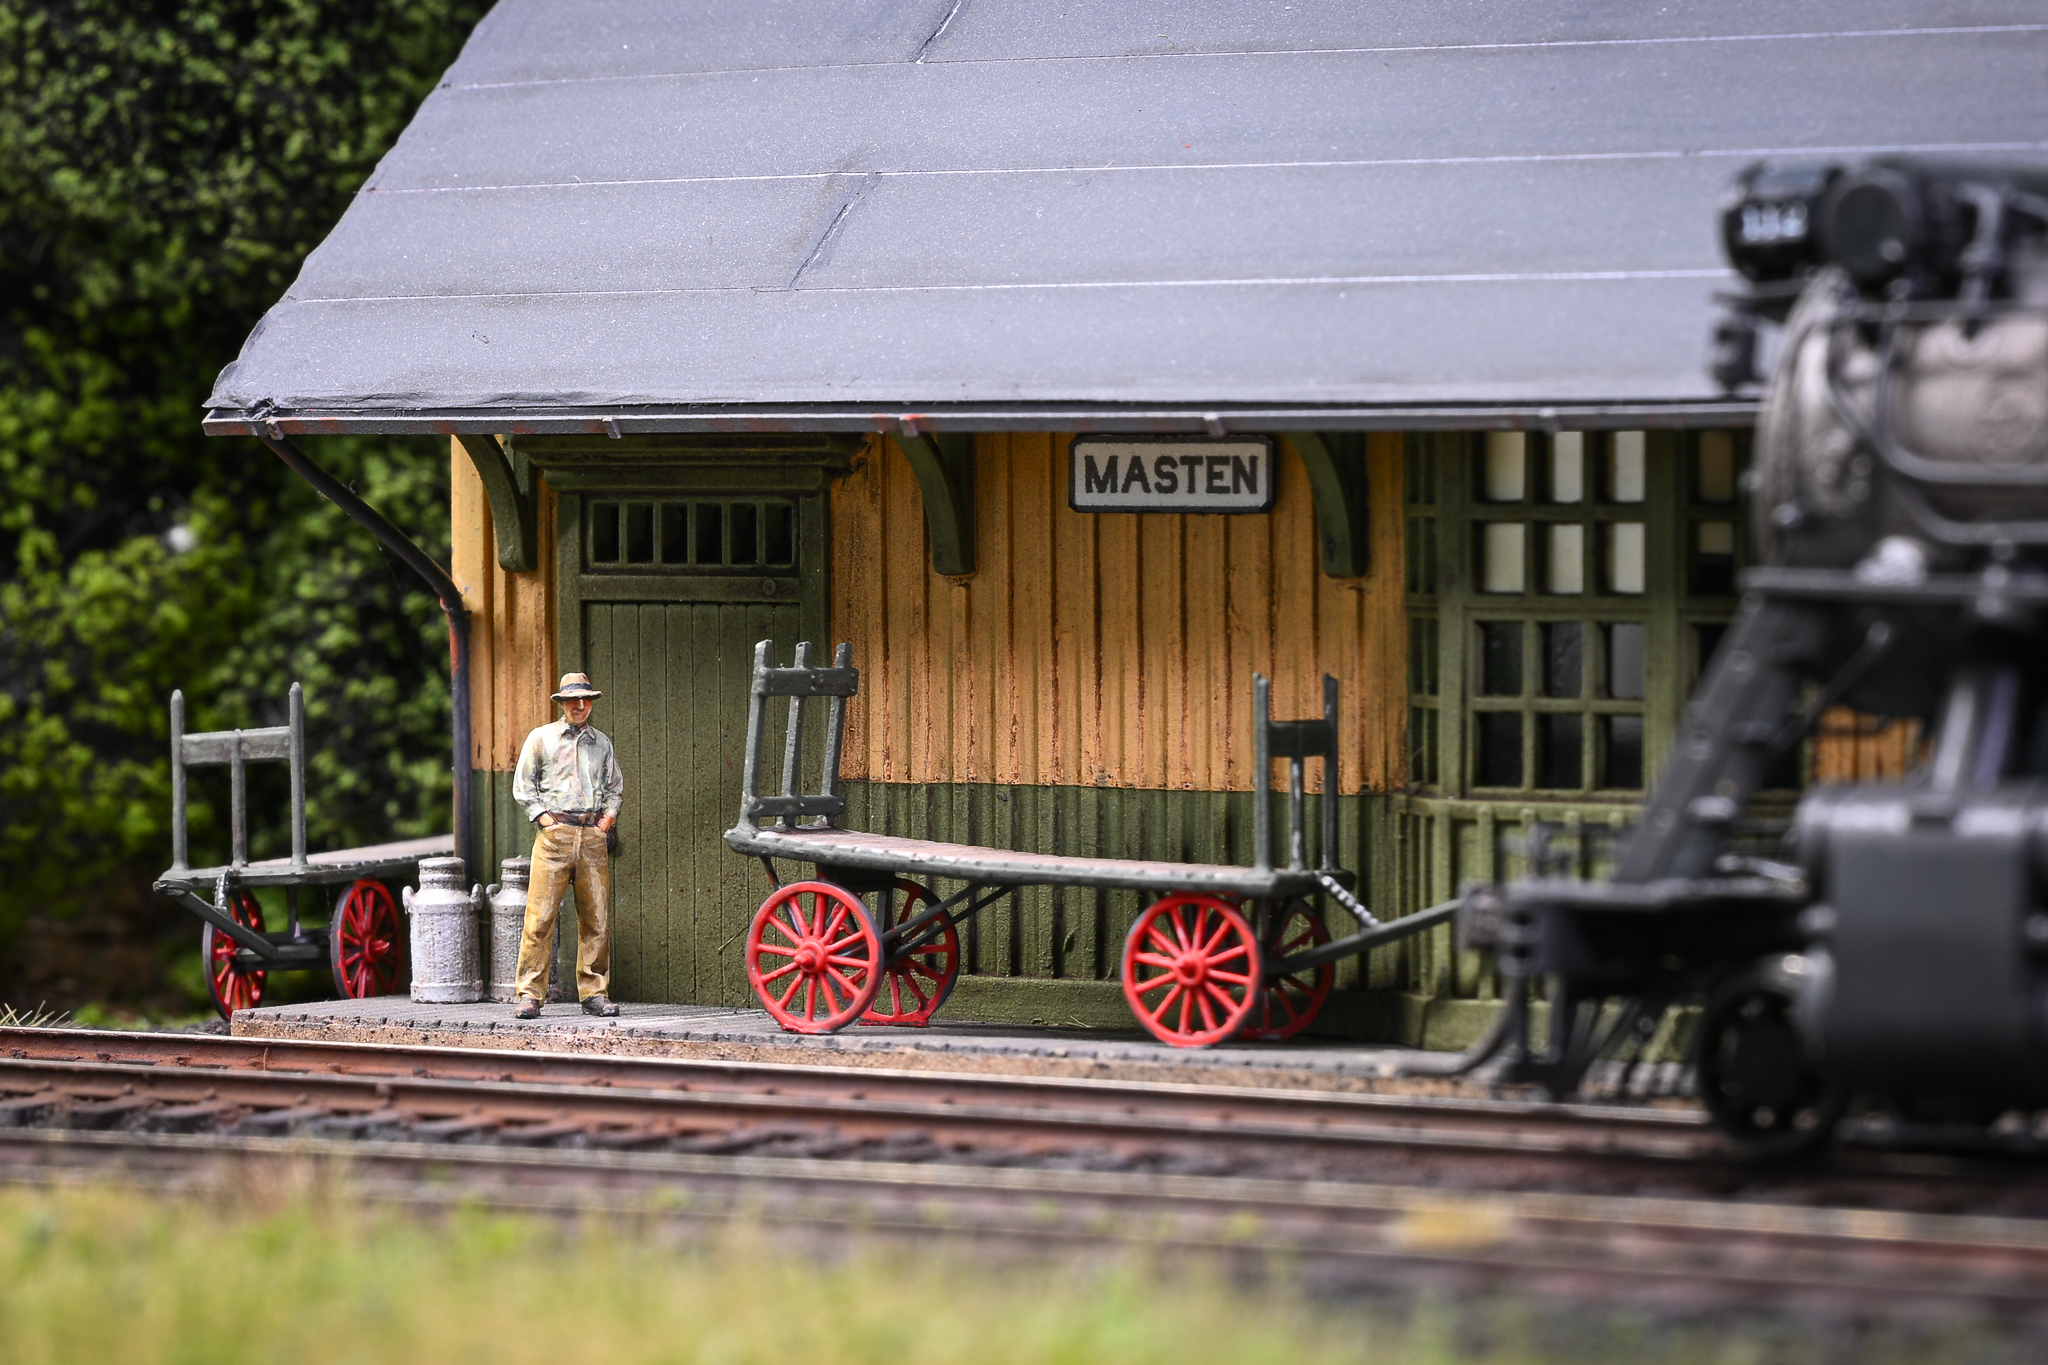 13. ‘Ol Klem waiting for a train!
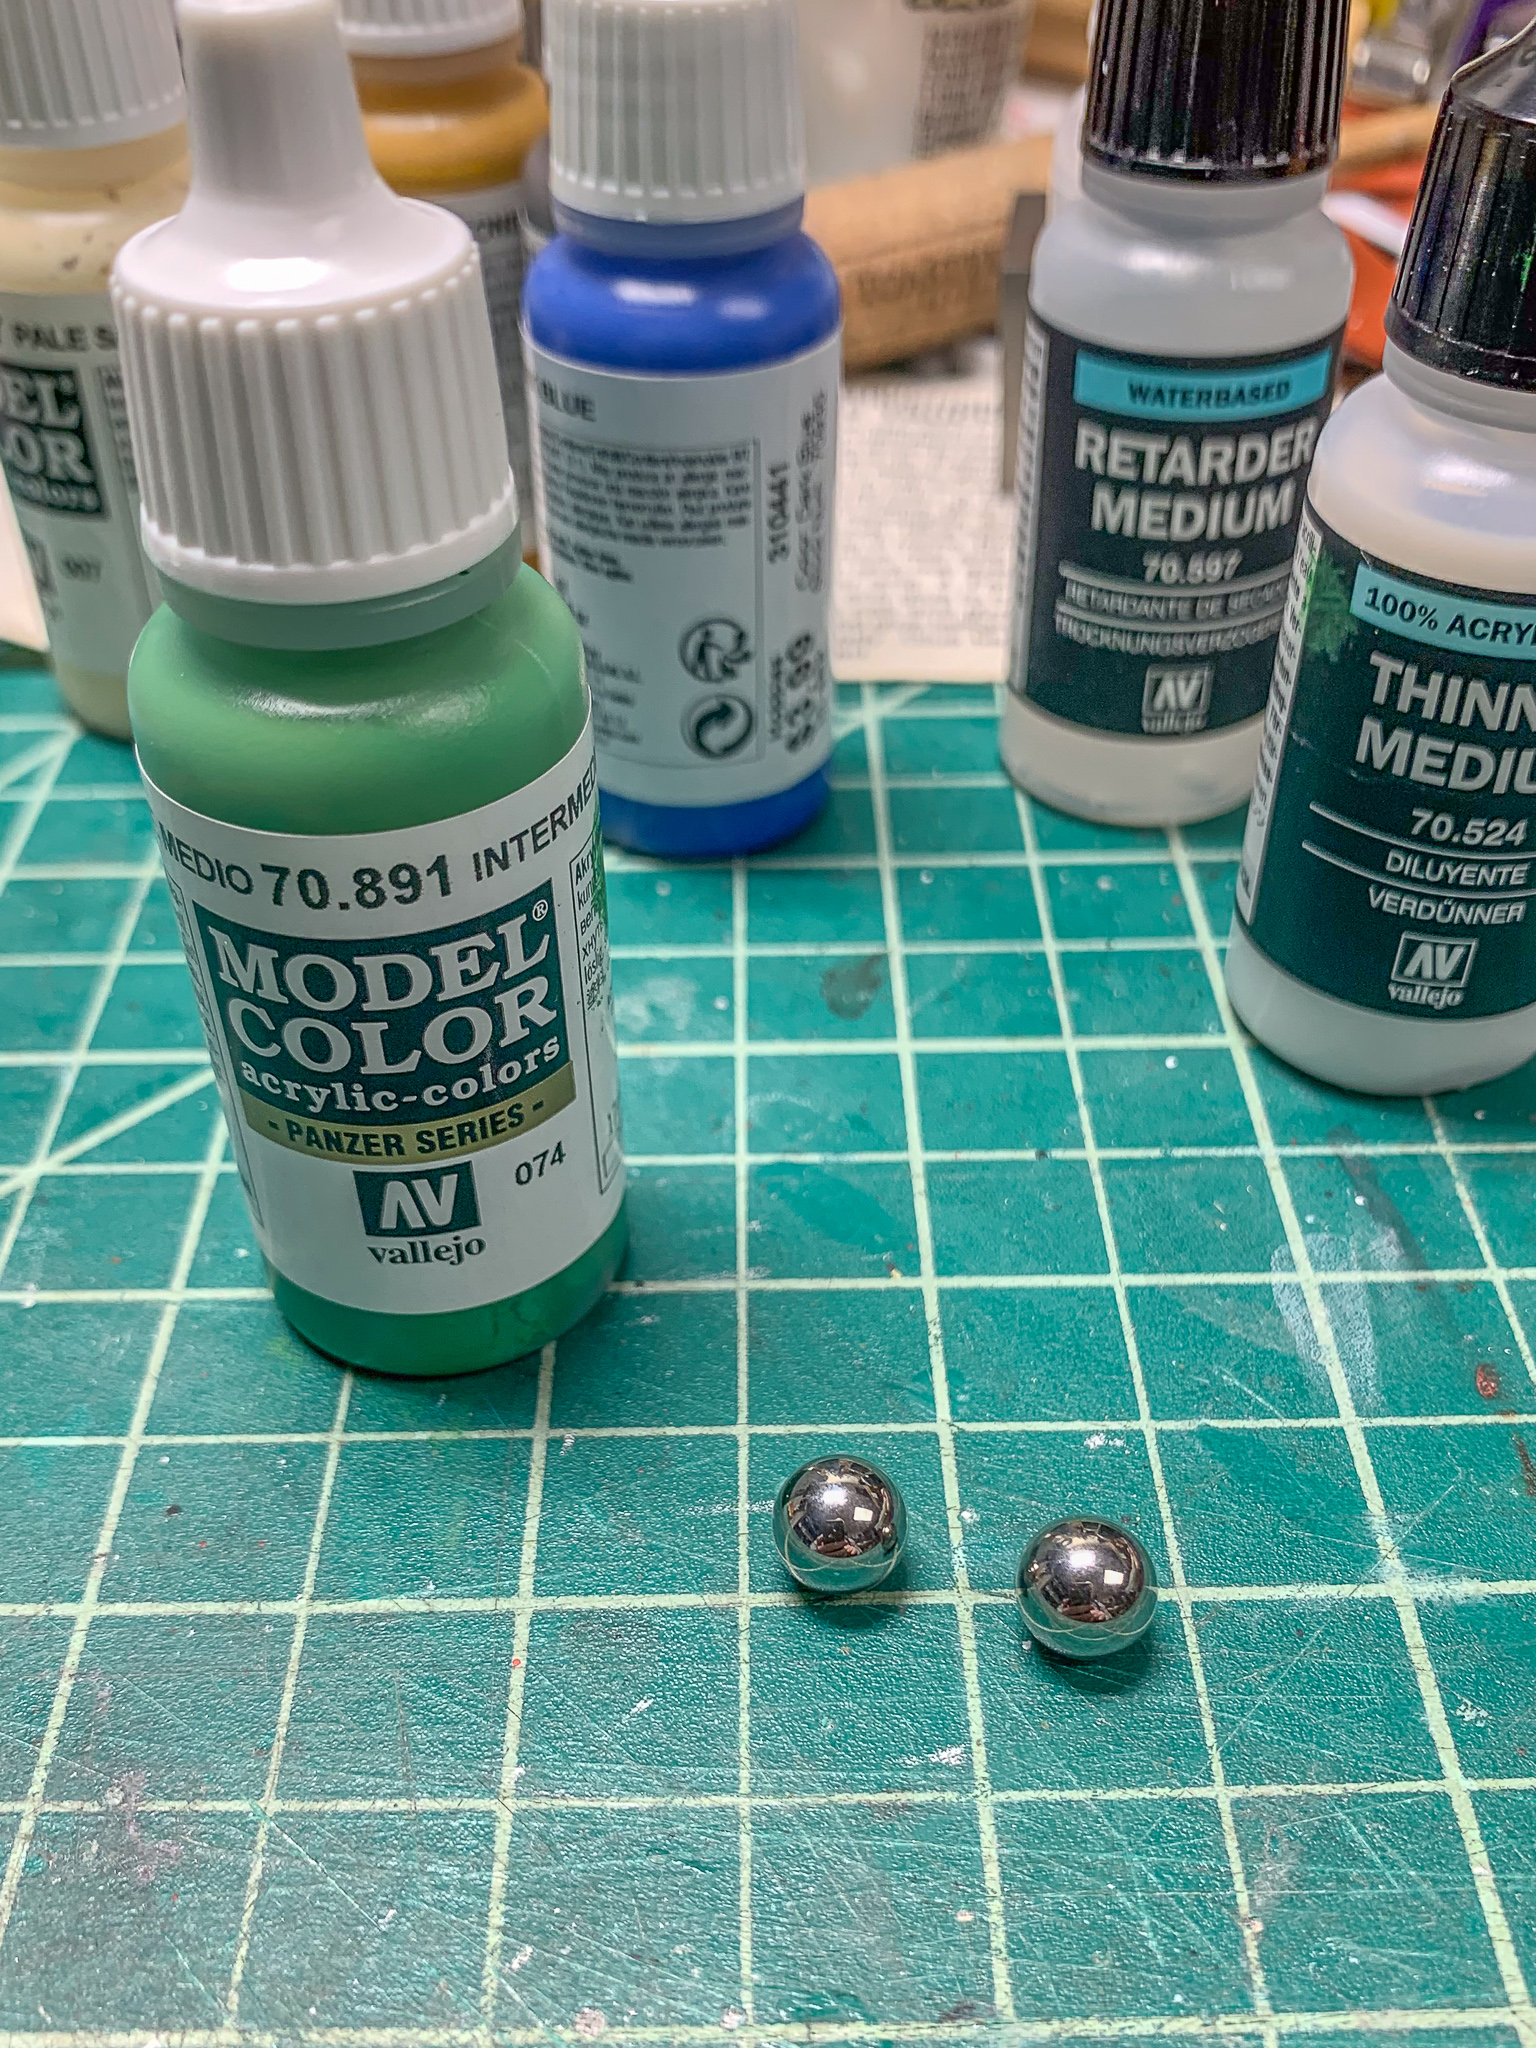 14. Tip: I added chrome ball bearings to my Vallejo paint bottles to stir the paint when shaken.
That’s it! Pretty easy actually, Give it a try!
Recent Comments