Since the last updates, I spent a Saturday afternoon cleaning the basement and breaking the railroad out of suspended animation due to a kitchen flooring replacement project. The bridge project has been progressing slowly, partly due to the usual fall chores, partly due to family stuff and work,and partly due to my own sloth. I am SO envious of those modelers who can work at seeming light-speed…

Super-tree factory
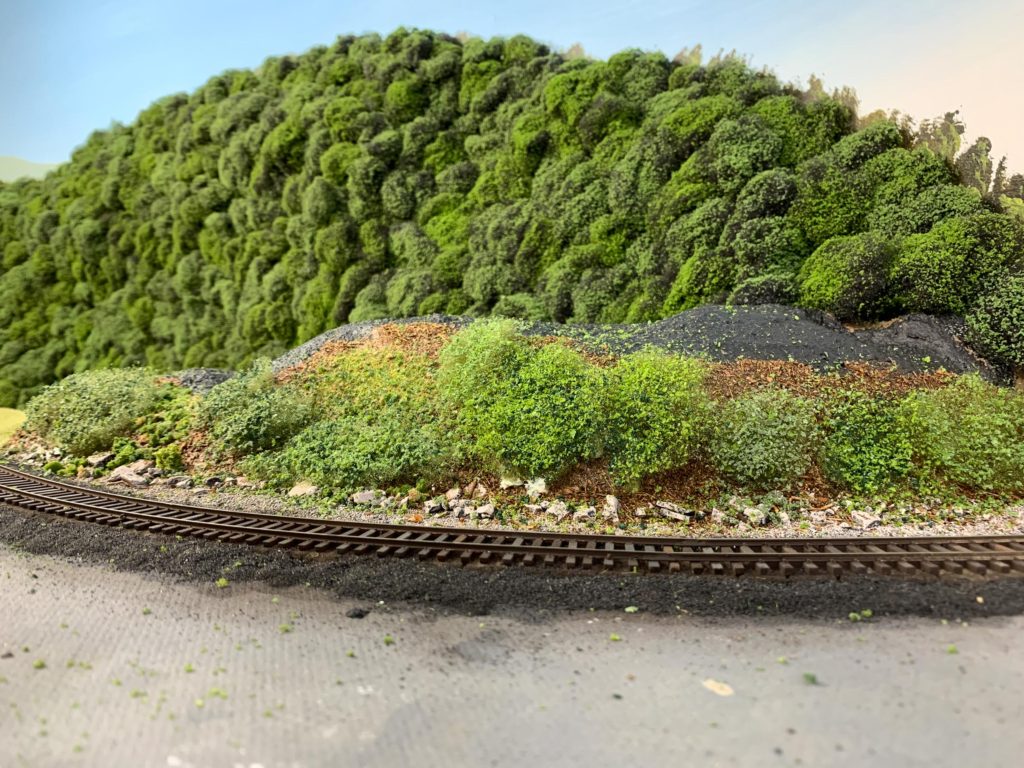
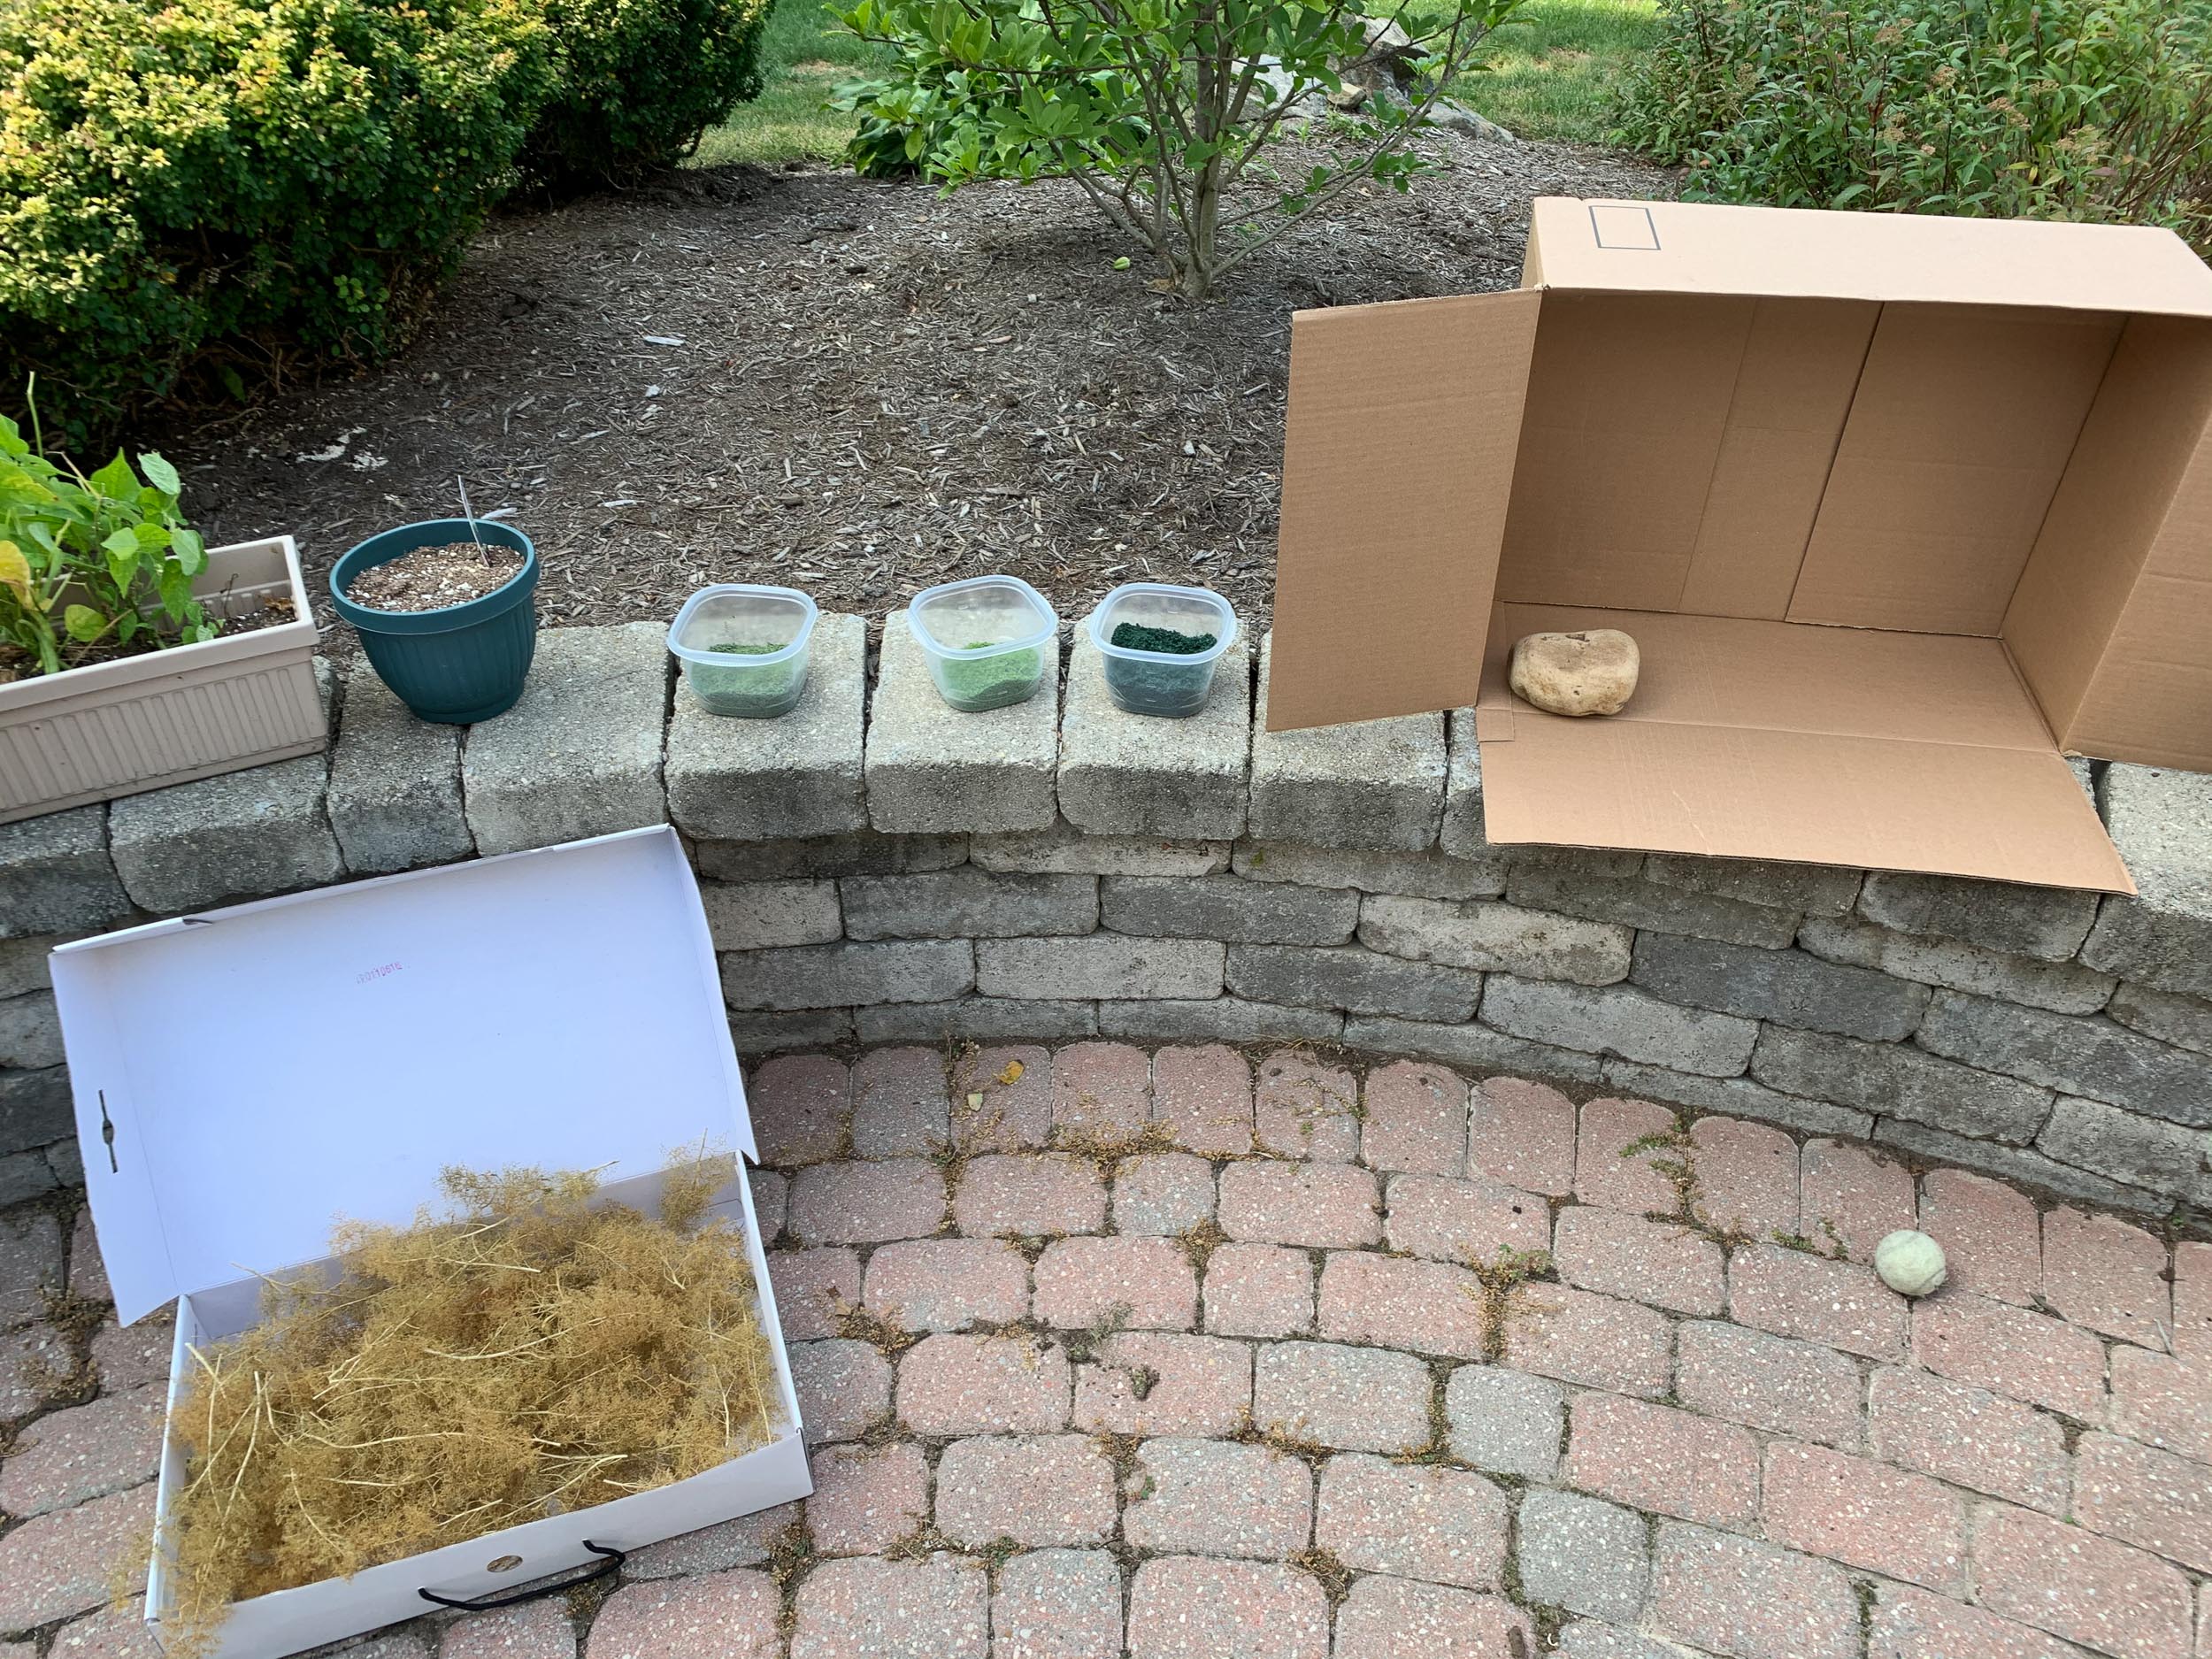
First, I took advantage of a warm fall day to make a couple of dozen Super-trees on the patio. I knew once the fall weather changed this would be much more difficult to accomplish.
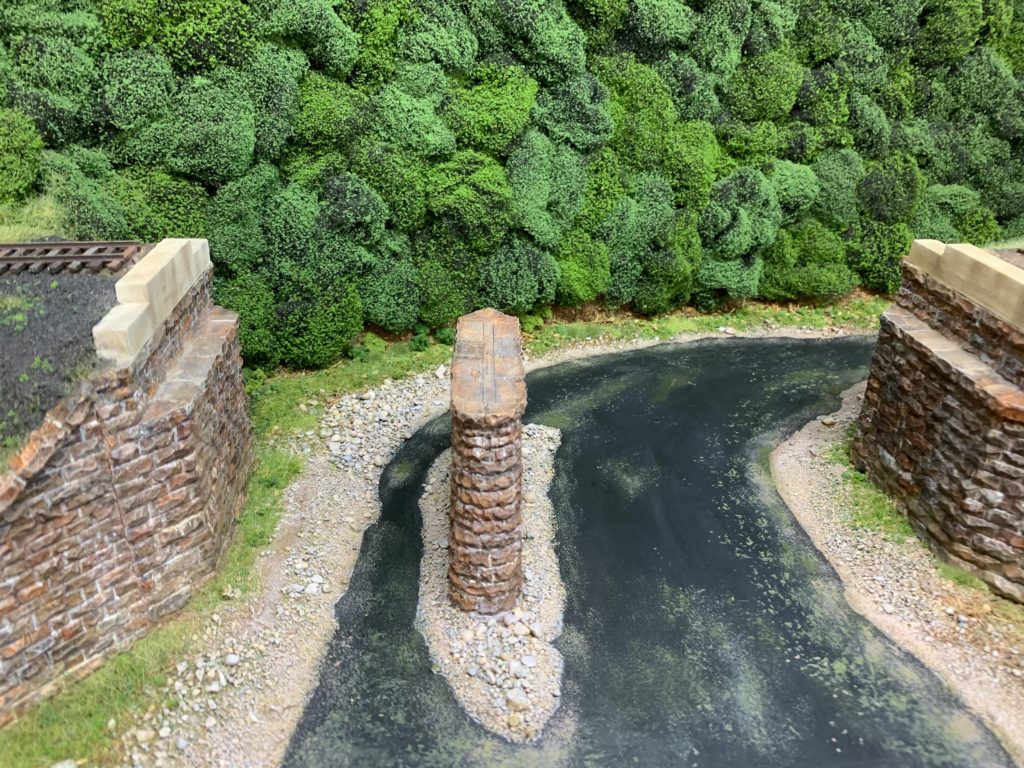
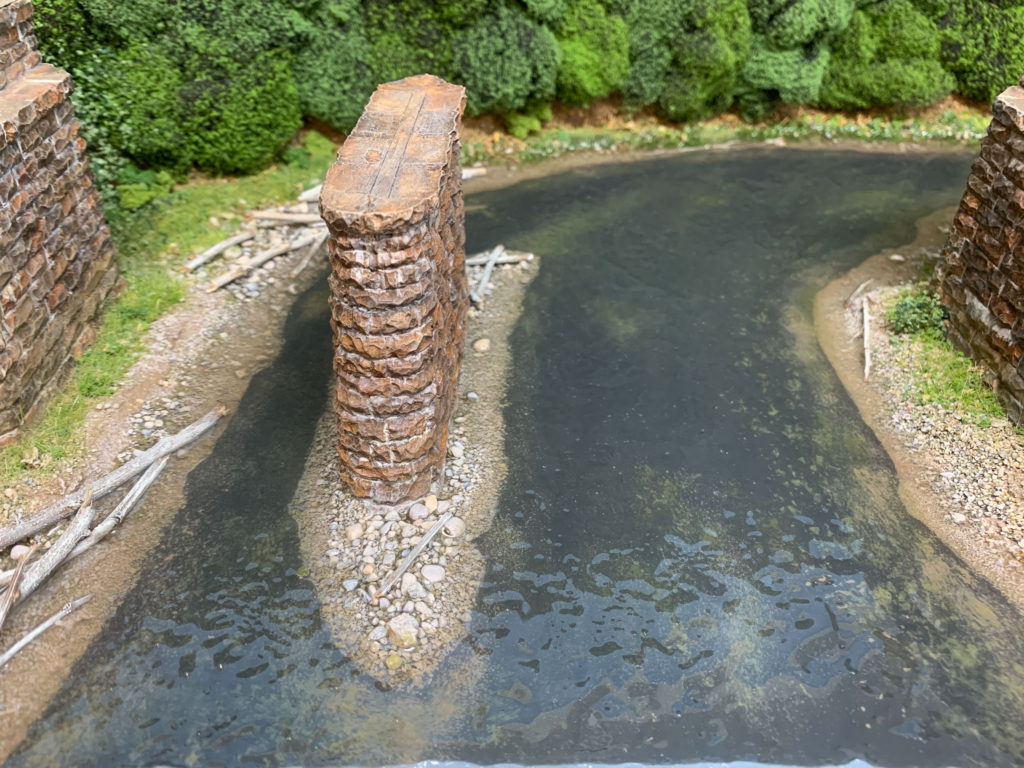
Next step was tidying up the streambed and getting some coloron it that would show through the “water” to give some depth. Something was still missing though…
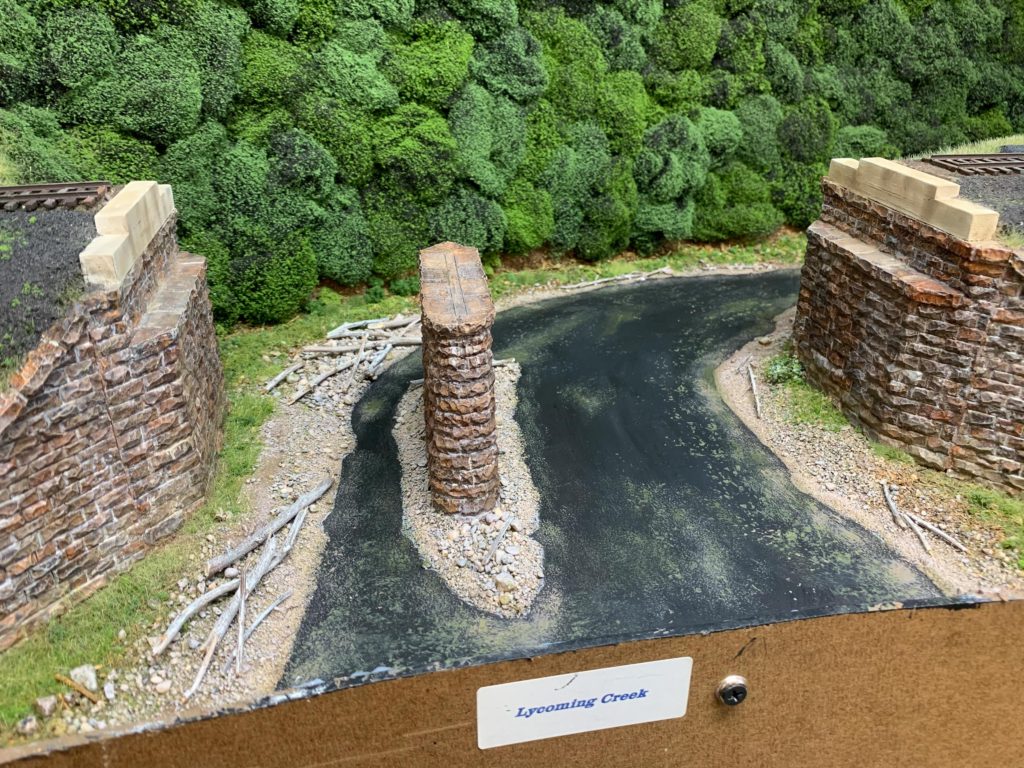
Most Pennsylvania mountain streambanks are littered with all kinds of driftwood. I used dried spirea stems dry-brushed light grays and tans for dead limbs, etc.

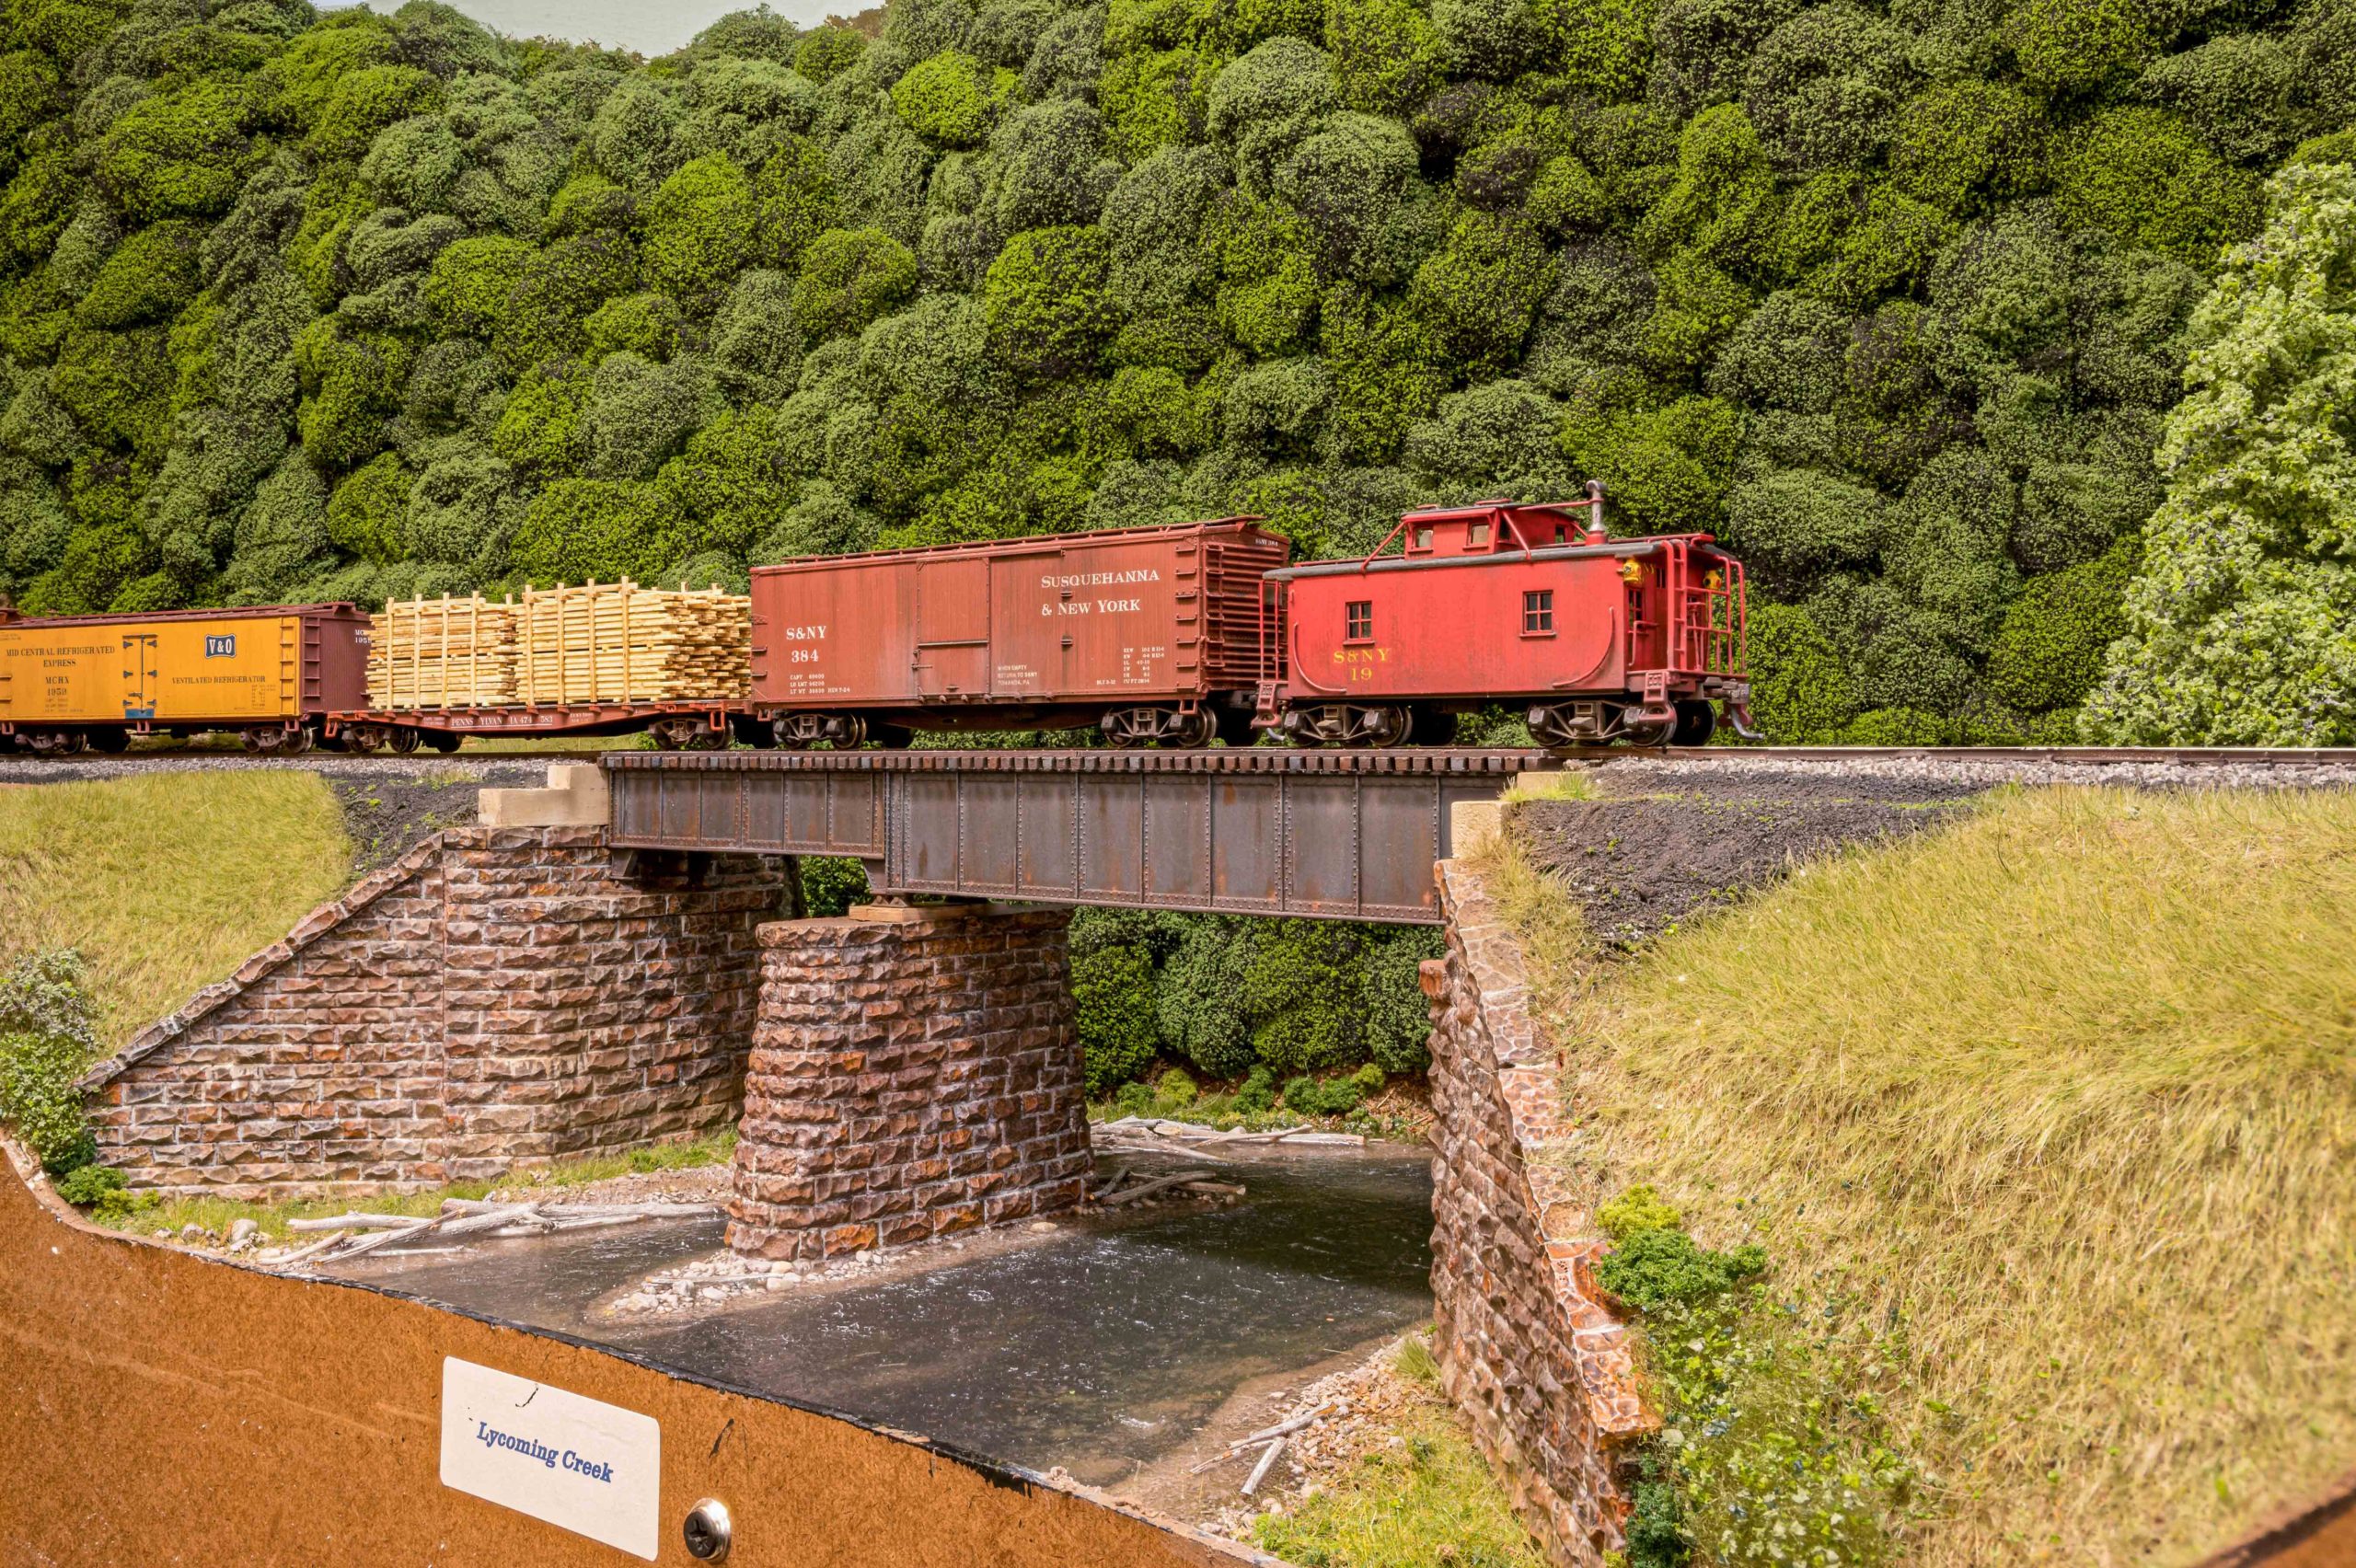
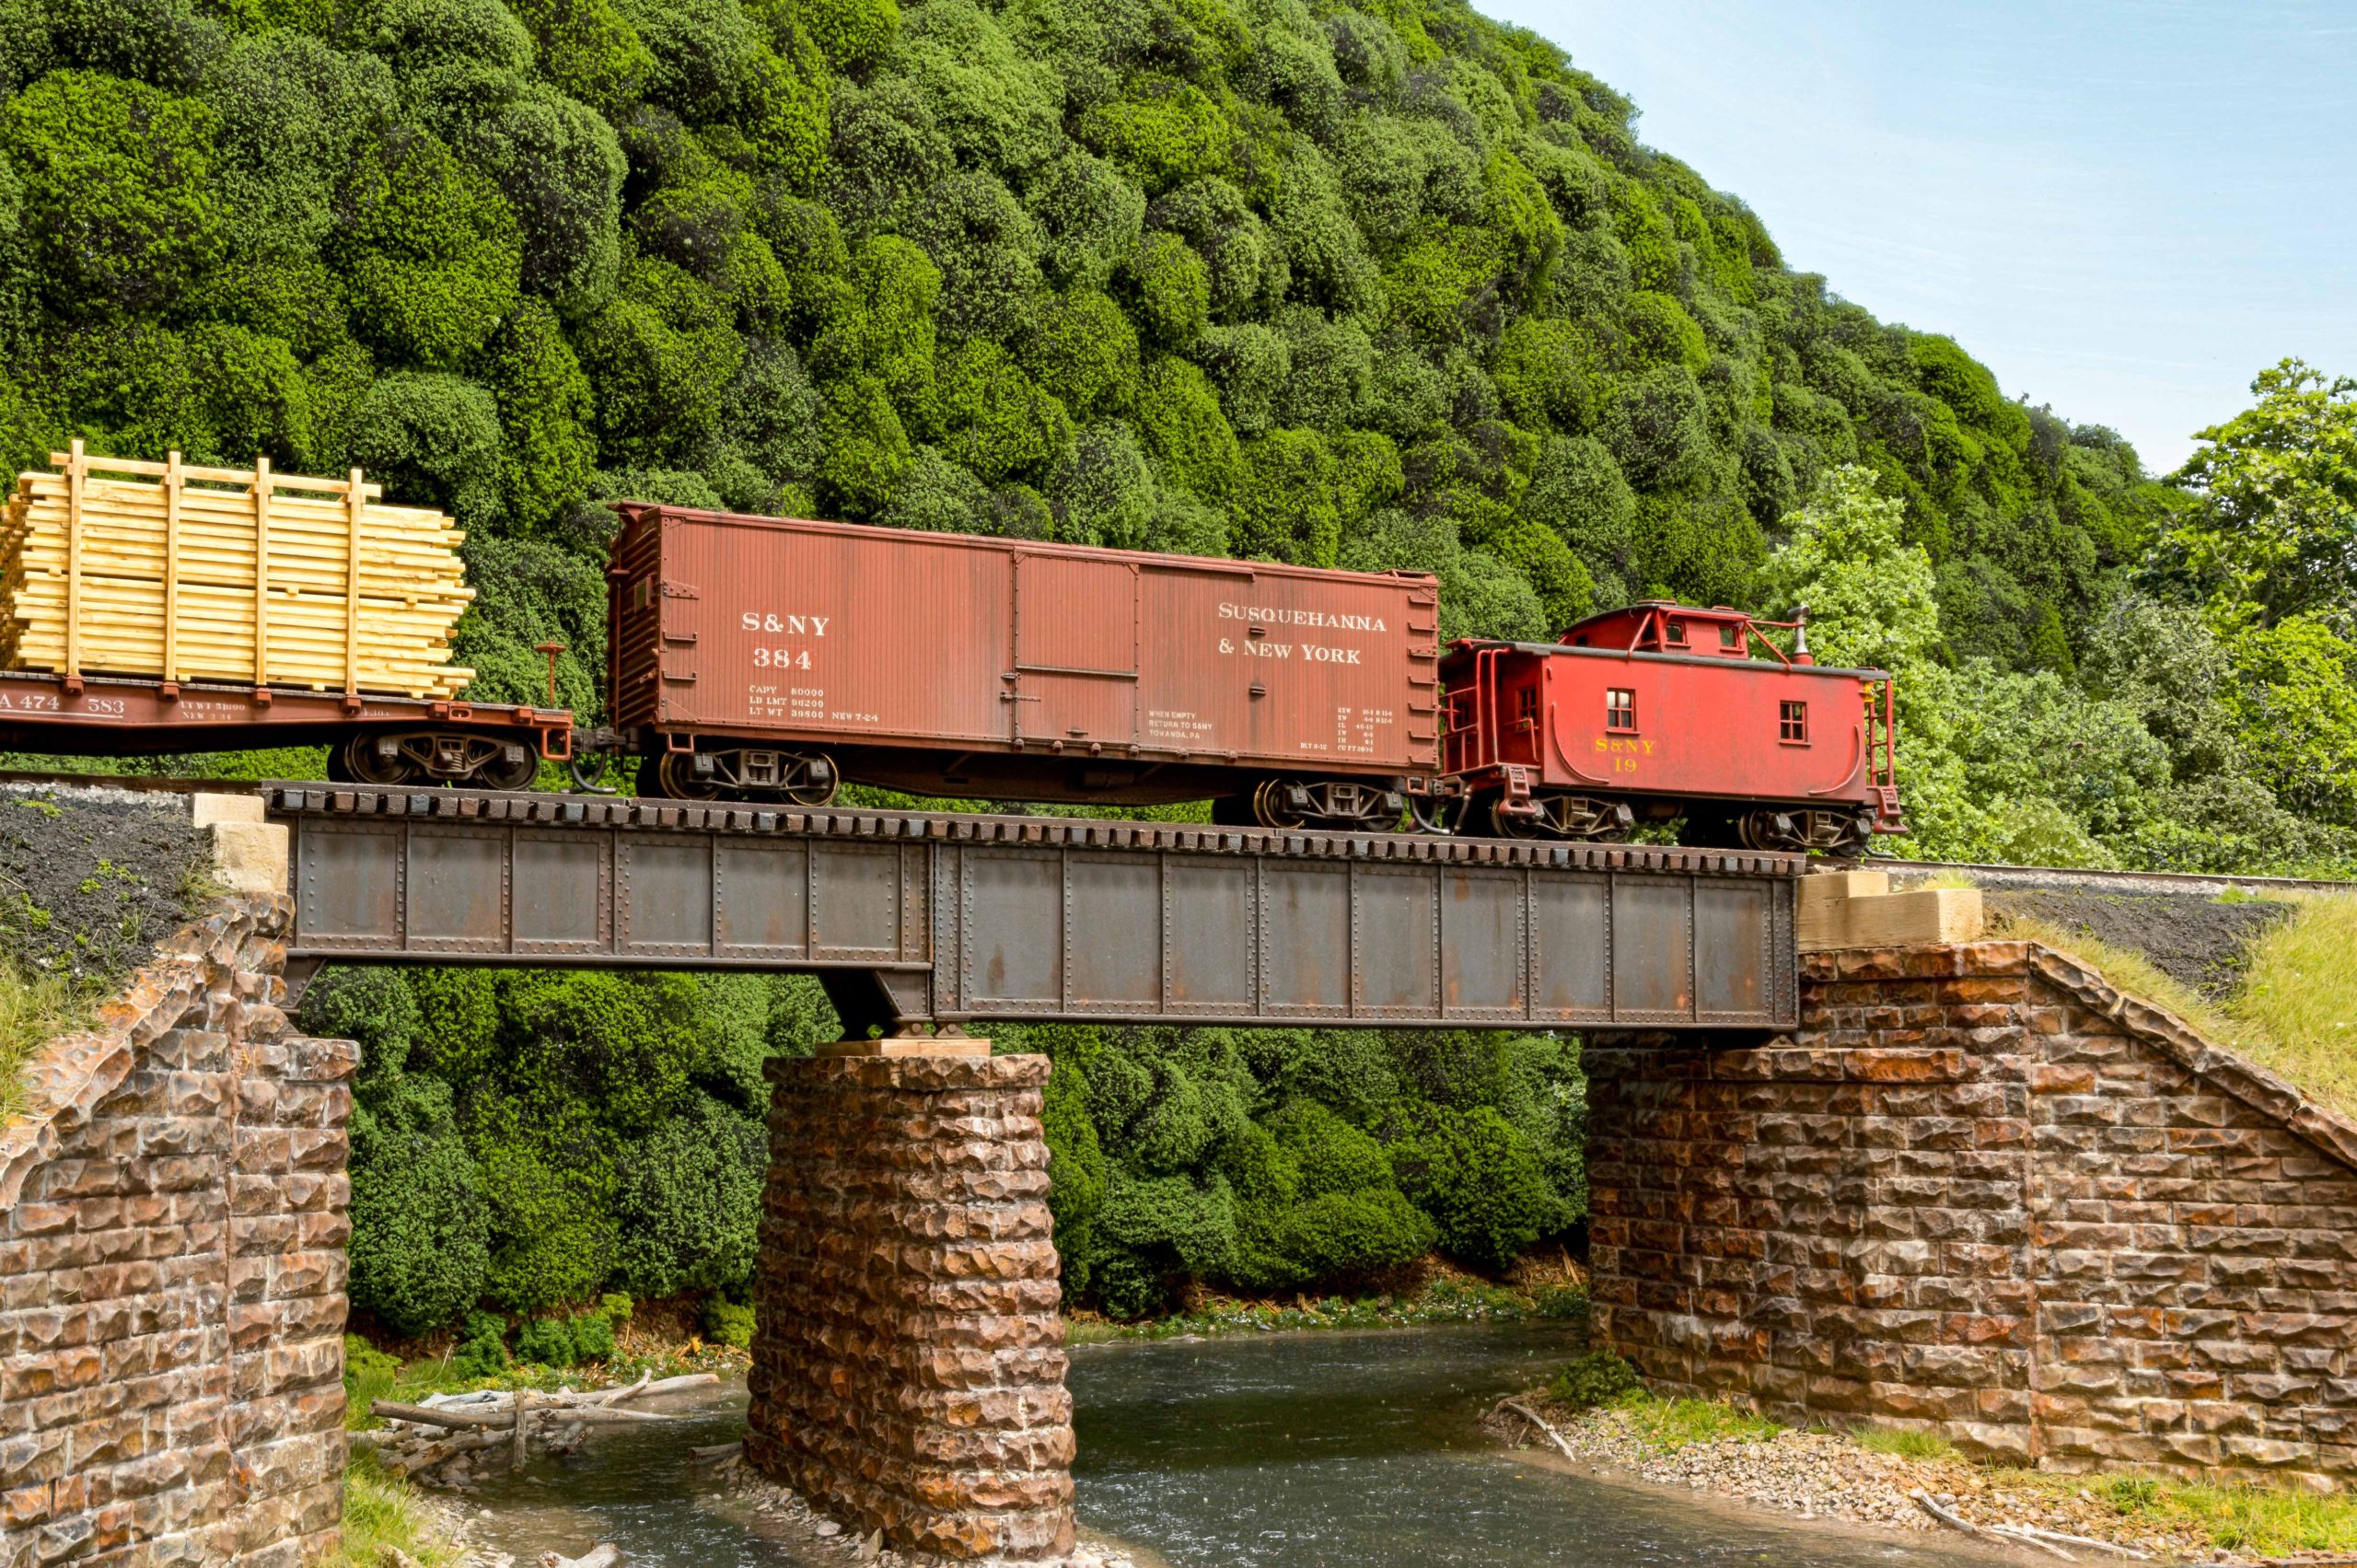
While this was going on, I also was working on getting the bridge completed and weathered, and constantly test-fitting while doing so. The bridge absolutely HAD to fit properly at both ends and the middle. I painted the bridge with dark gray paint from a rattle can, and weathered it with weathering powders and alcohol, PanPastels, and artists oils with turpenoid washes. Multiple subtle layers is the key here.
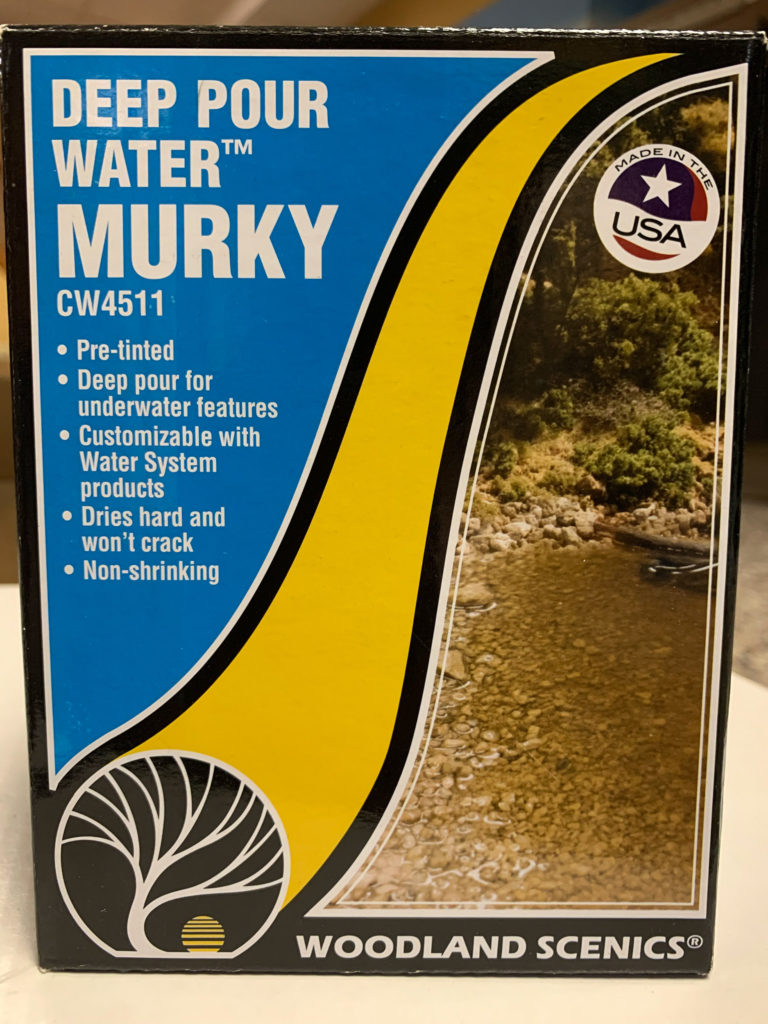
I hate doing things that are not reversible if they don’t turn out right. Pouring the water for Lycoming Creek as one of those jobs. I had never used a resin-water product before, and I was both looking forward to it but dreading it at the same time. Finally though, I couldn’t think of anything that had to be completed first, and it was time to bite the bullet and pour the water. I used Woodland Scenics Murky Water product, and I tried to follow the instructions EXACTLY. As it turned out, it works great but the only drawback it that it wasn’t murky ENOUGH. I have one other stream to build and won’t hesitate to use this product, but I will add more “murk” to it when I get to that point.
Pour complete!
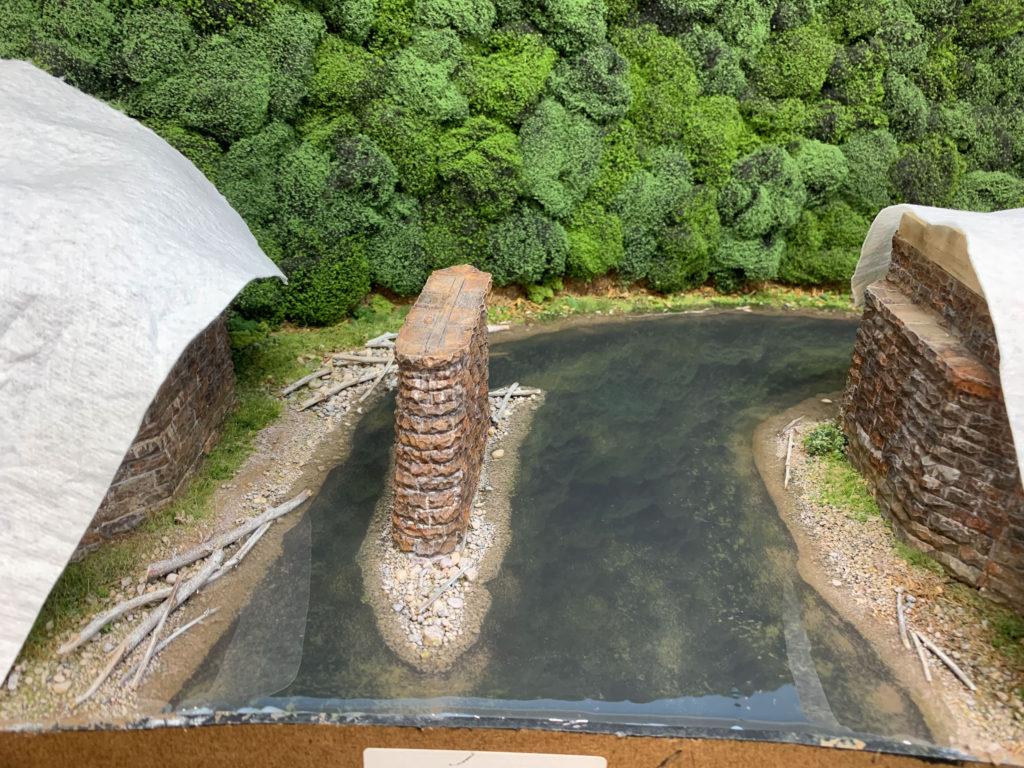
A friend had used resin to make streams, and he warned me (due to hard experience) to absolutely make sure there wasn’t the tiniest pinhole anywhere where the resin would go, or it would eventually run out all over the floor. I sealed the edge at the fascia with clear caulk, and put a couple of layers of newspapers down underneath, just in case. The Woodland Scenics stuff is a little spendy, and a leak would be an expensive mistake. I also covered the adjacent scenery to avoid any drippage.

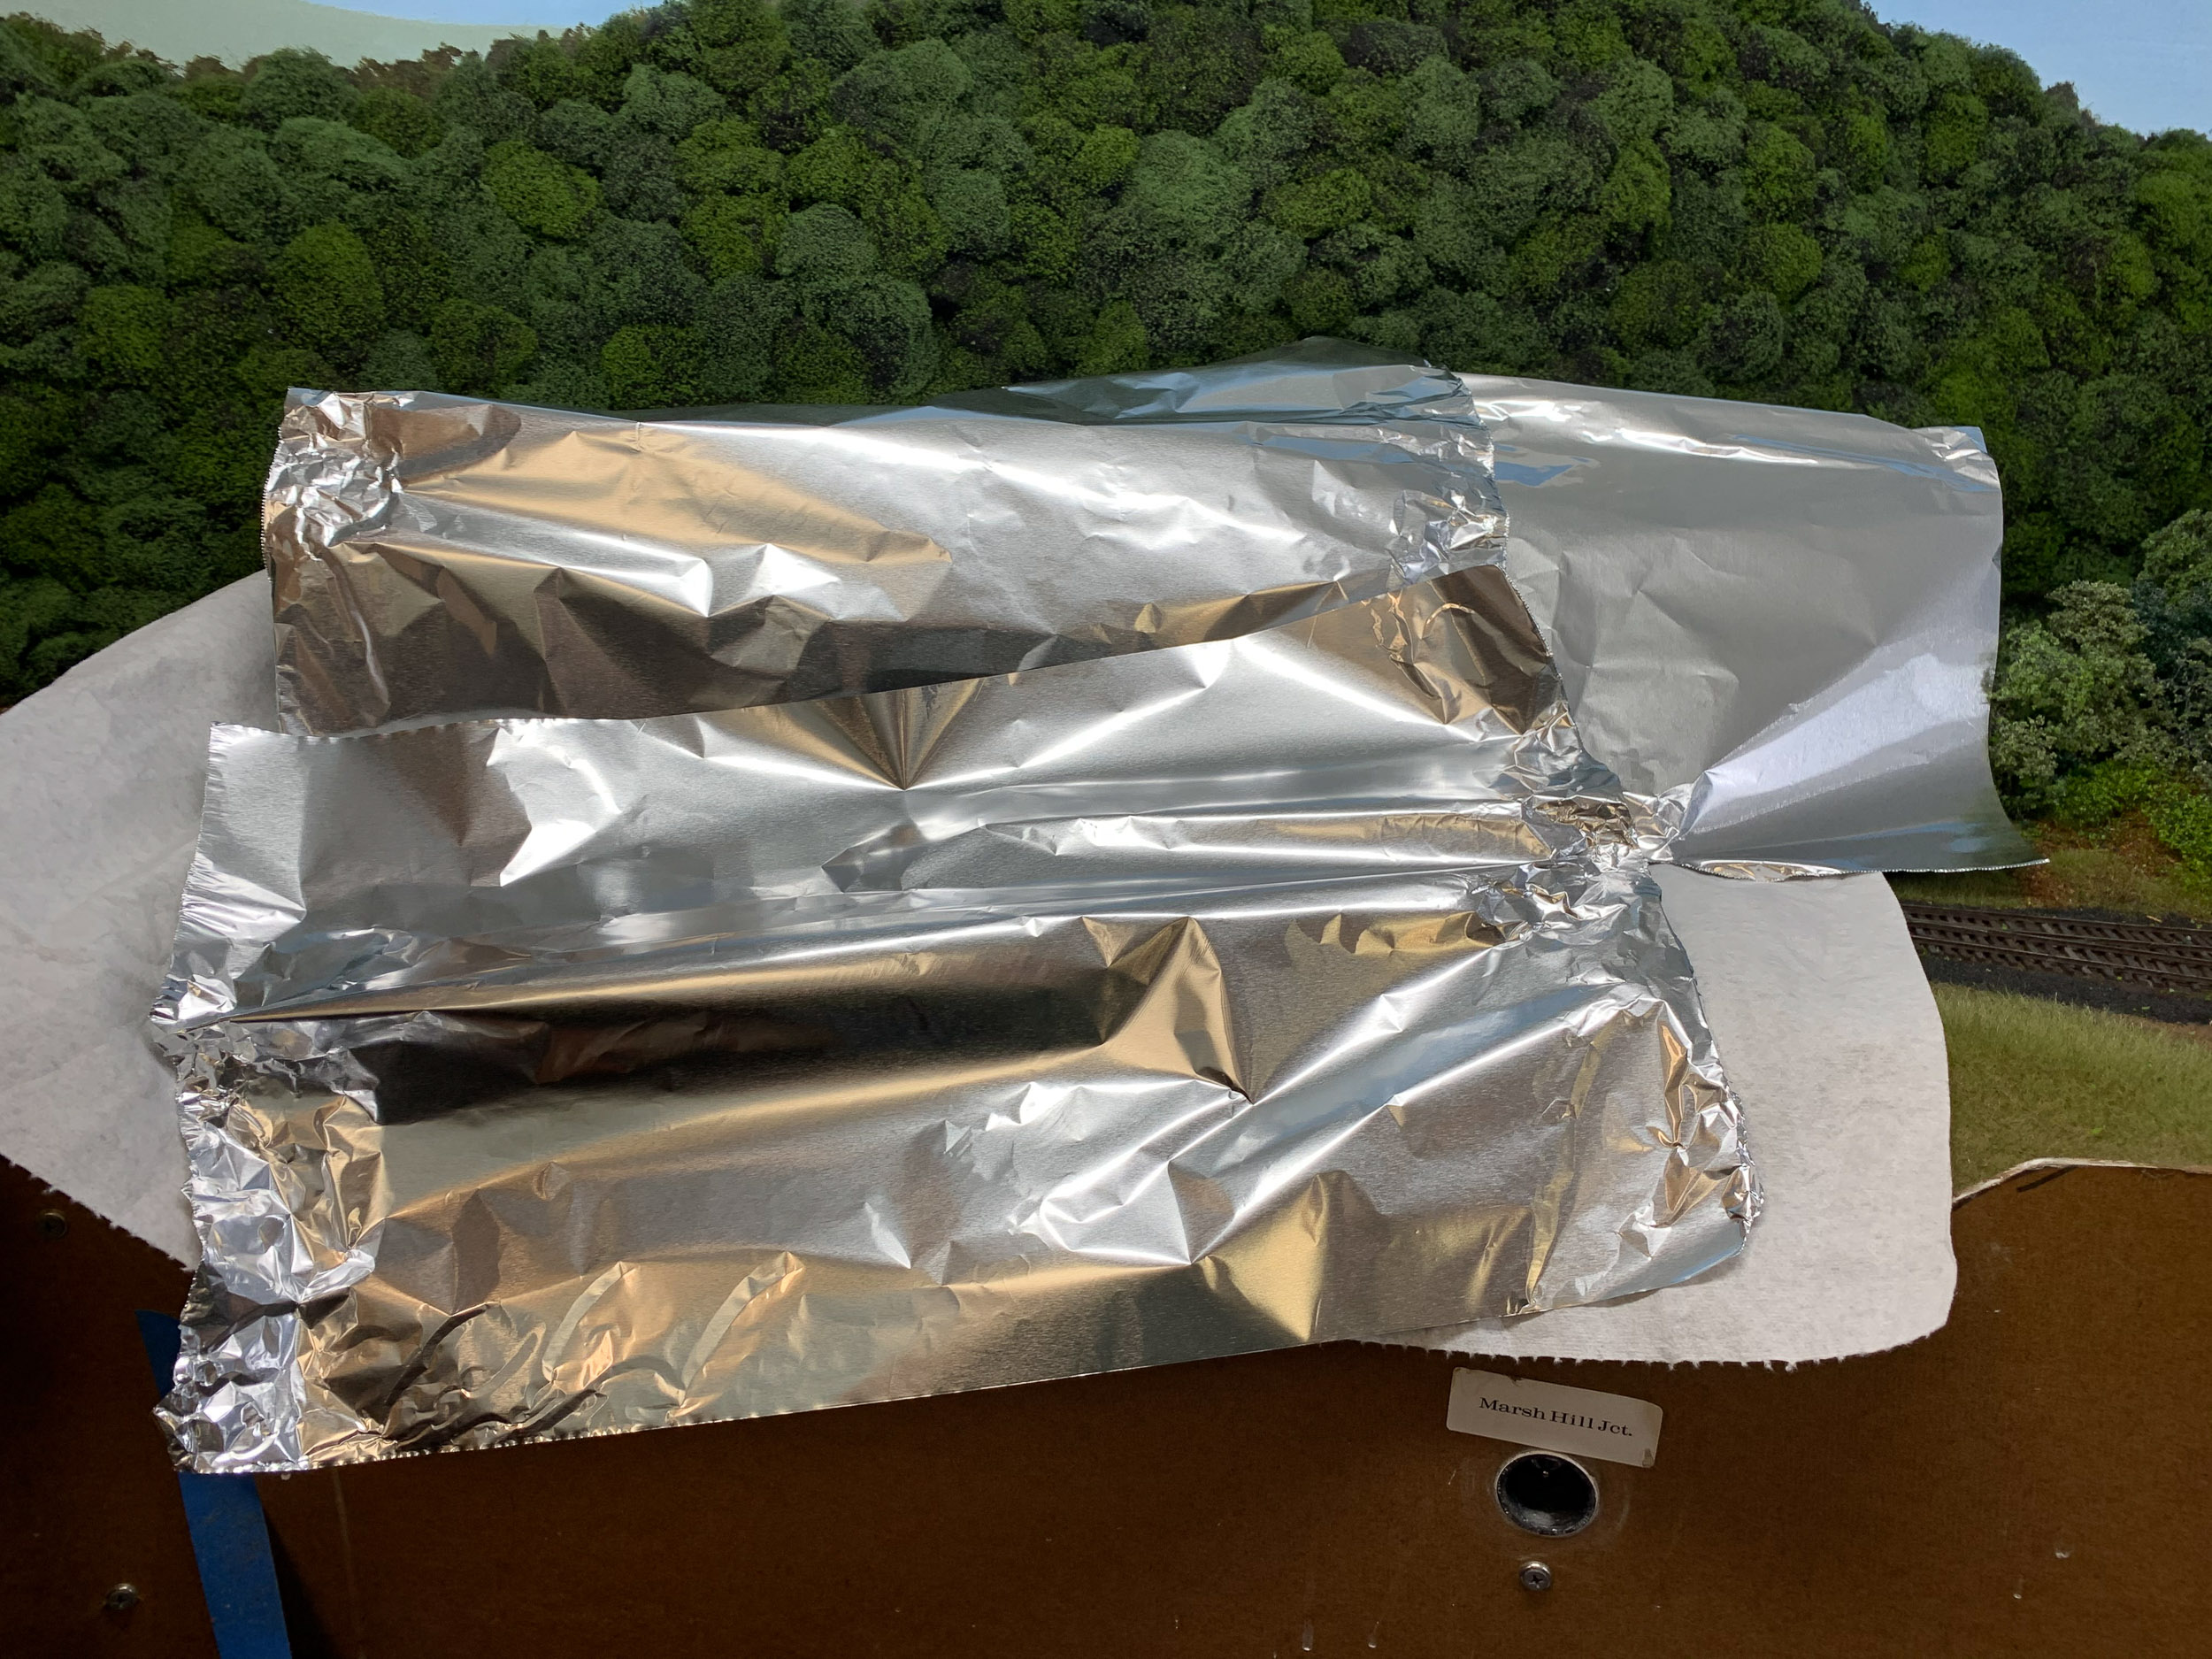
Walk away, and no peeking…
The stream was covered with foil to keep any dust off while the resin set. I kept anxiously peering under the railroad, but no leaks! We then left on a several-day visit to my oldest daughter and her family; an excellent way to avoid peeking while the resin set up!

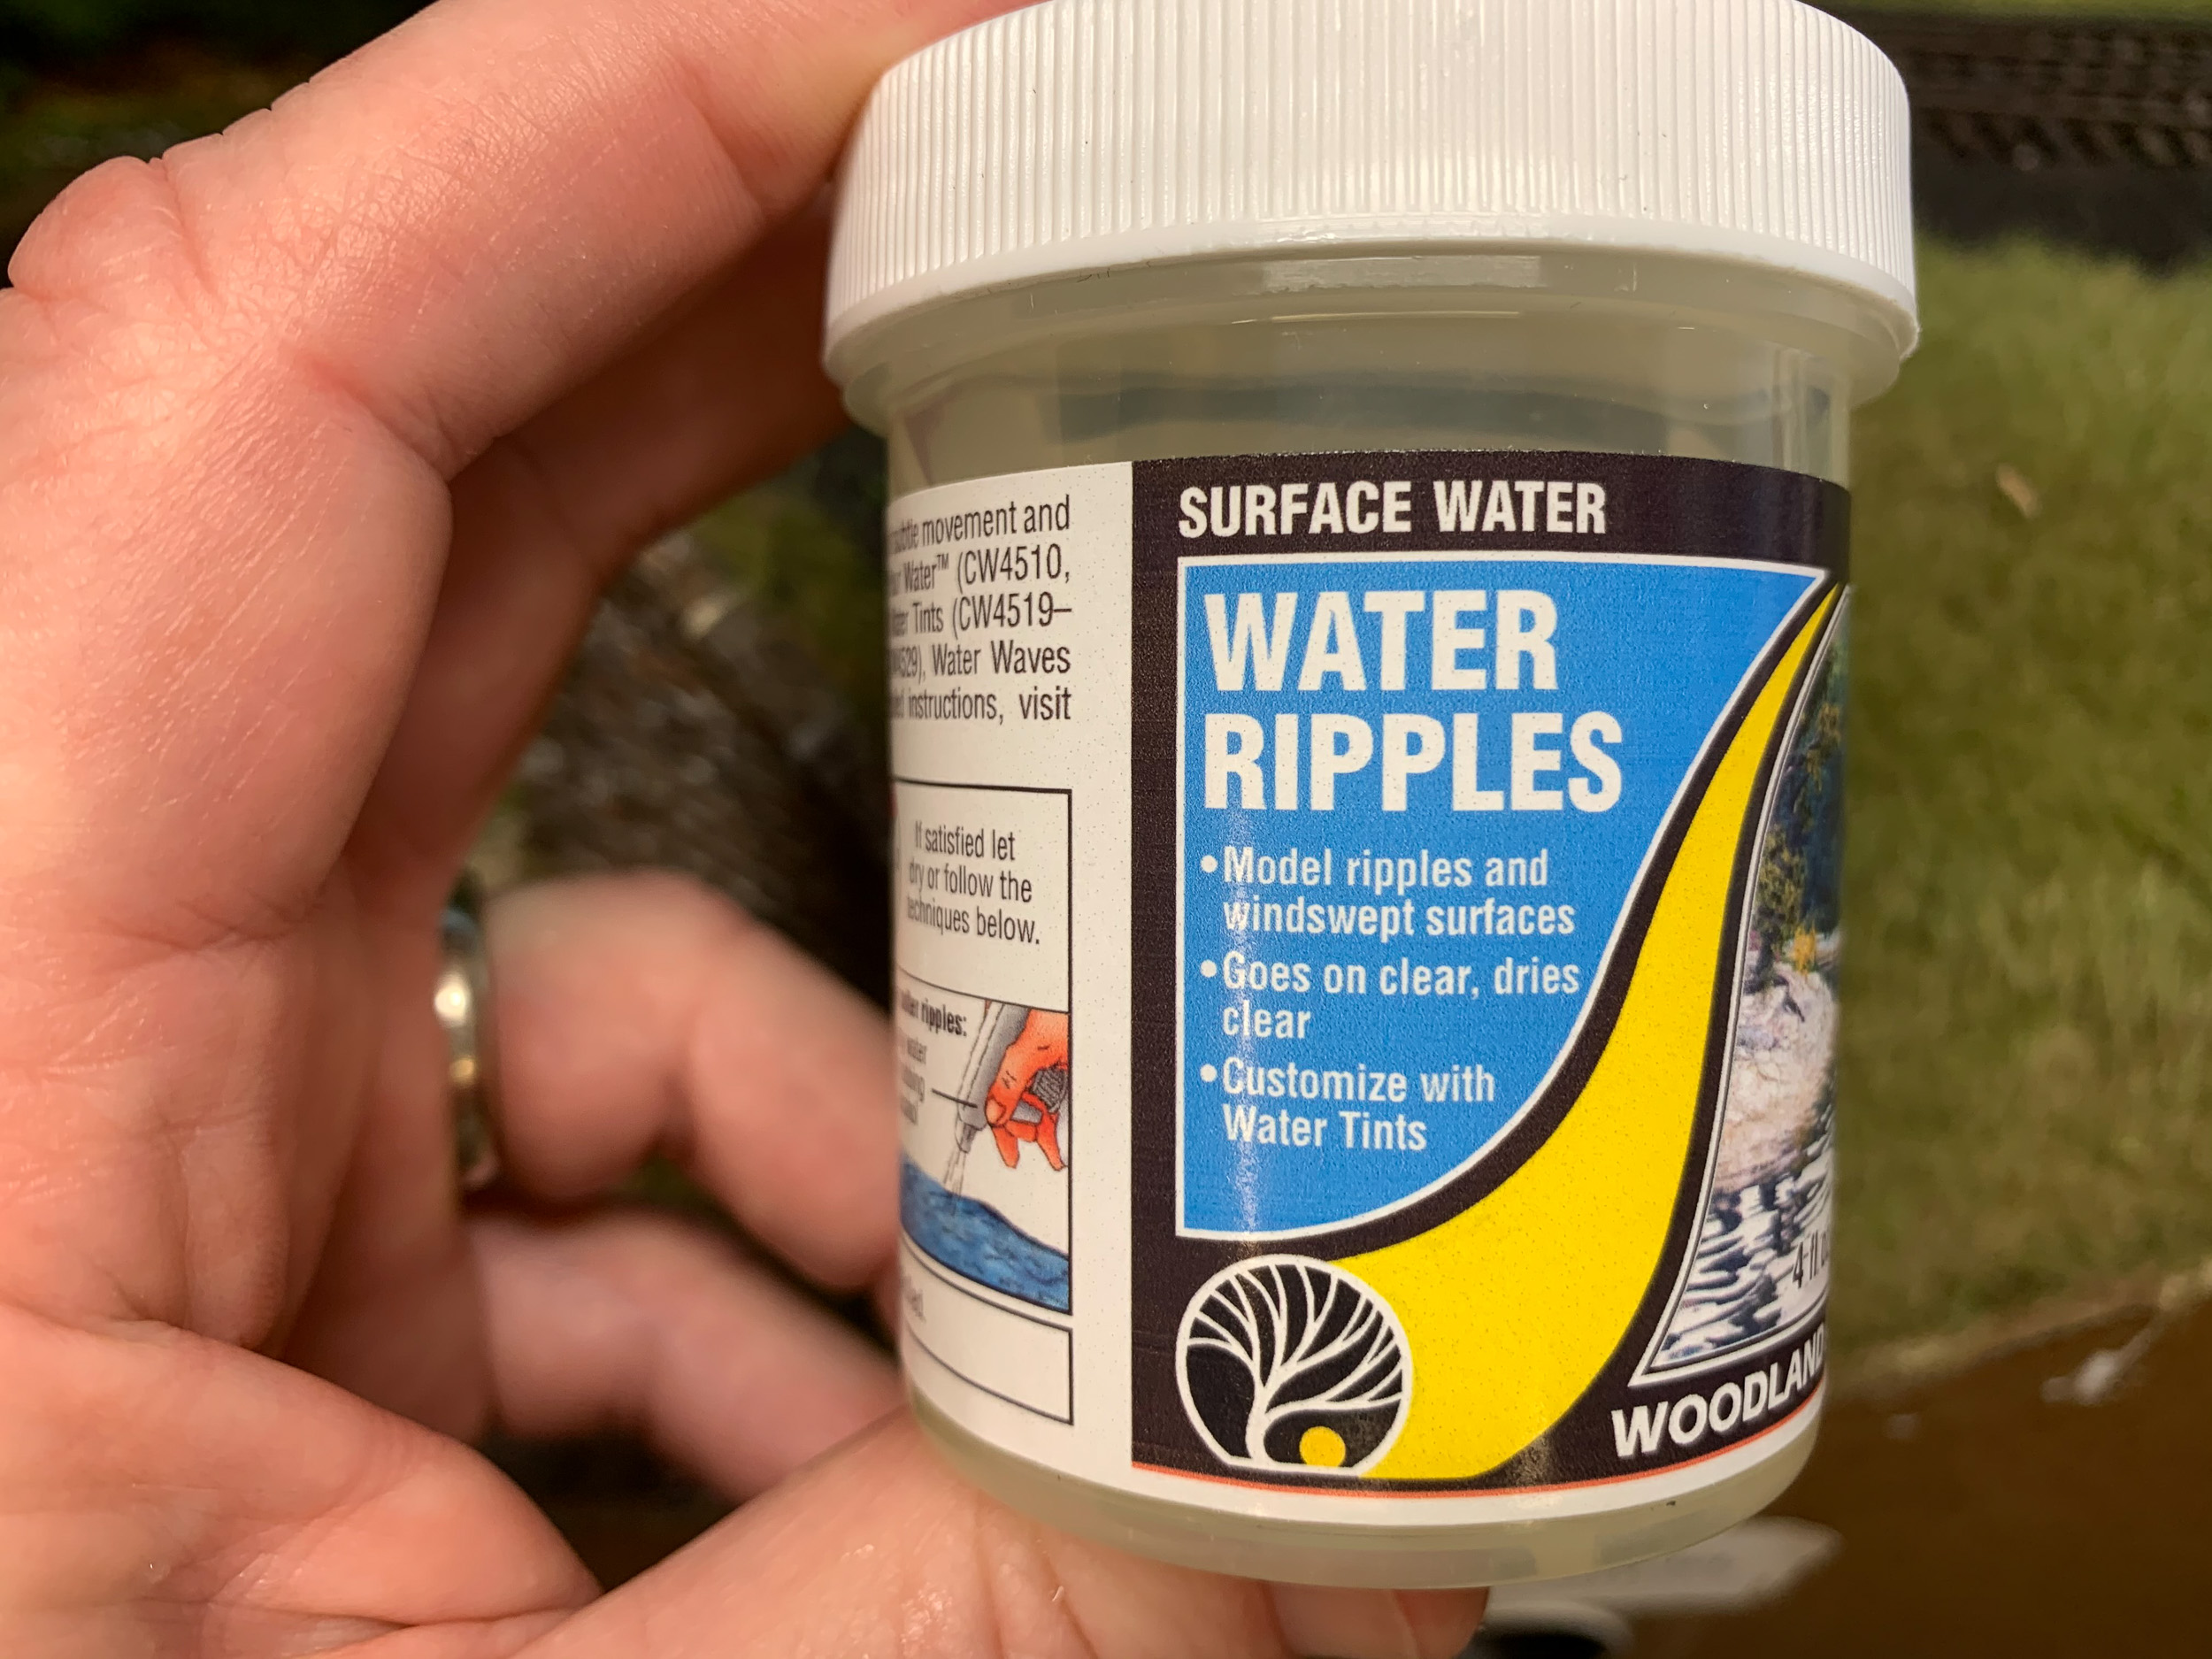
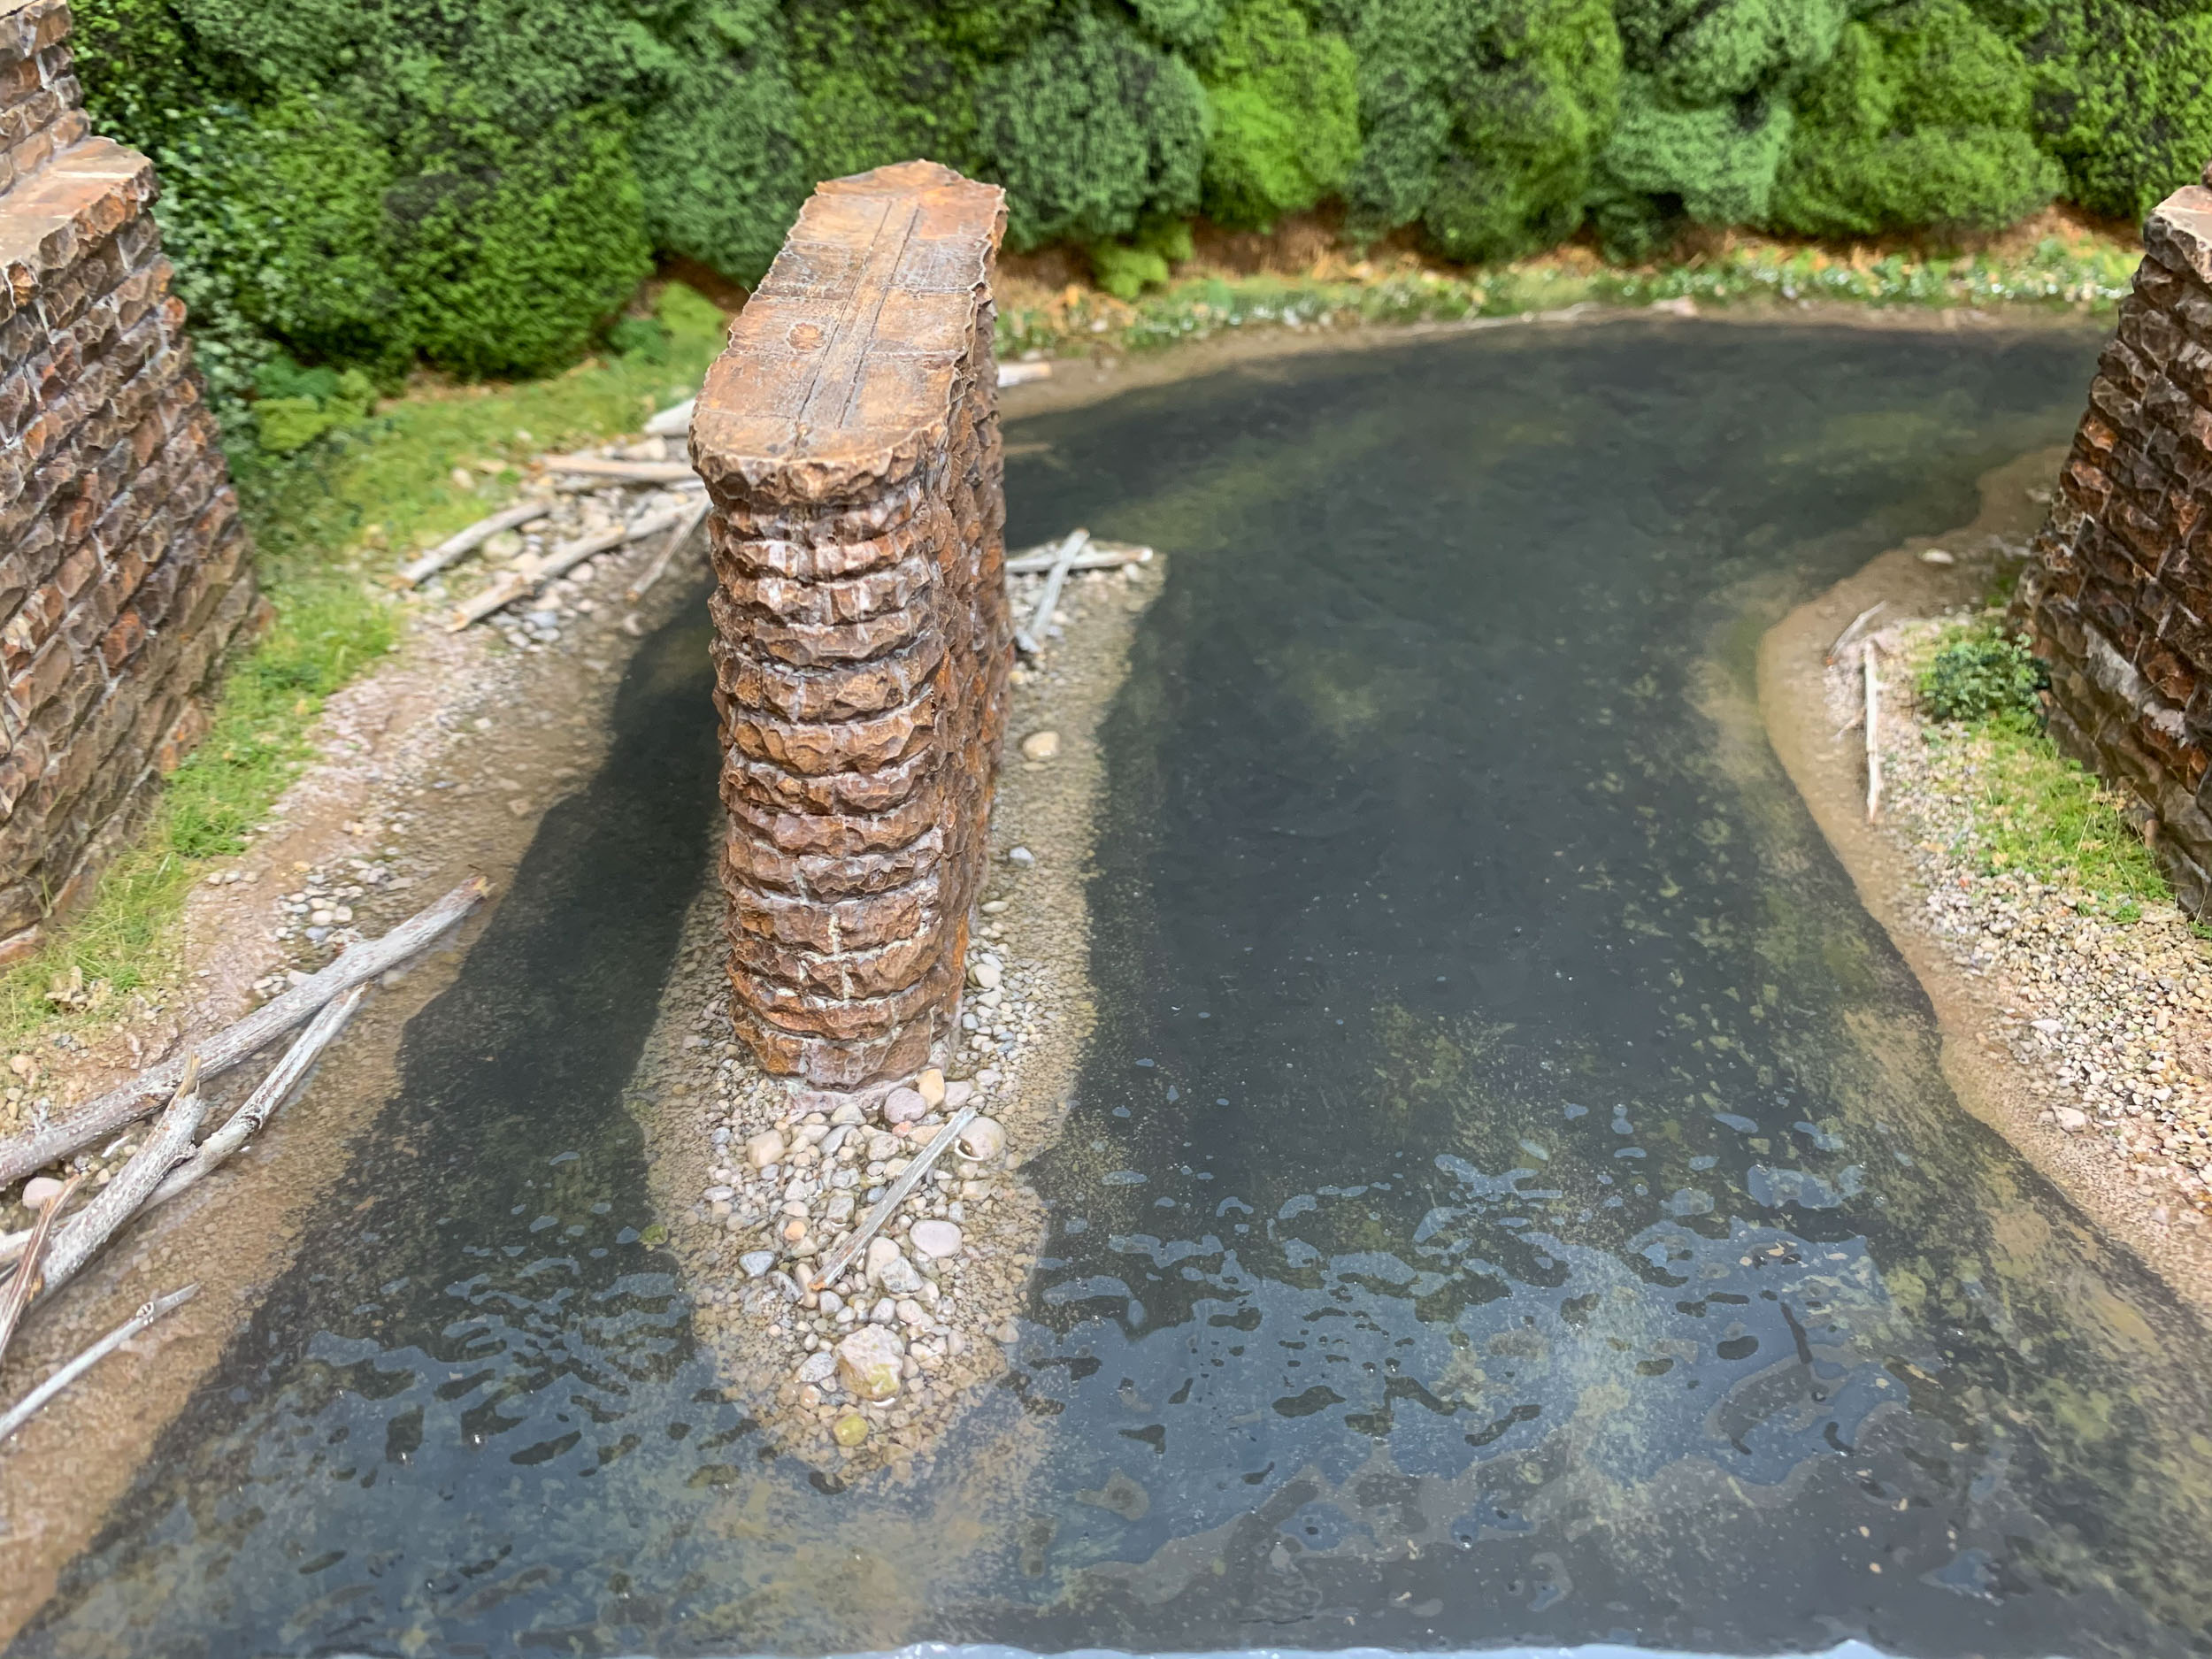
The resin set up with a nice flat glossy surface, but that is just the first step. More steps are need to add motion and life to the water. I wanted to try some of the other WS compatible water products, so I added a layer of the Water Ripples. This worked just “ok”. It added a little depth and motion, but not quite enough to my liking. From a lower angle it looked great, but from a higher viewpoint it just didn’t add enough feeling of moving water.
Not bad, could be better…

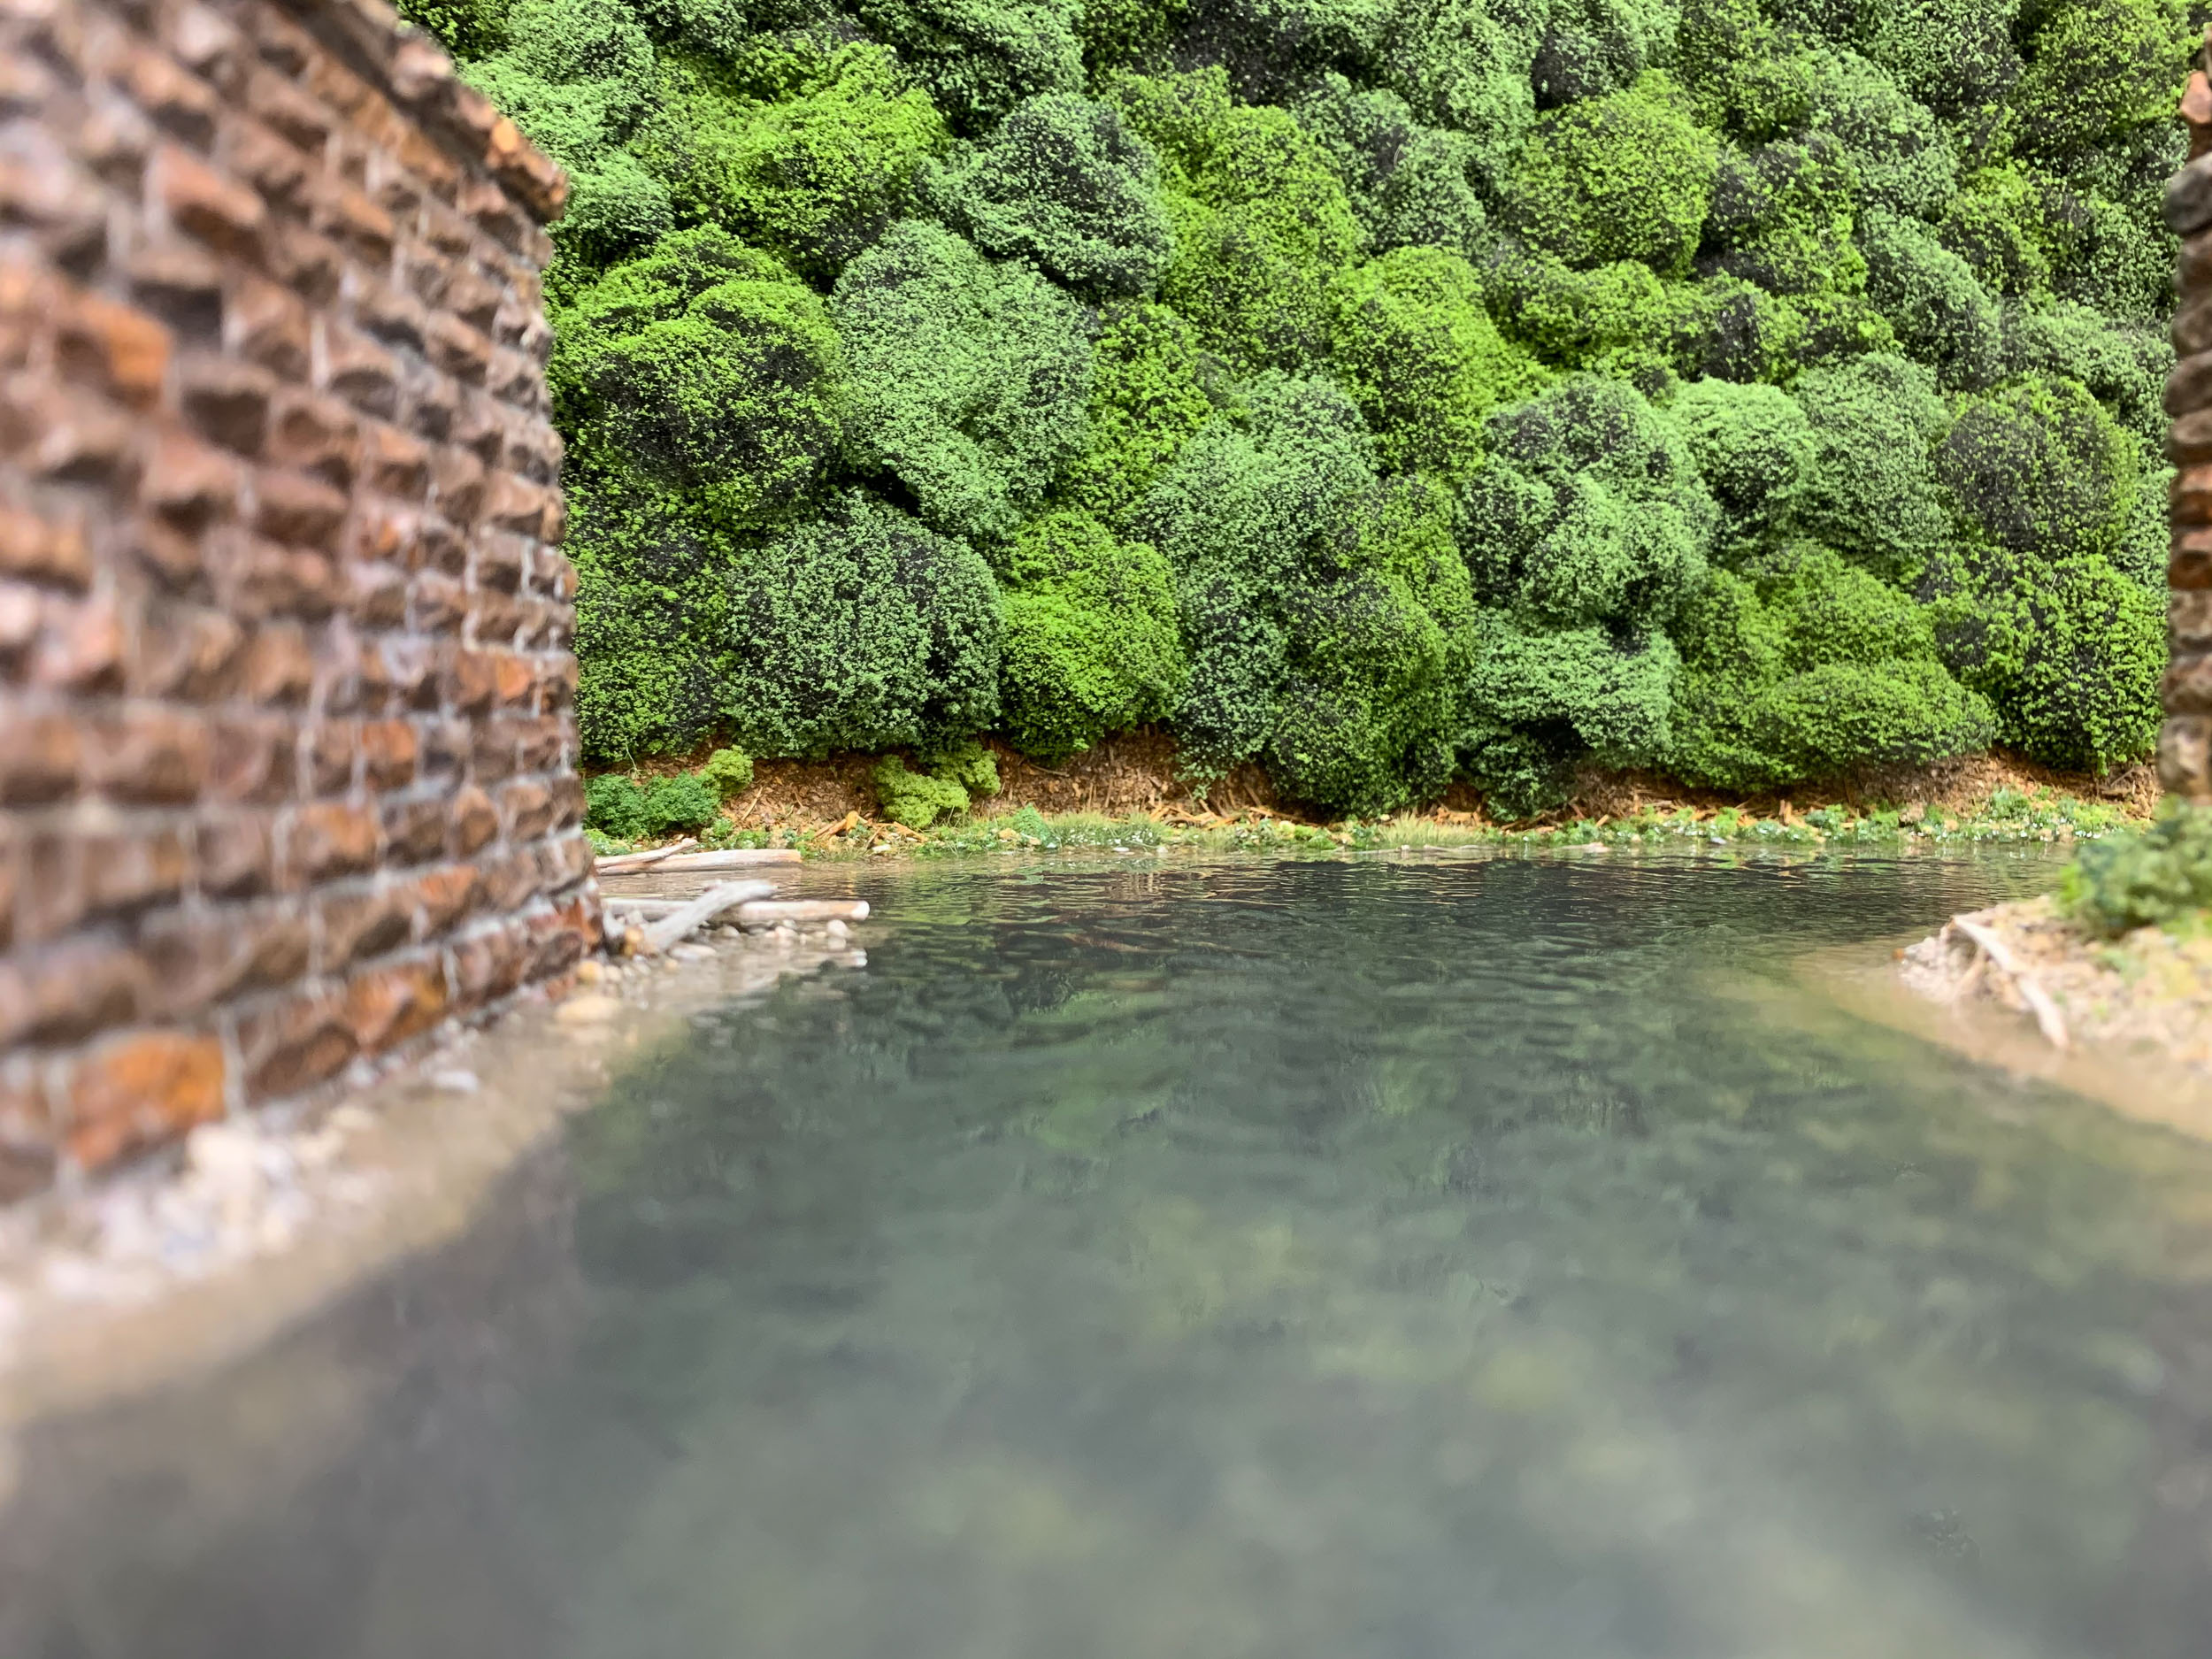
Low angle better than the normal viewing angle…
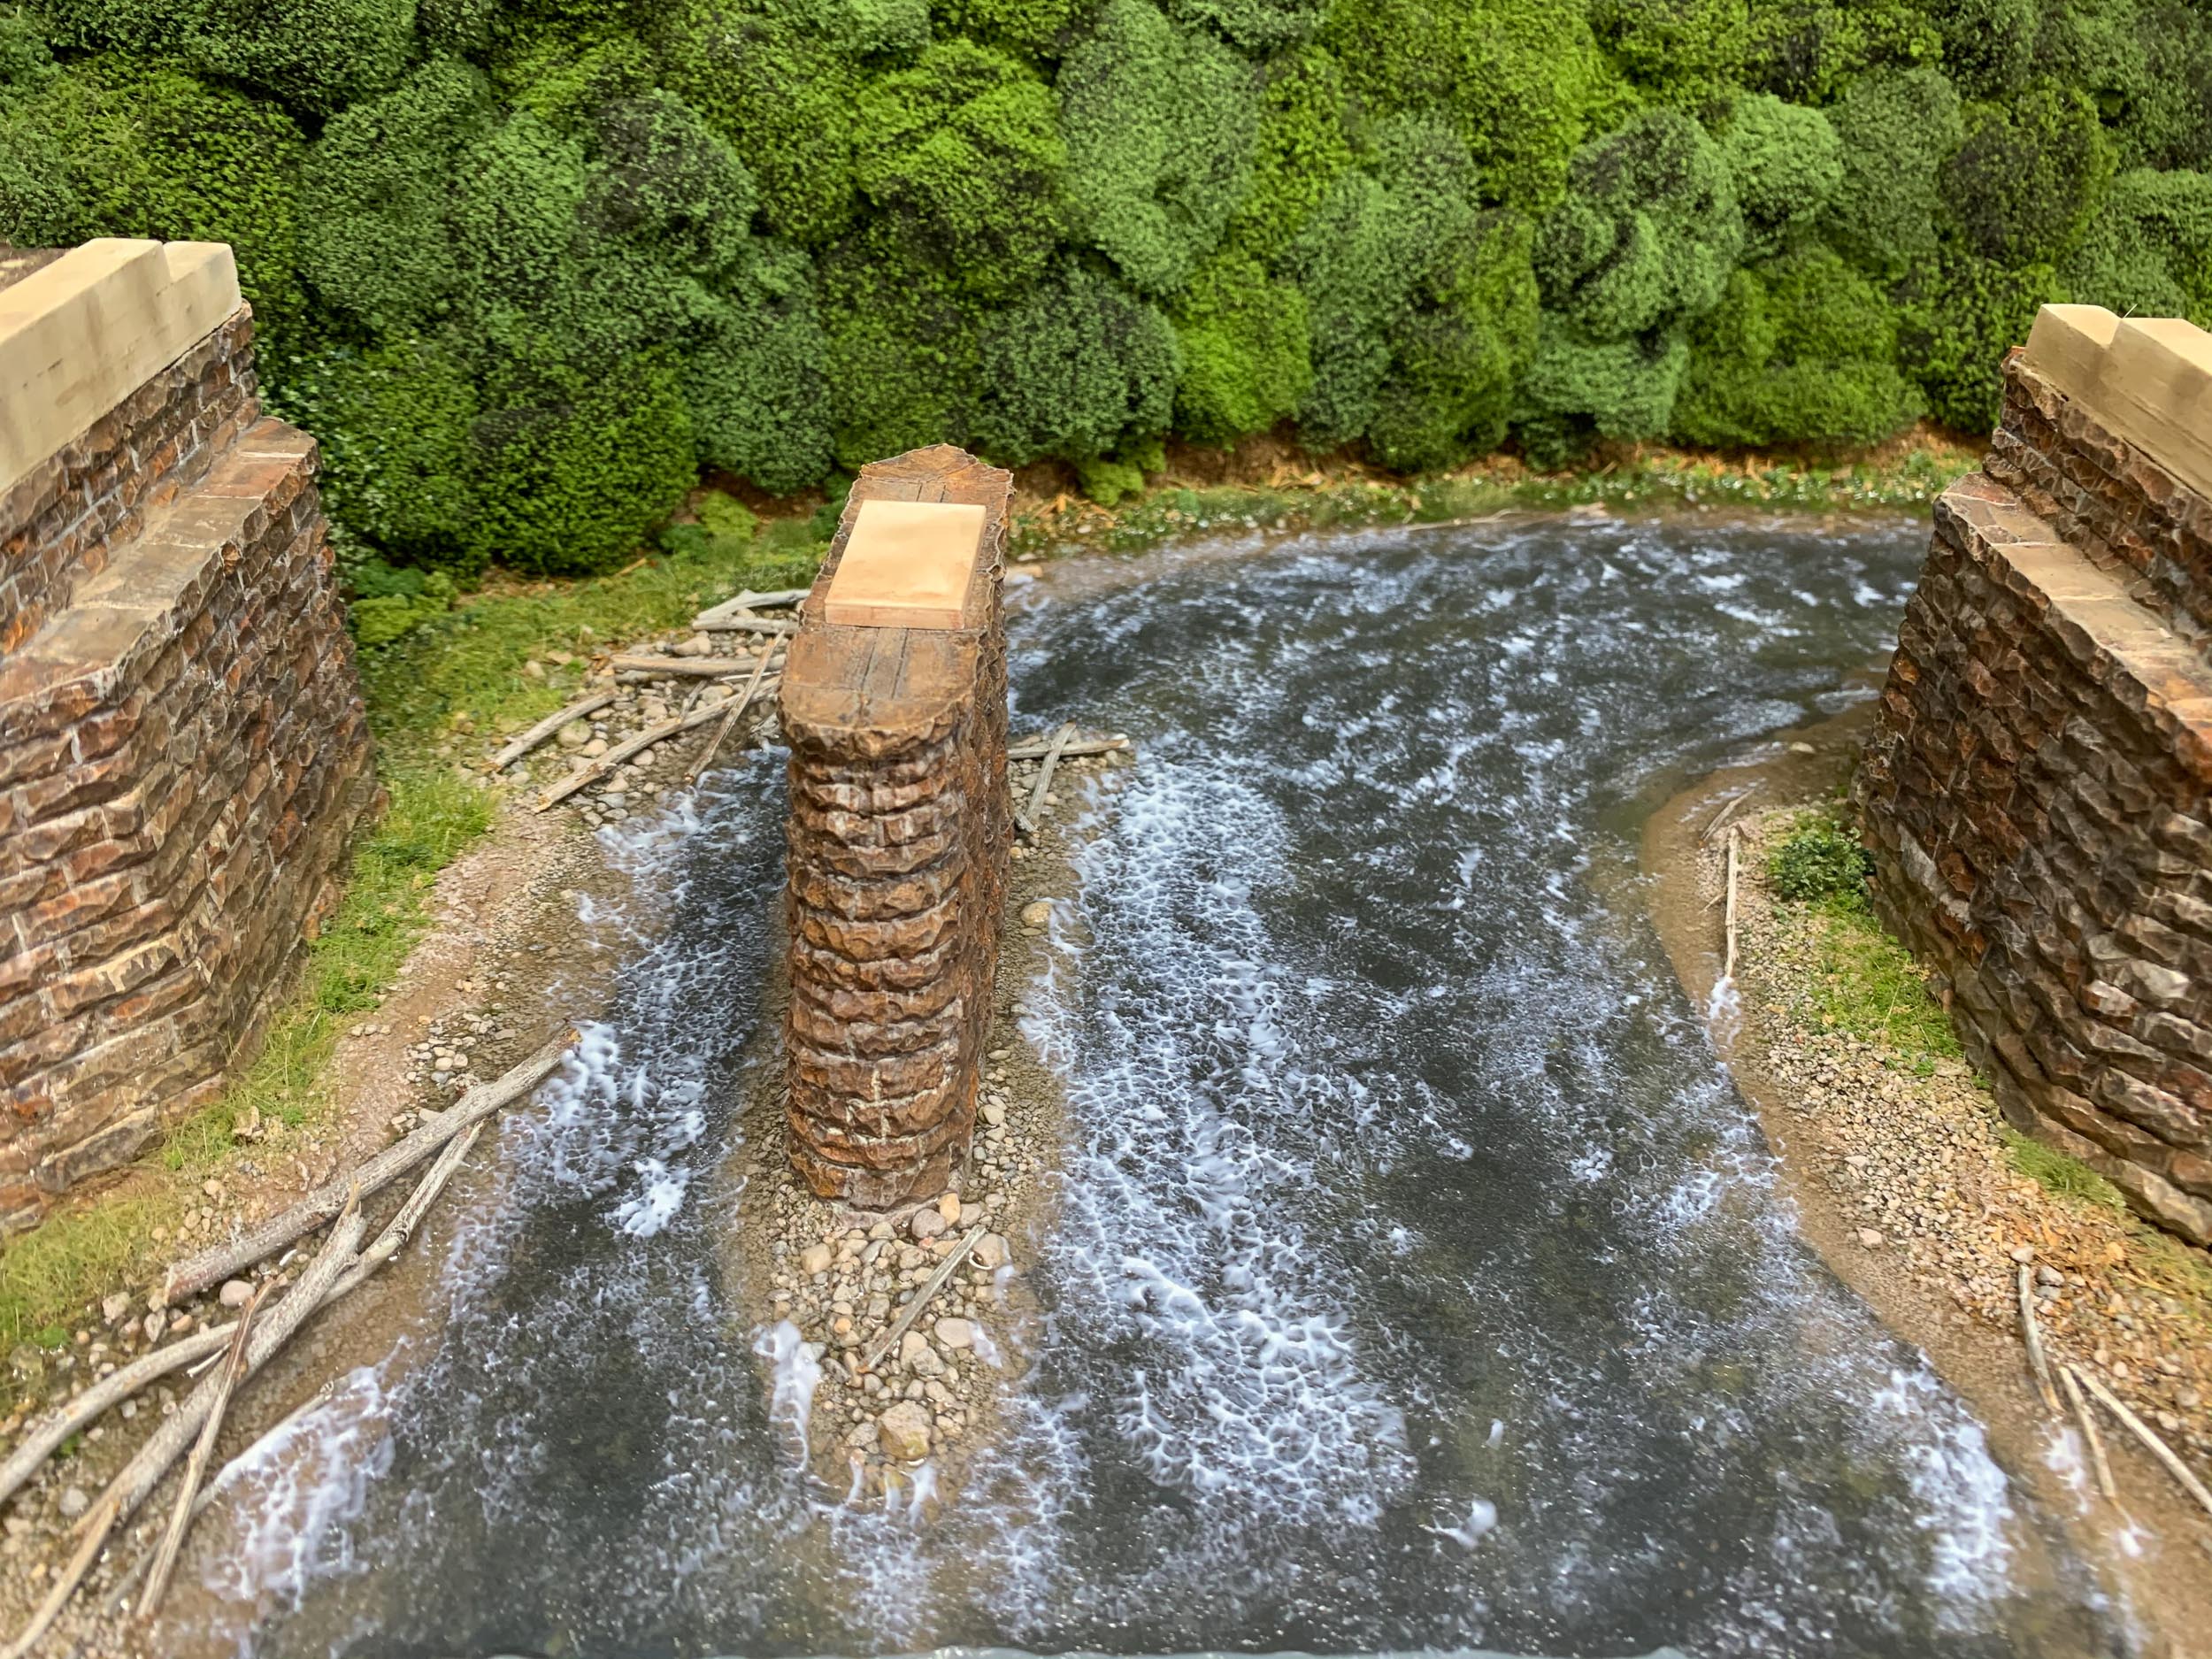
So, I went back to using thick artists clear gloss acrylic. Much less expensive than the WS products, and just as easy to work with.
The gloss medium was dabbed on with a flat soft brush, raising more “ripples” where they normally should be. I studied photos of streams online to get a feel how the water should look and where the ripple and waves should go. The material goes on white, but dries clear and glossy.

Once dry, I LIGHTLY drybrushed just the tops of some of the ripples with titanium white to give a subtle white-water effect. It’s easy to overdo this, so I worked slowly over a couple of evenings.
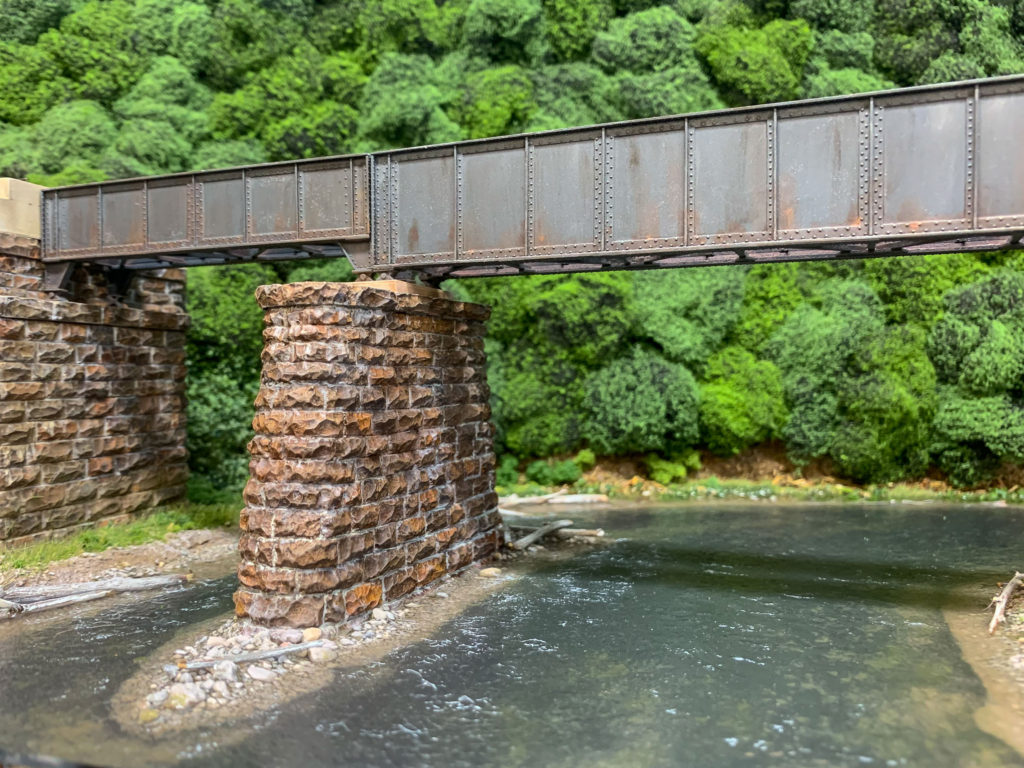
Now it’s starting to look like something! Next steps involved setting the bridge in place, getting the track down and weathered, ballasting, and some final touches. I also was working on a small hillock as a viewblock to the “origin” of the stream. Some of those Super-trees I made earlier will end up here.
I’ll break here and get to all that at the next update, hopefully sooner than later. To be continued…


Recent Comments