Category Archives: Model Railroad

Wheelerville Store

Slow progress continues on recreating this scene in HO on the model S&NY:

Finally finished weathering the house/store in the background in the above photo:

The structure was kitbashed, starting with a City Classics Company House. A Tichy storefront was cut down and replaced the lower front side of the company house. The addition is scratchbuilt, along with the porches and roofs. Chooch flexible stone material was a close match for the kit foundation, and that was used under the addition. Signs are a mix of homemade and commercial offerings, and the “interior” made up of flats created from downloaded images. Window treatments are manila envelope material and homemade from internet images. Weathering is layers of oil-turpenoid washes, powders, and Pan Pastels.

I left off the porch stairs for now until the model is permanently affixed to the layout. I was afraid I’d break them off during handling otherwise. Also still needs a few details, like a gravity-fed gas pump and perhaps a red Coke cooler on the porch. Oh, and a dog. Gotta have a dog lounging on the porch for passersby to pet…

3/26/17 ETA: Google Maps screenshot of the same area today. County road has been re-aligned; the original road is still in front of the house. The SNY station would have been right about where the bush is at the corner of the two gravel roads on the modern view.

OP Sessions #14 & #15

Op Session #14 was held Sunday afternoon, 20 November 2016. Since the holidays were upcoming, I tried to add a little seasonal “flavor” to mix things up a little for my regular crew. After 13 sessions, these guys were starting to more or les settle into a routine during the sessions and I don’t want the sessions to get stale.

To that end, the (model) S&NY scheduled a “Holiday Shoppers Special”  to carry passengers from the rural areas served by the railroad to the “big city” of Williamsport.

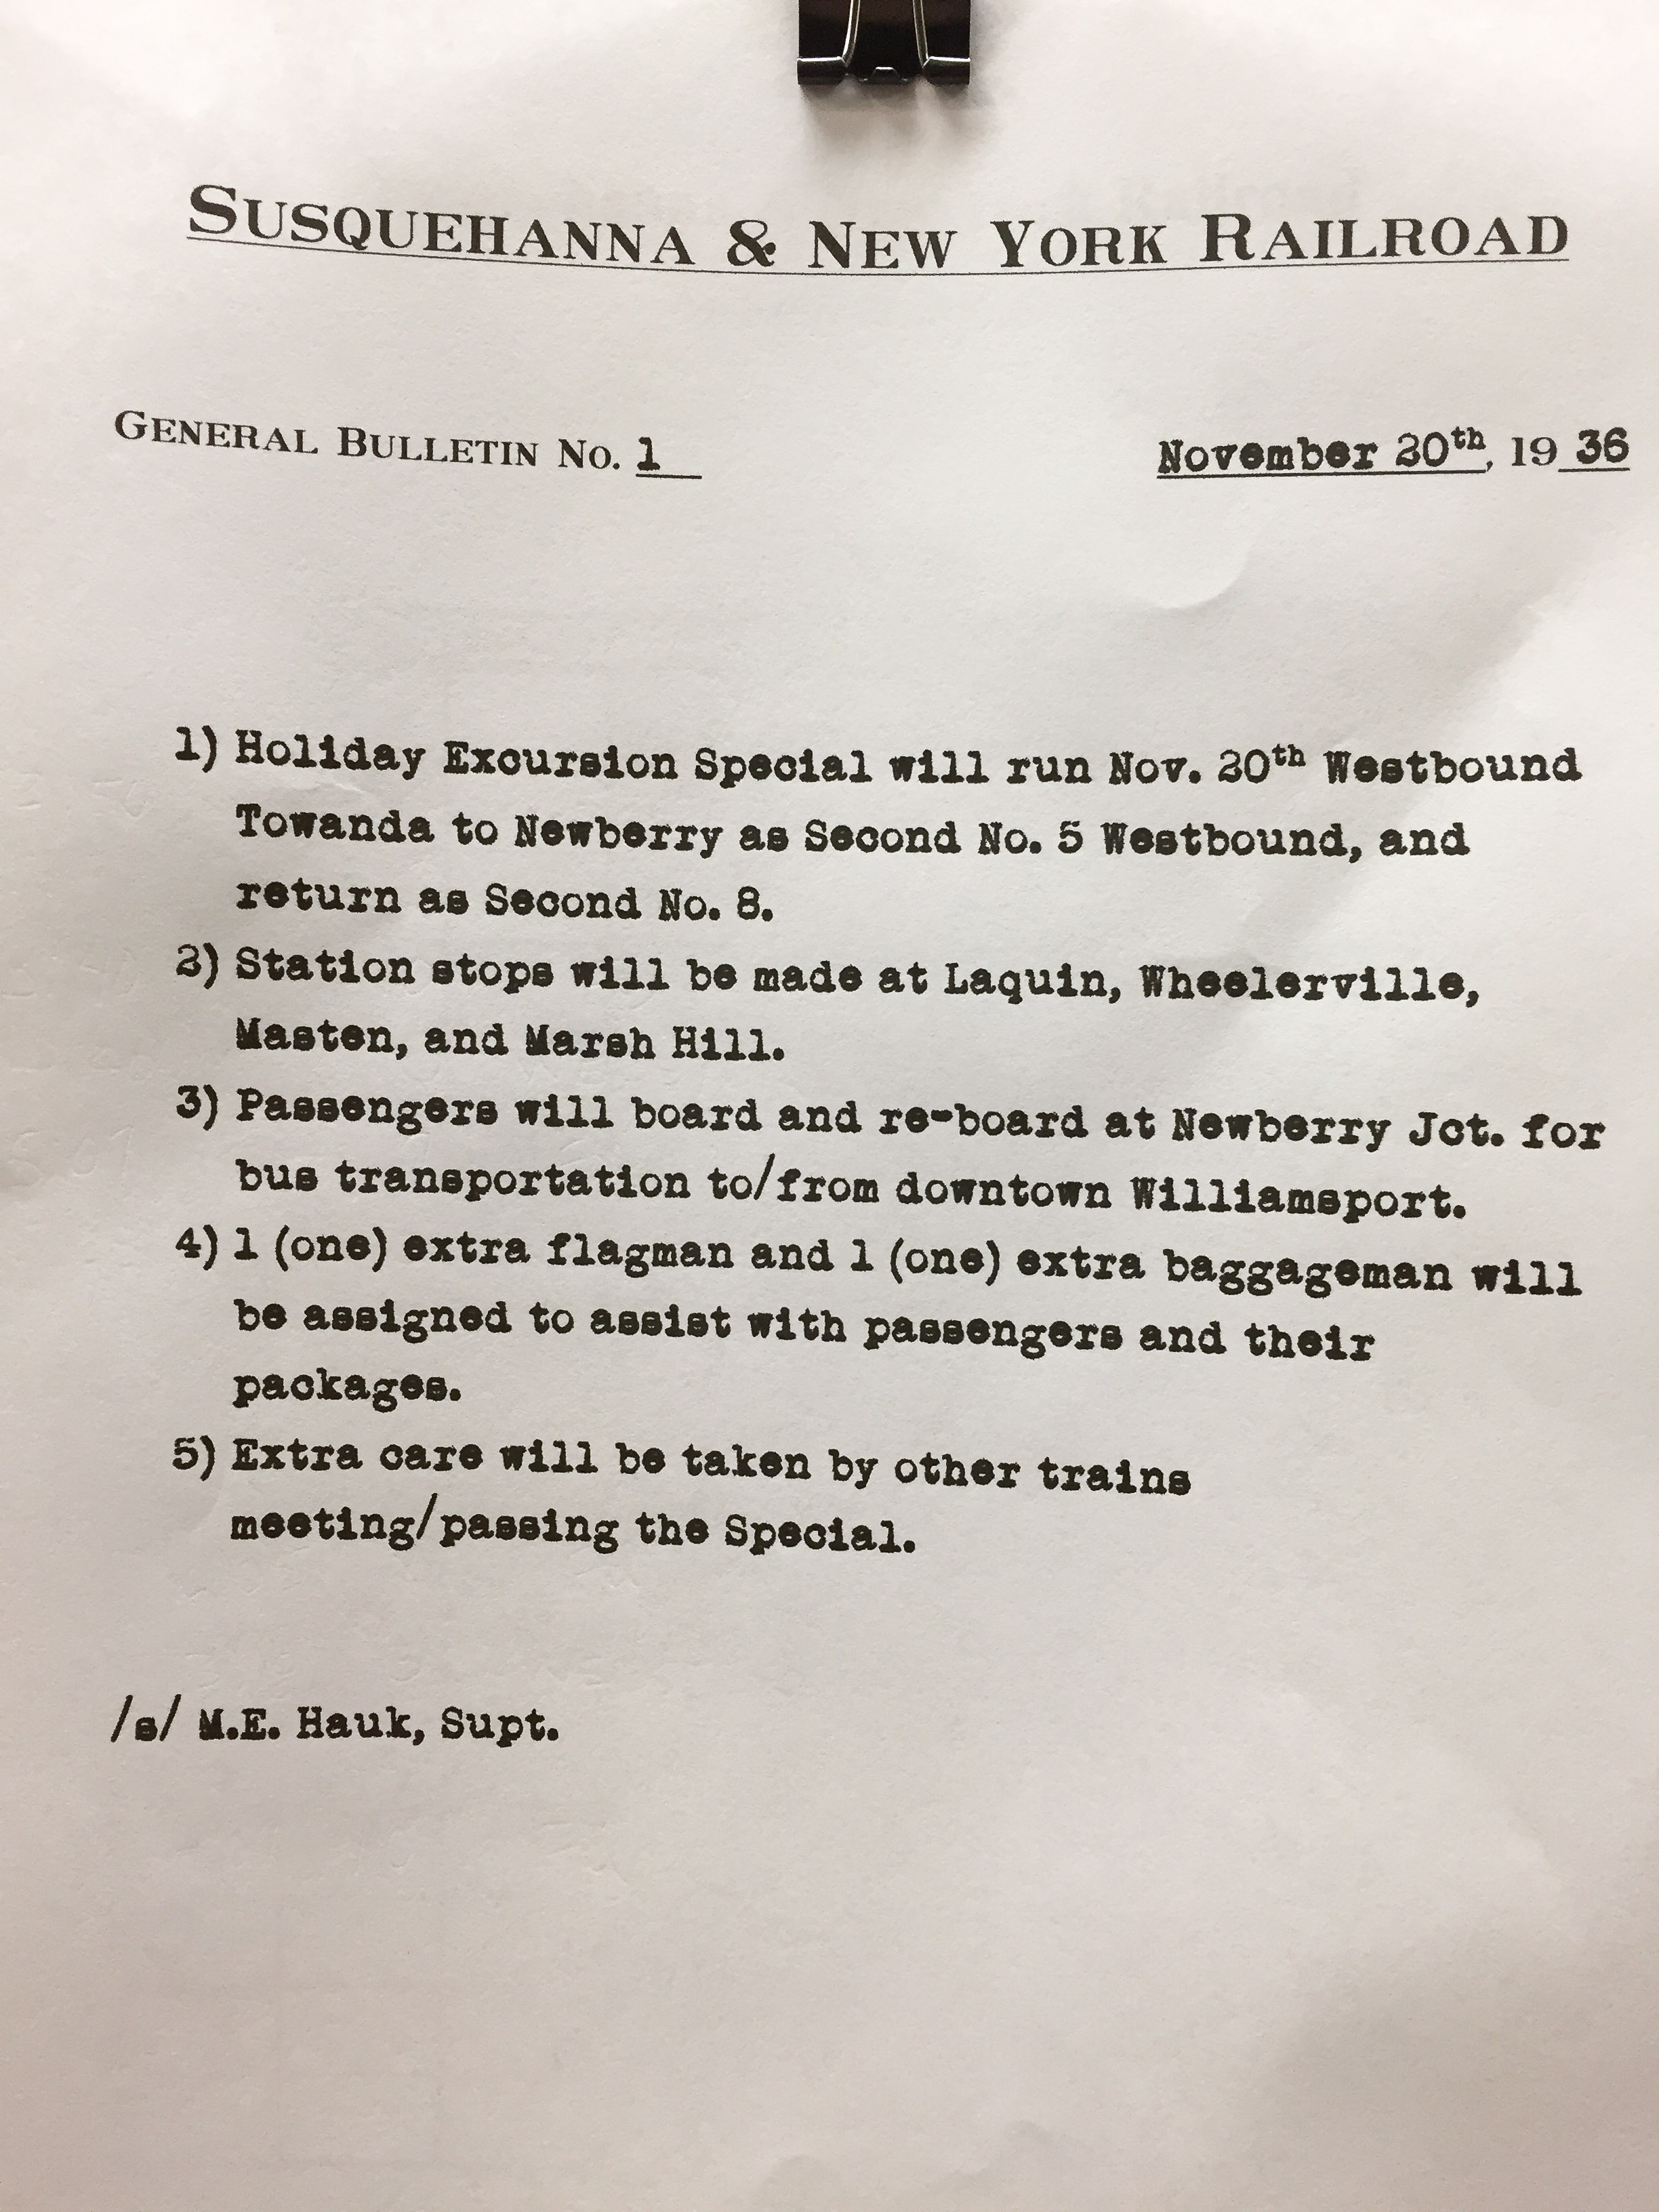
Management posted a message notifying all employees of the special train:

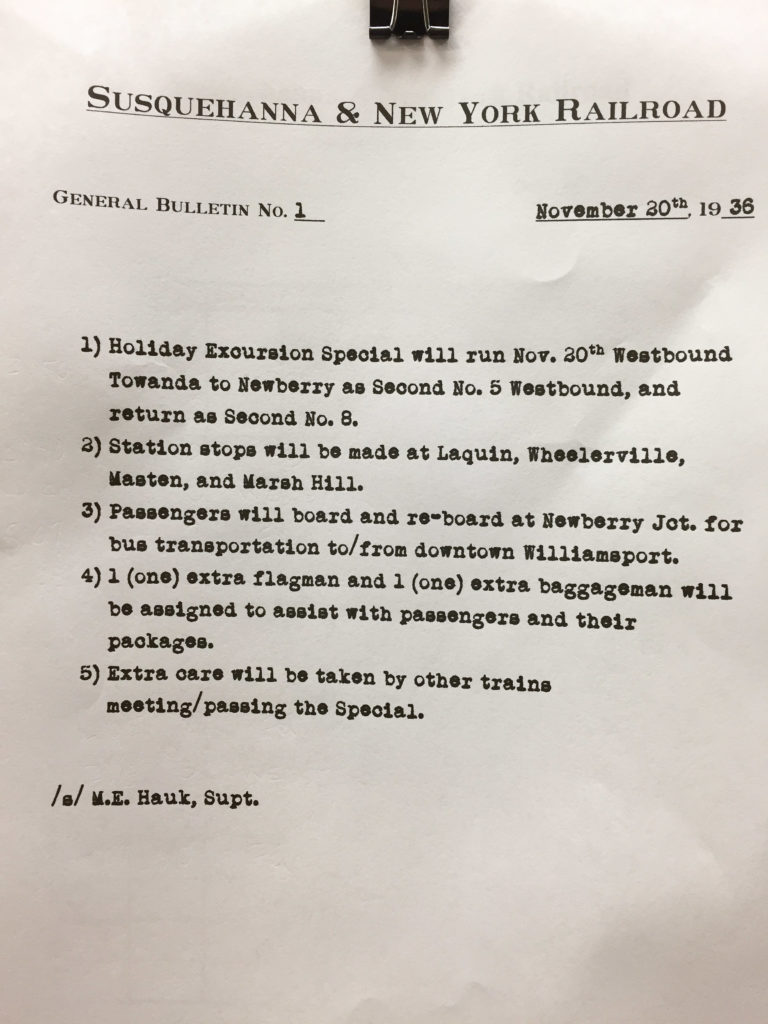
The special was run as a second section to through freight train No. 5 westbound and return as a second section to through freight No. 8. I thought this would be the best solution, since neither #5 nor #8 had any scheduled stops enroute, and are second class trains. If the special had run as an extra train, it would need multiple orders giving it priority over other trains in order to stay on time.

Also, I doubt many model railroads run trains as sections, so I thought this would be a good timetable and train order exercise for my crew guys.

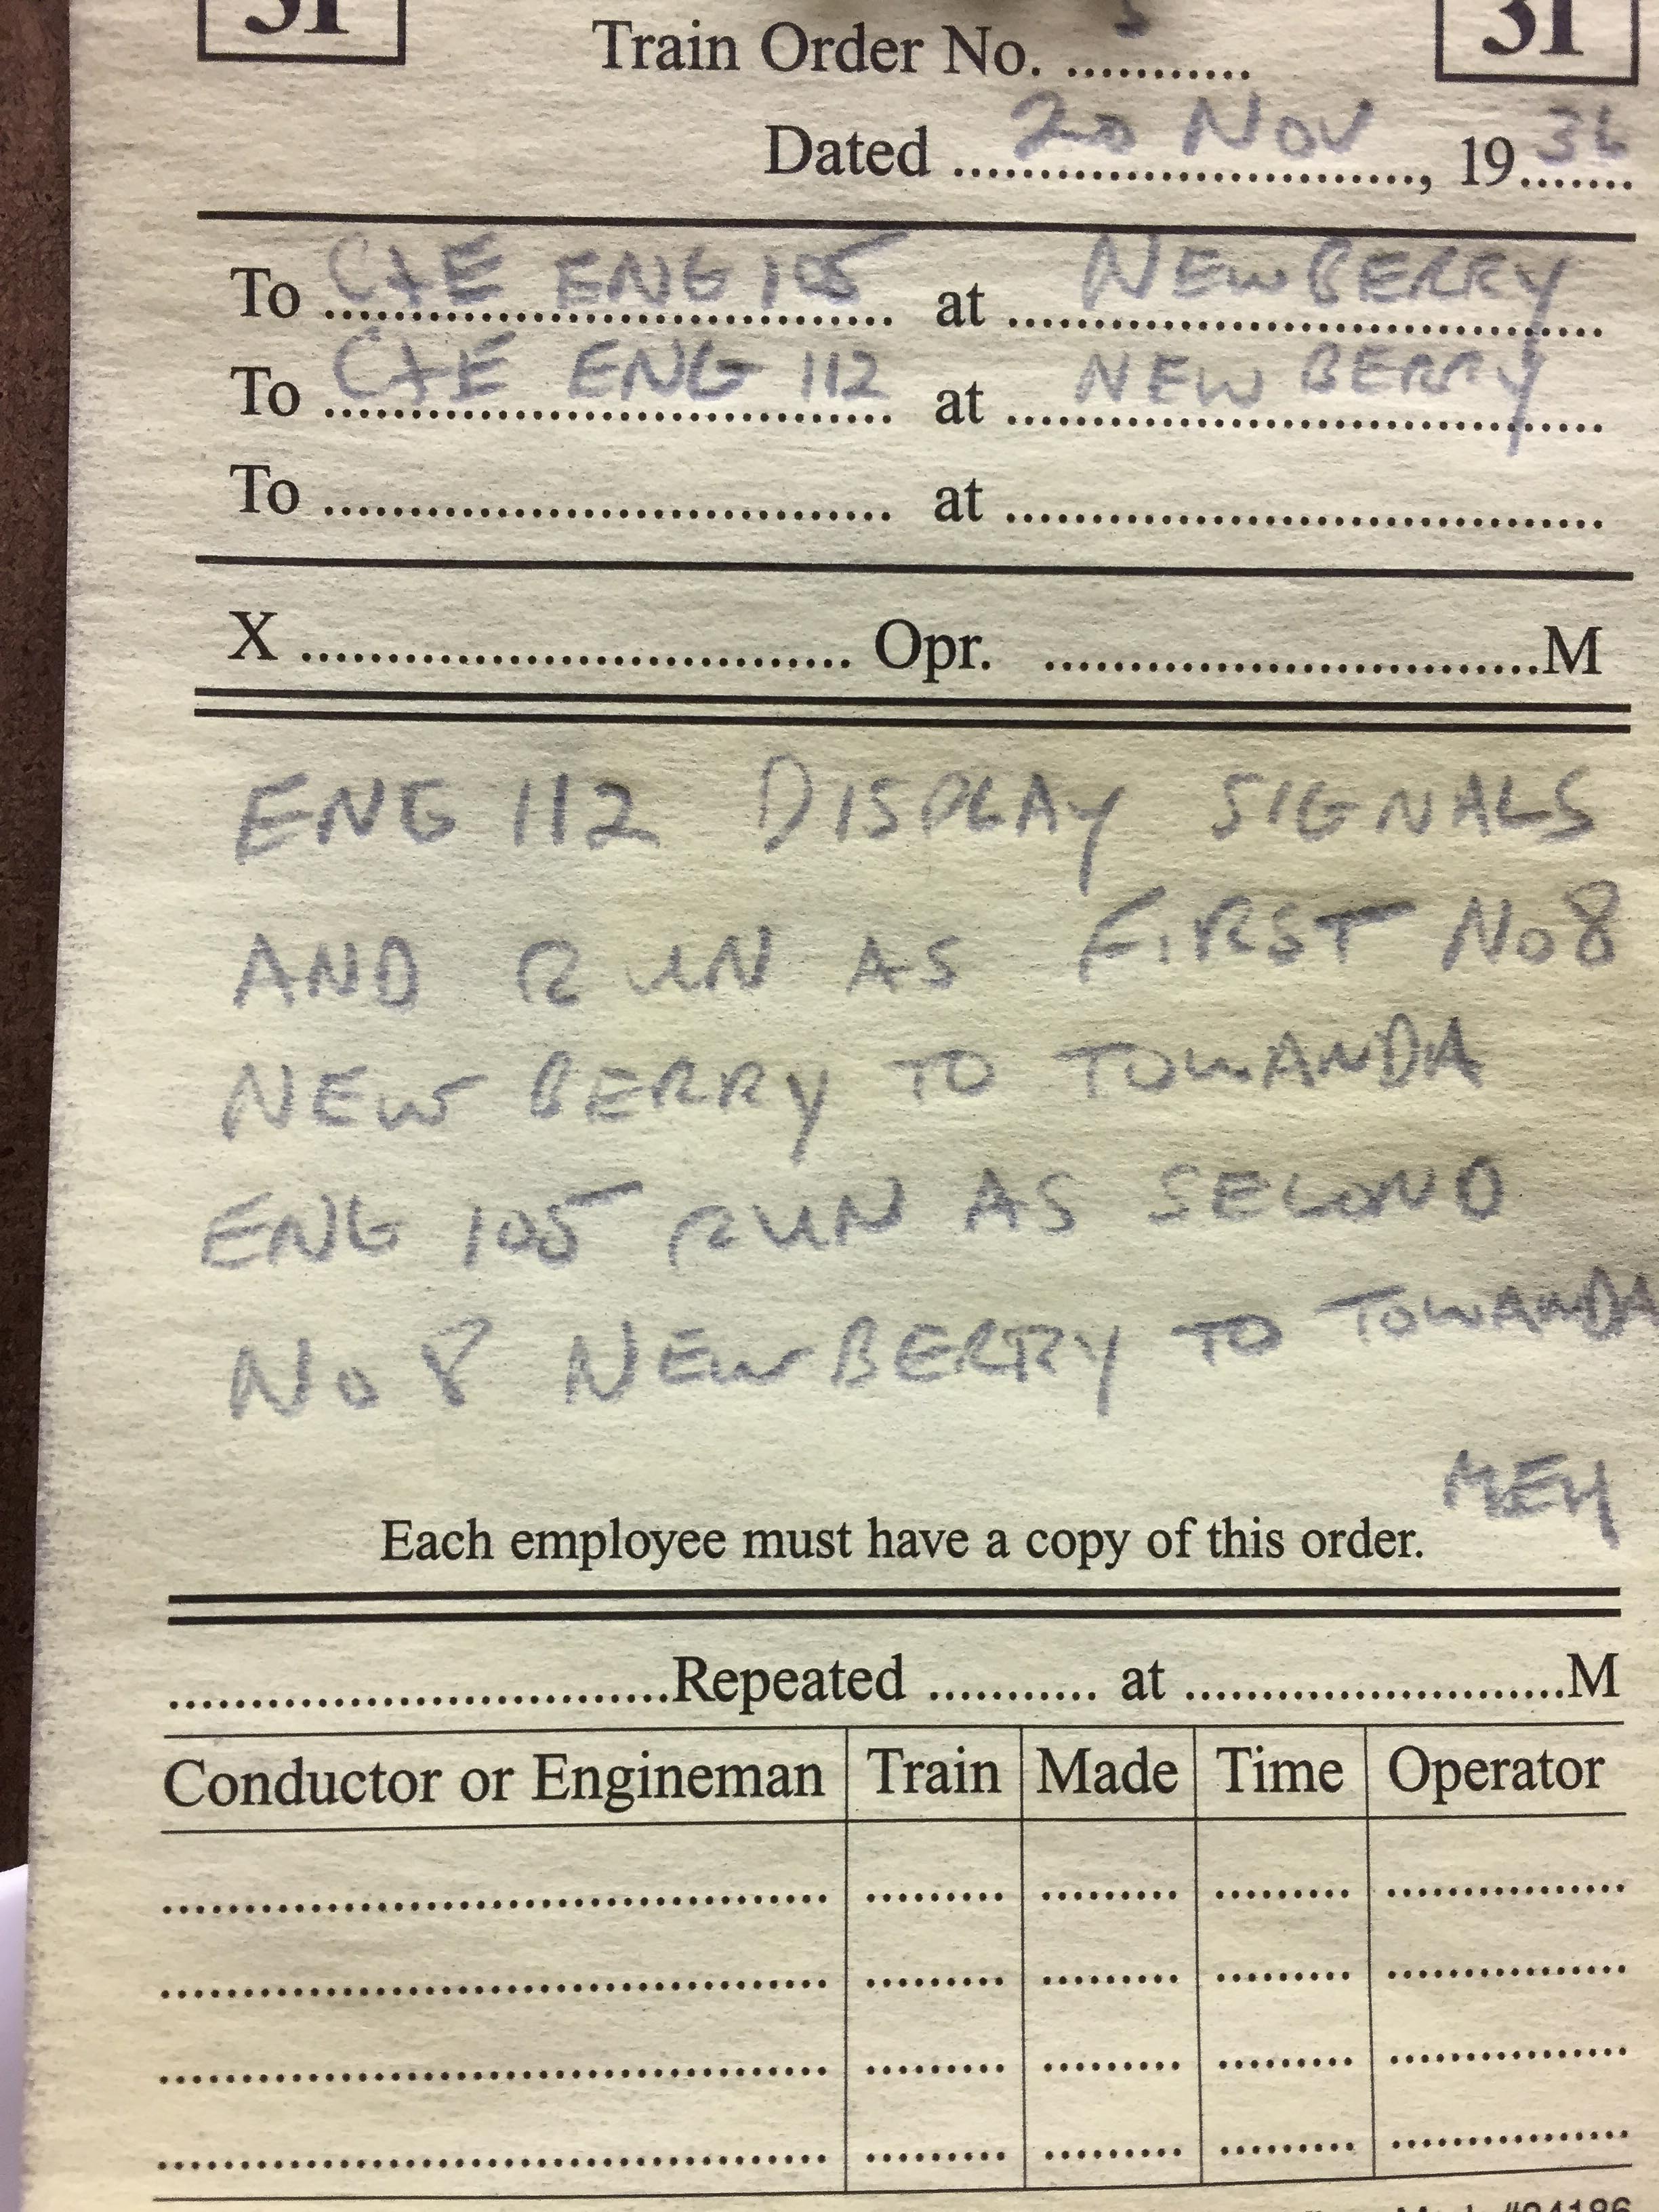
The special still needed running orders, though:

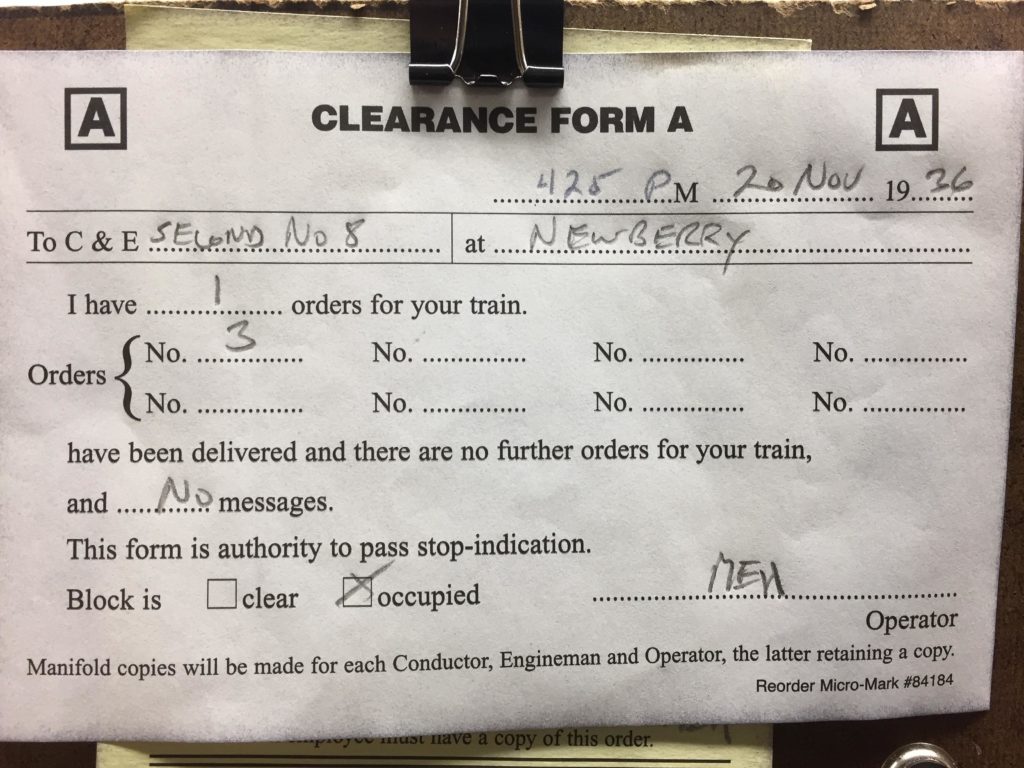
The signals engine #112 would display in real-life 80 years ago would be green flags by day and green marker lamps by night. The engineer of #112 leading train No.8 would call the attention of any trains he meets to these signals by blowing one long and two short blasts of the whistle. If no acknowledgement from the other train, No.8 would have to stop and determine why.

Since all my locomotives are sound-equipped, the crew running the special was able to comply with this requirement, and the other train could reply properly.  I didn’t actually make any HO-scale green flags, so the engineer simply said “green flags” to the other engineer. All in good fun!

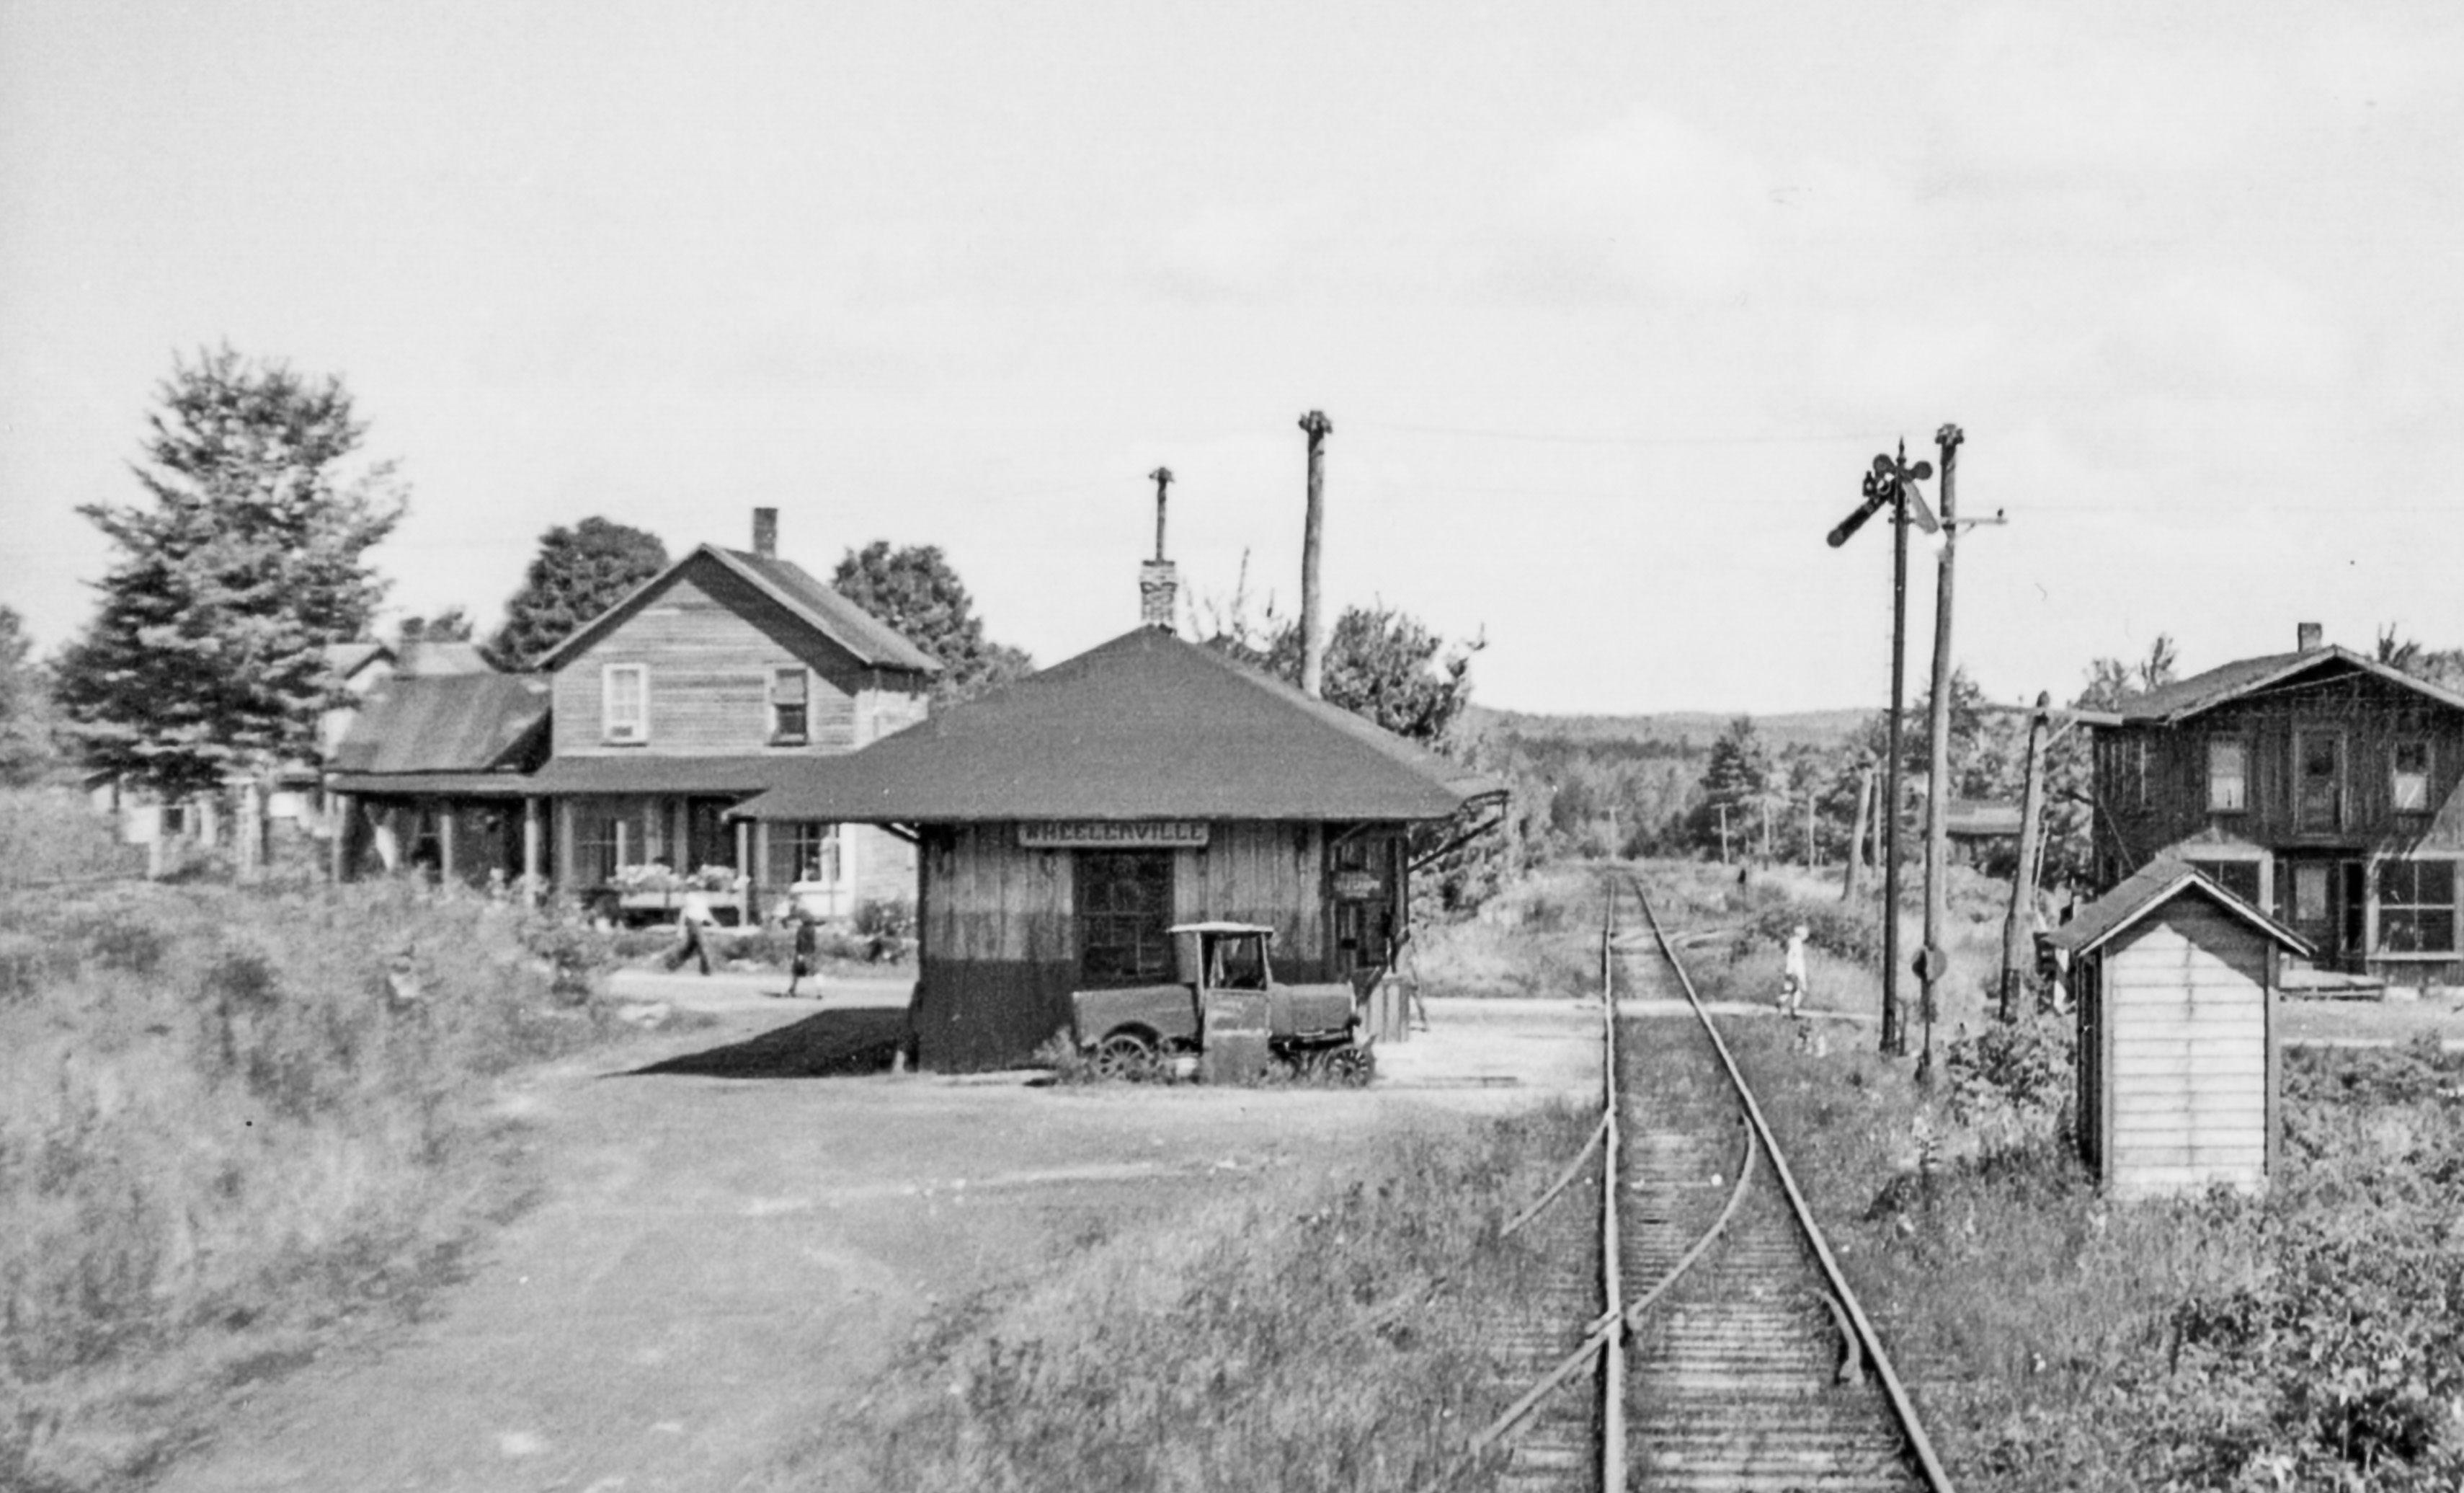
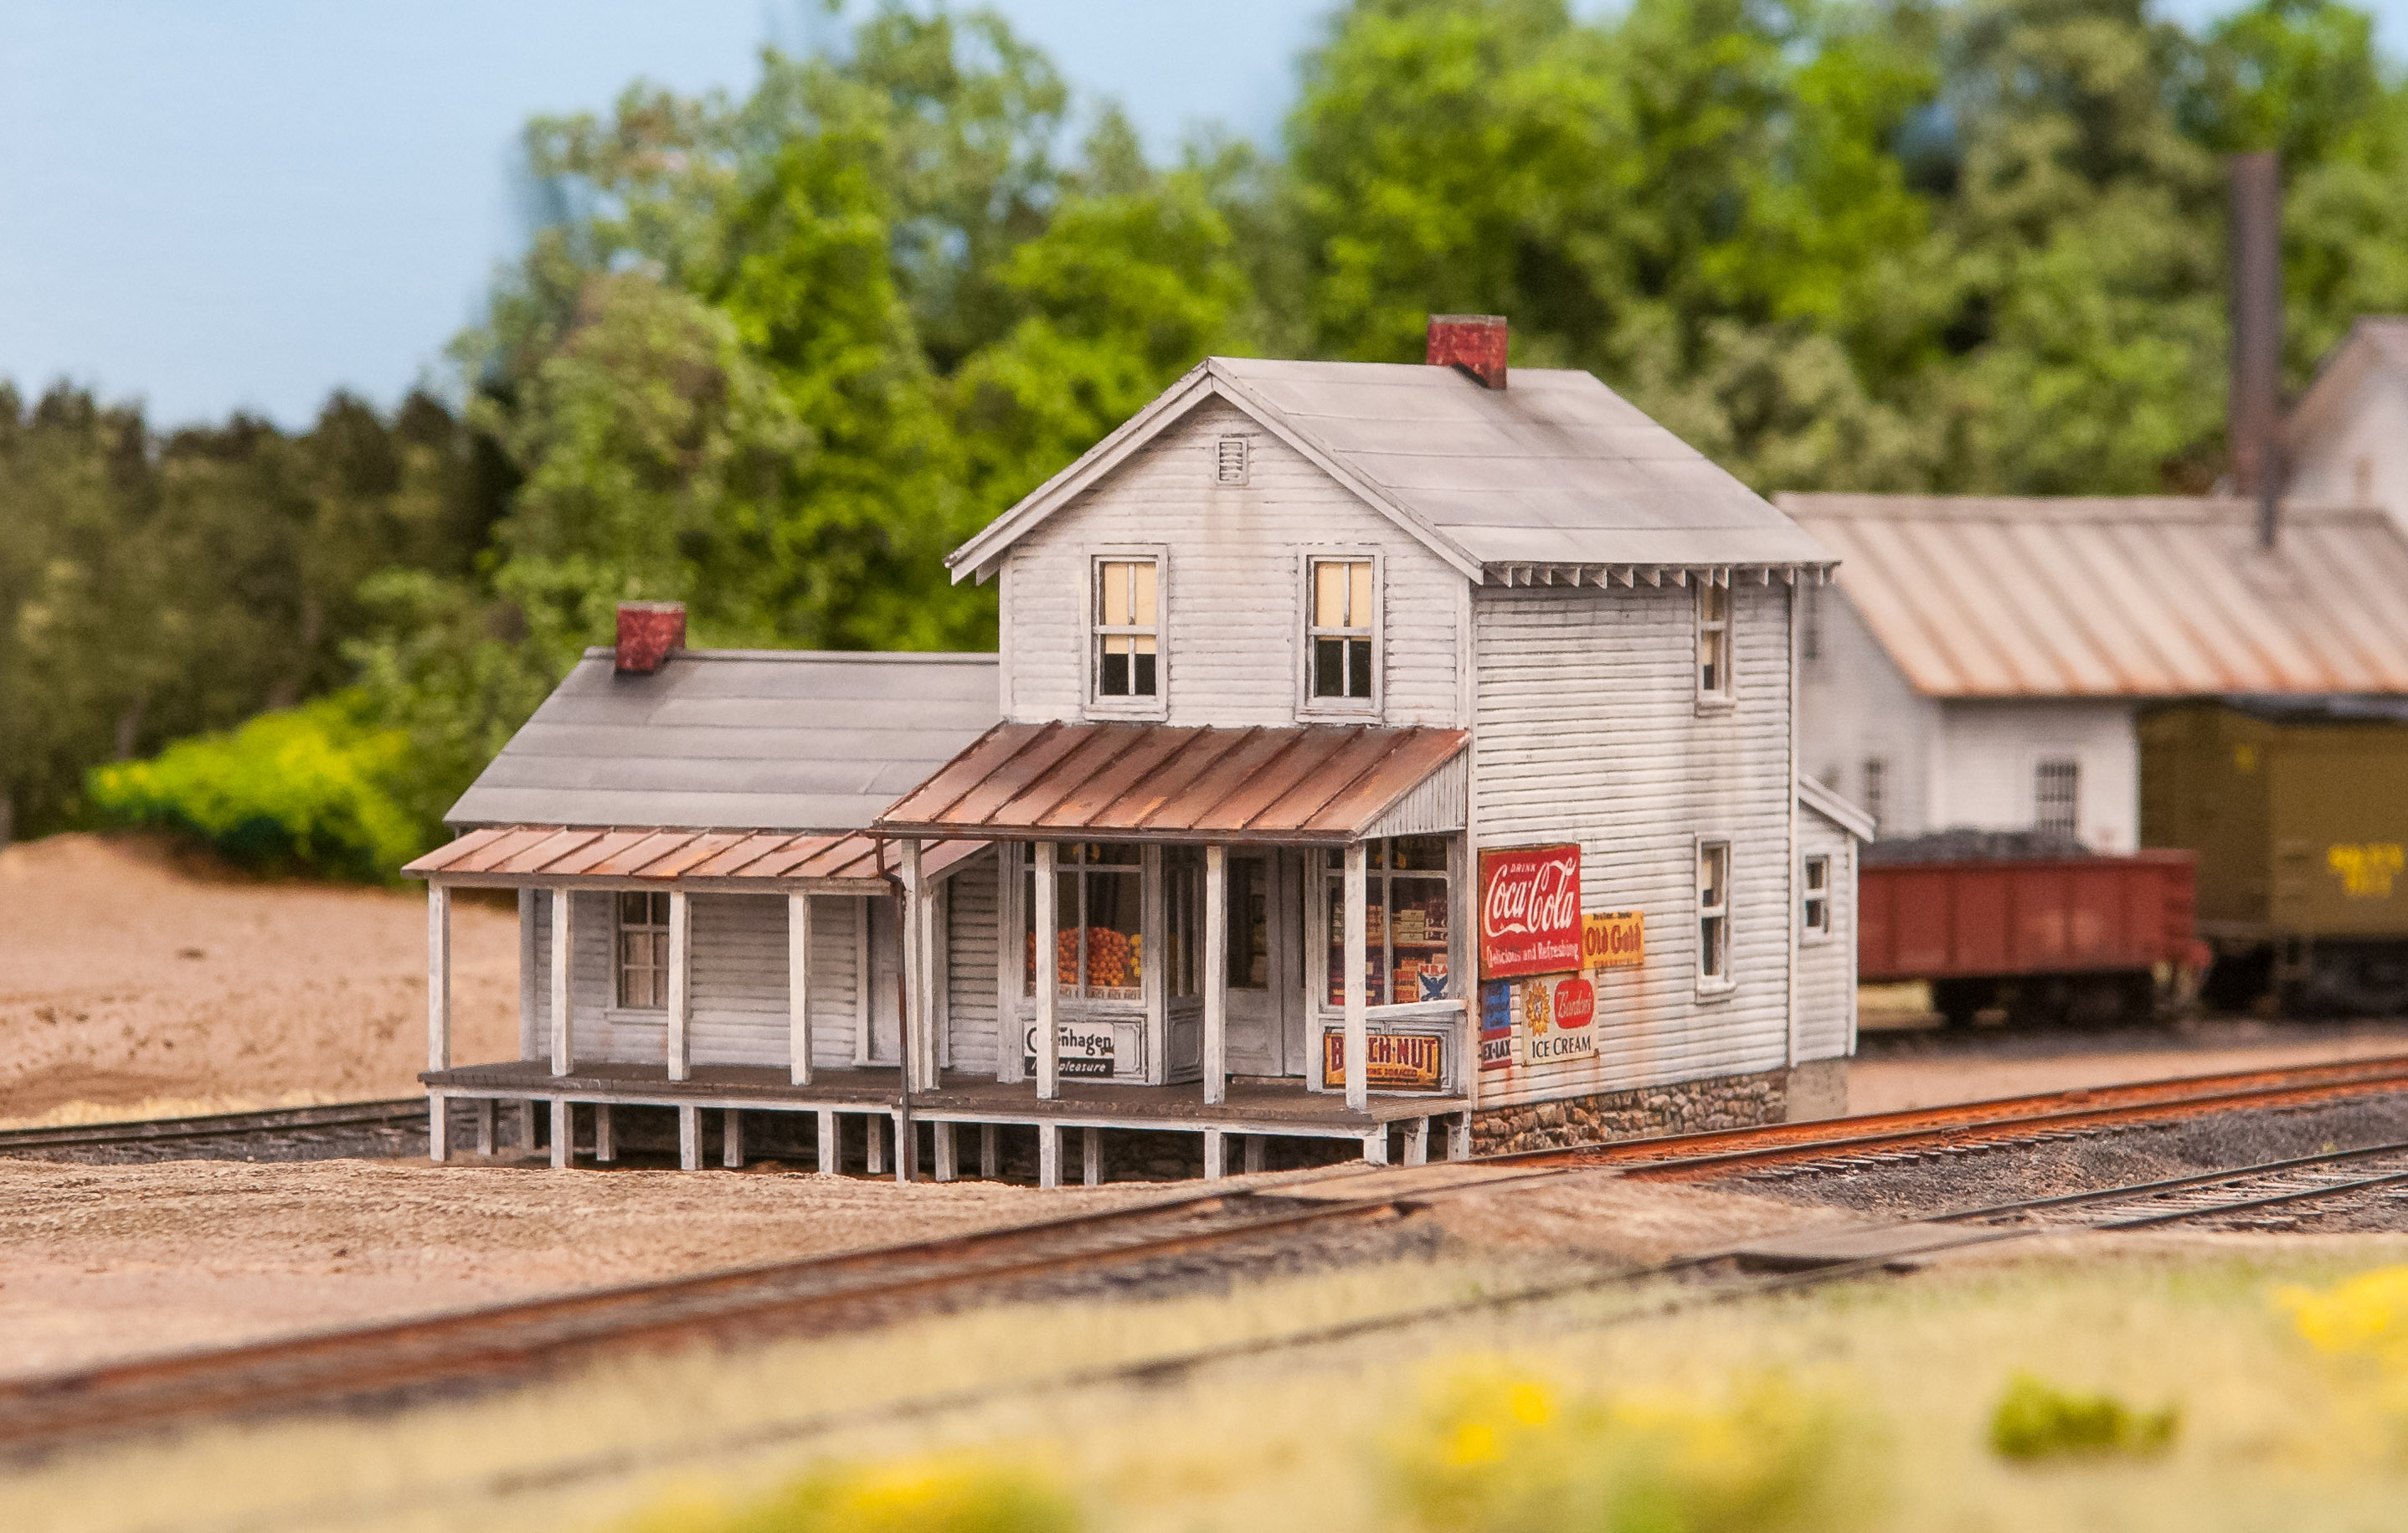
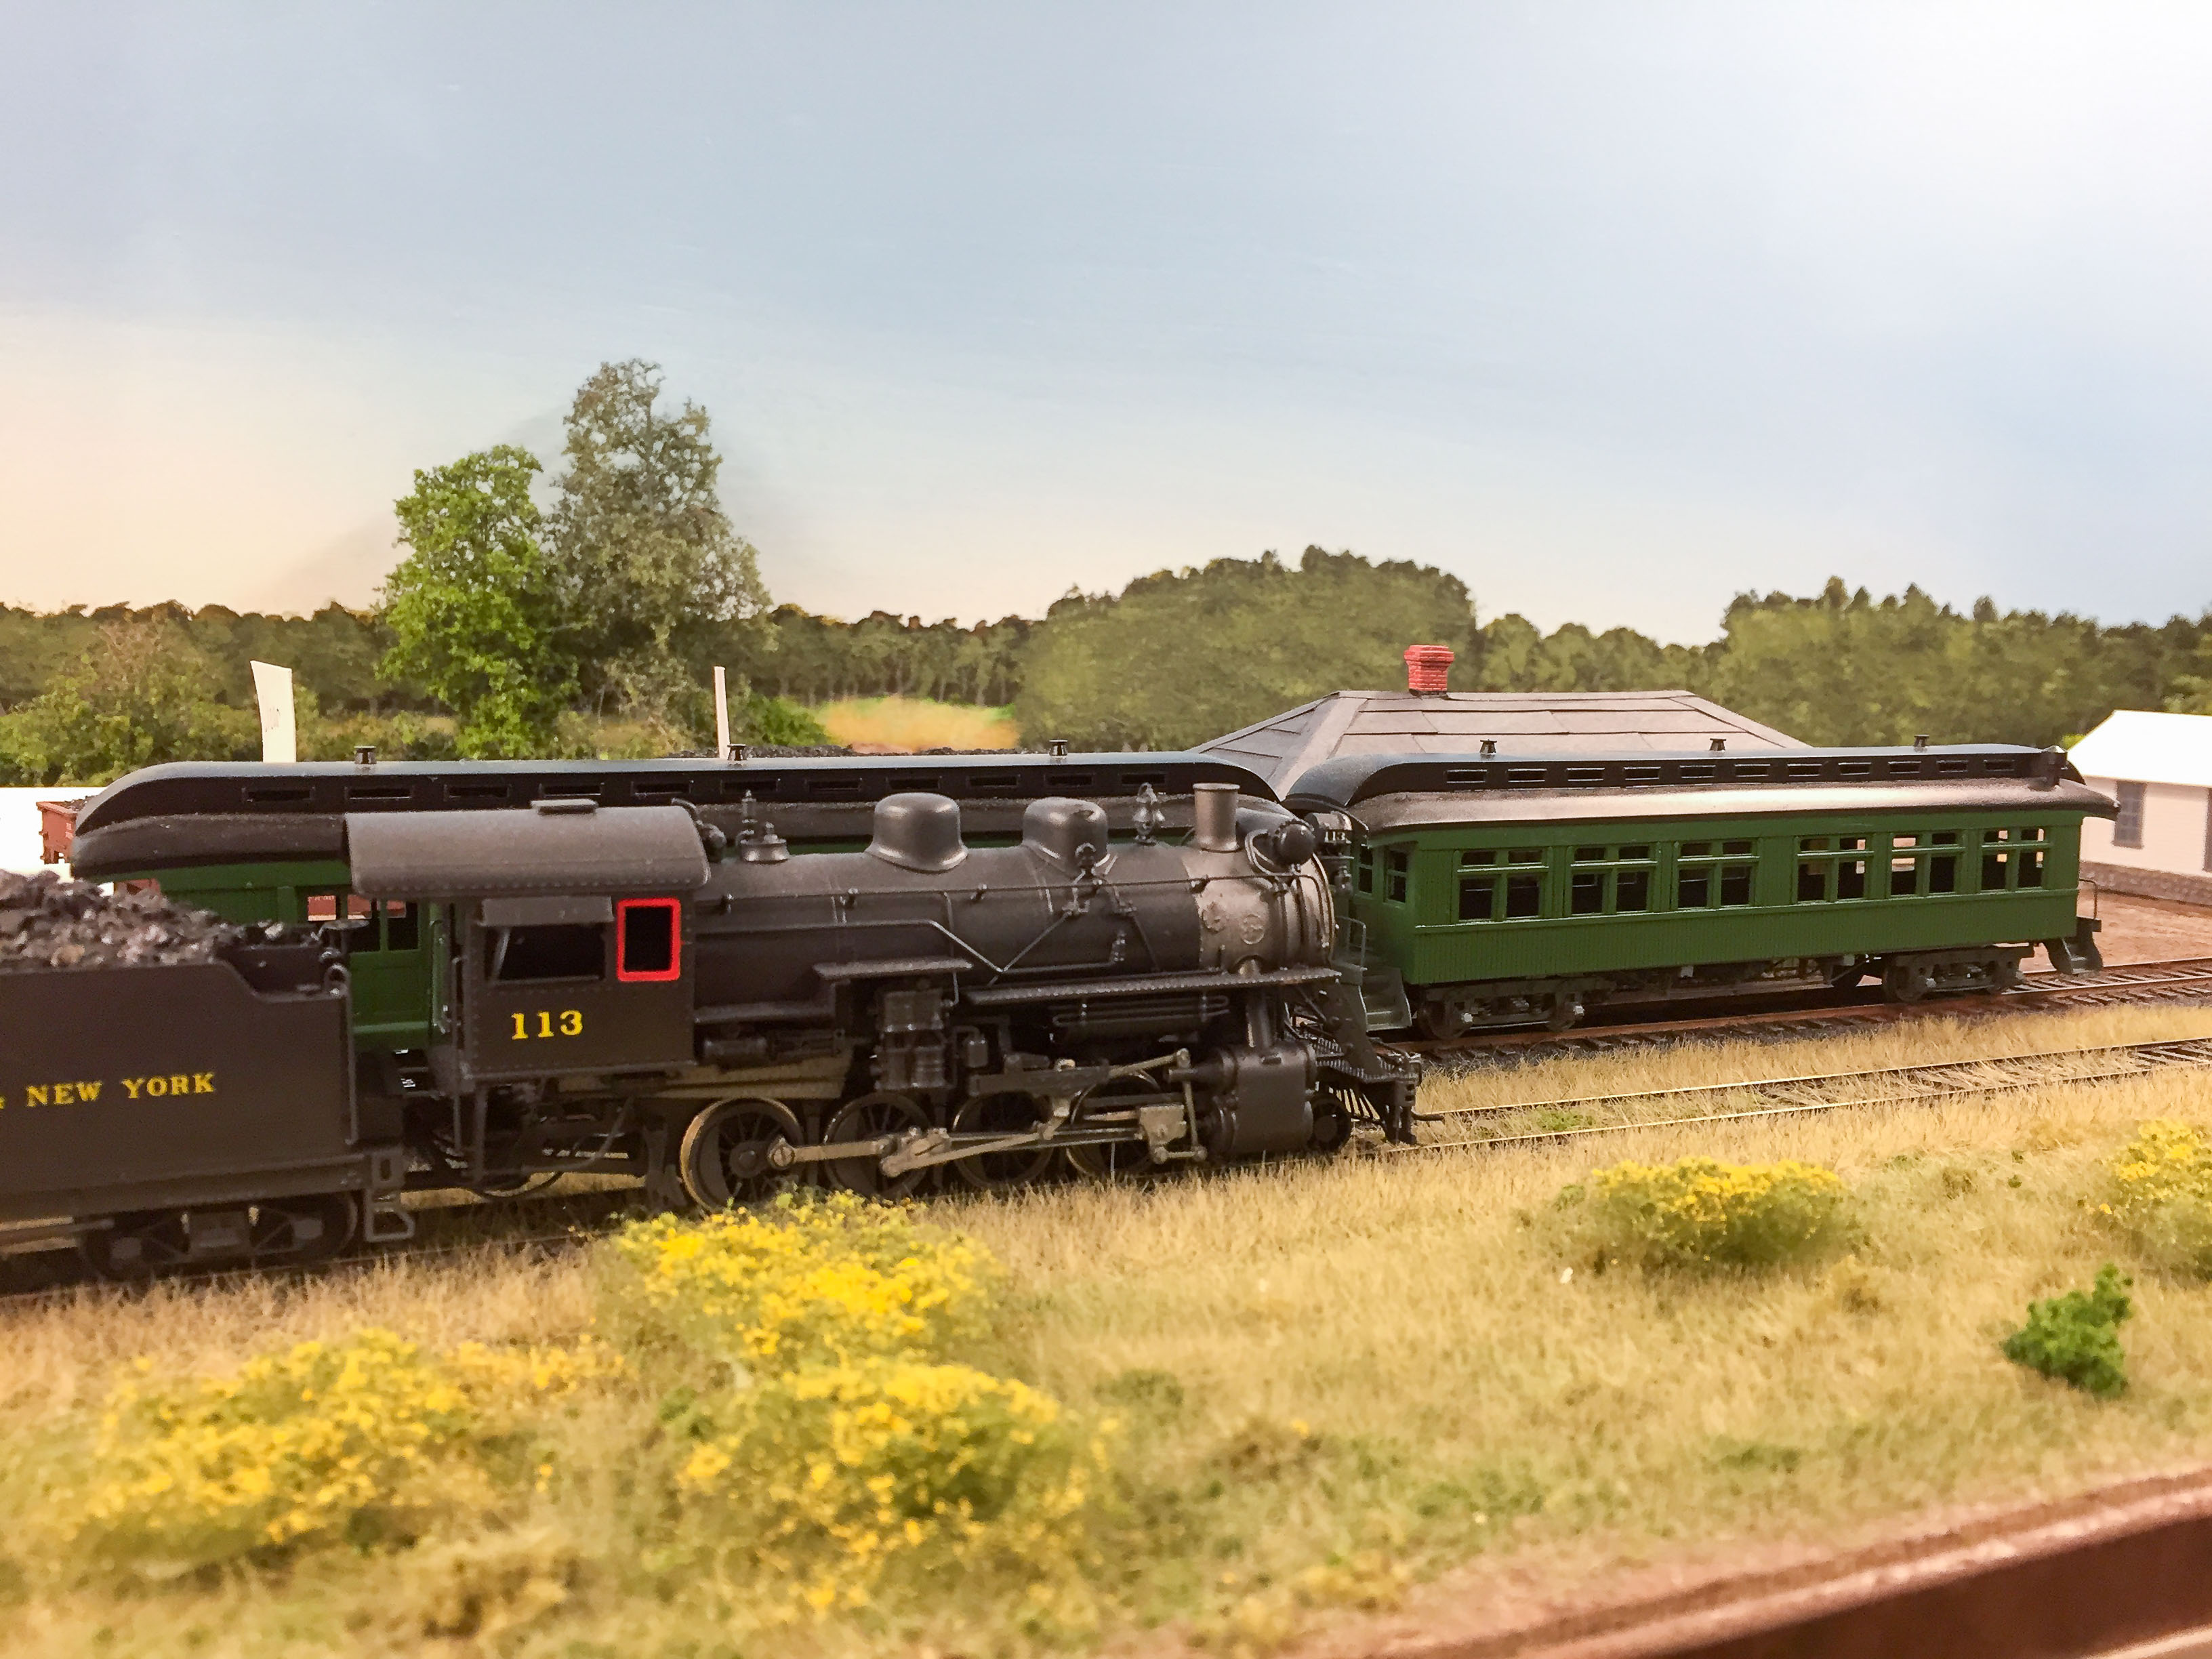
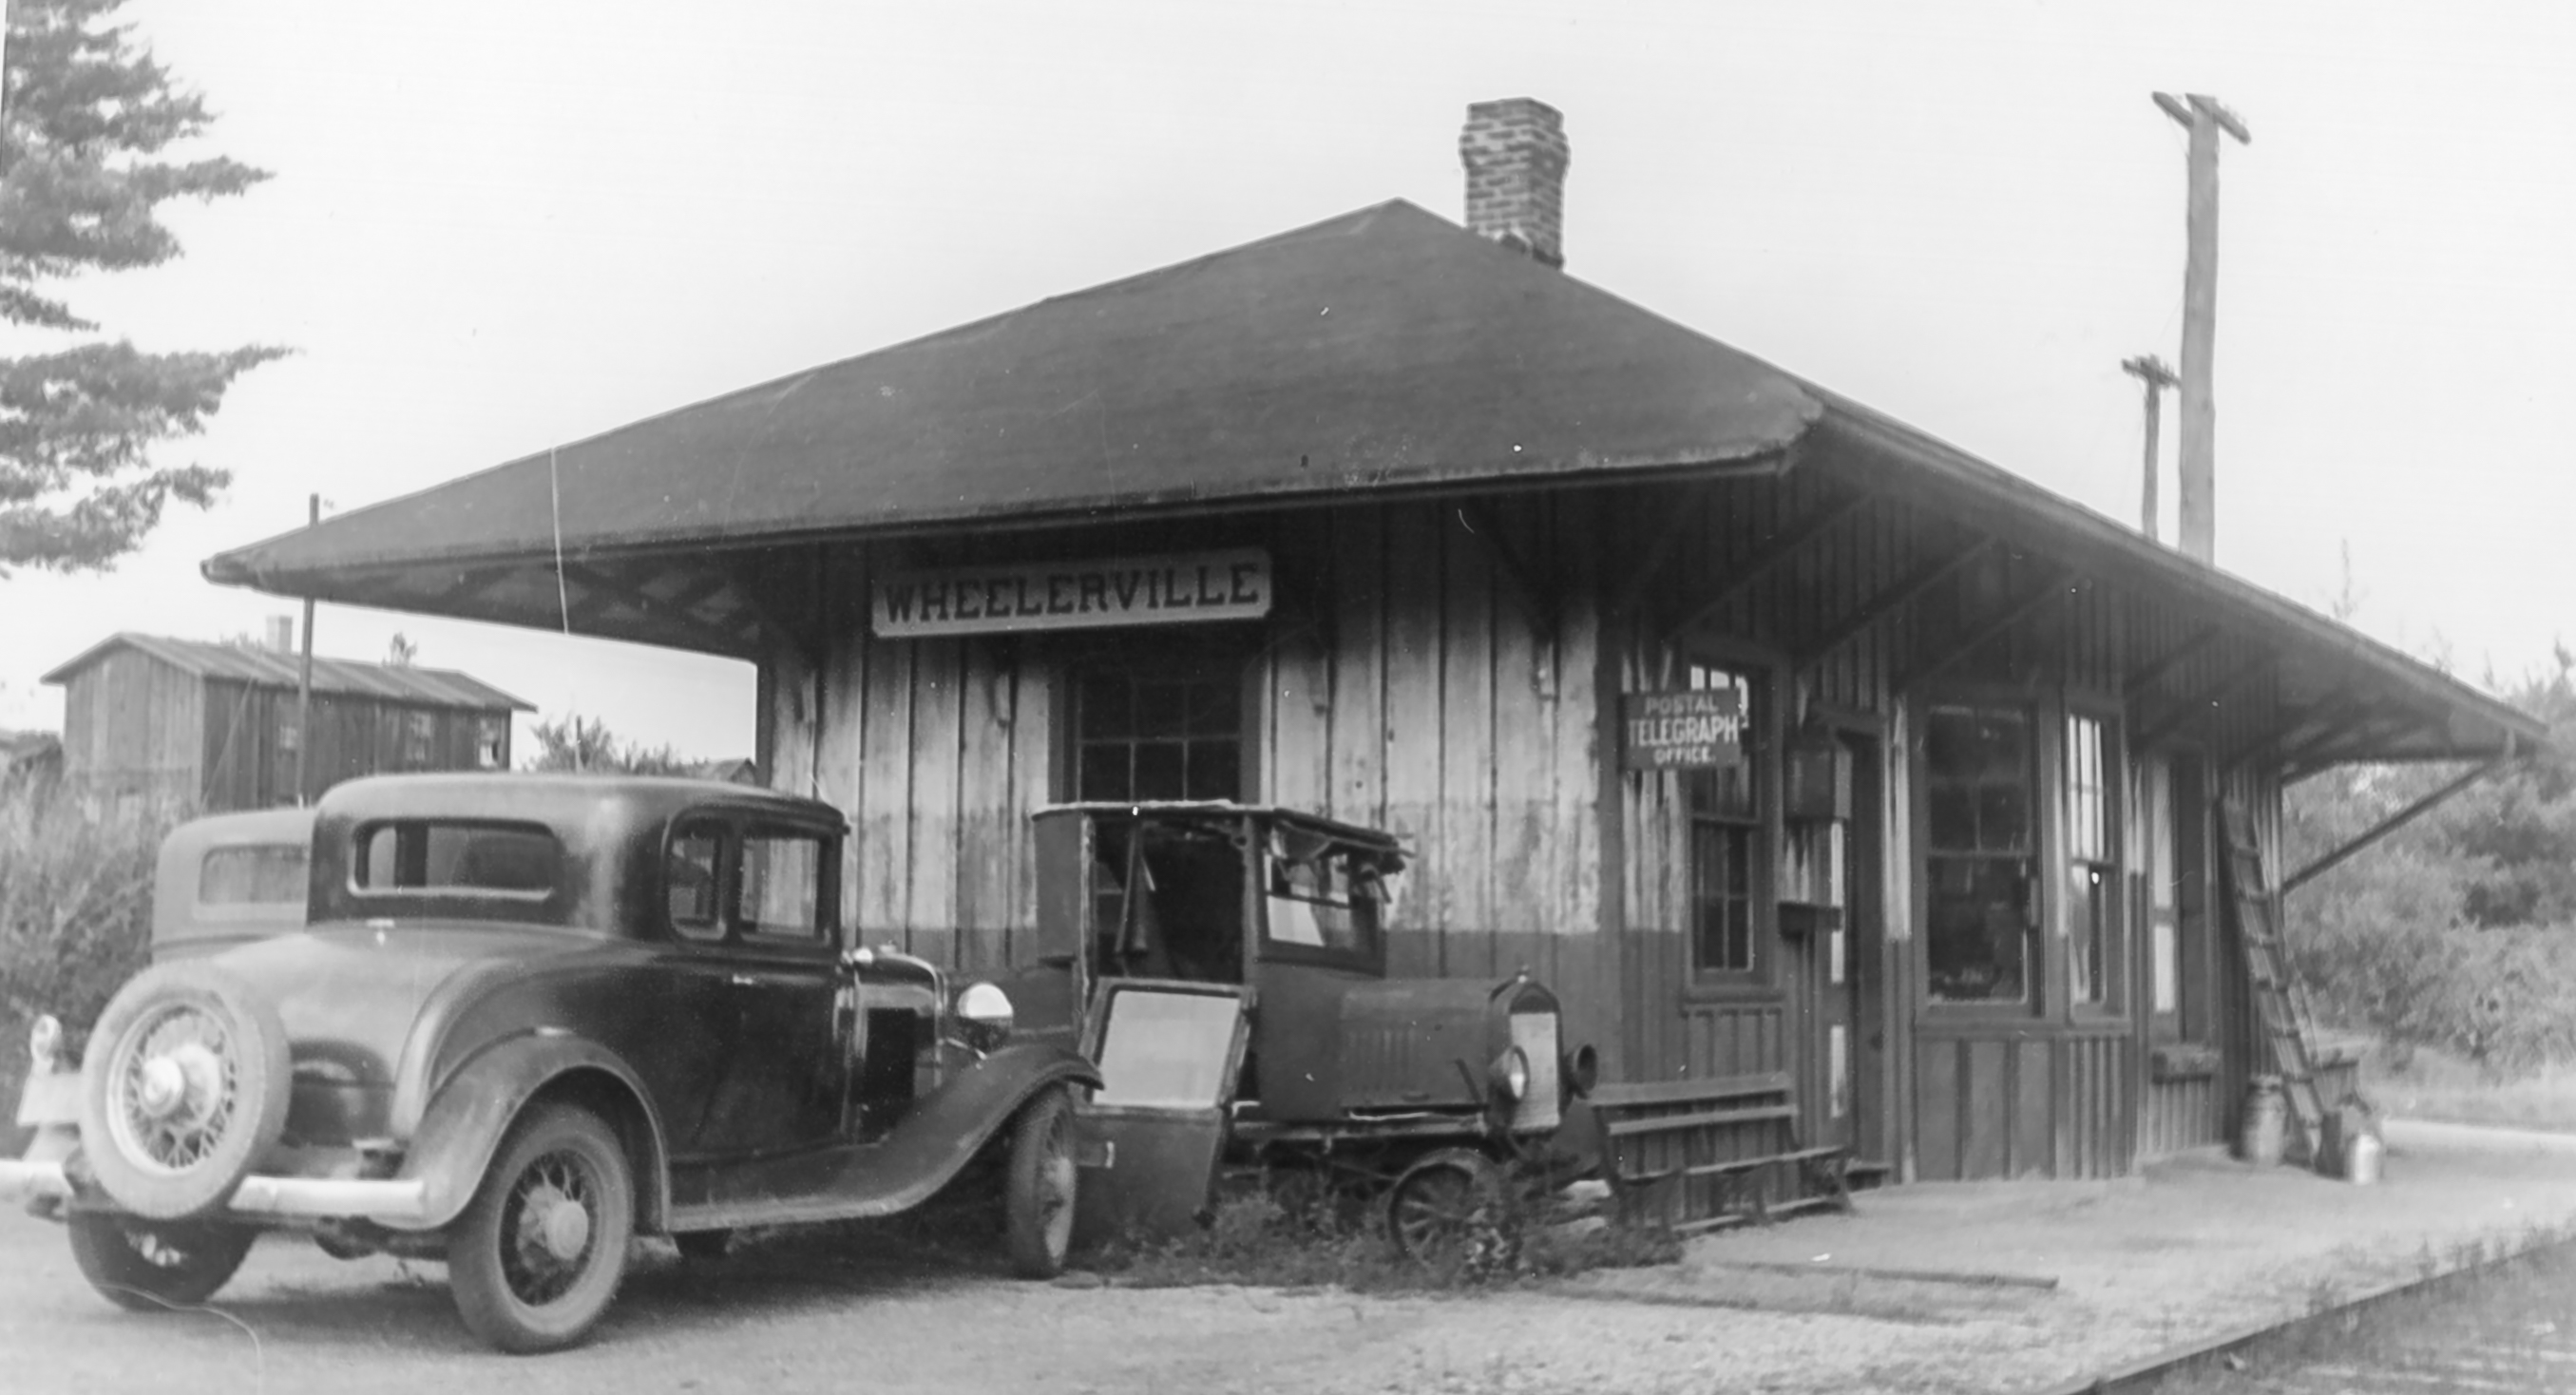
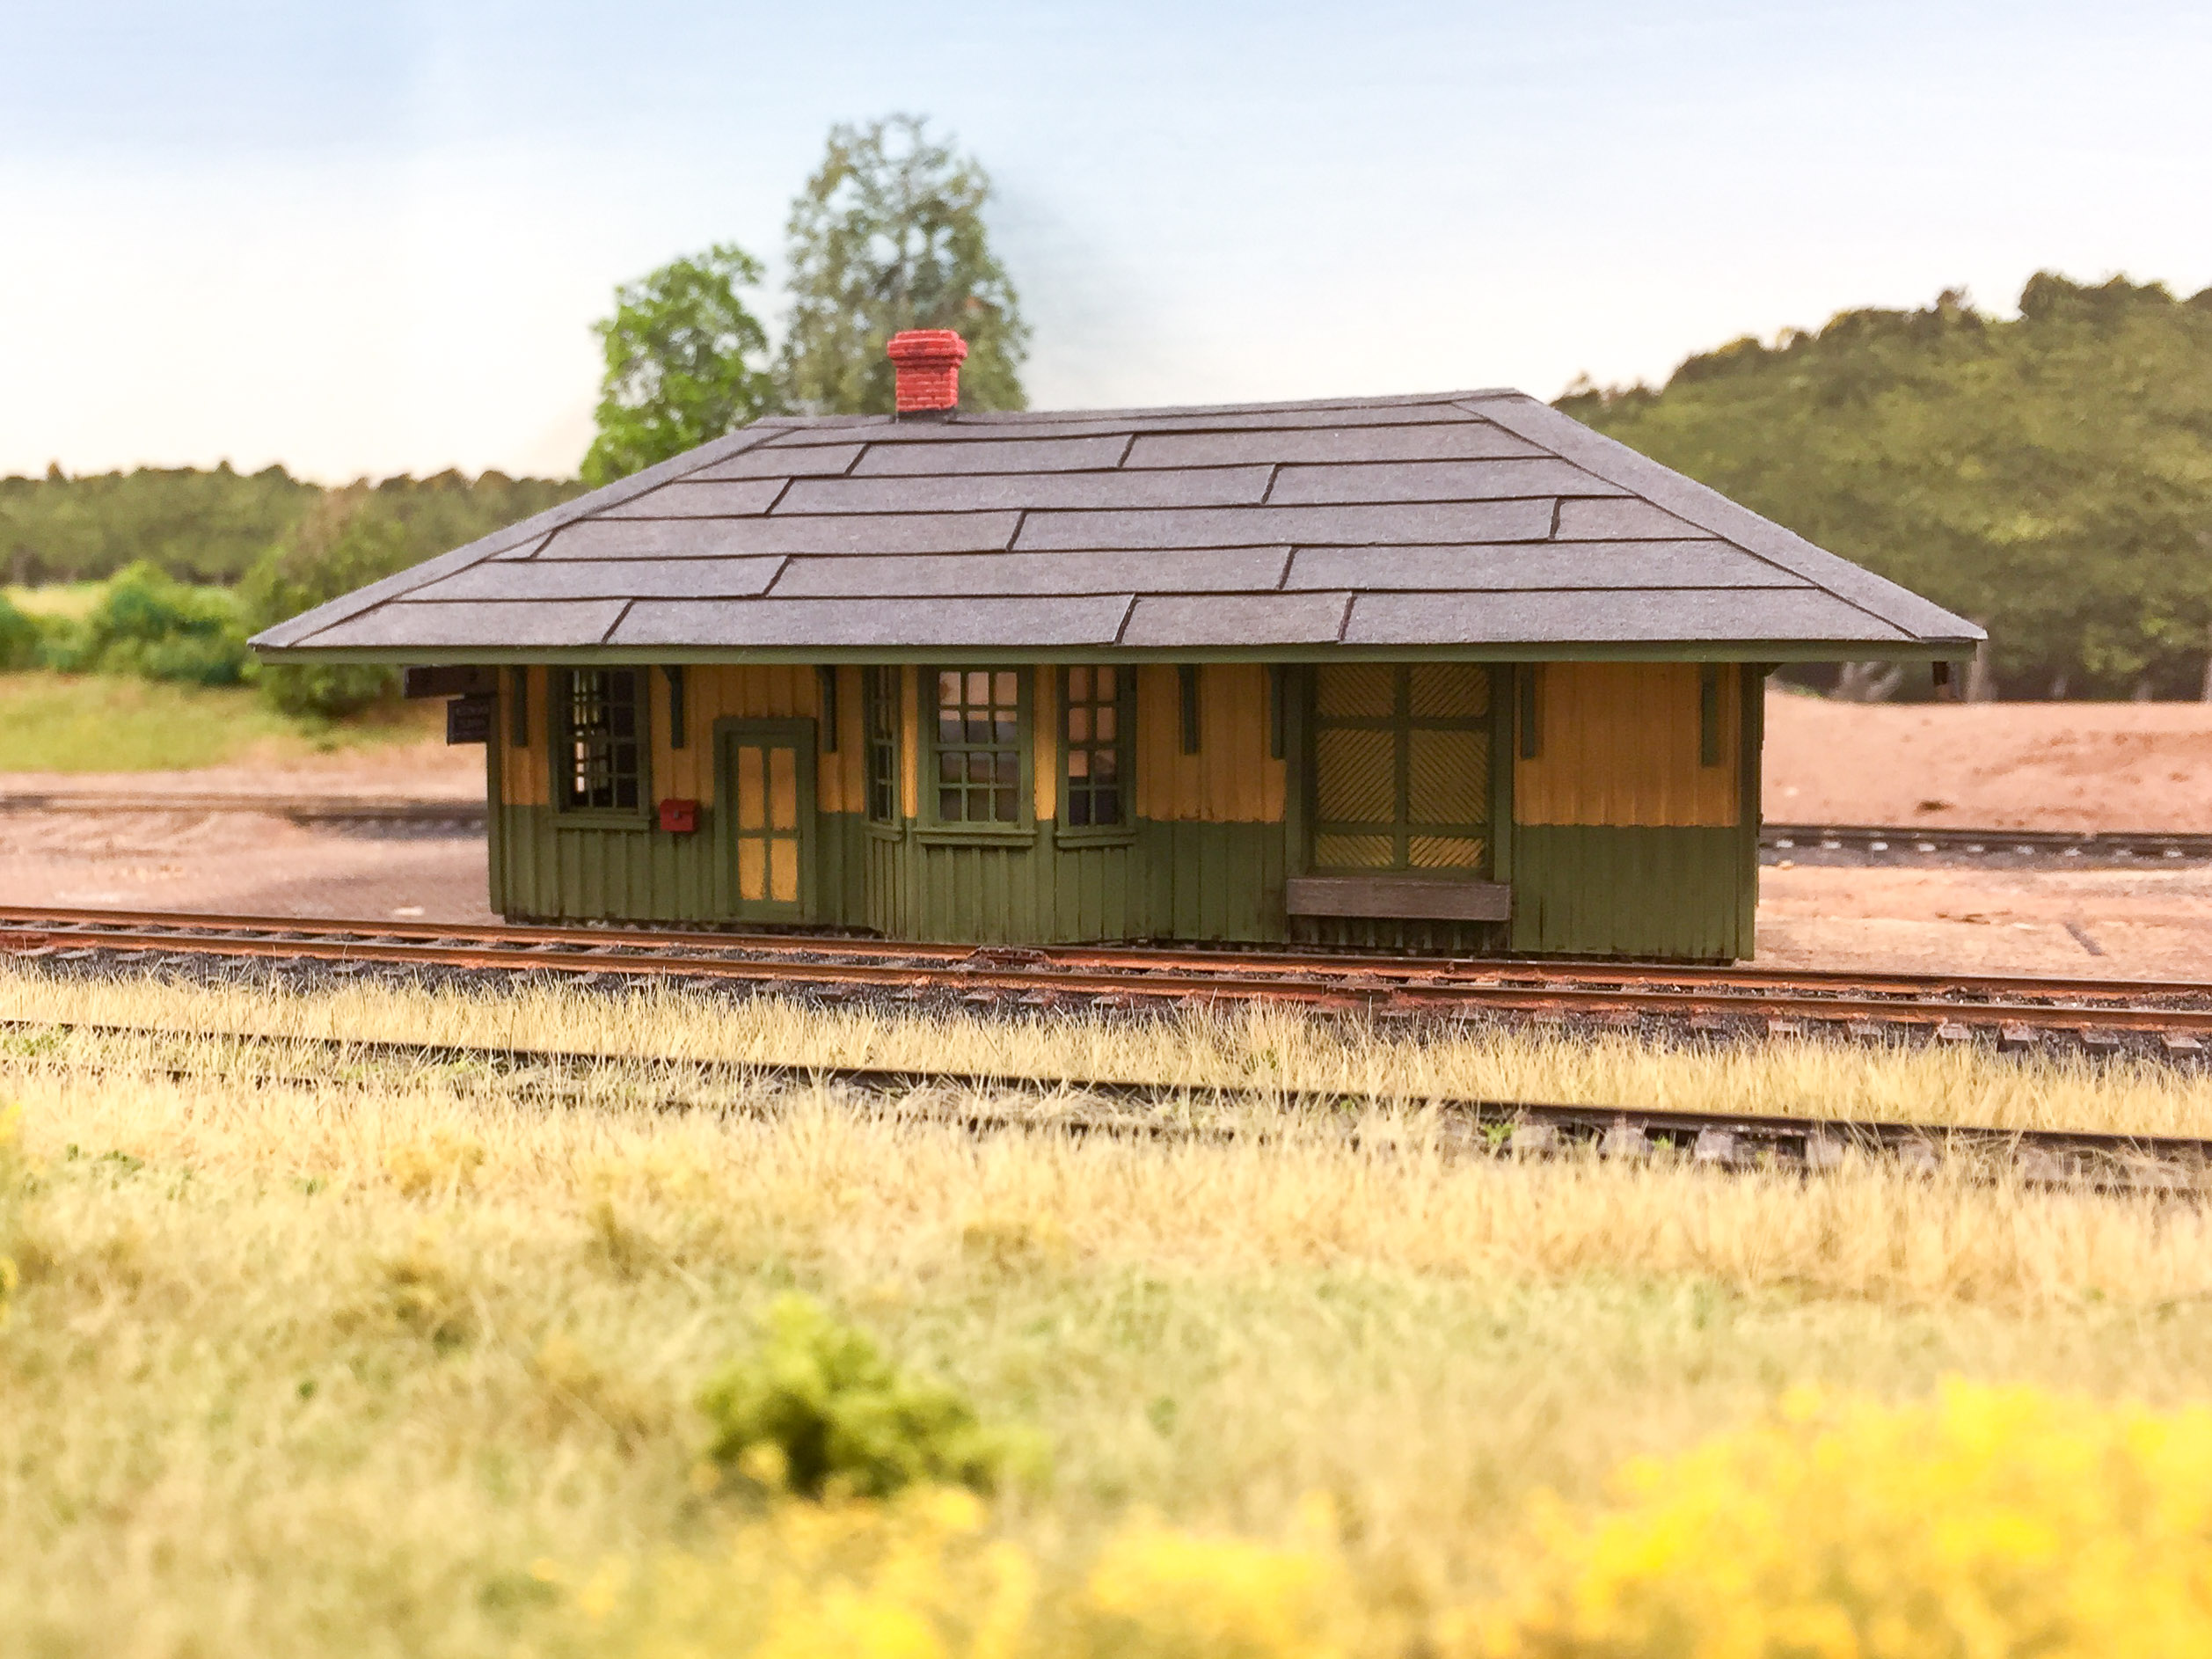
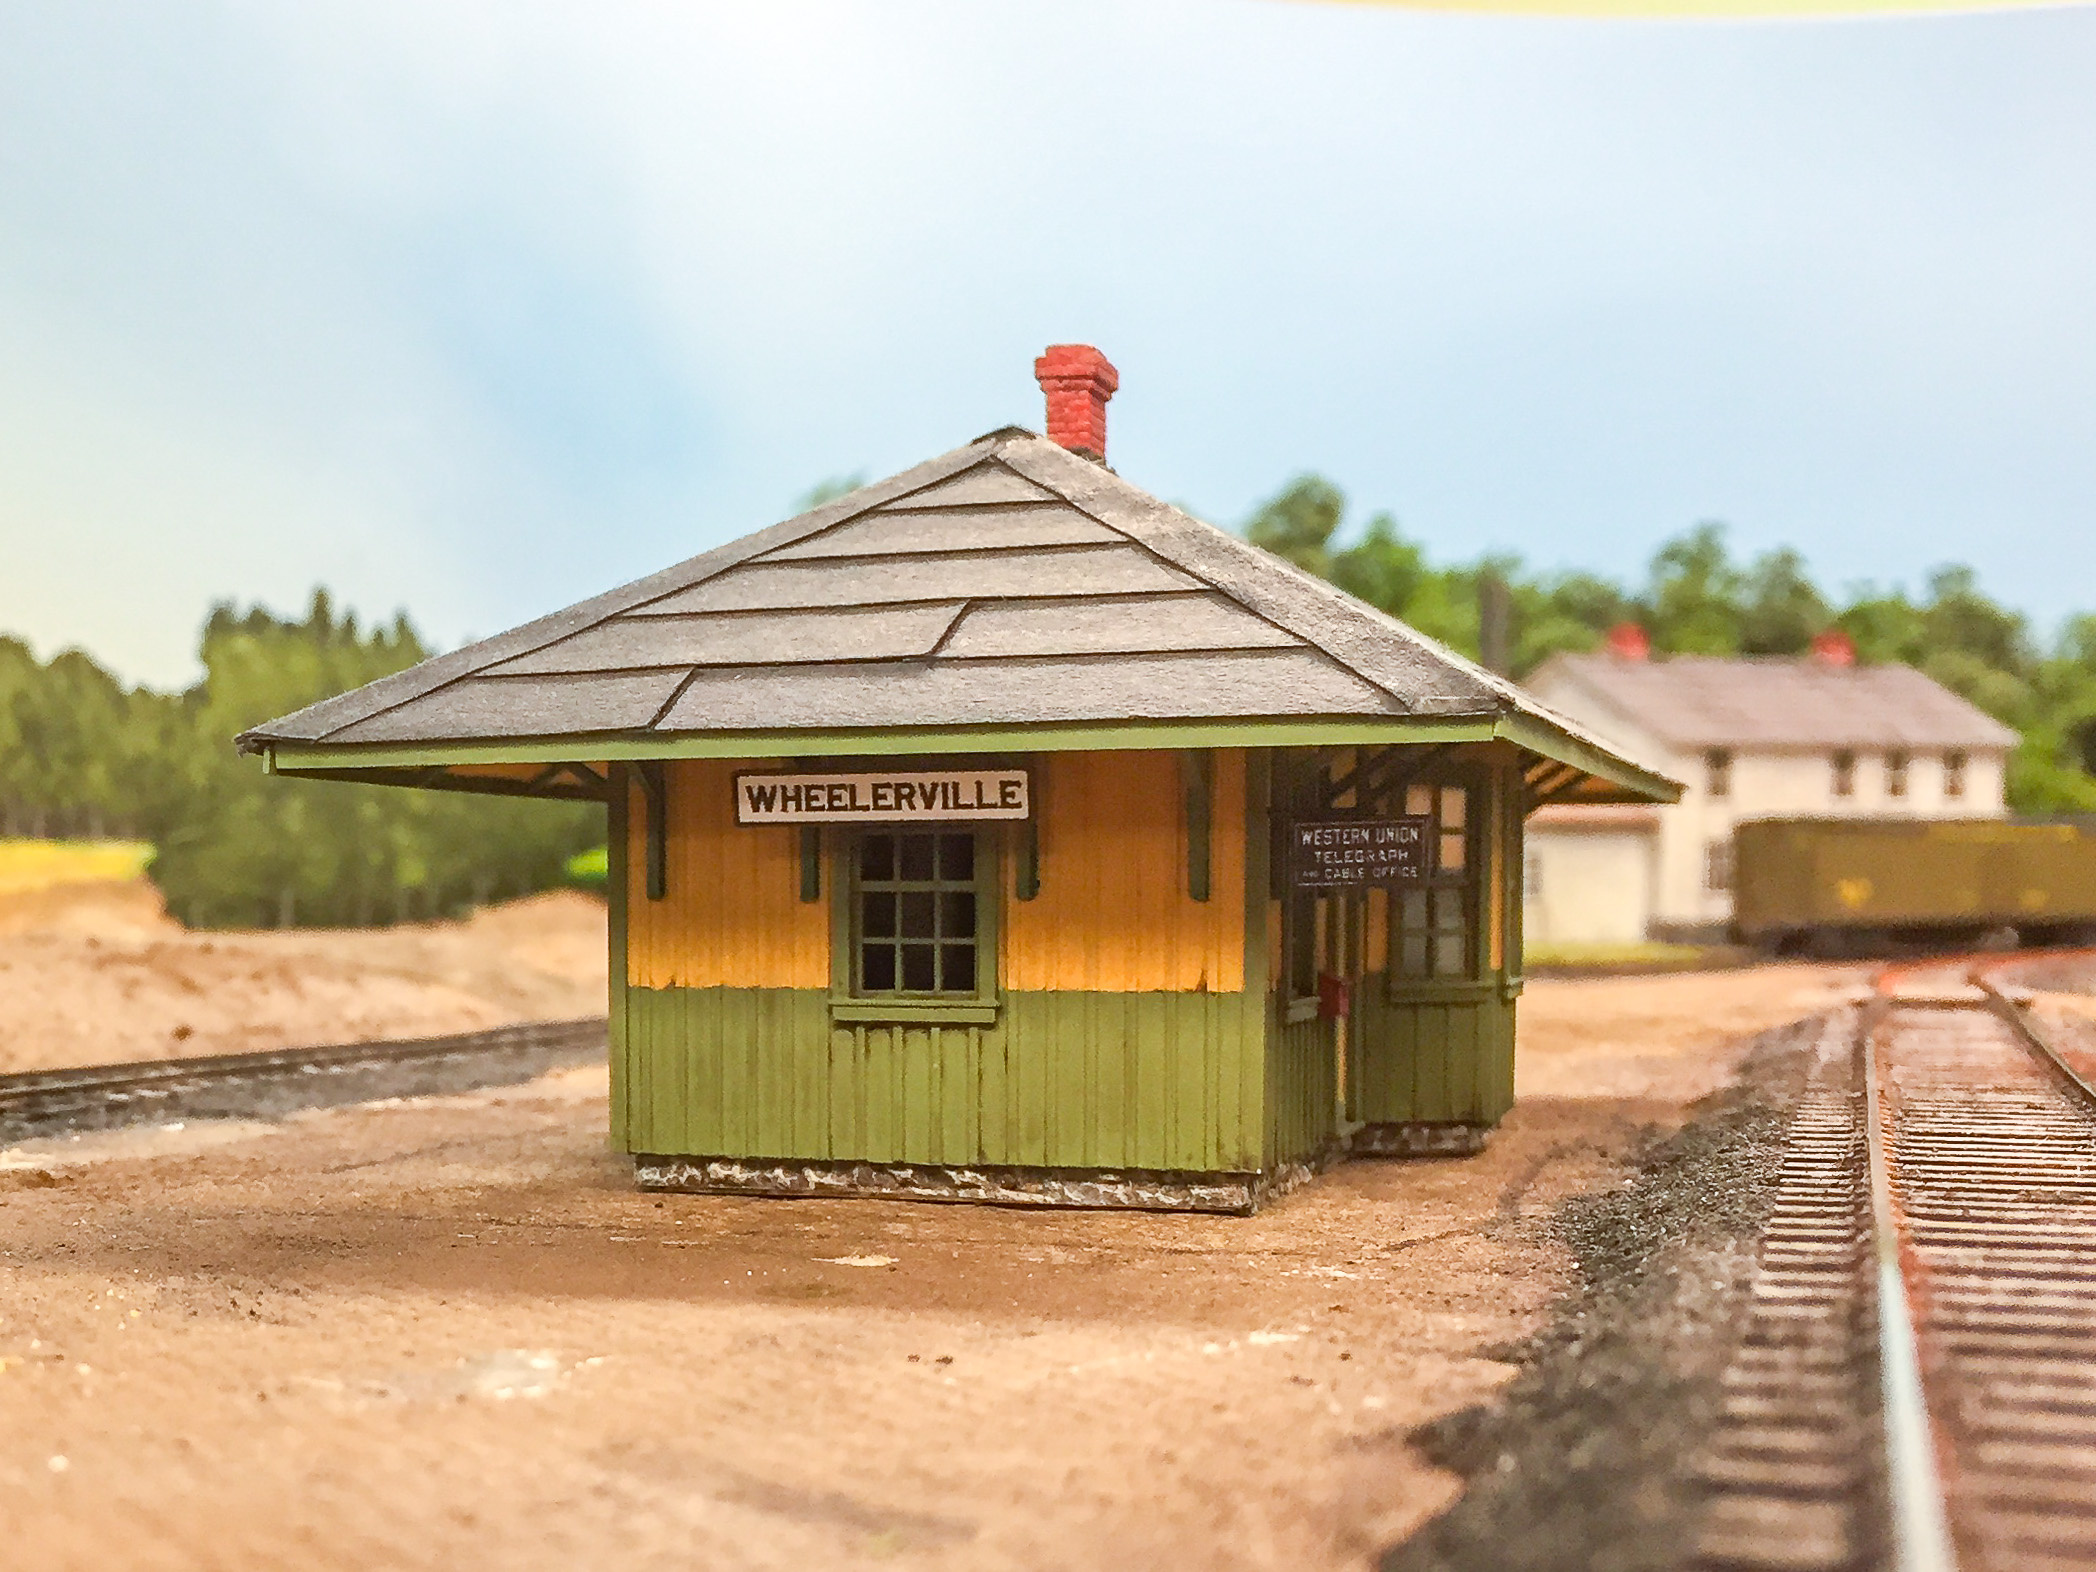
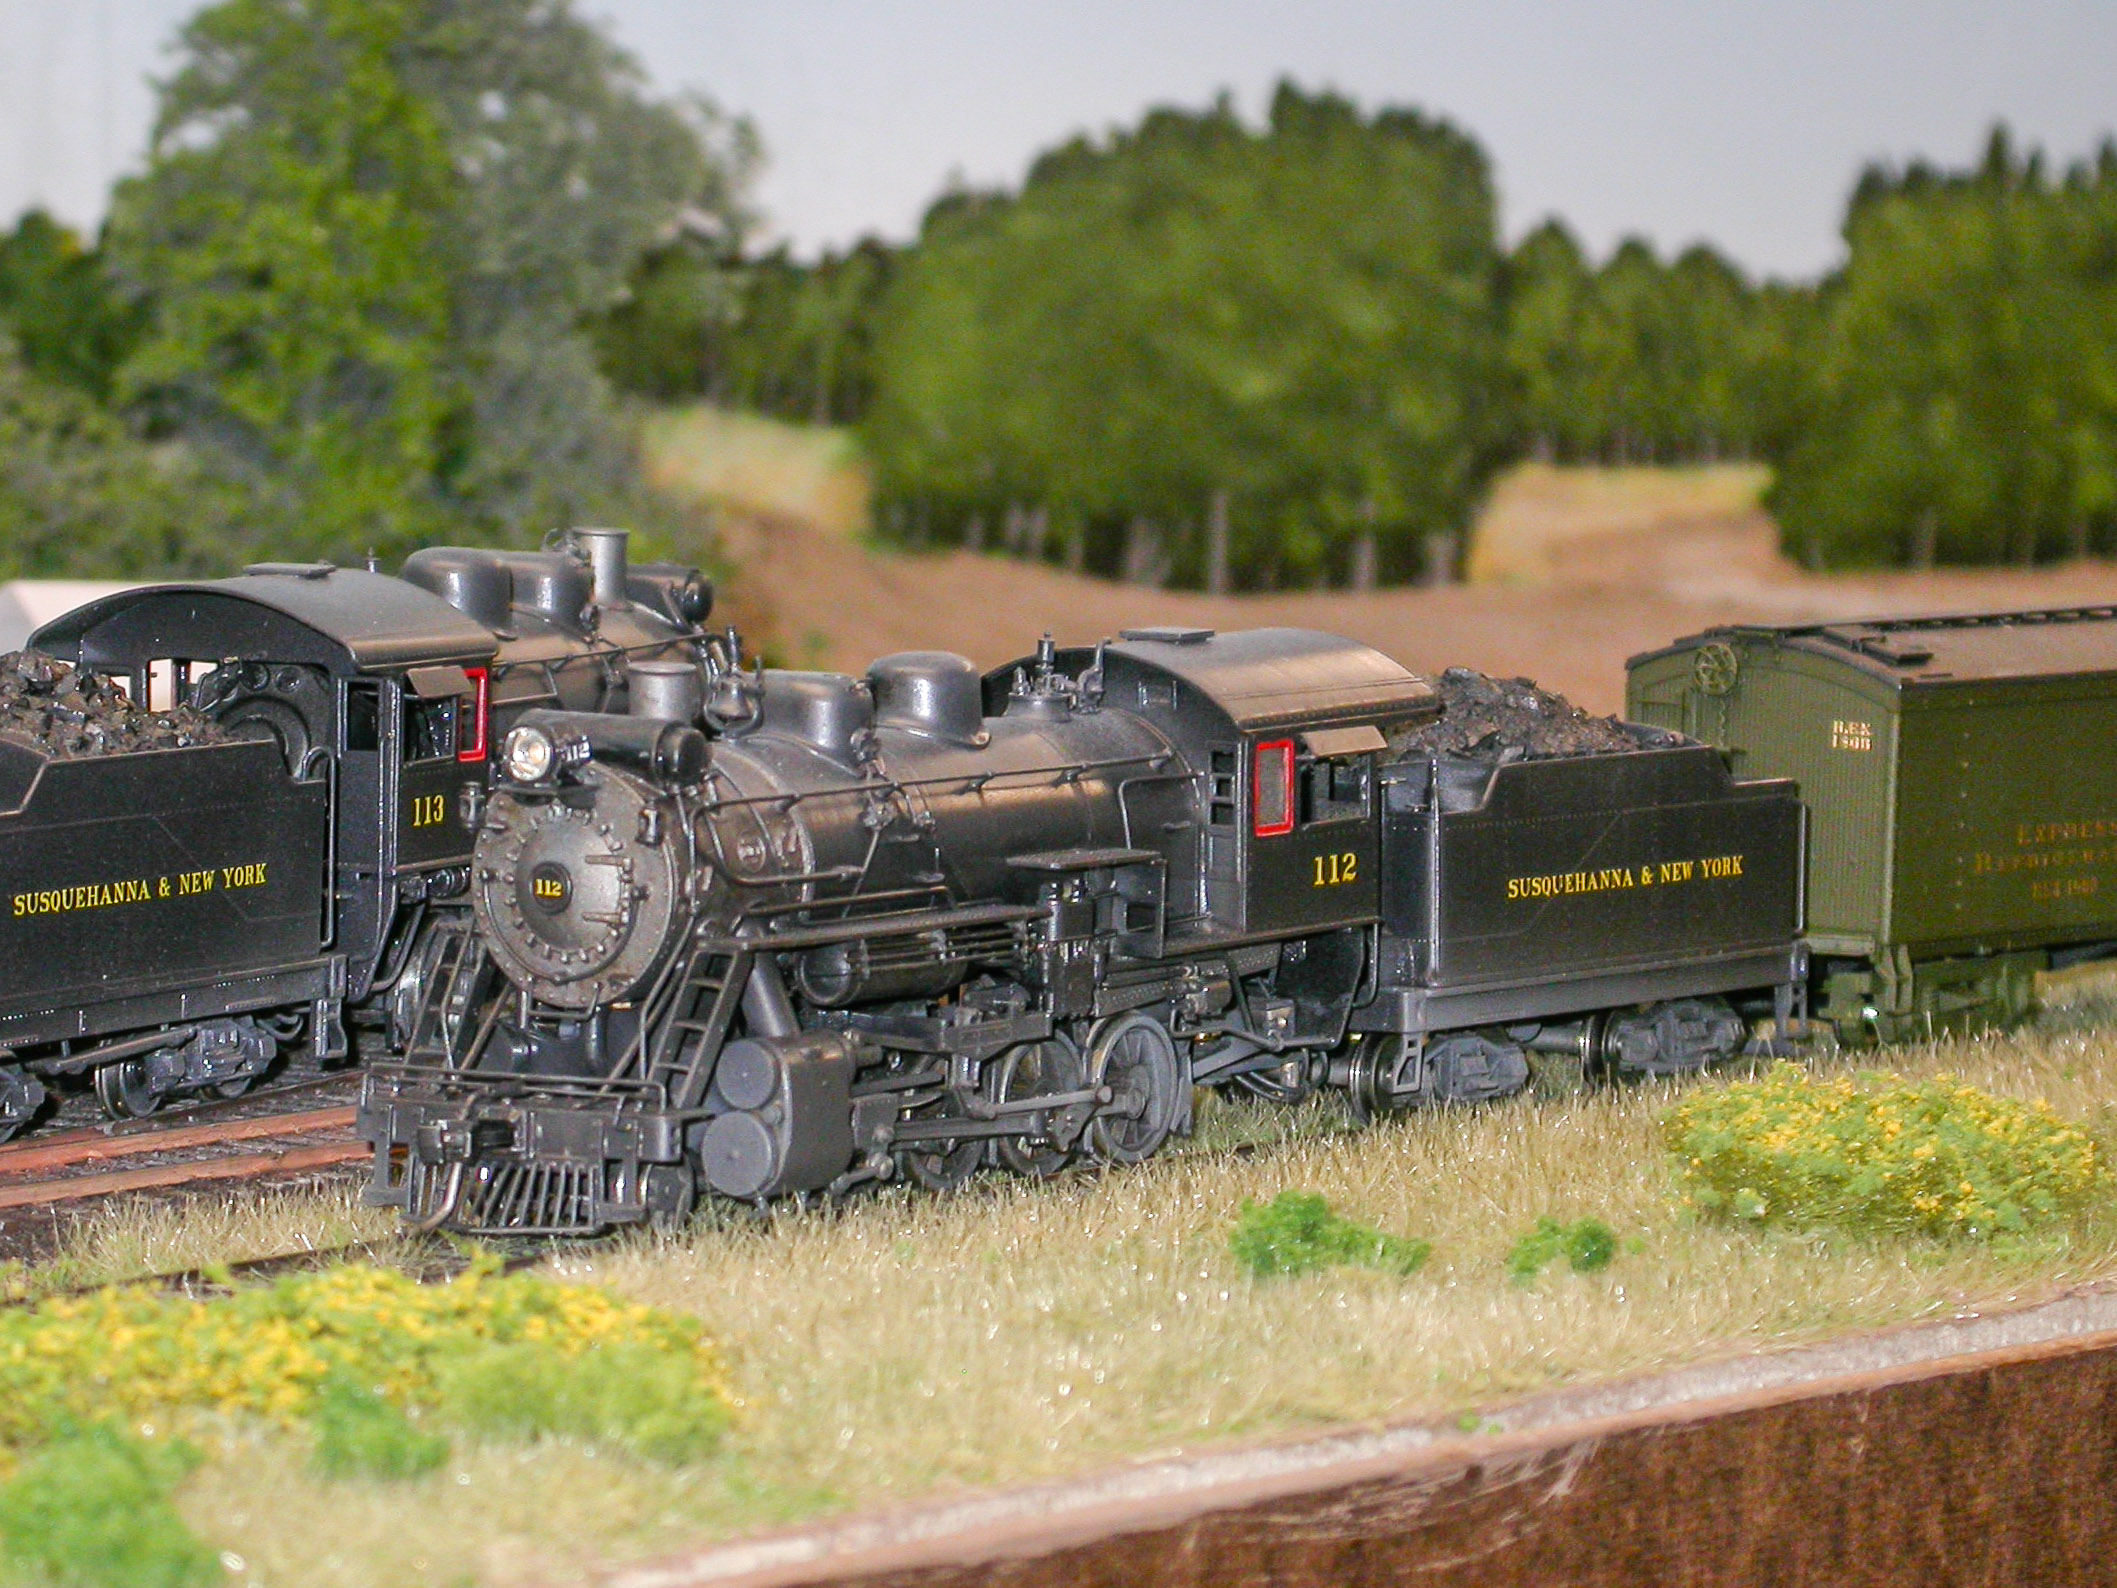
Here, #112 leading Train 22 meets the special at Wheelerville:

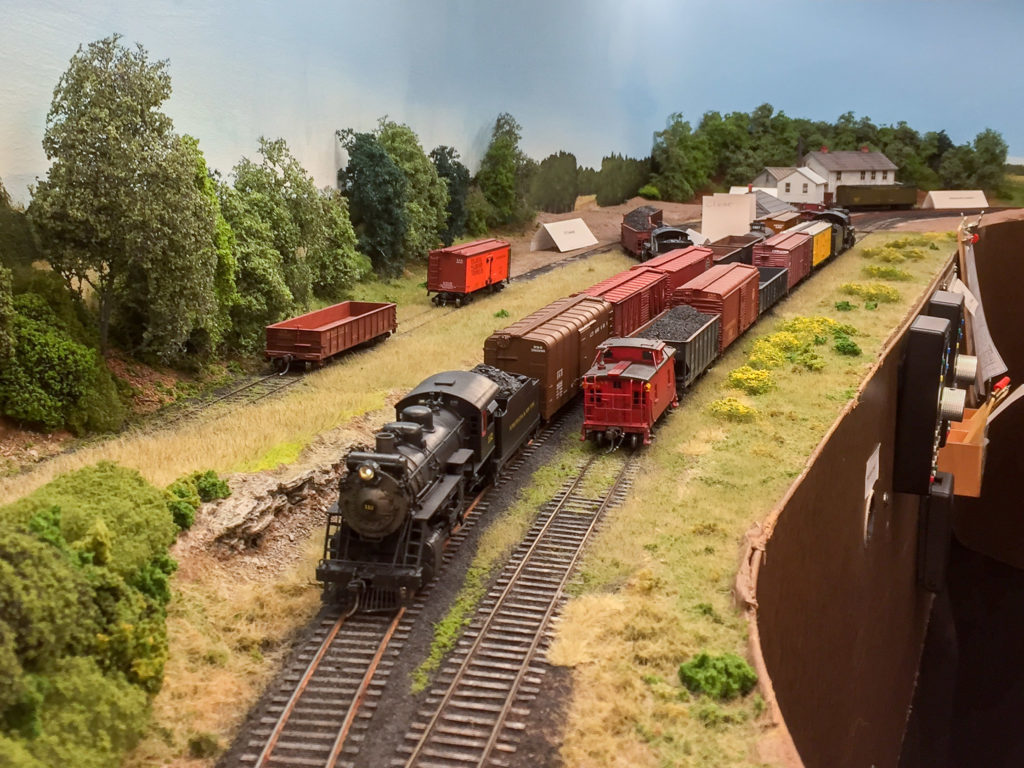
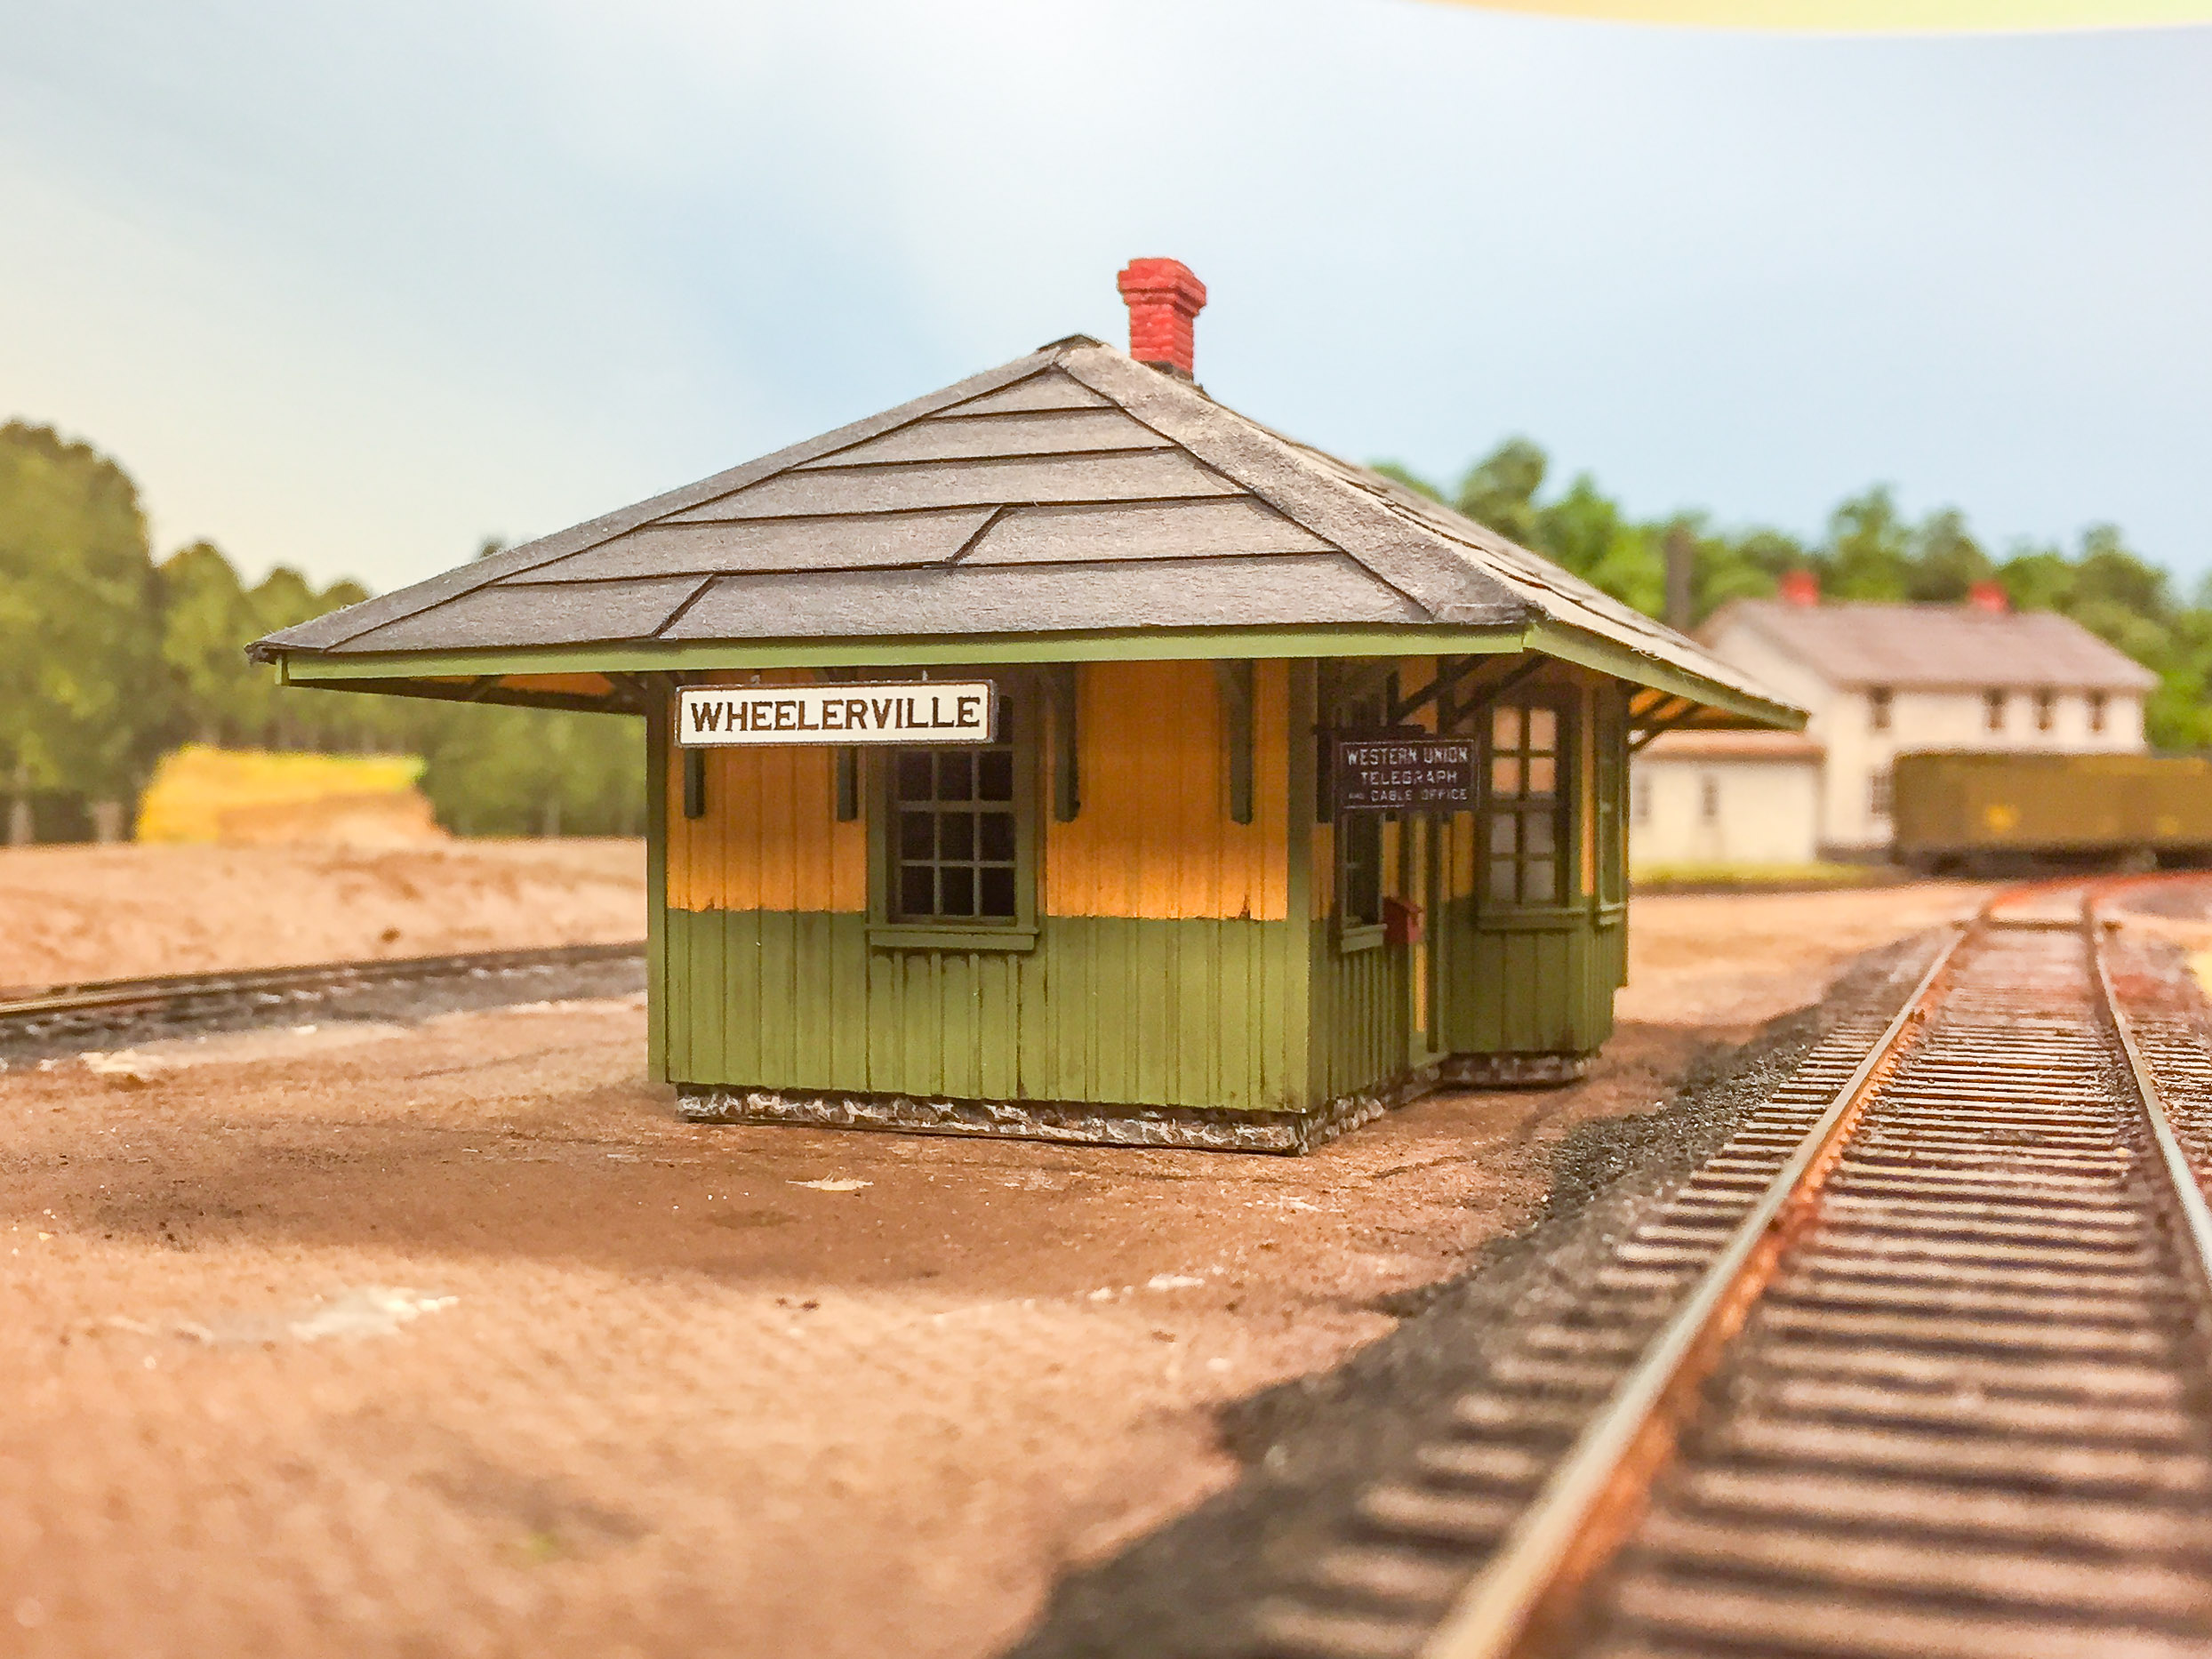
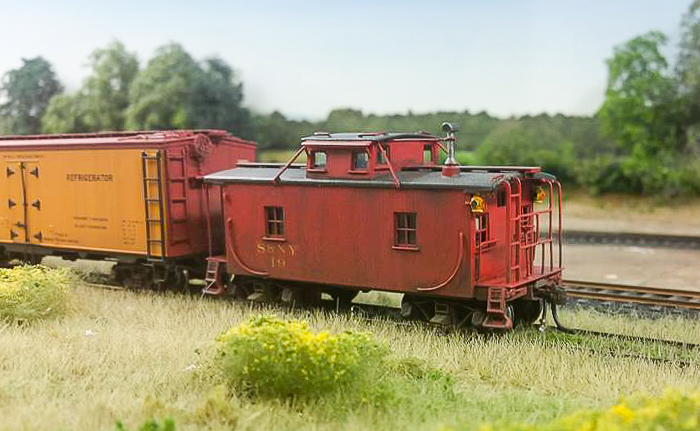
We were a little short of engineers for the session, so the coal extra had no helper crew. The extra engineer misread the timetable and thought he could safely double the hill from Marsh Hill to Wheelerville. Fortunately, he realized the error before any real harm was done, and was able to duck into the station track at Wheelerville to clear both No.5 and No.22, who were scheduled to meet each other at Wheelerville:

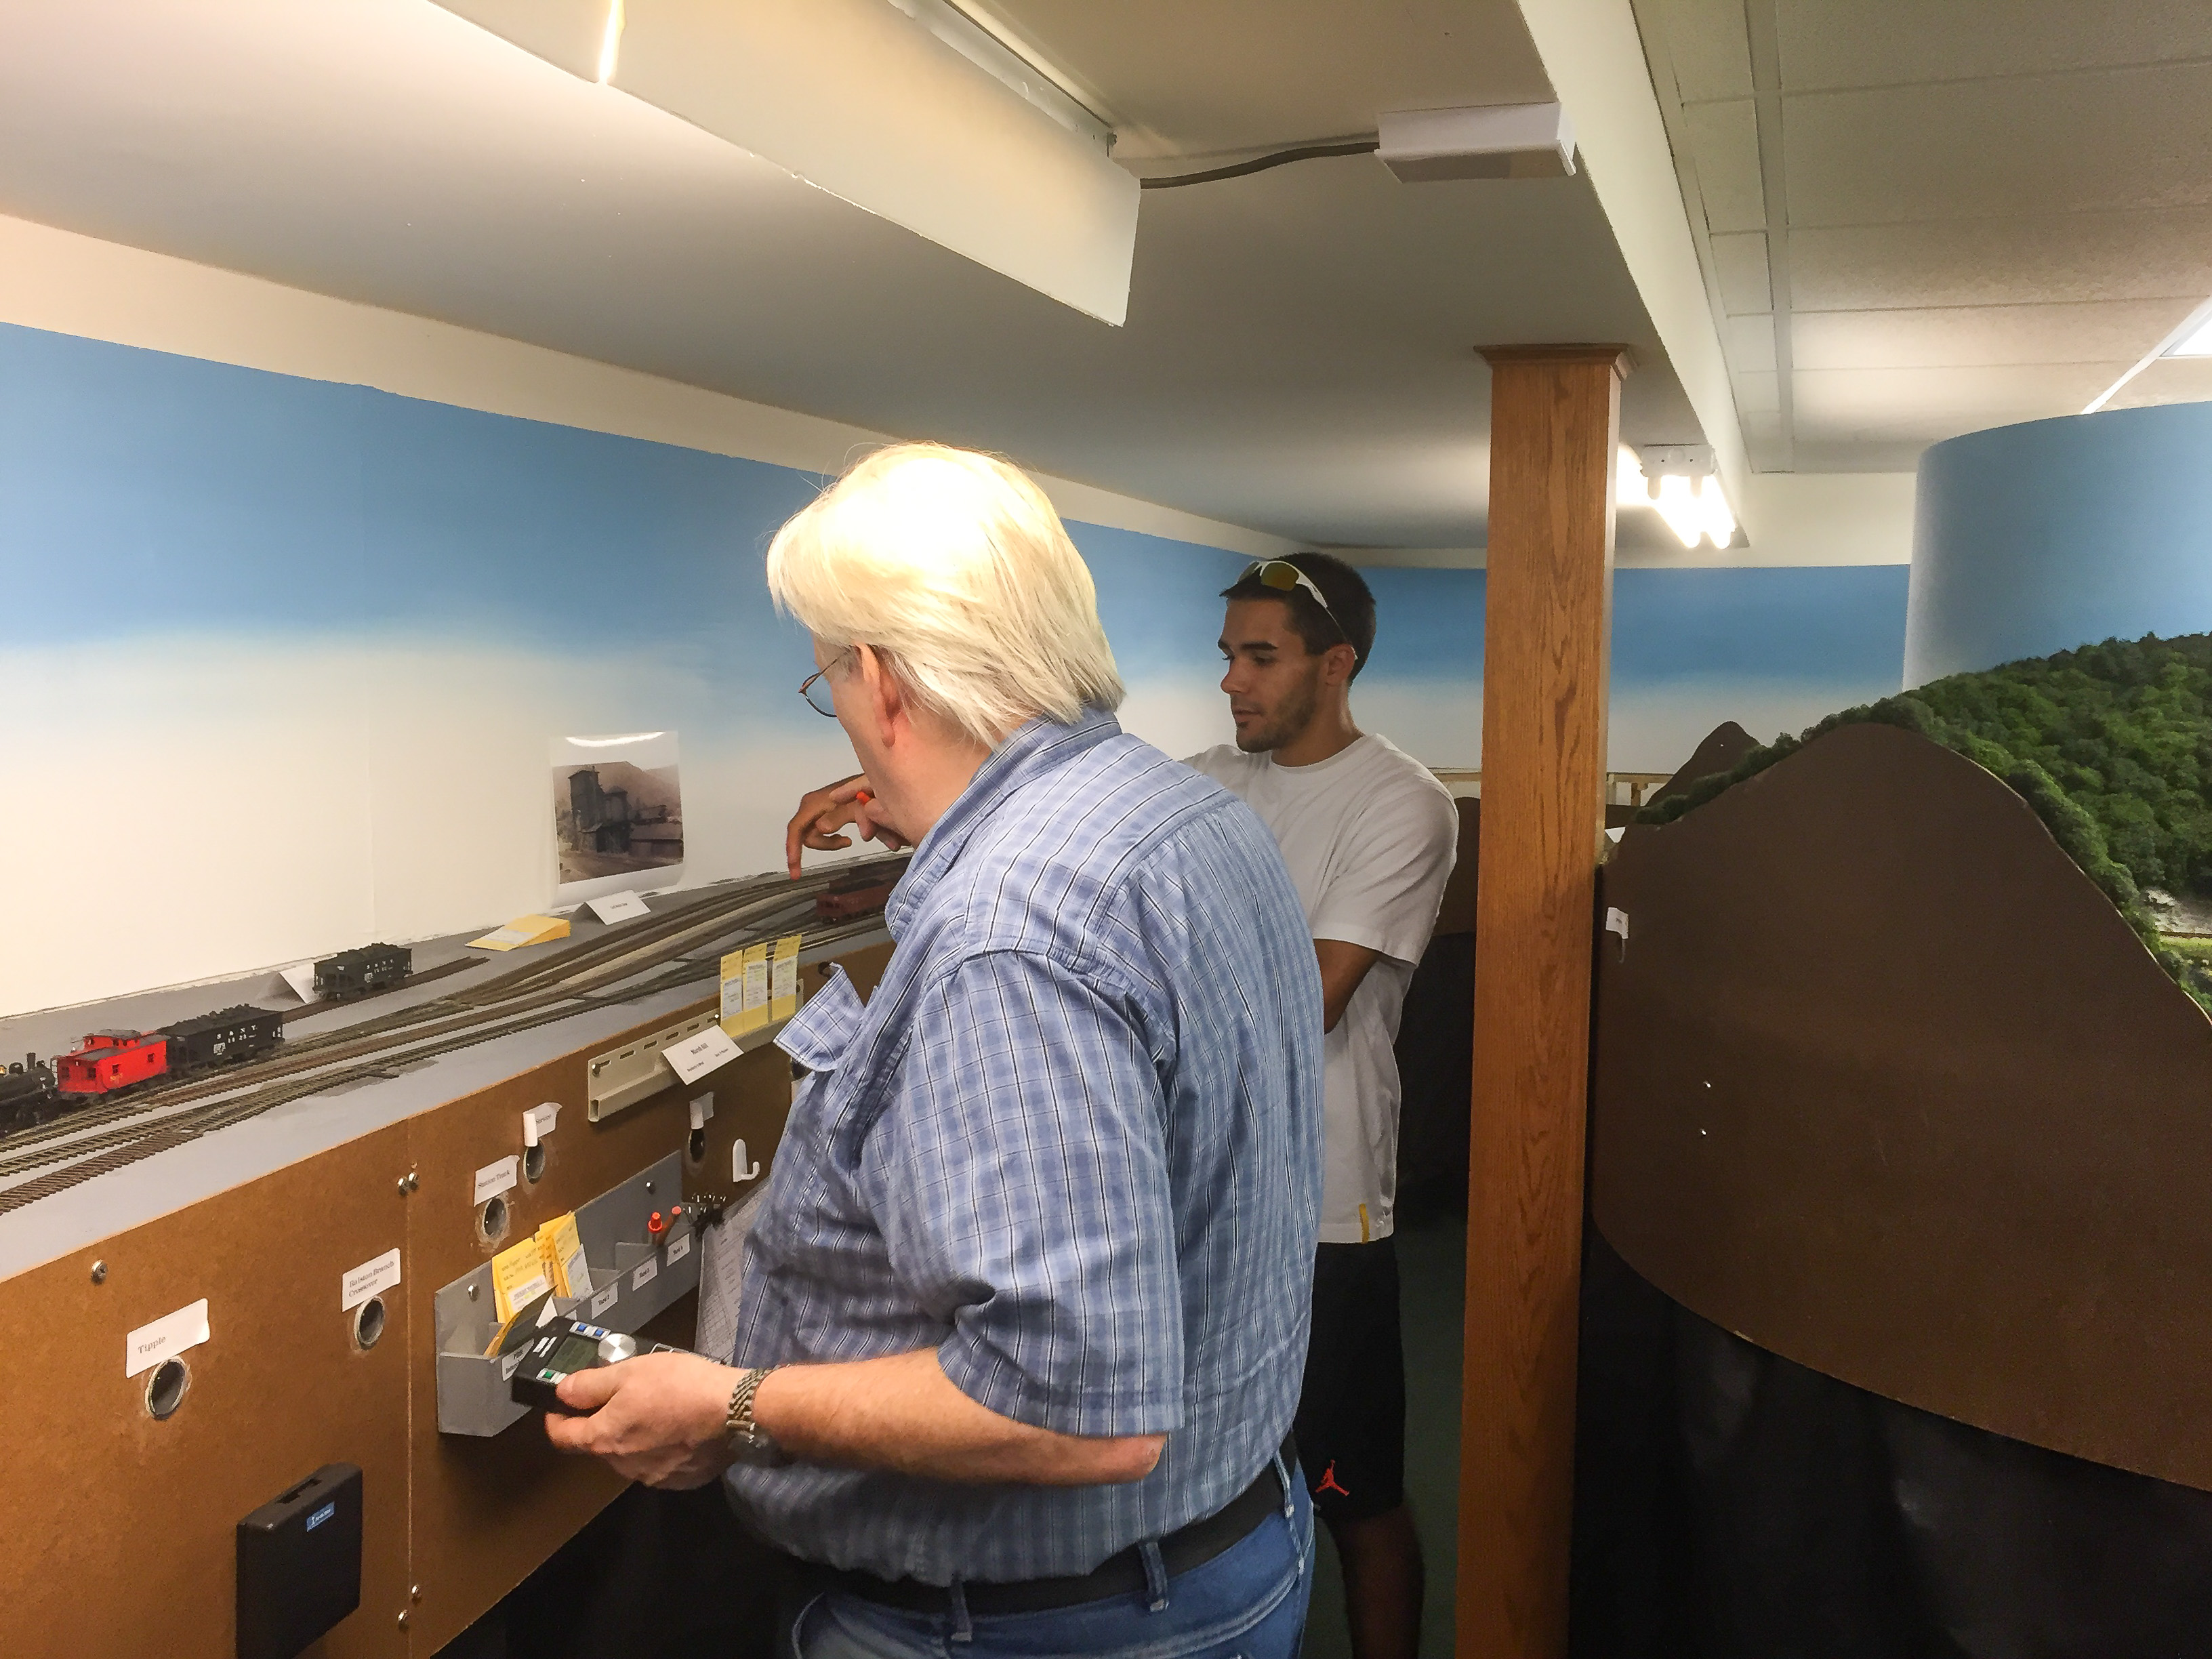
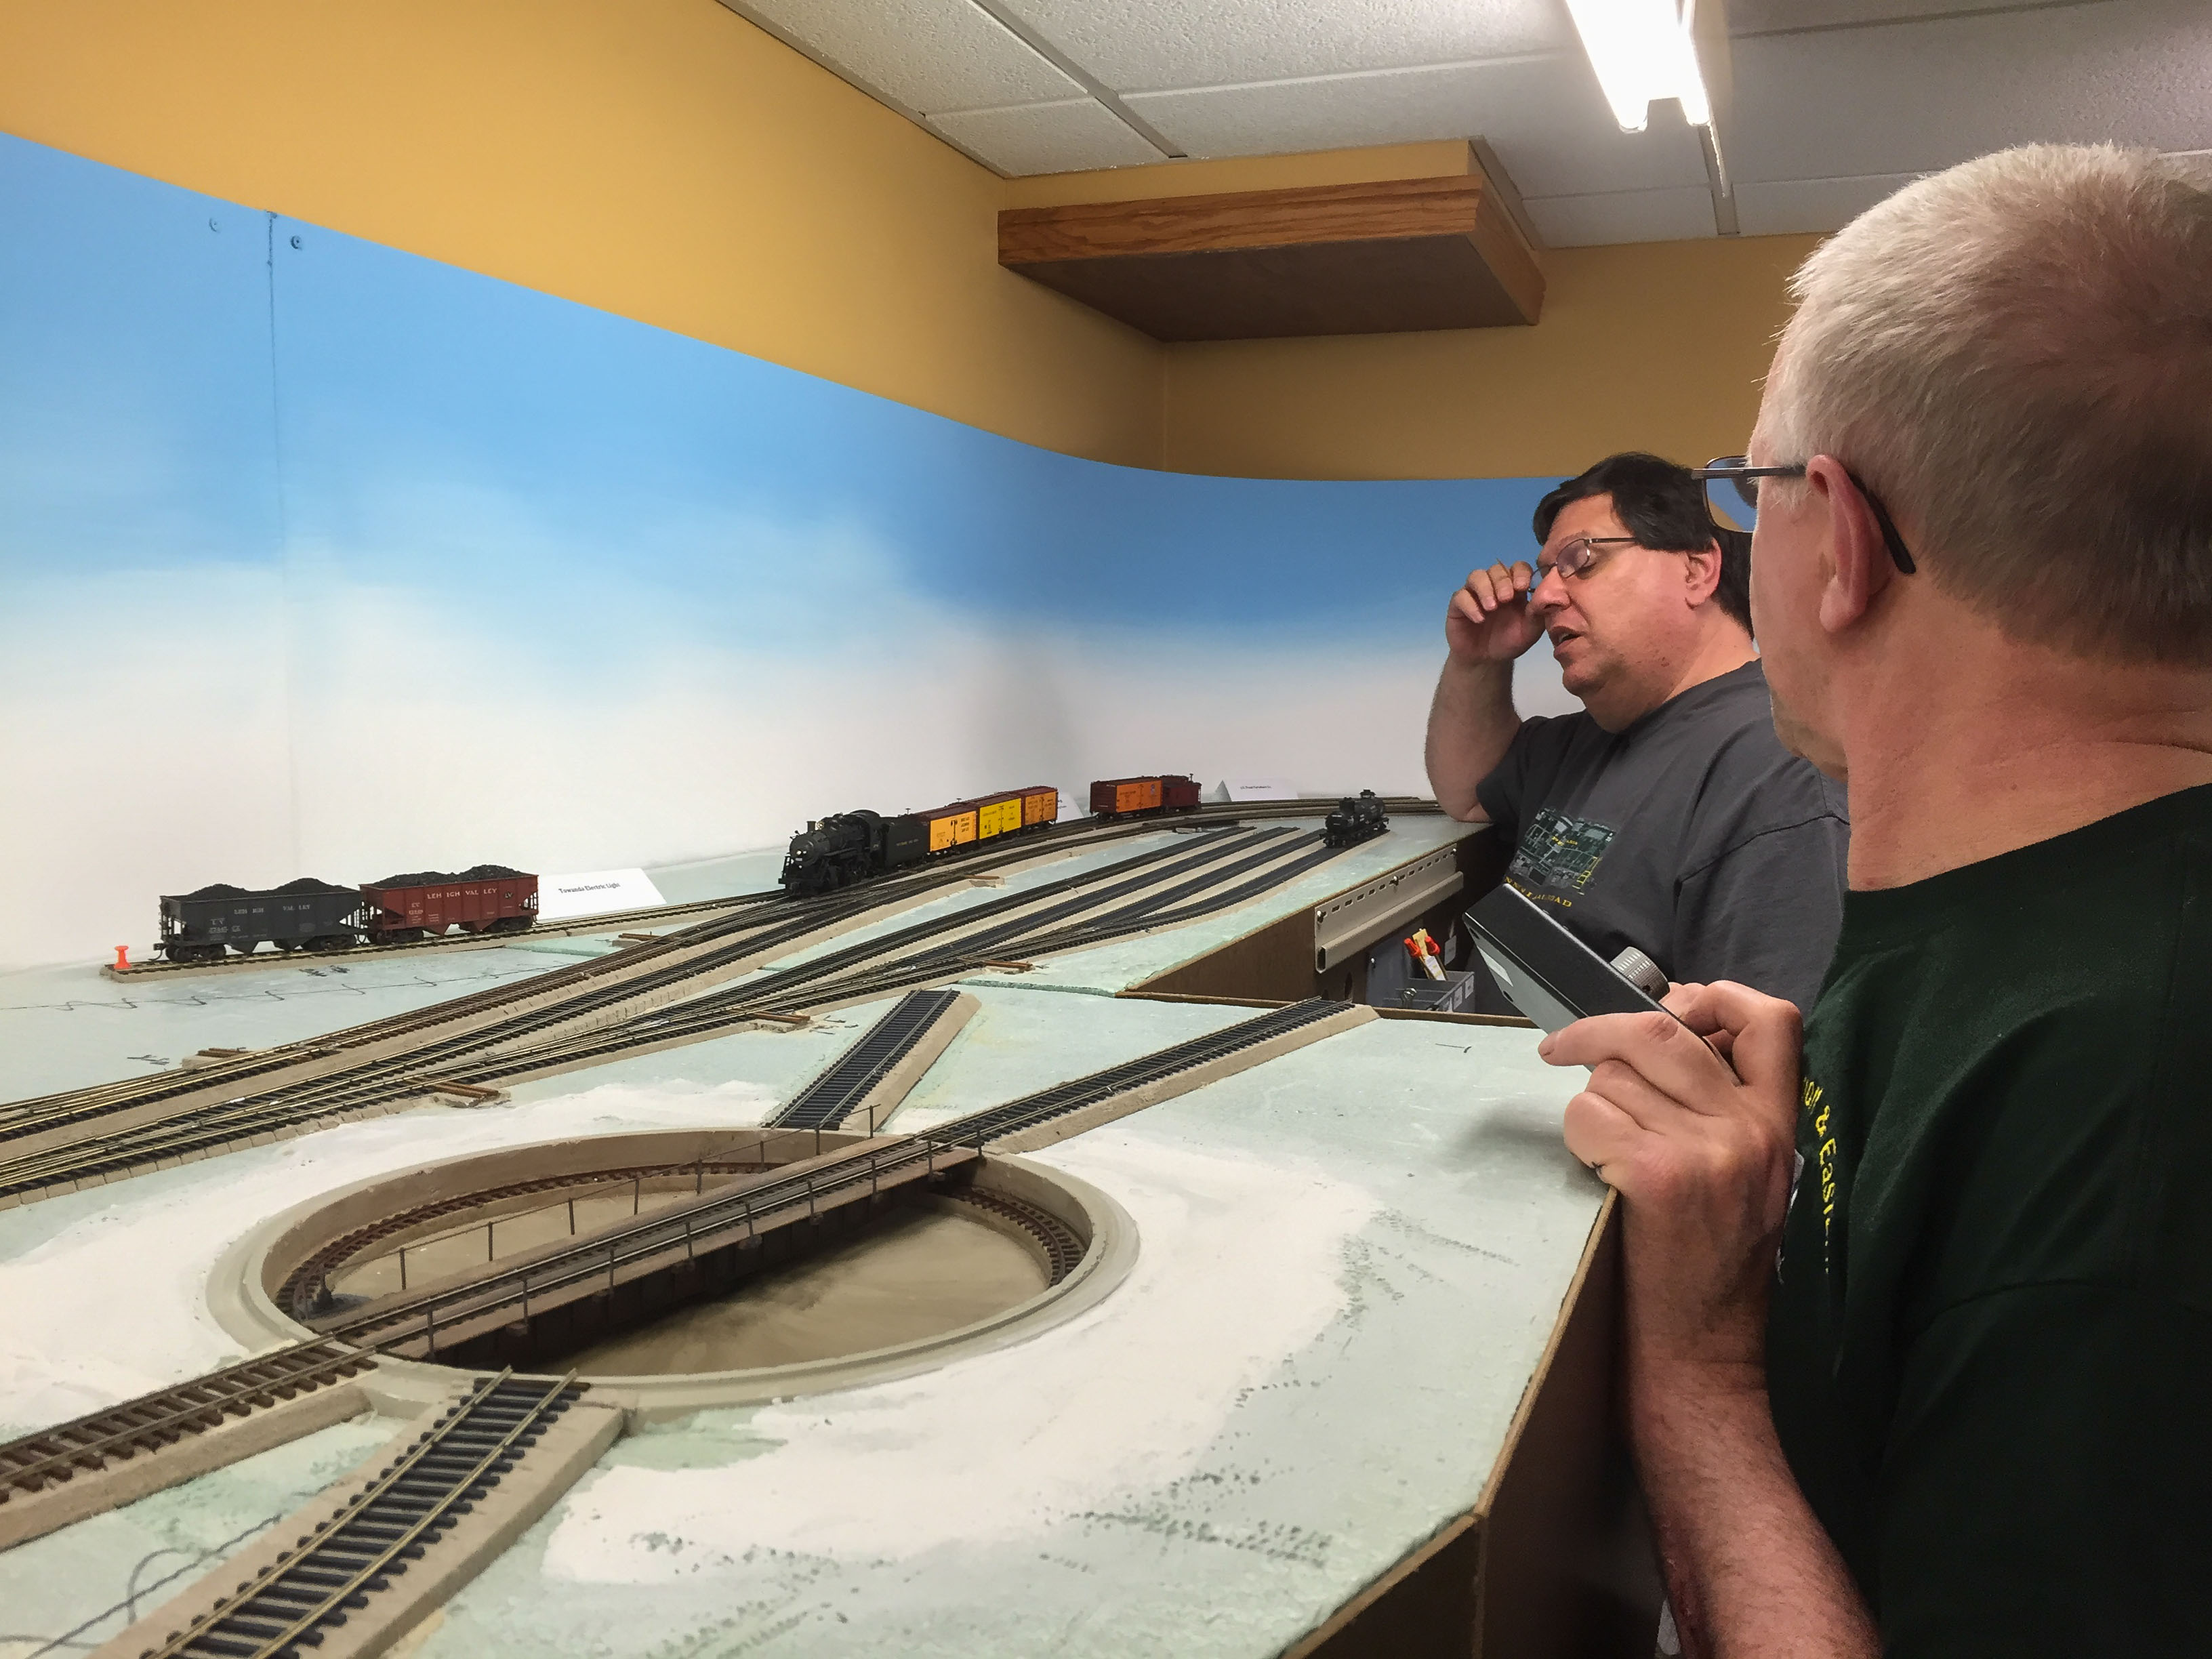
No major glitches during the session, other than occasional signal loss from one throttle at the far end of the layout at Towanda. Eventually a second receiver may have to be installed in that room if the problem recurs.


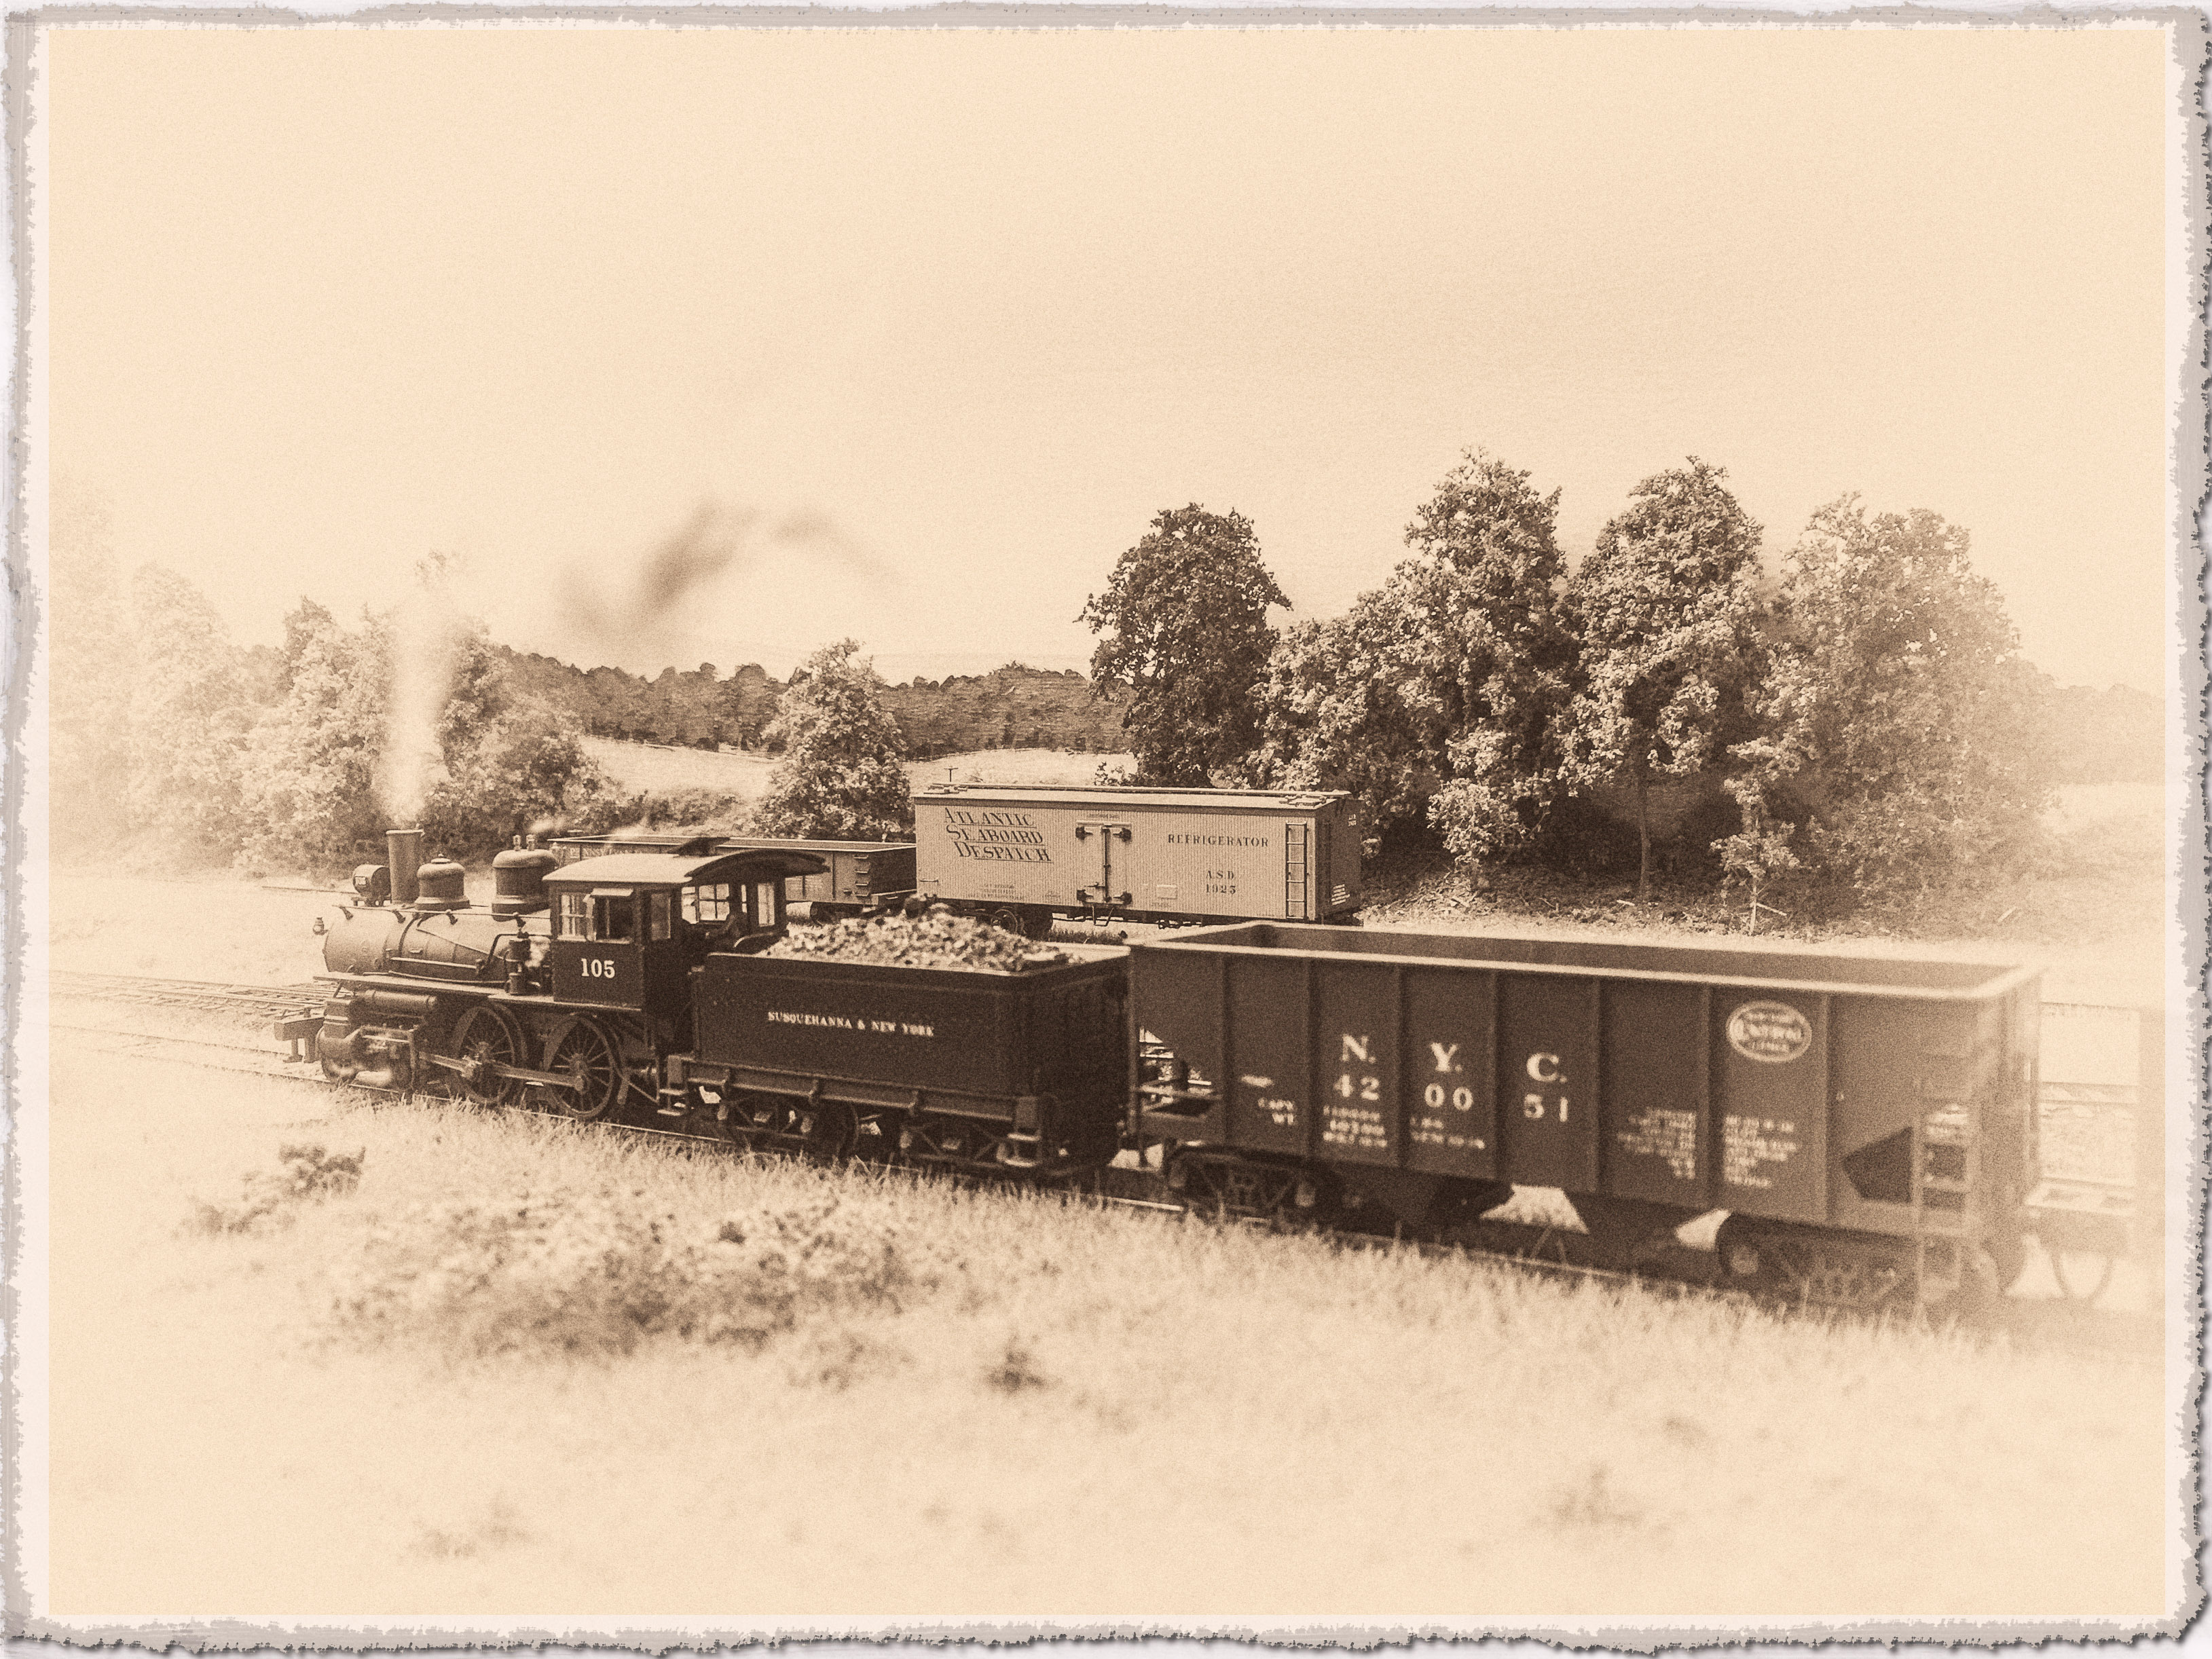
Session #15 was held on a very snowy evening on Saturday 10 December. I wanted to open this session to a few local operators, but the weather conspired against that, and only two could make it. The only change I made to this session was the motorcar normally used on Trains 2 and 3 was replaced by 4-4-0 #105 due to heavy holiday express traffic. I pulled a couple of express cars out of storage and added them to the railroad for No.2 to pick up. The motorcar lacks the guts to haul more than one milk car up the grade to Wheelerville, and the 105 barely made it with a consist of a brass combine, milk can car and two express boxcars.

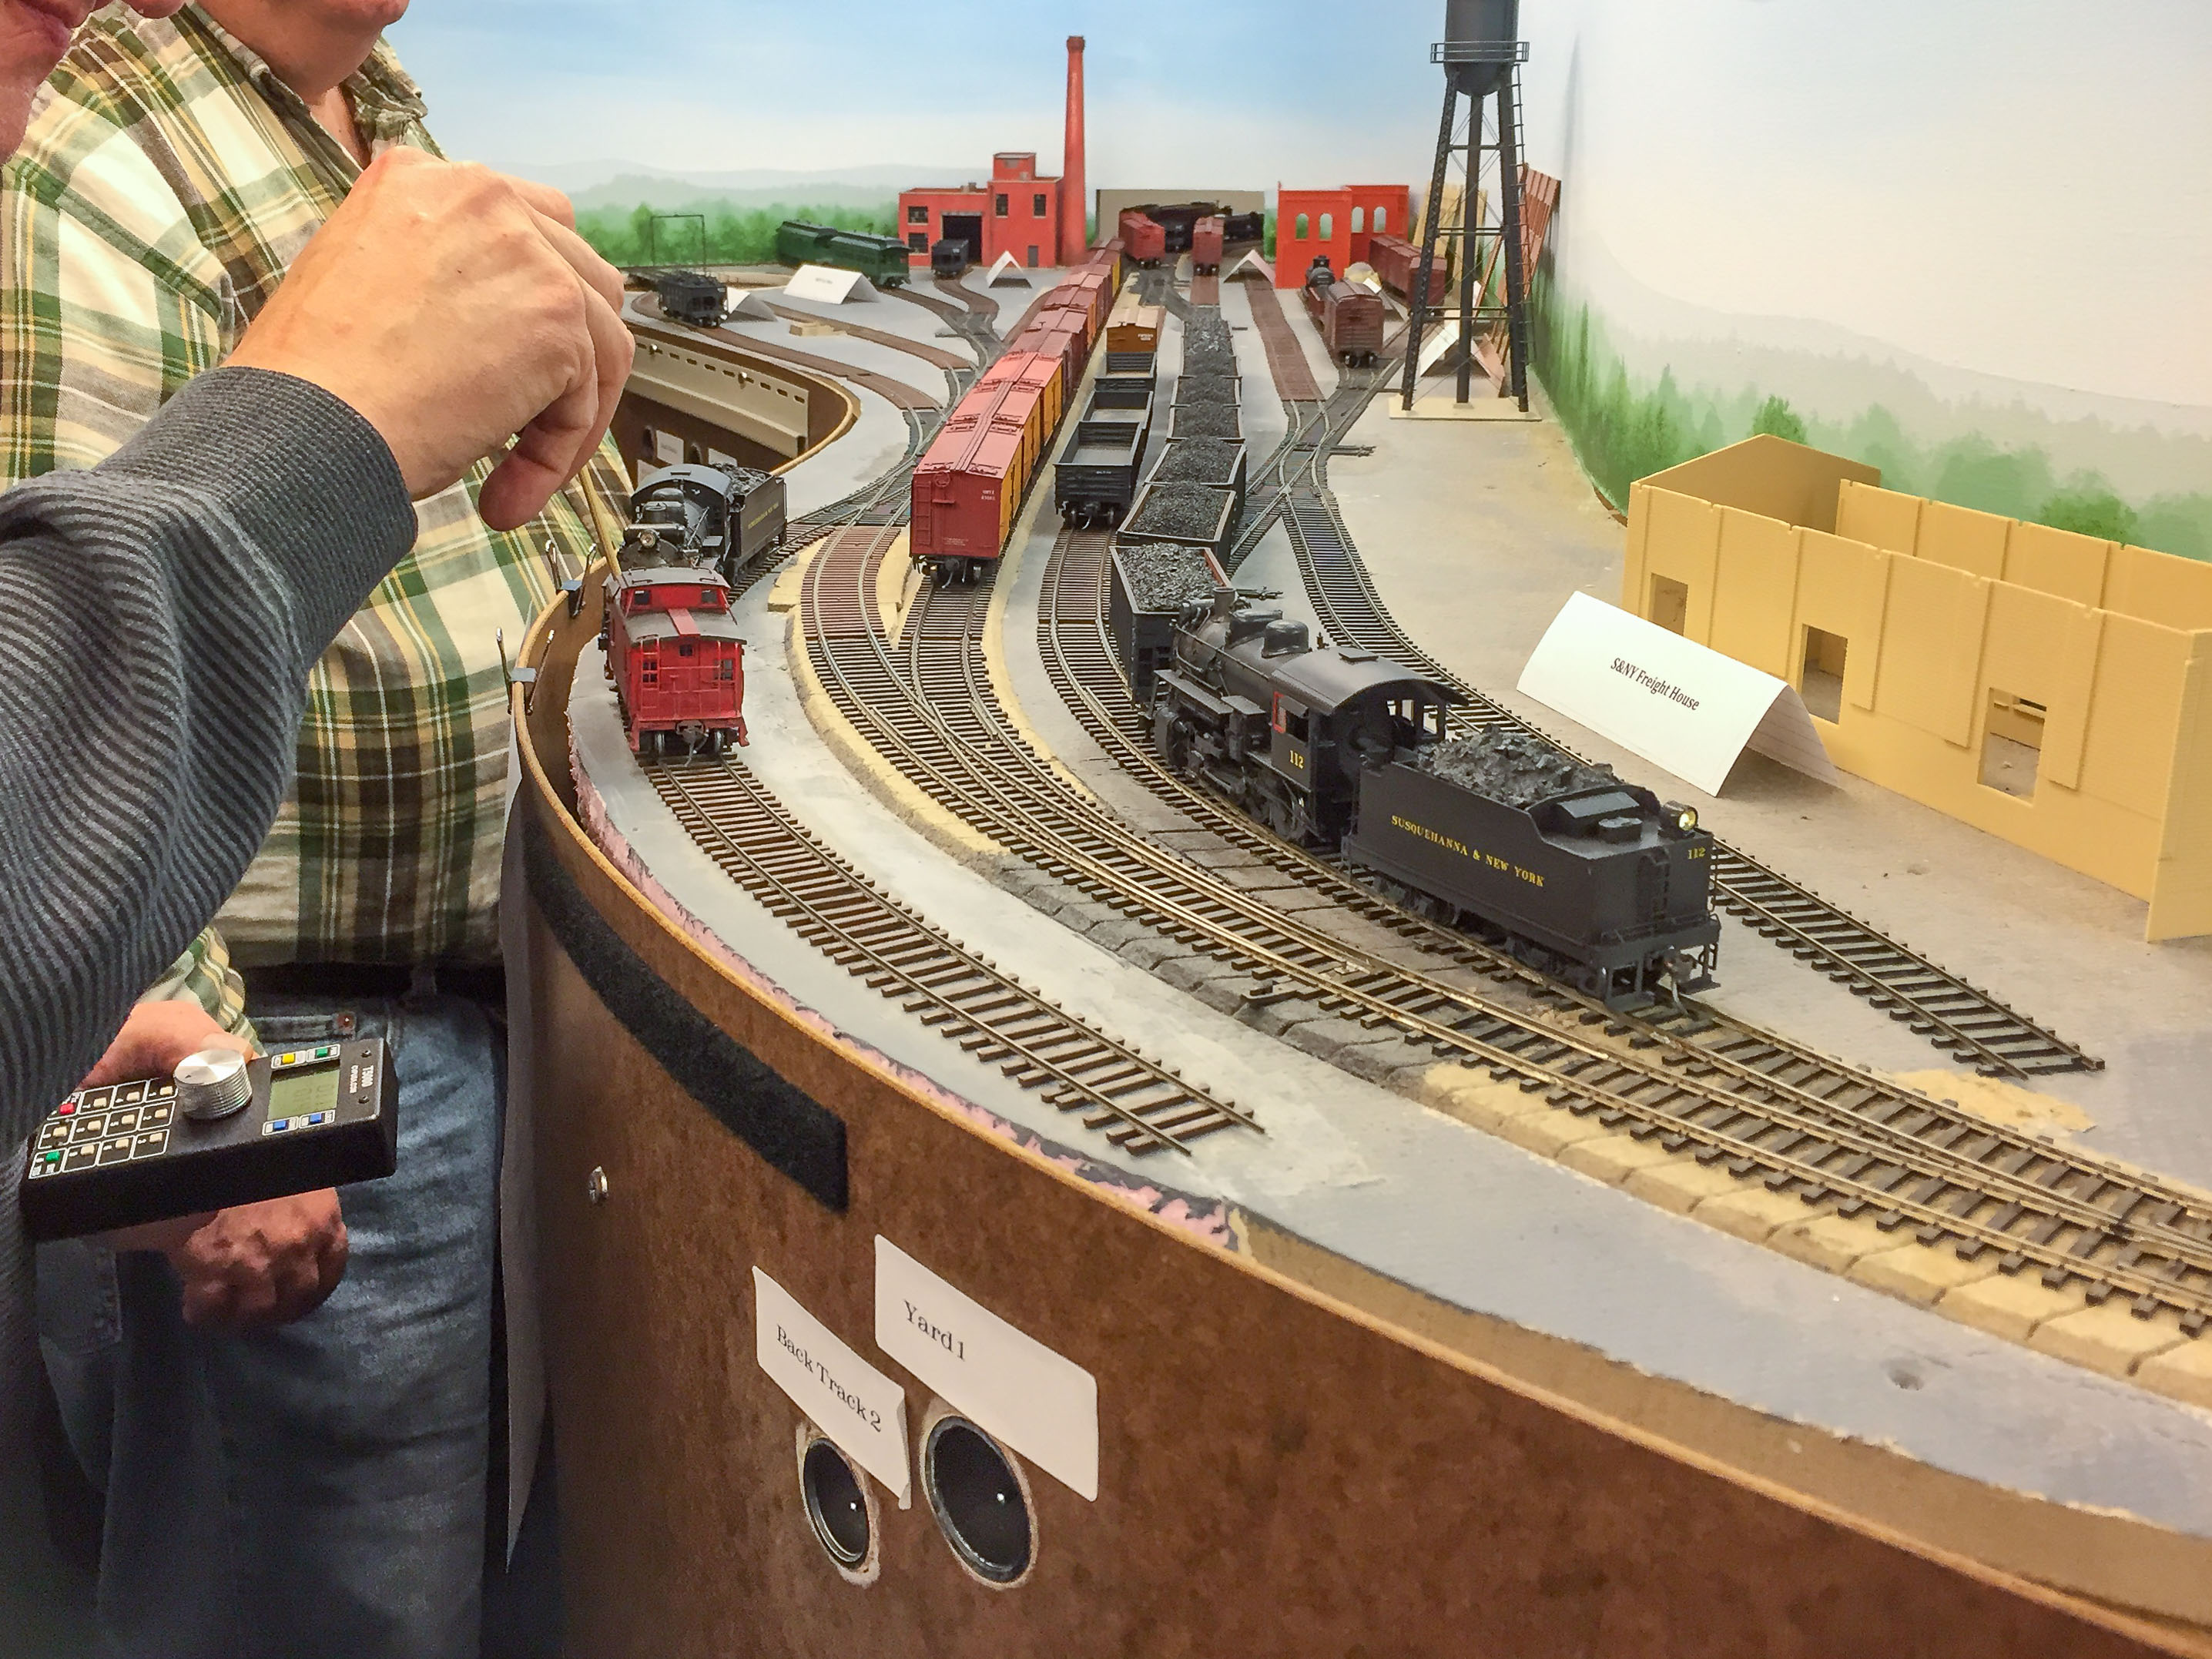
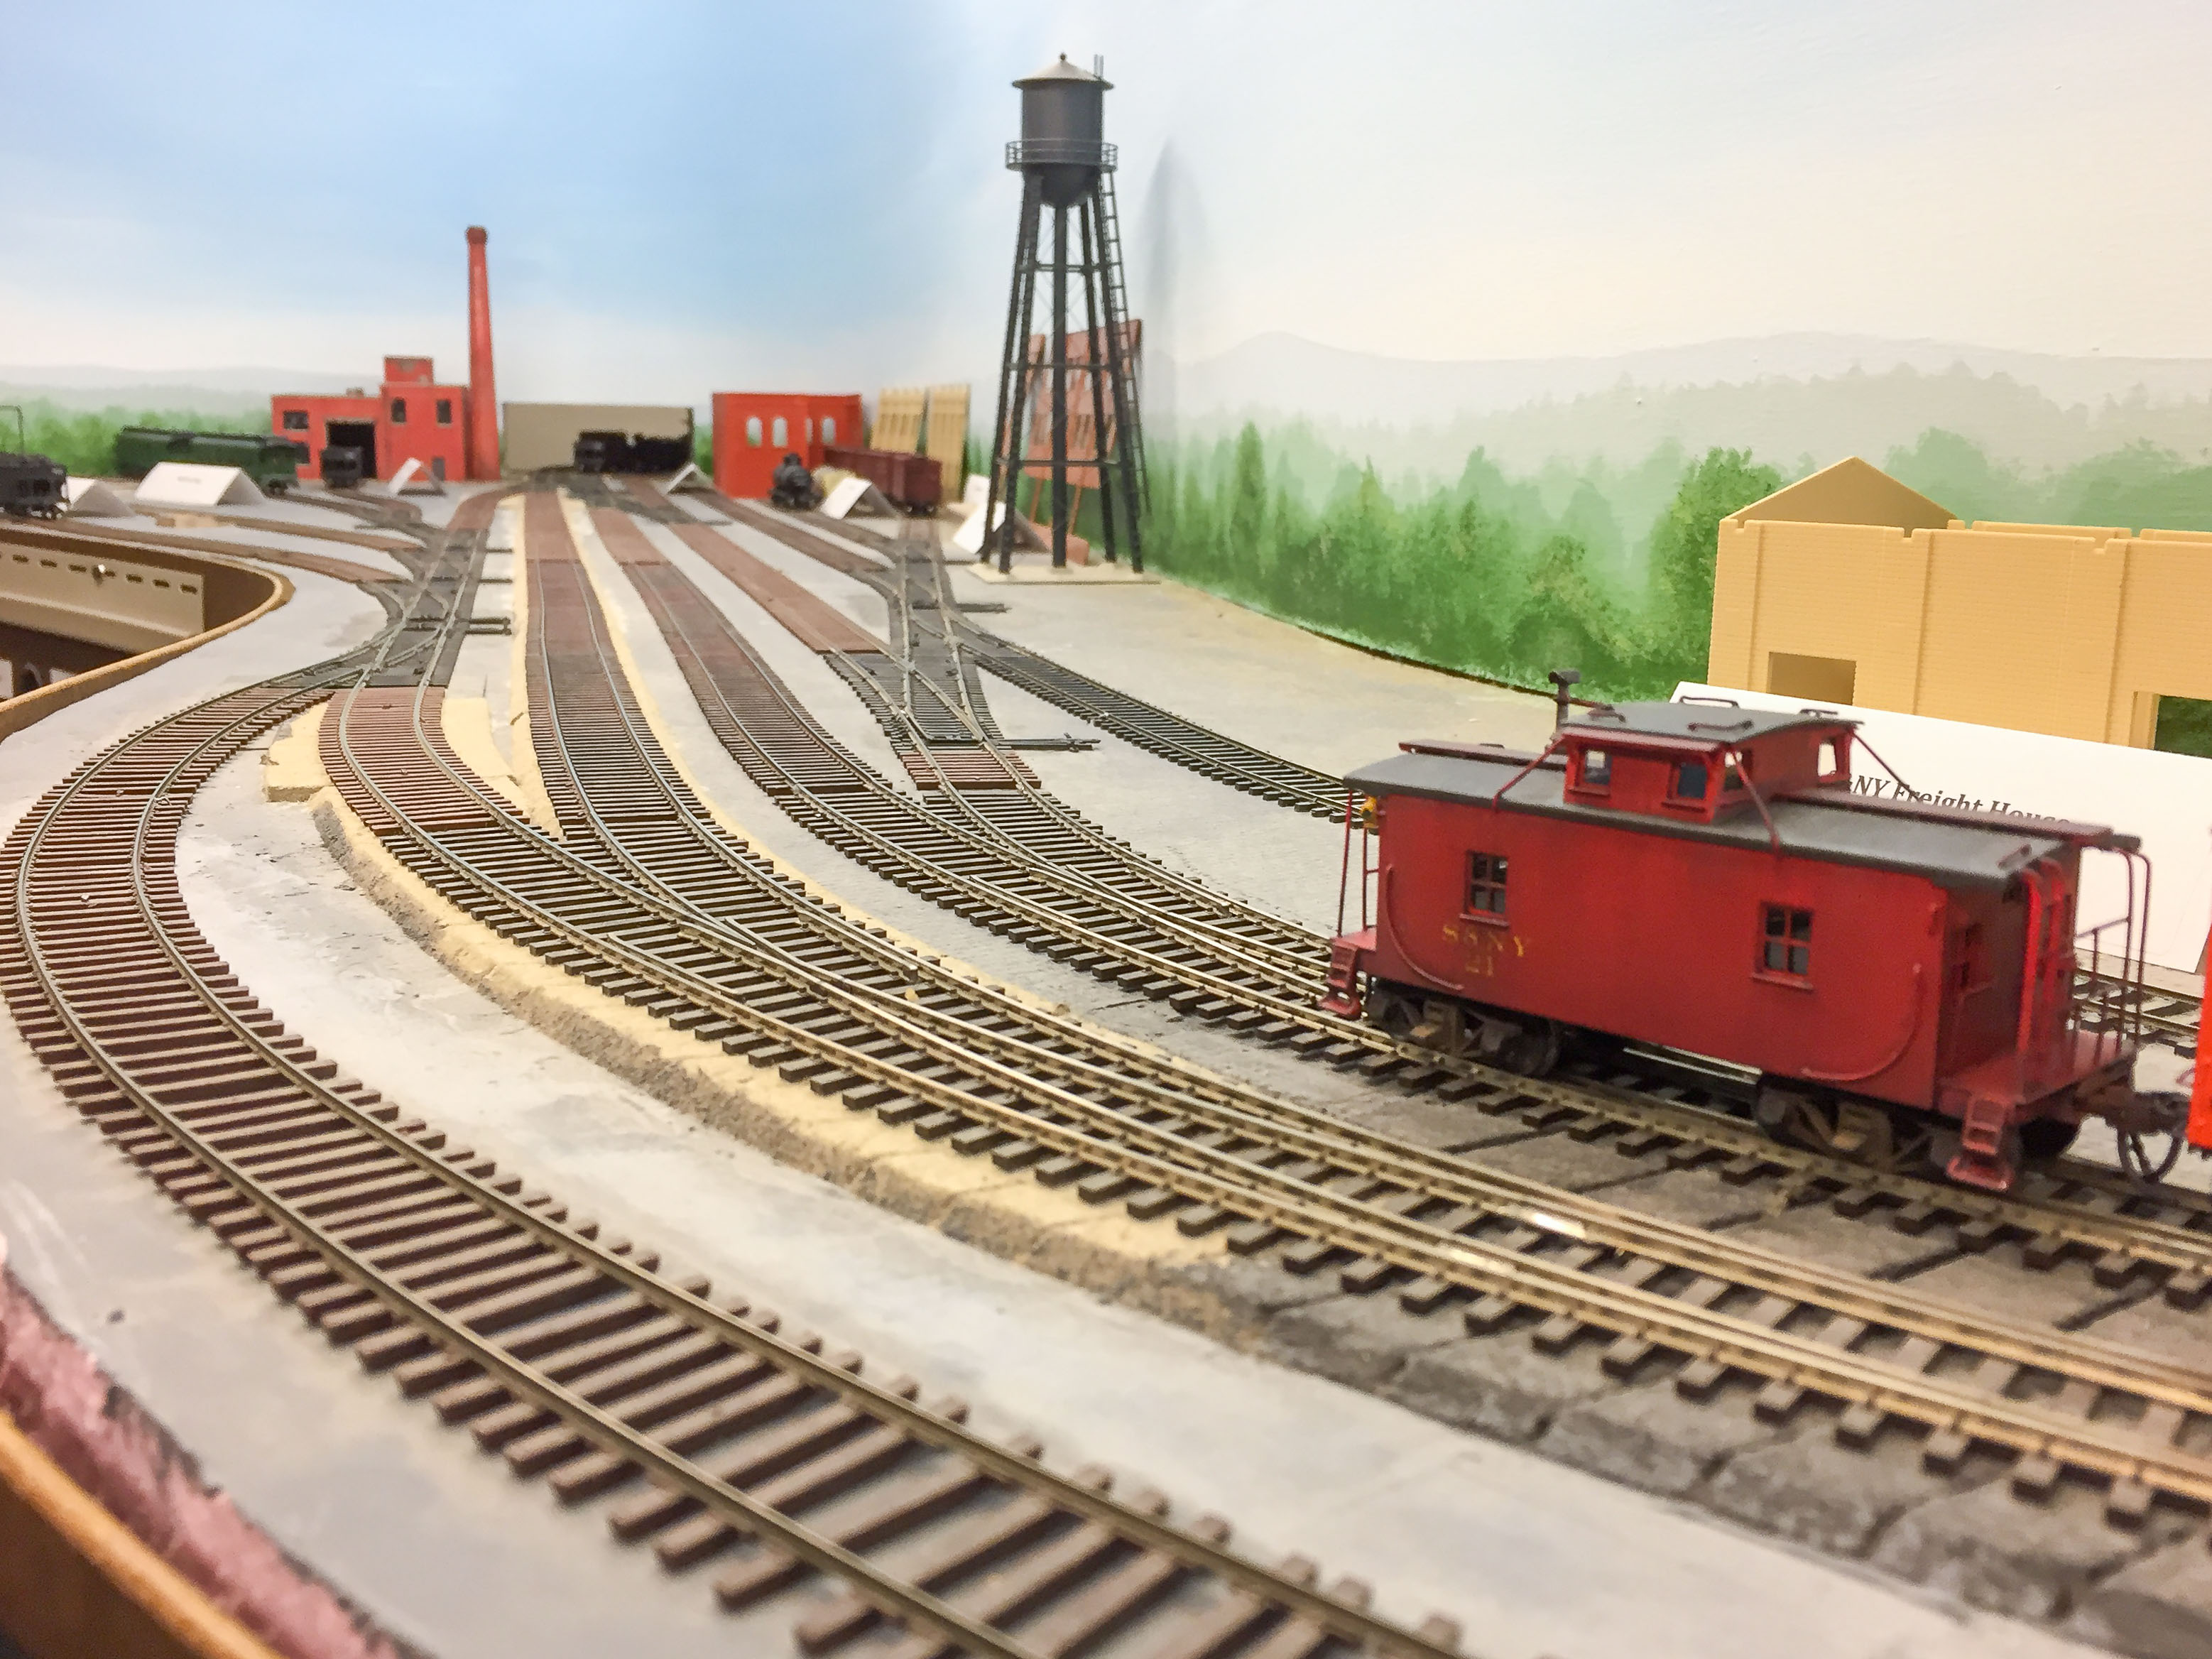
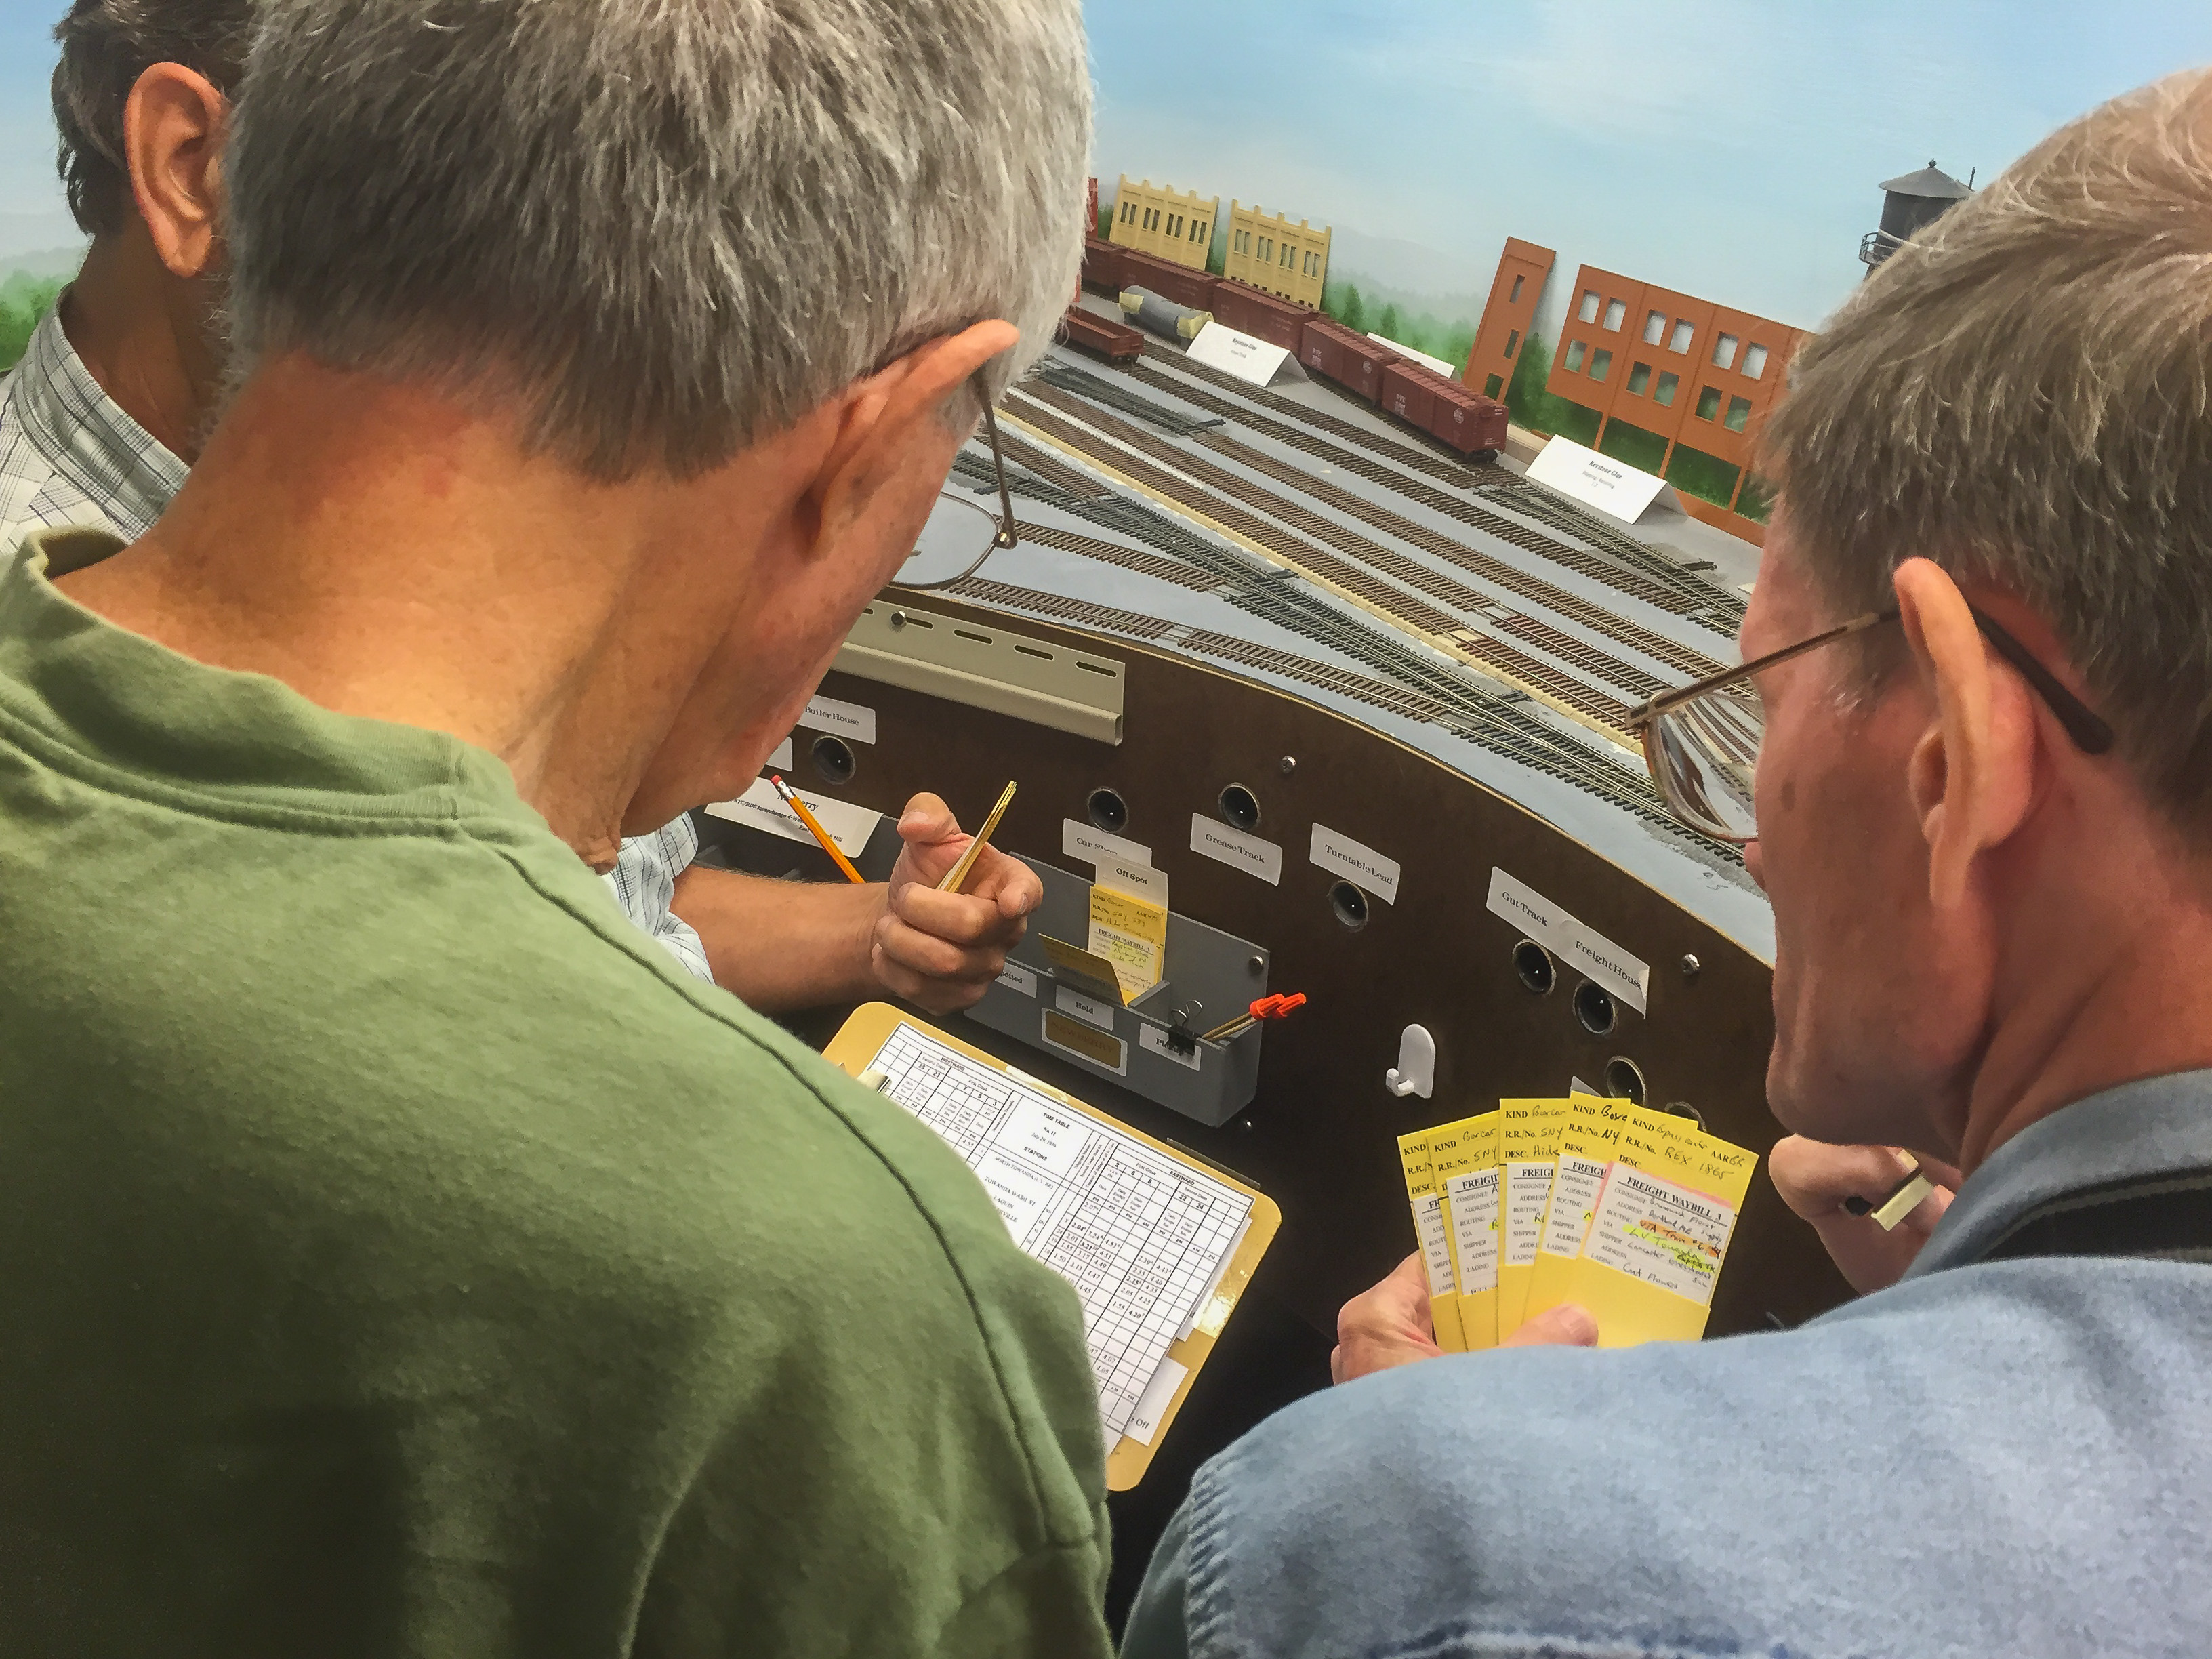
The coal extras were annulled, and the through freights and local were the only trains run. Here, both work Newberry yard sorting out heavy interchange traffic off the NYC and RDG:

Cooperation pays off, and Newberry is empty a few minutes later as No.24 departs:

Short clip of the action at Newberry here.

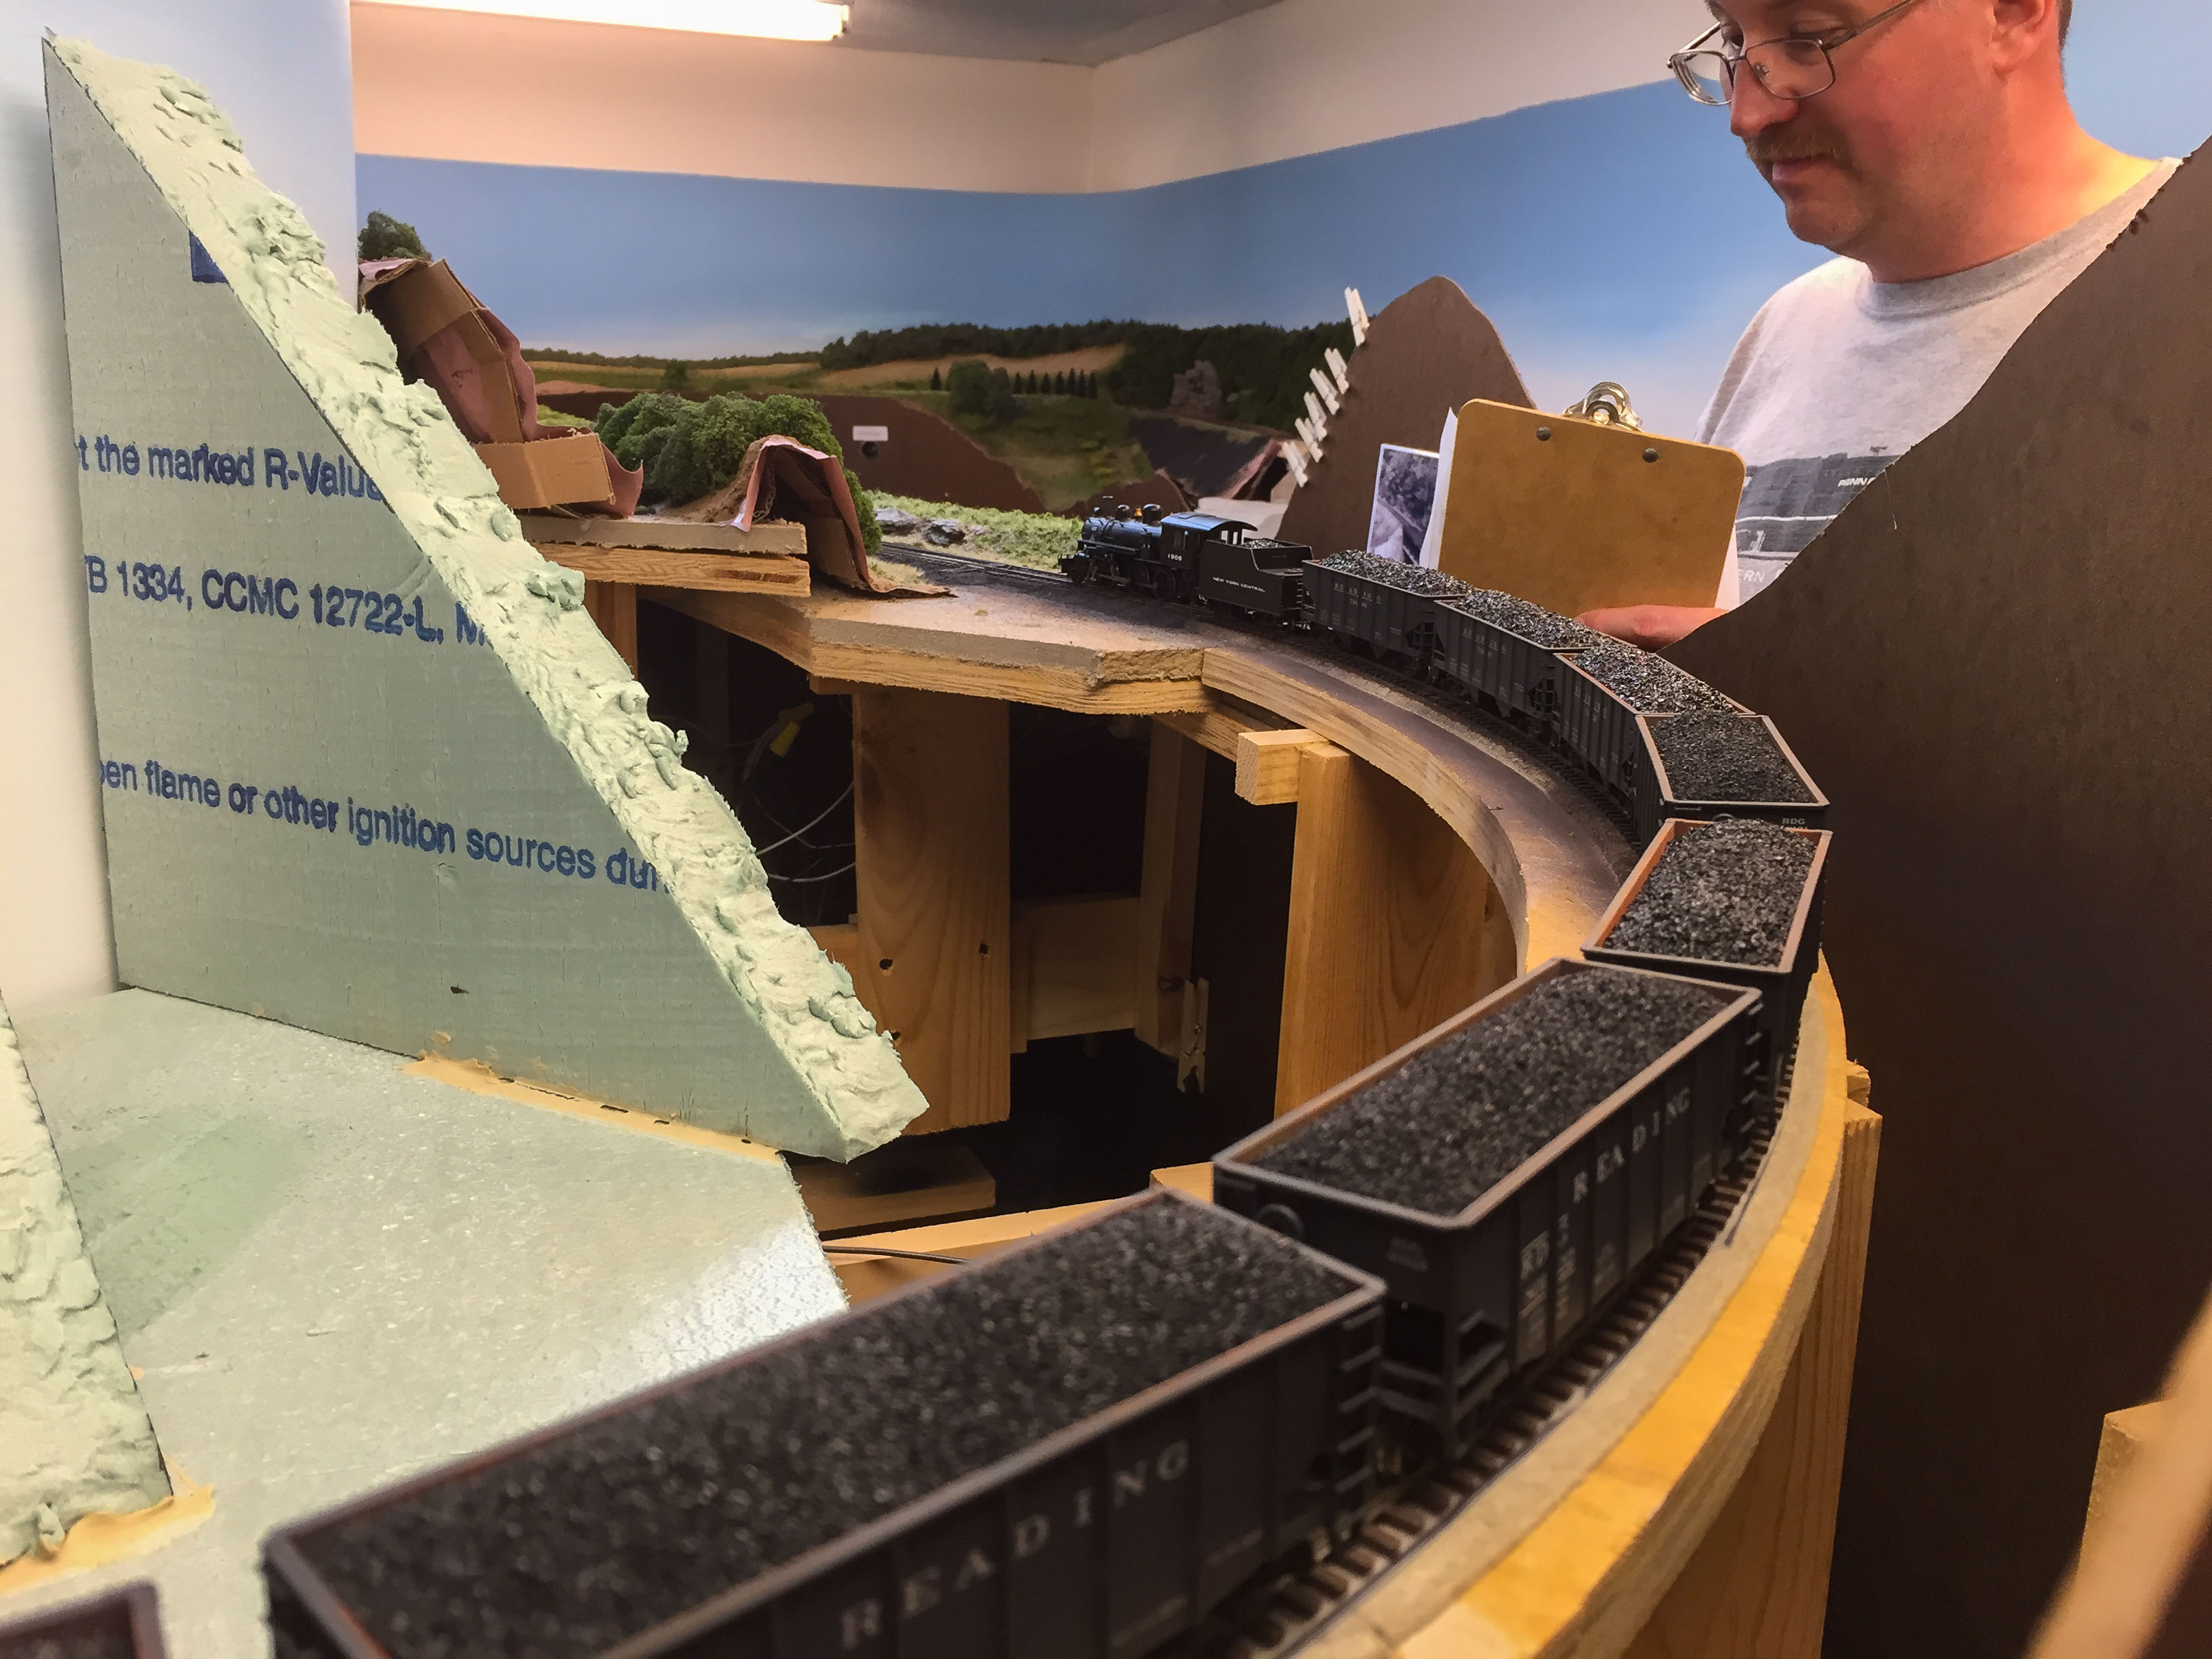
Minor glitches included recurrent derailment of one truck on an older Stewart RDG hopper. The Stewart trucks are not the best, and I may try reaming out the journals before replacing the truck.

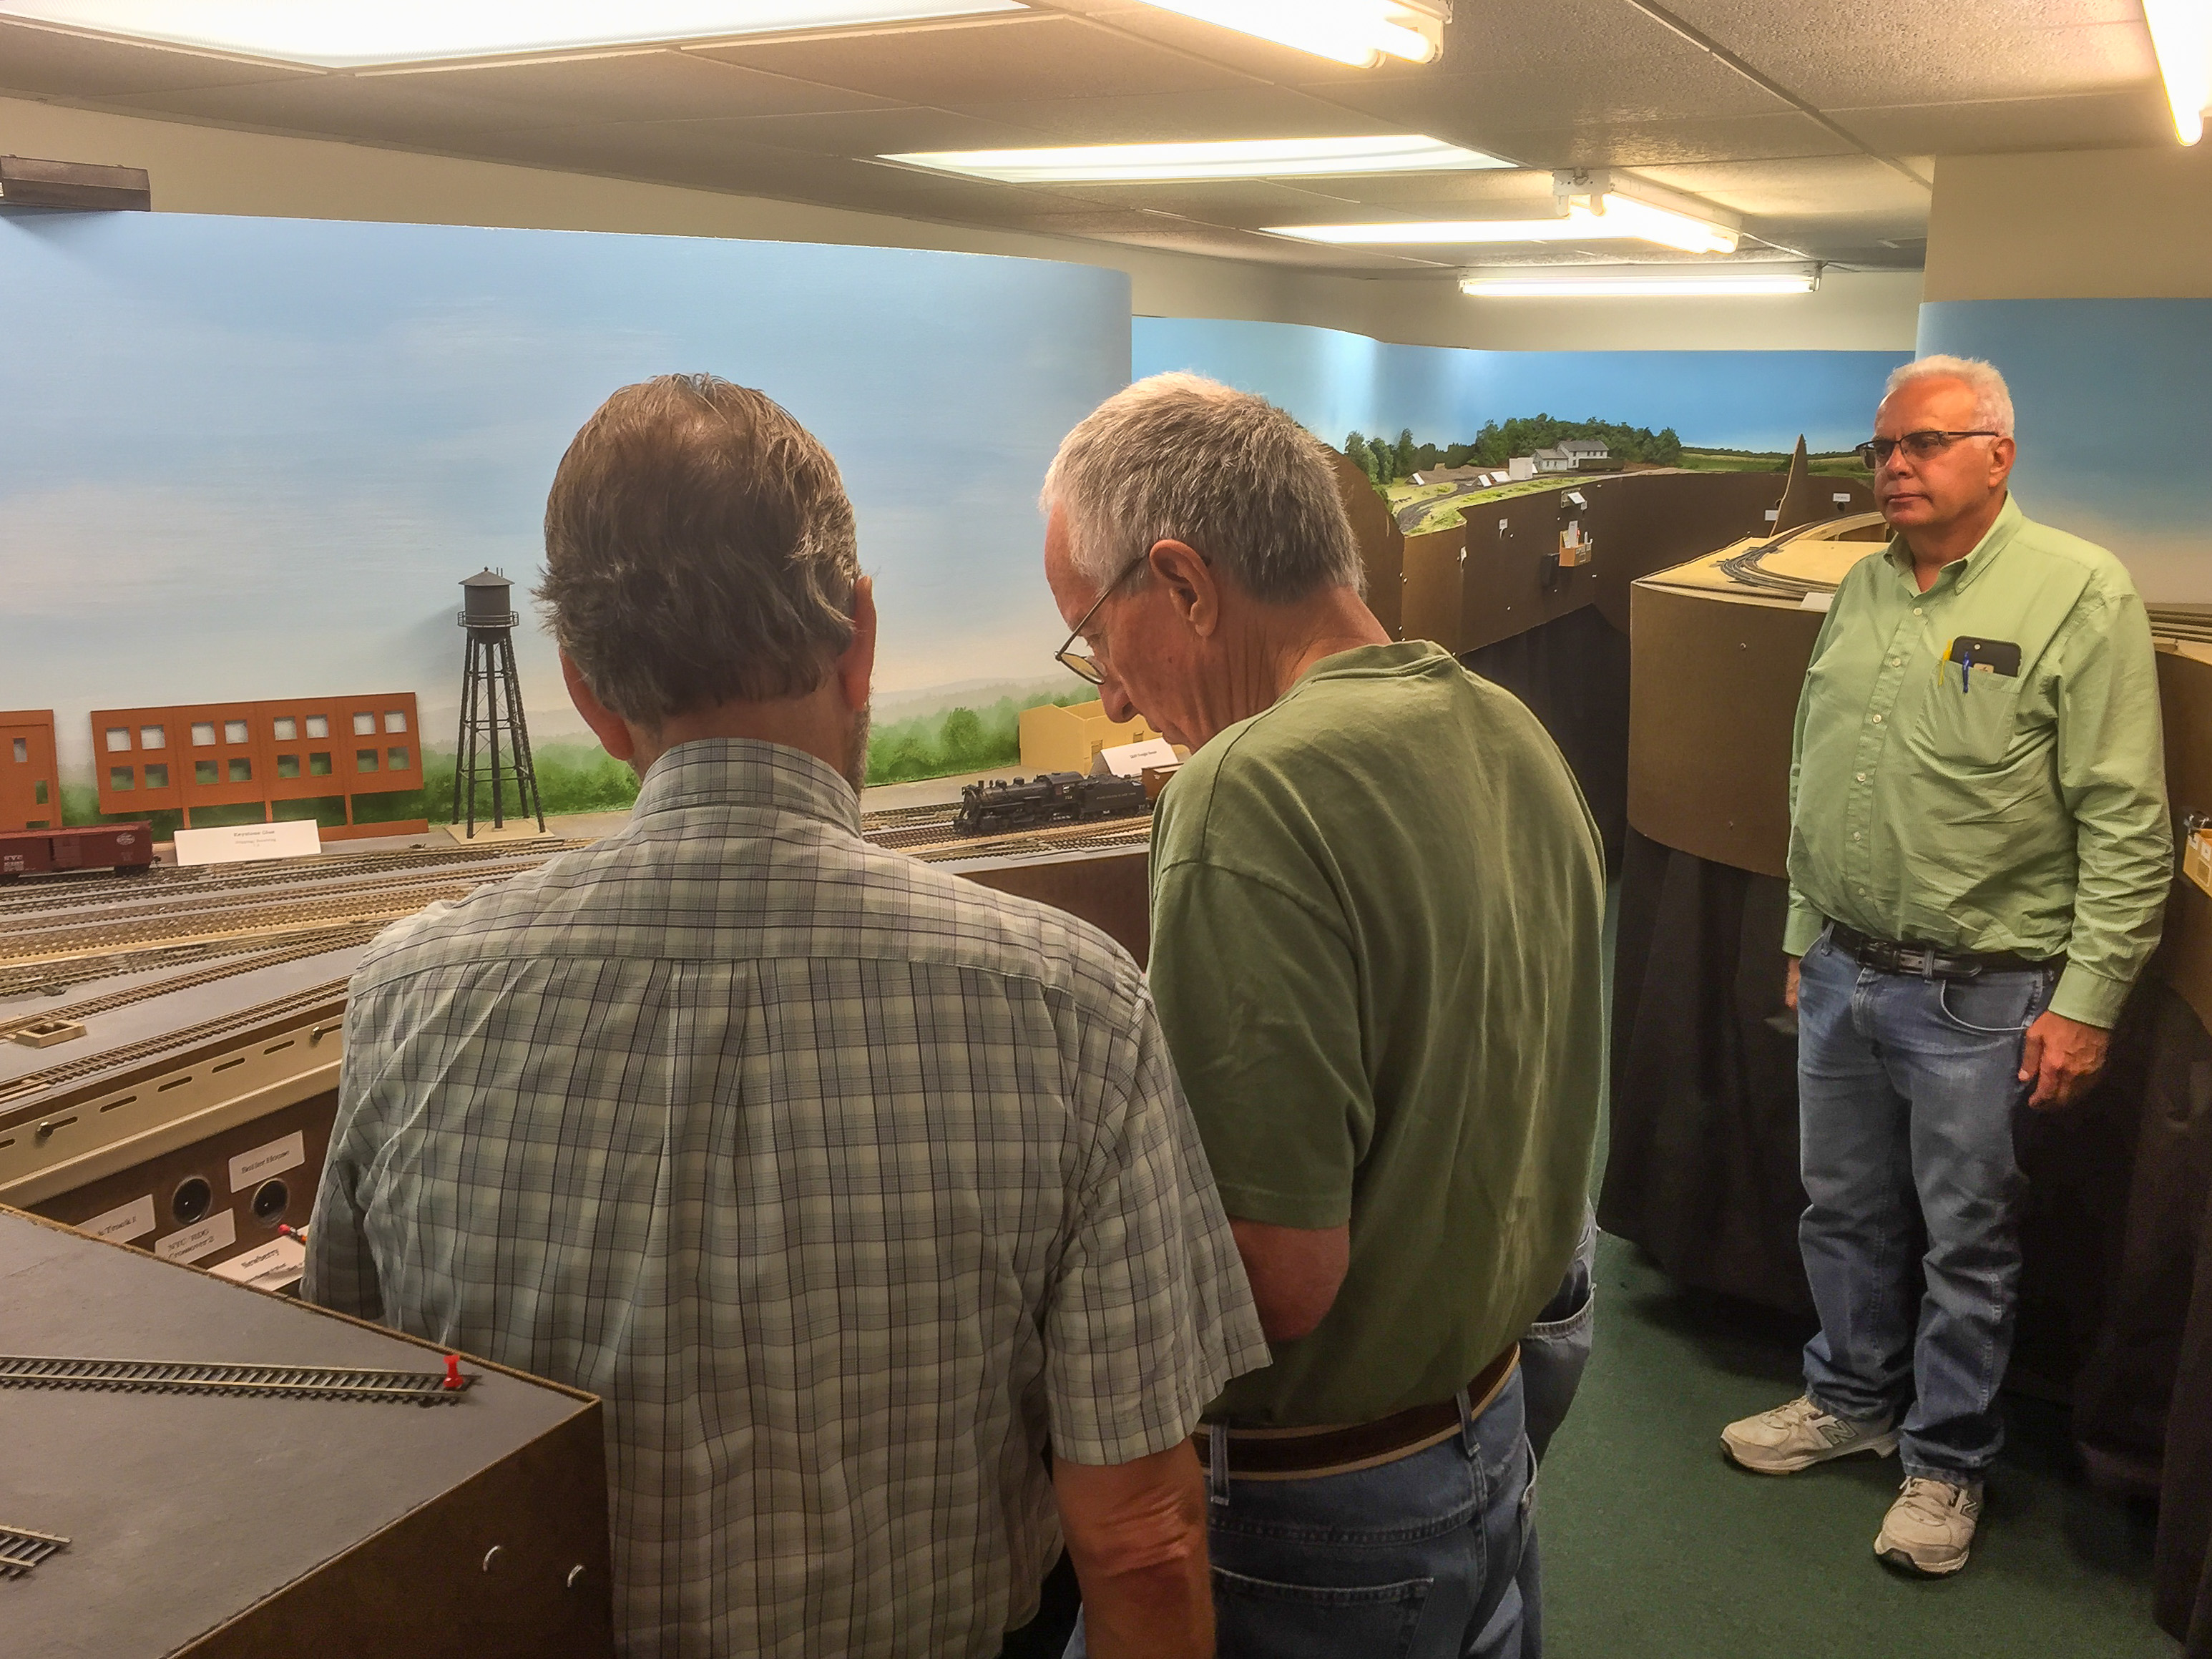
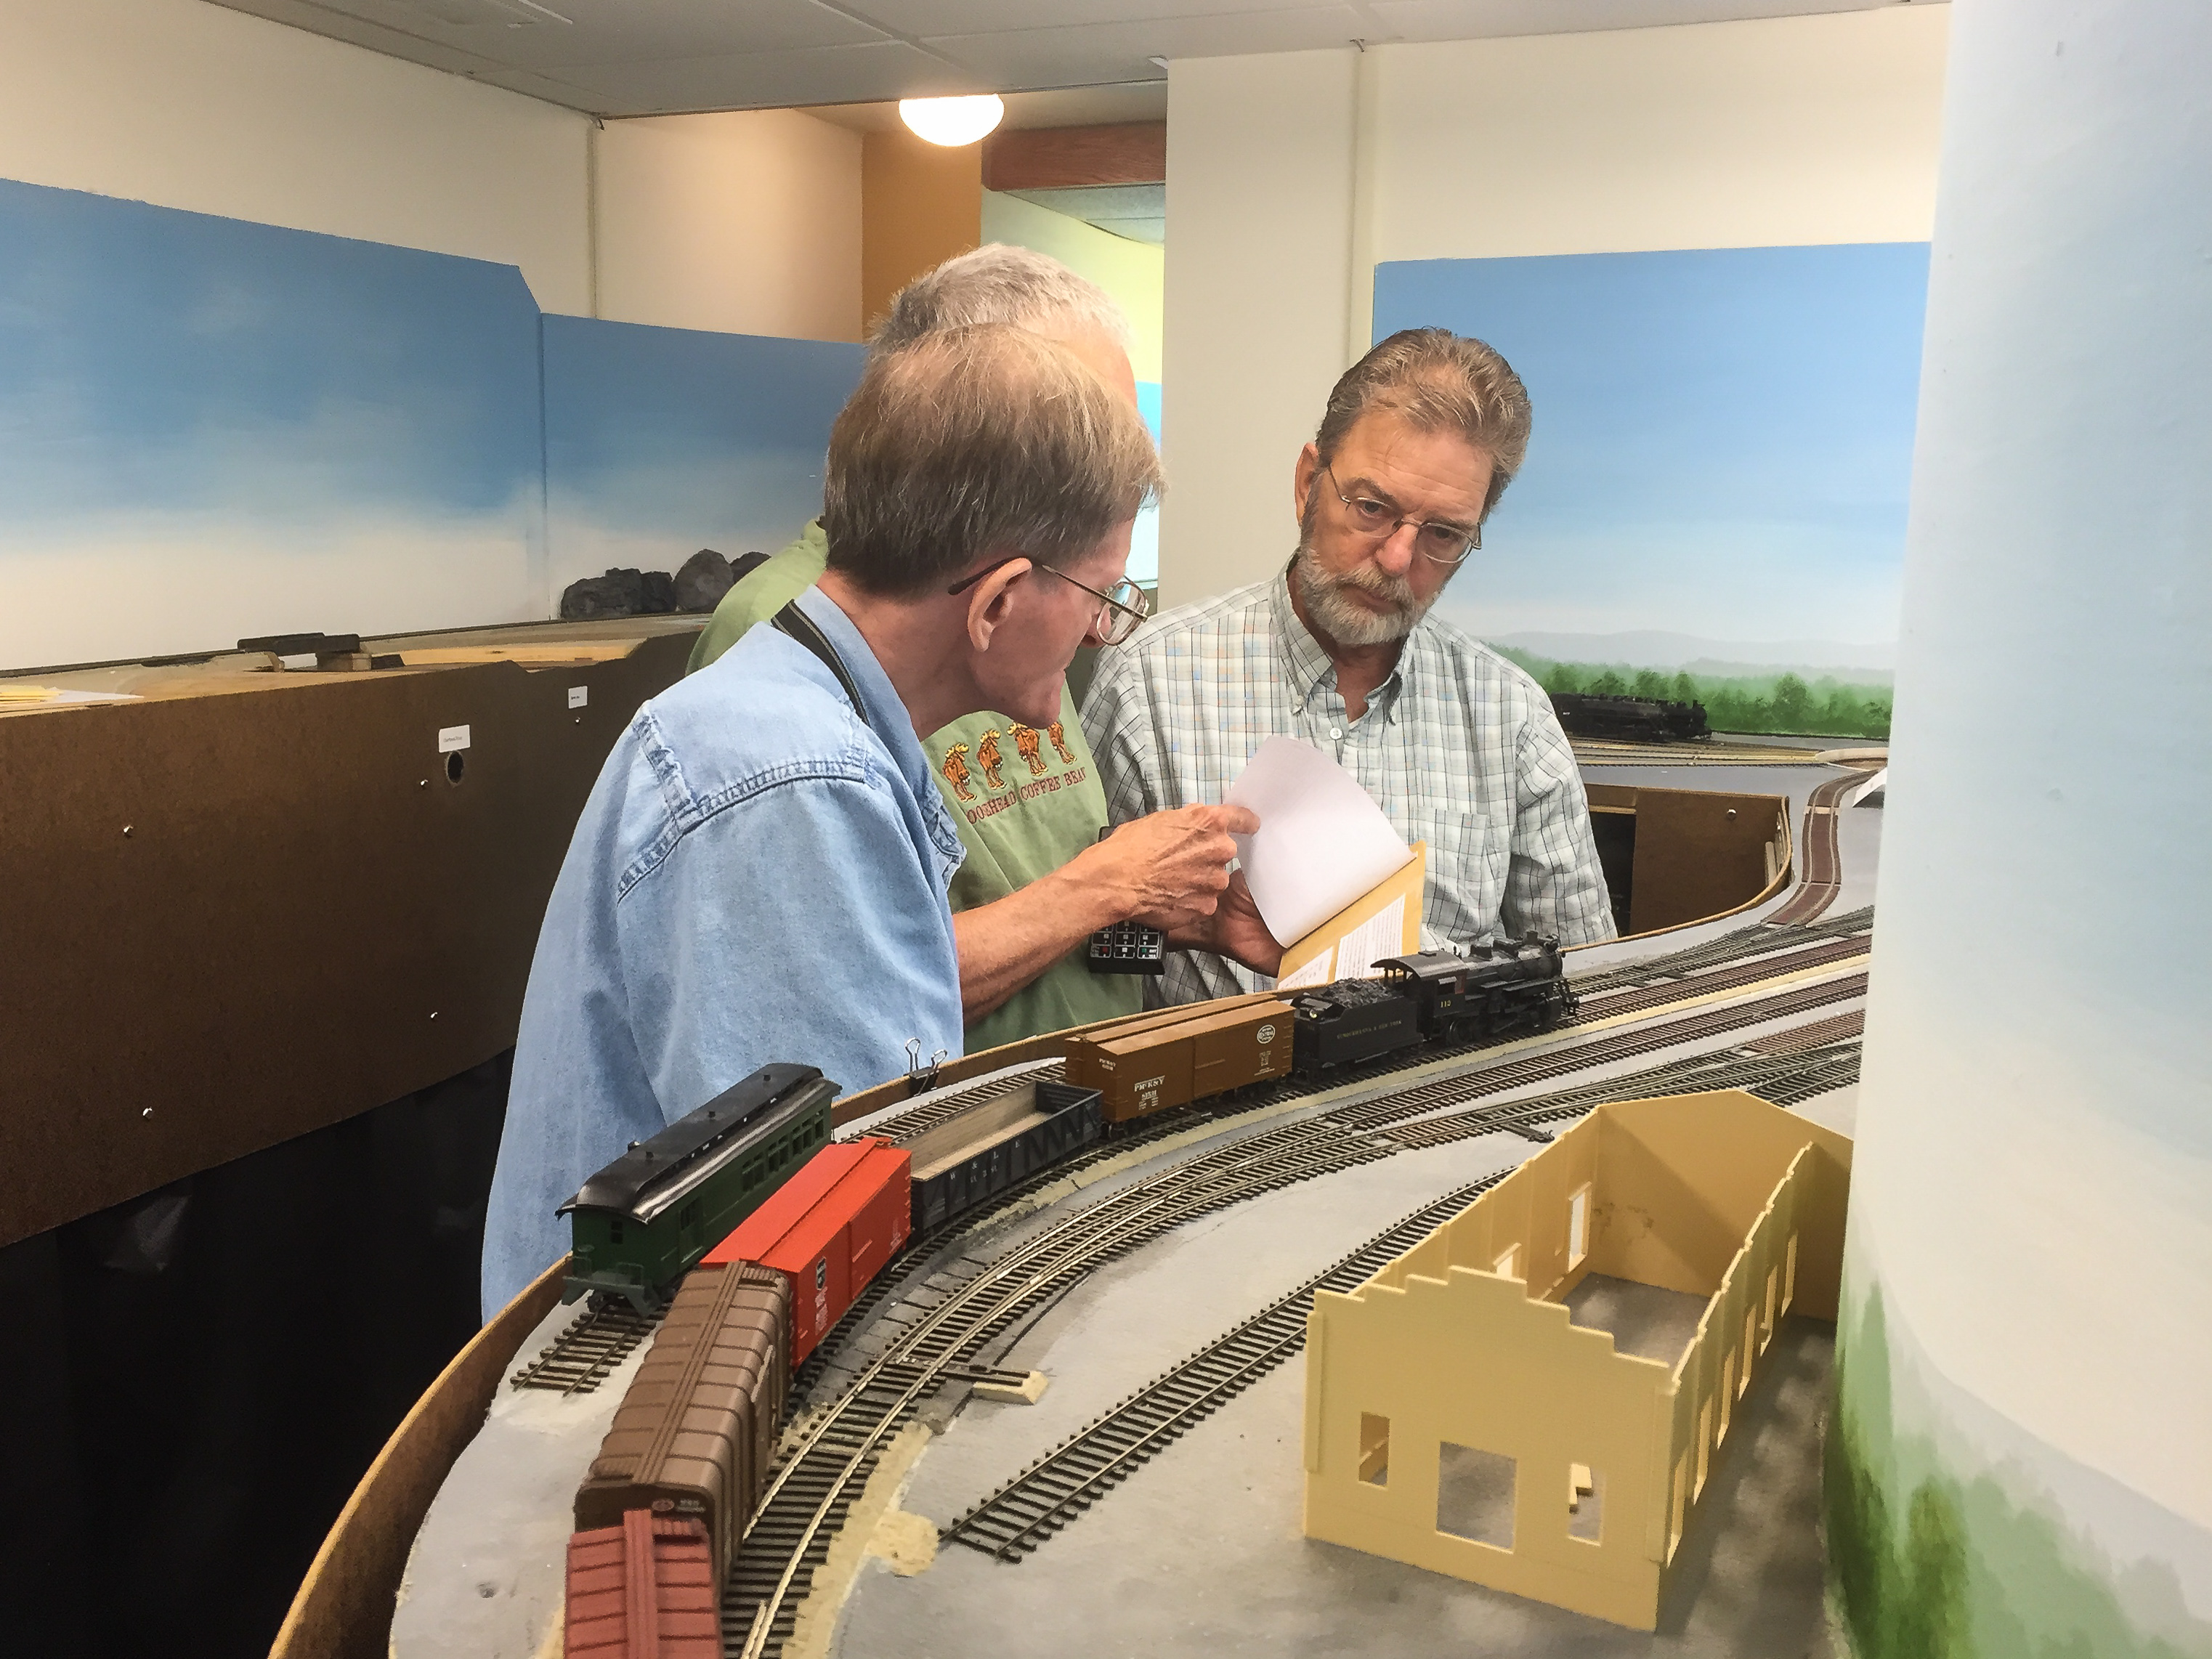
Otherwise, another rewarding session.


Building Wheelerville Depot Pt. 2

Slow progress continues on the Wheelerville depot:

wheelervile-model-station-pt2-1

U

Bill Caloroso - Cal's Classics

Bill Caloroso – Cal’s Classics

While it’s not an exact match, I think it’s certainly “close enough”. The most obvious differences are the nameboard should be more recessed under the roof overhang, the wood “bumper” under the freight door is too large, and the telegraph sign is a little oversize.

wheelervile-model-station-pt2-2

Still have to permanently place the building, build up the surrounding scenery, and add the small details like the Ford speeder and milk cans. That will have to wait until the hole is drilled for the train-order semaphore.

Update 11/10/16: The position of the station name sign bugged me all day. This evening I moved them back further under the eaves. MUCH better, I think; and now my OCD is satisfied:

wheelervile-model-station-sign-moved-1

Building Wheelerville Depot

Spent the last week or so attempting to scratchbuild the Wheelerville station. I do have a couple of views that show the south and east walls, but the configuration of the other sides of the building are a complete mystery, and are educated guesses on the model.

I made the assumption that one batten and one board on the real station probably measure close to one foot. I used that guestimate to count boards and battens to arrive at a rough approximation of the overall dimensions, which worked out to 43′ x  16′. I used a wall height of 13′, arrived at by comparing plans of similar stations in the Model Railroader digital archive. I did fudge the long dimension  a foot or two so that the operator’s bay would fit between the battens evenly, and to accommodate the dimensions of the Tichy windows I planned to use. The bay dimensions and the angles of the bay walls were also guestimated by what looked right, the Tichy window dimensions, and measurements of similar depots in the MR archive.

Front view:

wheelerville-model-1

Rear view:

wheelerville-model-2

Side view:

wheelerville-model-3

The hip roof is the trickiest part. I referred to a John Nerich article on building hip roofs in the May 2014 RMC, and I also corresponded with John via Facebook on some of the nuances of construction, particularly regarding the appropriate amount of overhang, which could vary from about 5′ up to 7′ on some stations. The overhang I will end up with will be around 5-6′. The next tricky part will be trimming the bay walls to fit the slope of the overhanging roof. I had to brush up on my high school trigonometry to work out some of the dimensions, and in the end I did simply resort to a little trial-and-error cutting and fitting of the cardboard roof mock-up.

Here is the mocked-up roof compared with the real station:

wheelerville-cropped-1 wheelerville-roof-mock-up-1

Bill Caloroso - Cal's Classics

Bill Caloroso – Cal’s Classics

Author's Collection

Author’s Collection

At first I thought the real station had a more squat appearance than the model, but the more I look at it, I think it will be “close enough” once the roof supports, foundation, and a few other details are added.

To be continued…


Op Session #12

Op Session #12 was held on Friday afternoon, 29 July 2016. The session went very well, and the railroad mostly behaved itself after 5 months of inactivity and a major scenery project. Only one or two derailments over the 4 hour session might possibly be due to track or individual pieces rolling stock and these will be investigated prior to the next session. I hope to have more of these weekday sessions in the future in order to accommodate the increasing number of fellows interested in participating in operations on the model S&NY.


Fred L. and Michael C. organize Marsh Hill yard prior to getting the eastbound coal extra on the road.

Fred L. and Michael C. organize Marsh Hill yard prior to getting the eastbound coal extra on the road.


Dave B. waits for clearance to enter Newberry yard, while Tom S. and Bill S. sort thing out.

Dave B. waits for clearance to enter Newberry yard, while Tom S. and Bill S. sort things out.


John W. weighs in on the Newberry yard situation...

John W. weighs in on the Newberry yard situation…


The meeting of the minds continues...

The meeting of the minds continues…


Bill S. says, "Never fear, all is well..."

Bill S. says, “Never fear, everything is under control…”


"Extra 105 West at Wheelerville." A little Photoshop fun.

“Extra 105 West at Wheelerville.” A little Photoshop fun.


Wheelerville Creamery Pt. 2

Here are a couple of updated photos of the current progress on the Wheelerville creamery, here shown temporarily in place on the layout.

I mounted it on a 1/8″ Masonite base after putting on a little groundcover. The Masonite is a little “warpy” and I may use styrene or gatorboard for structure bases in the future.

Still have to add a few details, like milk cans on the loading dock, then permanently place on the layout. Also will have to make a small dirt ramp or something similar up to the boilerhouse door.


Creamery-1 Creamery-2

Wheelerville Creamery

In between working on the scenery around the Masten Loop bridge, I have also been working on the first model structure for the Wheelerville scene.

Some of my sources mentioned a creamery of some type at Wheelerville, but I have never seen photos of this structure. Accordingly, I decided to build the Laser-Art creamery kit #680.

The size of the creamery in the kit is just right to fit the space I had in mind, but I intend to scratchbuild a small boiler-house that will attached to the wall where a separate ice-house kit would go. My thinking is that this will provide an extra car-spot for coal while partially disguising the structure as “that Branchline Trains creamery”

I had never attempted a laser-cut kit before, and assembly was a pleasant surprise. The kit goes together quite well with only a couple of minor caveats.

The first is that the kit, being wood, needs to be braced on the inside like crazy. I used some 1/4″ poplar strips from Lowes.

The second is that the window glazing is actually in 2 different sizes, one for the upper windows, one for the lower. The instructions do not mention this.

Last, I don’t trust the adhesive backing on some of the parts to hold forever, so I reinforced some joints, especially the tiny joins in the loading dock supports, with super glue.

Progress thus far:

Creamery In-progress-1

The walls, windows, frames, and doors were stained with a random mix of oil-based ivory black and burnt umber thinned with turpenoid. This was then sealed with rattle-can Dullcoat. The Dullcoat also quickly dries the turpenoid and oil paint, preventing any later bleed-through. I then heavily dry-brushed warm-white Americana brand acrylic craft paint on the walls and other exterior parts prior to assembly. I made sure to dry-brush horizontally in the direction of the boards on the main walls.

The loading docks were stained with the same turpenoid mix. I’ll eventually lightly dry-brush these parts with some greys and browns to simulate weathered untreated wood.

To be continued…

Scenery progress

Slow progress is being made at extending the small scenicked portion of the railroad. The most recent project is at the model version of the “Masten Loop”. This is a signature scene on the railroad, and is essentially a “layout design element” in itself.

The background mountainside was formed of rough scrap foam supports covered by nylon screen left over from one of the kid’s old school projects.  The other basic landforms were roughed in using the usual cardboard lattice technique. I had a bag full of expired plaster bandages I got for free from a hospital were I had worked some years prior, and since the first scenery section was done with rosin paper and white glue, I wanted to try using the plaster gauze both to use up what I had on hand, and to see how this technique compared with the rosin paper.

MastenLoopSupports


Masten Loop Scenery-1

Overall, I thought the plaster gauze technique went quite a bit faster and was actually easier to use than the rosin paper technique, although potentially messier. The rosin paper method has the significant advantage of being significantly cheaper on the other hand. I did run into a slight unforeseen problem with the gauze. Some of the paper wrappers had degraded and torn over the past 10 years, and the rolls were exposed to the air. As a consequence, the plaster in these rolls was “punky”, and instead of setting up hard turned dry and crumbly. This was not a show-stopper though, and the punky plaster was easily covered and fixed in place later by a layer of paint and/or ground goop.

Masten Loop Scenery-3

The stream banks were carved out of scrap construction foam and glued in place with Liquid Nails. This actually was one of the more tedious parts of the project. The background mountainside was painted flat black, since it will be entirely covered by puffball trees and no ground detail would be visible.

Masten Loop Scenery-4

For the rock cuts I decided to experiment with “rubber rocks” from Cripplebush Valley Models for several reasons.

First, there was only about 3 inches of clearance from the track to the fascia board. The Woodland Scenics rock molds I have on hand are easy to use, but I worried that the thickness of the castings could cause problems.

Second, the track curves through the cuts, and it would be difficult to get rock castings in a curved shape of the proper radius.

Third, given the height and length of the biggest cut, I would have to use multiple rock castings and blend them together.

Last, none of the Woodland Scenics molds look quite like a large shale cut typical of the Eastern U.S., in my opinion.

The CVM products seemed to solve all these problems. I chose “Shale 18” both for the look and the overall size. While a bit on the expensive side (Shale 18 is $50, plus $15 shipping), for this specific application I believe it was worth the expense. I actually was able to cut out 4 large one-piece walls from the single piece seen above, plus I was able to use some of the rest to form the stream bank under the bridge.

I used Liquid Nails to glue the pieces to the plaster. The product comes from CVM with a nice two-tone brownish coloration, but as the project progresses I will use some heavy dry-brushing to add more depth and color variety.

I was a little reluctant to just start cutting up the large piece, given the cost, so I made a couple of rough templates out of paper as a guide.

Masten Loop Scenery-5

I then glued them in place, using some pins to help hold them while the Liquid Nails set.

Masten Loop Scenery-7

Masten Loop Scenery-6

I filled in around the edges with ground goop and Sculptamold, which was then painted my “dirt” color.

To be continued….

Op Session #11

Op session #11 was held on Saturday 27 February 2016. Hard to believe the railroad has been in operation for 2 years now. Scenery progress had been on hiatus for many months due to family matters and other projects, but has recently resumed.

The other projects include re-motoring, tweaking and painting weathering another PFM engine; installing a new decoder, painting and weathering a Bachmann 4-4-0; and re-motoring, painting, weathering, and decoder-ing an EMC motorcar. Several fluorescent fixtures in one layout room were also replaced.

The timetable continues to be tweaked between sessions with some success. During the latest session, the dispatcher only had to write a couple of orders, and 2 of those were to give running authority to the coal extra.

Hopefully I’ll upload a few in-progress photos of some of these projects soon.

Here westbound #5 meets #22 working the station at Wheelerville:

Photo by John Webster

Photo by John Webster


In this photo, #23’s caboose waits in the weeds at Wheelerville for #6 to double the hill eastbound out of Marsh Hill:

Photo by Brad White

Photo by Brad White

Op Session #7

The model S&NY hosted its 7th op session on May 8th, 2015. A good time was had by all, and the railroad behaved very well. Only one slightly sticky set of turnout points, and slight episodic hesitation of one locomotive late in the session.  I believe this proves the old adage that the way to have a smooth-running model railroad is to run it. Running the railroad, especially with visitors present, is a sure way to flush out any gremlins. Glitch by glitch, the numerous little hiccups inherent to any newly constructed layout will make themselves apparent and can be fixed between sessions.

That, and have clean track. I did spend a bit of effort prior to the previous session cleaning every inch of track with a scrap block of homasote soaked with laquer thinner, and the previous issues with electrical continuity have significantly improved.

Sorting out moves at Bradford Storage.

Sorting out moves at Bradford Storage.

Extra #1908 East heads around Masten Loop curve en route to Towanda.

Extra #1908 East heads around Masten Loop curve en route to Towanda.

I also tried to adhere a little closer to the timetable and issue written orders as necessary to both get the trains over the road, and add some authenticity. I have some continuing concerns that the loaded and empty extra coal train ping-ponging back and forth during the session might not be the most desirable train to run, and it is usually not the first job the crews bid on for a session. However, one crew member expressed the opinion that running the extra, with a helper on the rear, against the other scheduled timetable trains was actually an interesting challenge. It was gratifying to hear this, as a design goal was to provide a variety of trains that would each be engaging to run in their own way. I think it it telling though, that this individual is probably the most “into” timetable and train order ops.

Lastly, I doctored up a little cell phone video made by one of the fellows to provide a little “historical” footnote to the session: