Building a model railroad is a complex project, and like any similar project, one runs into “horseshoe nail” situations ( For want of a nail, the shoe was lost; for want of a shoe, the horse was lost; etc.).
In this case, in order to finish the on-going and interminable scenery project, I have to install working train-order signals at 4 places on the layout. In order to do that, I have to figure out where the station structures will be located so they don’t interfere with each other. In order to do THAT, I have to have at least a footprint of the stations.
So, as part of that concatenated process, I built a station for the Masten location on the layout.
I used a quicky snap-together kit from Atlas:
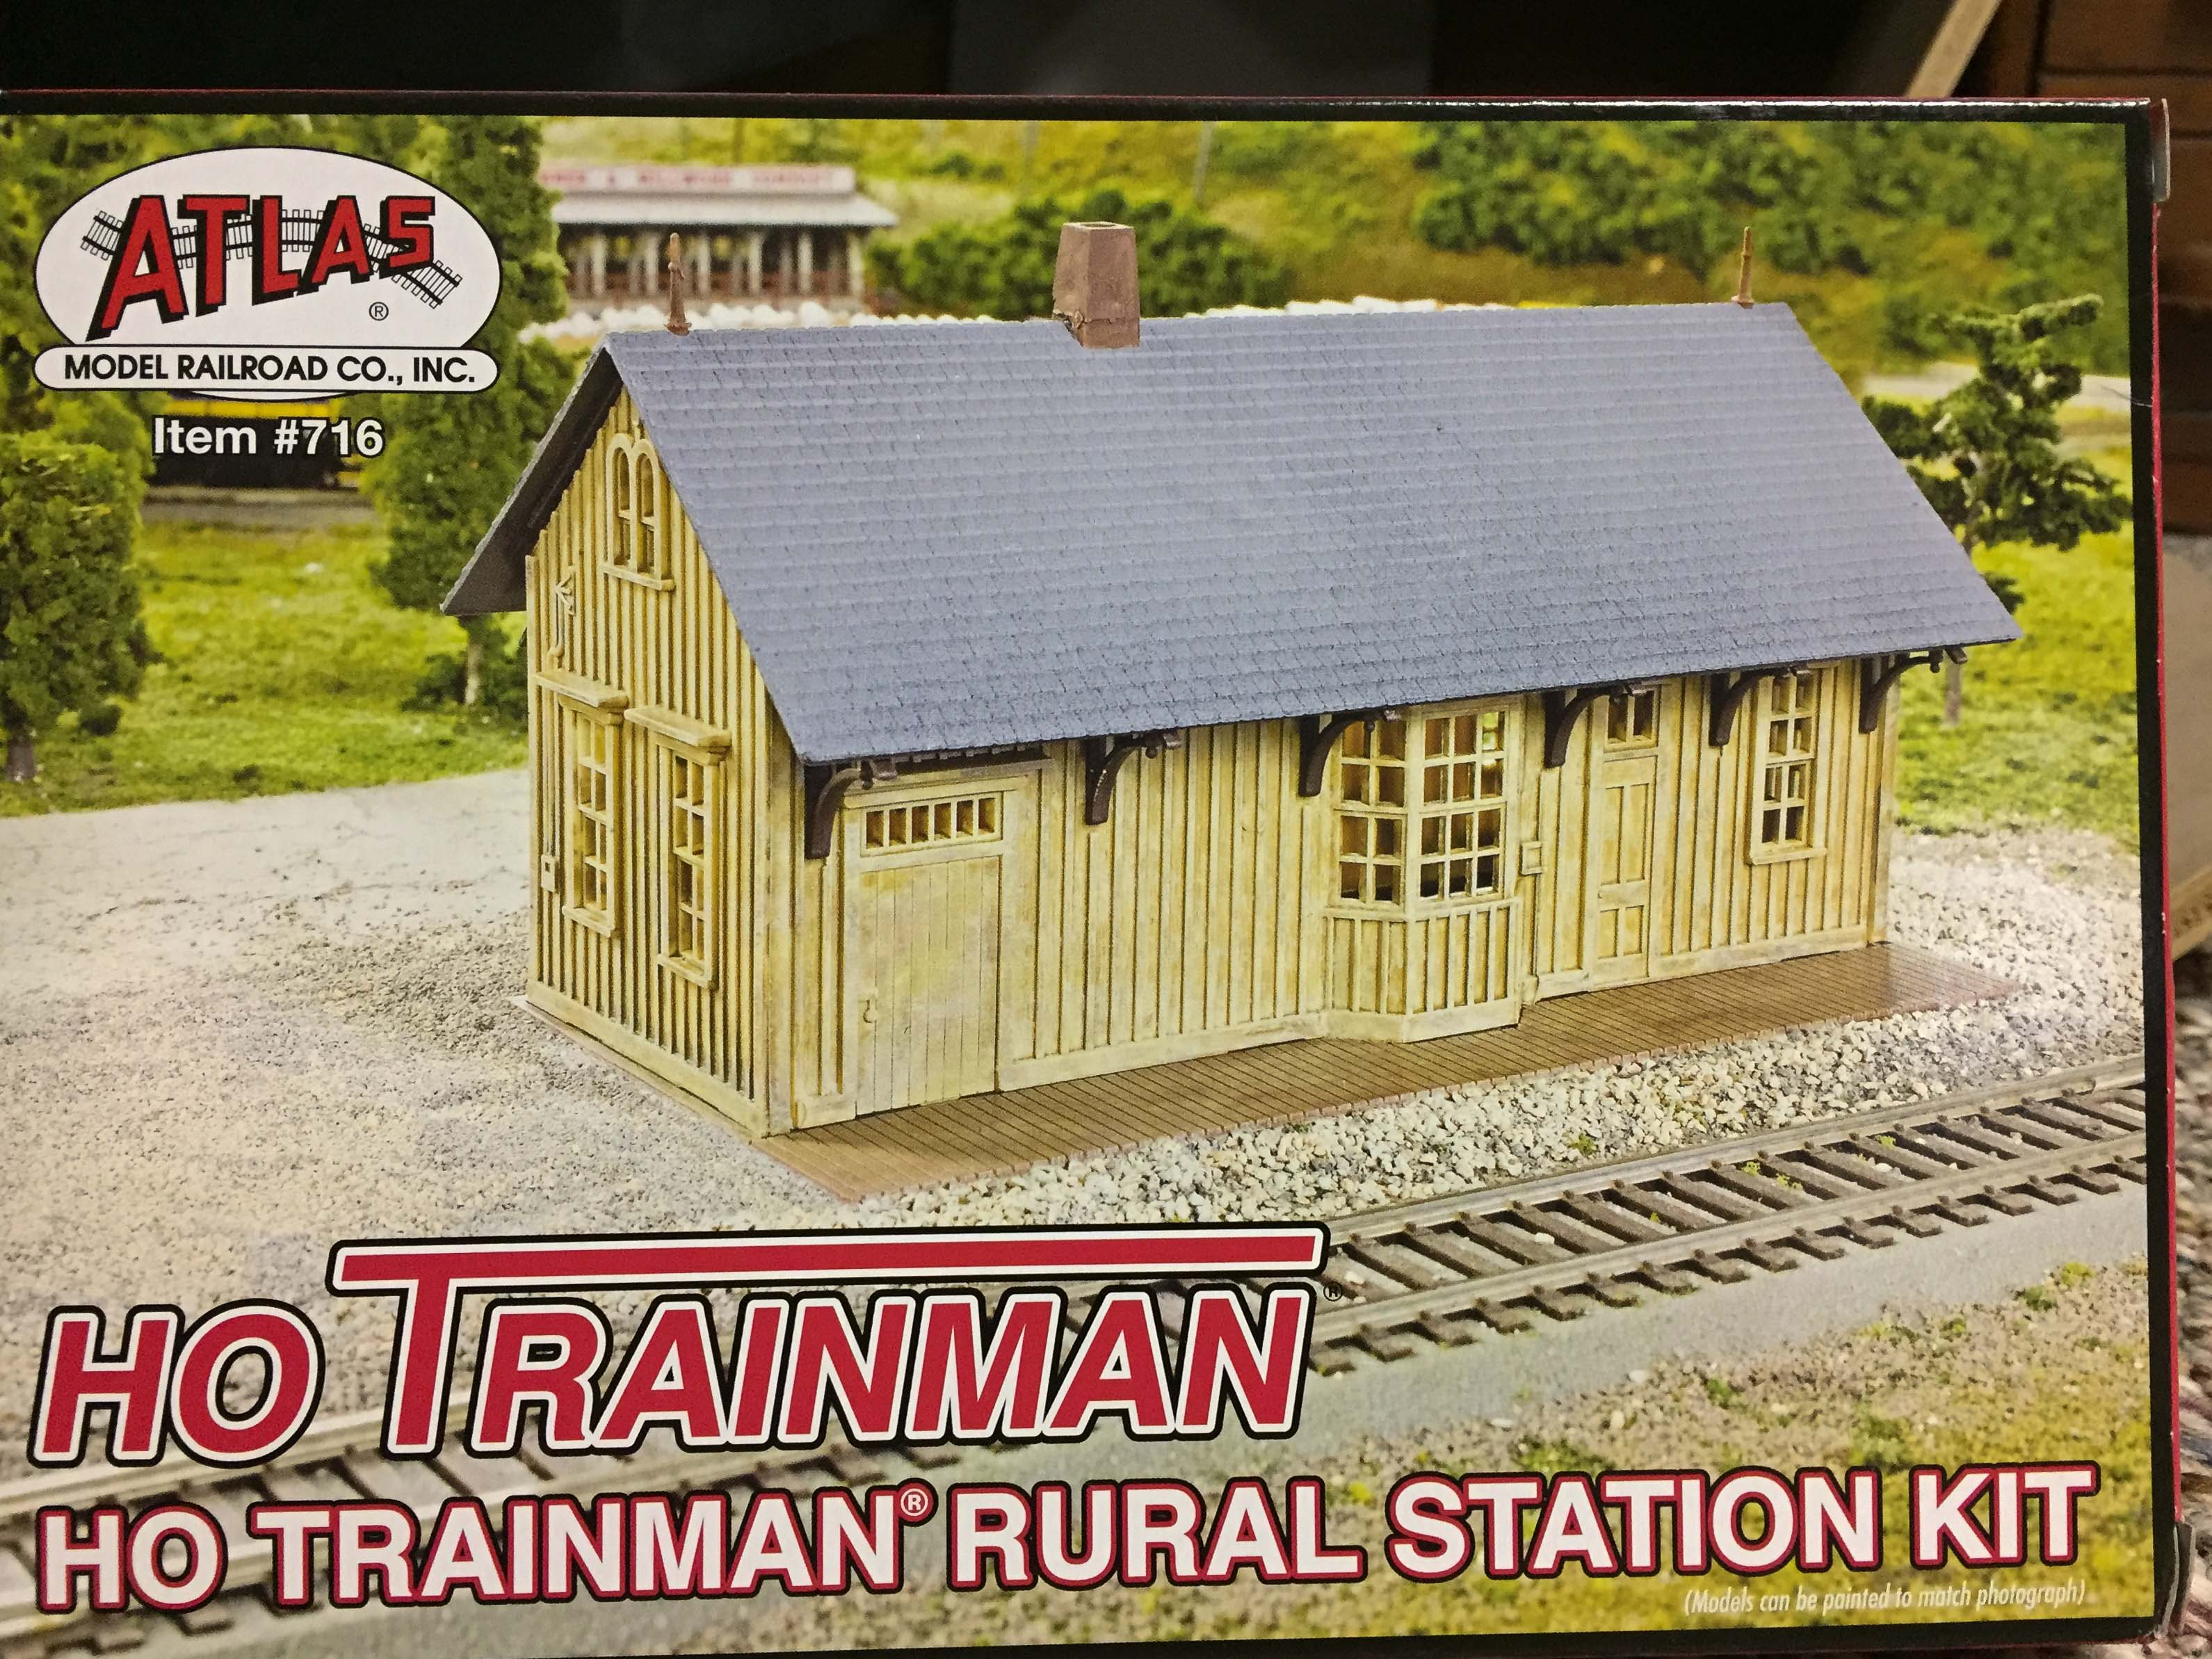
The kit is not bad; it is small enough to fit where I wanted it, it is board-and-batten and thus fits with the era and location of the S&NY, and has an interesting bay window. The down sides are the awful shingled roof, which does not really fit aesthetically; and the heavy appearance of the roof brackets, and window mullions and muntins. I found this kit for $8.95 on Ebay, so the price was right. Also, I didn’t feel like spending the time to scratchbuild a copy of the real Masten station at this point. However, I probably could have scratchbuilt a station in about the same amount of time in retrospect. As it turns out, constructing the basic building shell is relatively easy. Most of the construction time, whether kit-built or scratch-built, is on painting, details, weathering, and touch-up.
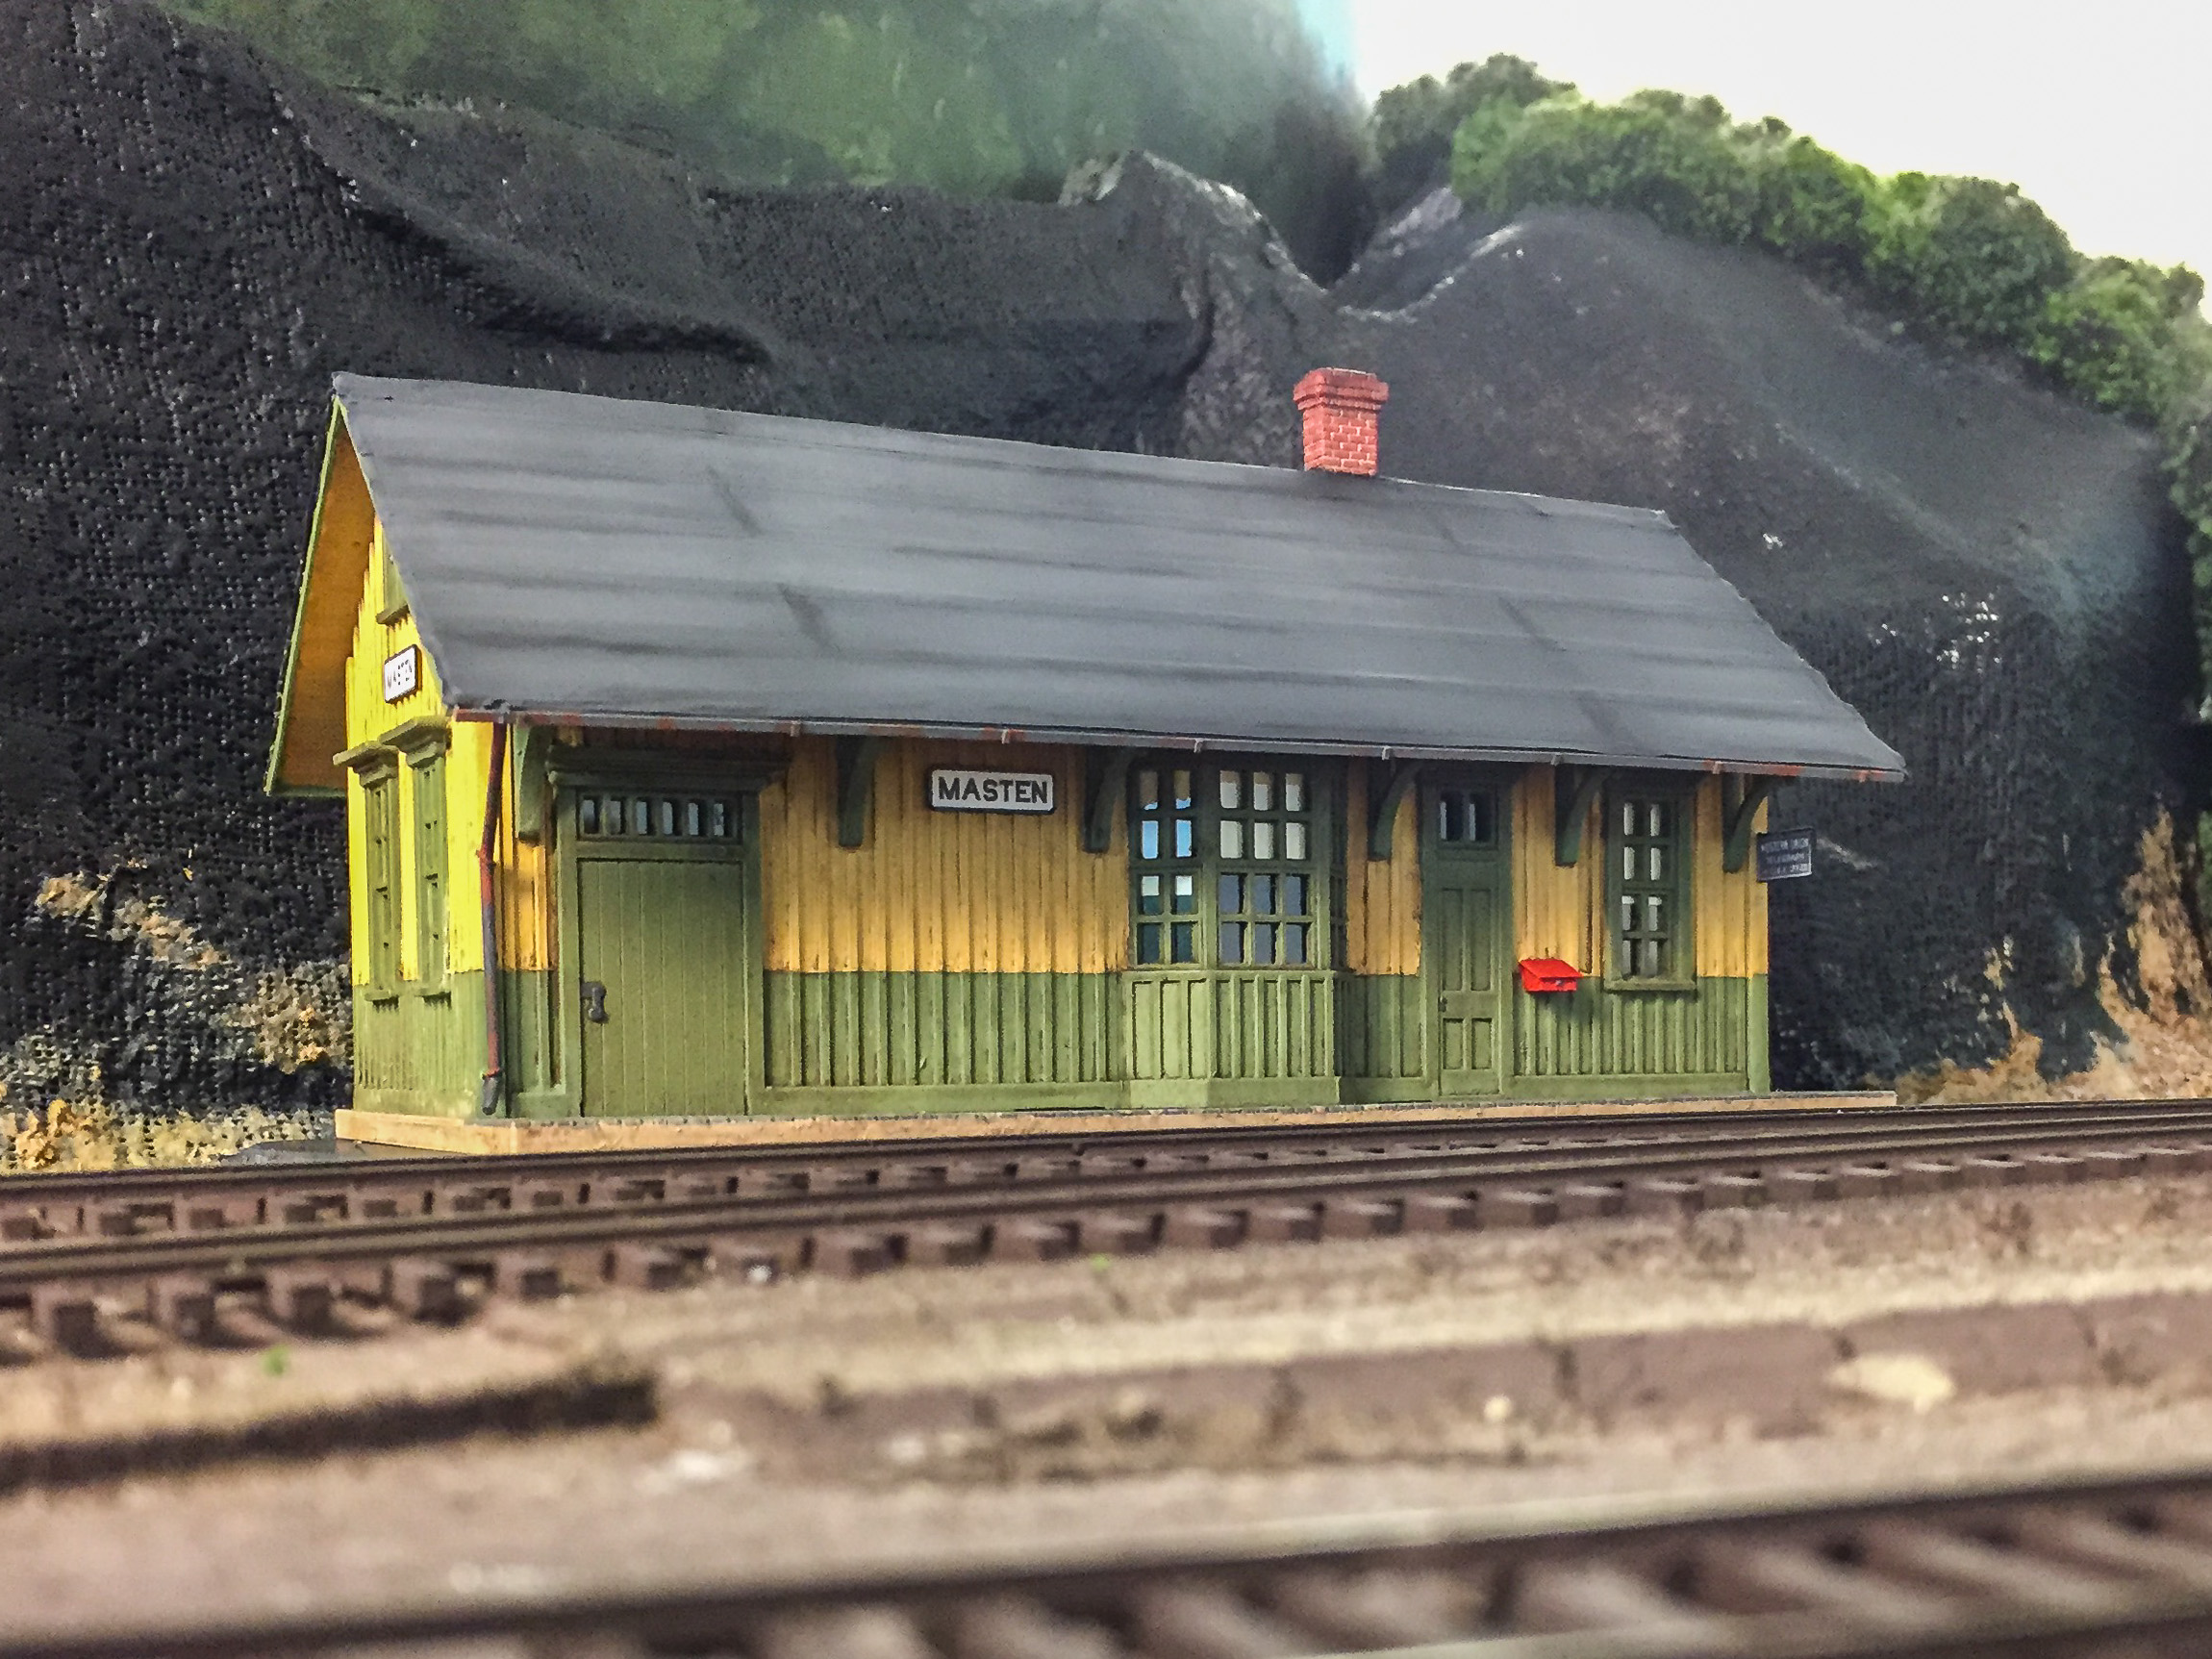
I did chisel off some cast-on anachronistic details that represented an electrical junction box and some sort of mail-slot thing. I also scratchbuilt a new roof from .040 styrene. The kit chimney was atrocious and looked like something from a bronze-age mud hut, so I replaced that with a white metal casting. Other added details include a waybill box, station name signs, Western Union sign, gutter and downspout, and roof-edge fascia boards. I glazed the windows with microscope cover glass glued on with canopy cement, and added shades cut from a manila folder. The signage was made using Photoshop, scaling larger signs to HO size, then printed at high resolution on a color inkjet printer. The paper signs were sealed with fixative, then mounted to .010 styrene with Scotch 77 spray adhesive.
I painted the building using craft paint from Michael’s heavily drybrushed over a dark gray prime coat to give a streaky weathered look. Trying to mask a straight tight line over the boards and battens without some sort of natural dividing line was a pain, but that’s how the S&NY painted some of their structures. The roof was scribed to mark out lines for tarpaper rolled roofing material, and I used matte Scotchtape to simulate the tarpaper material itself. (Scotchtape worked out ok as an experiment, but next time I’ll use a commercial paper product or masking tape.)
Weathering was a wash of turpenoid and Van Dyke brown oil paint followed by Dulllcoat. The wooden platform was primed dark gray, with individual boards highlighted with acrylic craft paint, followed by the turpenoid wash and Dullcoat. The roof got a prime coat of Krylon dark gray auto primer, followed by dark gray craft paint, Pan Pastels, and a light sealer coat of Dullcoat.
I mounted the finished station on a piece of black gatorboard to bring the platform height up to proper level with the track.
Test-fit in place on the layout:
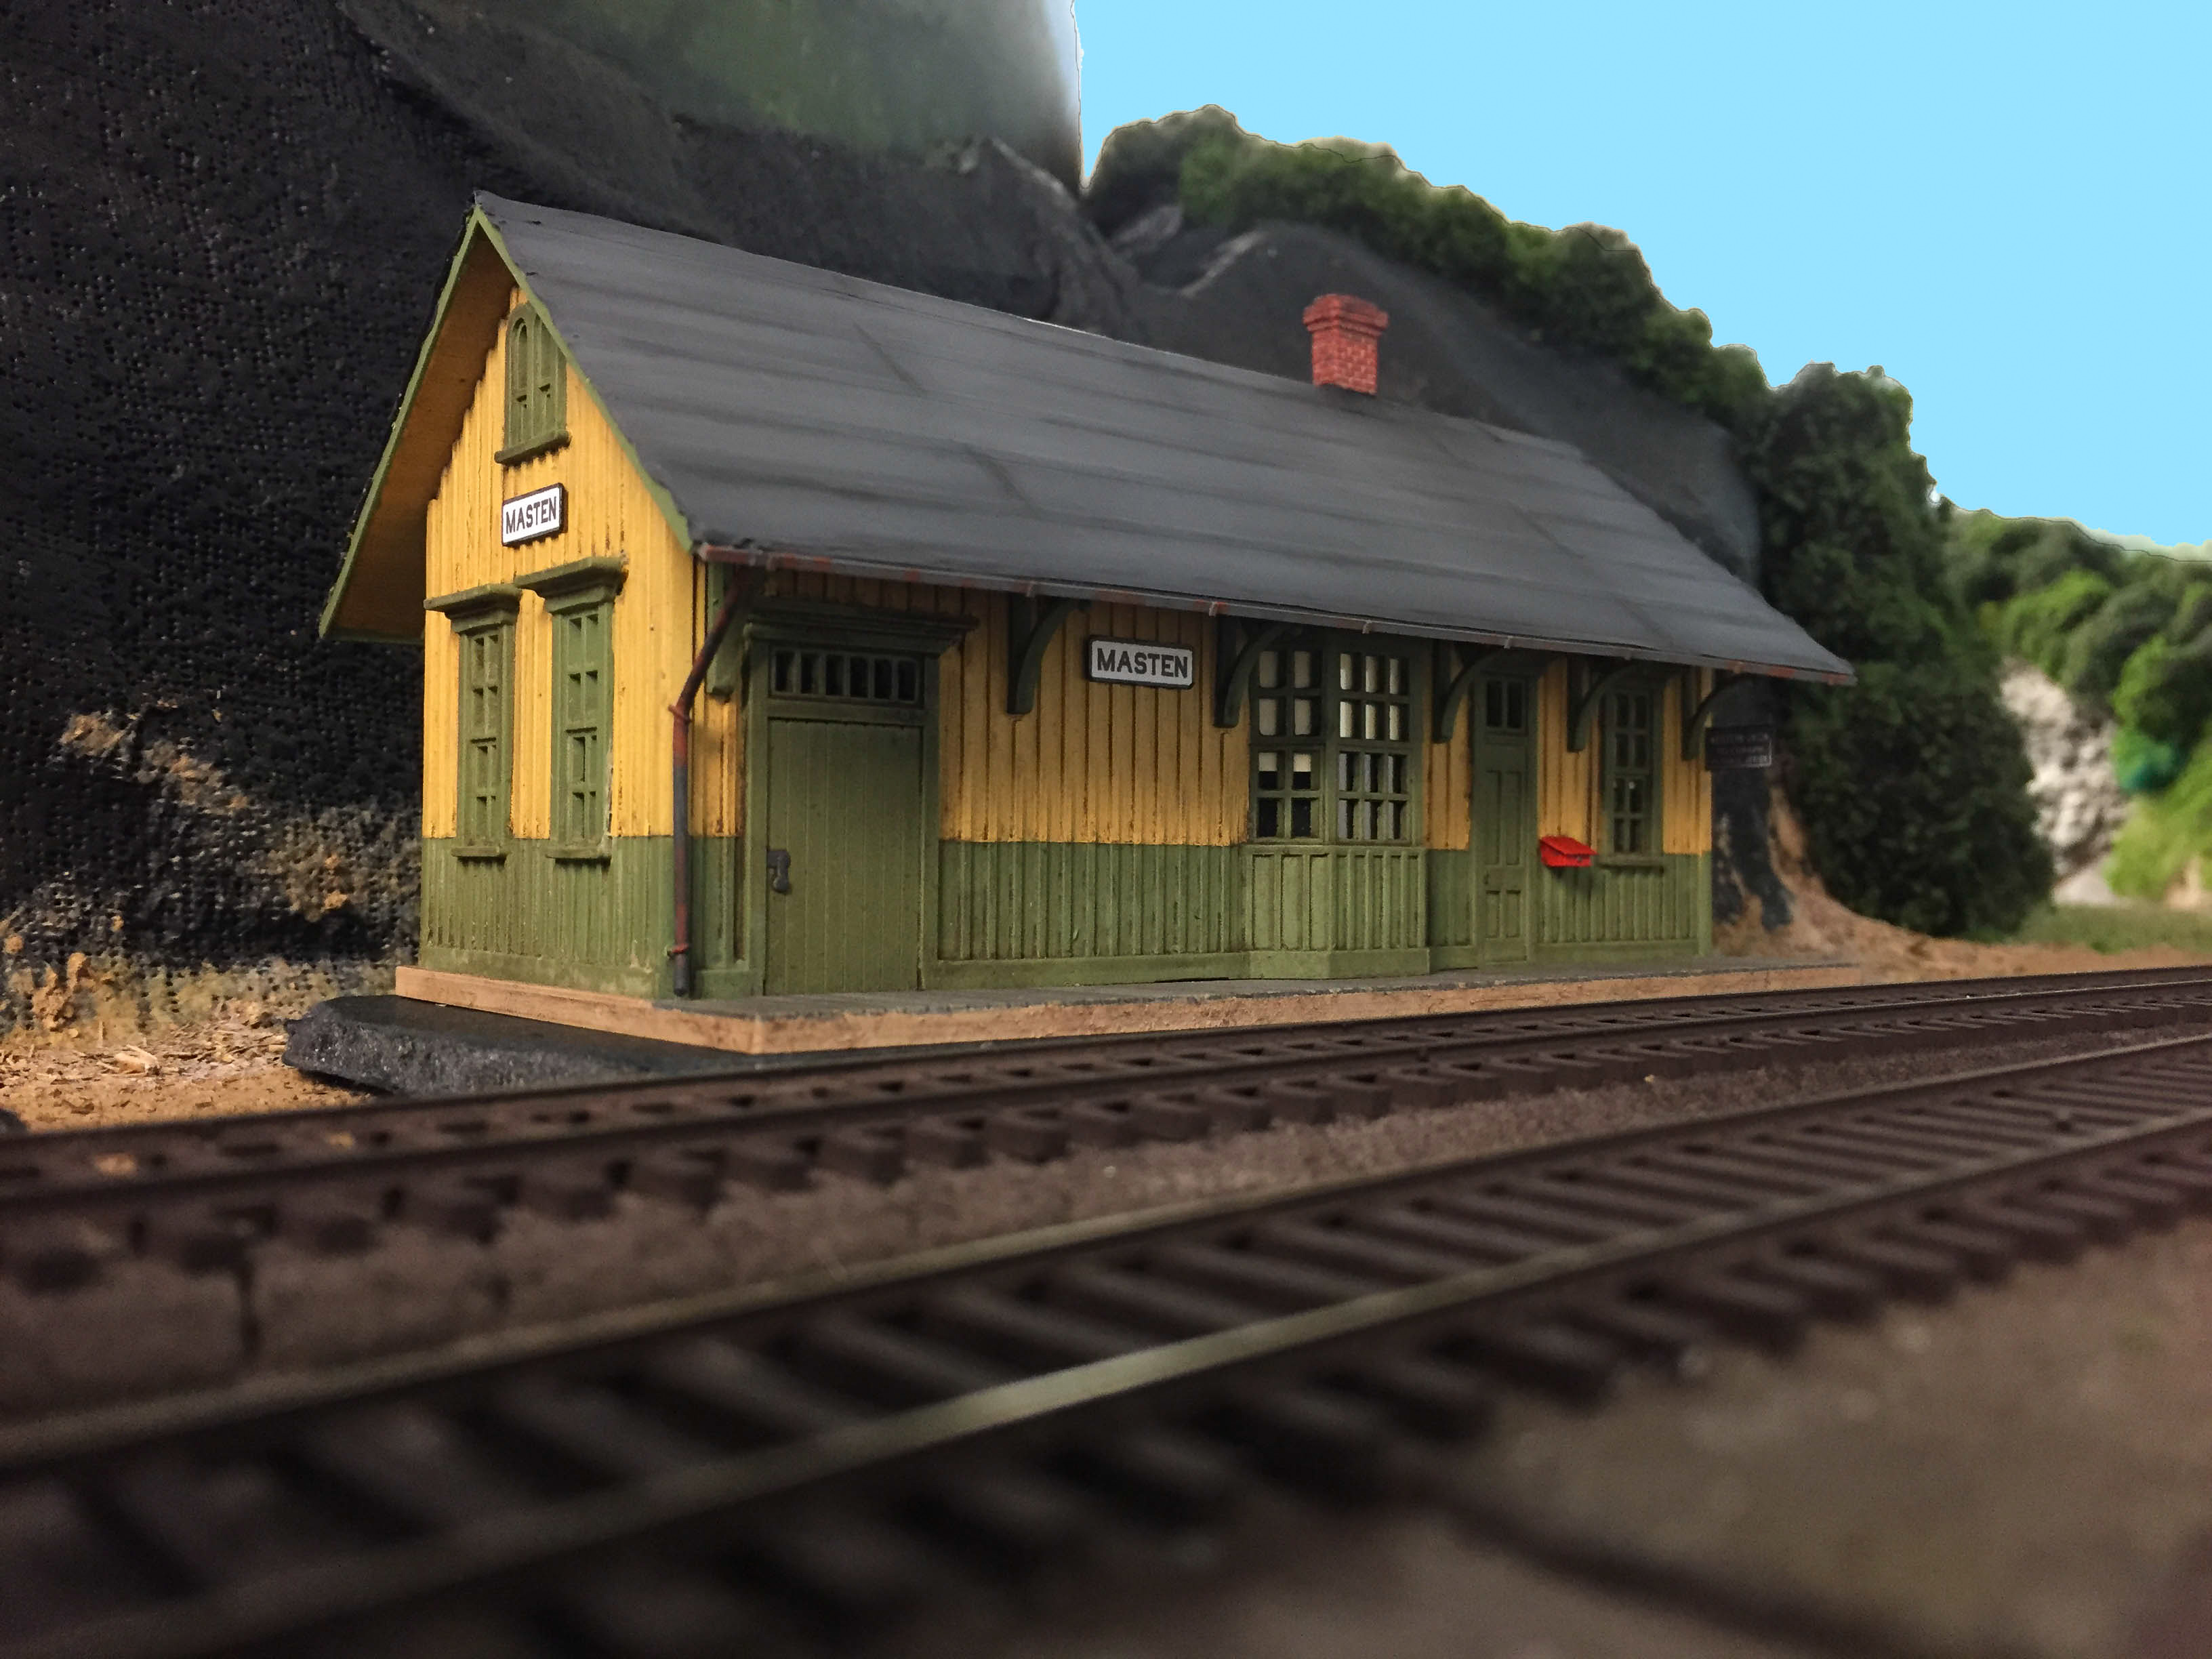
All-in-all, I’m pretty satisfied with how the station turned out, considering its origins.
On to the next project!
Looks great!!
I hope you don’t mind if I save this for painting and detailing instructions, it is very well done.