Before I can continue with the scenery project (which turned out to be much more than just scenery, but I digress…), I need to get the train order signals installed. Placement of working TO boards was on the to-do list, but that turned into a whole ‘nother project in itself. One of the hold-ups was authentic knobs and plates for a control panel of some sort.
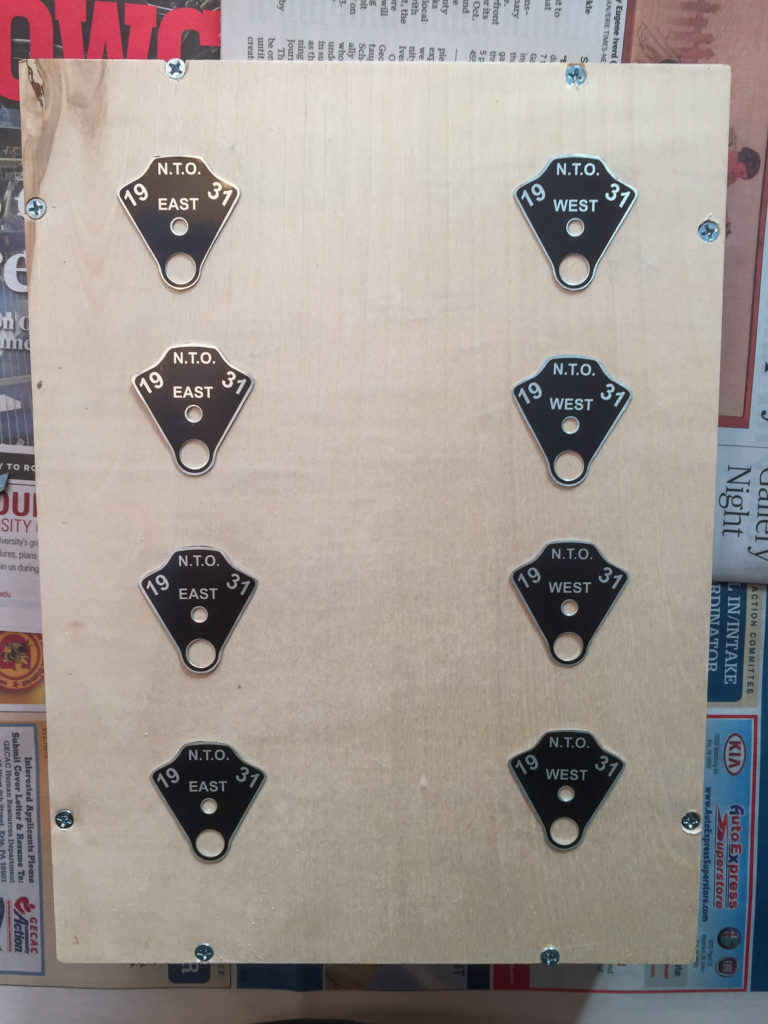
Mike Burgett of Control Train Components (http://www.ctcparts.com) sells cast brass knobs mastered from real US&S CTC panel knobs. He also formerly stocked appropriate plates, but they were no longer available, but he offered to make me some if I was not in a hurry. I wasn’t, and good thing too! In any event, good things come to those who wait, and after about 10 months the parts arrived in the mail.
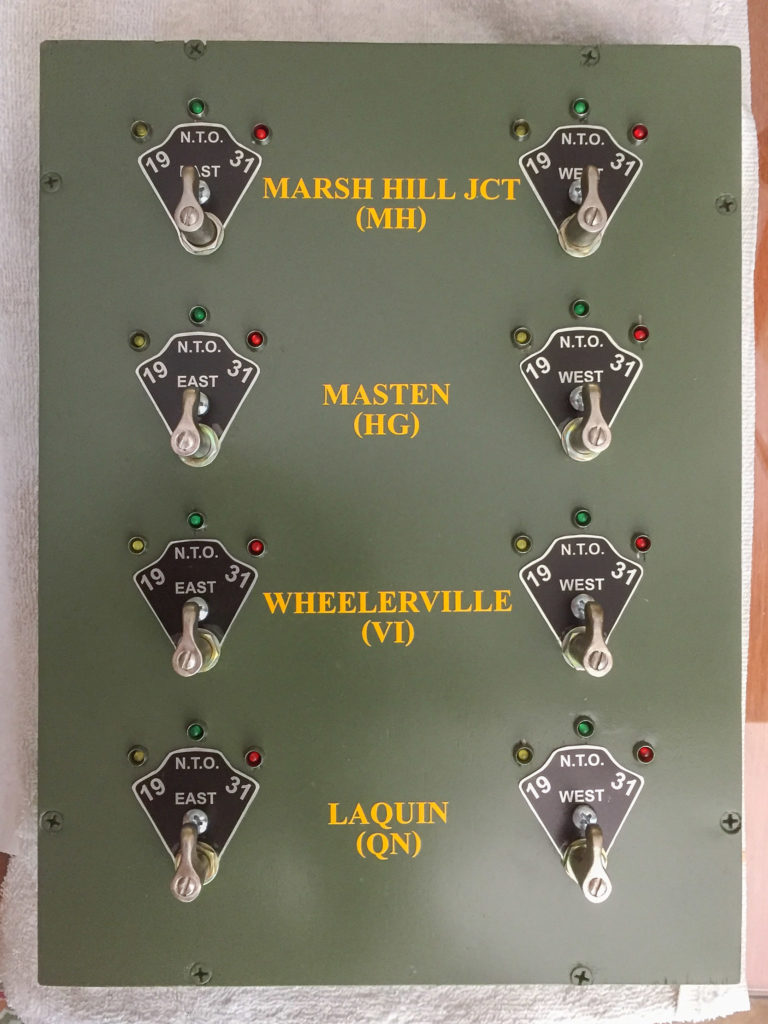
Anyway, I set about constructing a panel for the signals this past July. A centralized panel for train order boards is not really prototypical, as the signals would be controlled individually by the operators at each station, but in model railroading compromises must be made. I still wanted an analog way of controlling the boards, as using PanelPro or some other virtual computerized control method would not be conducive to the feeling of running a 1930’s-era railroad. I wanted something “tactile”, even if it wasn’t 100% correct.
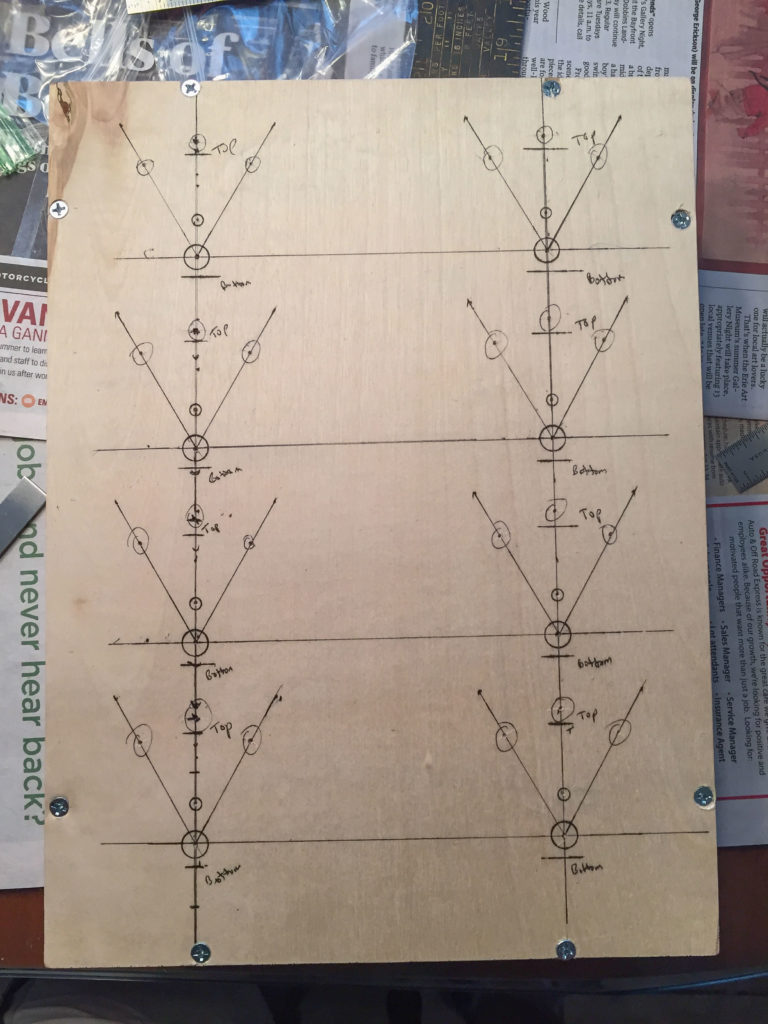
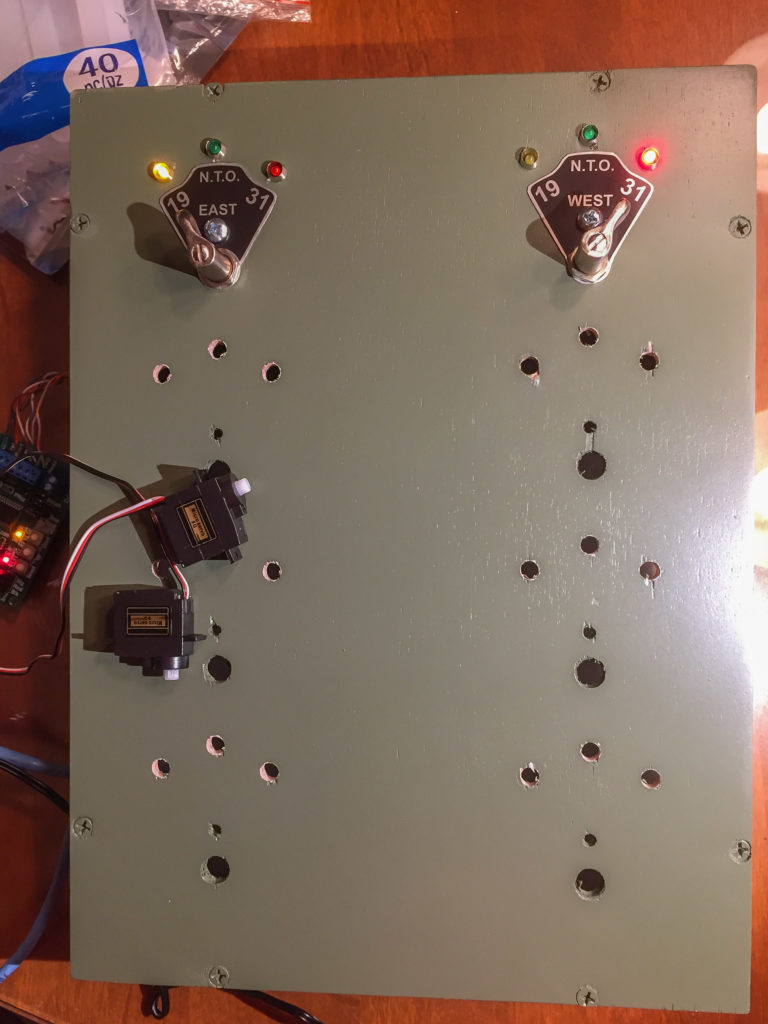
My carpentry skills are not the highest, and I thought about using thin aluminum or even steel for the panel front, but I figured that would delay the project even further. I used thin luan plywood instead. That was a mistake, as the luan I used was very splinter-y and not great to work with. I also found out the panel saws at Lowes don’t quite cut square. Oh well, press on…
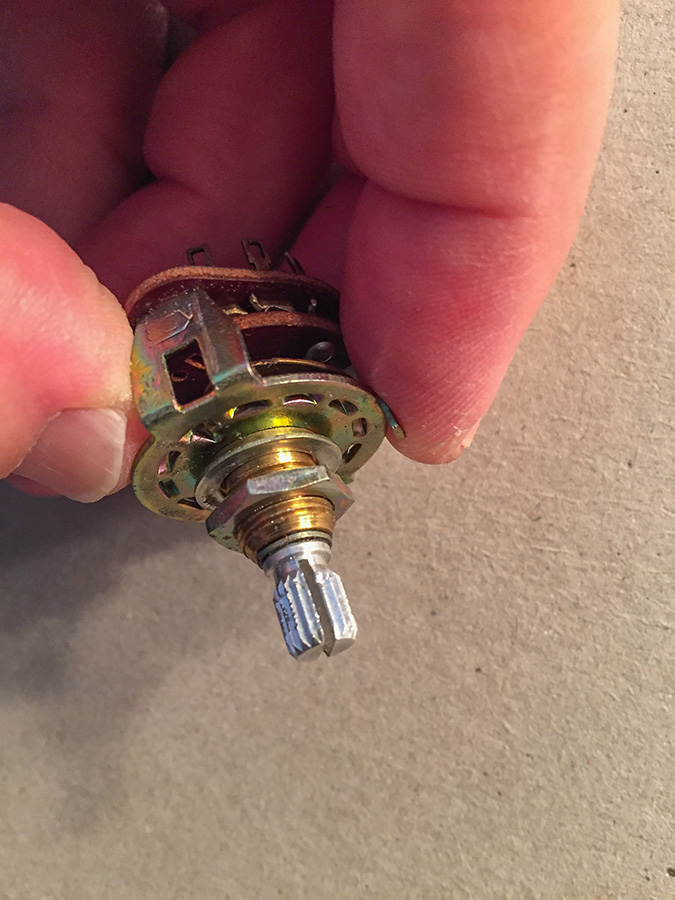
The 3T-DP rotary switches I used were probably some sort of Commie East-bloc mil-surplus from All-Electronics (https://www.allelectronics.com), but luckily the 3 positions corresponded to the plates. I ground flats on the soft aluminum splined shafts and epoxied strip brass in the gap. The knobs from CTCParts were not splined and used a set-screw, and I wanted the knobs to be secure and not strip the soft aluminum. I also had to grind away part of the upper part of the frame of the switch assembly to clear the mounting screw and bolt for the plates.
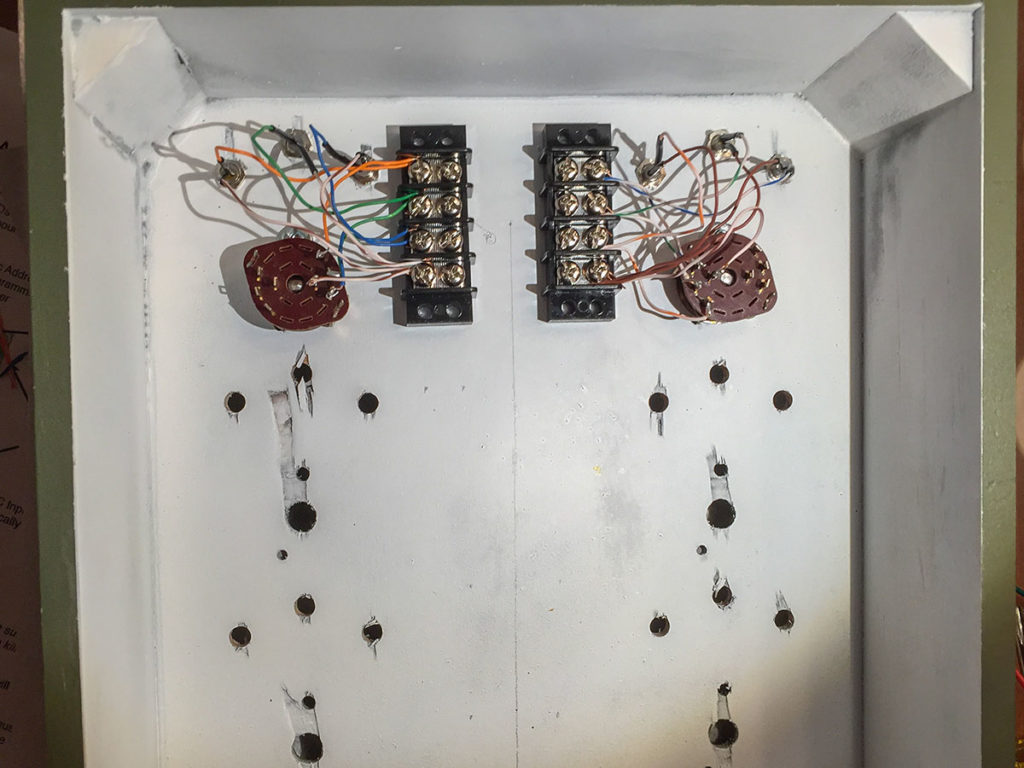
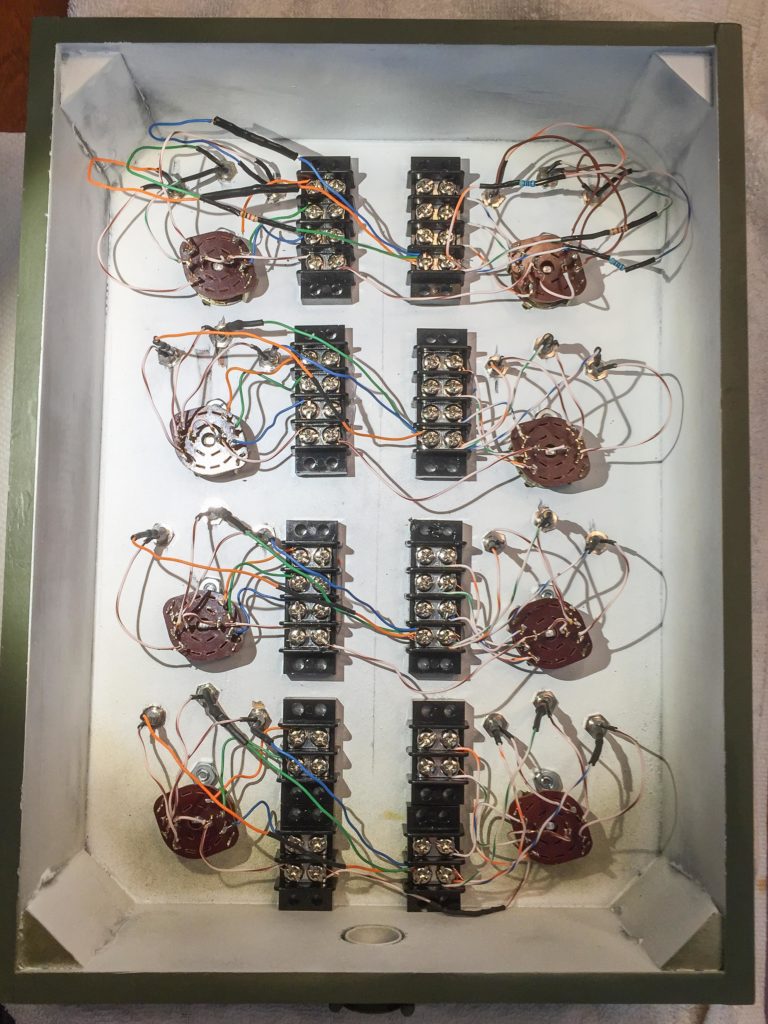
I wired up the first set of knobs to a Tam Valley Dual 3-way servo controller board to make sure I had things connected properly. I had some confusion regarding the correct way to wire things up, not being electronically inclined, as the Tam Valley instructions did not include diagrams for a multi-pole switch and LED’s. A few emails quickly solved the problem, though, and my plan to use Cat-5 cable to each set of train-order signals was going to work after all.
136 separate solder connections later (yuck), the panel is ready for installation.
I gave the panel a couple of prime coats of Krylon gray auto primer with light sanding in-between, followed by a couple of top coats of Rustoleum Italian Olive. That color is a little too green compared with the standard US&S color, but the Rustoleum was fast, easy and “close enough”. I used laser-cut vinyl adhesive letters from Small Vinyl Lettering (http://smalllettering.com) that were applied in a way similar to dry-transfers. It was worth the 20 bucks or so for the letters to save the aggravation of individually-applied letters or decals. I then sealed the whole thing with Krylon matte clear coat.
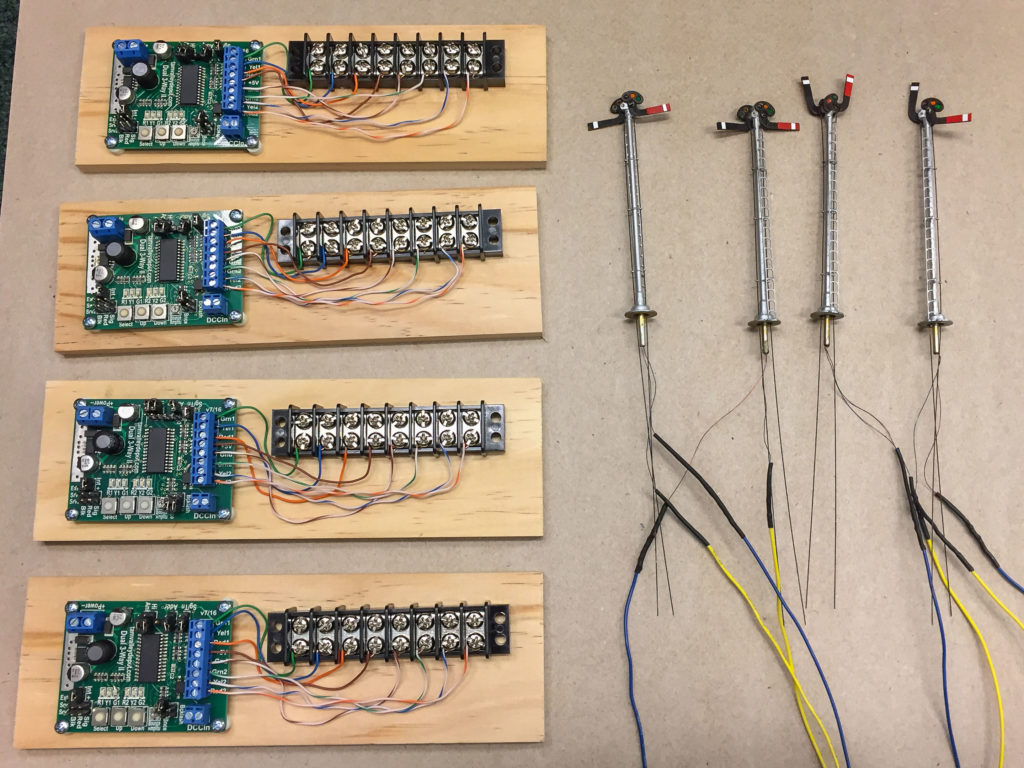
Next, I affixed the Tam Valley boards to small sections of wood and pre-wired them to make installation under the layout easier. The Tomar train-order boards also had to be prepped with a coat of Dullcoat and by soldering the LED leads to a resistor and pigtails that would then connect to the controller voltage input leads from my 9 volt DC accessory bus.
The last step will be to run Cat-5 cable to each of the train order stations, and drill holes and mount the signal masts to the layout.
To be continued…
Recent Comments