Layout Update Winter 2022, Pt. 3

Besides scenery projects, I’ve been working on a few rolling stock projects. Our NMRA division started a weekly modeling work-session/chat every Thursday night as a way to keep interested members in contact. I found a weekly session is a good motivator to work on projects that can be divided into small bites while chatting online.

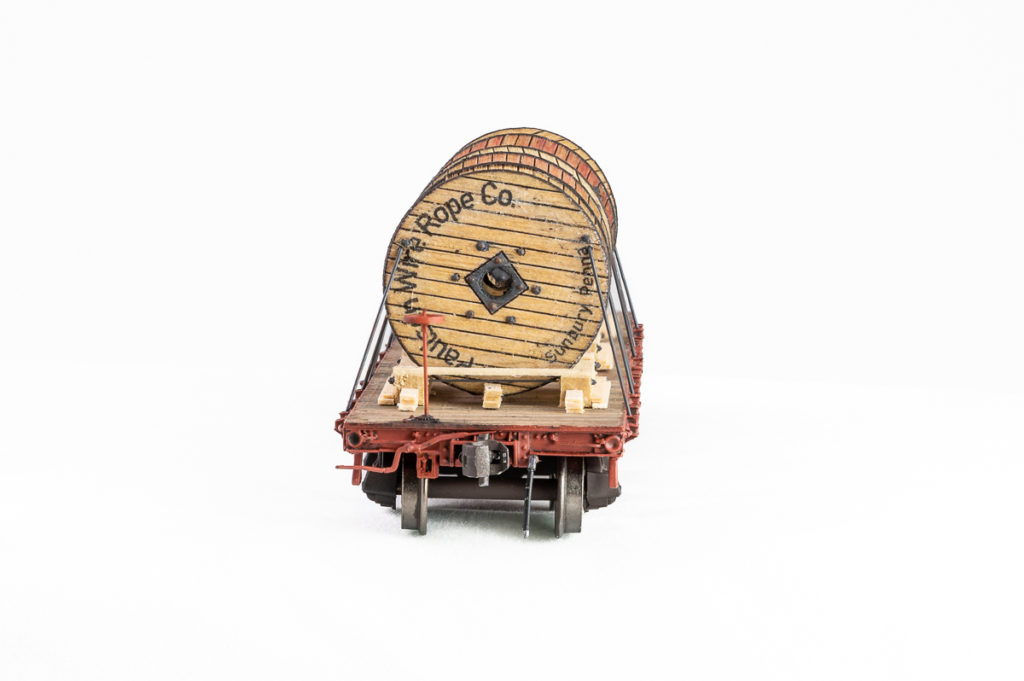
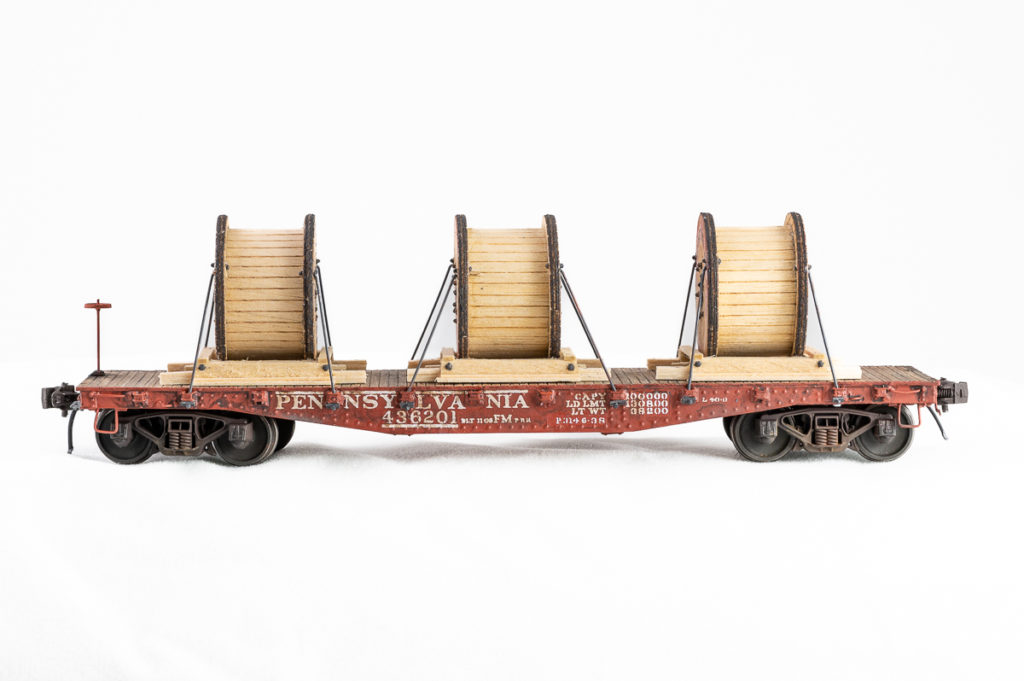
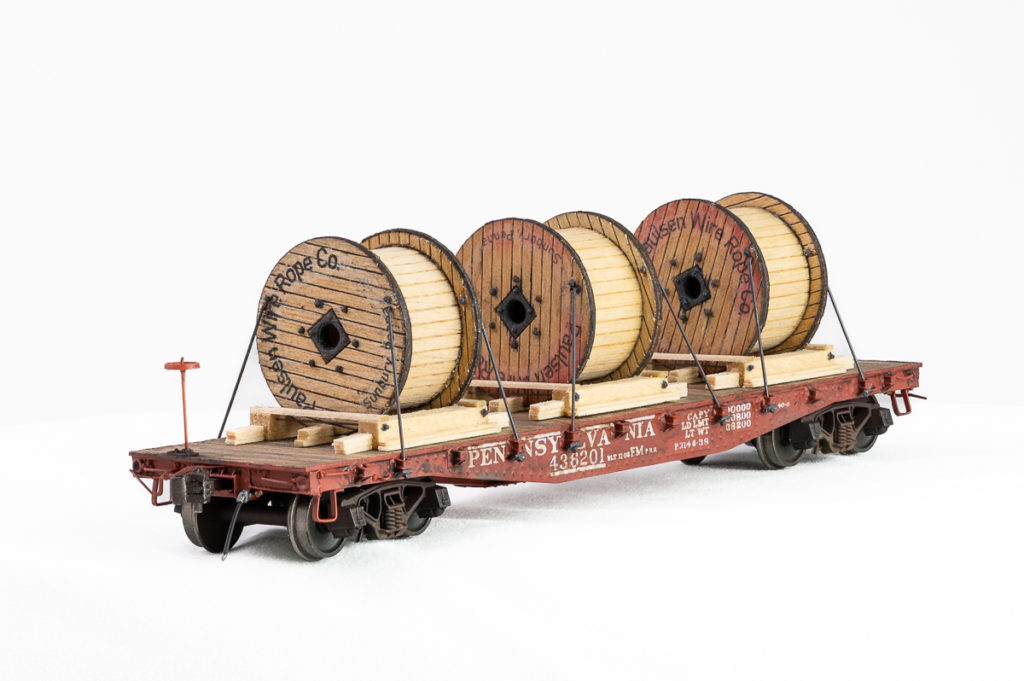
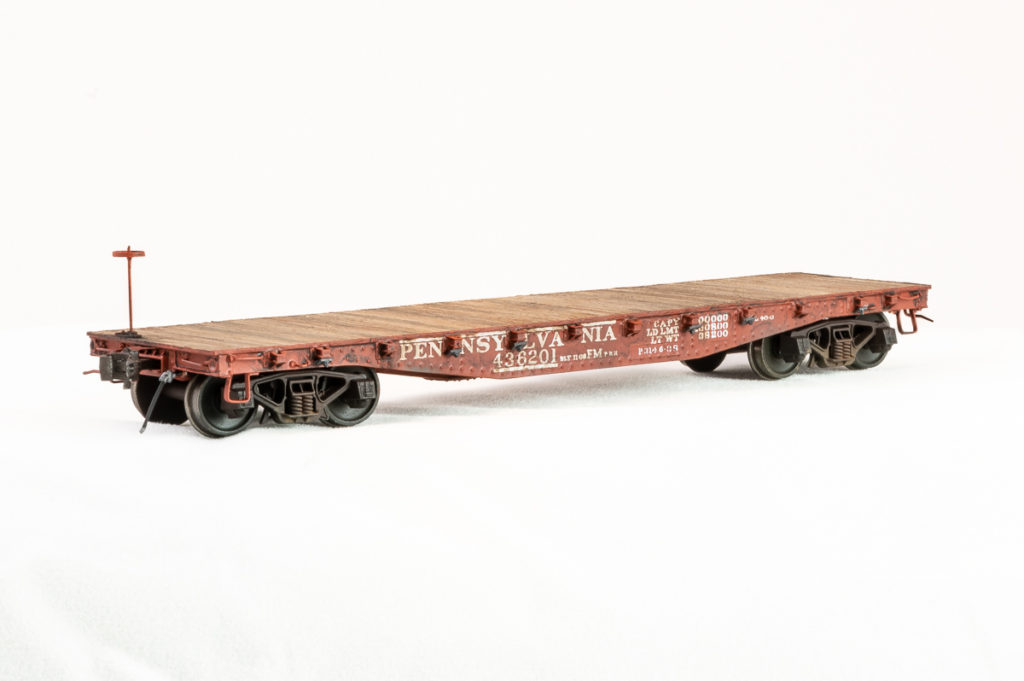
The first project was a resin F&C PRR FM flatcar kit. I pulled this one out of my stash of resin kits, and since I had never actually built a resin kit before I figured it would be a good one to start with, as the box actually include parts for two complete flatcars. If I messed one up, there was a spare to work on! The build was fairly straight forward, and the only downside was the completed cars weigh next to nothing. I decided to add a load of lead-shot-filled cable reels to add weight to the cars so they would track properly in operation. The reels are a laser wood kit from GCLaser with added detail and homemade decals. The load blocking was constructed of scale lumber and is taken from an ARA loading diagram.

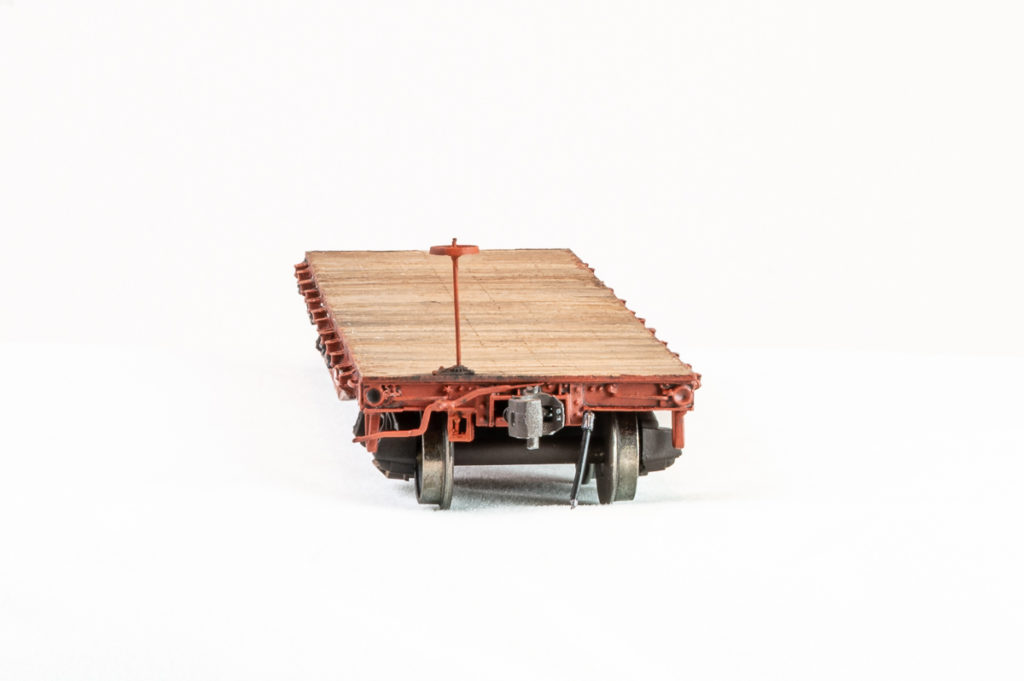
Completed car end before load added.


Three-quarter view of completed car.


Car end after load added.


Side view of completed car and load.


Three-quarter view.


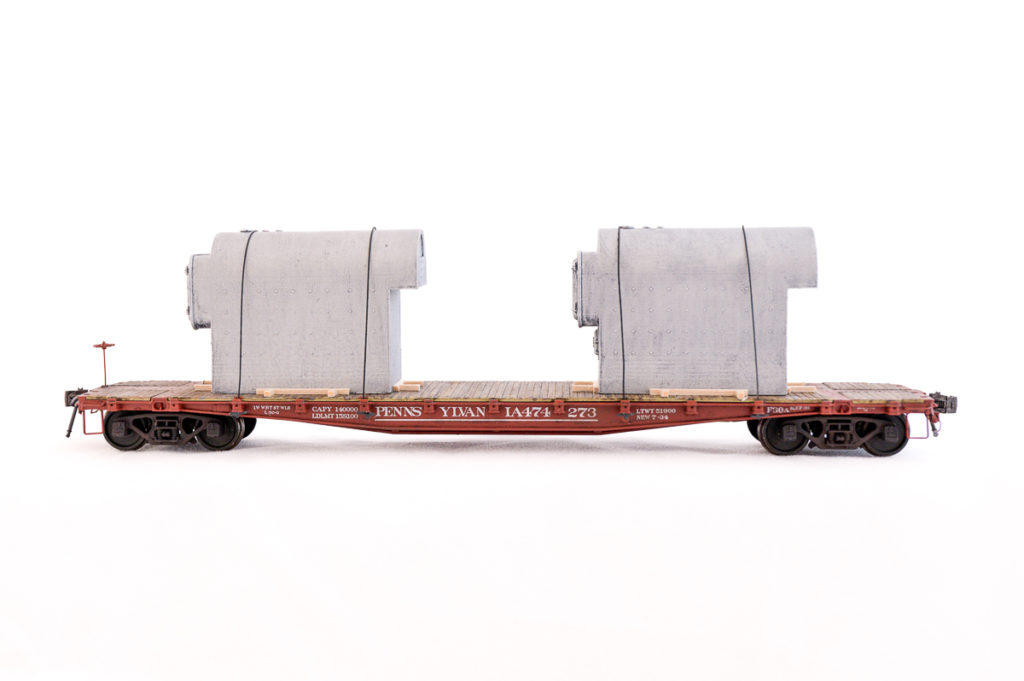
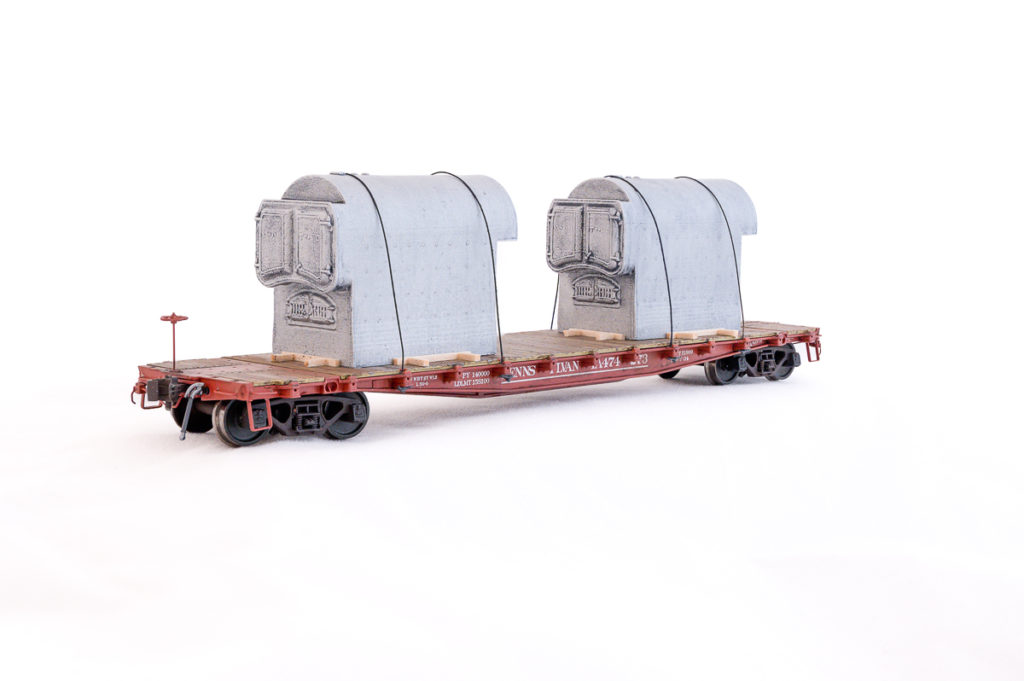
The second car project was also a “Thursday Night Build”. This project was a little simpler and consisted of a Rapido PRR F30a flat car and a resin-printed boiler load from Resin Car Works. The blocking was made of phosphor-bronze wire and scale lumber, following a loading diagram from the RCW website. Despite having a metal body, the car was still a bit light per NMRA standards, so I made styrene floors for the hollow boilers and added weight inside. The car ended up only about 1/8th of an ounce too light. I also swapped out the Chi-Com Kadee knock-off couplers for real Kadee scale couplers and used my usual weathering techniques for the deck and the rest of the car.


Side view of completed car and load.


Three-quarter view of completed car and load.


There are a few other projects in the works, and I’ll try not to let a year pass before updating again!

Layout Update Winter 2022, Pt. 2

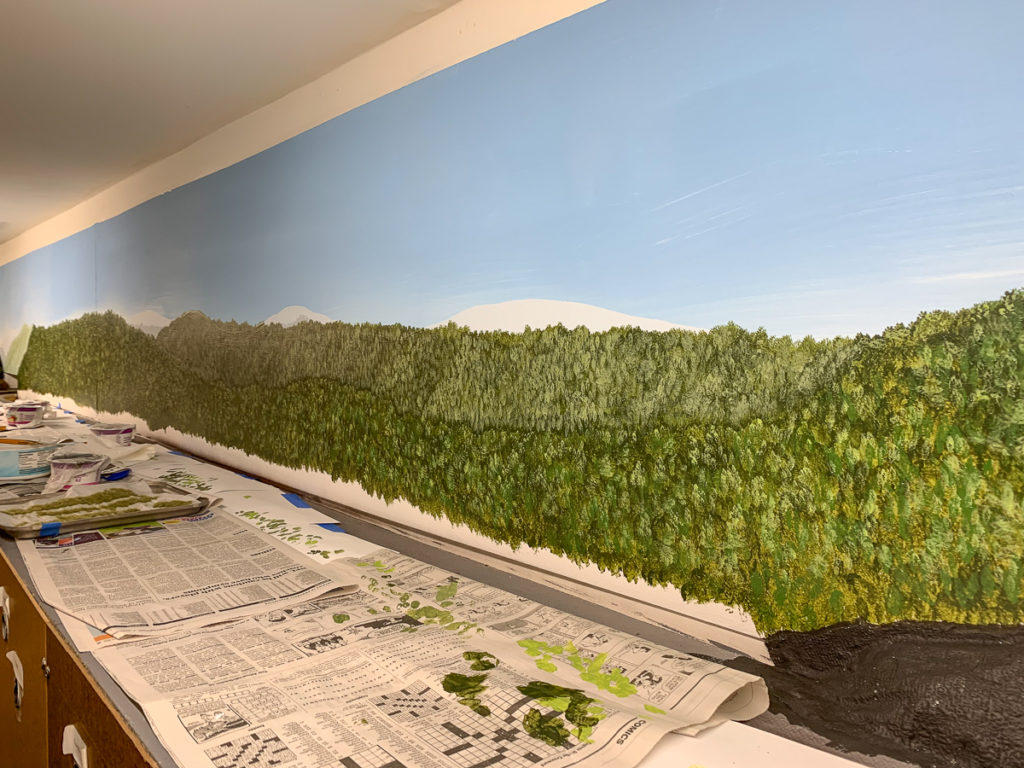
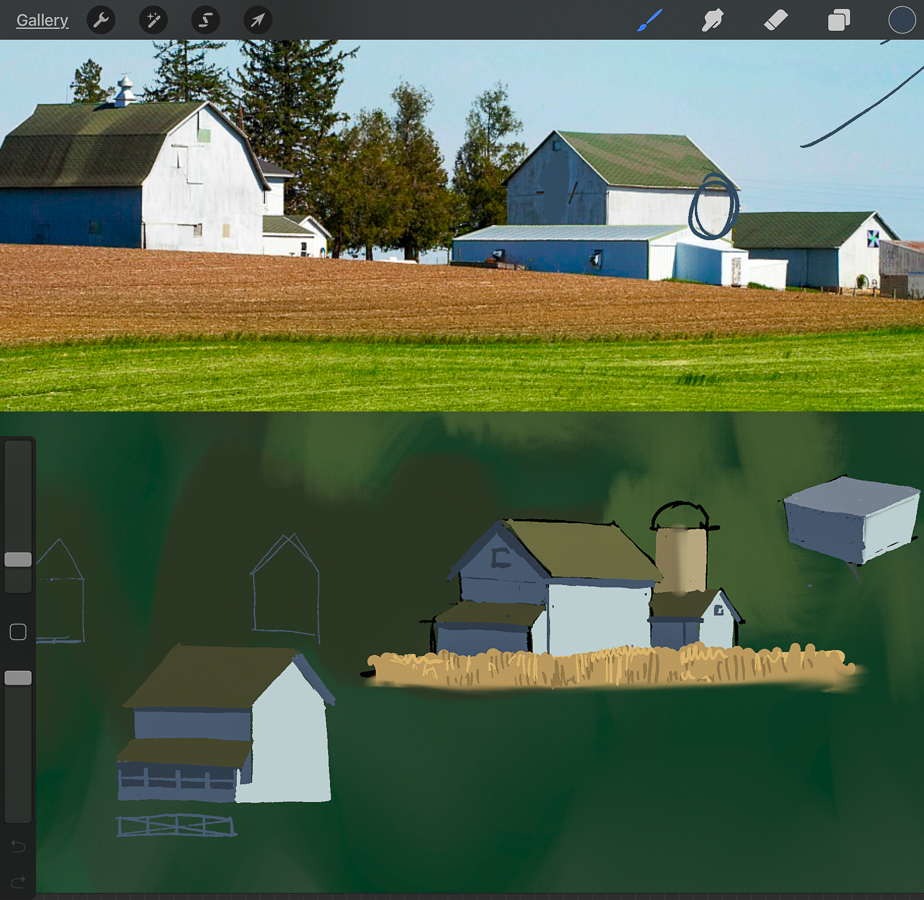
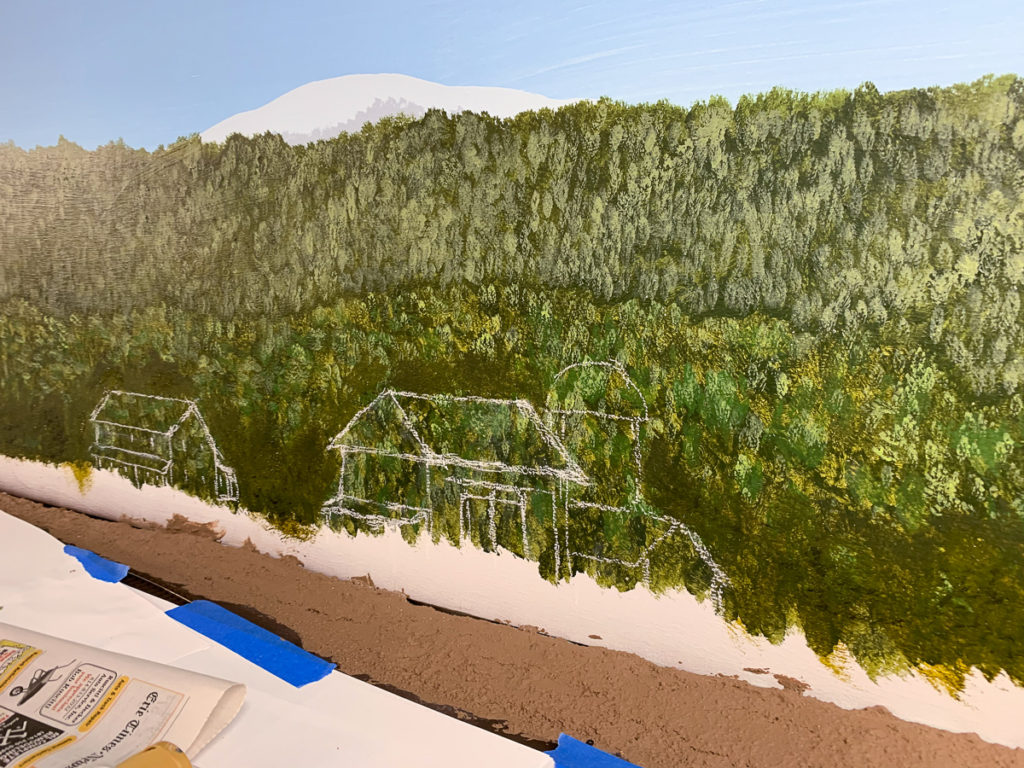
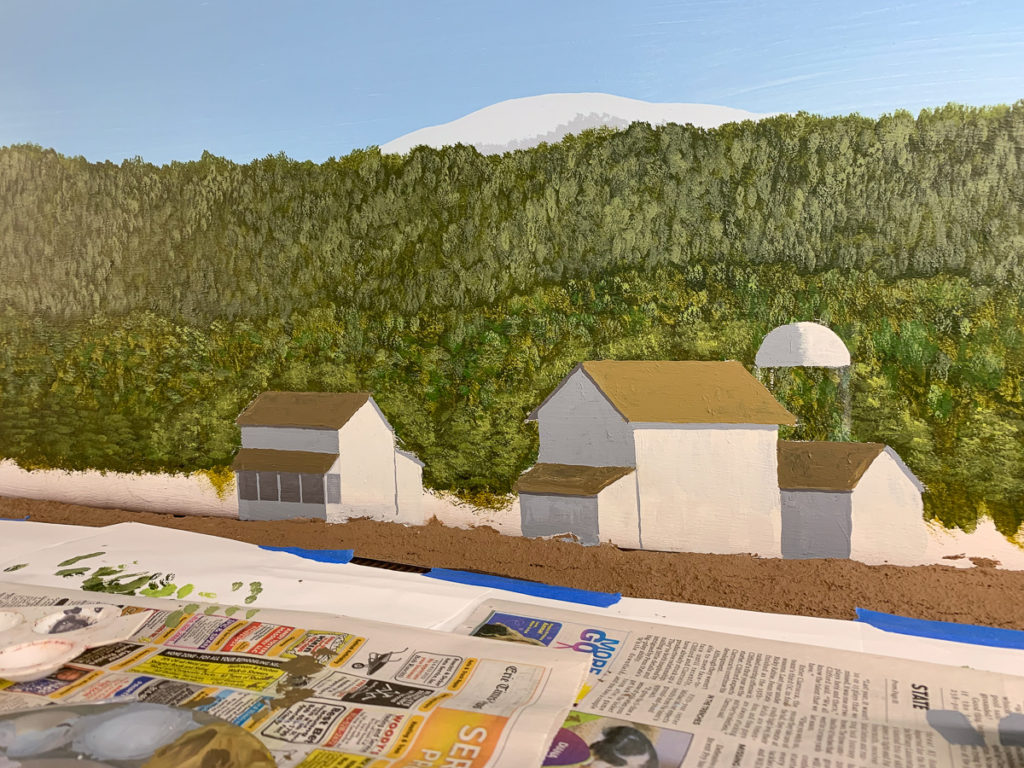
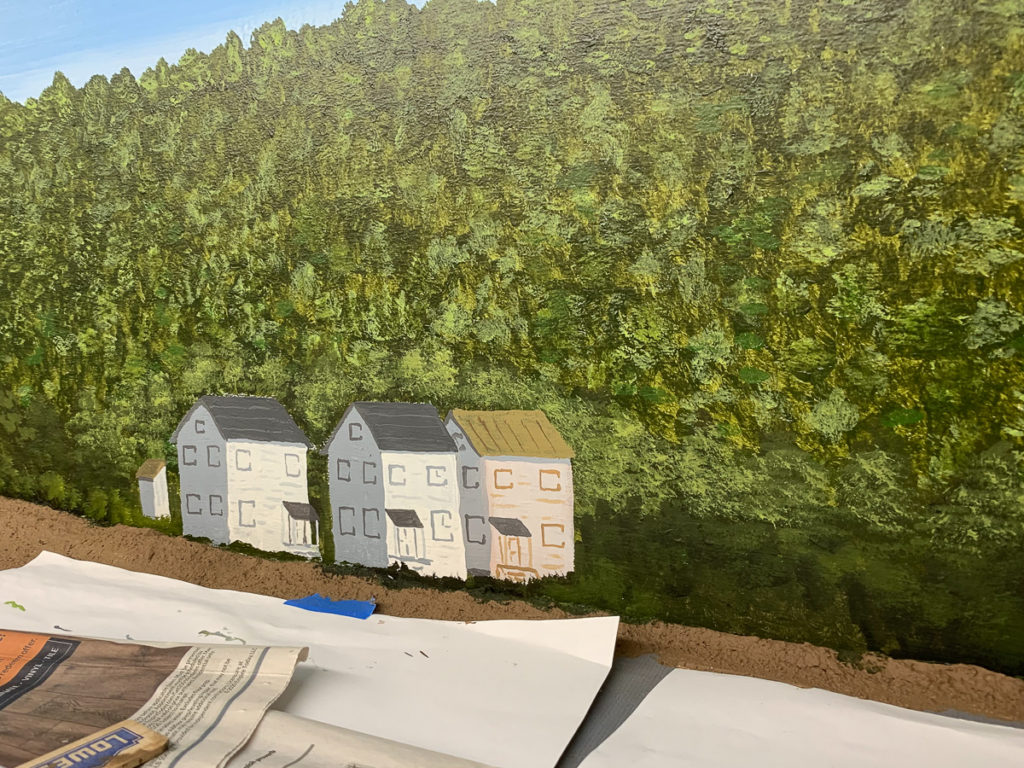
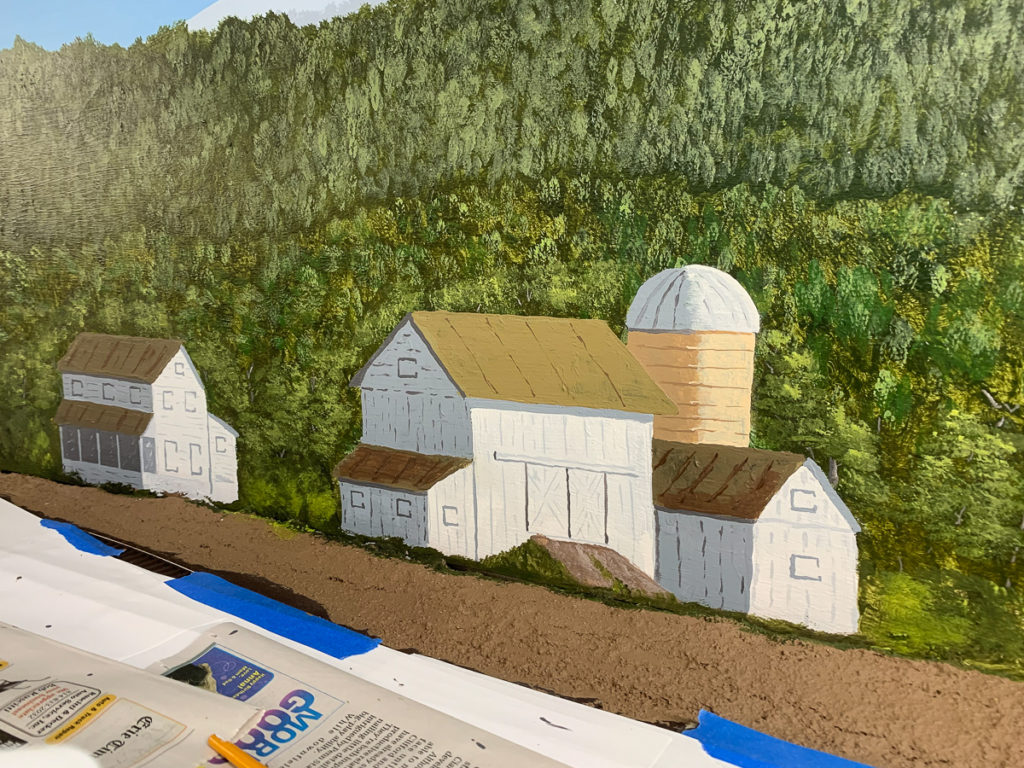
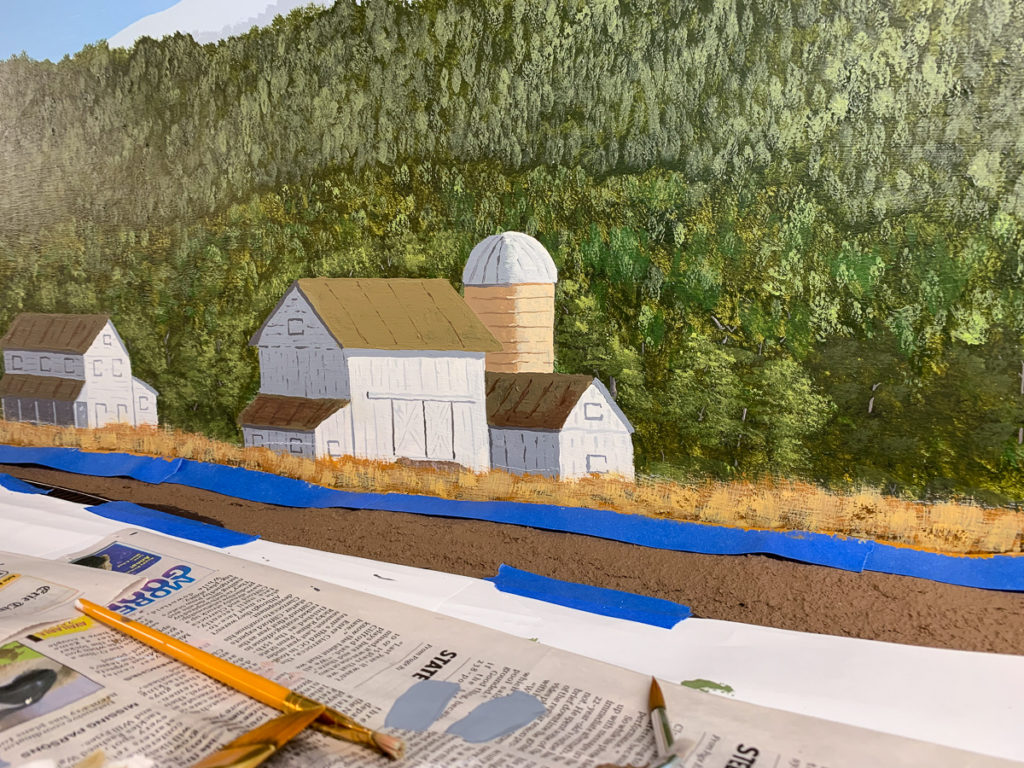
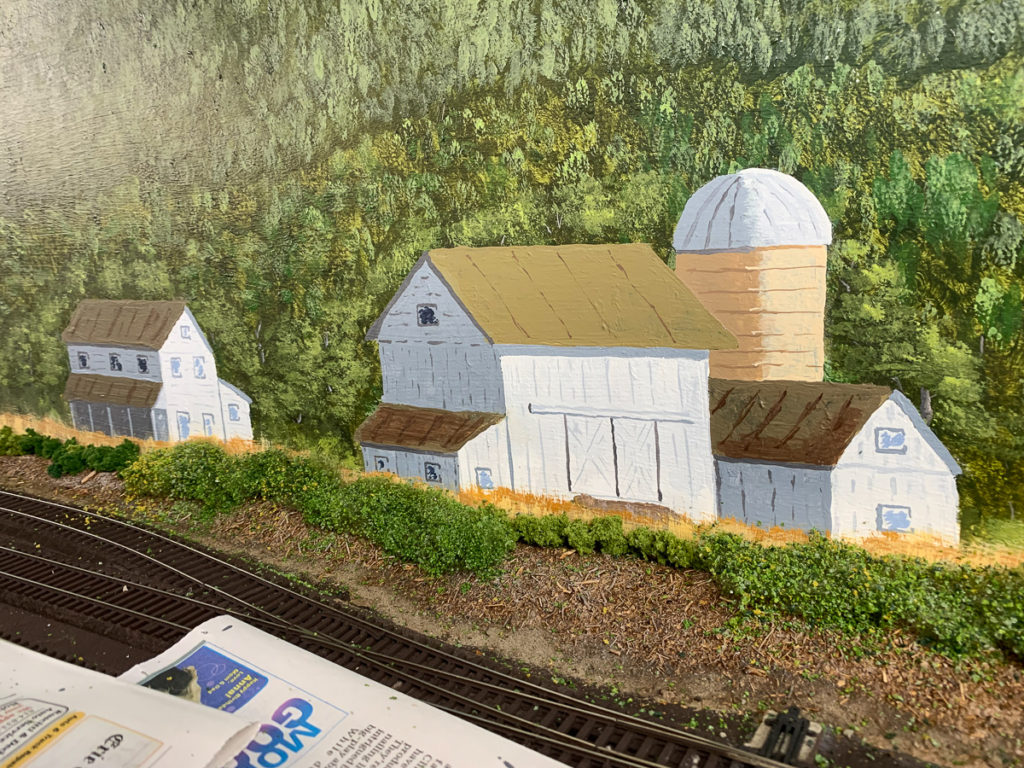
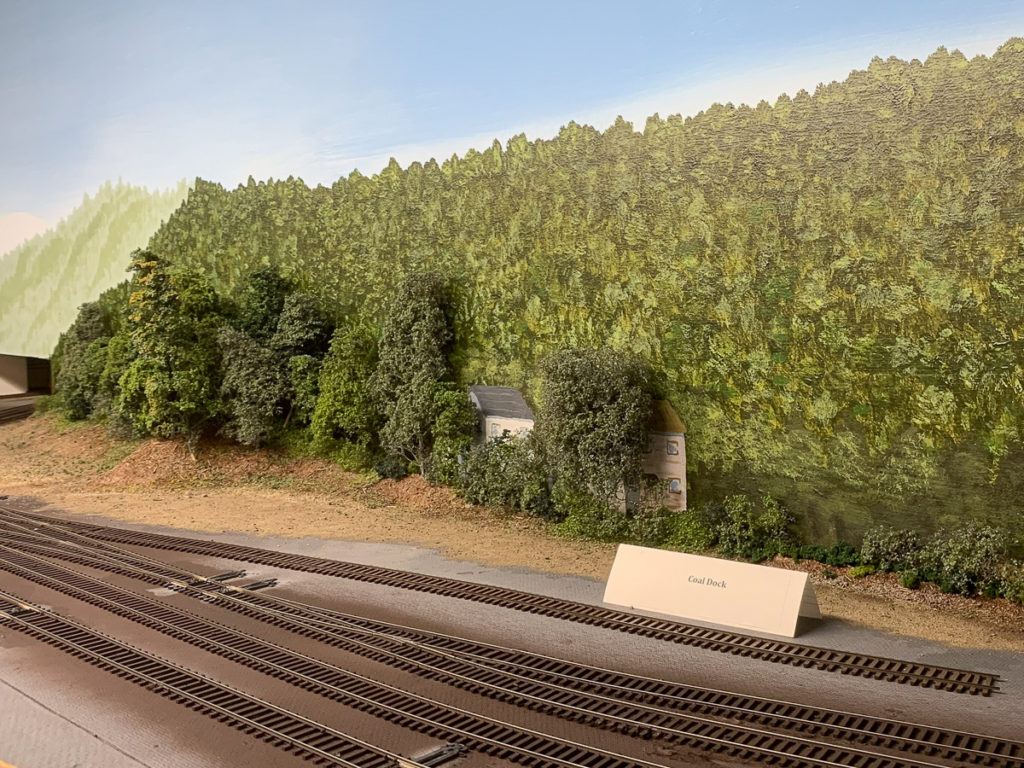
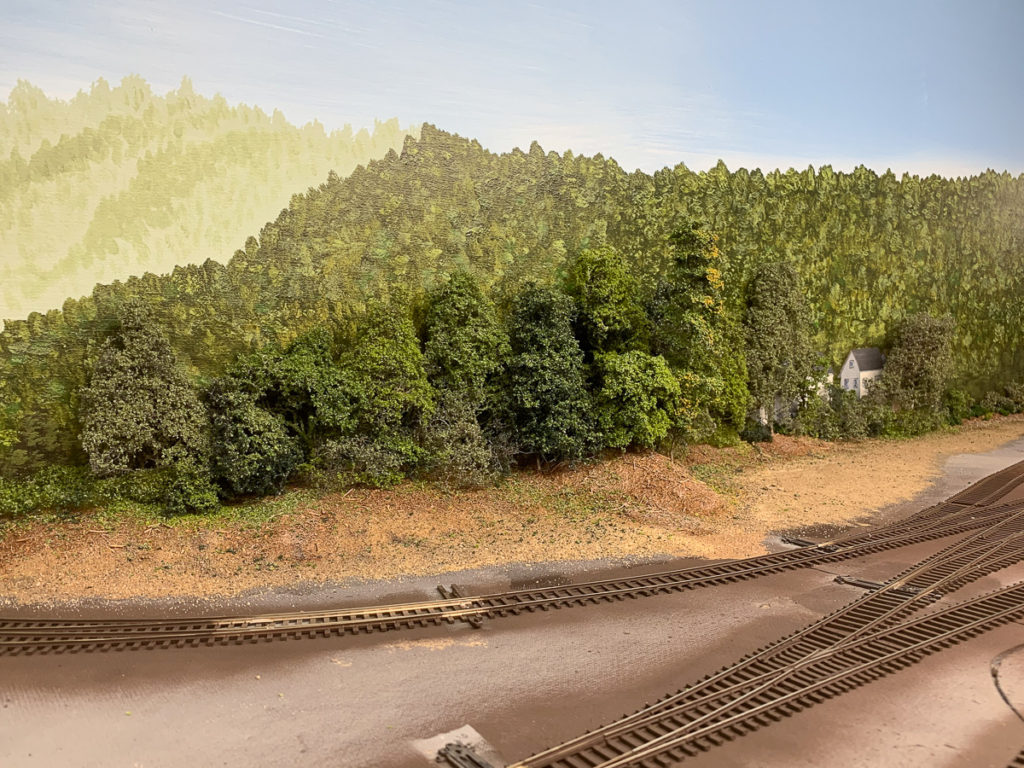
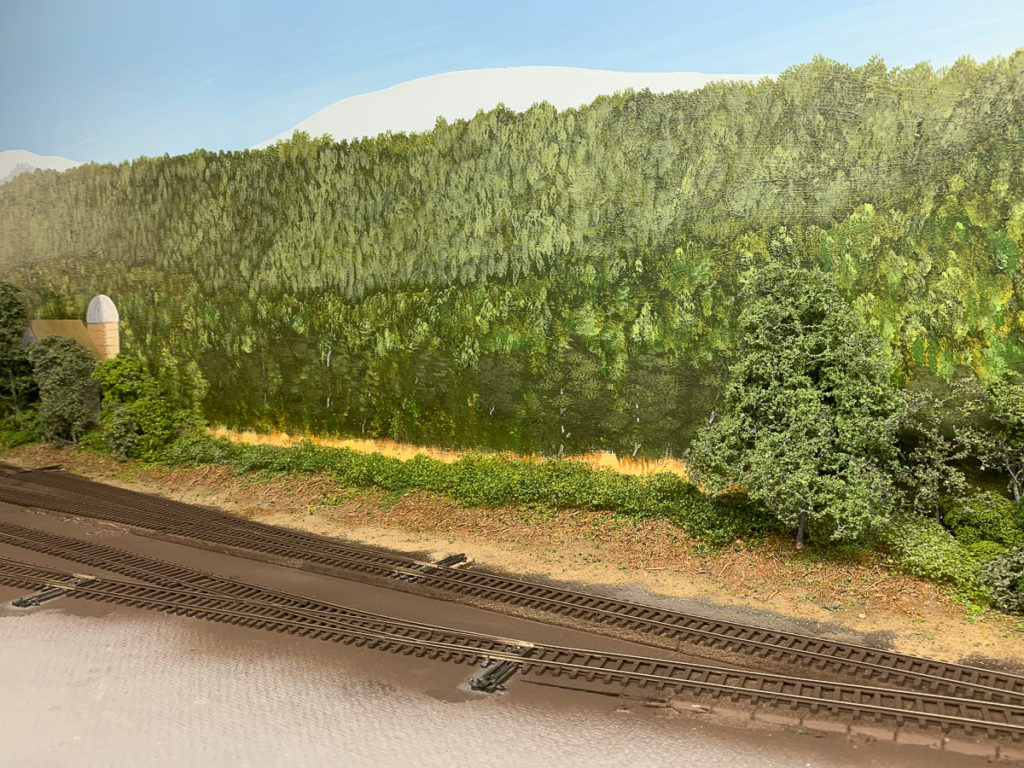
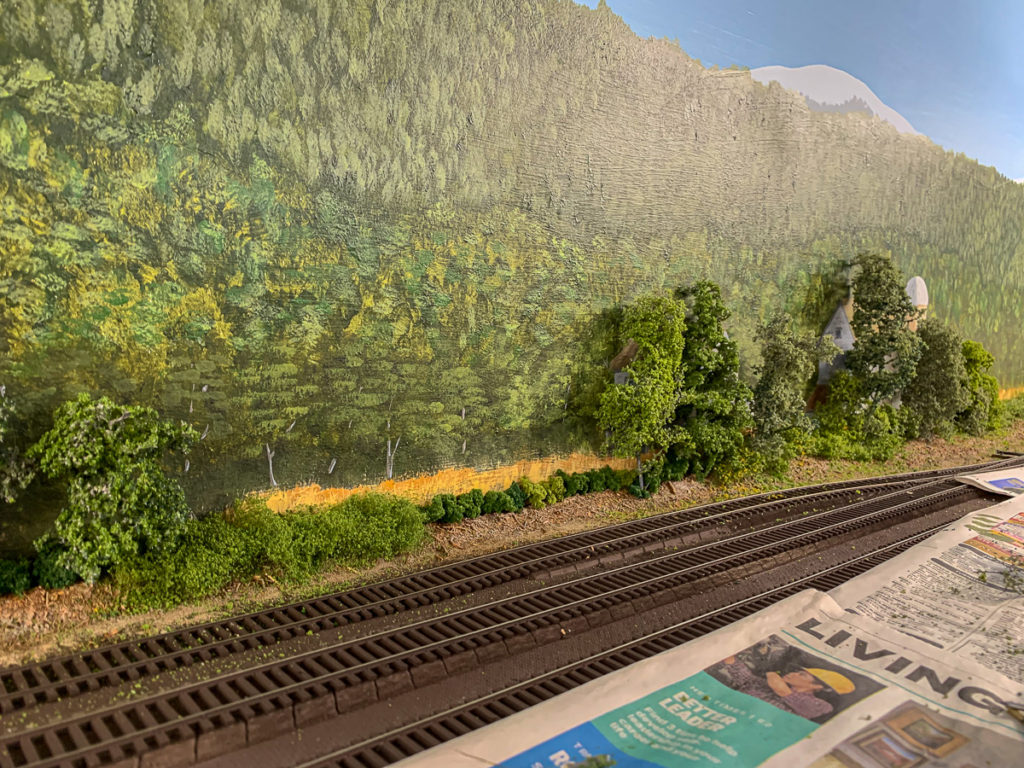
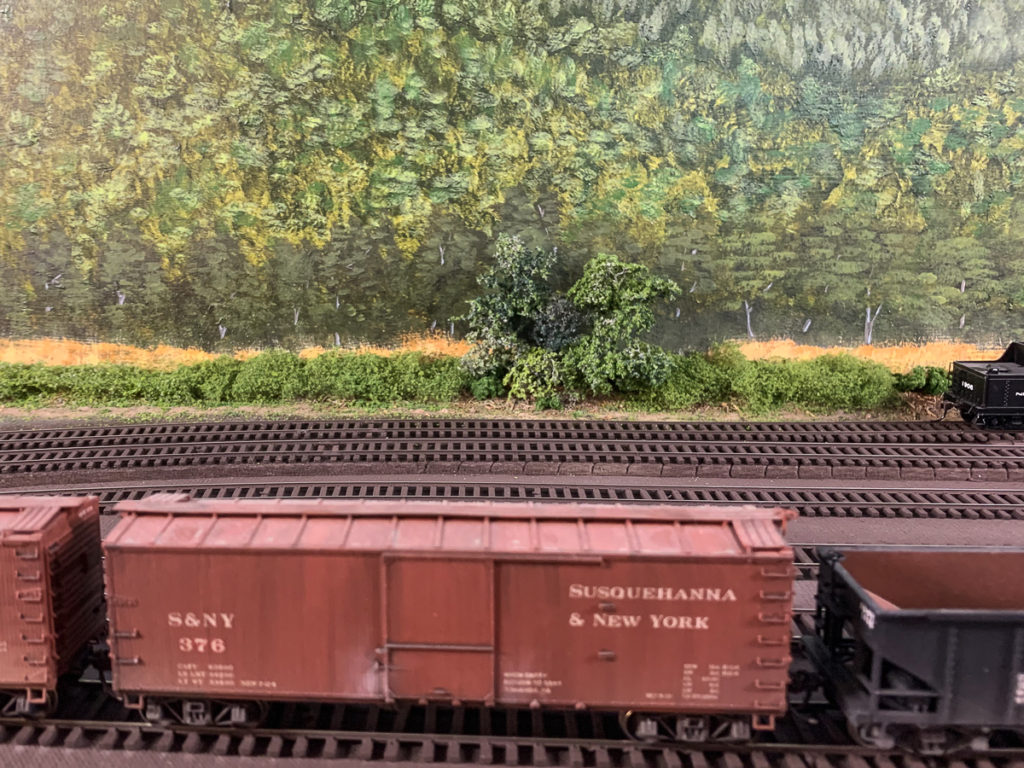
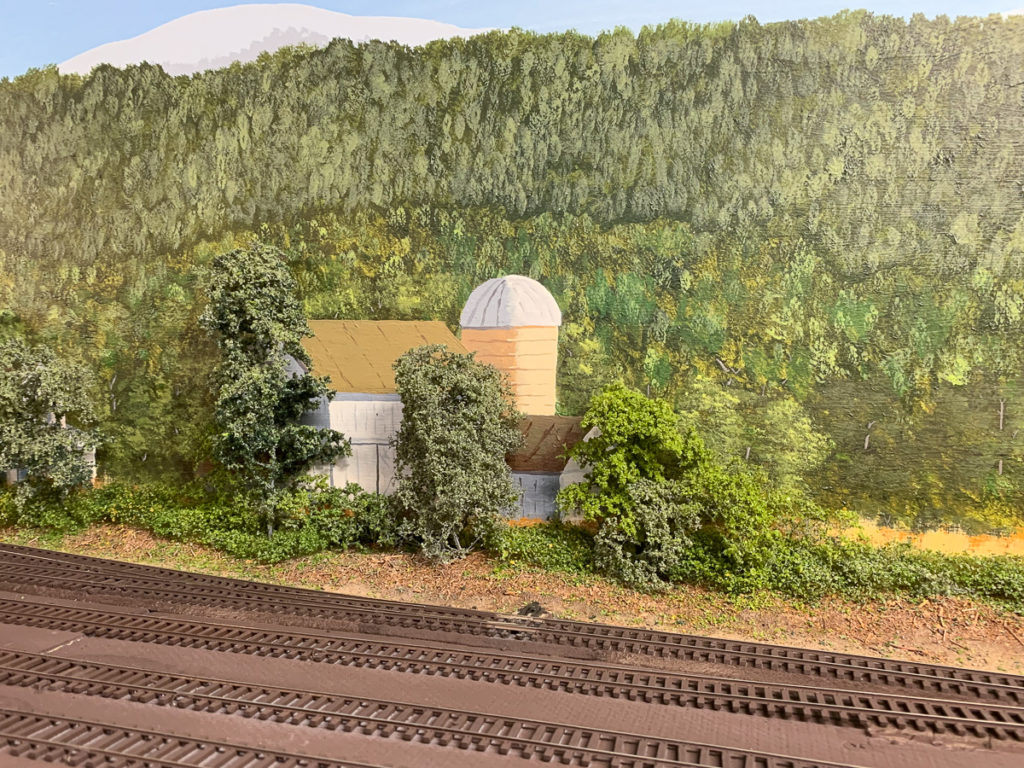
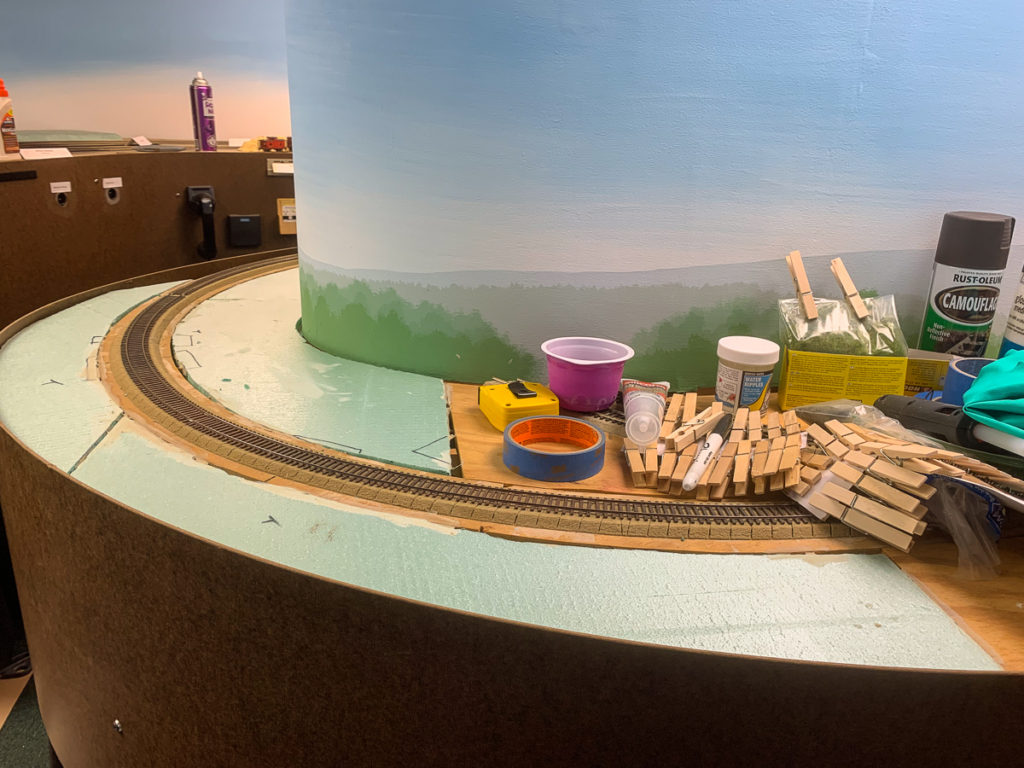
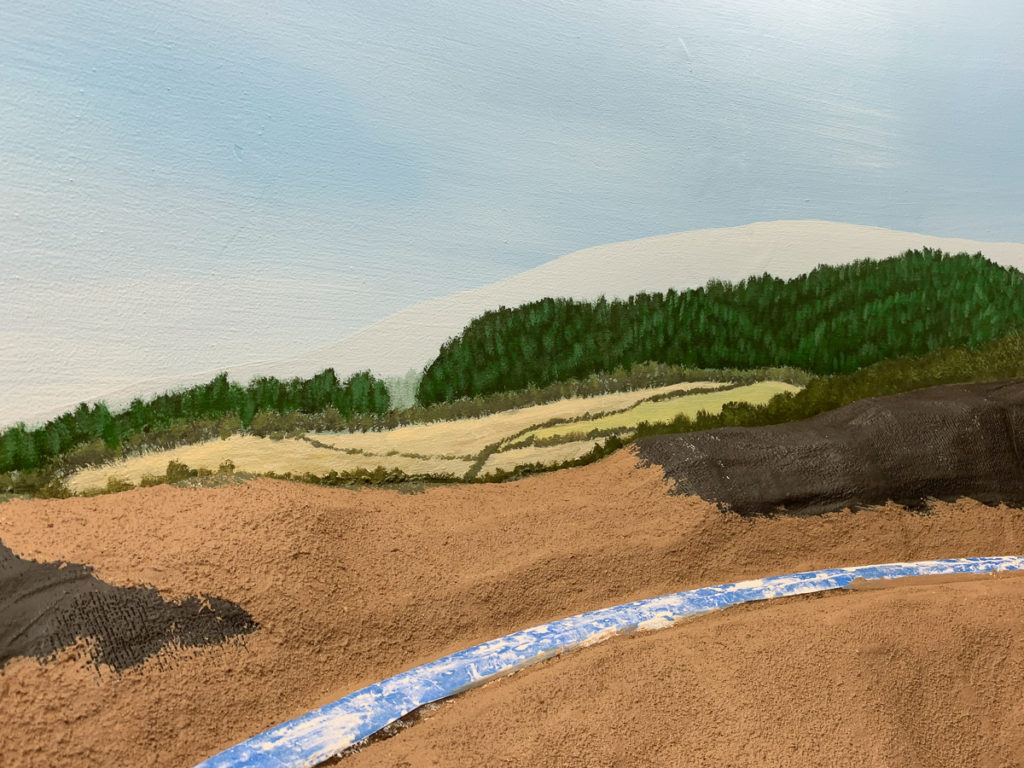
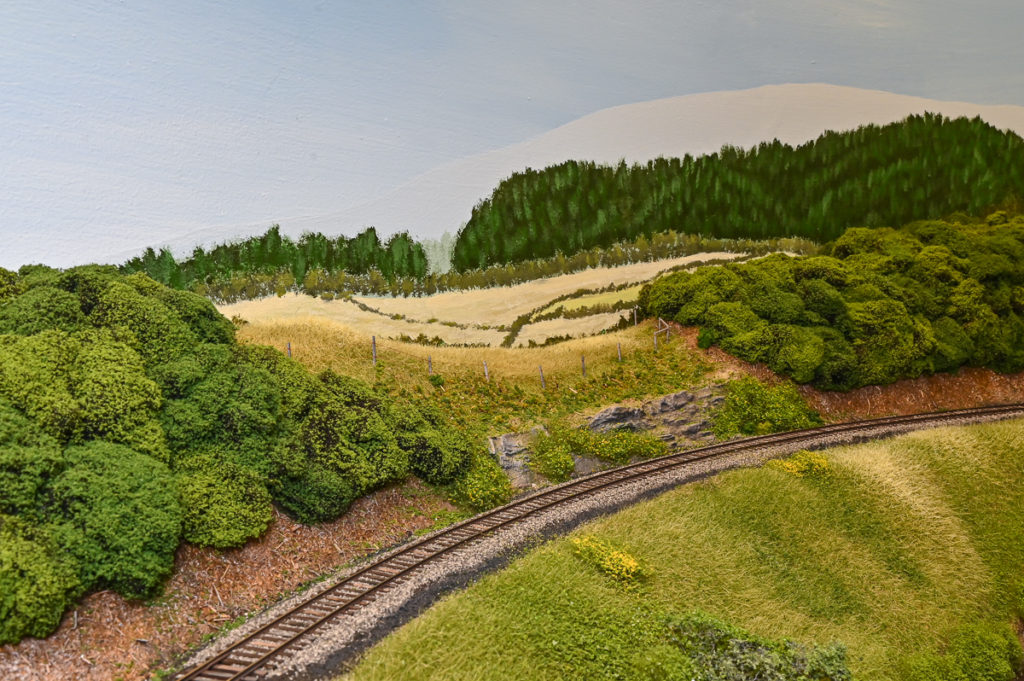
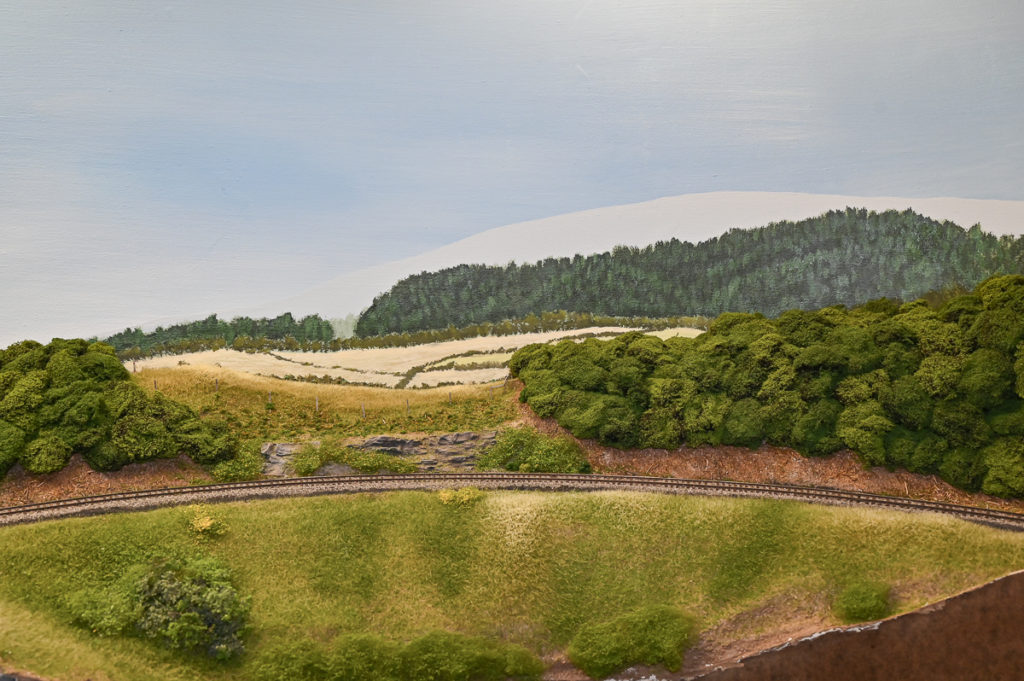
Continuing on with model railroad projects over the past year, I enlisted my son’s help with painting the backdrop behind the long Marsh Hill yard area. I wanted to give the viewer the impression of being down in the Lycoming Creek and Pleasant Stream valleys, with a couple of farms “over yonder” in the bottomland. My son helped with color values and blocking of the backdrop structures that would be visible through the 3-D scenery that would partially cover the 2-D painted buildings. On close inspection, things on the backdrop look a little abstract or “cartoony” but I hope that won’t matter once the Marsh Hill engine facility and other modeled structures are in place. Even as it looks now, none of my operators seemed to be bothered by the lack of backdrop detail when working the yard.

It’s a loooong scene…


Color values and blocking from reference photo on my son’s iPad.


Sketching structures in chalk on the backdrop.


Filling in colors with craft paints.


Some other structures at Marsh Hill. these didn’t turn out as well as the farm buildings, so I mostly covered them with 3-D trees.


Finishing touches to the farm.


Now we partially paint over all our prior work!


Adding 3-D scenery.


Adding ground cover and SuperTrees.


Done…


Done…


Done…


Done…


…and done!


To be continued…

Layout Update Winter 2022, Pt. 1

I was reminded this week that I haven’t added anything to the site for nearly a year. (!) My how time flies…I haven’t been idle during this time, just busy enough with family things and NMRA division business that the blog ended up taking a (distant) back seat.

So, without any fanfare and in no particular order the following are some of the projects I’ve been working on lo these many months:

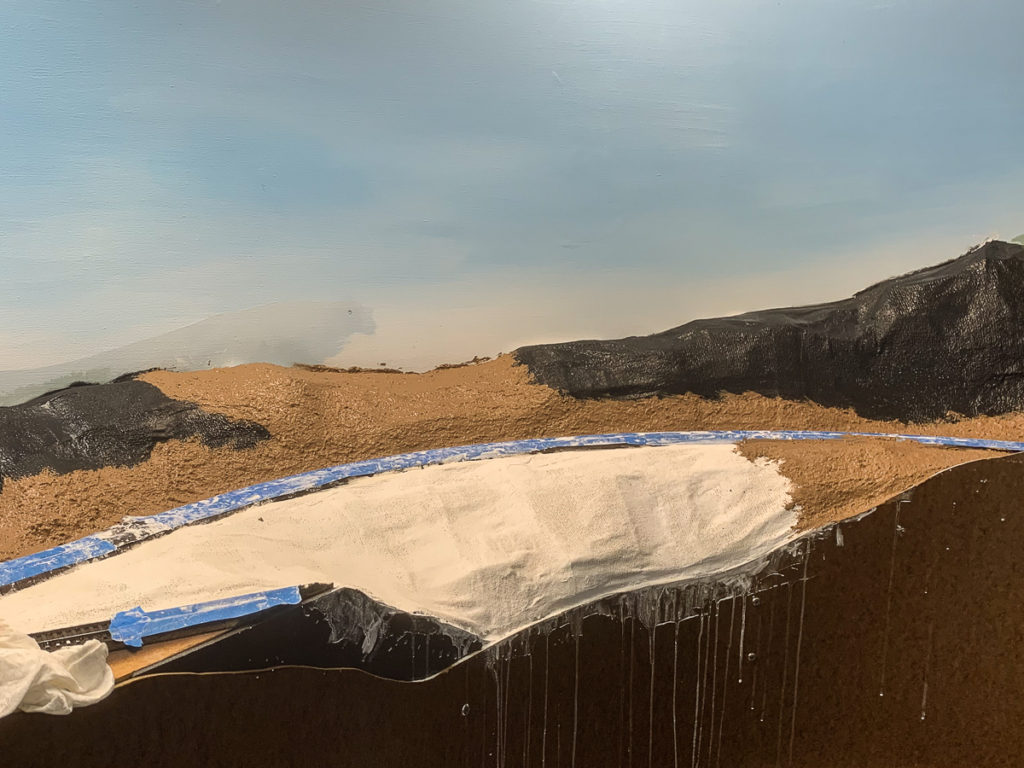
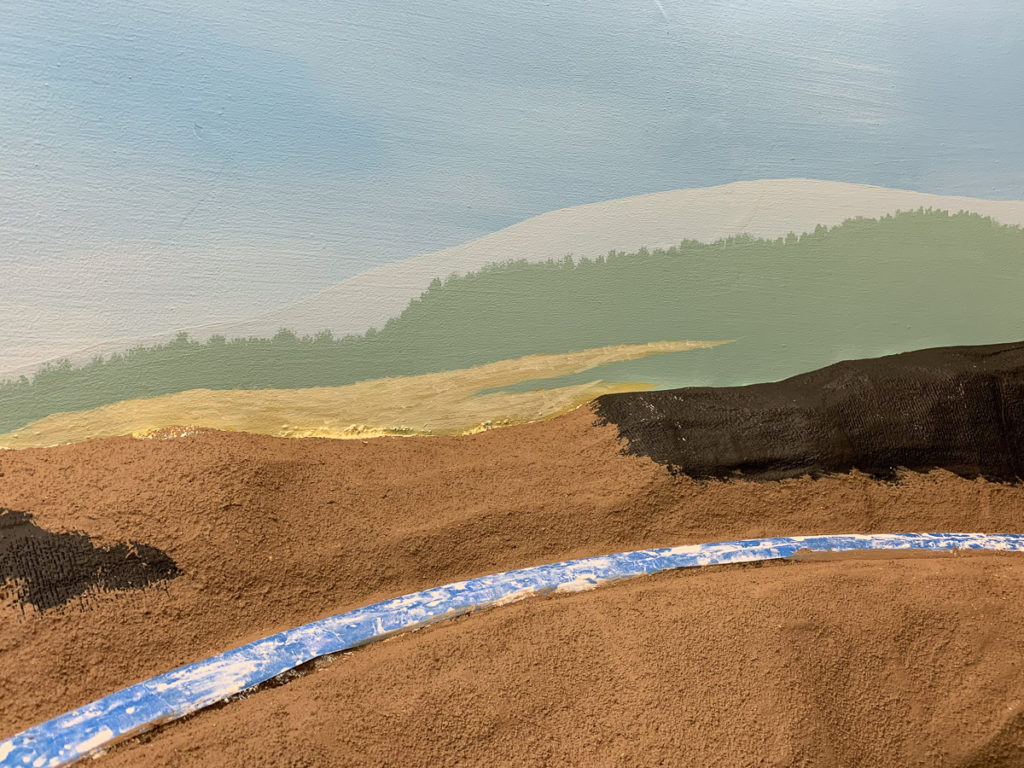
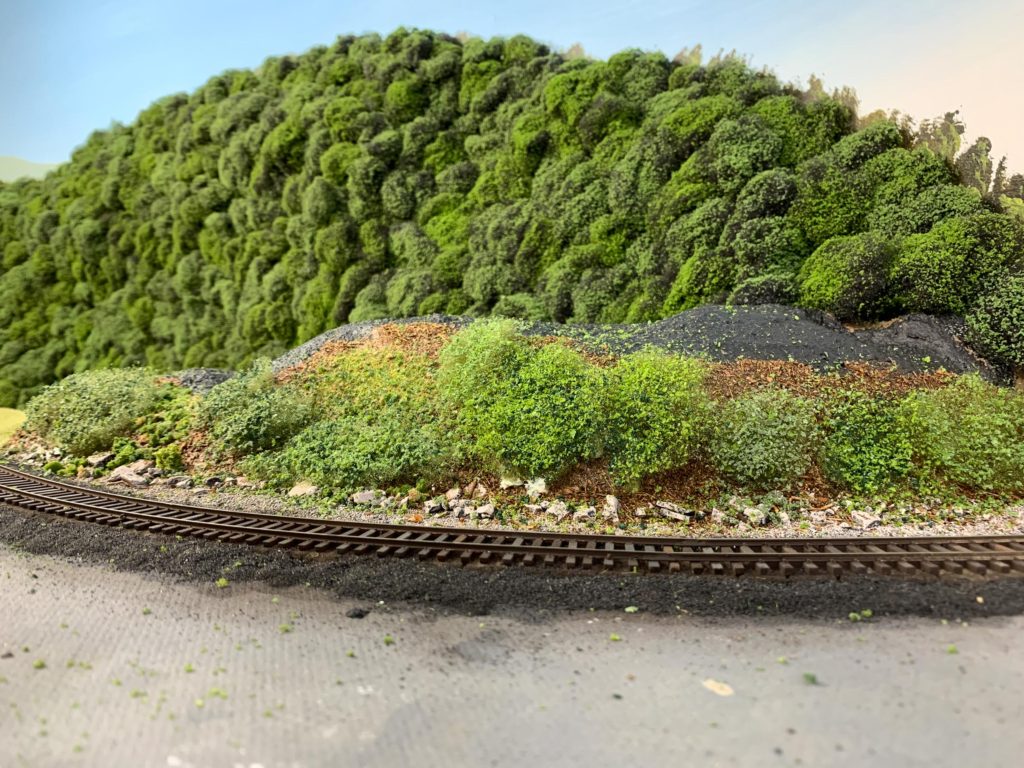
Scenery was extended from the Lycoming bridge scene westward to Newberry junction. This was only a short section of the railroad, but by completing this area, there was no longer any open benchwork anywhere on the railroad. I also filled in the open benchwork leading to Newberry yard with foam. This will be more urban scenery and will be completed at some future date.

Foam base installed toward Newberry yard.


Base layers: cardboard strips covered with plaster gauze with ground goop over that.


Adding backdrop detail.


Backdrop done.


3-D scenery added.


Completed scene with fence, track ballast, etc.

To be continued…

Sow’s Ears and Silk Purses

Our NMRA division recently hosted a clinic put on by CMR Products. https://www.cmrproducts.com/ The clinic was an introduction to the use of NetzlofDesign weathering decals. CMR generously provided samples of the decals ahead of time to anyone who wanted to follow along during the hands-on portion of the clinic and put them to use. I think decals for weathering is an innovative concept, and was eager to try them out.

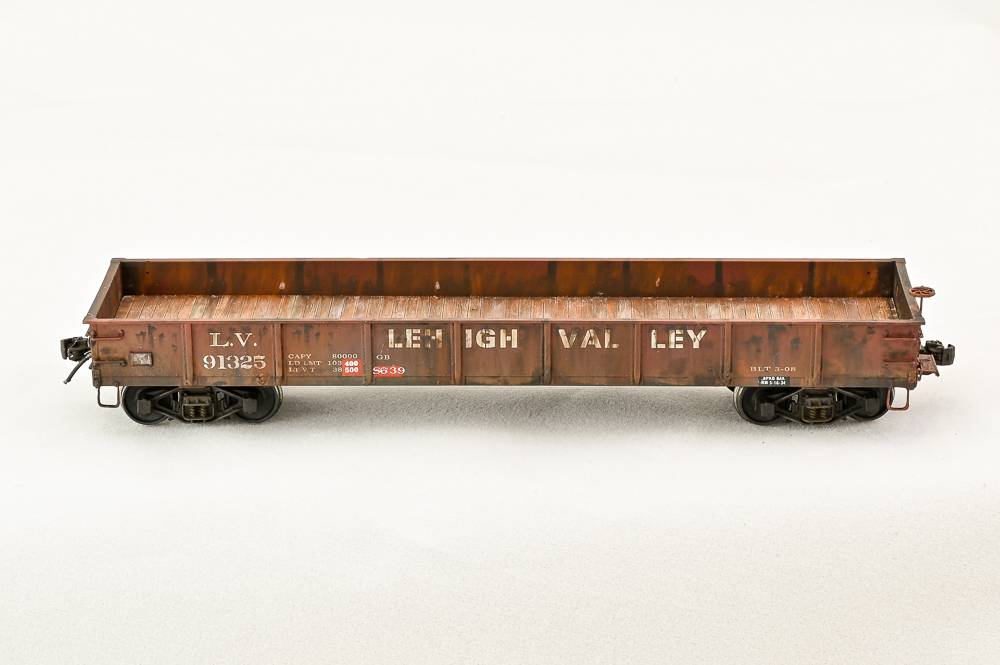
I dug a “train show deal” car out of the stash under the railroad that I thought would be a good test-bed for the decals. The guinea pig car is an old Ertl gondola in Lehigh Valley paint I picked up for around five bucks, if I remember correctly.  The car is a complete “foobie”, as the LV never rostered any gondolas in this number series, but looks quite similar to a resin kit offered by F&C.

Ertl LV gondola

Funaro & Camerlengo kit #6700

The Ertl car also has some pretty crummy factory “weathering” consisting of a uniform tan sprayed along the bottom sill. The trucks are also molded in this tan color. The detailing is quite good for a ready-to-run car, however, with free-standing grabirons and underbody brake detail that looks great viewed from the side.

The CMR clinic was excellent, and the rust-streak decals are printed on an extremely thin film. I was initially skeptical of decals as a weathering technique, and my first inclination was to dismiss them a form of “cheating” somehow. However, during the clinic I was favorably impressed, and now think decals are a useful tool in ones’ weathering toolbox. I used appropriate “rust streak” decals from the set CMR provided for the clinic:
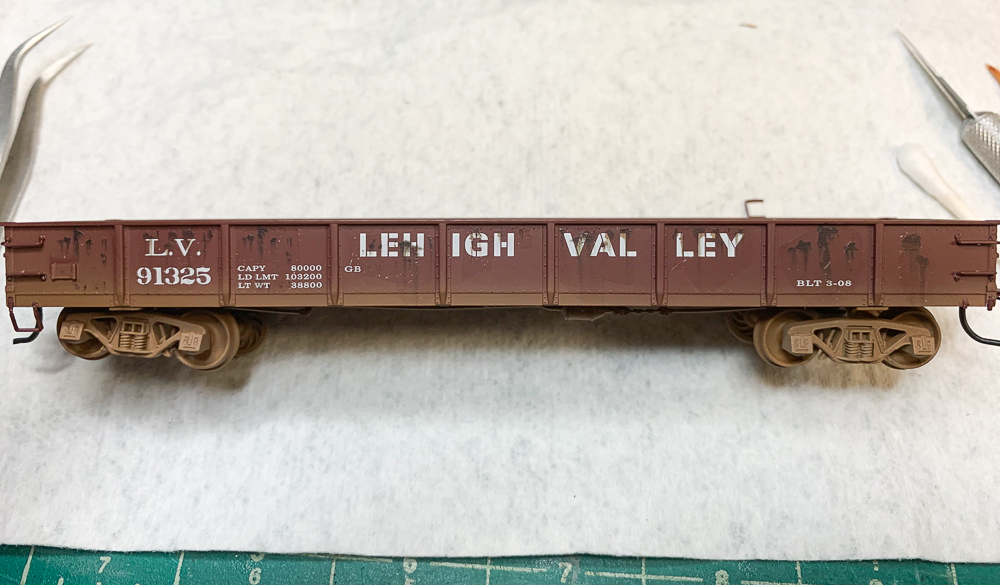
 

Ertl gondola with CMR decals applied

Now, with the clinic over, I had to decide what to do with the car. I figured, “in for a penny, in for a pound” and proceeded to try to make the car into something better than it was out of the box. Info on the Ertl cars online is limited, but the consensus I could find was that they were not considered good runners due to light weight. How hard could it be to turn this car into something useful? The car must operate well, regardless of how it looks cosmetically. Well, we’ll see…

The stirrup steps on the corners are quite fragile as you can see on the above photo. I managed to break off 3 of the 4. All 4 were then replaced by A-line metal stirrups. Once that happened, I went all-in on this model. I replaced the stock trucks with Bettendorf T-section trucks from Roundhouse. The body sits too high for Kadee scale couplers, so I filed down the bolsters on the Roundhouse trucks to try to lower the body. This wasn’t ideal, as those trucks are rigid and don’t track well. I ultimately replaced the Roundhouse trucks with the Kadee HGC version. Putting an $11 pair of trucks on a $5 train-show special may not be the best use of resources, but at least the car seems to track much better…

Moving on, I also added lead shot to the underbody to add some needed weight:
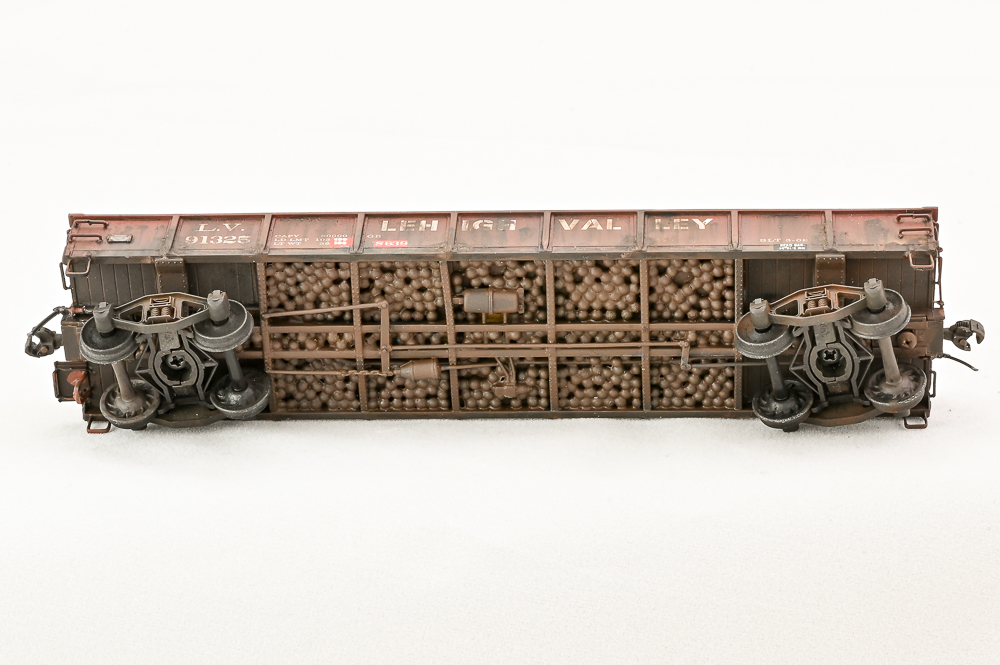
#9 shot applied to underbody

The car weighed out at 3 3/8 oz., still 5/8 of an ounce too light, per NMRA specs. It was necessary to nip off some of the brake rodding detail to allow the trucks to swing appropriately as well.

I changed out the modern power brakewheel equipment with a Tichy brakewheel on an Accurail staff. A short strip of Evergreen 1×2 was added as a support.  An A-line stirrup and a short length of A-line 40 lpi chain was used to simulate the mechanism. The coupler box covers were popped off and the stud and box cover drilled and tapped for 1/8″ 1-72 machine screws. Kadee scale-head couplers fit perfectly into the box, but the entire body sits a little too high to match completely with the Kadee gauge. Carving off the boxes and replacing them was just a step too far for a $5 car, so if the mismatch becomes a problem operationally, I’ll bite the bullet and replace the scale couplers with Kadee offset head standard-size ones.

The car has a finely-molded air-hose bracket, so I drilled this out and used canopy cement to affix Hi-Tech Details rubber hoses to the mounts. The Kadee trip-pins detract from the fine Hi-Tech hoses, so I clipped them off in a frenzy of prototype detail madness. Cut levers were formed from .018″ phosphor bronze wire, and threaded through Cal-Scale eyebolts.

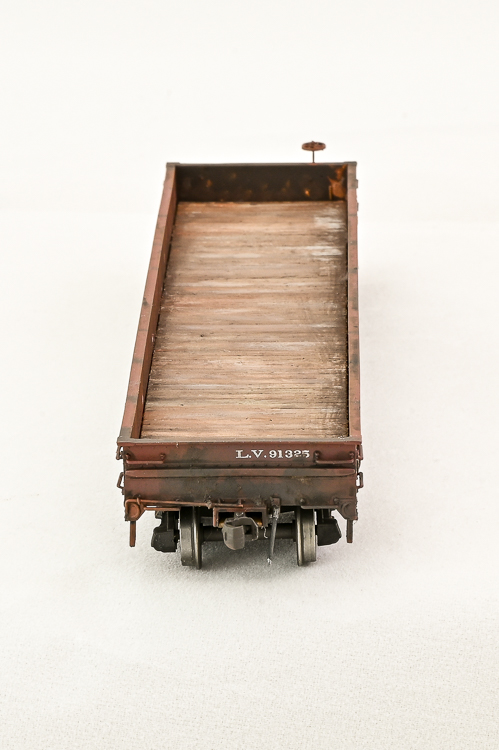
I grunged up the wood floor of the car with various craft paint grays and tans over a coat of flat gray primer. The whole car then got a wash of turpenoid and artist’s oil Van Dyke brown, sealed with Dullcoat. I also used weathering powders and alcohol to add some areas of scabby rust for more texture, and applied a few dibs and dabs of Pan Pastels here and there. Finally, I added the re-weigh and re-pack patch-out areas with some painted decal film and spare decals from various suppliers. A final mist of Dullcoat, and…done!
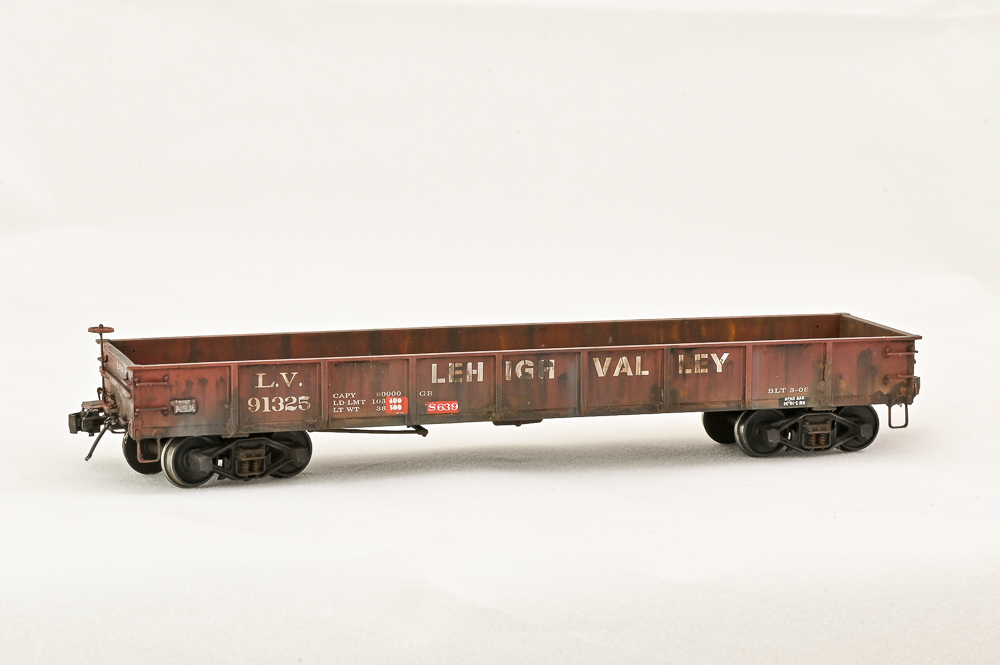
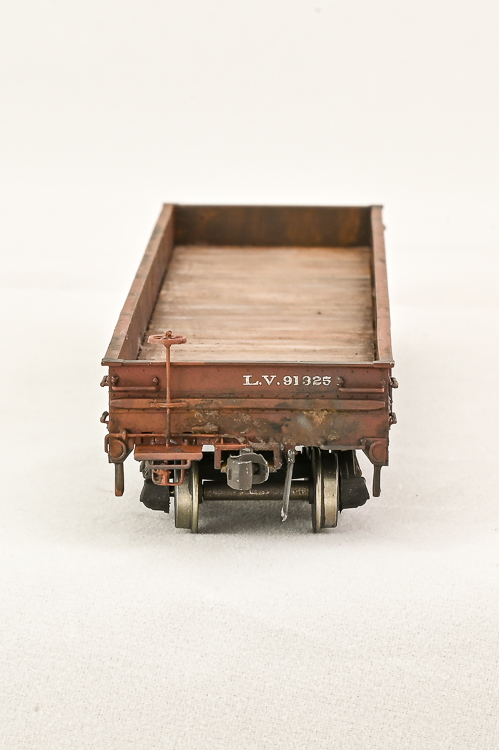
In retrospect, the car is missing a retainer and retainer line. I could also (and may yet) add some chalk marks to the sides.

Was it worth spending all this time and effort on this car? From a strictly utilitarian standpoint, probably not. I essentially turned a sow’s ear into a prettier and more expensive sow’s ear, instead of the silk purse I had hoped for. The body height is almost a show-stopper. On the other hand, it was a thoroughly enjoyable project that gave me a test-bed for techniques I will eventually put to use when I get to building my stash of resin kits. It was also a fun project I could work on while sitting down after minor foot surgery, during our weekly Zoom work sessions.

That said, if I see another $5 Ertl gondola at a train show in the future, I’ll probably take a pass…


S&NY in Color (Redux)

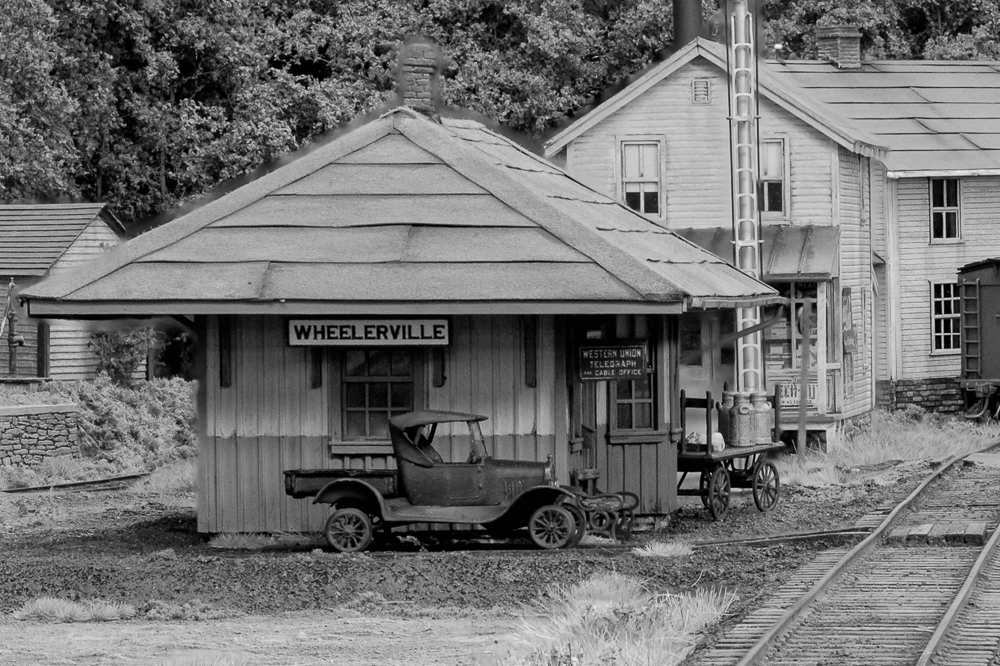
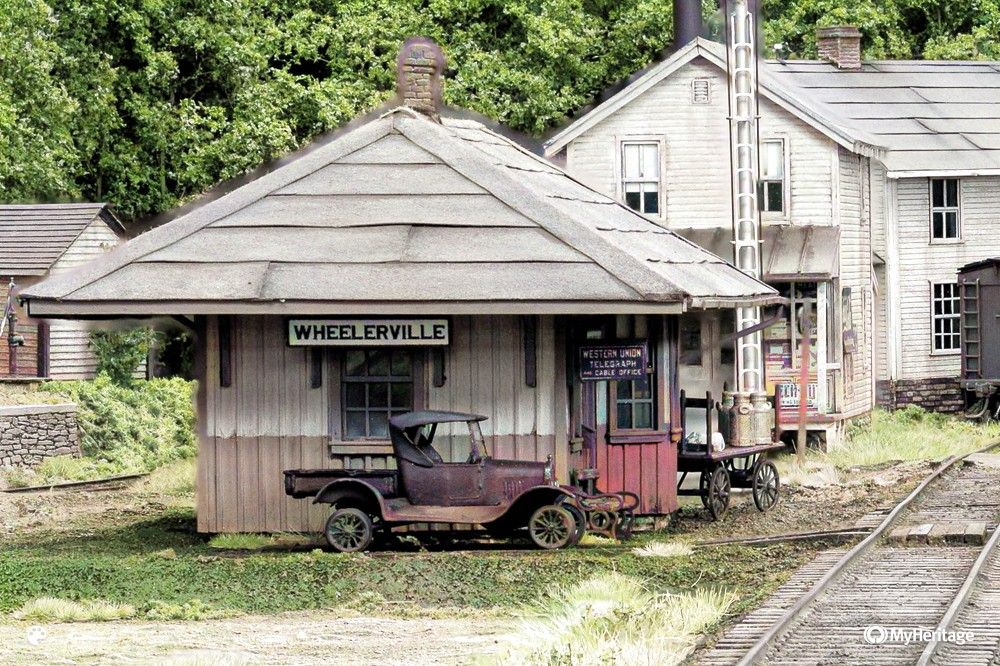
After the recent post on colorization of old S&NY photos, reader (and MMR) Dick Bradley suggested turning a color photo of the model S&NY into a B&W image, and uploading that to MyHeritage to see what kind of results come back.

I performed that little experiment this evening:

Original B&W shot:

Bill Caloroso – Cal’s Classics

Initial colorized shot:

Photoshopped colorized shot, using knowledge that S&NY station may have been painted yellow and green:

Color model shot:

B&W model shot:

Colorized model photo:

So we can see there is a little green tint “put back” into parts of the B&W version, but parts that should also be green like the bay window are mapped as a reddish hue. The yellow is clearly mapped as an off-white. Texture that represents cinders on the model are mapped as green, as the algorithm likely looks at similar real-life textures and says to itself “grass”. The color temperature of my layout lighting may also affect how the colors look when converted to B&W, and may also then influence the algorithms.

A very useful experiment. (Thanks, Dick!) I think we can conclude that the colorization software is making certain (reasonable) assumptions, such as certain textures are likely grass or weeds, light grays in structures likely a version of white or off-white, and darker structure colors are most likely a reddish hue. Well-known modeler Tony Koester has stated that, when modeling the early to mid-20th century, you can’t go wrong by painting wooden board-and-batten and clapboard model structures in a shade of white or off-white. I believe the MyHeritage colorization algorithms are making similar assumptions. However, software is no substitute for actual hard information, if available of course.

S&NY in Color

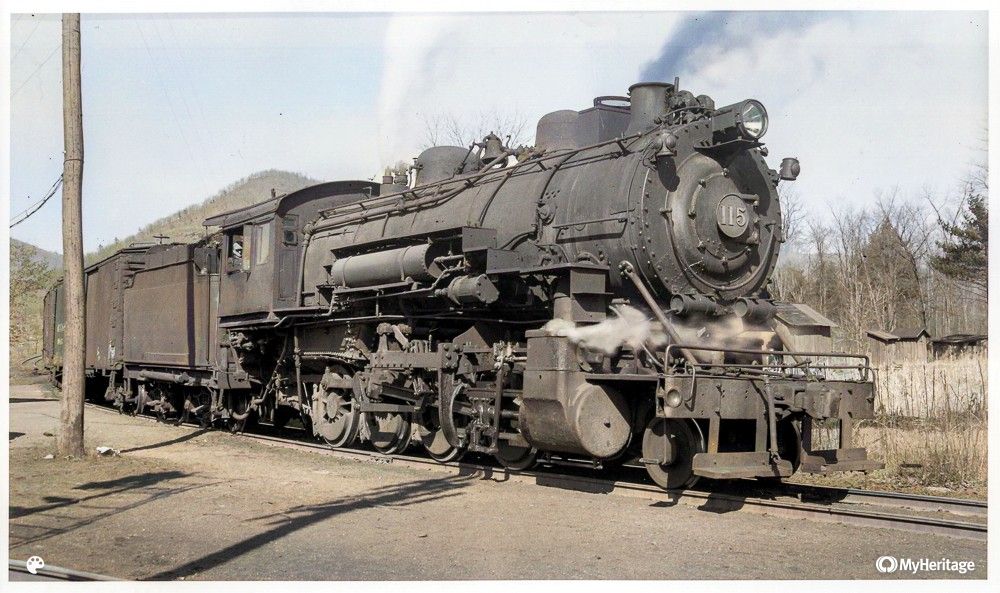
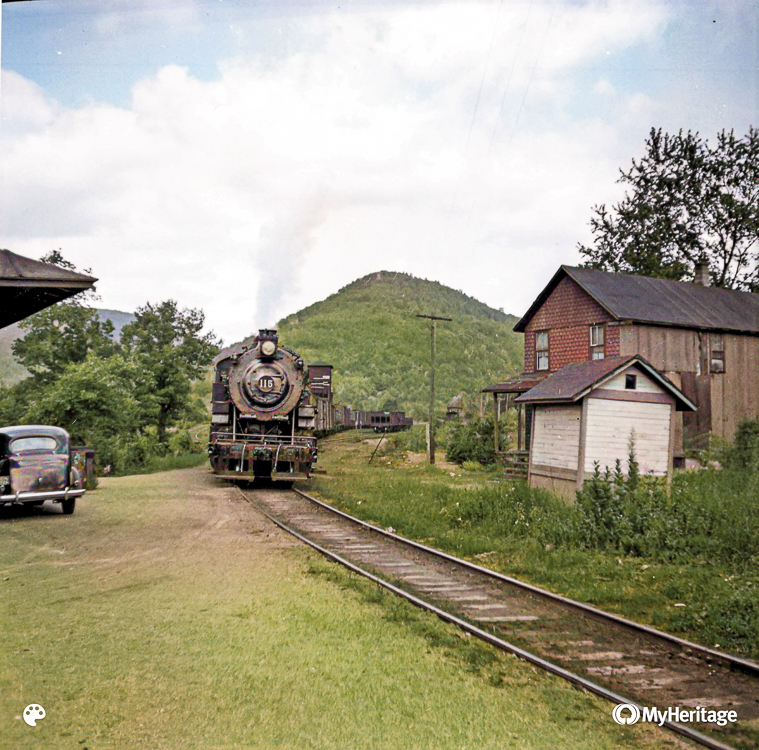
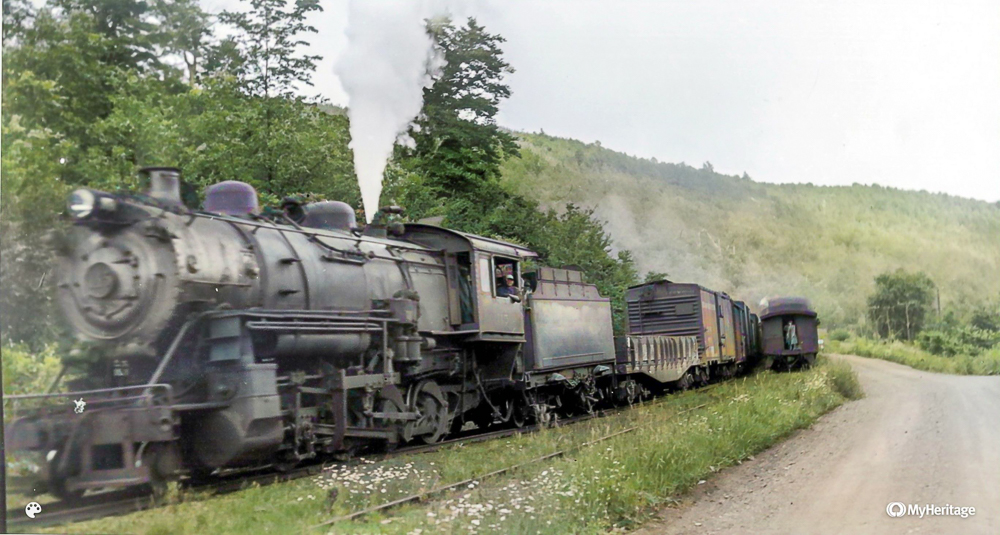
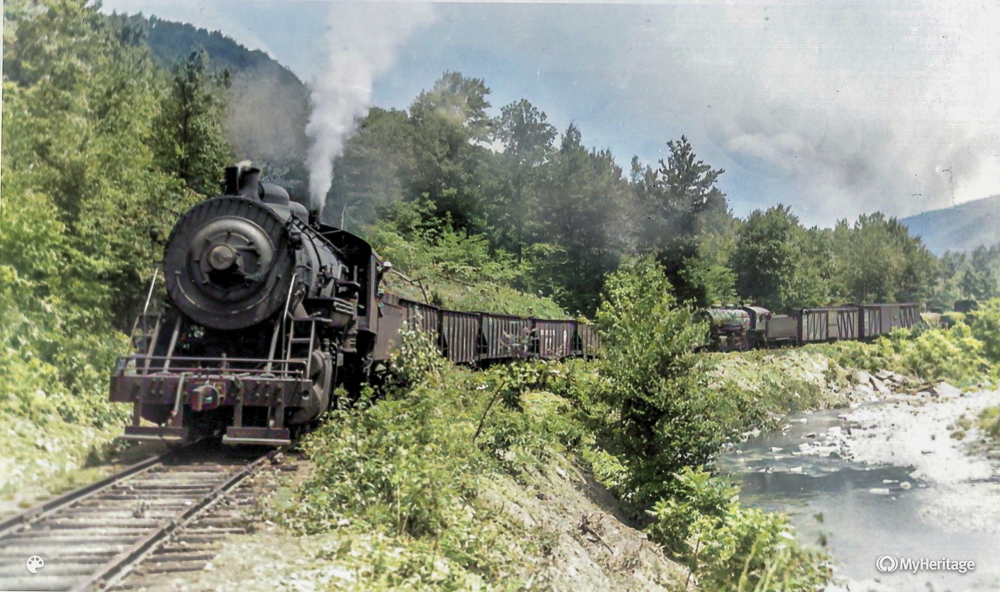
I was listening to one of my favorite podcasts a couple of weeks ago, and one of the guests happened to mention several places online that would colorize old photos for free. (Well, nothing is free, but I’ll touch on that in a moment.) He had tried out several places, and found that the MyHeritage genealogy website did the best job, in his opinion. He wanted to colorize an old photo to use as part of a model railroad backdrop scene. (His blog post is HERE.)

This really piqued my interest, as nearly all of the S&NY photos in my collection are, of course, black-and-white. If some could be colorized, I thought it might make the railroad seem more real, somehow.

So, I set up a dummy account on MyHeritage and tried it out. Here’s where the “free” part comes in. I am assuming that MyHeritage (just like Facebook and all other online social-media sites) retains all uploaded photos in a database for their own internal use, most likely to increase the accuracy of their colorization algorithms, but also to use sophisticated facial-recognition software to link long-deceased individuals to other living and deceased relations. For this reason, I deliberately used old photos that lacked any identifiable people. With that in mind, I tried it out:

Not bad, for “free”. Color is a little washed out, but it looks like an early spring photo, and there is probably not enough for the algorithm to work with. I assume also the software is designed to work with faces, and not inanimate objects. Still, pretty cool! The varied weathering patterns and colors such as the areas of rust on the pilot and the streaking on the smokebox and boiler are very very good, in my opinion.

Wow, this one was more impressive. Looking at it, I think the algorithm makes a reasonable assumption that, in old photos, lighter colored buildings are likely white-washed, and darker buildings are more or less “barn red”.

Again we can see that darker building colors get mapped as variations of red, and lighter colors map as variations of whites. However, the information I have is that S&NY stations were painted yellow (buff?) and green. I tinkered a bit with Photoshop, and got this:

Might be a little closer to “reality”, but who really knows 80 years later?

A couple more, for fun:


On the whole, I think the online software does a spooky-good job. This will be a great tool for modeling, as the algorithms are pretty good with the weathering patterns on the locomotives, among other things; and gives us in the modern-day a much better feel for how things might have REALLY looked back then.

Details, Details…
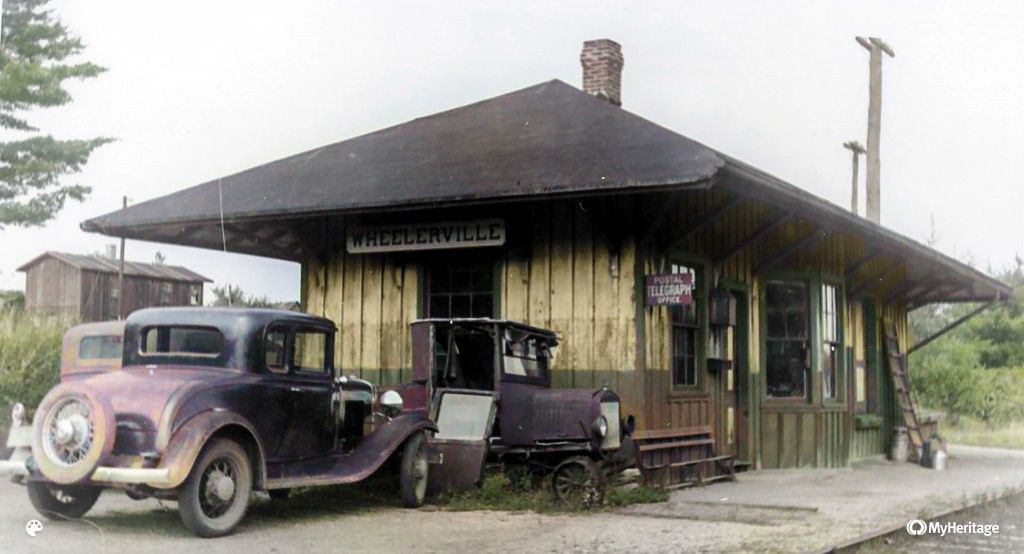
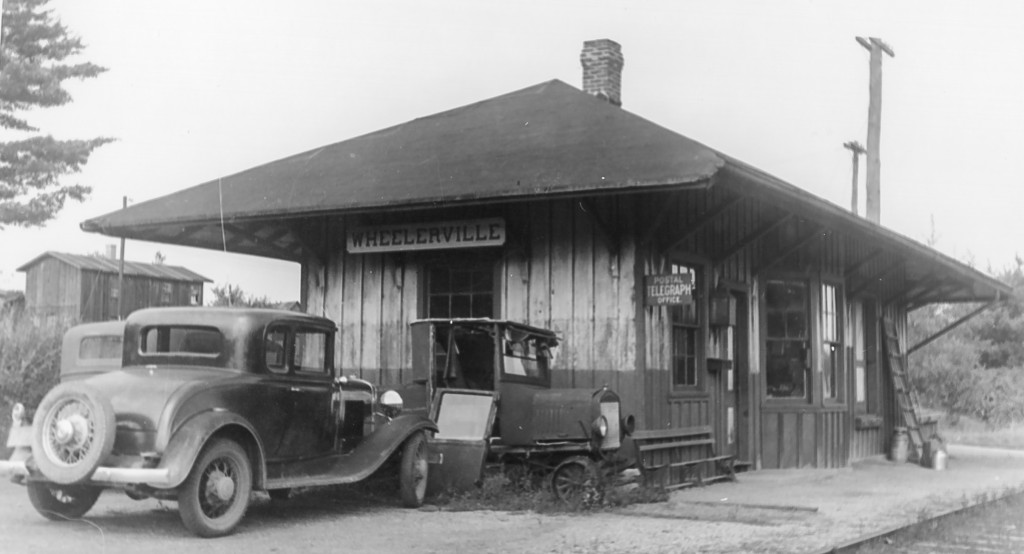
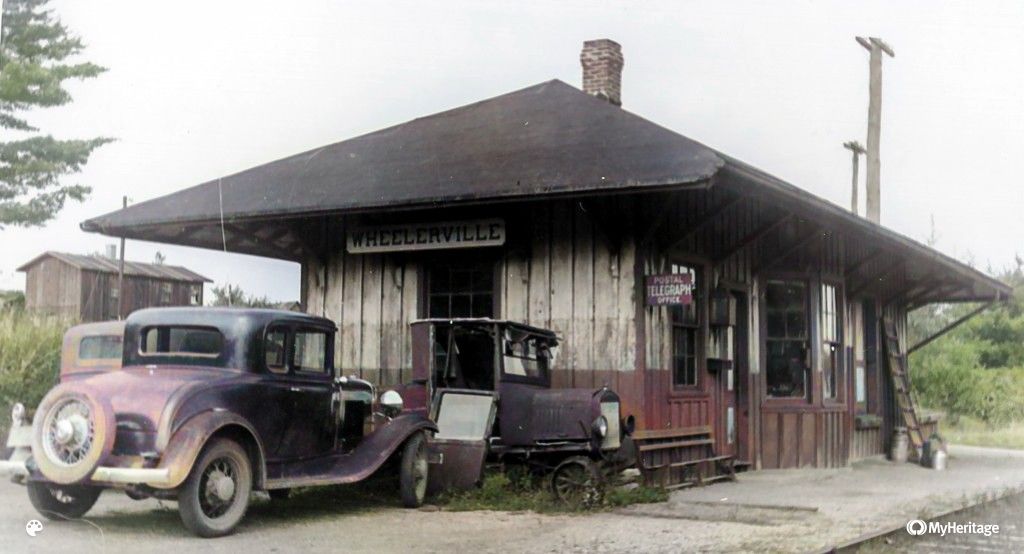
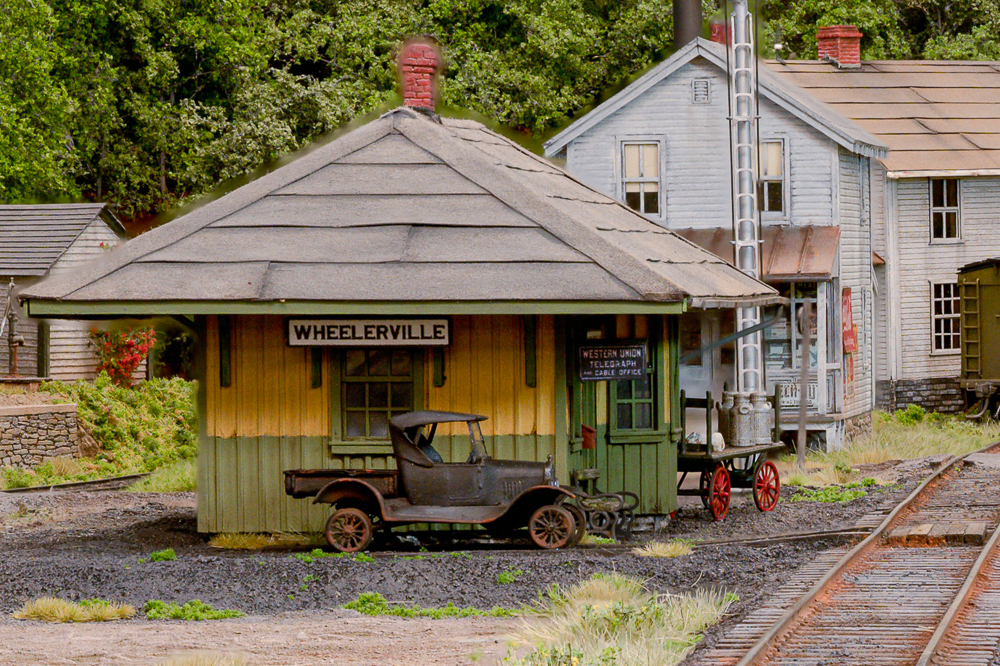
Recently spent a fair bit of time on yet another project that required some photos of the layout. I realized that I would need some more details so the area (specifically the model Wheelerville station) would look less “sterile” on close-up model photos.

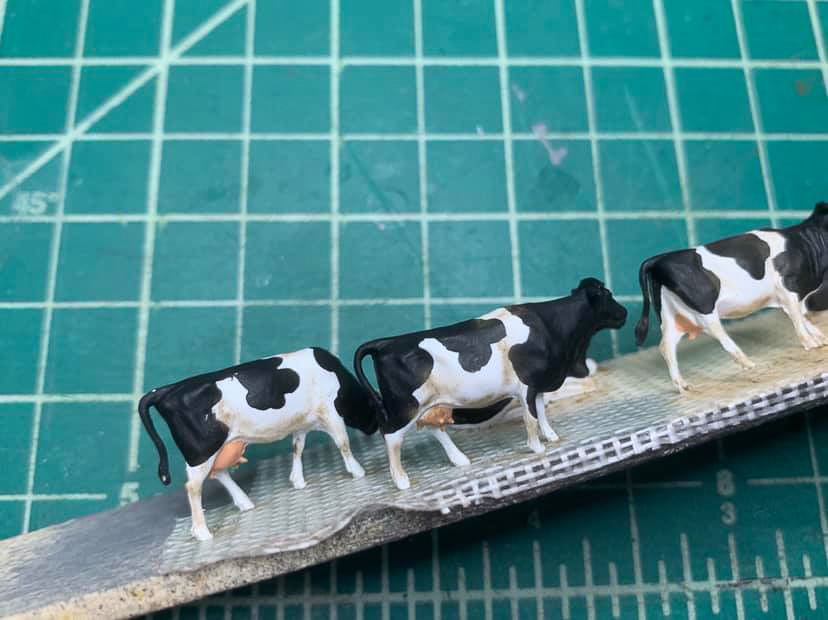
So, I spent a number of evenings since the past holiday season assembling and painting  some detail parts. This process can take just as much time as larger projects if proper attention is paid to the process, specifically removal of flash, and proper painting and weathering. IMHO, even the smallest detail parts need at least a misting of Dullcoat, and better yet, a dark wash to give the object more depth and texture. Many times in the hobby press, the illusion of reality in an otherwise-beautiful model railroad photo is spoiled by shiny, smooth scale figures. I’ve noticed this especially regarding HO scale cattle, of all things. Otherwise top-notch modelers forget to weather their cows! I grew up around cows, and they are always dirty around their legs and “undercarriage”. Smooth and shiny is exactly what they are not…
Painting scale figures is nearly an entire other hobby discipline, so I won’t go into that here. I’ll just touch upon the work I did recently, which did not include any scale figures.

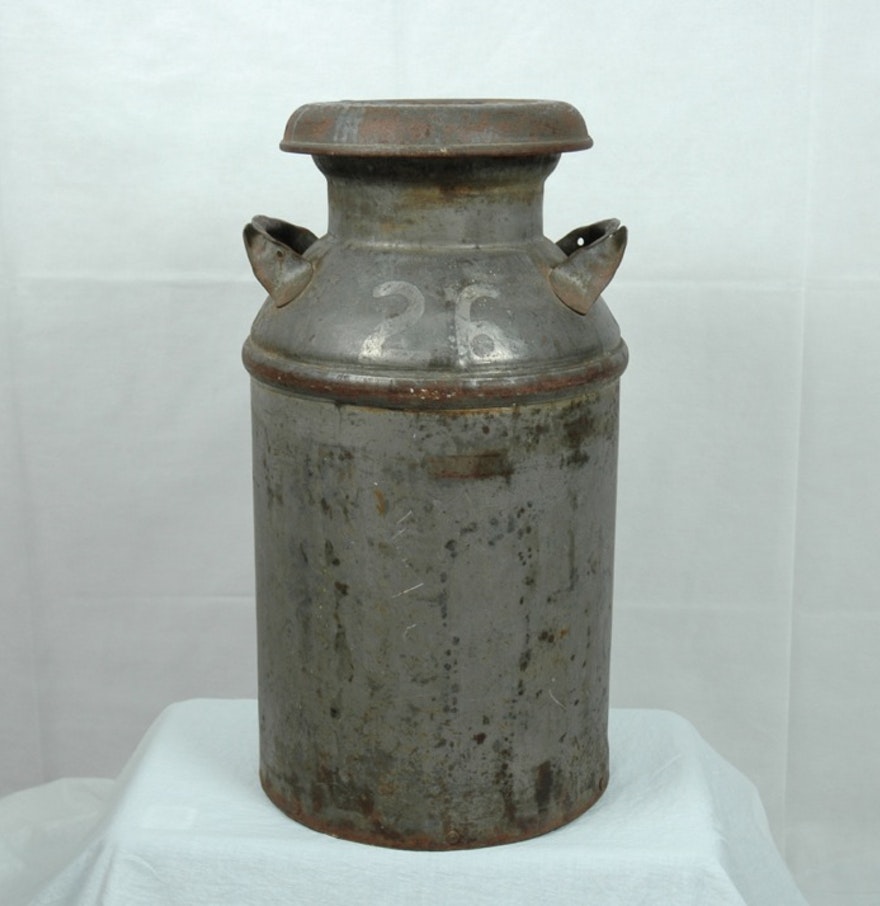
In the quest for “texture” I spent a fruitless evening trying to apply “grab irons” to Tichy HO scale milk cans. Real milk cans have handles on them, and fine bands on the top and bottom, and are often rusty/dirty on the outside where the galvanizing has started to fail.

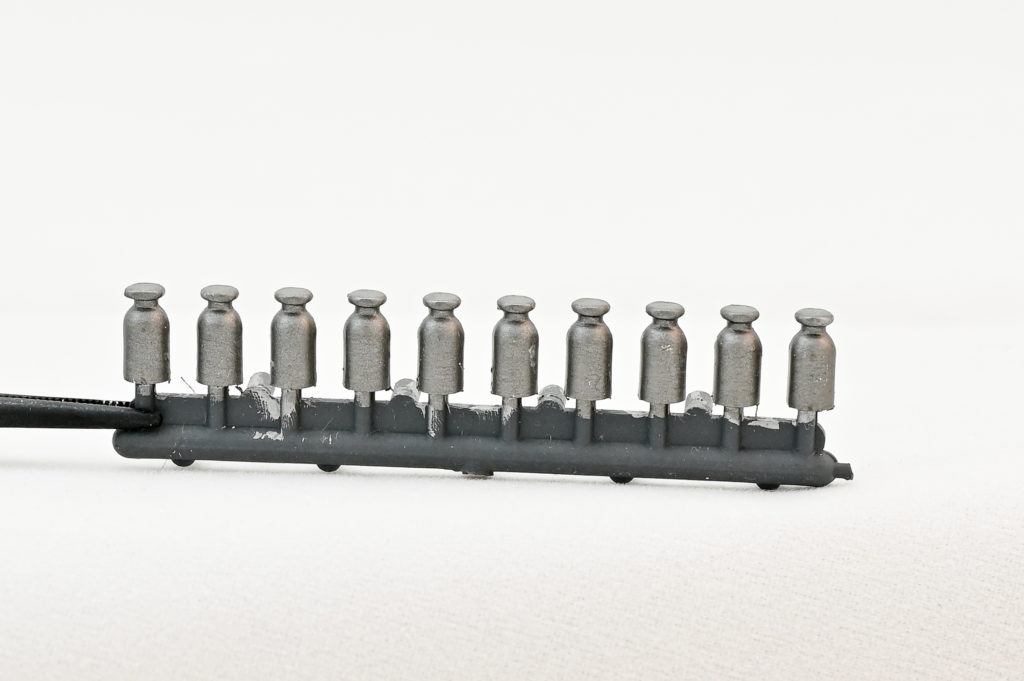
The Tichy milk cans are completely smooth, and lack any texture at all:

Thus the attempt to add handles with .008″ wire. The effort was a complete waste of time. I got a few holes drilled (difficult on the smooth plastic surface) and got a few handles attached, but there was no uniformity from side-to-side or can-to can.

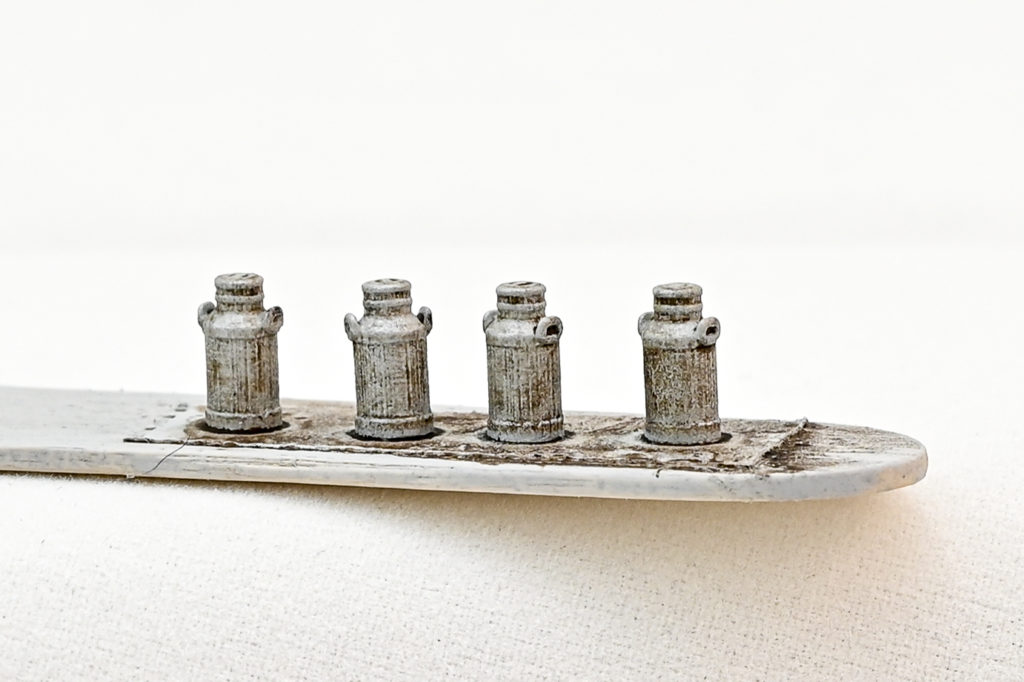
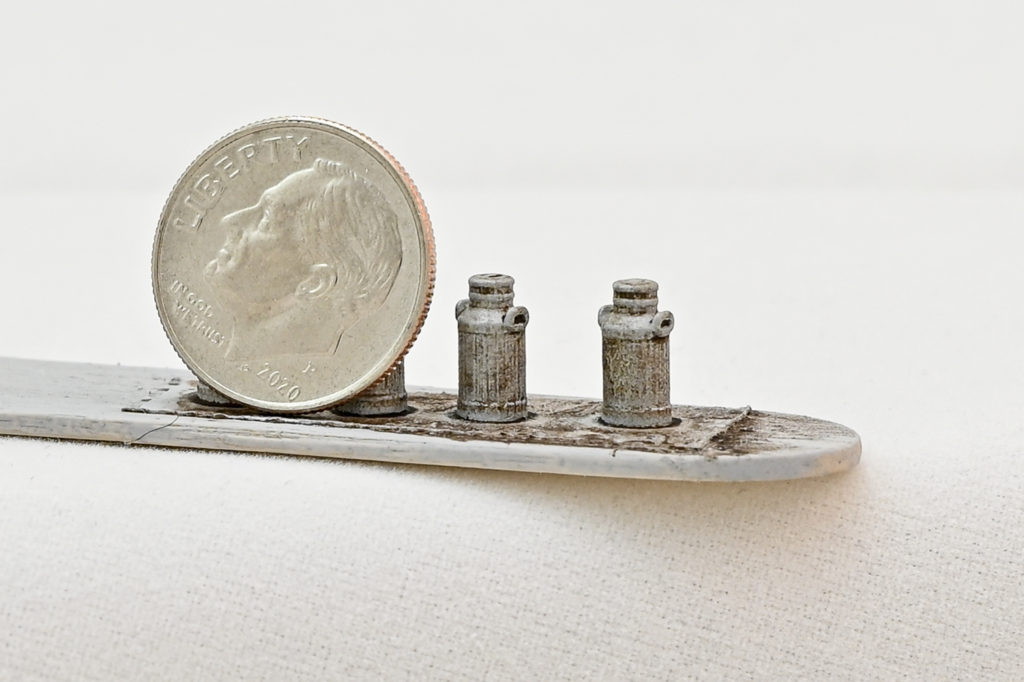
Lucky, I found some HO scale cans on Shapeways, and ordered one set to try out. This was my first foray into the 3-D printing world, and the cans I received were exquisite. The downside was the shipping and handling fees from Shapeways, which essentially doubled the cost. In the future I may see if multiple printed objects from different vendors can be combined to alleviate this somewhat.

Anyway, you can see the level of detail on these cans compared to the Tichy cans after painting and a dark wash, fixed with a misting of Dullcoat:

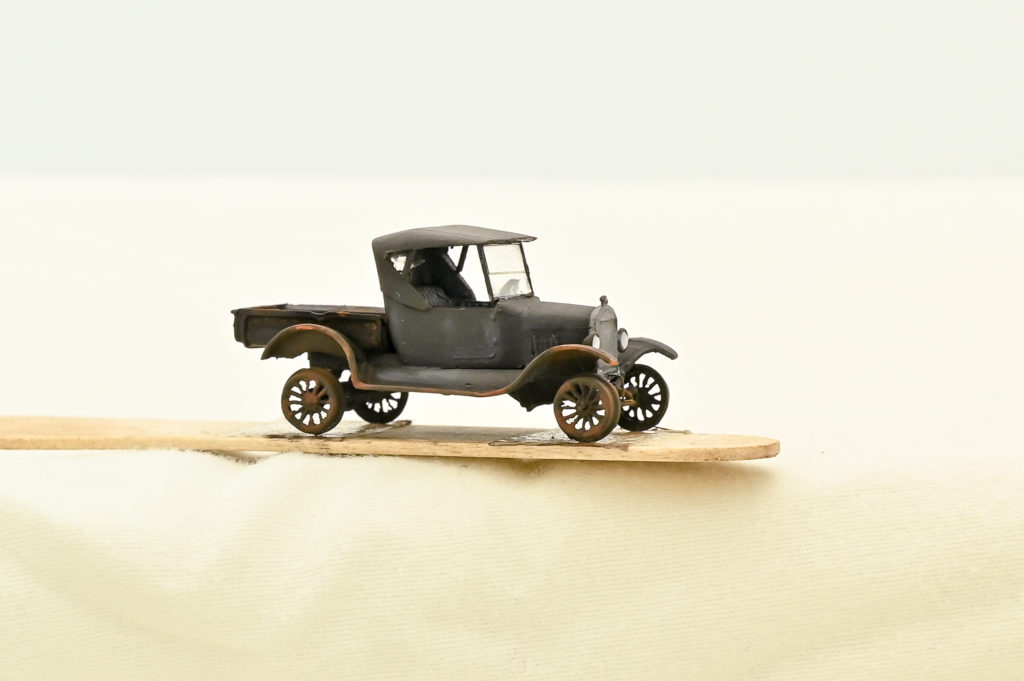
Some other detail pieces included a Jordan Model-T converted into a rail speeder. The Jordan vehicles are out of production, and are extremely fiddly to assemble, but with care make very finely-detailed models. I replaced the spoked wheels and tires with small flanged wheels from the Tichy hand-car set:

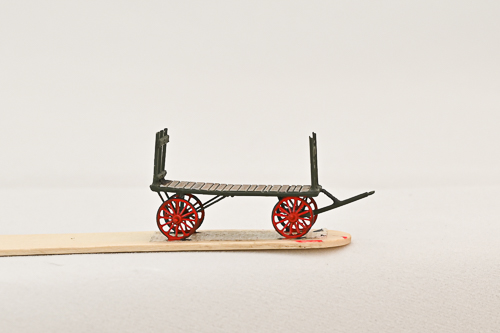
Along with vehicles, Jordan also made baggage wagons, which are as delicate and fiddly as vintage autos, but also look very lacy and detailed when finished:

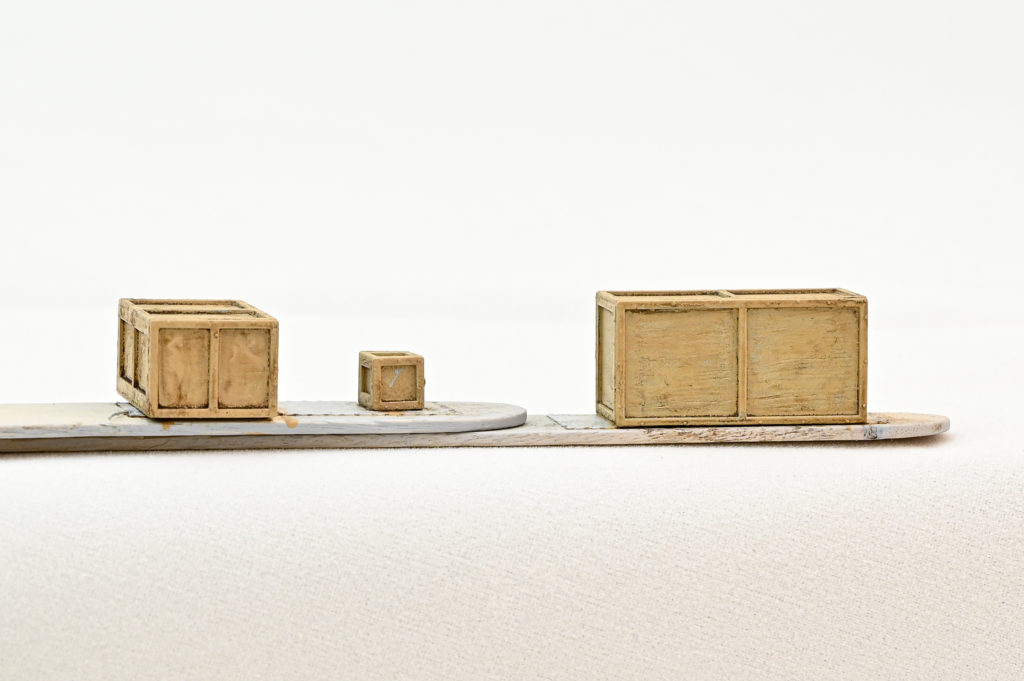
Some Tichy crates, roughed up the plastic with a scratch-brush, painted with Tamiya deck tan, artist’s oils and turpenoid wash fixed with Dullcoat:

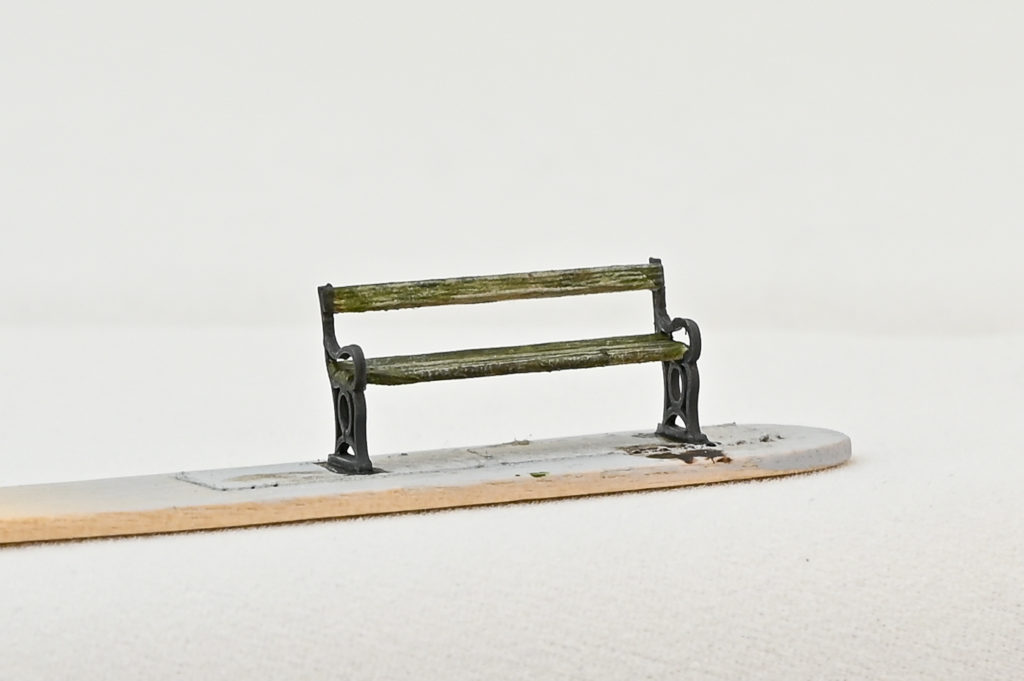
Lastly, a Faller bench, painted with the wood parts drybrushed to look like fading/peeling paint, then the usual wash and Dullcoat:

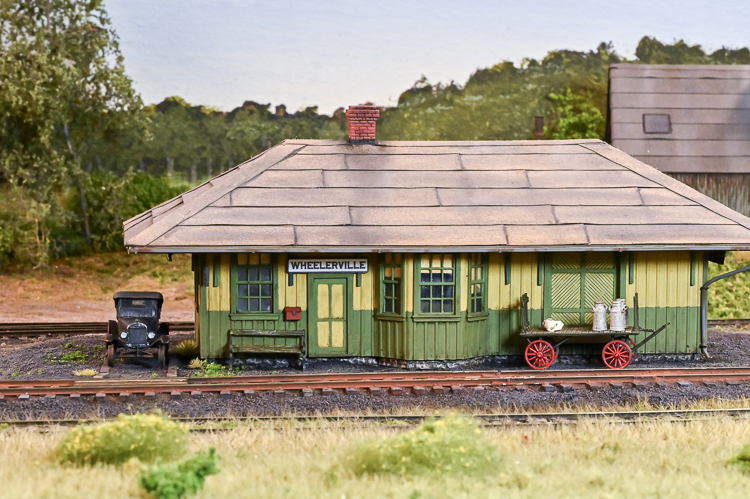
I also tried to make some mailbags out of Sculpy polymer modeling clay which turned out just “OK”, but adequate to my eye from normal viewing distance. You can see one mailbag on the baggage cart in the final photo:

With the details done, I shot the photos for the other project and got that wrapped up. On to the next project!


P.S. Don’t forget to weather your cows!

Modeler’s Life Podcast, Episode 162

Fun interview about the model S&NY and the model train hobby in general. 90 minutes of riveting podcast excellence, thanks to the host Lionel Strang!

Link to Libsyn below. Also available on iTunes and YouTube.

https://modelerslife.libsyn.com/episode-162-mike-hauk


Layout Construction Update 12/20/20

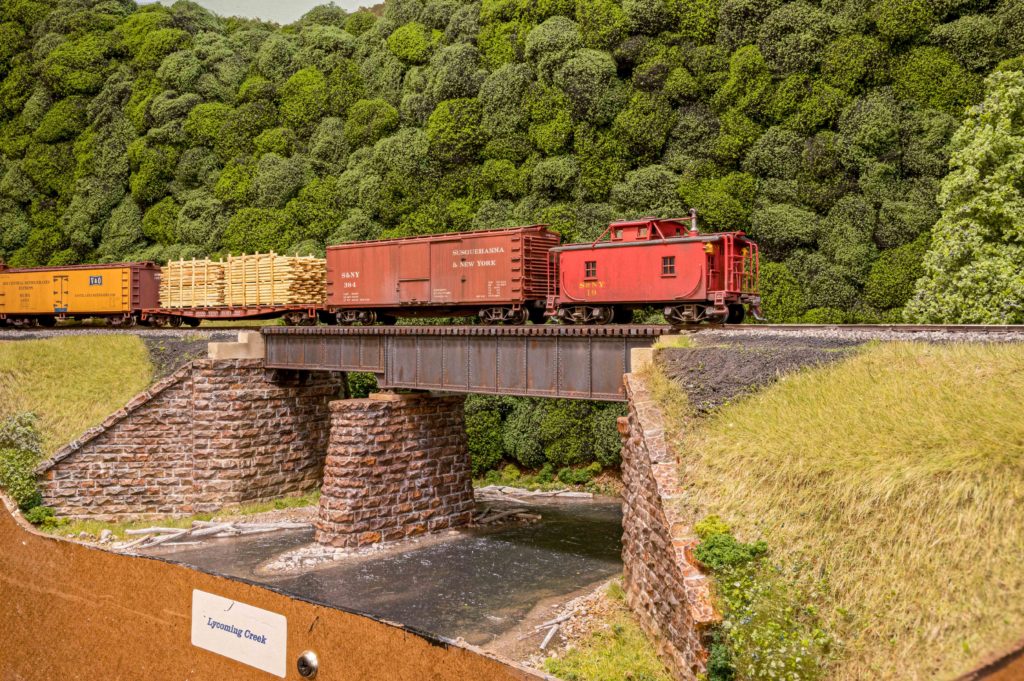
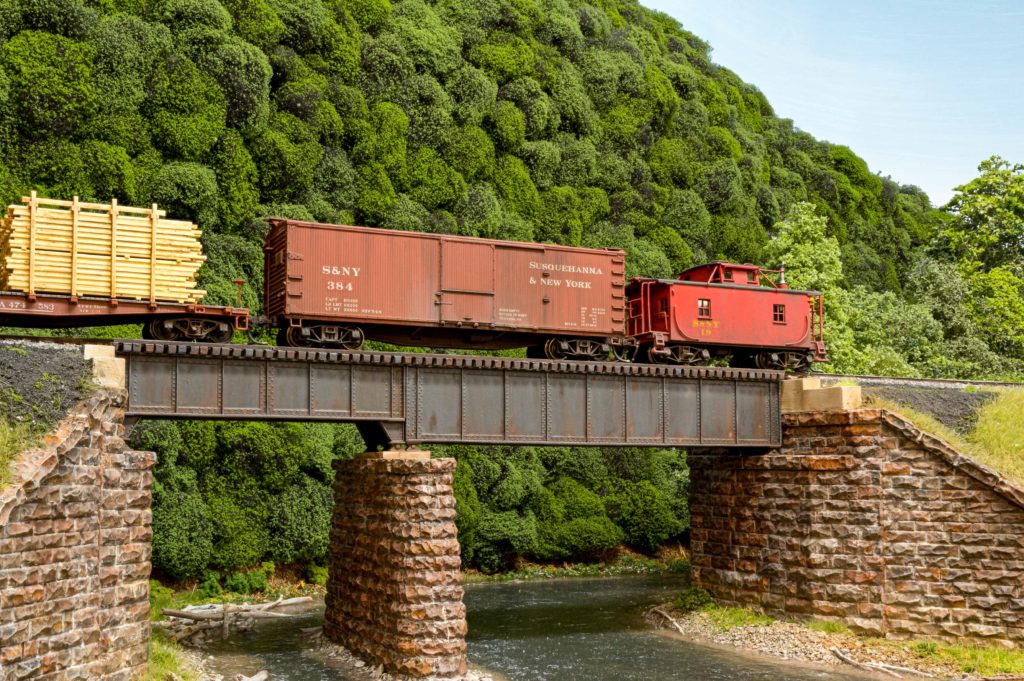
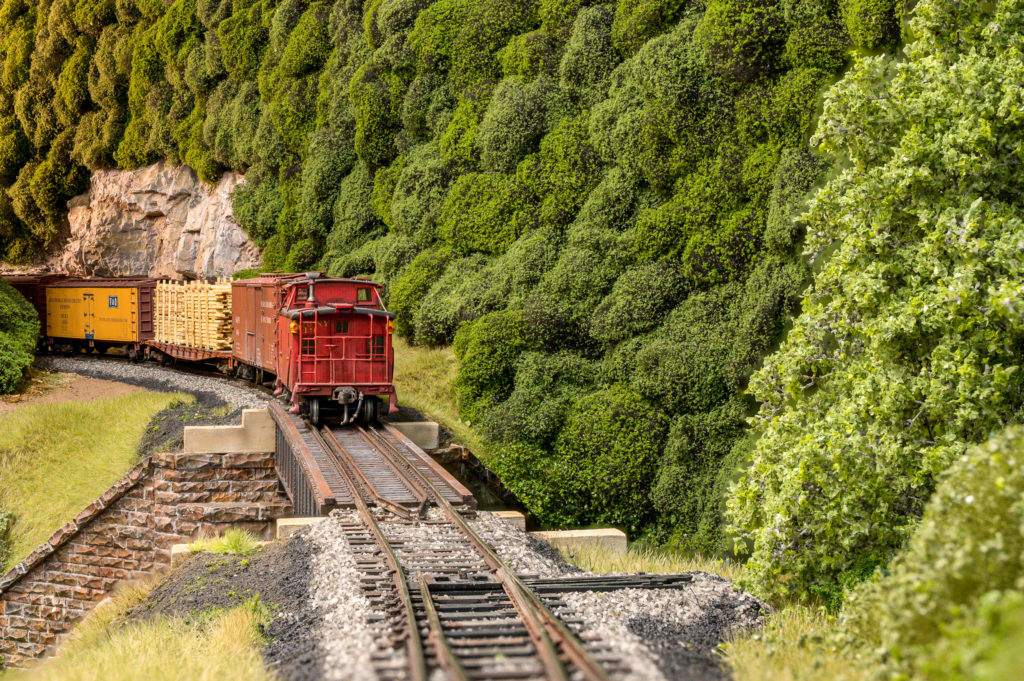
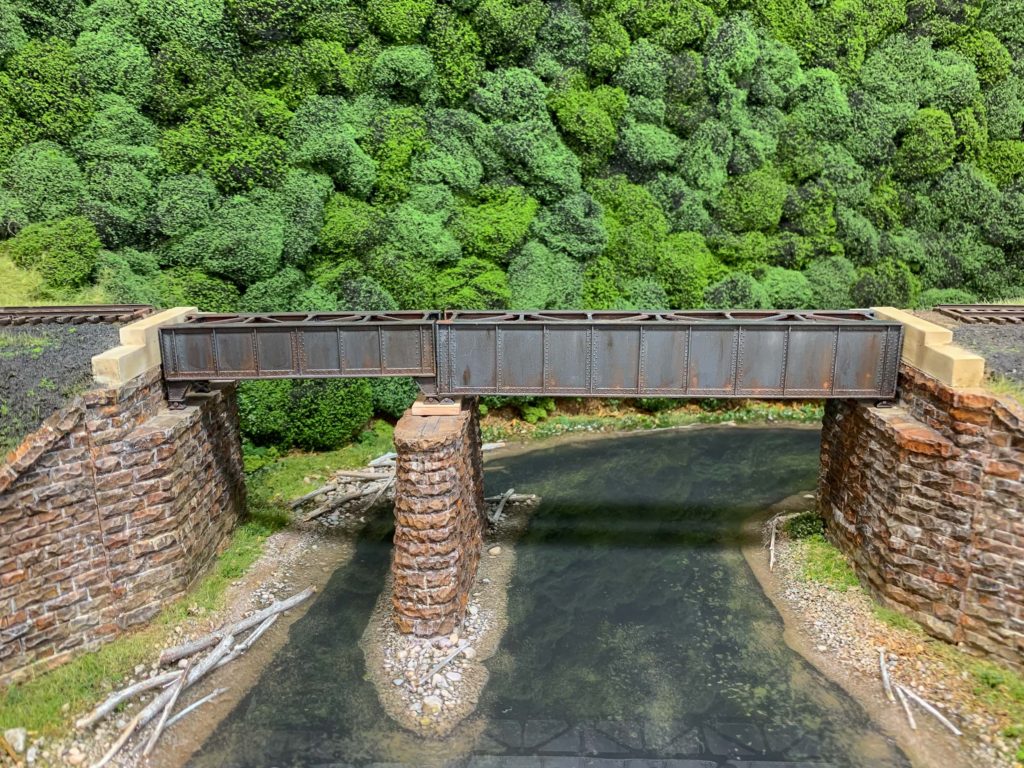
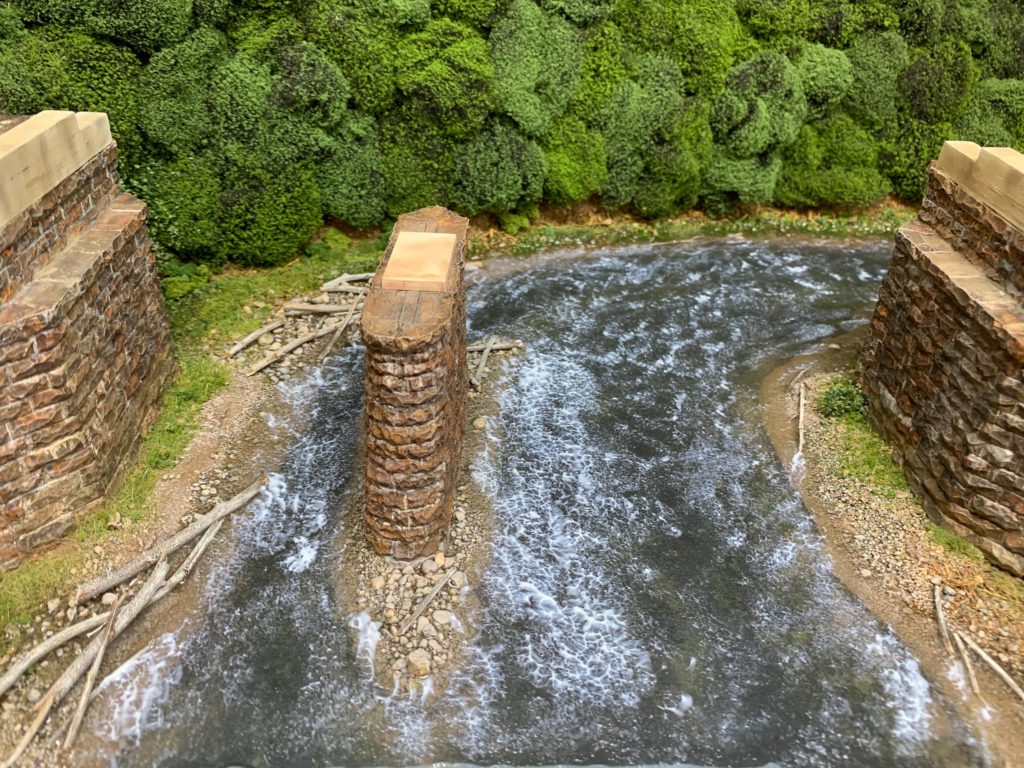
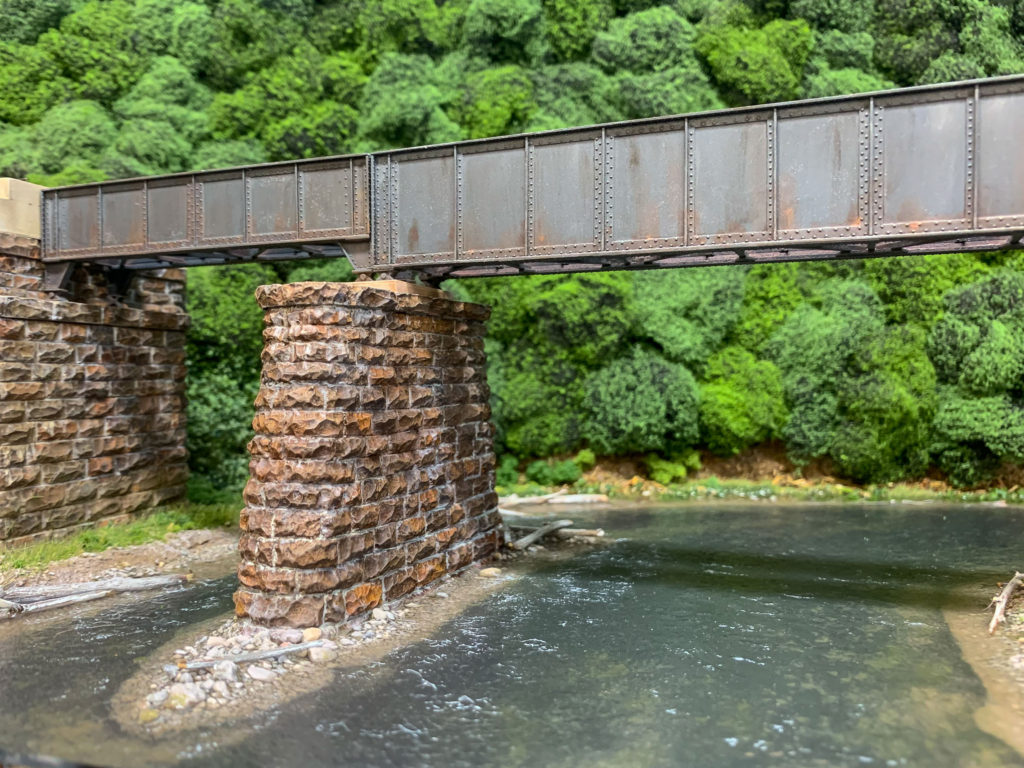
At last, I’m calling the Lycoming Creek bridge project “Done”, for now at least. The final details are the most fun, but can be the most time-consuming. Lots of little grass tufts and SuperTree pieces were added here and there; the cinder subroadbed was added and glued down; the bridge track was painted and soldered in place; bridge guardrails painted and glued in place; track ballasted and cleaned; and then a final “walk-through” gluing a few more grass tufts and bushes here and there. One can add little bits of grass here and there ad infinitum but at some point you have to say “enough” and move on.

Eventually, Bergan tower will have to be scratchbuilt and put in place, and there is a bare flat spot left at one end of the bridge for that structure. So, final results:


On to the next project!

Layout Construction Update 12/12/20

Since the last updates, I spent a Saturday afternoon cleaning the basement and breaking the railroad out of suspended animation due to a kitchen flooring replacement project. The bridge project has been progressing slowly, partly due to the usual fall chores, partly due to family stuff and work,and partly due to my own sloth. I am SO envious of those modelers who can work at seeming light-speed…

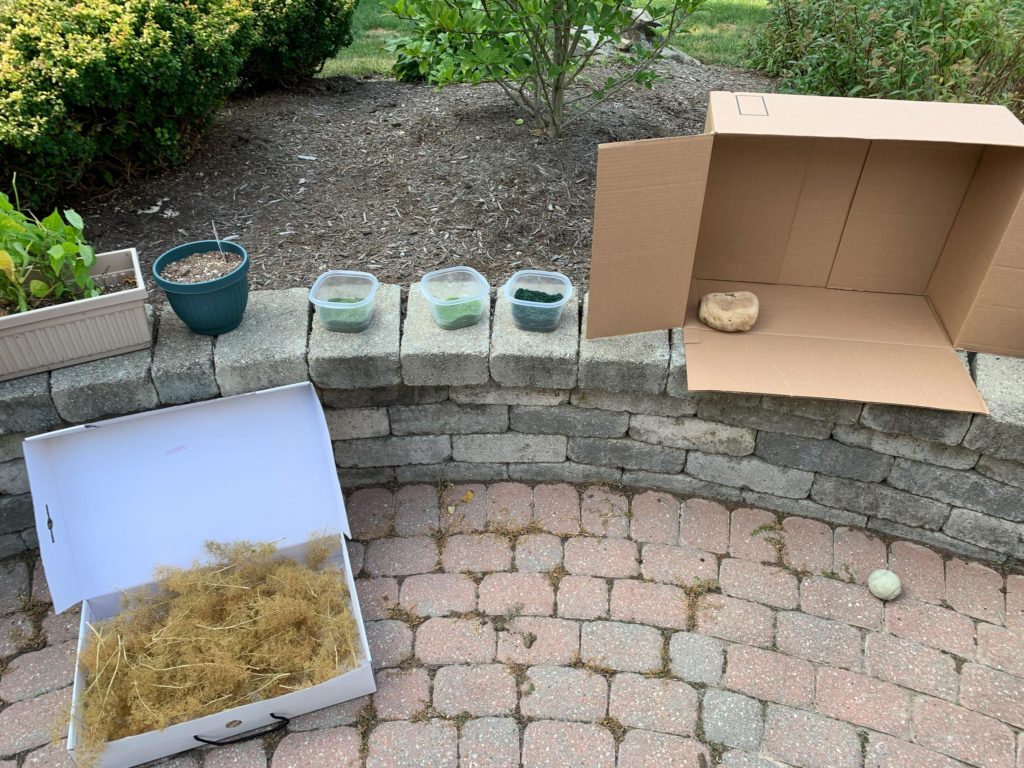
Super-tree factory

First, I took advantage of a warm fall day to make a couple of dozen Super-trees on the patio. I knew once the fall weather changed this would be much more difficult to accomplish.


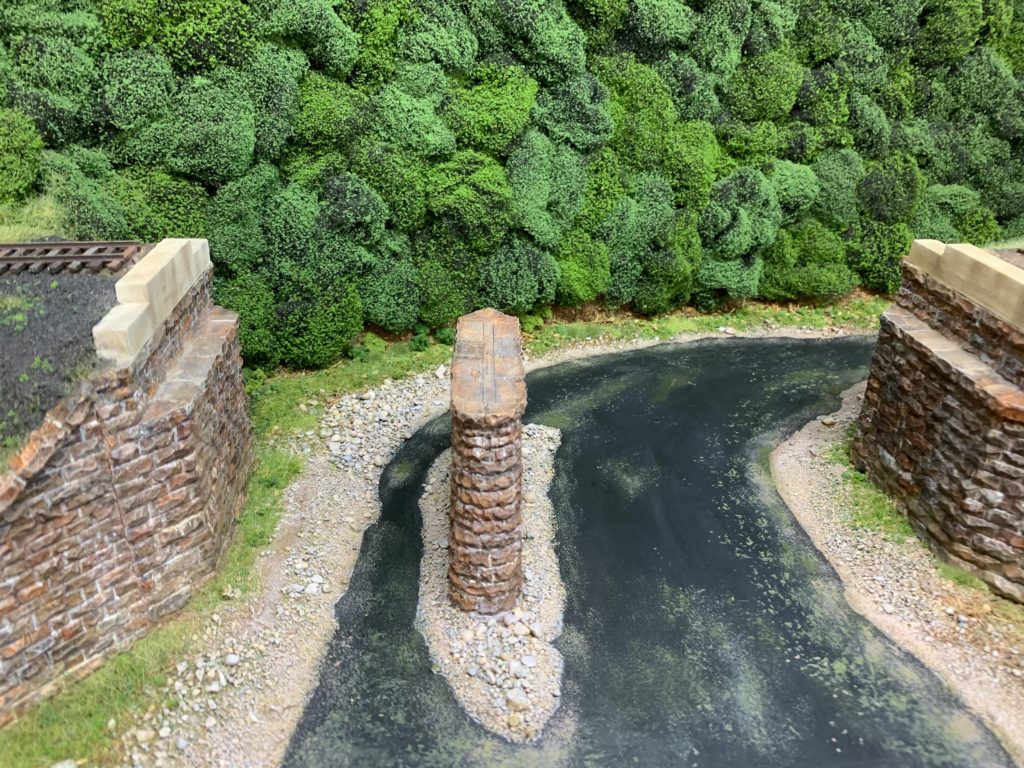
Next step was tidying up the streambed and getting some coloron it that would show through the “water” to give some depth. Something was still missing though…


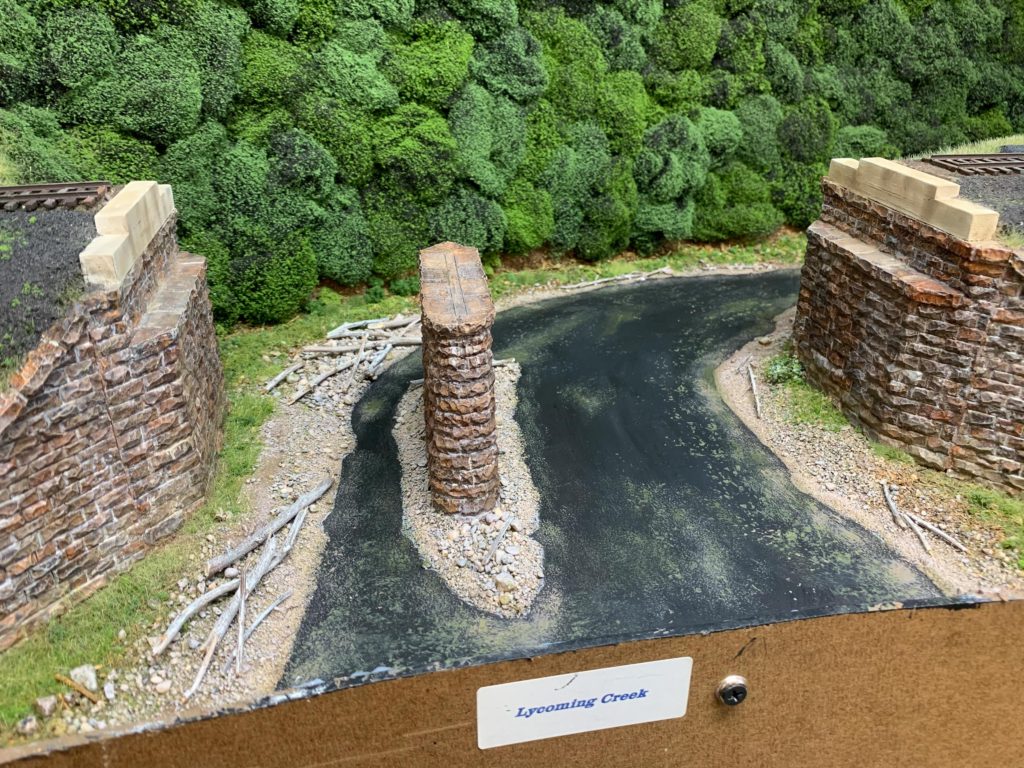
Most Pennsylvania mountain streambanks are littered with all kinds of driftwood. I used dried spirea stems dry-brushed light grays and tans for dead limbs, etc.


While this was going on, I also was working on getting the bridge completed and weathered, and constantly test-fitting while doing so. The bridge absolutely HAD to fit properly at both ends and the middle. I painted the bridge with dark gray paint from a rattle can, and weathered it with weathering powders and alcohol, PanPastels, and artists oils with turpenoid washes. Multiple subtle layers is the key here.


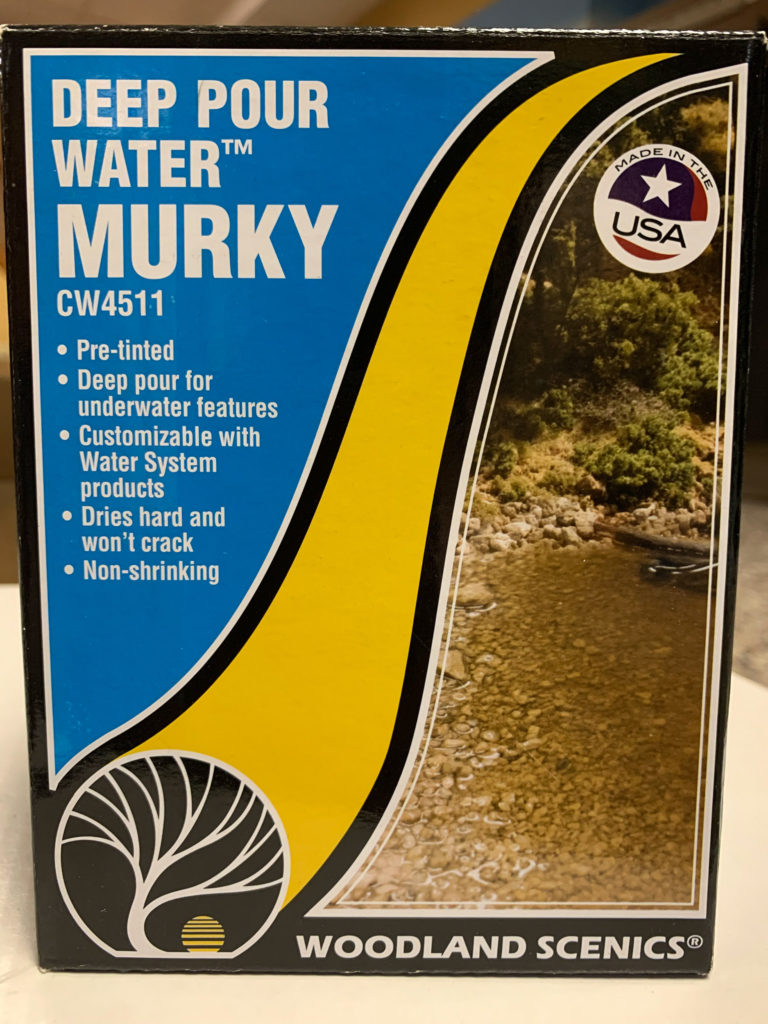
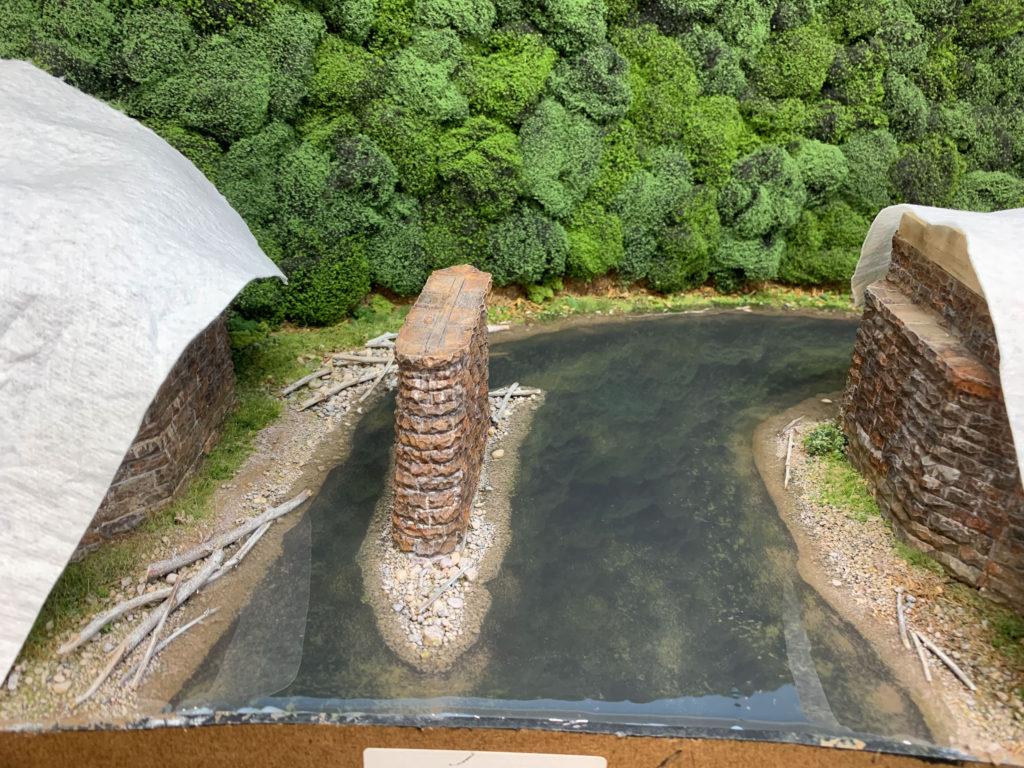
I hate doing things that are not reversible if they don’t turn out right. Pouring the water for Lycoming Creek as one of those jobs. I had never used a resin-water product before, and I was both looking forward to it but dreading it at the same time. Finally though, I couldn’t think of anything that had to be completed first, and it was time to bite the bullet and pour the water. I used Woodland Scenics Murky Water product, and I tried to follow the instructions EXACTLY. As it turned out, it works great but the only drawback it that it wasn’t murky ENOUGH. I have one other stream to build and won’t hesitate to use this product, but I will add more “murk” to it when I get to that point.


Pour complete!

A friend had used resin to make streams, and he warned me (due to hard experience) to absolutely make sure there wasn’t the tiniest pinhole anywhere where the resin would go, or it would eventually run out all over the floor. I sealed the edge at the fascia with clear caulk, and put a couple of layers of newspapers down underneath, just in case. The Woodland Scenics stuff is a little spendy, and a leak would be an expensive mistake. I also covered the adjacent scenery to avoid any drippage.

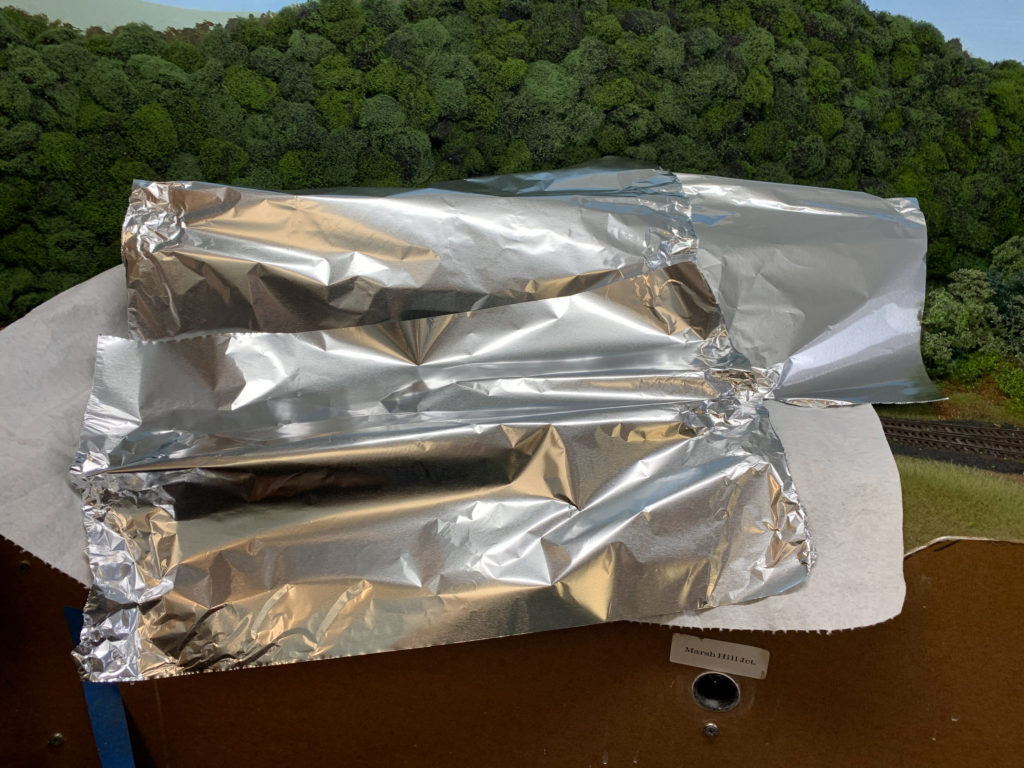
Walk away, and no peeking…

The stream was covered with foil to keep any dust off while the resin set. I kept anxiously peering under the railroad, but no leaks! We then left on a several-day visit to my oldest daughter and her family; an excellent way to avoid peeking while the resin set up!

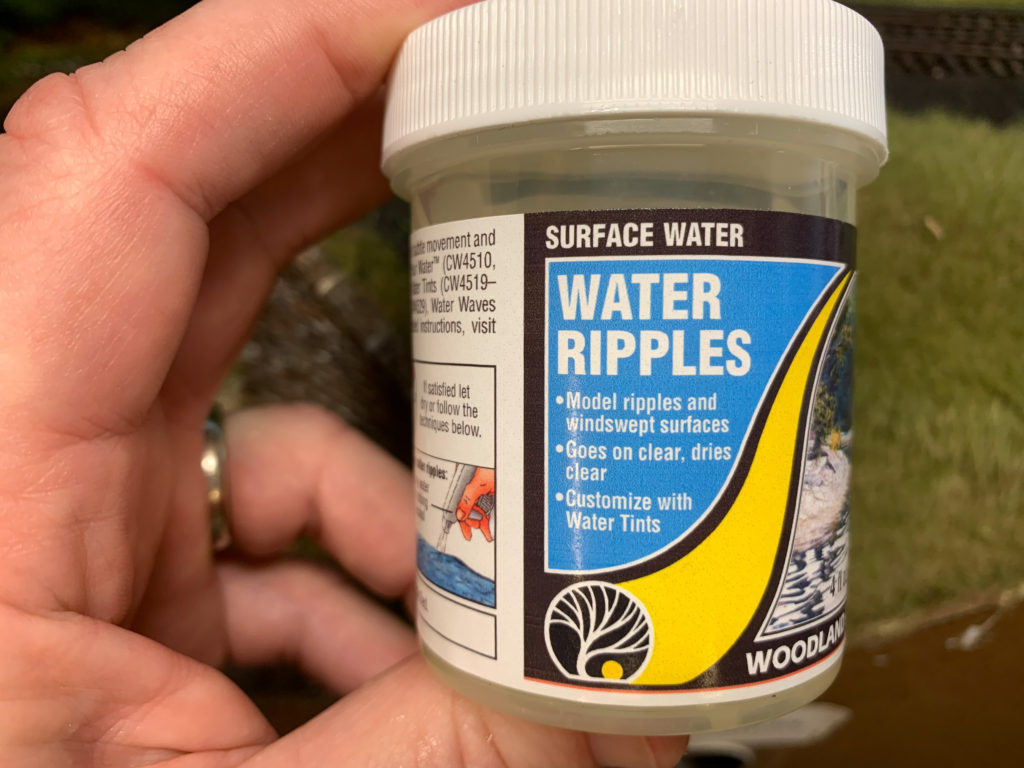
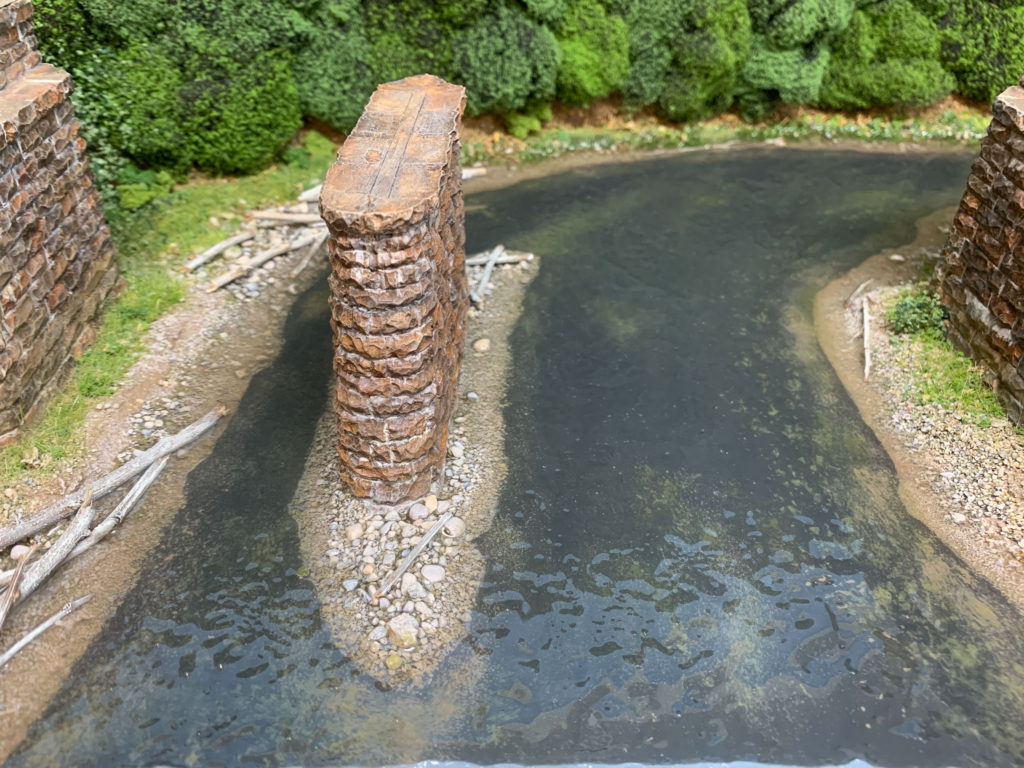
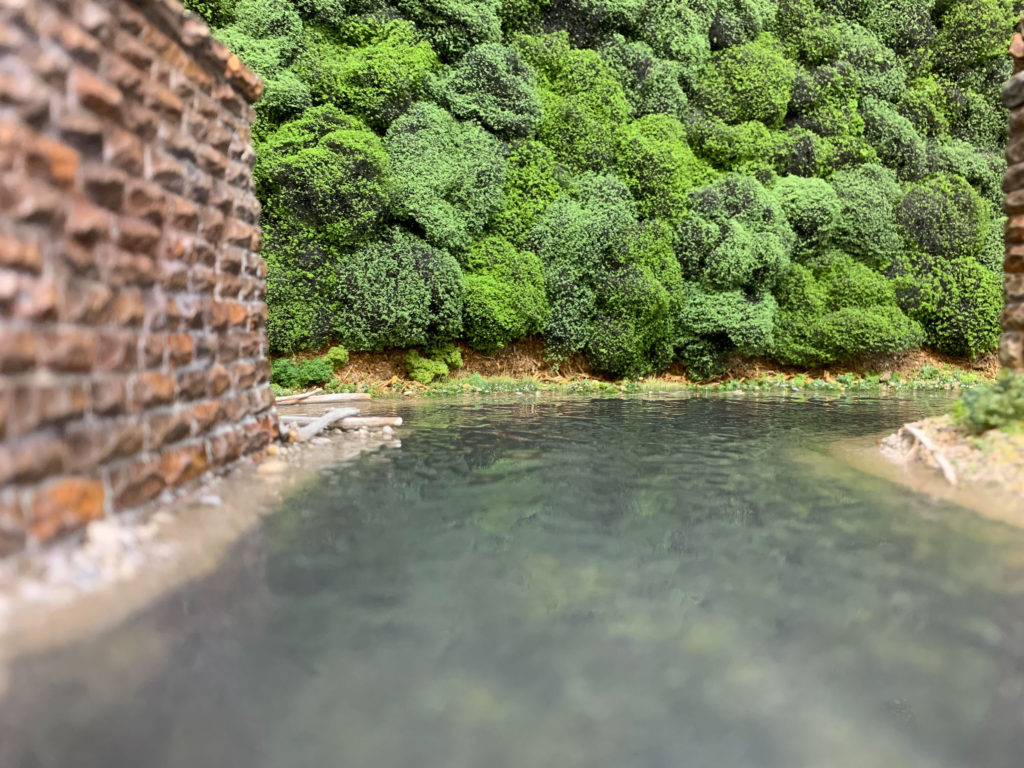
The resin set up with a nice flat glossy surface, but that is just the first step. More steps are need to add motion and life to the water. I wanted to try some of the other WS compatible water products, so I added a layer of the Water Ripples. This worked just “ok”. It added a little depth and motion, but not quite enough to my liking. From a lower angle it looked great, but from a higher viewpoint it just didn’t add enough feeling of moving water.

Not bad, could be better…

Low angle better than the normal viewing angle…

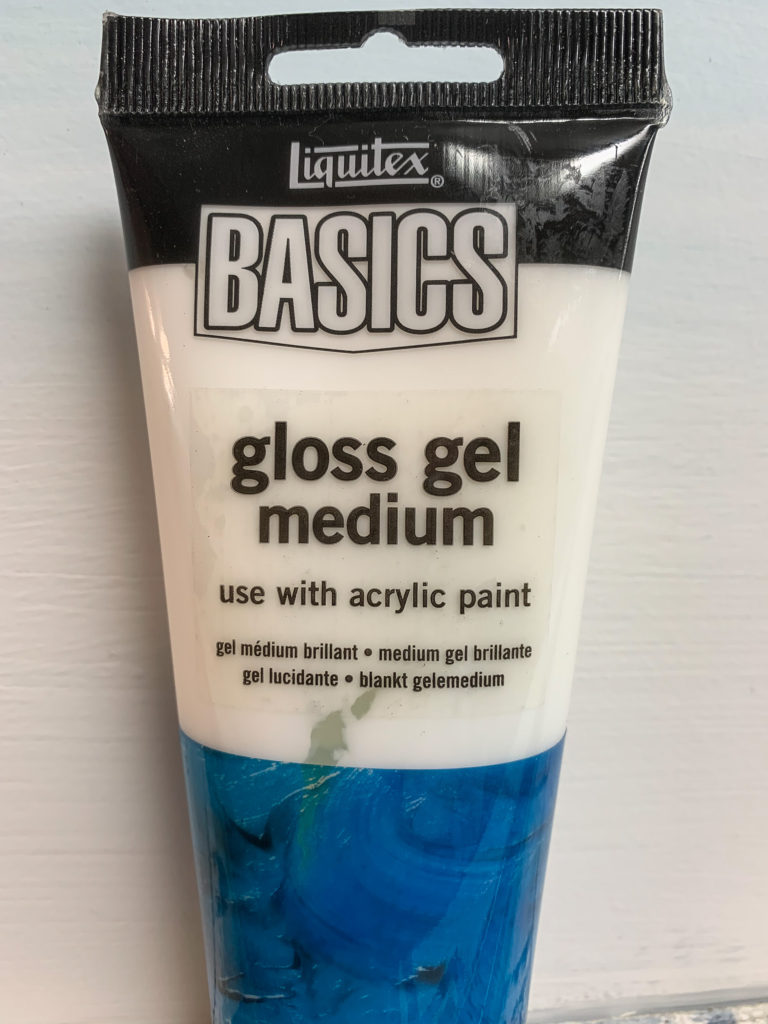
So, I went back to using thick artists clear gloss acrylic. Much less expensive than the WS products, and just as easy to work with.

The gloss medium was dabbed on with a flat soft brush, raising more “ripples” where they normally should be. I studied photos of streams online to get a feel how the water should look and where the ripple and waves should go. The material goes on white, but dries clear and glossy.

Once dry, I LIGHTLY drybrushed just the tops of some of the ripples with titanium white to give a subtle white-water effect. It’s easy to overdo this, so I worked slowly over a couple of evenings.

Now it’s starting to look like something! Next steps involved setting the bridge in place, getting the track down and weathered, ballasting, and some final touches. I also was working on a small hillock as a viewblock to the “origin” of the stream.  Some of those Super-trees I made earlier will end up here.


I’ll break here and get to all that at the next update, hopefully sooner than later. To be continued…