Category Archives: Model Railroad

The S&NY in RMC

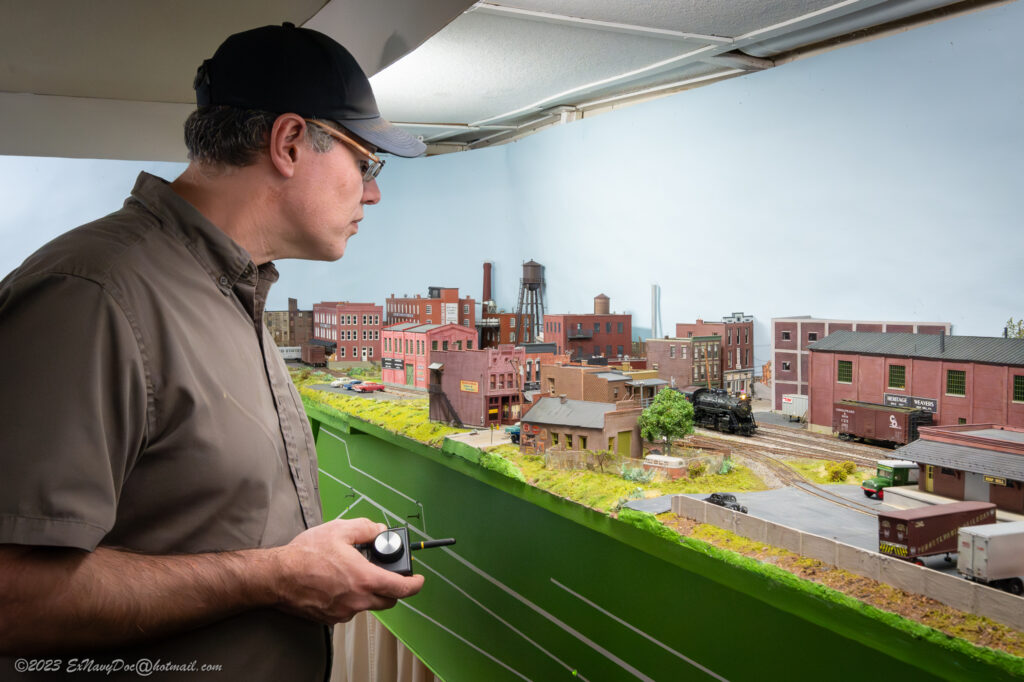
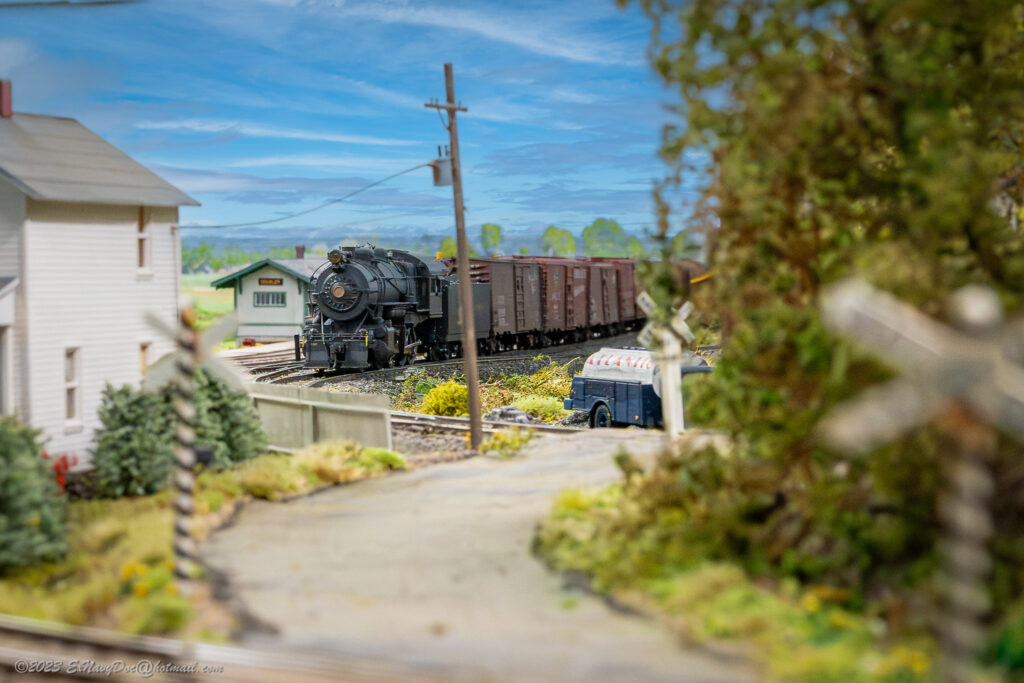
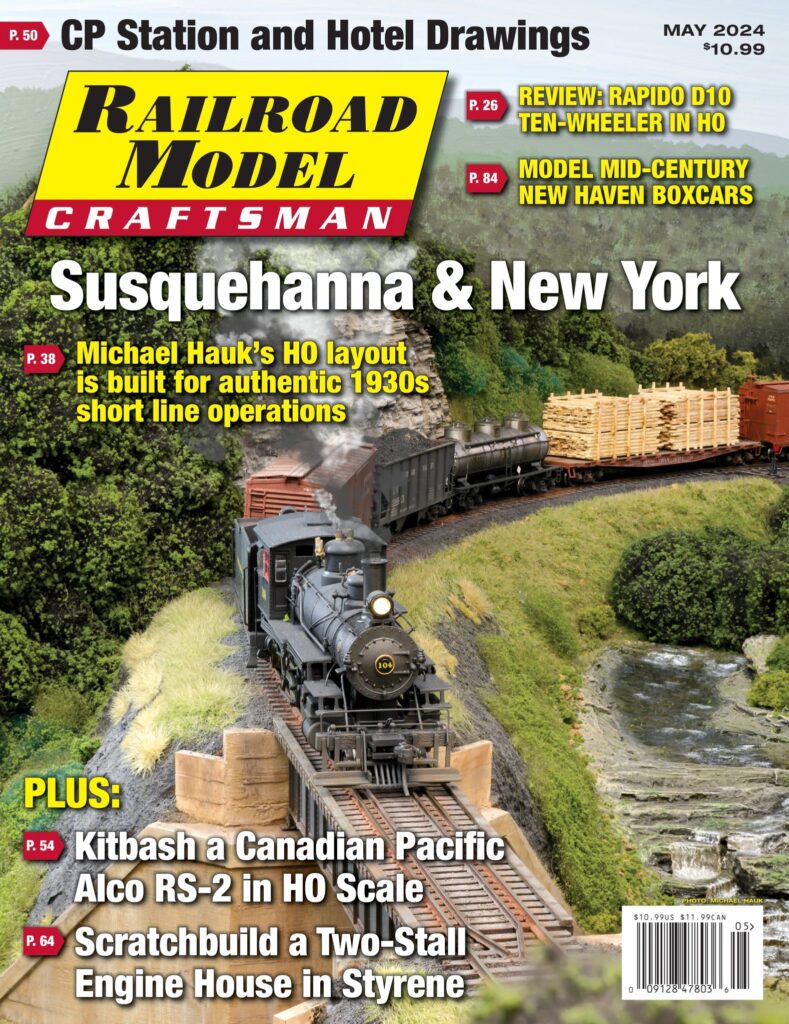
I will take the opportunity to toot my own horn a bit here, and mention that my model version of the S&NY is featured in the May 2024 issue of Railroad Model Craftsman:

It’s always a kick to see the products of one’s labors in print, but I was truly stunned to see one of my photos on the cover! I first received a subscription to RMC as a Christmas present when I was 11 years old, and the December 1972 issue was rolled in my stocking. Had someone told me over half a century ago that one day my railroad would grace the cover, I would have dismissed that as crazy talk, yet here we are…

It was a fun project, though getting acceptable photos of the layout was a bit more work than I expected. Working with RMC editor Otto Vondrak, it was also fascinating to get a glimpse of how the magazine is put together every month, dealing with deadlines, editorial standards, and page space.

Most subscribers will have gotten their issues by now, and retail copies should be available soon if anyone is interested in checking it out.

Now that I’ve got a little experience at this process, sharing future progress on the model S&NY in print might come a bit easier. We’ll see…

Quick Tutorial on Painting Model-U and Other 3D-Printed Figures

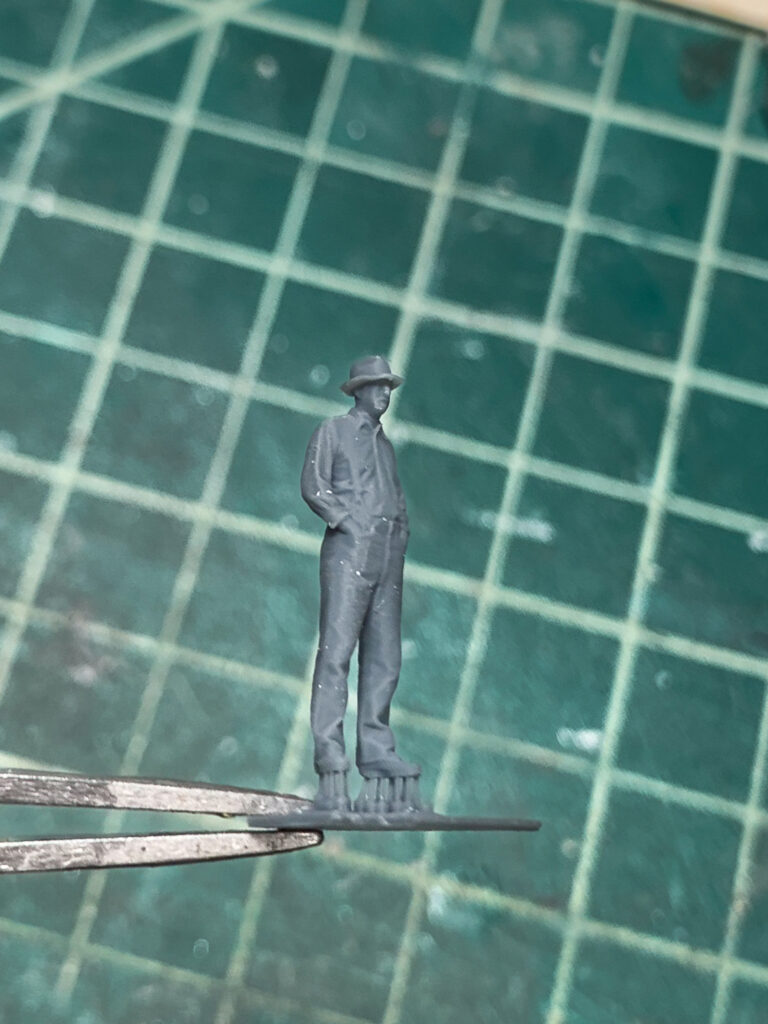
I originally posted this on the “Friends of a Modeler’s Life” Facebook group, but it was suggested I post it here as well, as finding it on FB will become increasingly difficult as time goes by. Eventually, I’ll polish it up and turn it into a clinic, but there are other irons in the fire to deal with first. I wanted to paint these Model-U figures use as photo props for a couple of articles I’m writing, and I’d been wanting to try them for a while, so now was as good a time as any. These techniques are widely known to military and fantasy figure painters and wargamers, but model railroaders may not be familiar with them. Some of the more advanced techniques are overkill for HO scale figures, but I’ll cover the basics below. There’s plenty of other information out there online and on YouTube for those desiring to know more. The main tip is keeping the paint thin and building up thin layers or glazes of color instead of one thick opaque layer of paint.

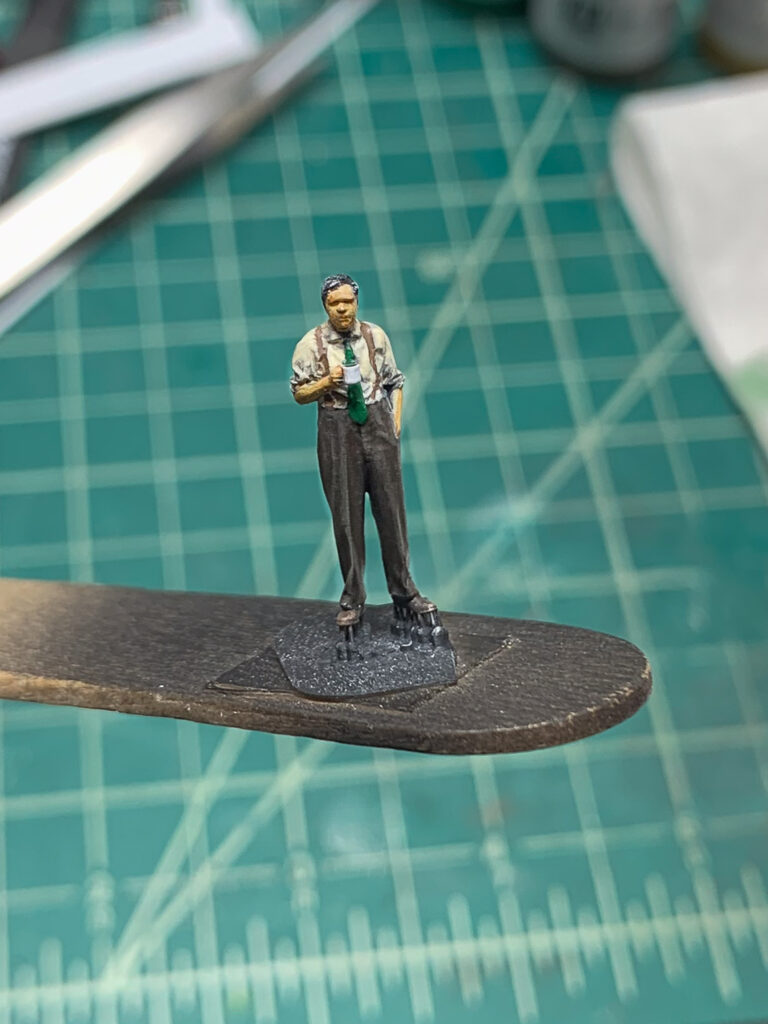
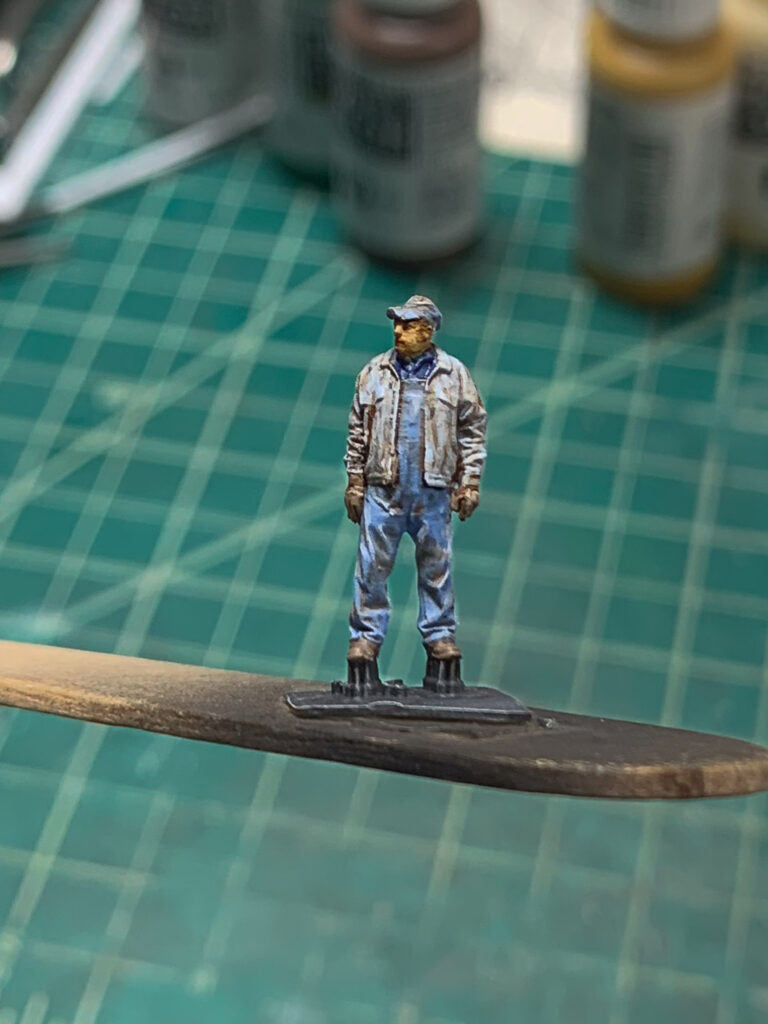
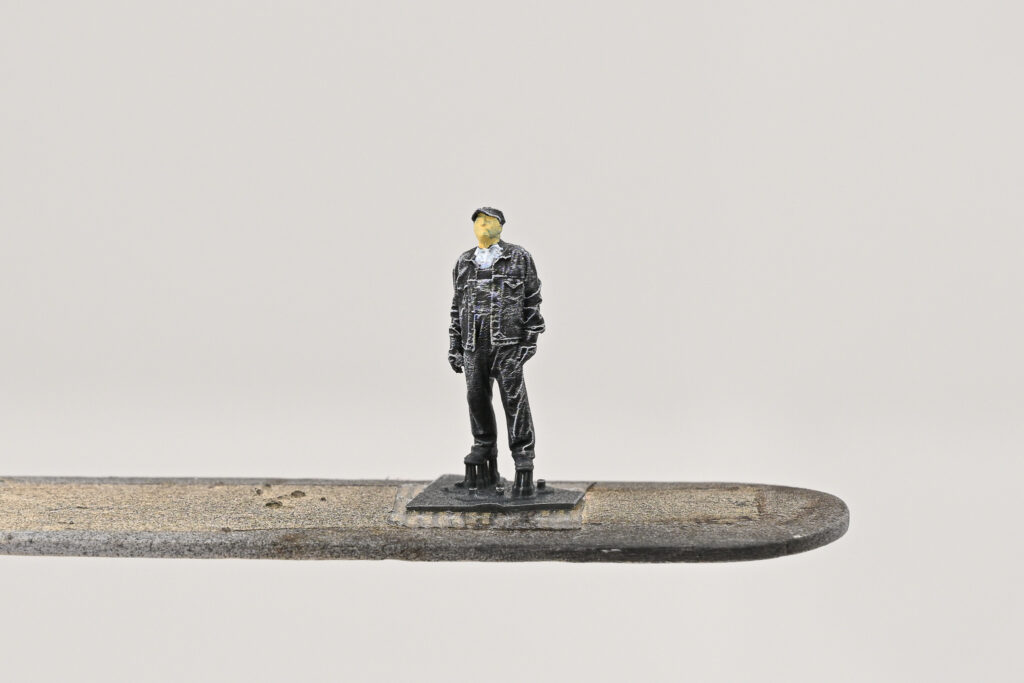
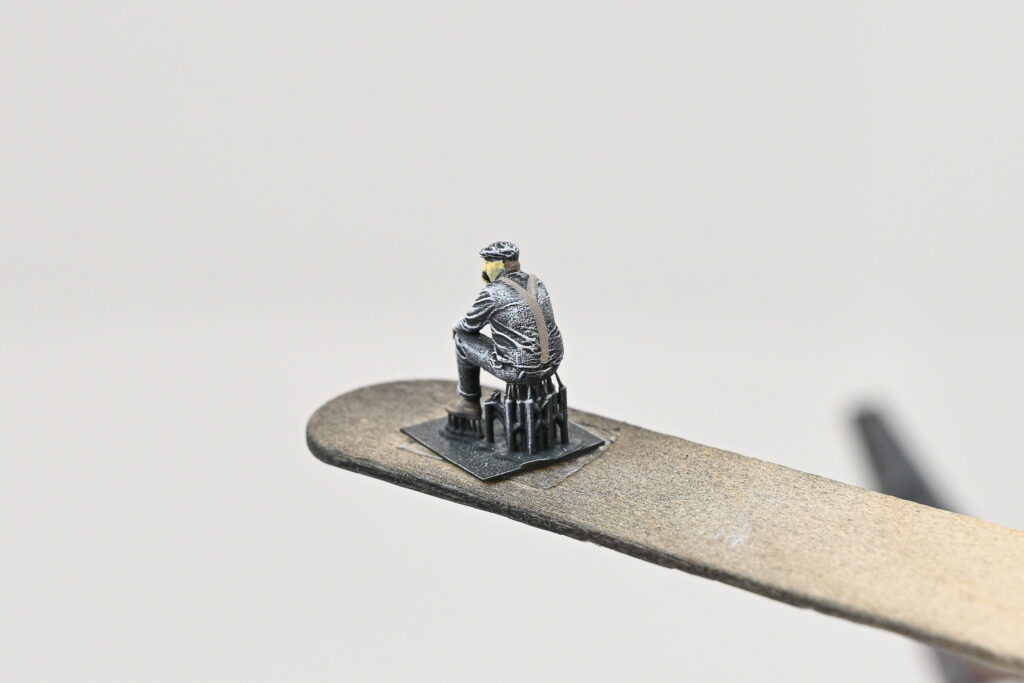
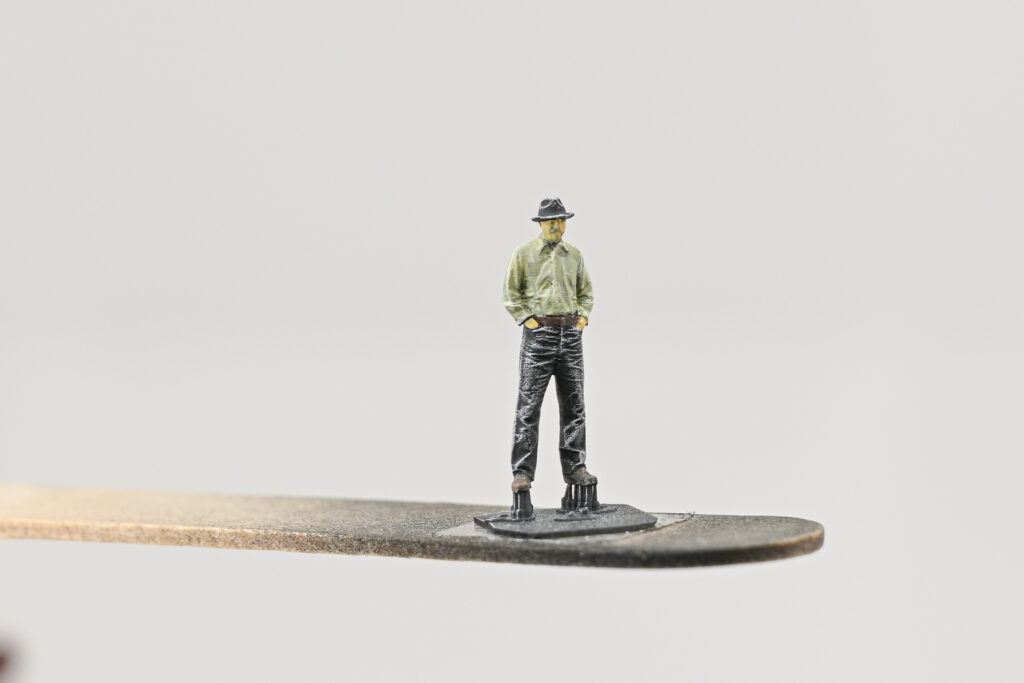
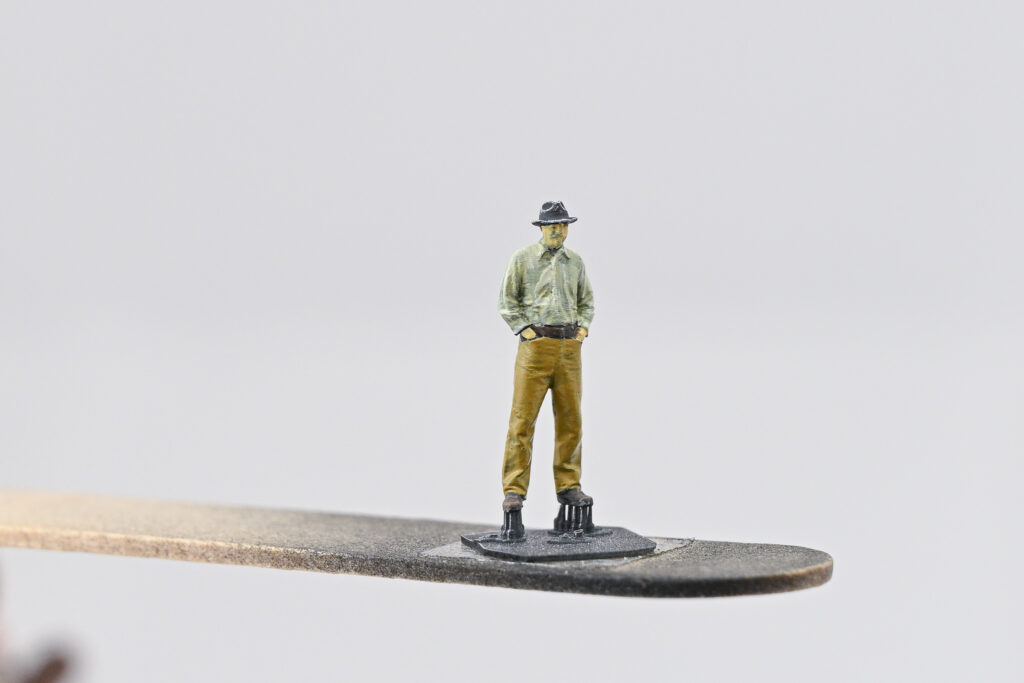
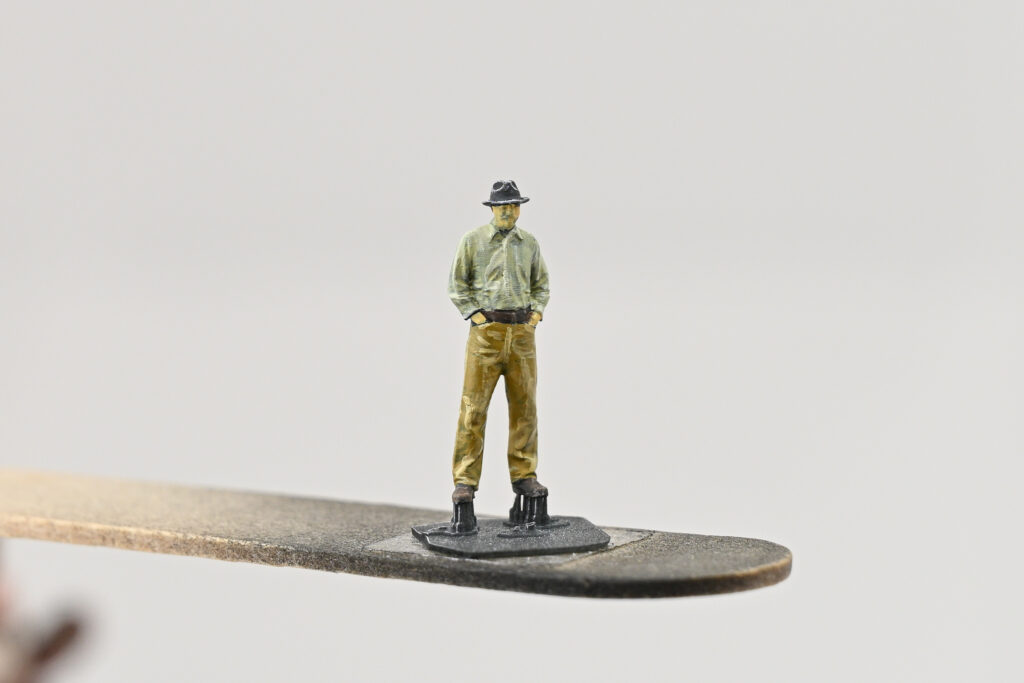
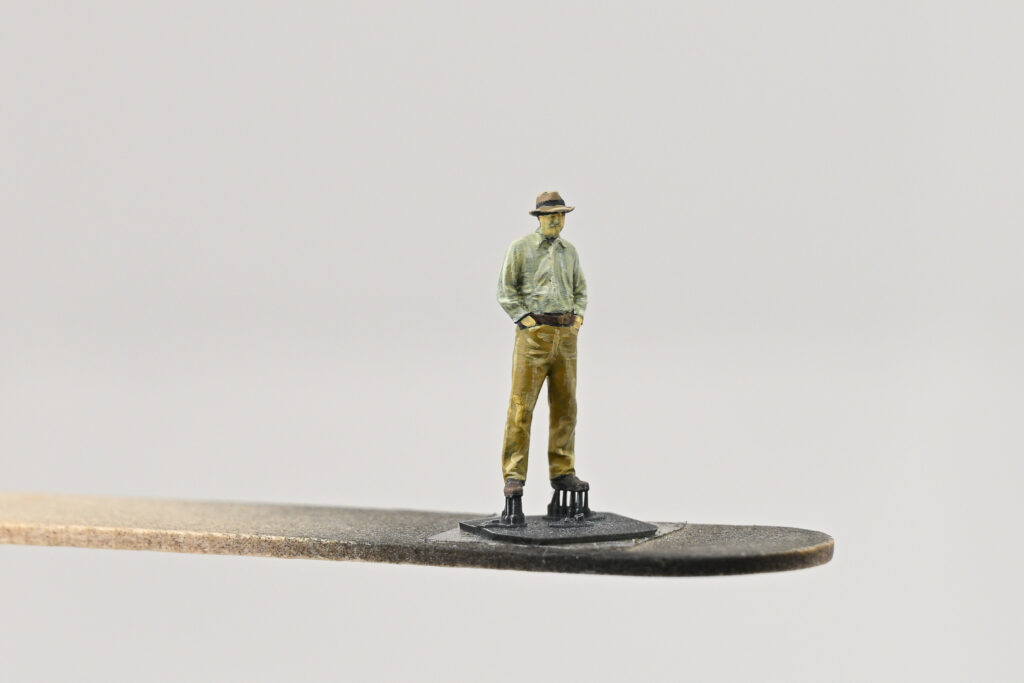
A couple of finished guys.


For materials, I used Vallejo paints, thinner, retarder, and washes, Glosscote, and a final Dullcote mist coat to seal everything. I used mostly an 18-0 brush, though a 10-0 will probably work just as well. Let’s get started…

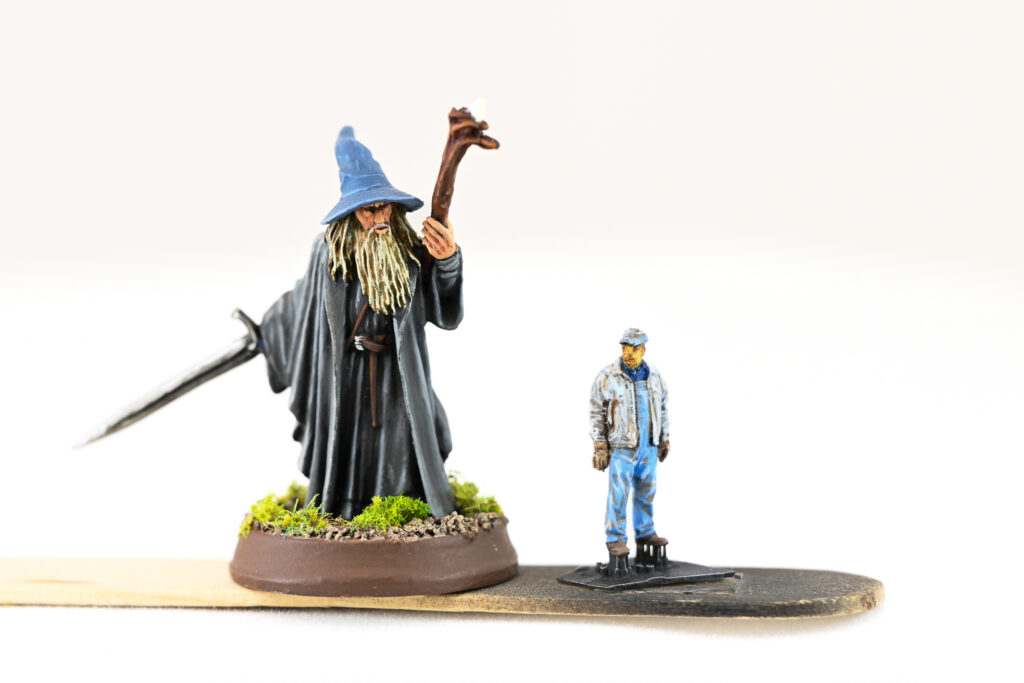
1. A quick note on scale. Here’s an HO train crew guy next to a 28mm GW Gandalf. HO is pretty small, but most of the techniques for larger figures will work in HO, within limitations.

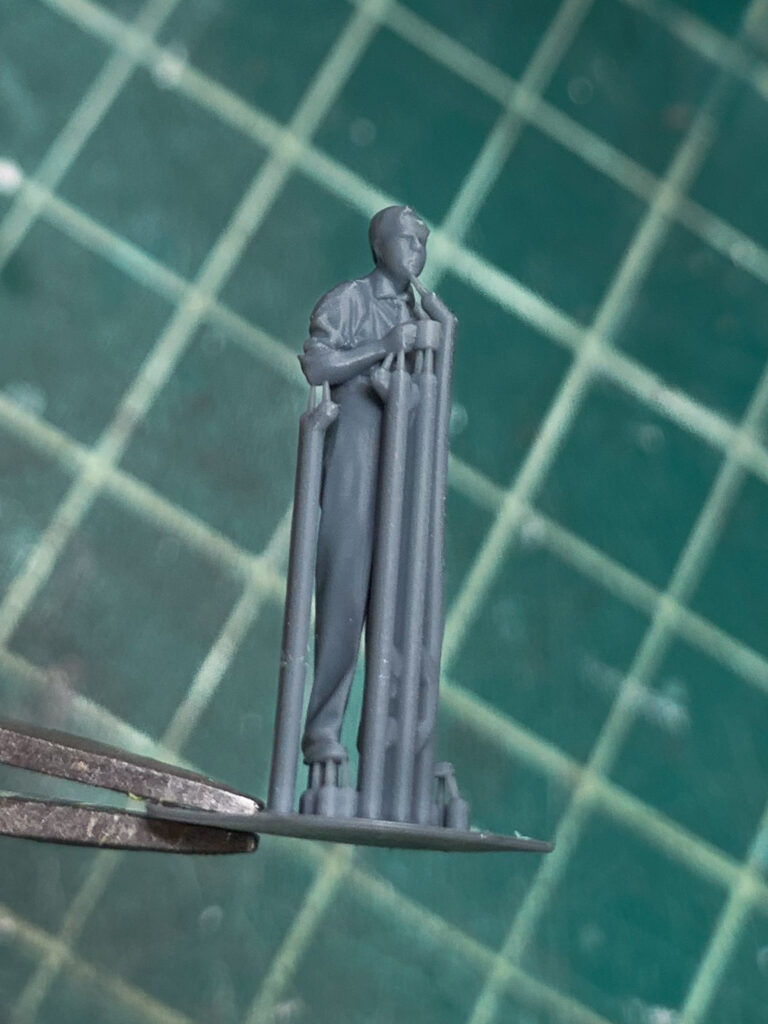
2. The Model-U guys come encased in these support sprues from the 3D print process. These need to be carefully removed. One of their figures has an HO scale pipe in his mouth; make sure you don’t break it or accidentally cut it off!!

3. This guy (I’ll call him “Klem”) is free from his prison!

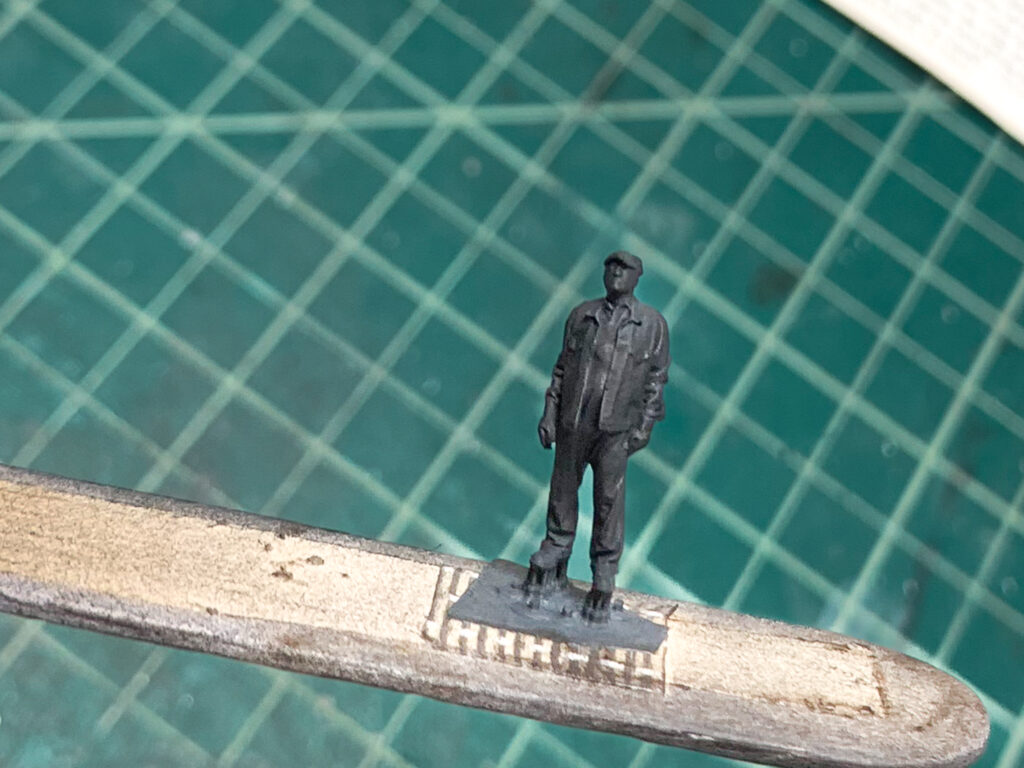
4. Next step, prime with light passes of a black primer. I used Vallejo in a rattle can. Don’t put it on too heavy! Preserve the detail!!

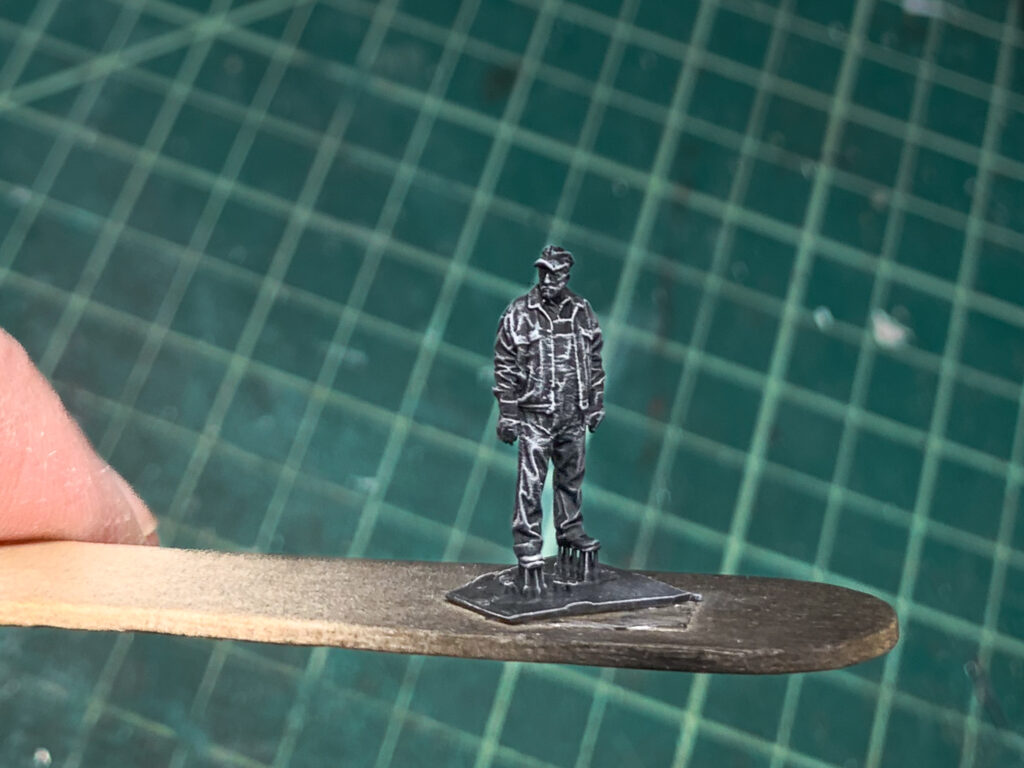
5. Dry brush with white from the top down to highlight the detail. The white will hopefully tint the lighter exposed areas when we paint with very thin coats, same with the black to accentuate shadowed areas.

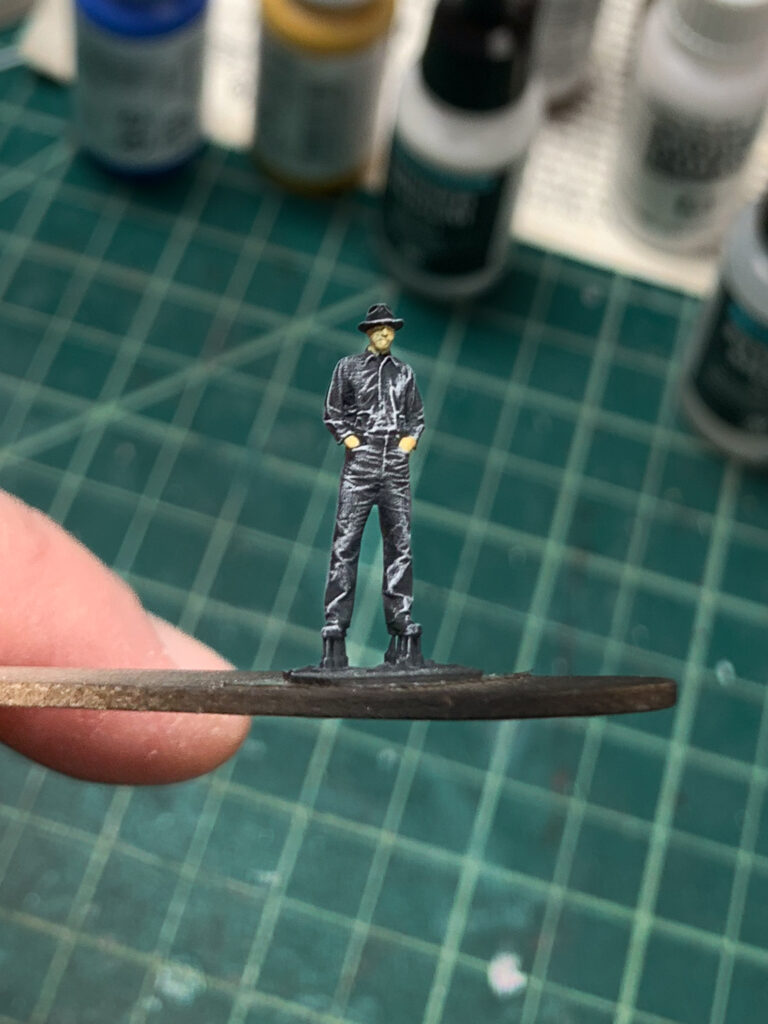
6. Start painting inner detail first. I usually work inner-to-outer, starting with the face and any exposed skin. I usually do the feet at this point as well.

7. Here, after the face, I gave this guy a nice clean white shirt. His wife insists!

8. Raised detail like suspenders, belts, equipment, etc. gets paint before the adjacent clothing. Then work the adjacent clothing color up to the edges of the suspenders, etc.

9. Base shirt color goes on next. Remember to keep the paint thin and build up thin layers of color. Don’t glop it on!

10. Next we’ll do Klem’s pants.

11. Now we go back and lighten the clothing colors with a touch of white, and lightly brush thin layers of this lighter color over the raised folds of the clothing to highlight them. Under magnification this might look a little blocky, but we need to exaggerate a little due to the small size of the figure and the flat lighting on most layouts. I also painted a thin band of gray around the hat for a hat band before using the hat color. The hat also got some highlights around the edge of the brim and the folds of the crown.12. Next, I Glosscoted the figure. The smooth glossy surface allows the washes in the next step to flow and puddle in the recesses of the face and clothing. Next is thinned applications of flesh wash over the face and exposed hands, and a dark brown wash over the rest of Klem, carefully worked into the deeper recesses and folds of the model. A final sealing coat of Dullcote, and done!

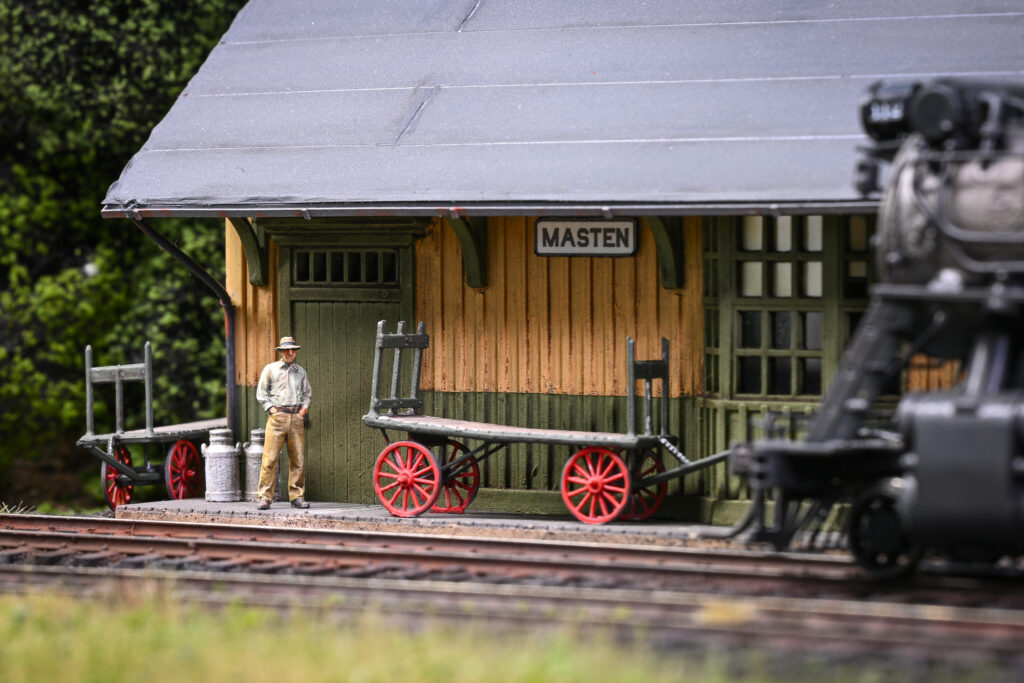
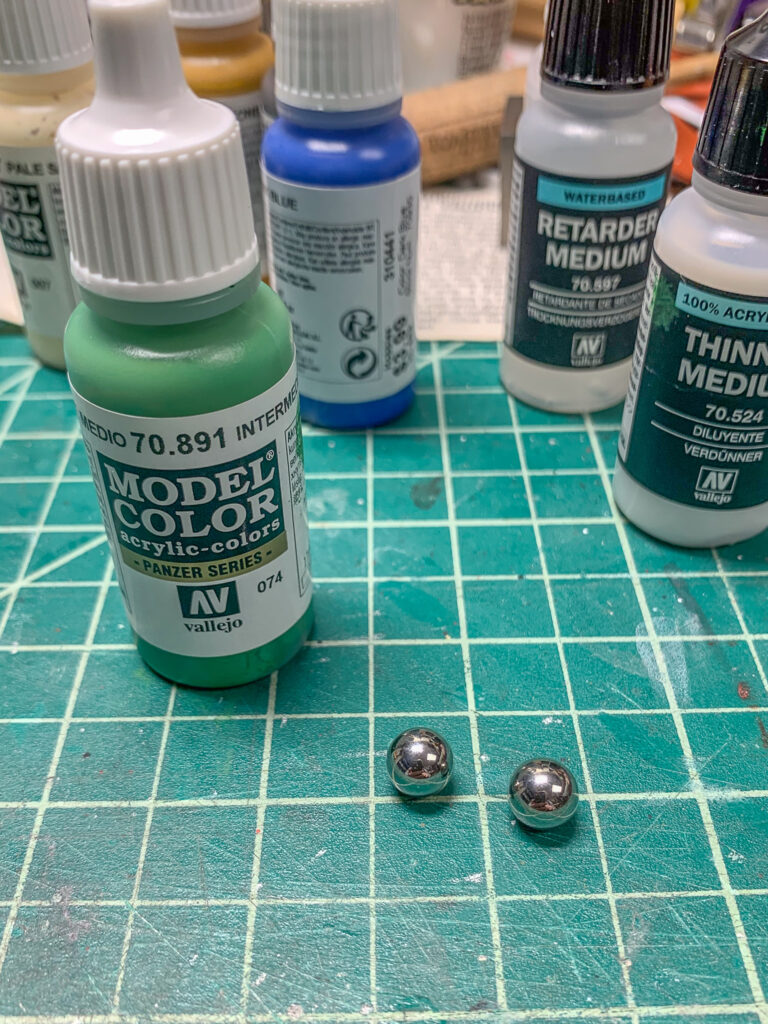
13. ‘Ol Klem waiting for a train!14. Tip: I added chrome ball bearings to my Vallejo paint bottles to stir the paint when shaken.

That’s it! Pretty easy actually, Give it a try!

Visit to Dick Bradley’s Pennsylvania & Maryland 12-12-23

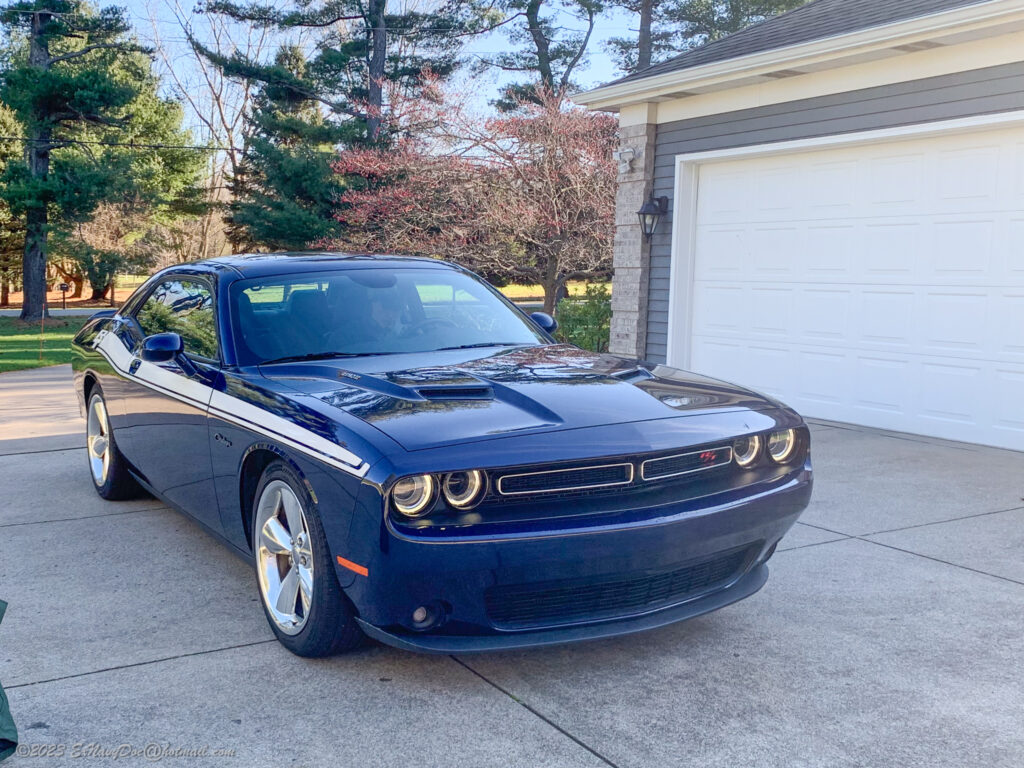
Being “retired” does not necessarily translate into “more time”. In fact, I seem to be busier since retirement 2 years ago (!) than I was while still working. Still, retirement does give a certain flexibility to one’s schedule, and I took advantage of an opportunity last week, along with a rare warm sunny December day to visit fellow Division 12 member Dick Bradley and his most excellent semi-freelanced Pennsylvania & Maryland Railroad layout. I traveled with another Division 12 member Ray Brown. Ray is building a large B&LE-themed layout, and his progress is documented here: Bessemer & Lake Erie in HO Scale. It being a nice warm day, Ray wanted to give his Dodge Challenger a stretch, so we had a nice ride on the way to Dick’s.

Nice ride!

Dick Bradley is MMR #37. You can view an interview with Dick, conducted by Division 12 members Rob Bennett and Bill Schopf, here: Interview with a Master Model Railroader. You can also see a video tour of Dick’s Pennsylvania & Maryland Railroad layout here: Layout Tour Update: Dick Bradley’s Pennsylvania & Maryland. Dick welcomed us on arrival, and we immediately headed to the basement to see the railroad. The P&M is a proto-freelanced railroad heavily influenced by the Maryland & Pennsylvania Railroad (Don’t confuse the two!), but Dick also runs PRR and Western Maryland equipment.

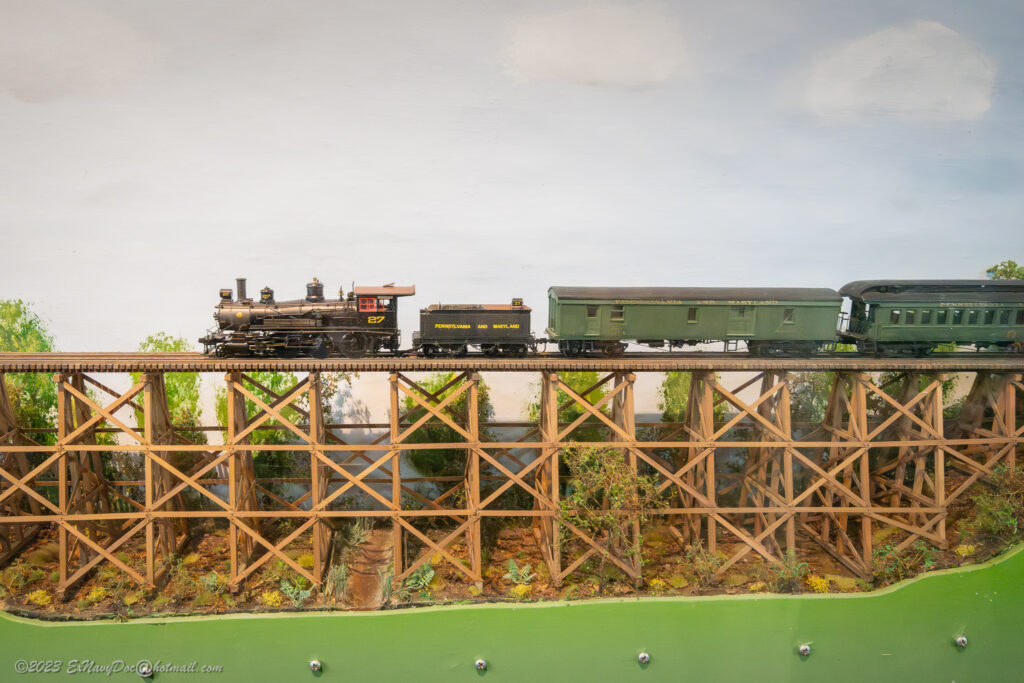
Heading down the stairs, visitors are greeted by a long scratch-built wooden trestle bridge:

Scratchbuilt in the days before laser-cutters and 3-D printers!

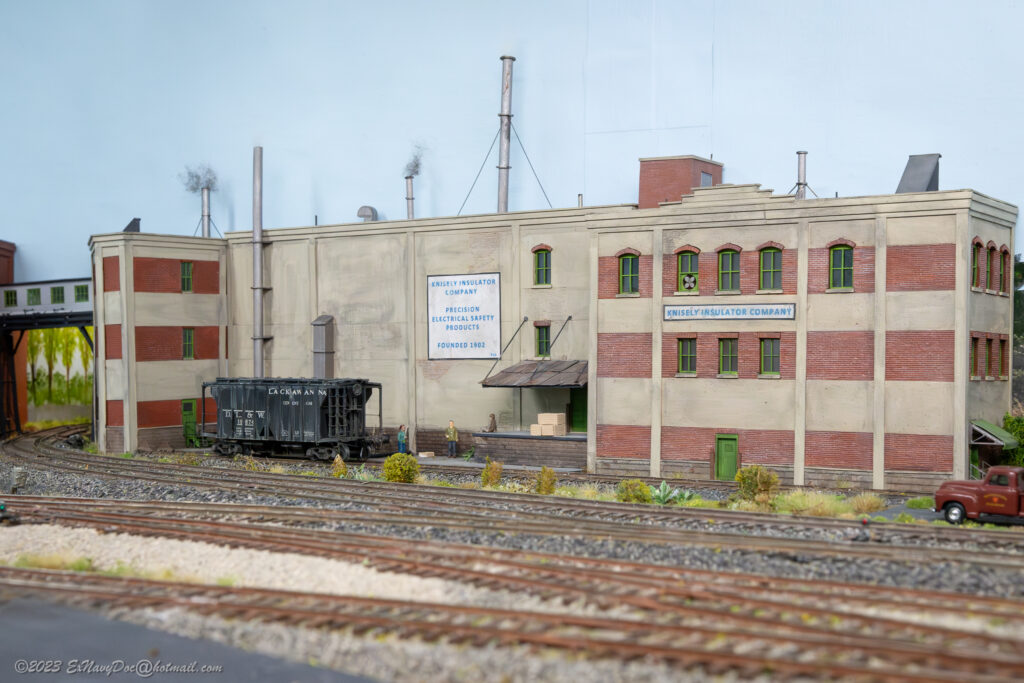
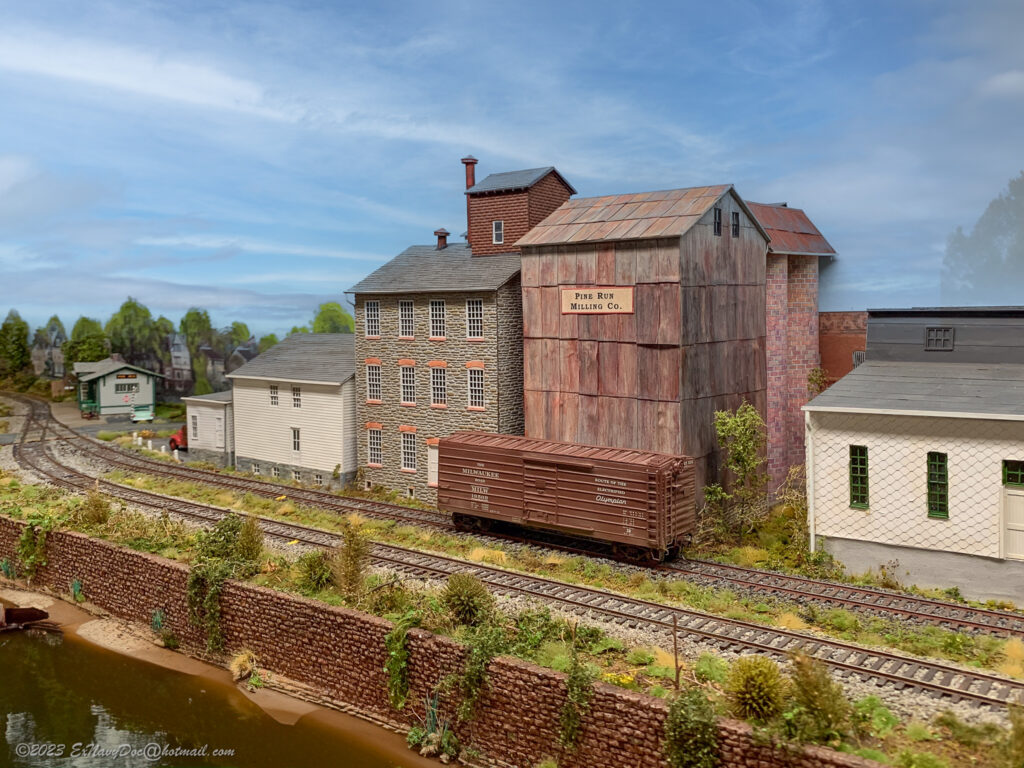
Numerous scratch-built and kitbashed structures populate the layout, and there are many small scenes, too numerous to take in during an afternoon visit.

Large well-detailed factory building.


Mill complex scratch-built from prototype photos. (I used a bit of Photoshop magic on this one…)


Ray was having entirely too much fun running trains and switching cars while I shot photos.


I should have brought tripod for some photo-stacked shots. Oh well…


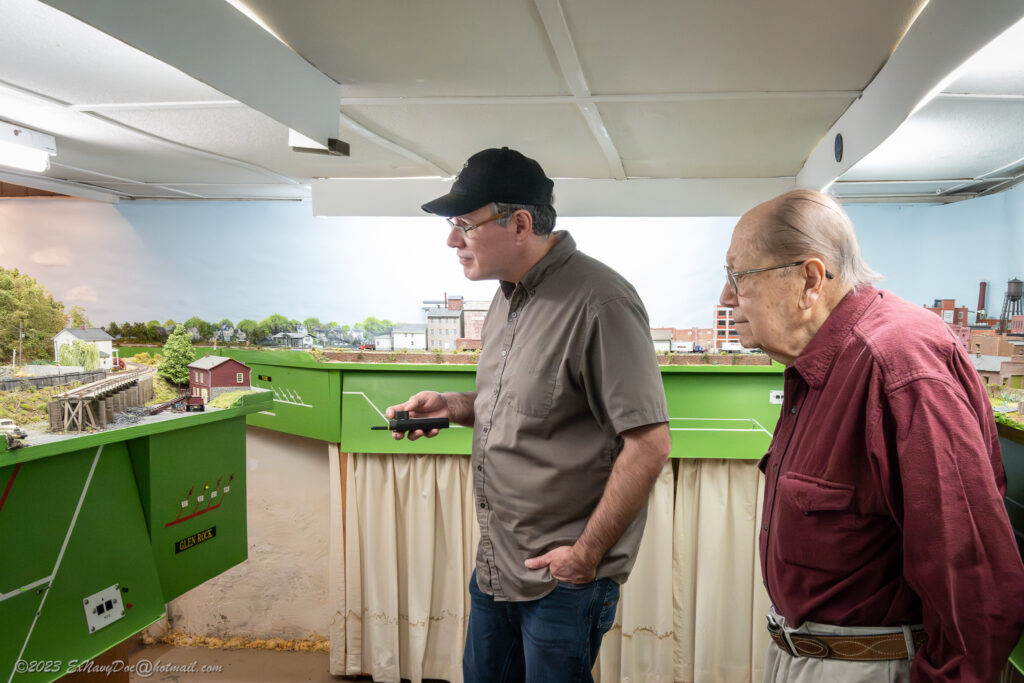
Dick gives Ray the run-down on how the railroad operates.

All too soon we had to take our leave of Dick and the P&M. Next time, I’ll have to bring a tripod! Thanks to Dick Bradley, MMR #37 for a most enjoyable December afternoon!

Op Session #33, 1-28-23

Op session #33 was held on the (model) S&NY on January 28th, 2023. The previous session was 6 months before, in July ’22. Hard to believe, but time flies..

The only prep I did was to re-stage the layout and clean the track. I’m always a little worried before an op night, ’cause one never knows what gremlins might pop up, especially after a long period of idleness. Luckily, the only minor issues were a couple of slightly “sticky” turnouts (not surprising due to the winter weather and the dryness of the house) and Tortoise actuating wire that stuck up a bit too far on the Masten hardwood mill siding. Surprising that last one hasn’t come up as an issue before, but I’ll grind it down before the next session.

The newly painted engines all worked well, though the #104 on the through-freight was only good for 8 cars up the ruling grade eastbound. The re-motored PFM brass engines are easily good for the normal 10 cars on that assignment. Will have to keep that in mind for the future, but it’s good to have a locomotive in reserve.

All-in-all it was a very successful session. A fellow Division 12 member who attended was new to the railroad, and said he had a great time; always gratifying to hear!

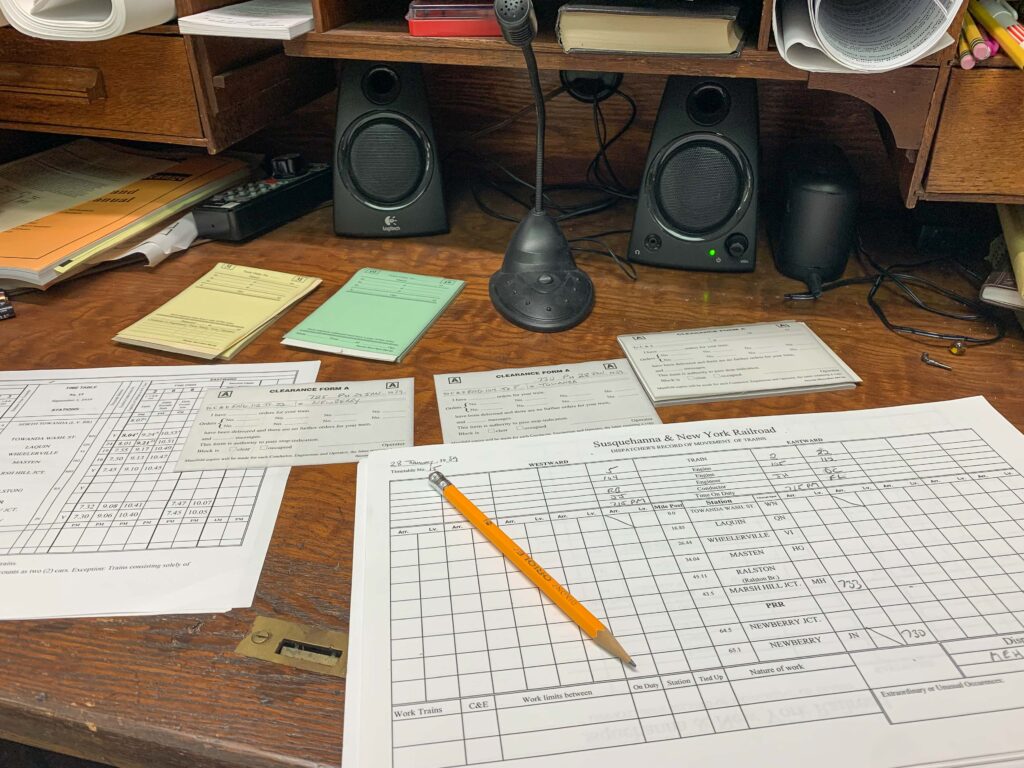
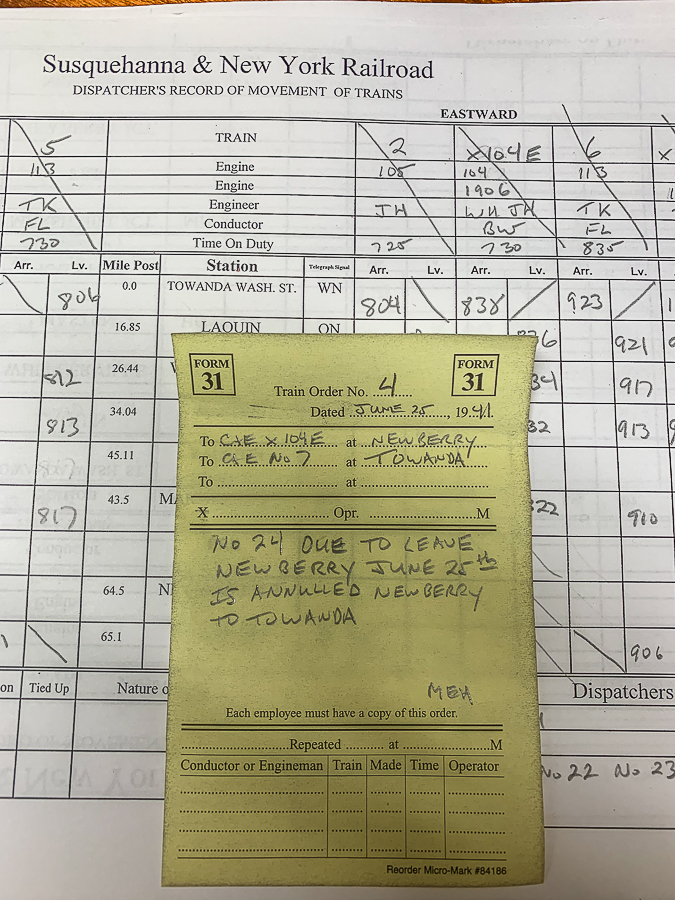
Paperwork all ready to go. Let’s start the clock!


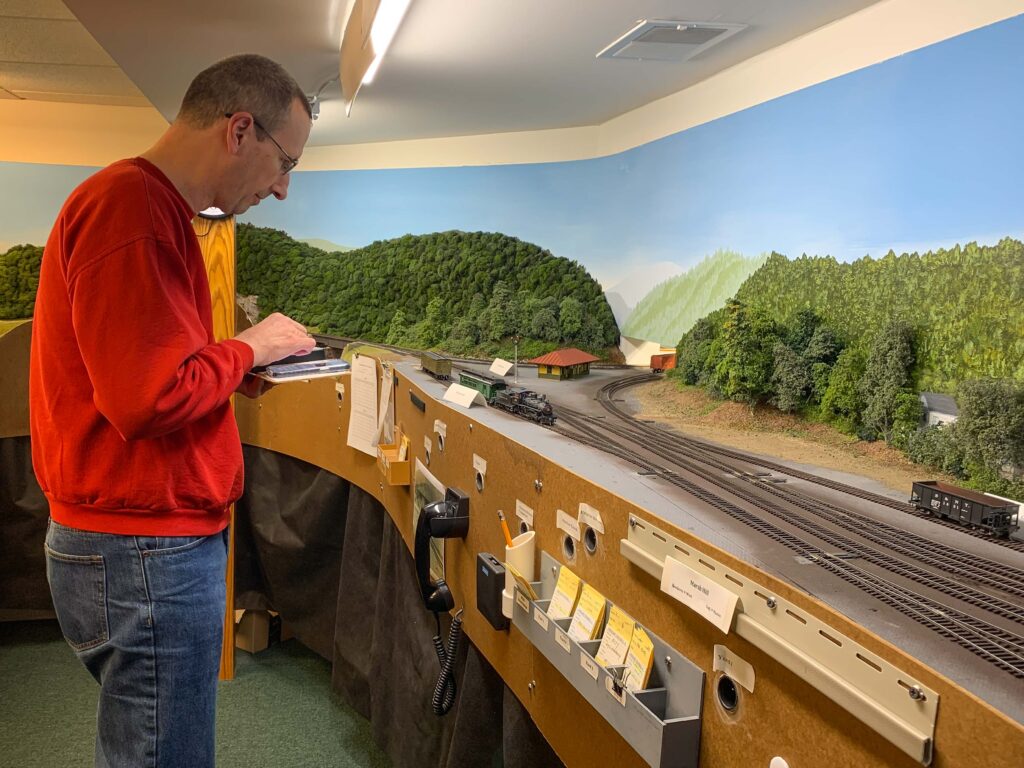
Jim H. picks up a milk car with the morning passenger train at the Marsh Hill depot.


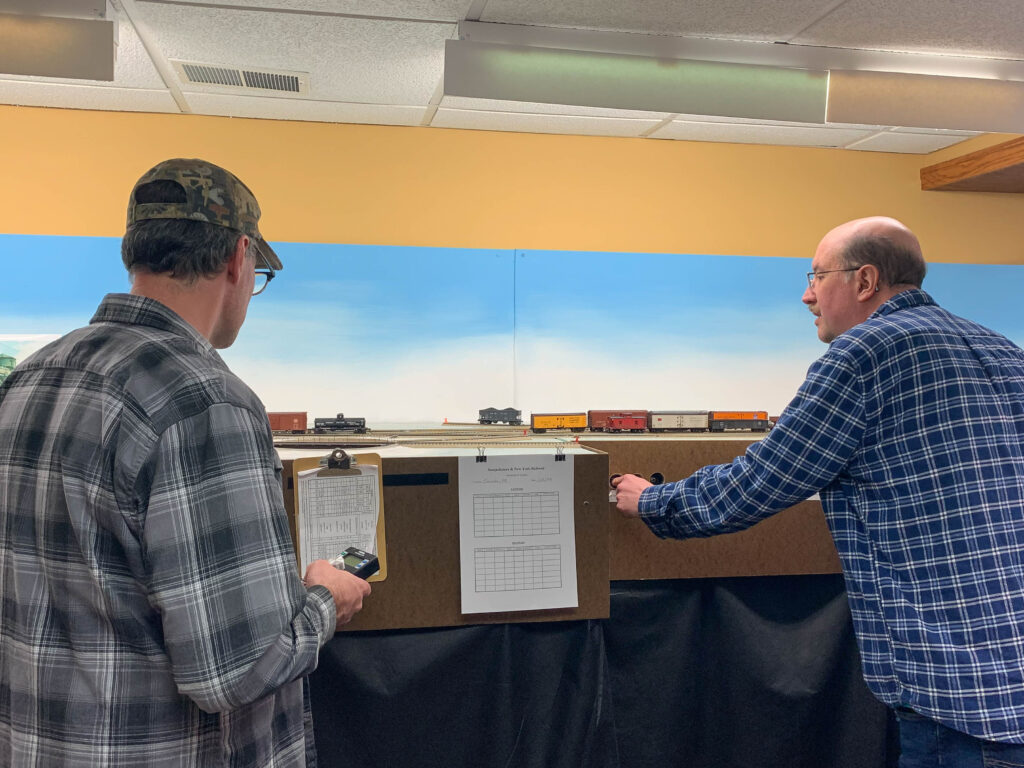
Ray B. and Jerry J. build a westbound freight at Towanda.


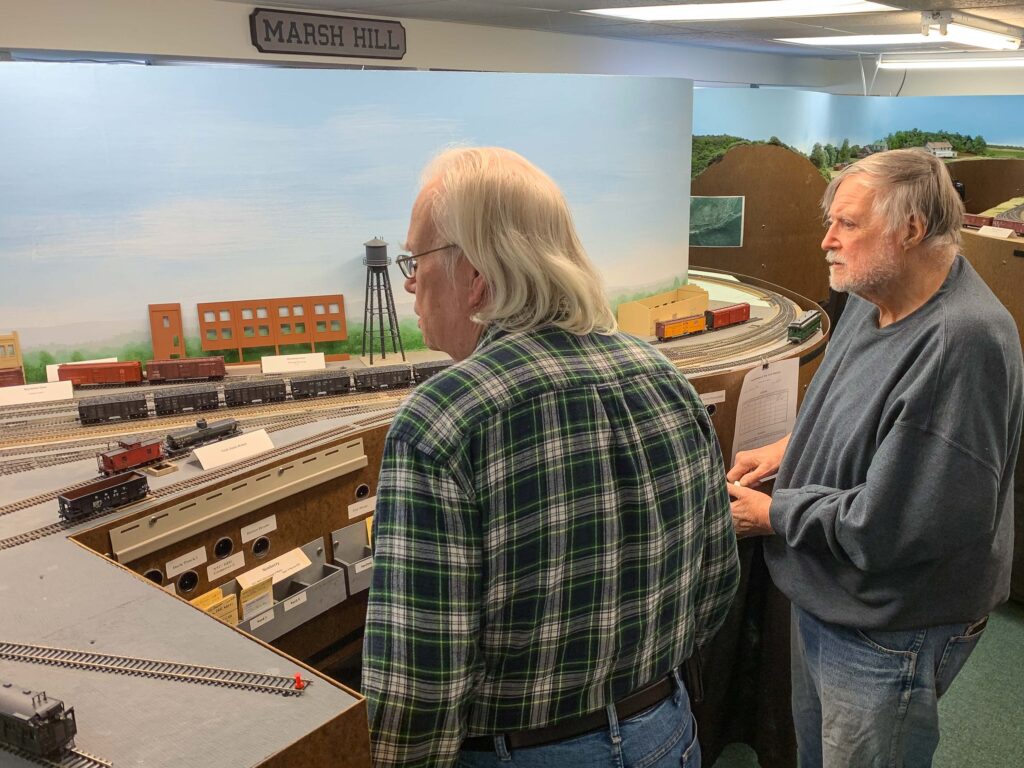
Fred L. and new operator Dave C. get their train together at Newberry.


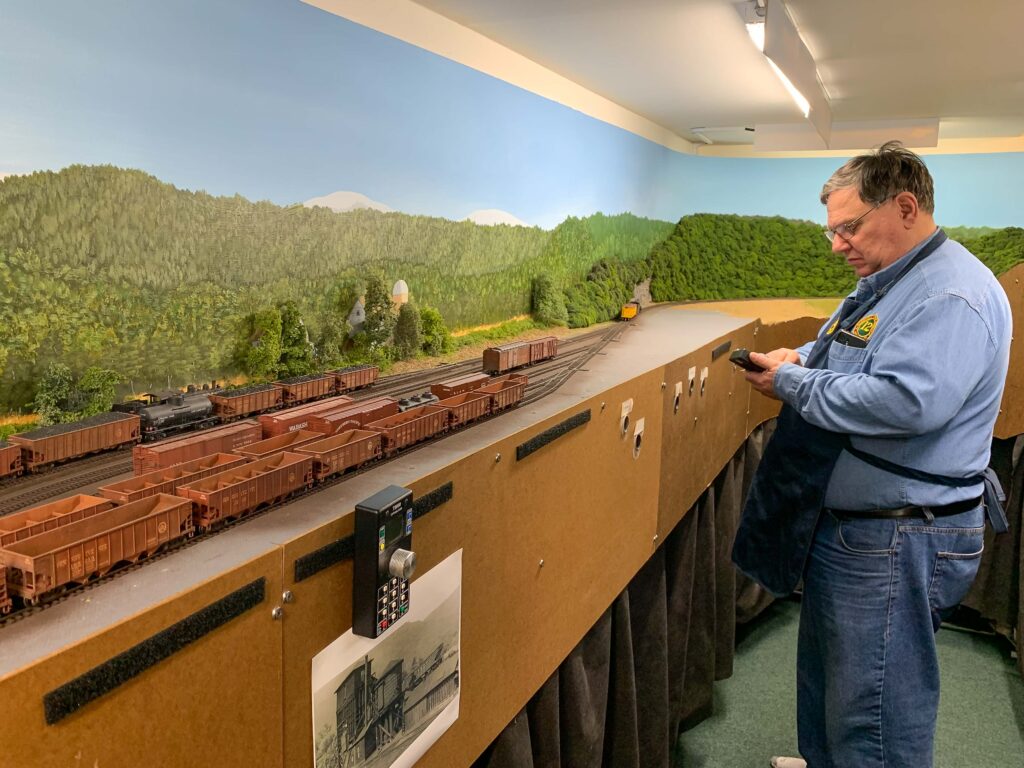
Veteran conductor Brad W. organizes the yard at Marsh Hill.


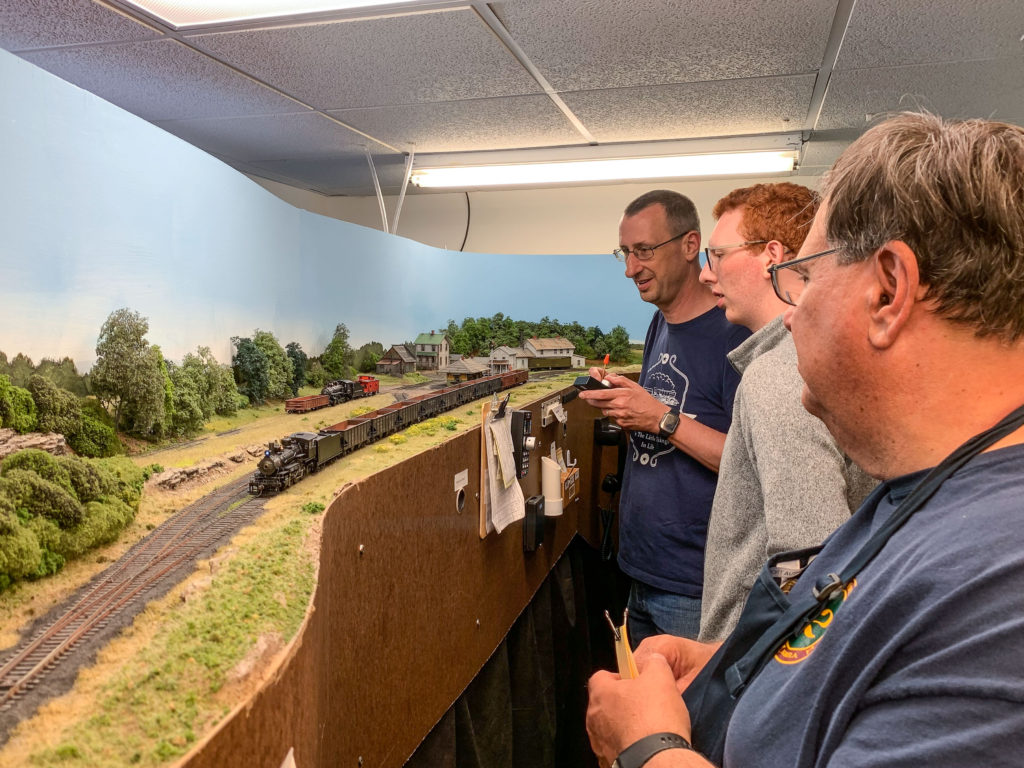
Railfans capture a rare 3-way meet at Laquin.

Looking at the photos, I really need to get moving on more scenery and structures, and also not wait 6 months for the next session!

Steam Power Re-lettering and Repainting Pt. 2

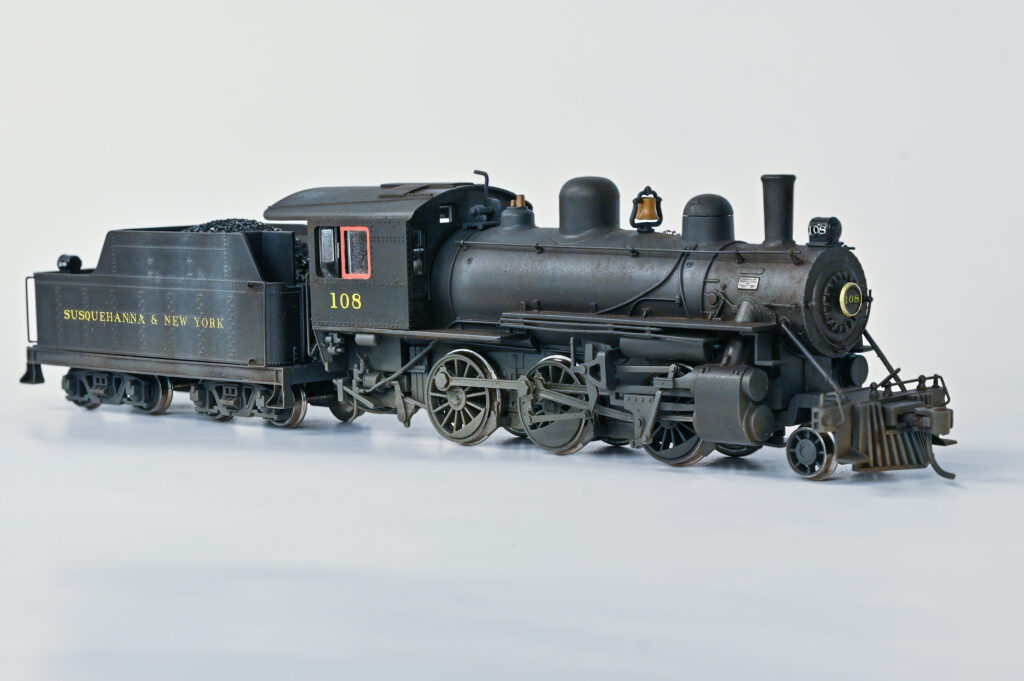
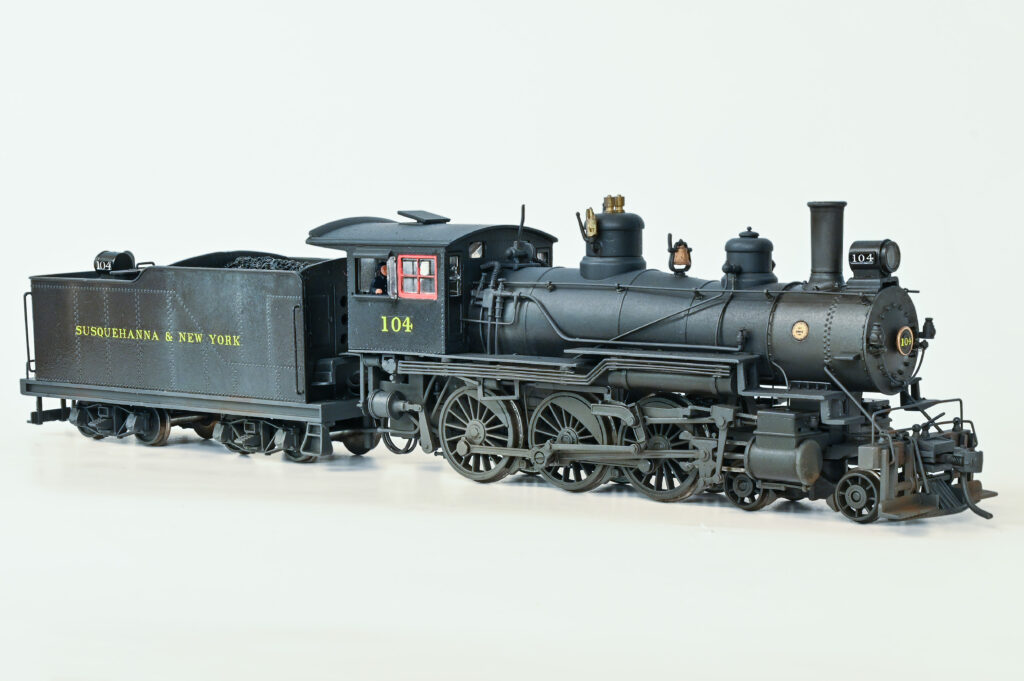
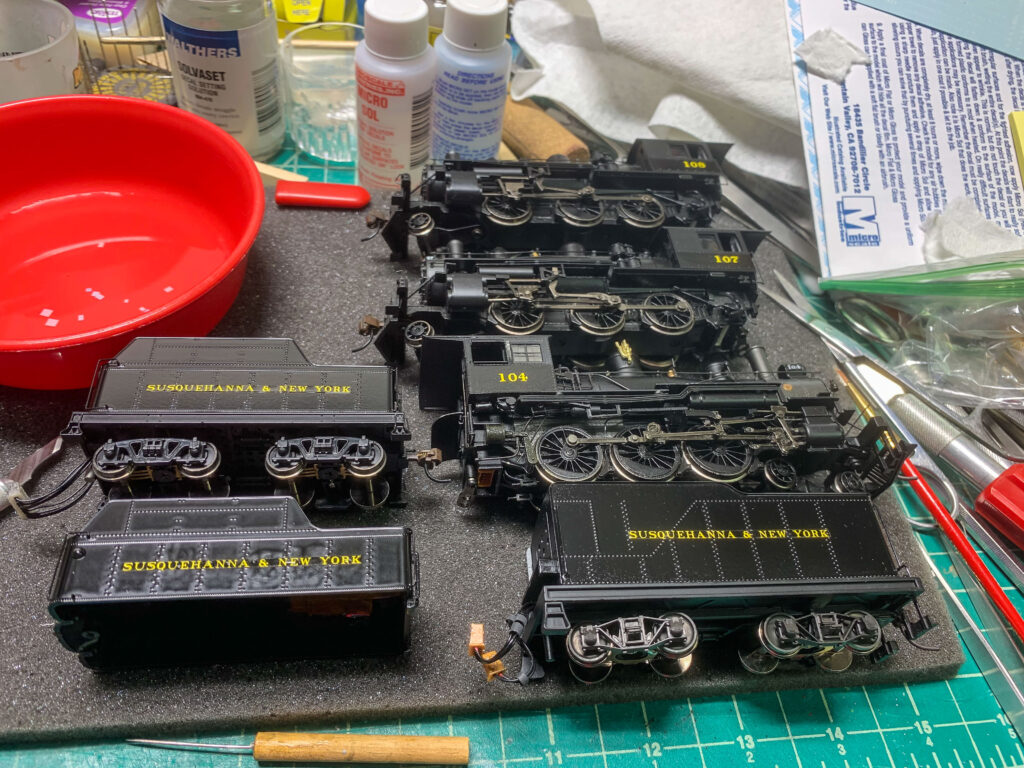
Managed to squeeze a little time in between the holidays, deer season, and everything else to finish up re-lettering, weathering and re-programming the three Bachmann steam engines and get them back on the railroad. The major impetus was getting my airbrushing setup out of our laundry room before family arrived for Christmas…

Like most projects, decaling all three locos took longer than I thought, mostly due to the fiddly tiny number decals on the front and rear headlights. That was followed by a seal coat of Future and a topcoat of Dullcote. The 2-6-0’s had ugly flat plastic disks for the front number plates, which bugged me, so these were replaced with Cal Scale brass castings.

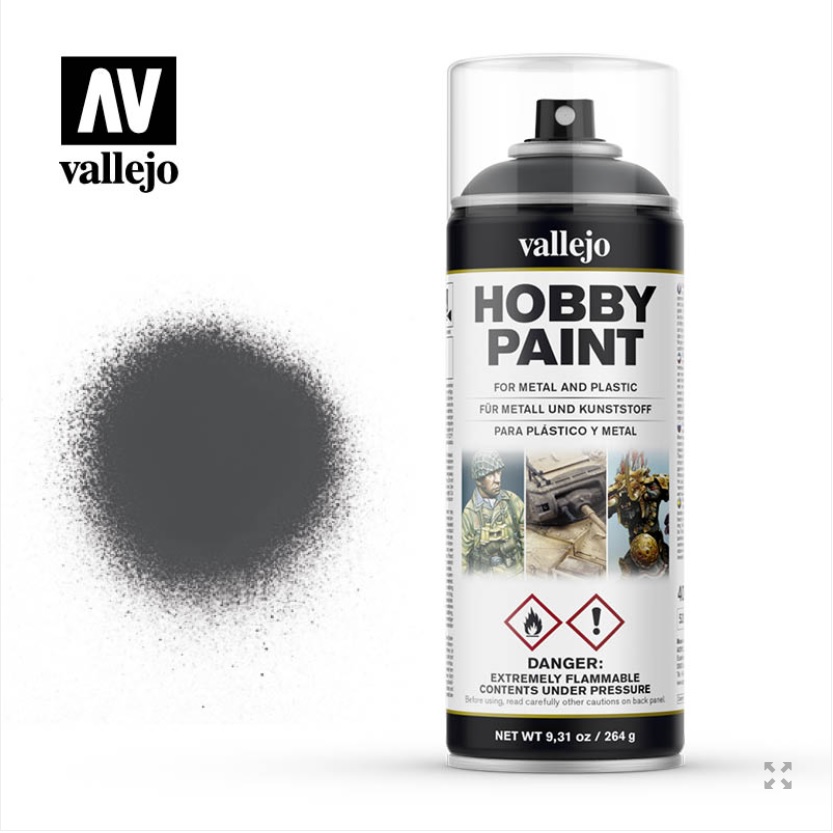
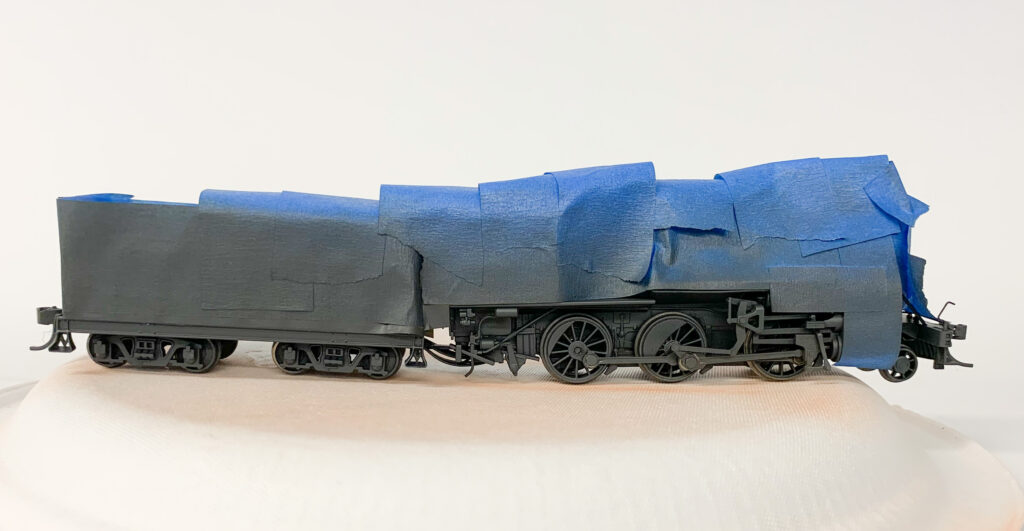
The running gear, tender frames, and tender trucks of all three got a couple of misting passes of rattle can Vallejo Panzer Grey while the engines were running on DC power. (Thanks to my friend Rob Bennett for this technique. ( The Bennet Railroad ))


The motherboard and decoder in one of the Moguls did not like DC operation very much and somehow crapped out. Luckily, I had spares, but what a PITA, mostly due to Bachmann insisting on a nest of identical black wires inside the tender, instead of NMRA standard color-coding. (Remember, model railroading is FUN!!!)

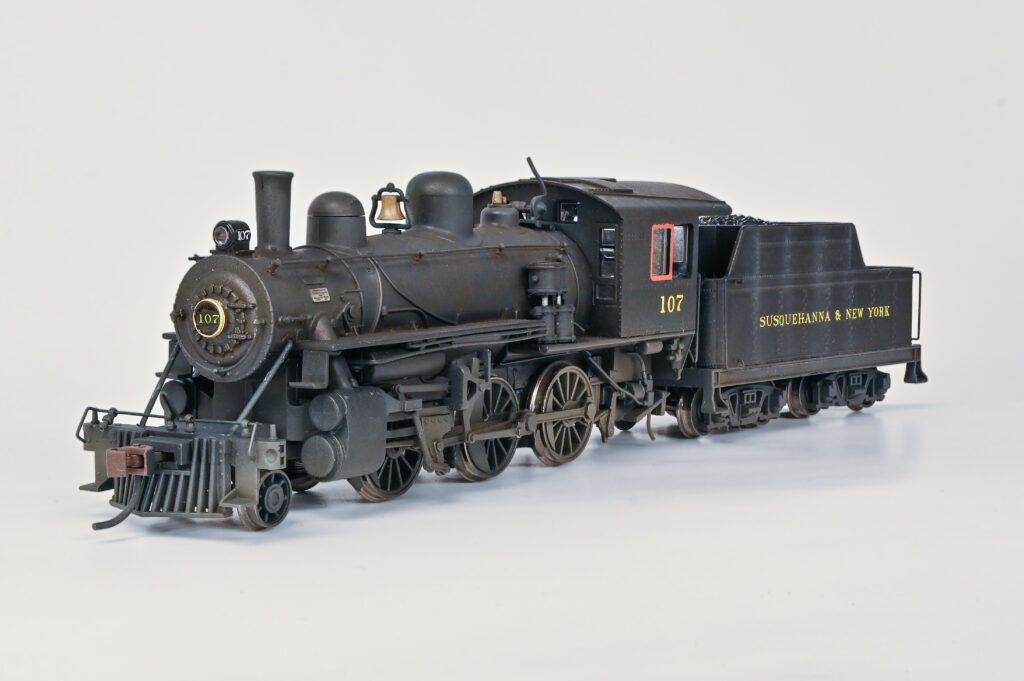
Anyway, after that delay, I did light airbrush applications of dirt, oily black and dark rust here and there. The 2-6-0’s also got a wash of Van Dyke brown artist’s oil paint and turpenoid. Final layer is areas of PanPastel weathering colors on all three engines. I wanted the effect of hard-working but well-maintained machines. A little red accent around the cab window frames and a good wheel-cleaning and the engines were ready for decoder fine-tuning. I use TCS WOW Sound in all my engines, and while I’m not a huge fan of their Audio Assist voice decoder programming, it is more intuitive than wading through a zillion pages of nested CV’s in JMRI Decoder Pro.

I do use Decoder Pro to set the 4-digit address, a basic speed curve, and dim the headlight and backup light LED’s by about 50%. Then I switch to Audio Assist to set the chuff rate and program the dynamic exhaust. The other major setting is to turn down the global sound volume by 50-60%.

And that’s it. No more plain black plastic engines for the next op session! Now to get back to that passel of X29’s…

Steam Power Re-lettering

Finally getting to a long-overdue re-lettering of a couple of Bachmann engines for the S&NY. The 2-6-0’s were factory-lettered for NYC, and the 4-6-0 is an undec. All three are “foobies” for the real S&NY and I had plans to re-detail the 2-6-0’s to more closely resemble the real S&NY #117, but that ain’t happening for the foreseeable future. I masked the tenders and cab sides and hit them with some rattle-can gloss black, so the decals had a nice surface. Once weathered, they should look pretty good once back in service.

Thank God for custom decals, though. After piecing together the engine numbers, there is absolutely no way I’d be spelling out “Susquehanna & New York” letter-by-letter 6 times on 3 different tenders…


Fixing Red Caboose 2D-F8 Trucks

Several months ago, I looked around my railroad, and realized though the S&NY interchanges with the Pennsylvania Railroad, I had no PRR boxcars in service. I dug into my stash of to-be-built kits and found a passel of old Red Caboose X29 boxcar kits. Red Caboose is defunct, but the tooling is now owned by Intermountain, who occasionally releases built-up ready-to-run models in various paint schemes. Unbuilt RC X29 kits are ubiquitous at train shows and can often be found at bargain prices. The kits are moderately complex and somewhat “fiddly”, rivaling some resin kits. This may account for why so many languish unbuilt on the secondary market.

The PRR X29 fleet alone numbered over 29,000 cars (!), and similar variants were owned by numerous other railroads. If one is modeling any era from the 1920’s though 1950’s, having representative model X29’s and variants are a requirement. I batch-built 6 of these kits at one time over the course of several months: 2 plain-vanilla PRR 1924 versions, 1 1925 PRR version, 1 PRR REA version, 1 B&O M-26A version, and 1 B&O M-26B version. I plan to detail these builds in a future blog entry.

The trucks included in the old RC kits have a (probably deserved) reputation of being derailment-prone junk. However, the tooling of the side frames is a very well-done representation of the early PRR 2D-F8 trucks equipping most of the early and middle production X29’s. What I’d like to focus on here is how to eliminate the inherent design flaws of these trucks and make them reliable runners.

First, a little background on these trucks. The “2D-F8” nomenclature refers to the PRR system of classifying car trucks. The “2” refers to the number of axles; the “D” is the AAR class of journal diameter, in this case 5 ½ x 10”; the “dash” represents a standard AAR axle diameter; “F” represents intended usage, “(F)reight” in this case; and “8” represents the eighth consecutive design of this class.
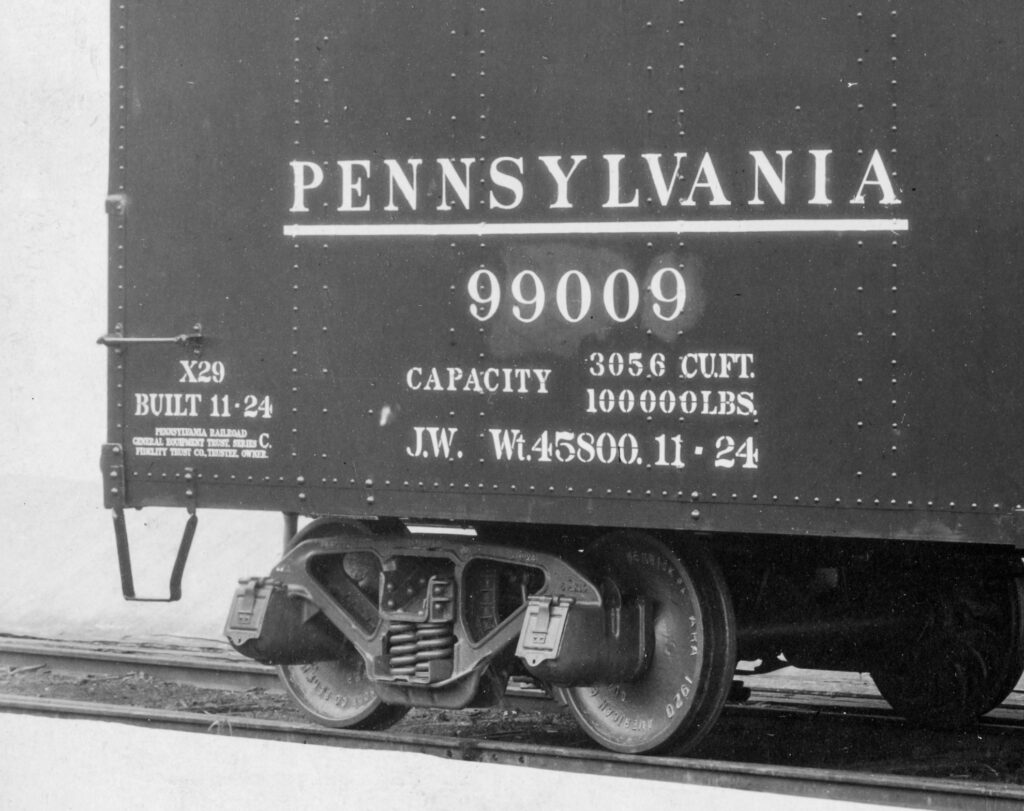
Ray Breyer Collection
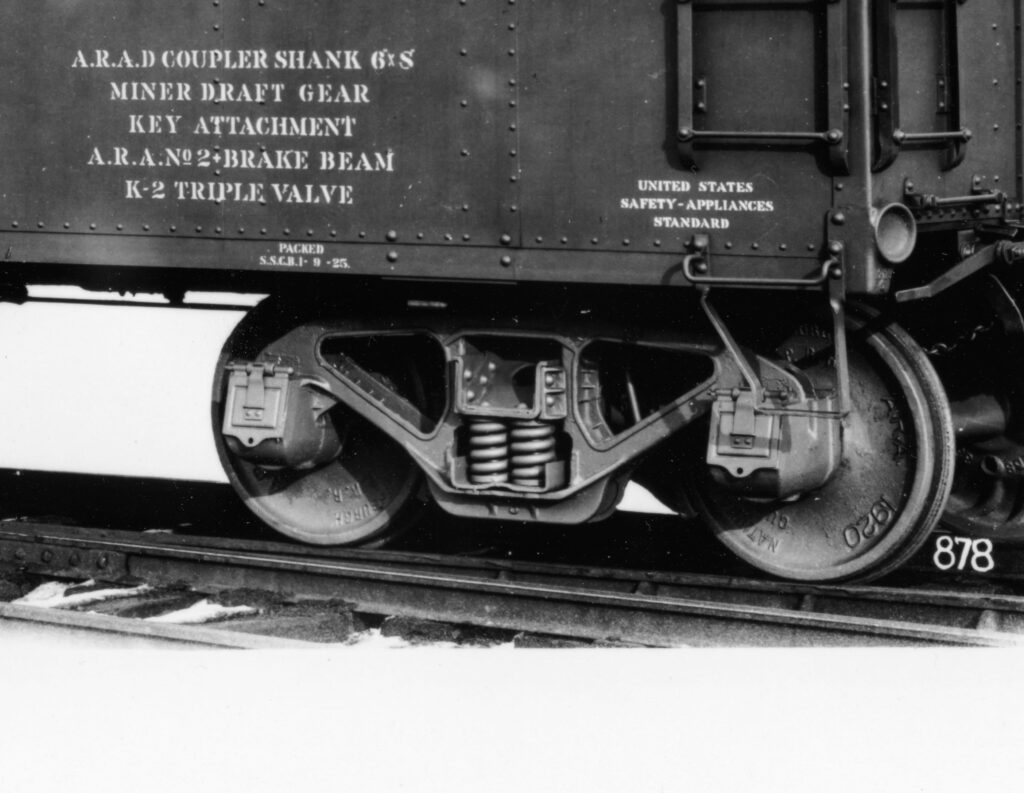
Ray Breyer Collection

There were many 2D-F8 variants, mainly distinguished by the appearance of the truck bolster end. The Bowser offering is a good example of a later variant with a vertical rib in the bolster end. The Red Caboose trucks, however, are the only available example of the early version found under the X29 boxcars. Once you know what to look for, you can’t unsee it, and being a 1930’s-era modeler I wanted these distinctive trucks under my models.


The Red Caboose trucks are a three-part assembly consisting of both side frames and the bolster, and are molded in a slippery engineering plastic, likely Delrin or equivalent. The side frames snap into the bolster ends. The design flaw is that manufacturing tolerances may allow the side frames to twist a bit on the truck bolster rather than locking everything square, causing the wheelset axles to no longer be parallel with each other. The fit is tight enough that the twist will remain, lifting one or two wheels of the truck off the railhead. Another problem is that the axles of the wheelsets provided in the kits are way too short, such that if the truck twists far enough, the wheelsets simply fall out of the side frames. A third problem is the supplied kit weight is well over an ounce too light for the car length, per the NMRA Recommended Practices.

So, the combination of off-kilter trucks, too-short wheelset axles, and car underweighting is a recipe for operational disaster. How do we fix this?

Freight car guru Ted Culotta devised a method of using tiny Torx screws to physically and rigidly attach the side frames to the bolsters and using longer-length Reboxx wheelsets to eliminate much of the slop of the stock wheelsets. He described this method on his website: Prototype Railroad Topics: Creating Operational HO Scale Red Caboose Trucks (prototopics.blogspot.com)

Using tiny screws seemed a bit fiddly to me, and I wondered if there was a way to simply glue the trucks together. I knew engineering plastics are notoriously difficult to glue together to both themselves and other materials, and I was about to give up when I stumbled across an internet automotive forum discussion about adhesives and engineering plastics in engines. These forum members had success with several industrial adhesive products that used a primer material to improve adhesion. More internet searching turned up a similar consumer product by DAP, called “RapidFuse with Plastic Primer”, advertised to bond everything.
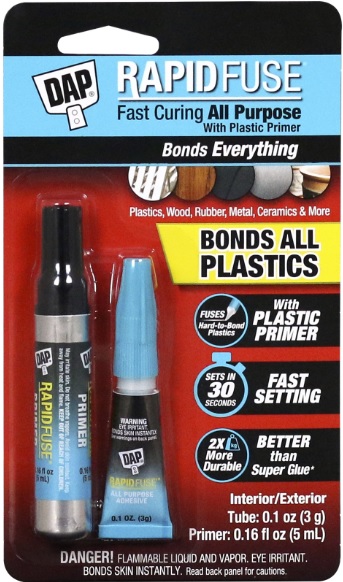
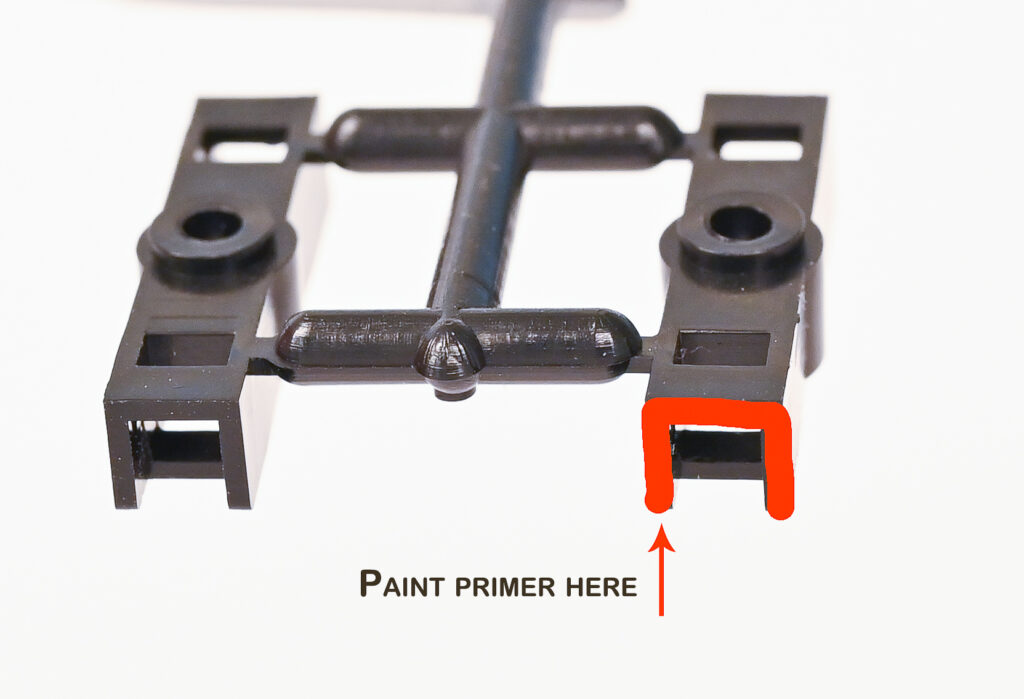
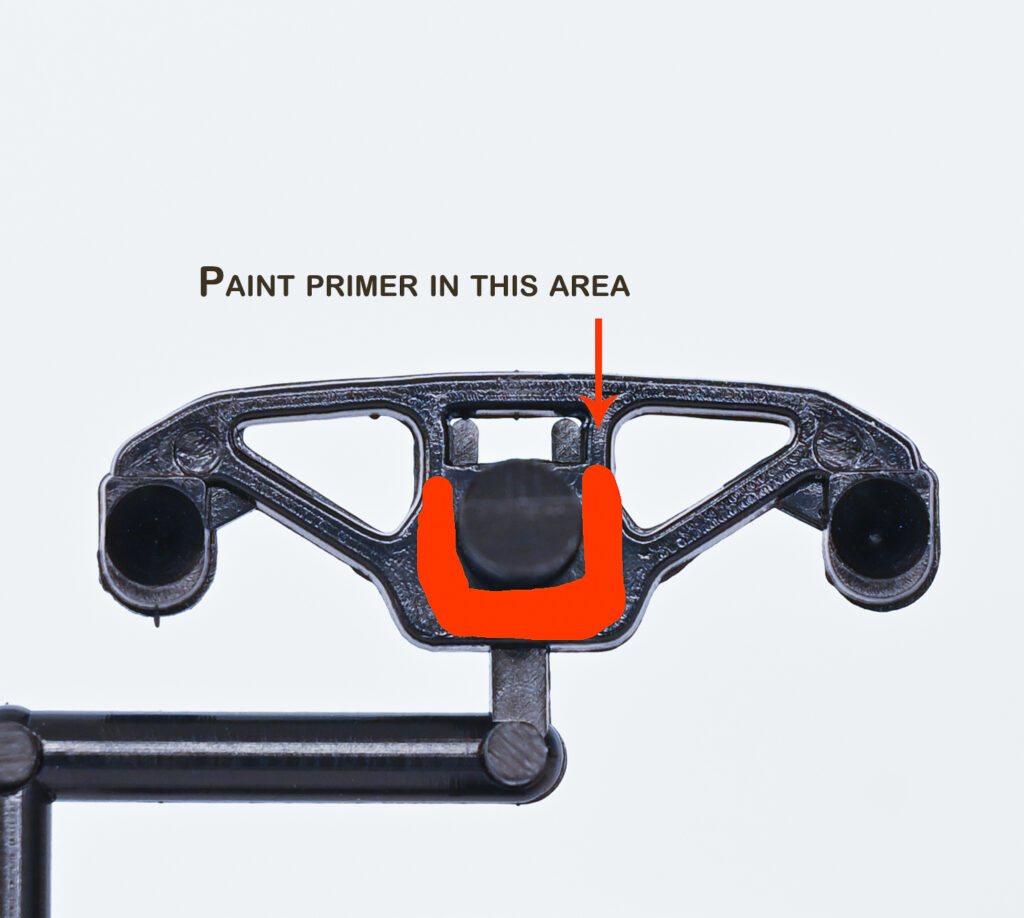
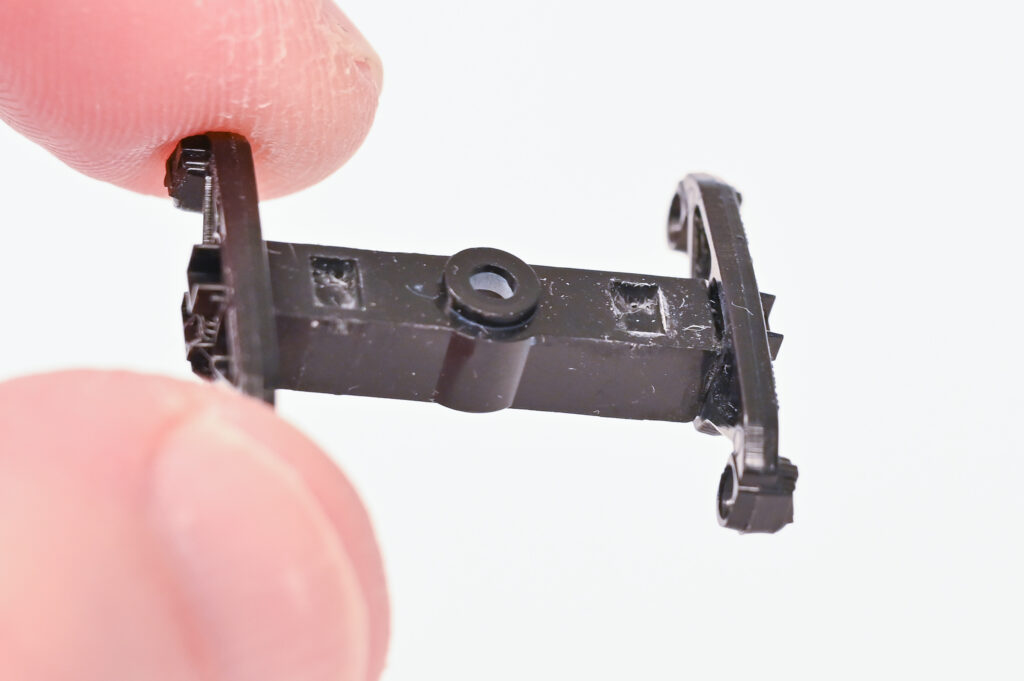
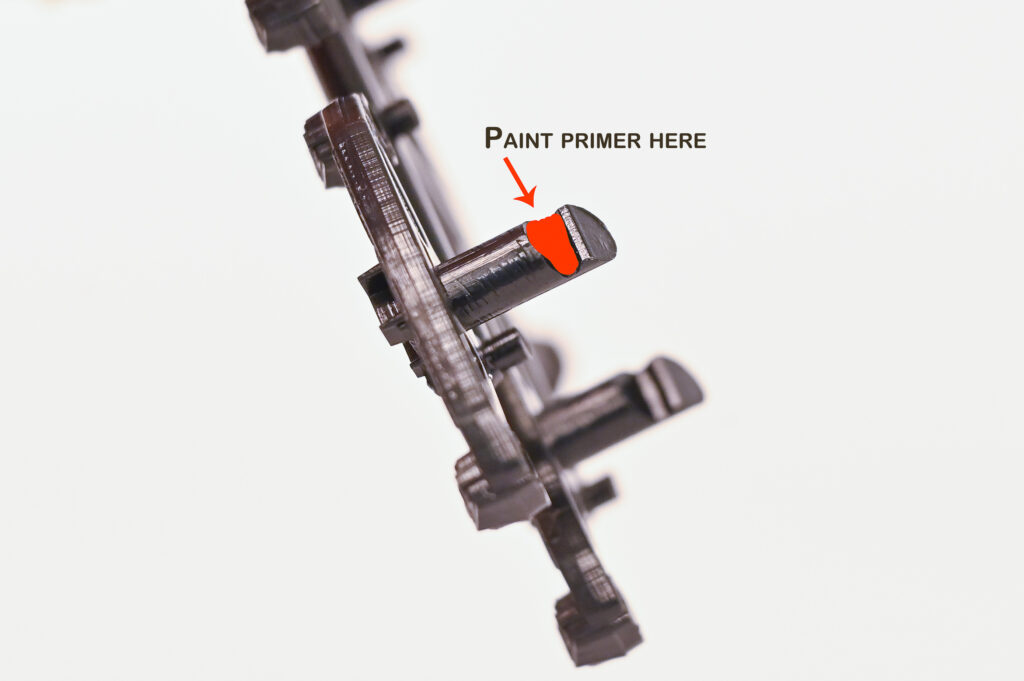
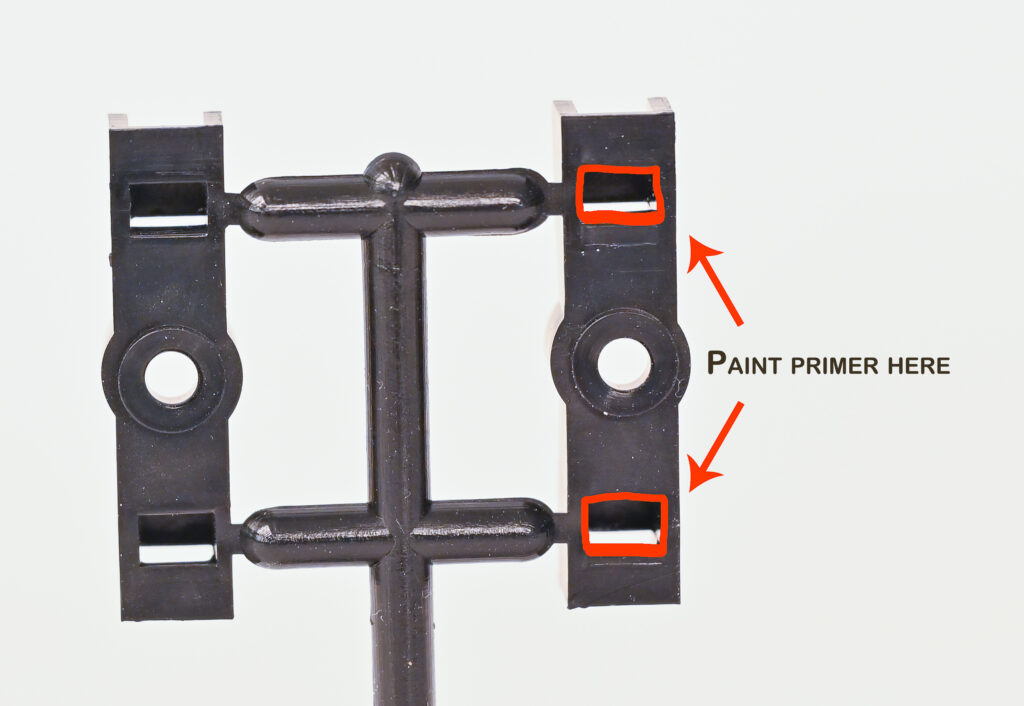
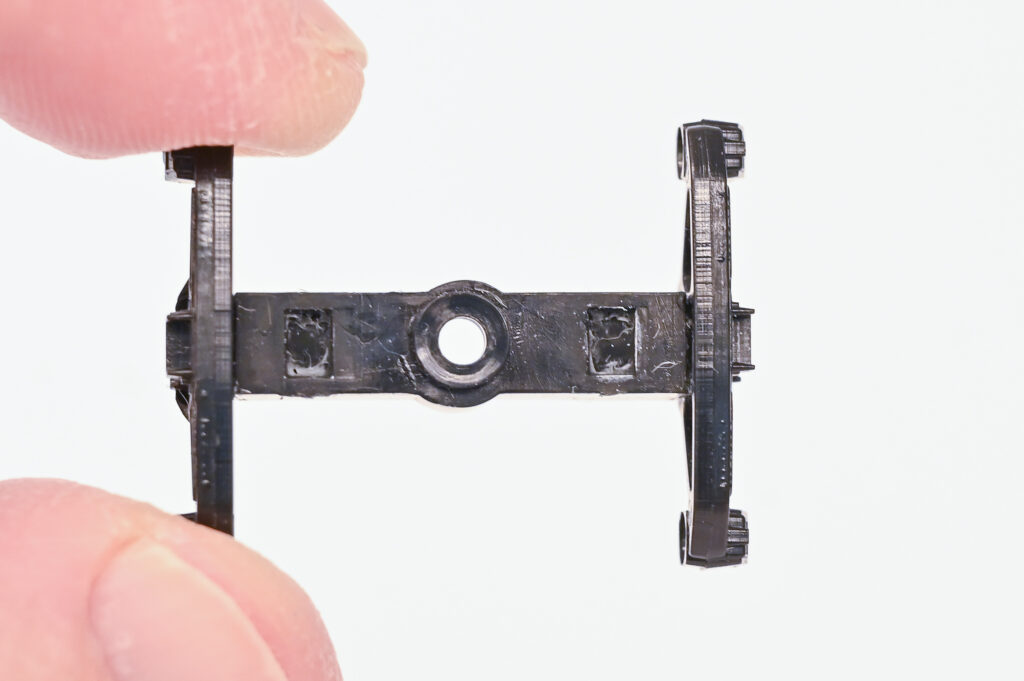
This product was in stock at our local Lowe’s, and I got some to try. I painted on the primer at the locations below, let it dry, then applied the glue to the face of each bolster and the notch of the side frame pin before snapping the bolster and side frame together. I did one side at a time, letting the glue dry 24 hours before gluing the opposite side together. Long story short, I had great success gluing together the RC trucks with this product. The key is to follow the instructions, and make sure everything is perfectly square before the glue sets. You have about 30 seconds of work time before the glue sets up. To be honest, I eyeballed everything under magnification, and 7 out of 8 trucks turned out perfectly. Not bad…


Glued and set.
 

Done!

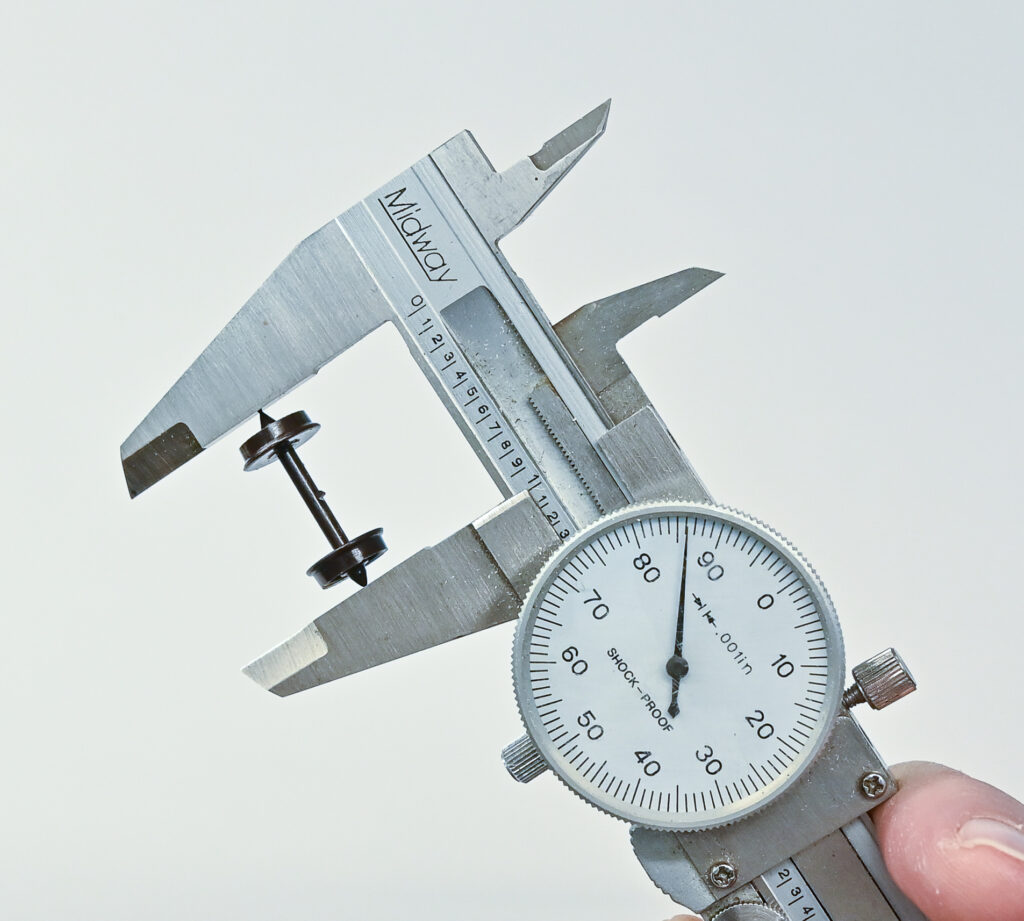
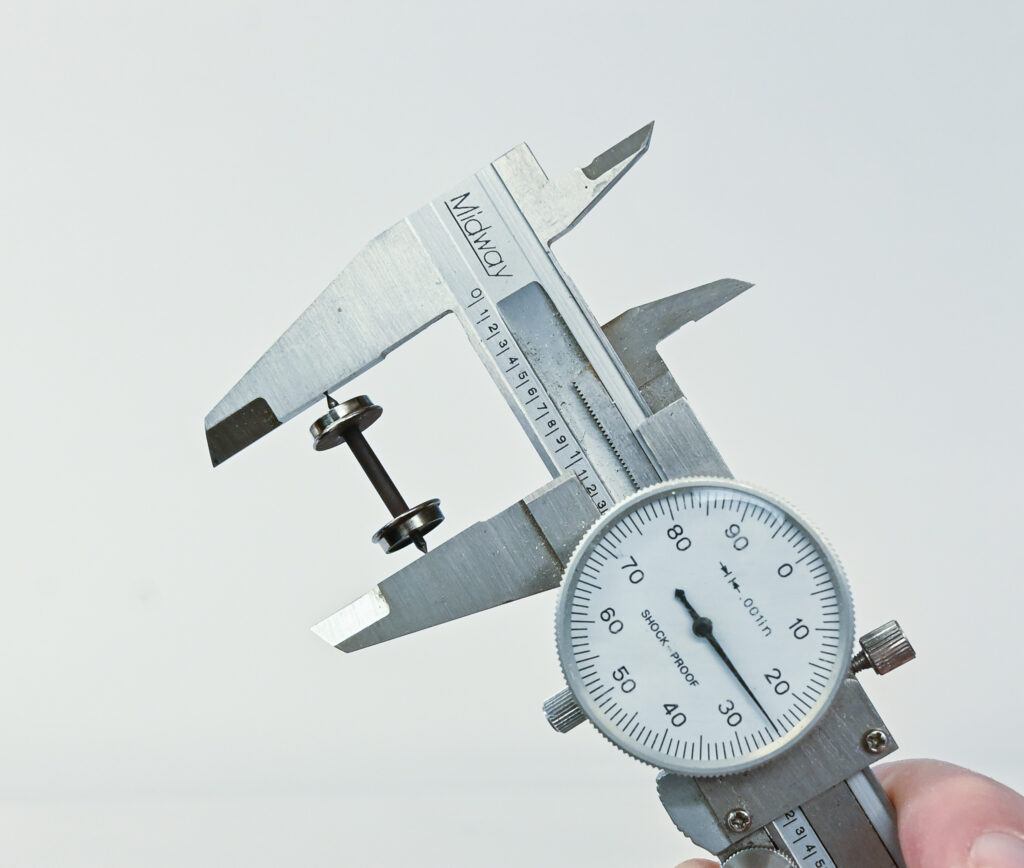
The next variable in the problem is the wheelset axle length. Reboxx wheelsets are no longer available, so who makes the longest currently available commercial wheelsets? An excellent question, the answer to which is not readily discernible. However, I solved this problem empirically, by measuring samples of different manufacturer’s wheelsets. The results are averaged measurements of 3-5 individual wheelsets and are shown in the following table:

Wheelset Axle Lengths:

  • RC plastic- 0.992”
  • Kadee- 1.015”
  • ExactRail- 1.000”
  • Walthers- 1.011”
  • Intermountain- 1.001”
  • Bowser- 1.025”

Red Caboose Plastic Wheelset
 

Bowser Metal Wheelset

So, empirically, Bowser wheelsets have the longest axle length, and I used these to replace the stock RC wheelsets.

An aside: double-check the back-to-back gauge of any wheelsets you are using with an NMRA gauge. The Intermountain and Walthers Proto wheelsets were almost all uniformly too narrow by several thousandths. This is easily fixable by use of a Micromark wheelpuller.
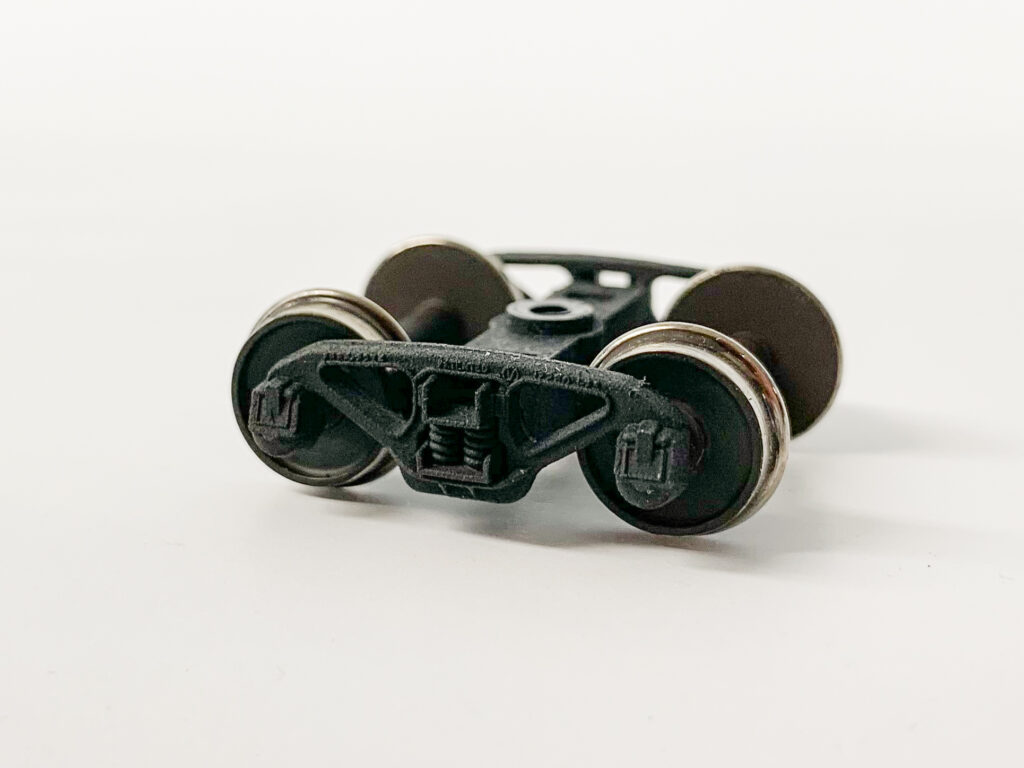
Just needs weathering!

As an experiment, I sprayed the trucks with a charcoal gray auto primer instead of my usual Rustoleum Camo Brown. The auto primer is a little heavy compared with the camo brown, but I’m hoping it will provide a little better “tooth” for PanPastel weathering colors.

The last variable, car weight, is the easiest to solve. I simply bought a 3-pound box of stick-on wheelweights in ¼-oz increments at a local auto-parts store for about $22, and placed enough of these inside the cars to bring them up to NMRA standards before gluing on the roof. Easy-peasy.

Hopefully these 3 fixes will result in a reliably-running X29 fleet. Time will tell!
Op Session #31

Op Session #31 was held Saturday, 6/25/22. Hard to believe the railroad has hosted that many so far…

We were short on crew members, so the local trains, No’s 24 and 25, were annulled and the local work was combined with the coal extras.

One weird issue was a TCS WOW-Sound equipped Bachmann 2-6-0 dropped its sound after a brief short at a turnout, then regained it later after another brief short at mis-thrown turnout. The motor control was left intact, but no functions would work during this episode. This engine-decoder combo had previously been rock-solid, so I’m not sure what the issue is here. Power-cycling the engine did no good at the time, but after the decoder “came back to its senses” it seemed to work fine again. Will have to keep an eye on that one. Other than that, no other major problems ensued, and an enjoyable time was had by all.

Below, old-head conductor B.A. White supervises neophyte crew J.H and W.H. on Extra 104 West while they make a set-out at Wheelerville, PA:

A Virtual S&NY

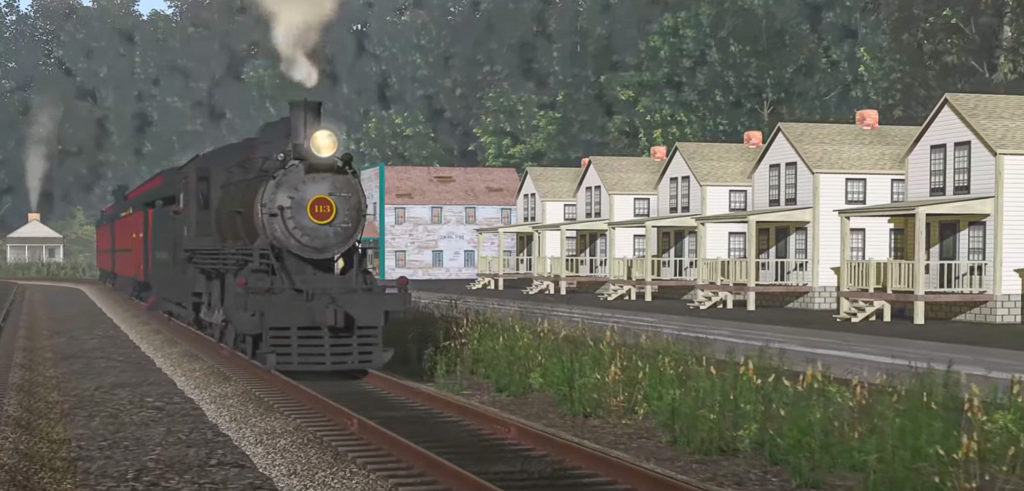
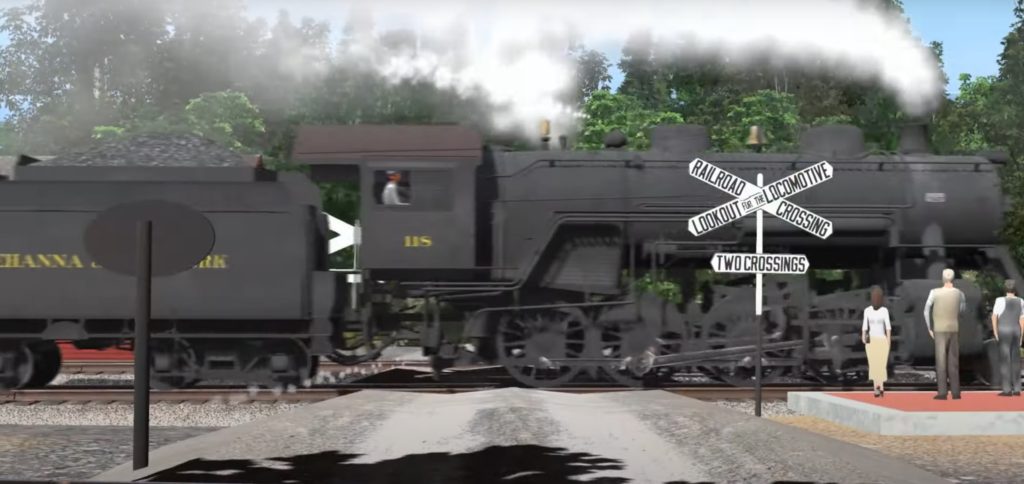
Nick Ozorak was a semi-regular operator on the model S&NY, prior to COVID and his moving out of the area. Nick is a master of “virtual” or digital railroading, both model and prototype, and became enamored with the S&NY after learning about it through our op sessions. Subsequently, he developed an amazing digital version of my S&NY layout. Nick left out the aisleways in his virtual version as not being necessary, since the digital railroad is essentially operated in the first person, and this results in some jaw-dropping scenic vistas. There are a few compromises, of course, mainly due to the structures and rolling stock available in the digital library, but the effect is still amazing. The view down the length of Laquin is especially good and looks very close to photos in Tom Taber’s logging series book “Ghost Lumber Towns of Central Pennsylvania”.

Nick Ozoraks’ Virtual S&NY Railroad

I really need to get cracking on the layout scenery; the digital version is way prettier than the real layout now!

Enjoy!


Layout Update Winter 2022, Pt. 3

Besides scenery projects, I’ve been working on a few rolling stock projects. Our NMRA division started a weekly modeling work-session/chat every Thursday night as a way to keep interested members in contact. I found a weekly session is a good motivator to work on projects that can be divided into small bites while chatting online.

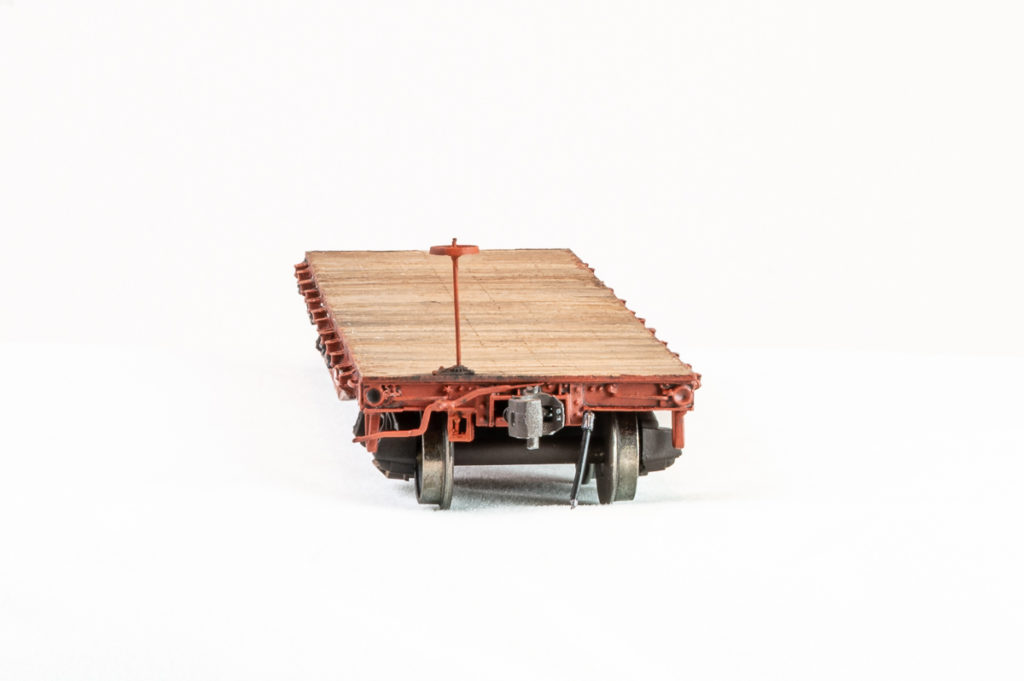
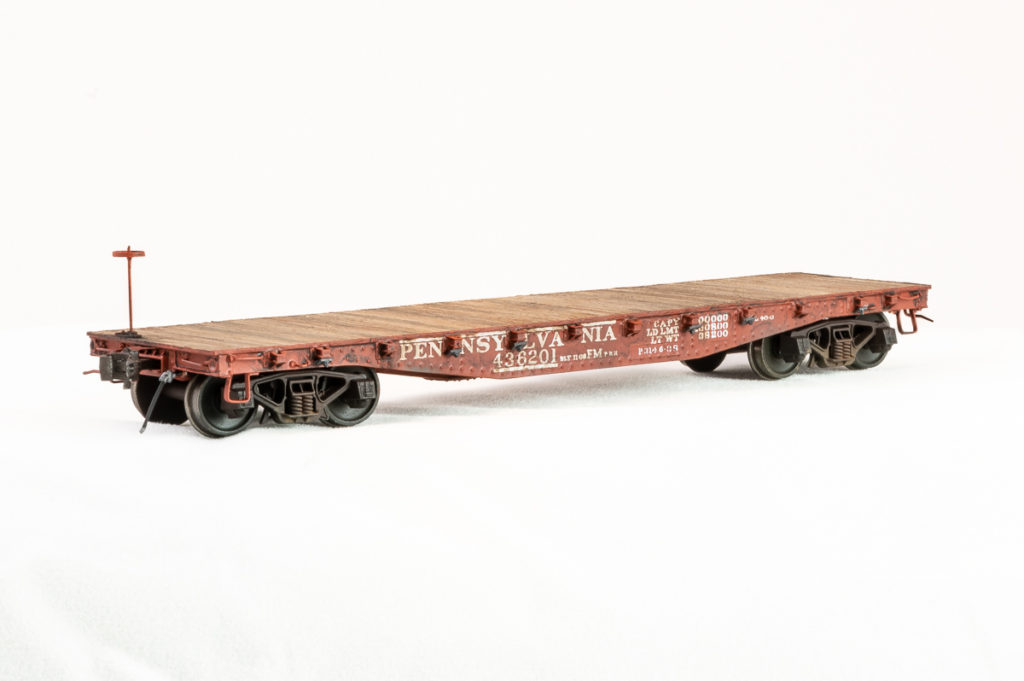
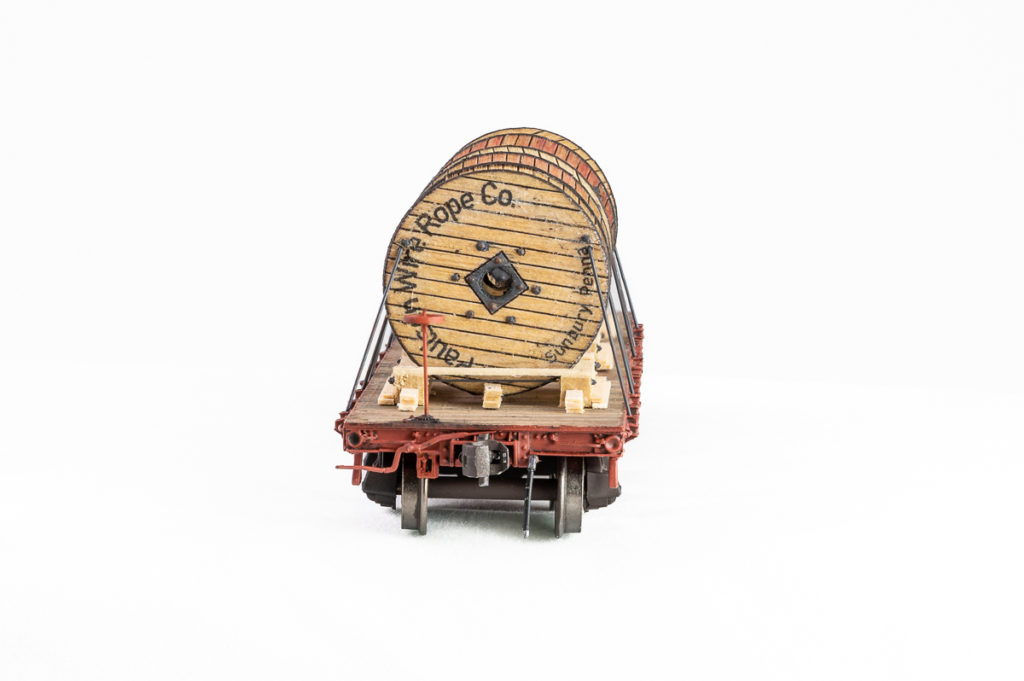
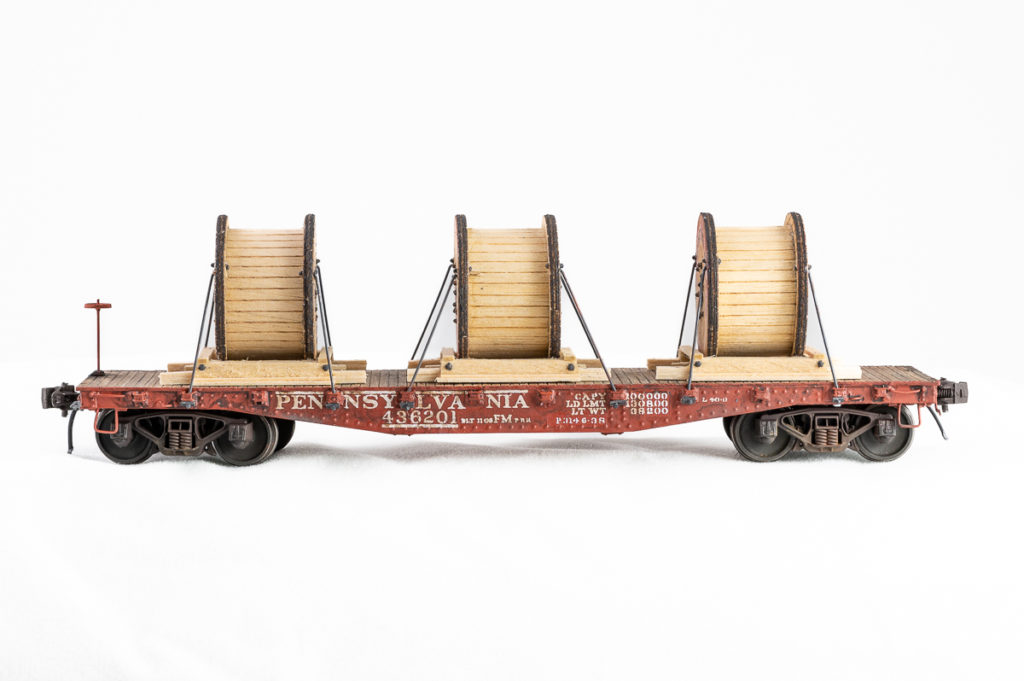
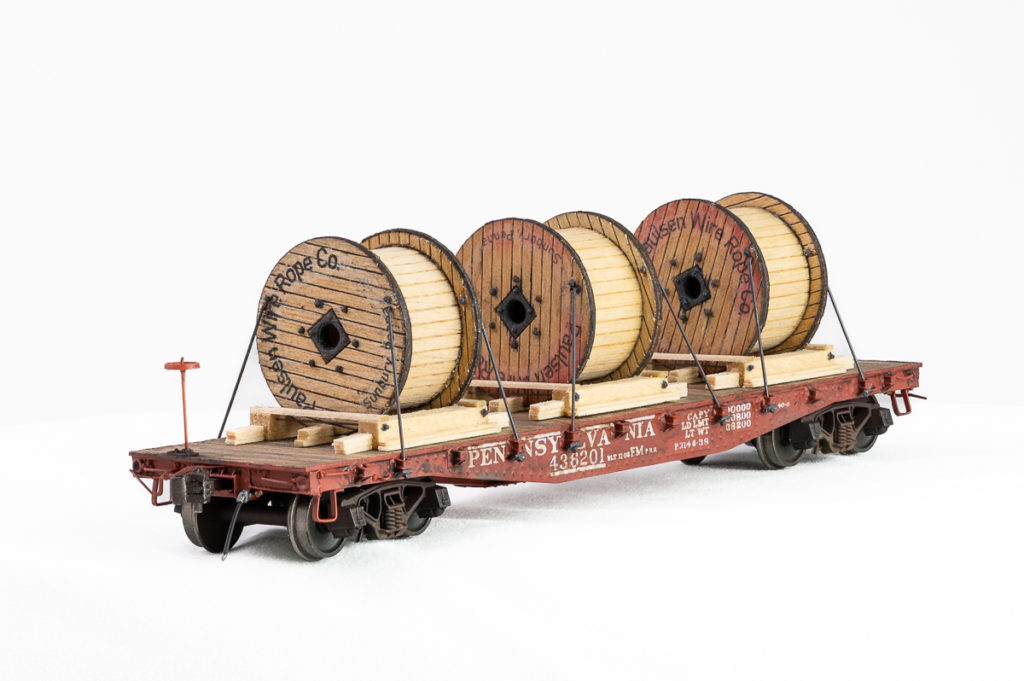
The first project was a resin F&C PRR FM flatcar kit. I pulled this one out of my stash of resin kits, and since I had never actually built a resin kit before I figured it would be a good one to start with, as the box actually include parts for two complete flatcars. If I messed one up, there was a spare to work on! The build was fairly straight forward, and the only downside was the completed cars weigh next to nothing. I decided to add a load of lead-shot-filled cable reels to add weight to the cars so they would track properly in operation. The reels are a laser wood kit from GCLaser with added detail and homemade decals. The load blocking was constructed of scale lumber and is taken from an ARA loading diagram.

Completed car end before load added.


Three-quarter view of completed car.


Car end after load added.


Side view of completed car and load.


Three-quarter view.


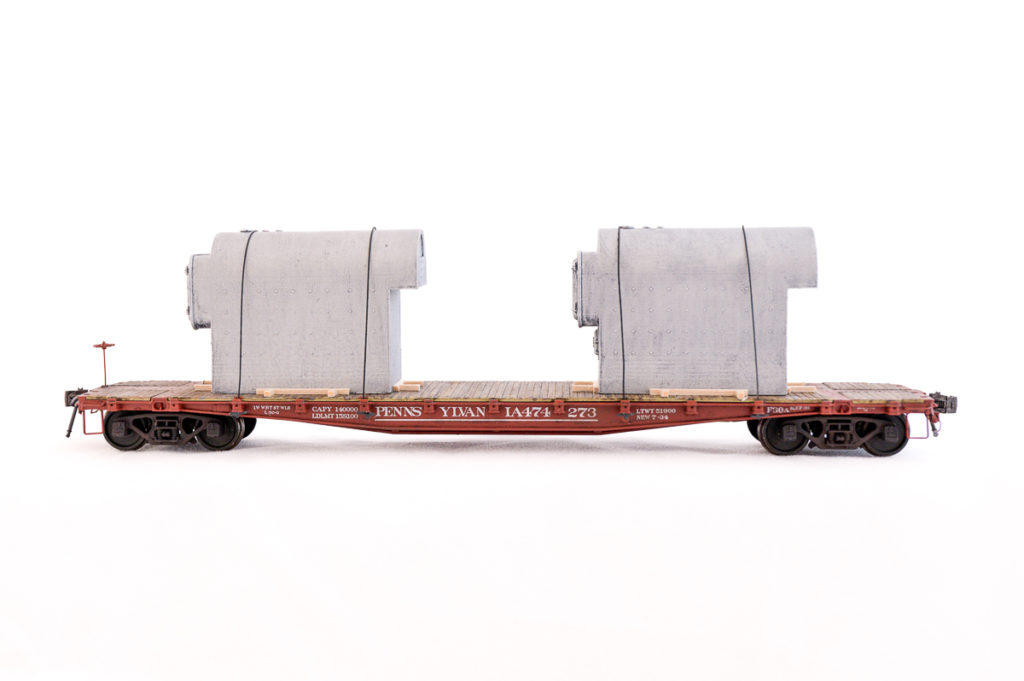
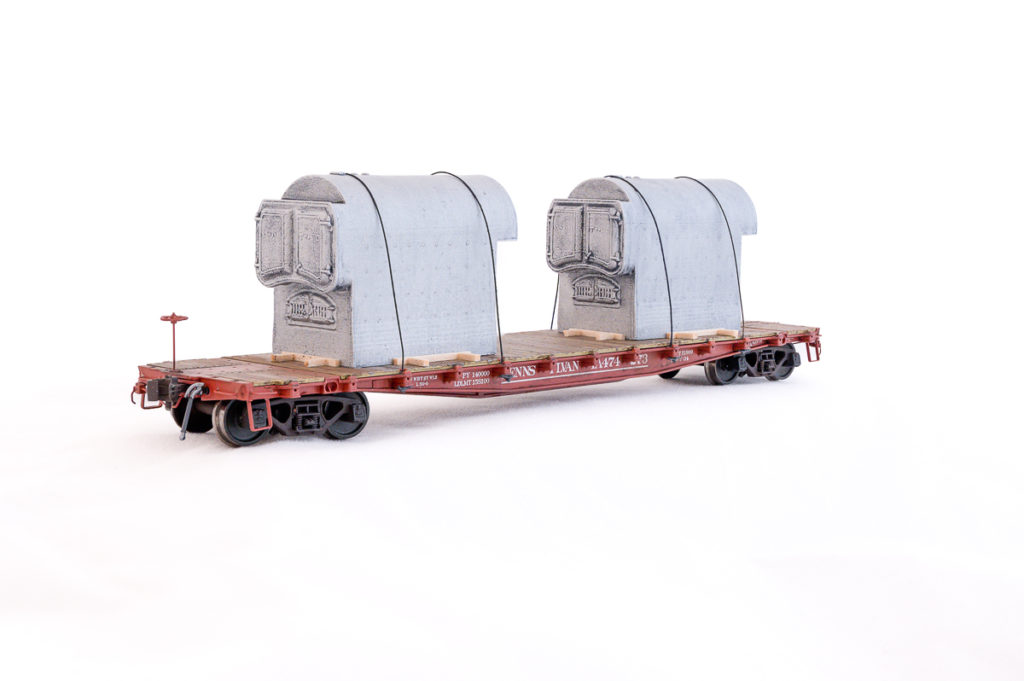
The second car project was also a “Thursday Night Build”. This project was a little simpler and consisted of a Rapido PRR F30a flat car and a resin-printed boiler load from Resin Car Works. The blocking was made of phosphor-bronze wire and scale lumber, following a loading diagram from the RCW website. Despite having a metal body, the car was still a bit light per NMRA standards, so I made styrene floors for the hollow boilers and added weight inside. The car ended up only about 1/8th of an ounce too light. I also swapped out the Chi-Com Kadee knock-off couplers for real Kadee scale couplers and used my usual weathering techniques for the deck and the rest of the car.


Side view of completed car and load.


Three-quarter view of completed car and load.


There are a few other projects in the works, and I’ll try not to let a year pass before updating again!