I won’t insult anyone’s intelligence with maudlin nonsense about recent events, except to say I’ve been working more or less as usual, but concomitant changes in various plans such as the cancellation of the PRRT&HS and NMRA MCR conventions has left me with some extra time to make progress on the model S&NY.
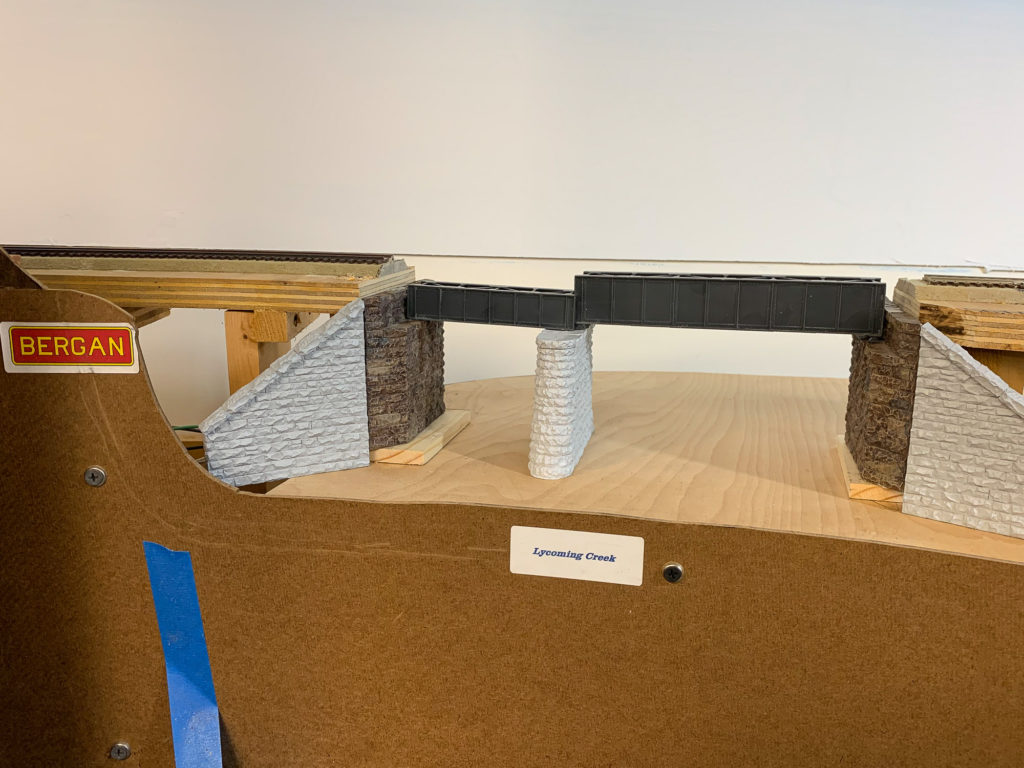
A major project I had been putting off is a re-work of the short PRR section of the layout, including a bridge over Lycoming Creek. I had several goals for this corner of the railroad:
- Differentiate PRR from S&NY scenically
- Wanted a more impressive bridge for this location on the RR
- Be a focal point/LDE
There were also several obstacles to be overcome:
- Space too small for Central Valley-style truss
- Easemented curve at one end and turnout at the other end of the bridge
- BIG area of mountainside
- Transition to Marsh Hill Jct. area
- Leave space for Bergan tower
This section was one of the very first on place when I began the layout, and the bridge carried the mainline. Pulling out the bridge would prevent any op sessions until the project was essentially complete. With op sessions off the table for the foreseeable future, I figured this was as good a time as any to bite the bullet and begin.
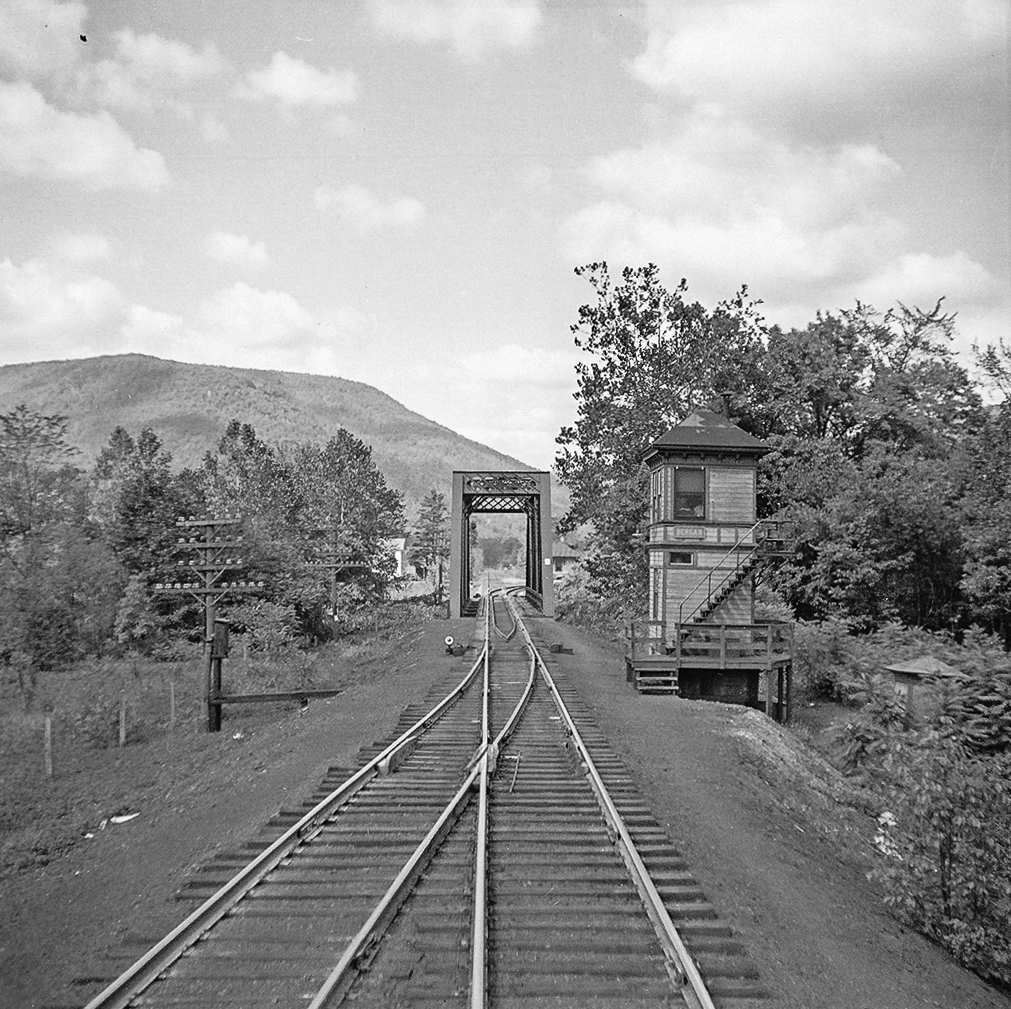
This was the prototype scene. S&NY Marsh Hill station in the background with the junction track curving off to the right from the PRR Elmira Branch into the S&NY Marsh Hill yard:
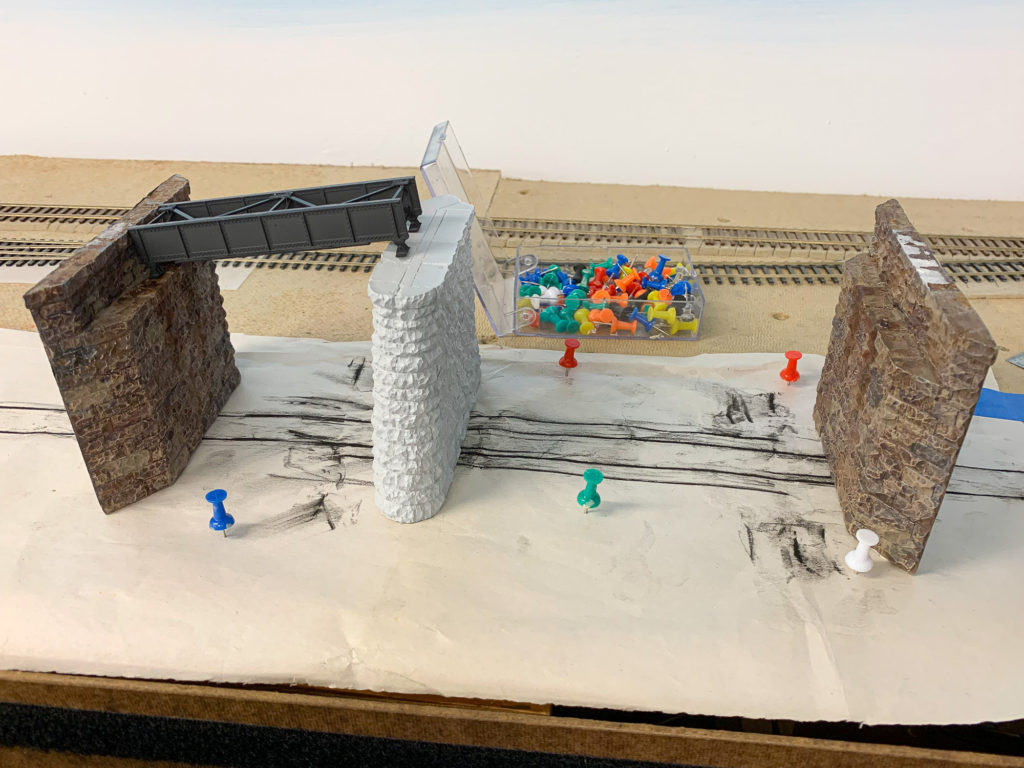
A through truss bridge was not going to fit in this area. A Central Valley through truss is 21 inches long. Not only would that not fit, it would overwhelm the scene. Instead, I decided to go with Walthers deck girder bridges. They are bigger in depth than the Micro Engineering bridges elsewhere on the layout, and I hoped that would be enough of a difference to set off the PRR bridges from the S&NY ones. The cut-stone abutments and pier would also show a bit of a difference. With that in mind, I got started.
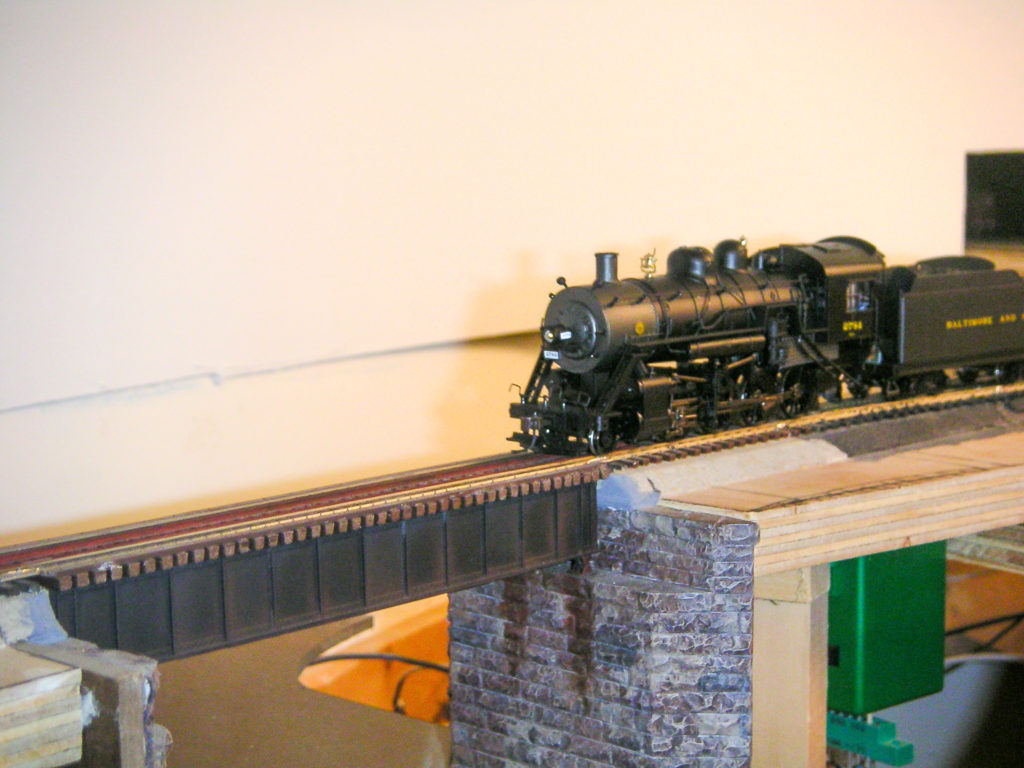
This was the only photo of the area showing how it looked originally that I could find in my files:
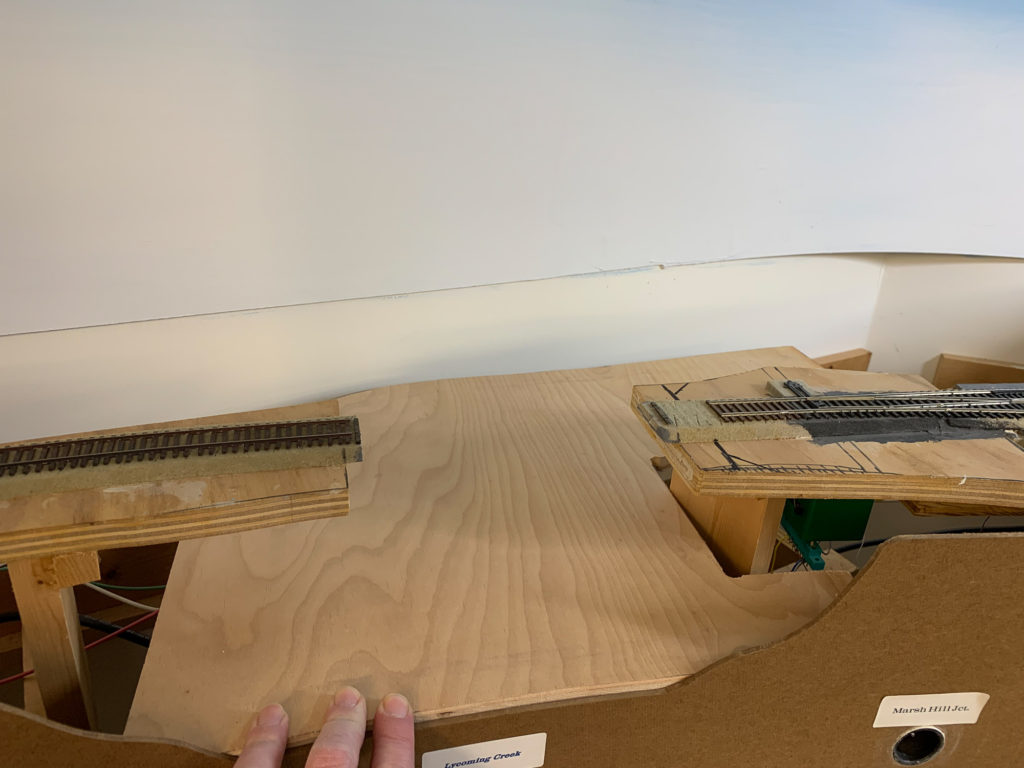
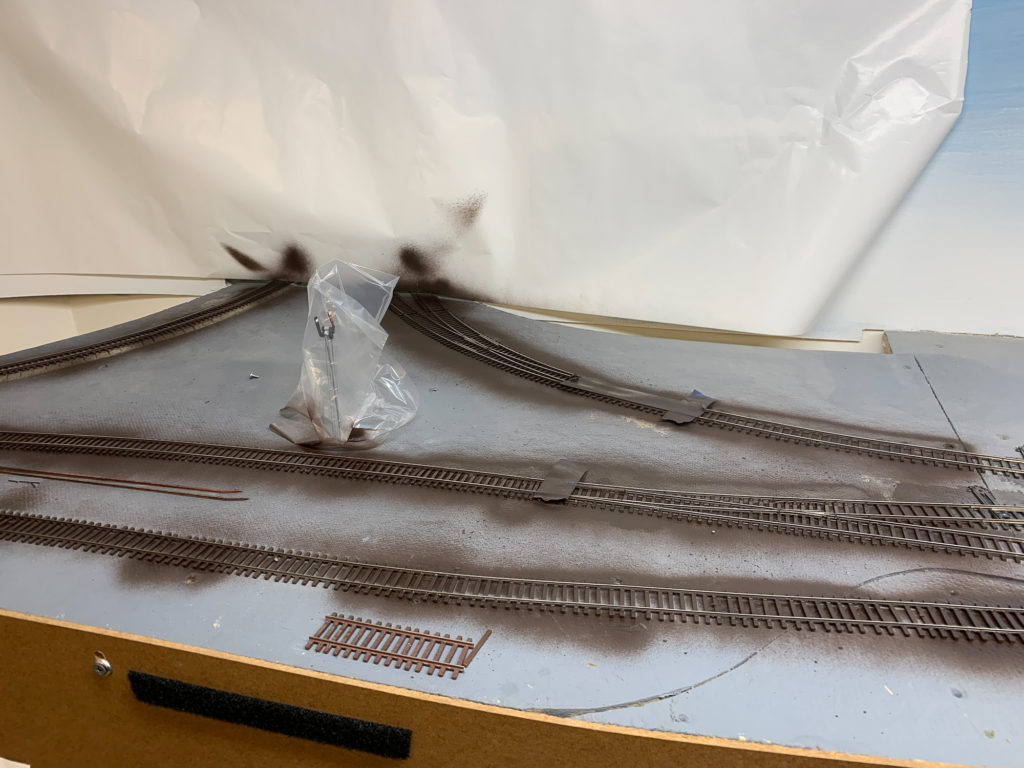
Next was puzzling out what would fit. The problem was the very end of an easemented curve at one end of the bridge, and the turnout into Marsh Hill yard at the other.
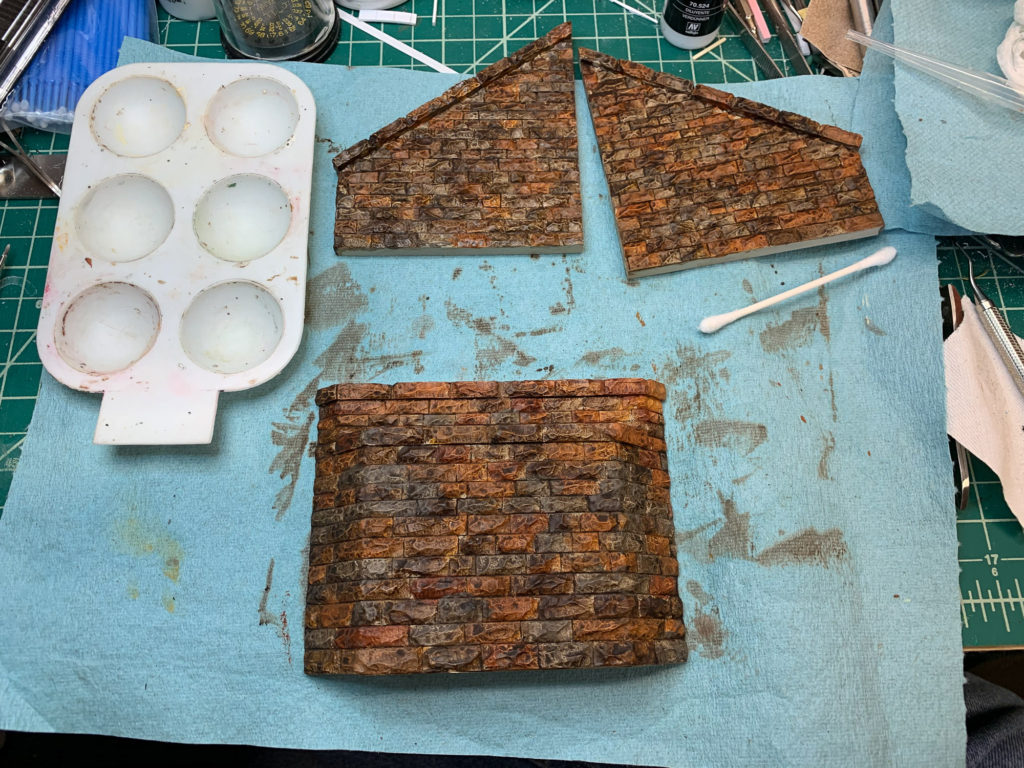
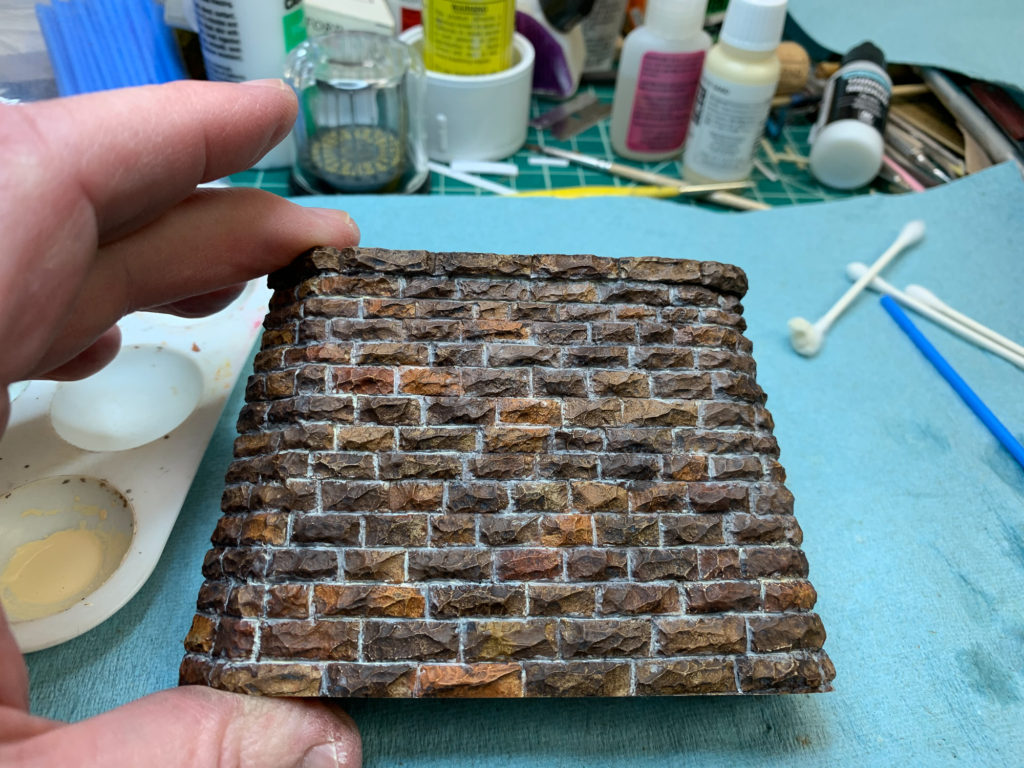
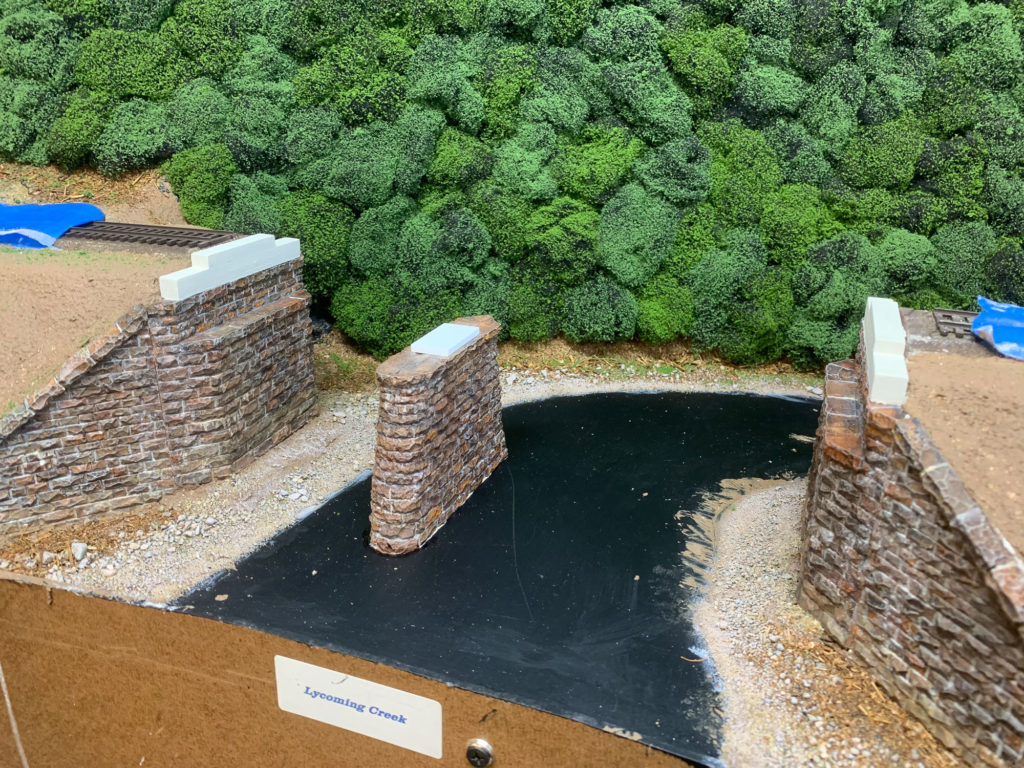
After sealing and painting the new streambed, I got the abutments and pier in place. These were also painted to look like Pennsy-style cut stone.
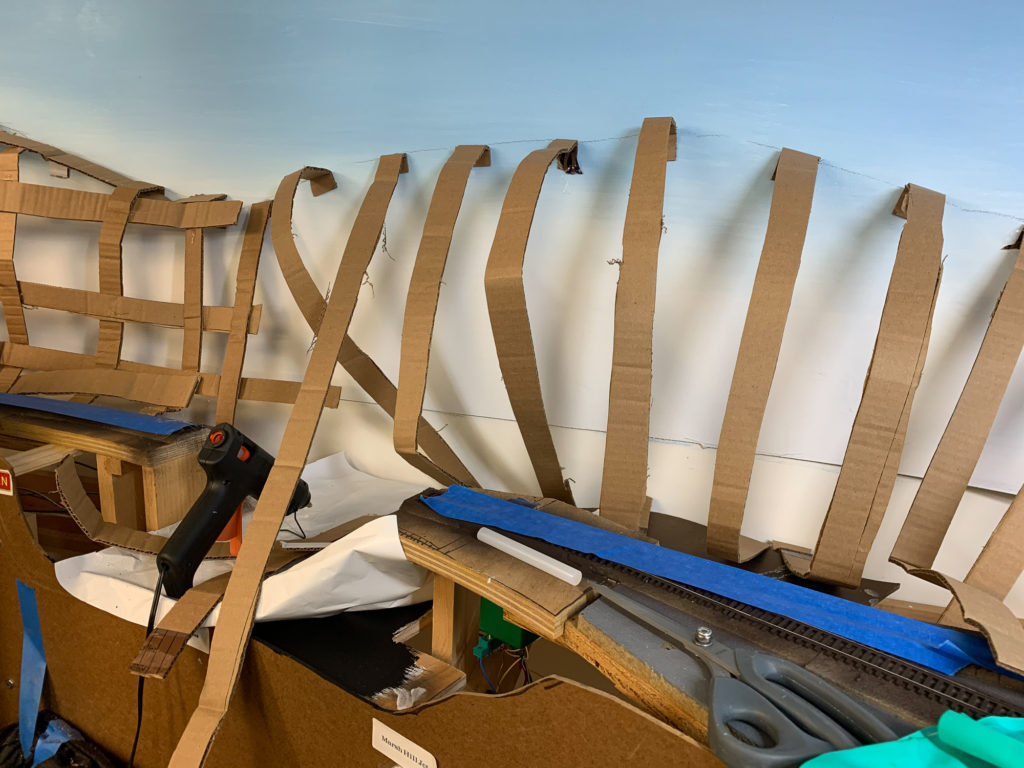
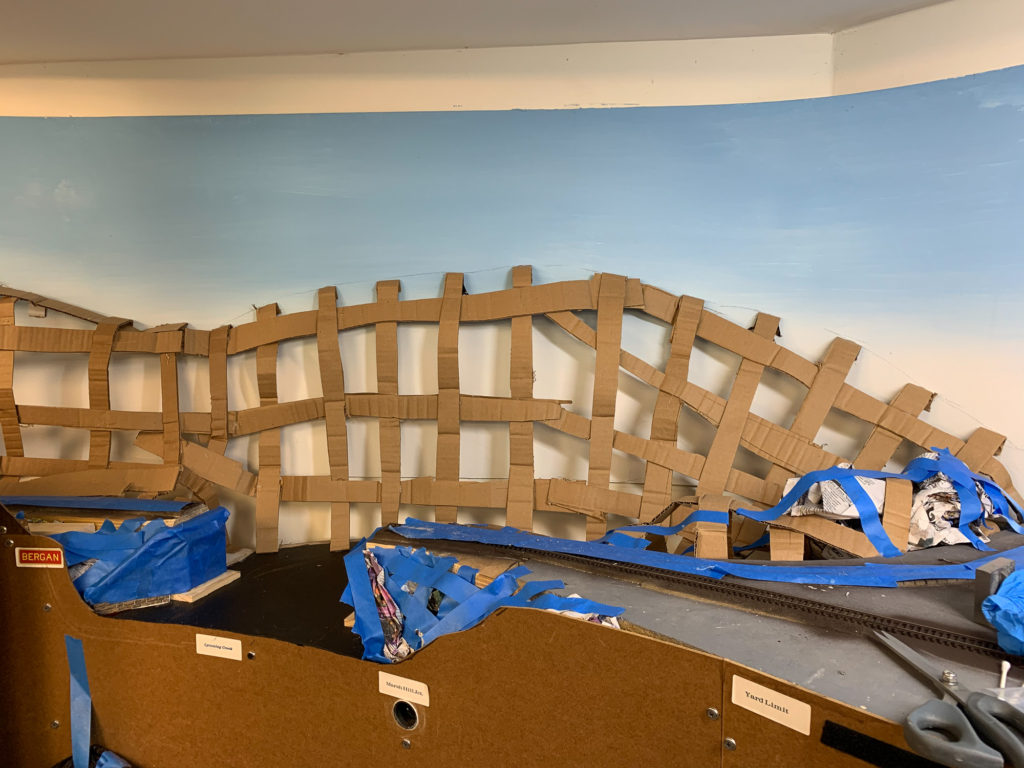
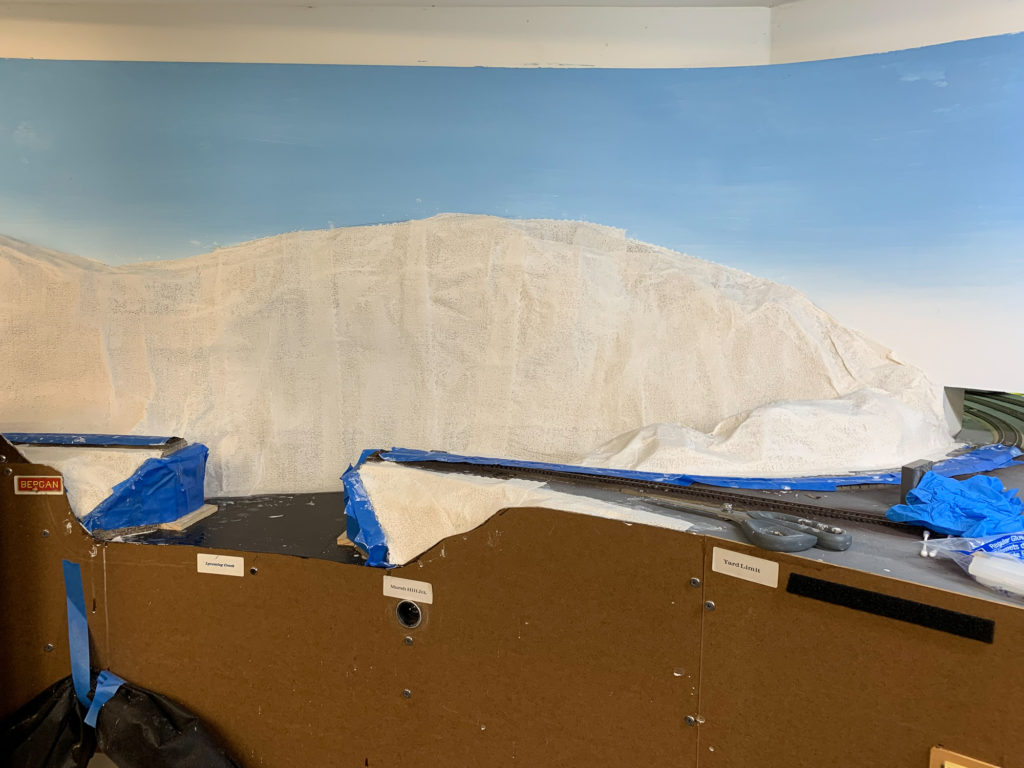
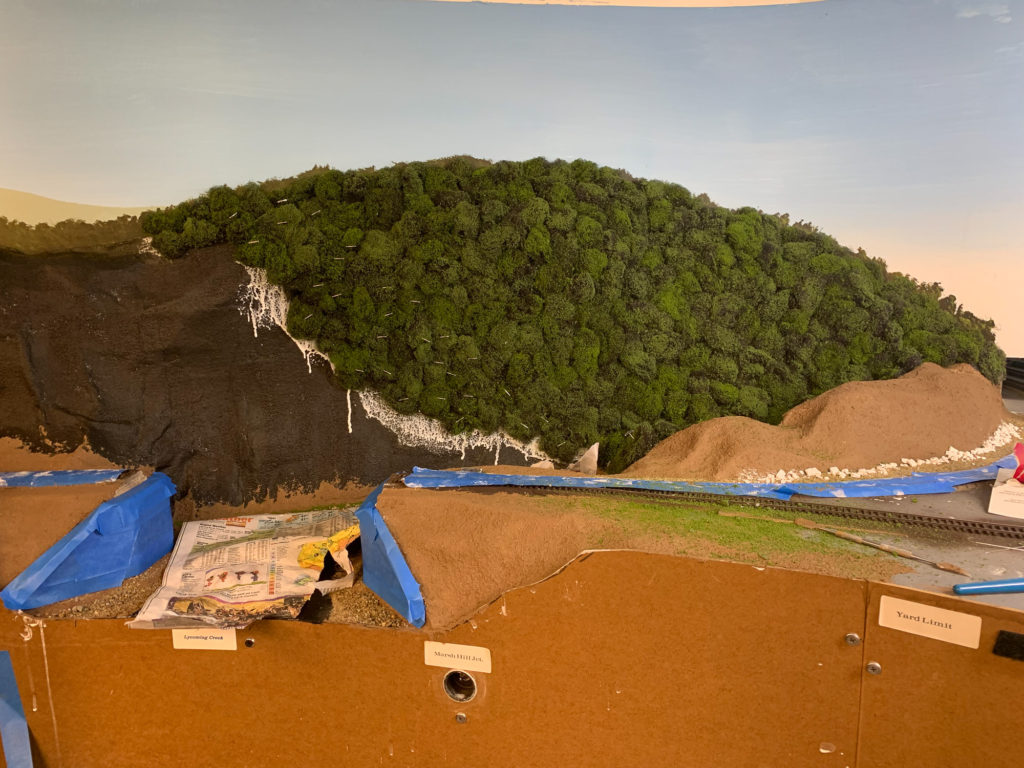
Then, cardboard lattice and plaster gauze for the scenery base.
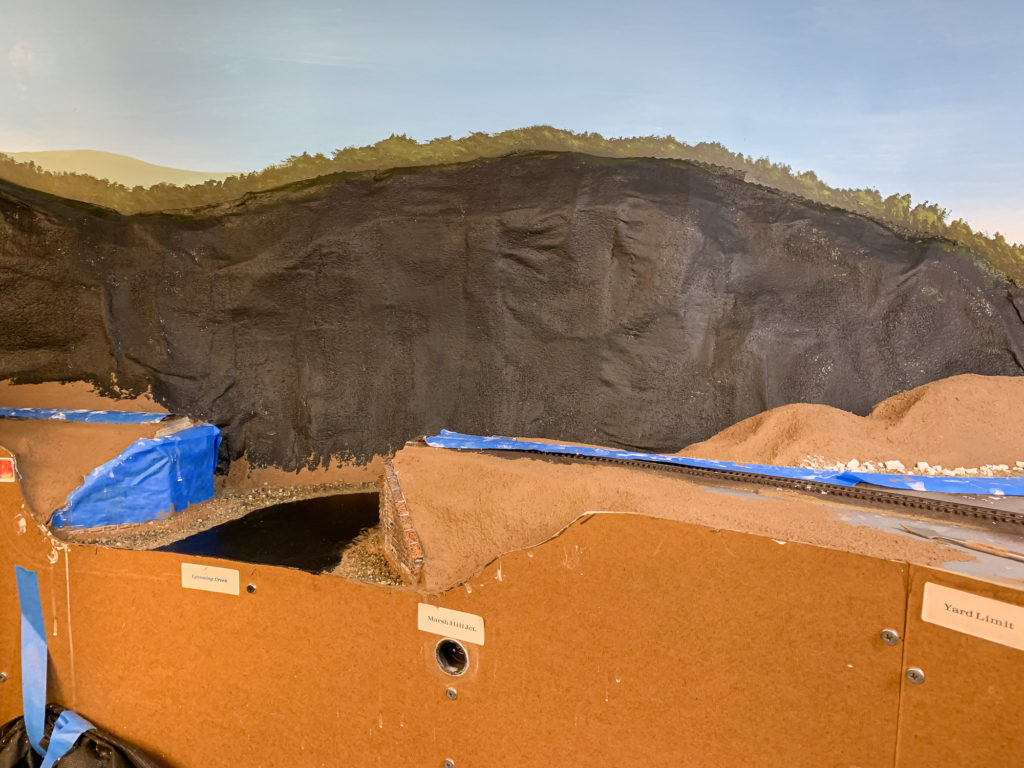
The white plaster was painted flat black where the trees would go, and the rest got a layer of “ground goop”.
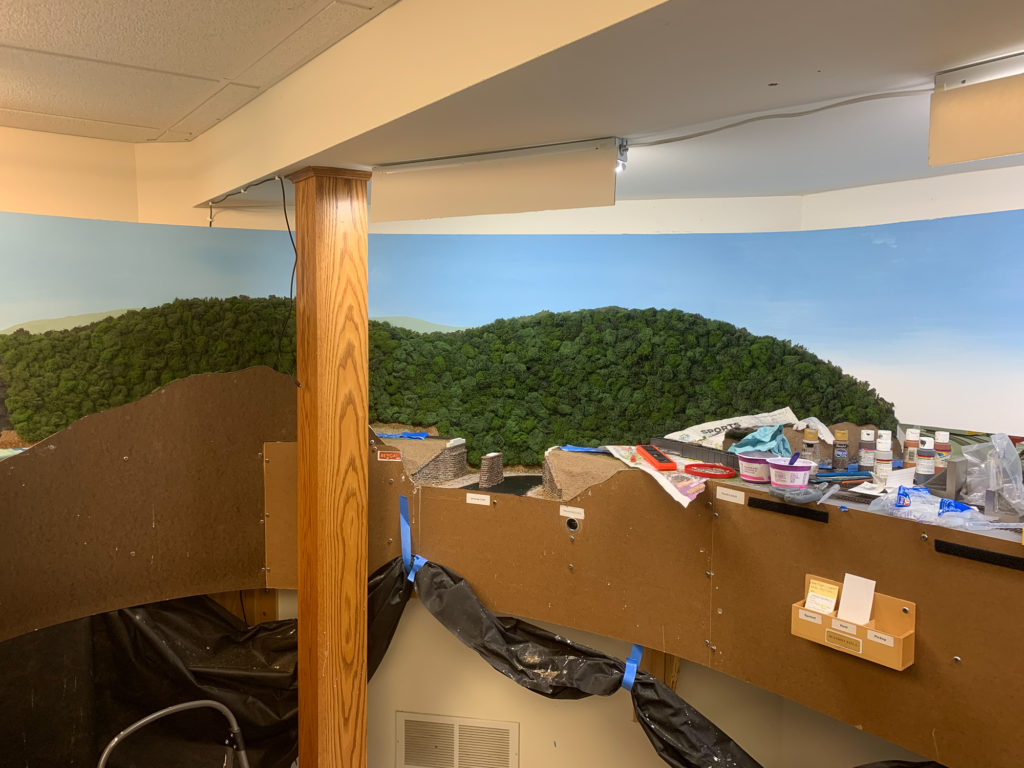
Then, several acres of puffball trees.
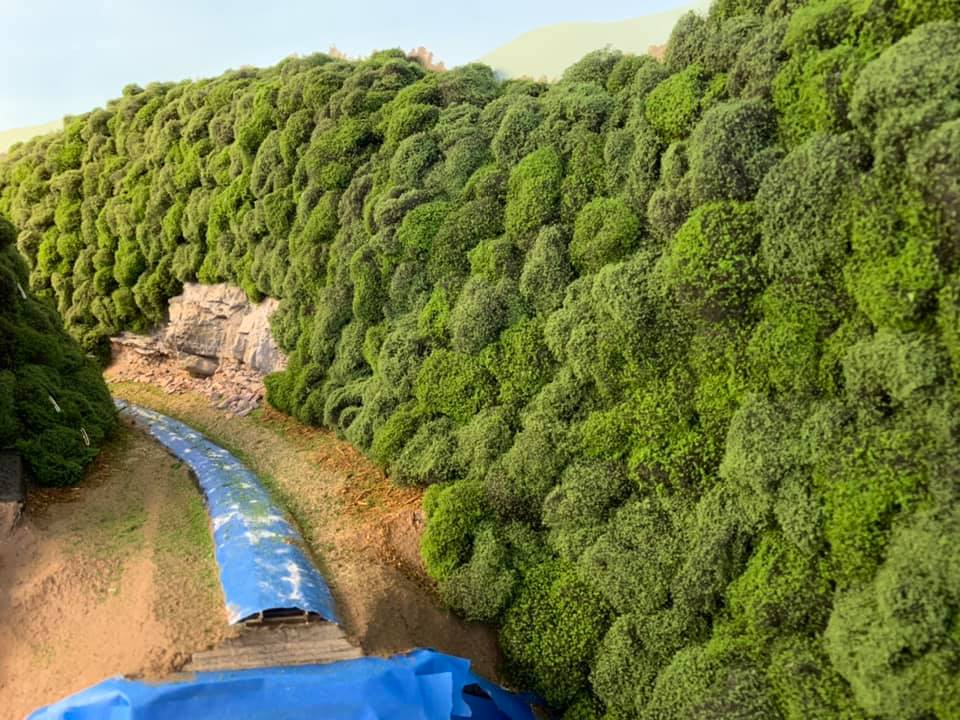
I added a rock cut in the “valley” in case anyone looked in there. I thought it would add some interest for any potential photos as well:
Also added material to form the stream banks while this was going on:
And that’s about where it stands right now. Green trees suck up a LOT of light, and I ended up hanging another 2′ LED fixture in this corner. It was just too dark without it.
To be continued…
Easemented? concomitant?
I’m not but a simple N gauger.
You must have sneaked into too many English classes.
Do you hold off ballasting until you have finished scenery?
I can thank Mrs. Snee and Sister Barbara for that.
Yes, ballasting comes near the end, Mr. Wizeguy N-scaler. LOL
So glad to have you back with an update. I really missed your posts about my favorite short line!
Lee
I too am glad to see a return to your blog writing.
Did you consider scratch building a through truss? With the many components now available I’ve found it practical to make truss bridges with reasonable prototype appearance.
Dick,
I did briefly entertain the thought of a cut-down Central Valley bridge, but the slight track curvature at one end I thought would play havoc, plus a cut-down bridge might have not looked right in the space.