Some Scenery for the SN&Y
I have not had much time for creating new posts other than the “Wordless Wednesdays” due to other commitments and spending time getting the model S&NY in shape. The railroad ran pretty well for op-session #4 in early November, which put me at a crossroads. Which direction should I go next? Get a few more locomotives painted and DCC-equipped? Build more cars for the on-line industries? Or start scenery?
After polling the SNY operating crew and my wife, the unanimous consensus was “scenery”. So, scenery it was to be.
I decided to start at the Wheelerville area of the layout for a couple of reasons. This area would require the most backdrop detail of just about any area on the model railroad, there would be a mix of terrain types, there were only a couple of buildings required, and most of the meets of opposing trains during an op session occur here so the crews would have something to look at besides bare plywood and homasote once some scenery is done. Never having built scenery before, I figured it would be a good spot to get up to speed on a number of skills.
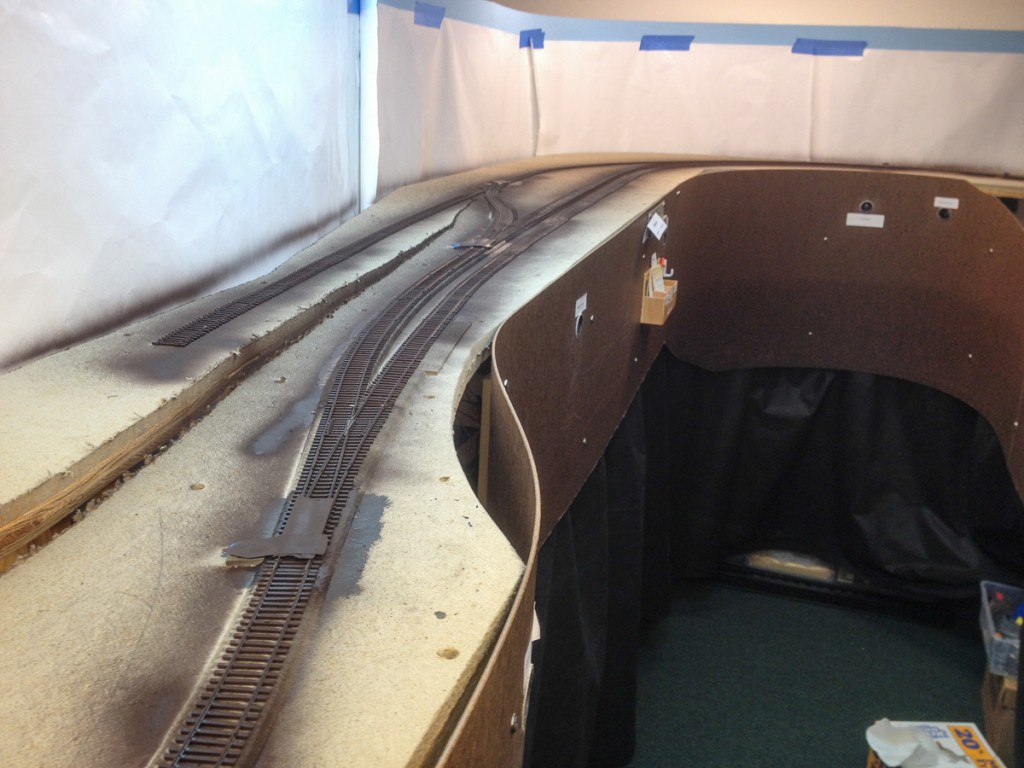
Job 1 was to mask the sky backdrop and paint the track. I covered the movable part of the turnouts and gave the track a coat of Rustoleum Camouflage Earth Brown. This is a good, dark rusty brown color that will be a good foundation for weathering and ballasting the track. I used a paint respirator to avoid losing any brain or liver cells, and it didn’t stink up the house. (Much…)
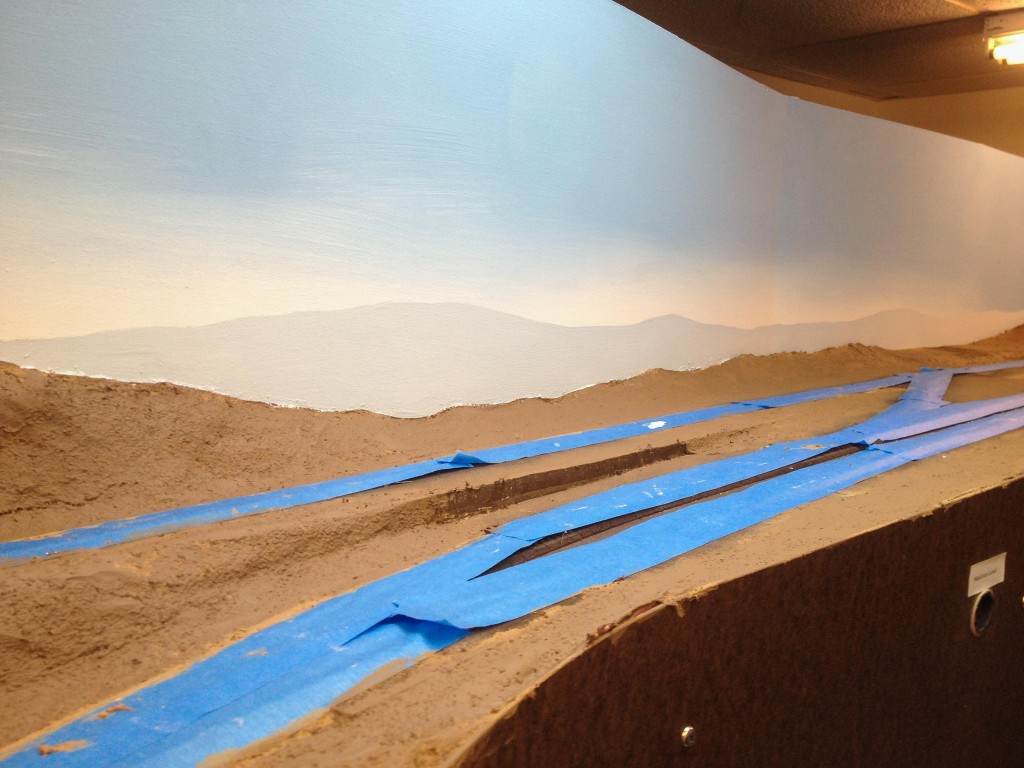
Next, I masked off all of the track to keep off scenery materials and paint.
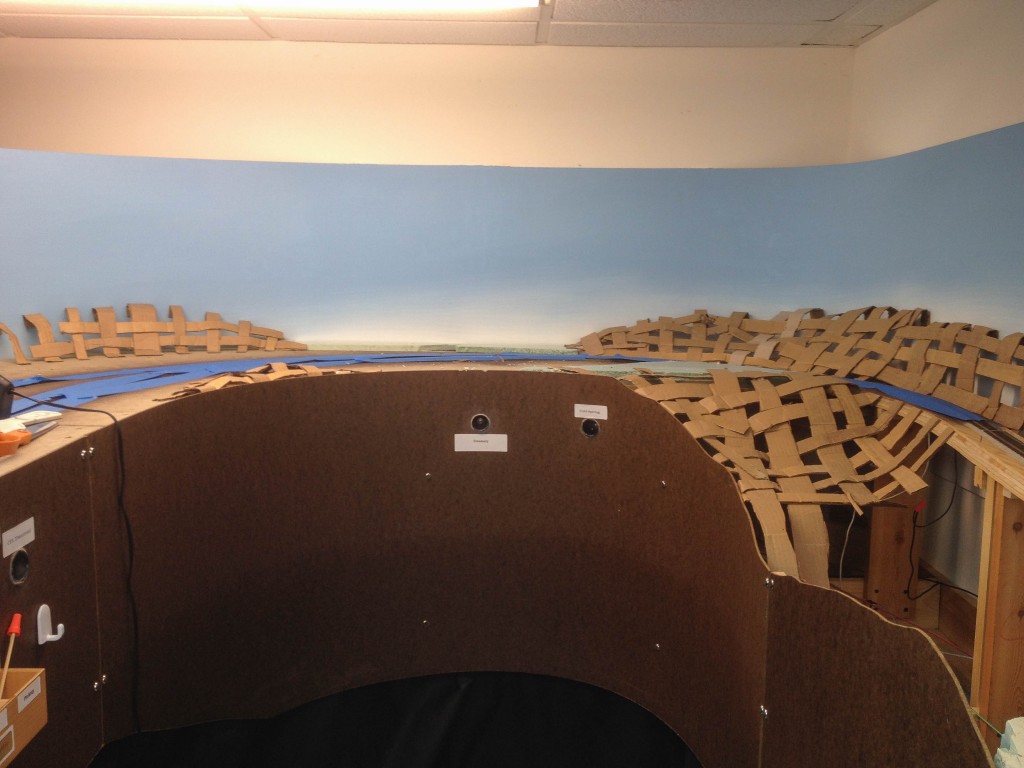
Next, I built up a lattice of cardboard strips hot-glued together to form a foundation for the landforms. This part actually goes very fast if you have a supply of strips prepared. It is ok if parts of it are a little flimsy. A hard shell of later material will stiffen it up in short order.
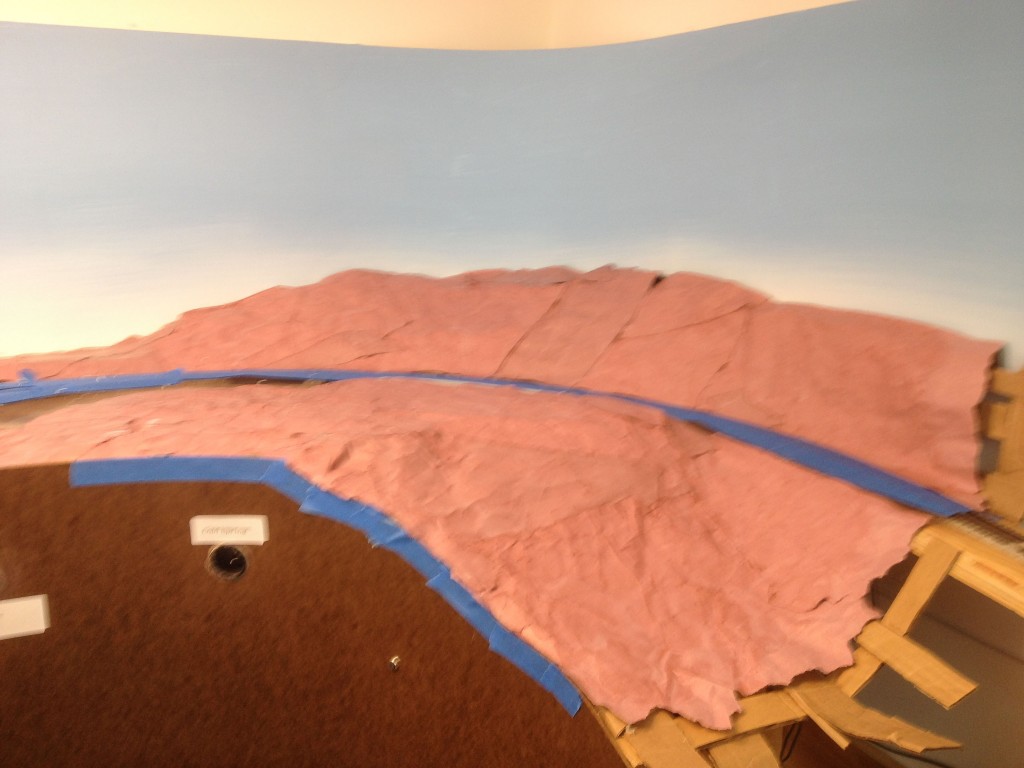
For the next step, pieces of red rosin paper were hot glued to the latticework. I had read about this technique and wanted to give it a try. A 100-foot roll is about 7 bucks a Lowes’. Alternatively, you could use plaster cloth over screen or masking tape. There are numerous techniques and variations. I used this one because it seemed fast, easy, and cheap.
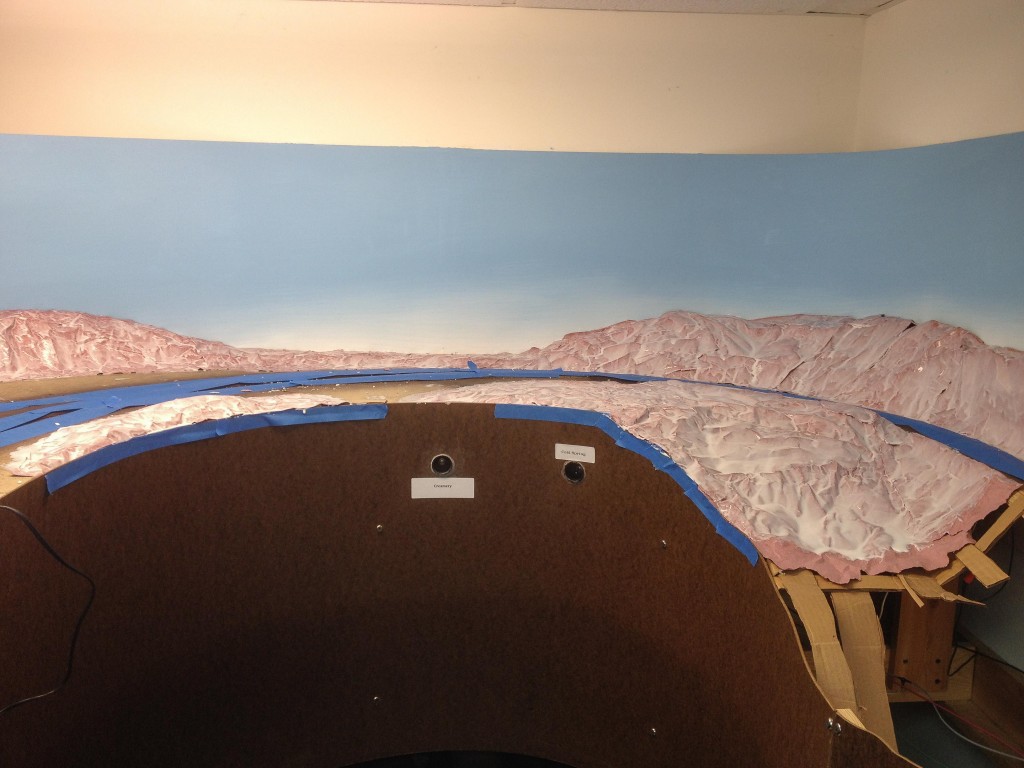
The rosin paper is then painted with full-strength white glue. Lowes’ and Home Depot sell Elmer’s White Glue by the gallon. It takes overnight to dry.
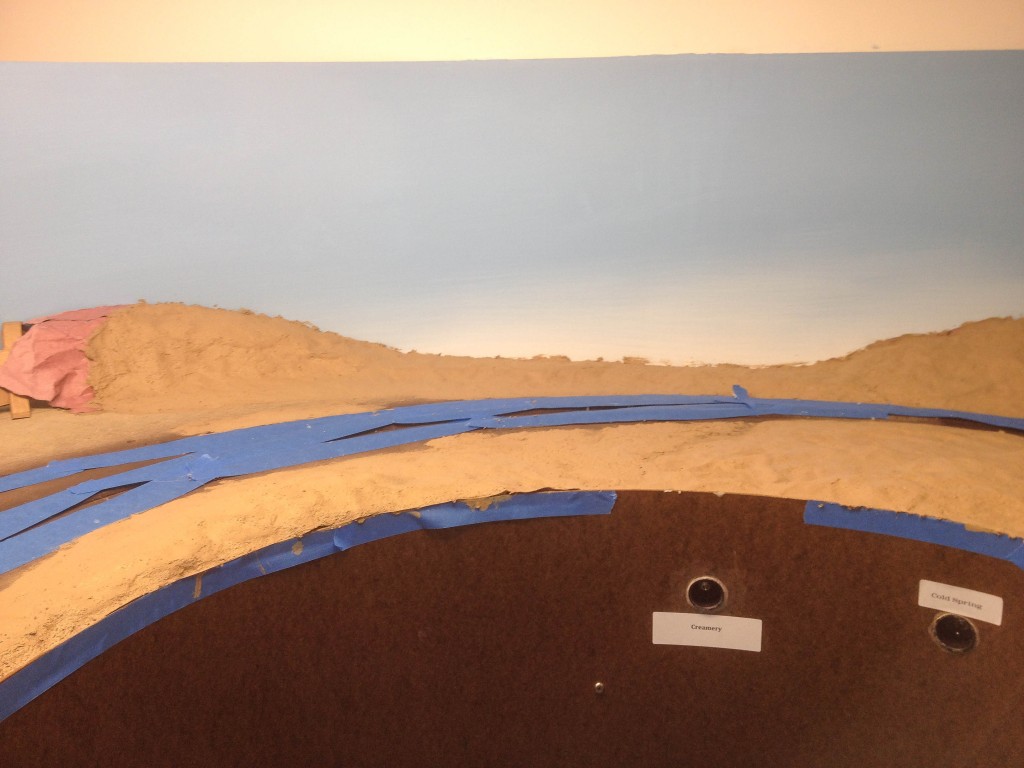
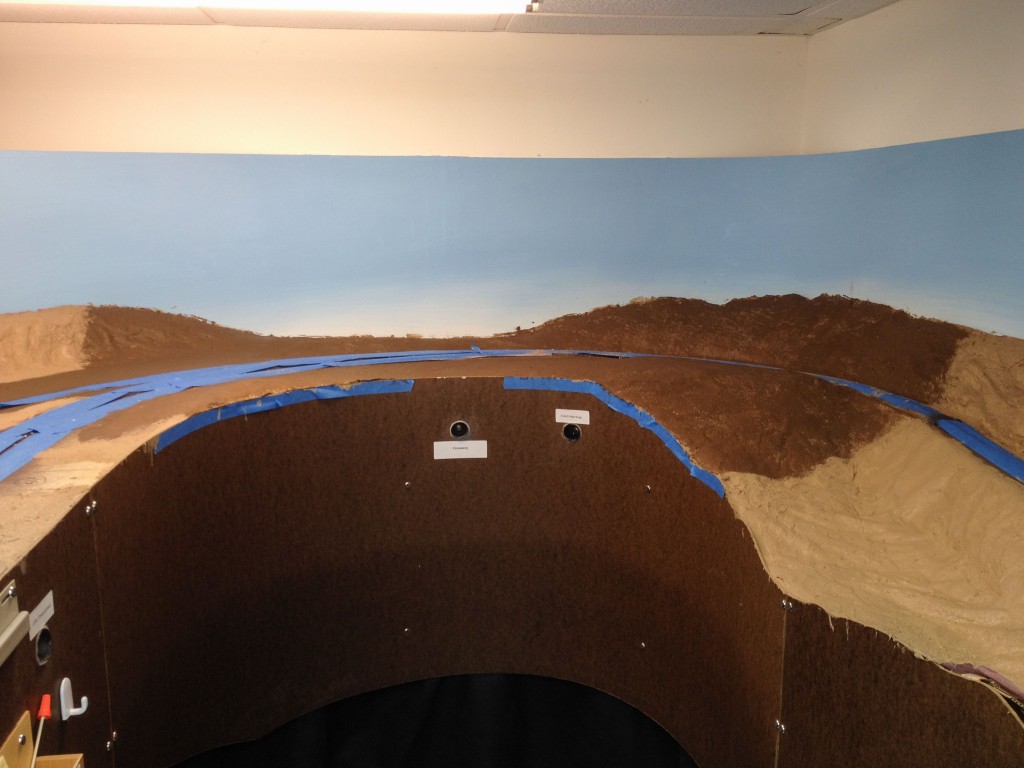
Next, “ground goop” (a mix of dirt-colored latex paint, white glue, Celluclay, vermiculite, and a dash of Lysol) was troweled on over the paper. This was allowed to dry for a couple of days. I then experimented with dark brown sanded grout as an earth “base” for the colored foam that will mimic grass, weeds, etc. I wasn’t happy with the results and abandoned that effort. I wasn’t happy with the color of the ground goop, either, and painted it a darker shade. Future goop will be made with that darker color. Once the goop is dry, the paper has a nice hard shell.
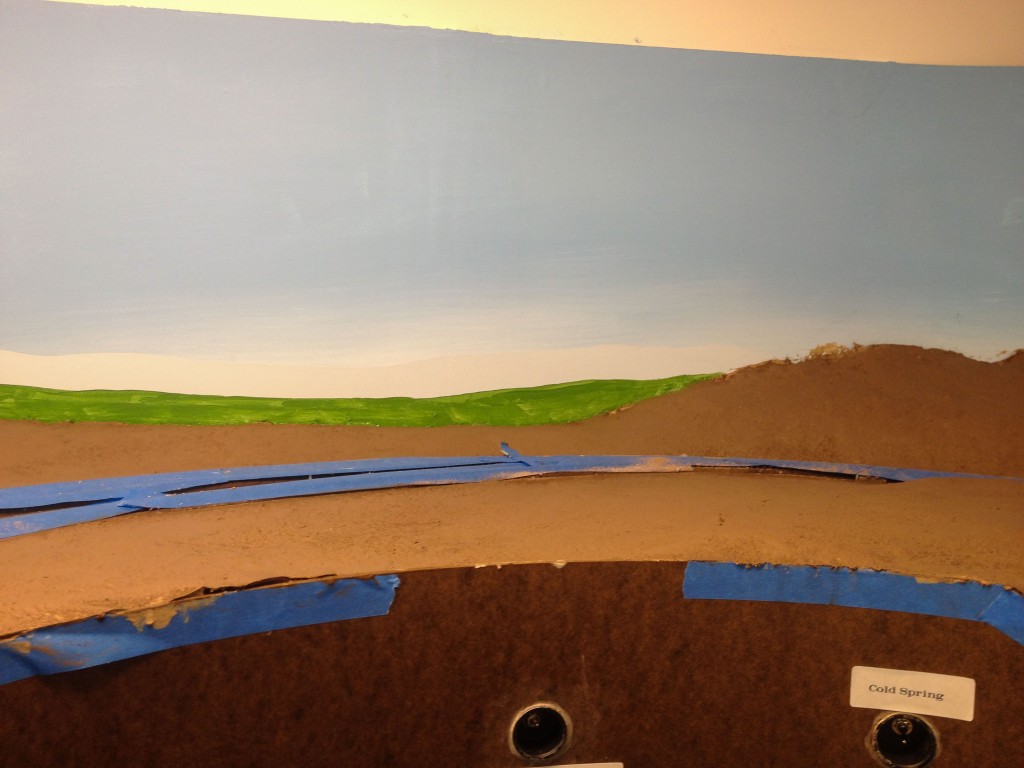
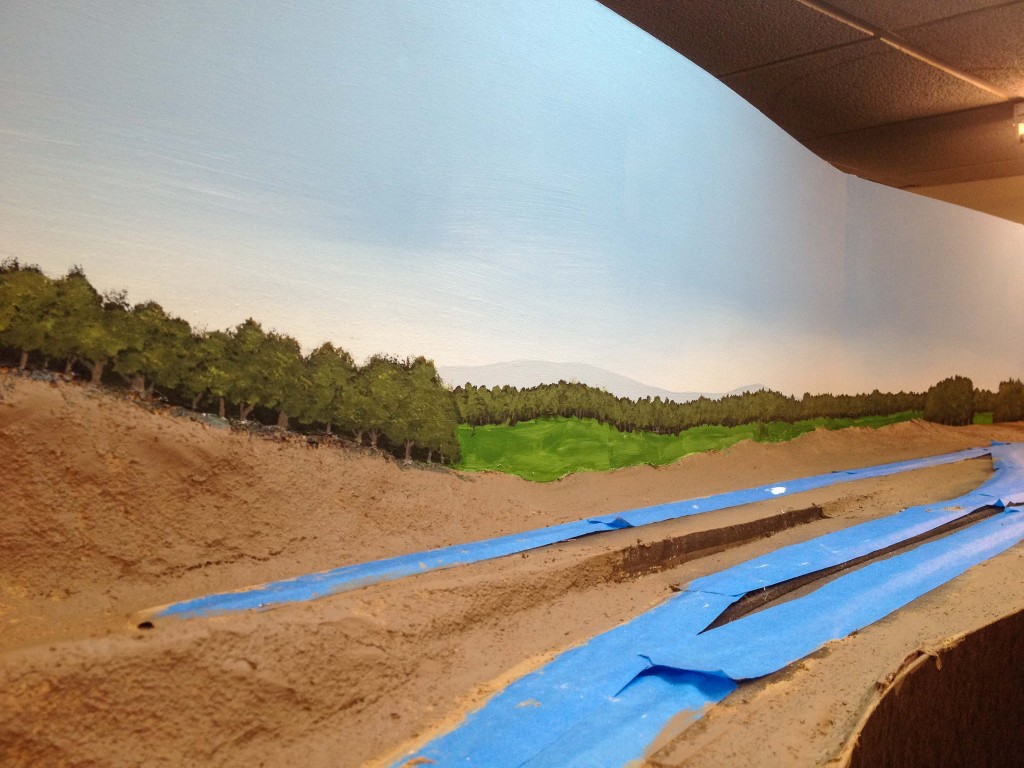
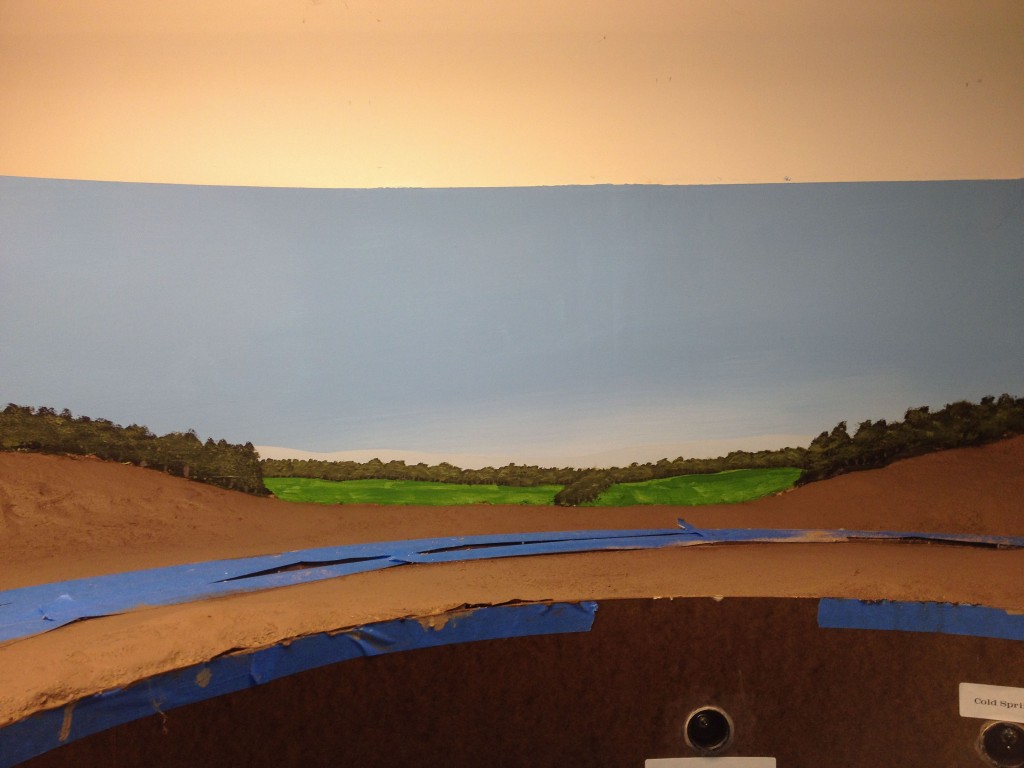
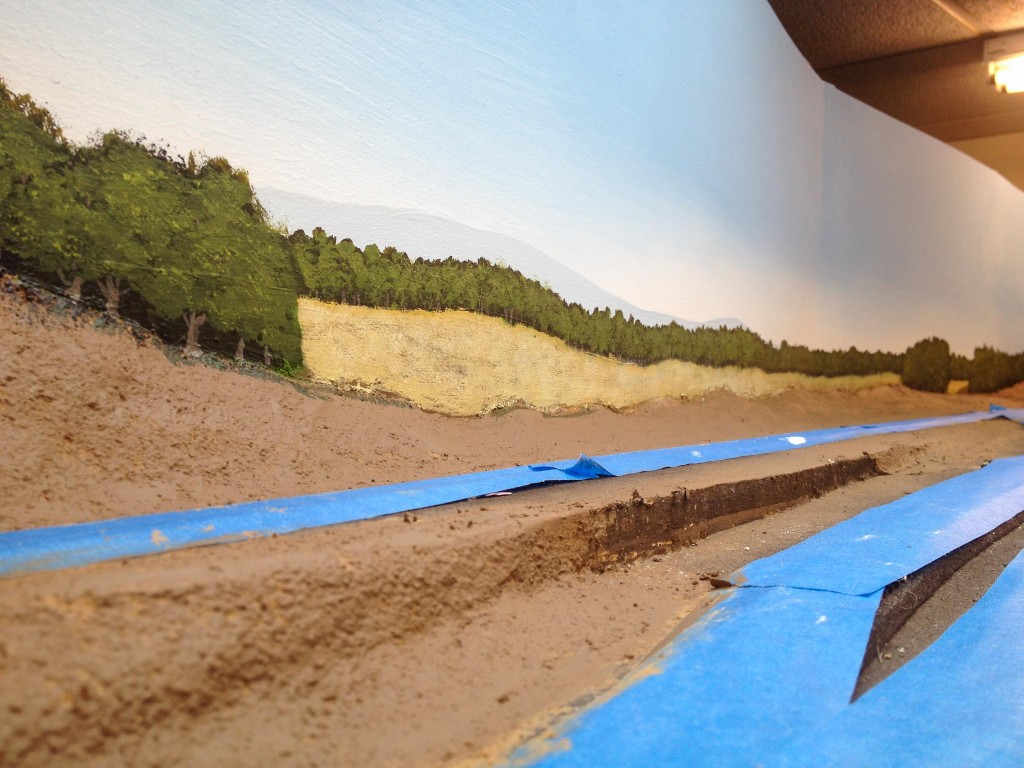
Once everything was properly “gooped” and painted dirt color, near and far horizon lines were lightly chalked on the backdrop, and distant mountains and the outlines of fields in the middle distance were painted on.
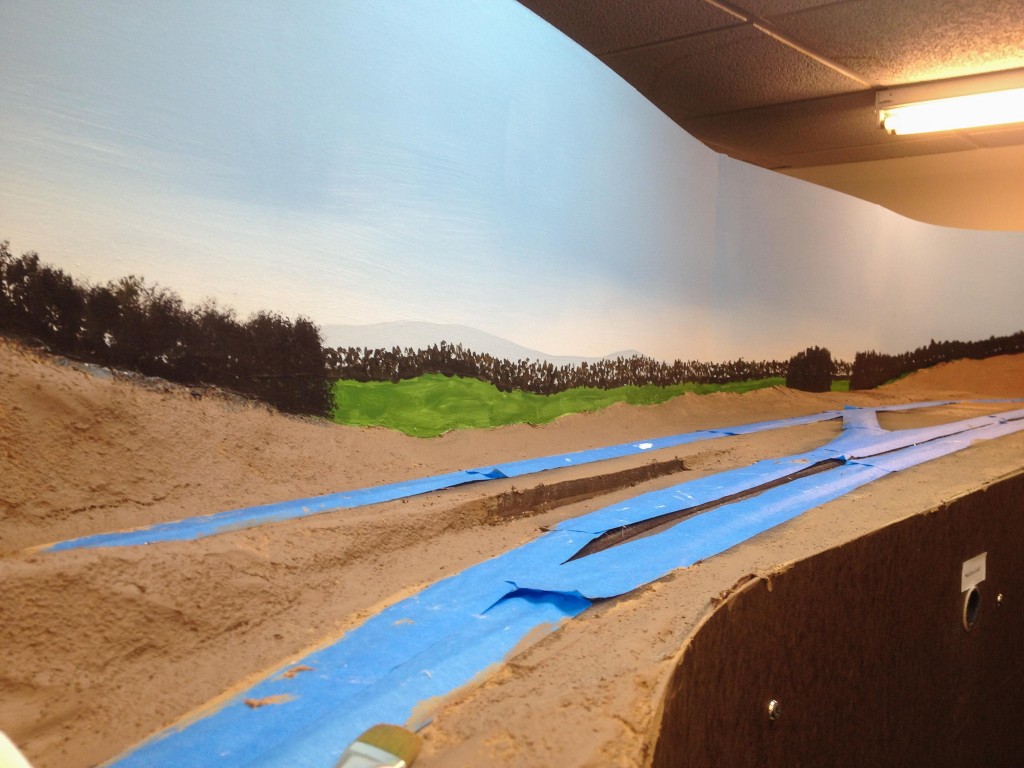
After those layers were allowed to dry, the darkest tree shadows were stippled on.
Progressively lighter green layers were dabbed on with a final stippled layer of highlights, and dark warm grey lines for tree trunks and branches.
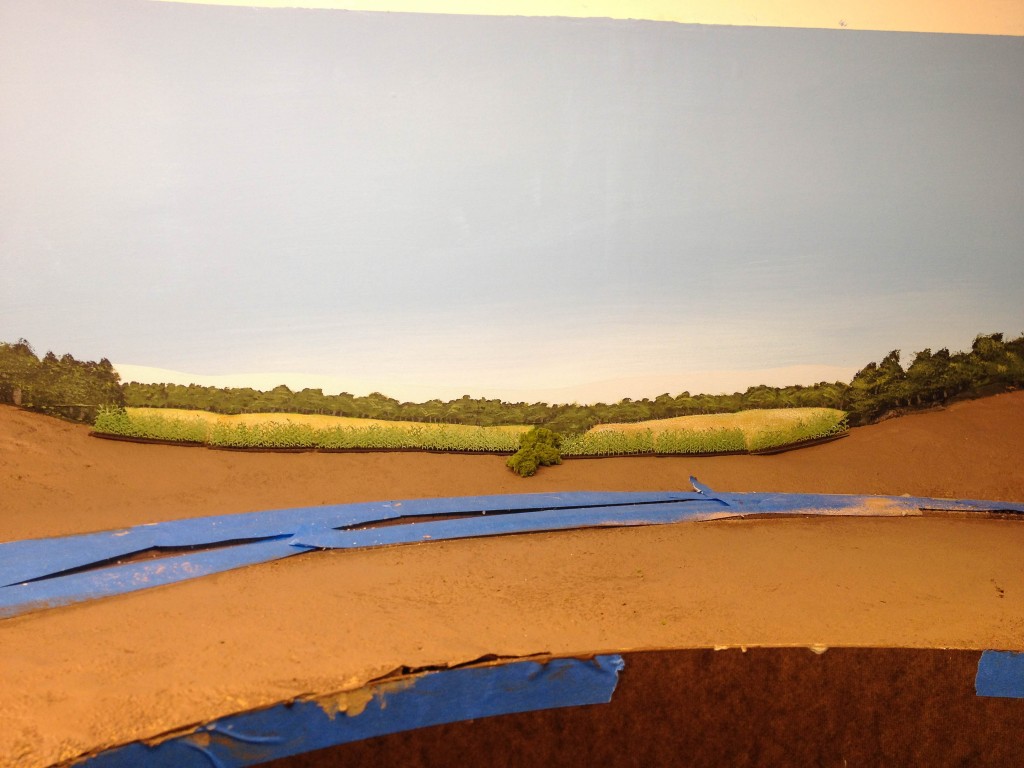
Lastly, I tried various colors and brushes to paint in the distant hay and corn fields. I had to re-do this part a couple of times until I was satisfied with the look. This field will be partially covered by 3-D scenery, so I didn’t add much detail.
This field was to represent corn, and needs to blend in with several rows of model corn. Below is a mock-up with 3 rows of Busch model corn in front of the cornfield on the backdrop. The bases of the model corn have been painted dirt color; the stalks have yet to be dry-brushed with greens and tans to give some texture. I think the effect s good so far, and hopefully will look even better once the model corn is touched up and actually planted in the scenery base.
To be continued…
Recent Comments