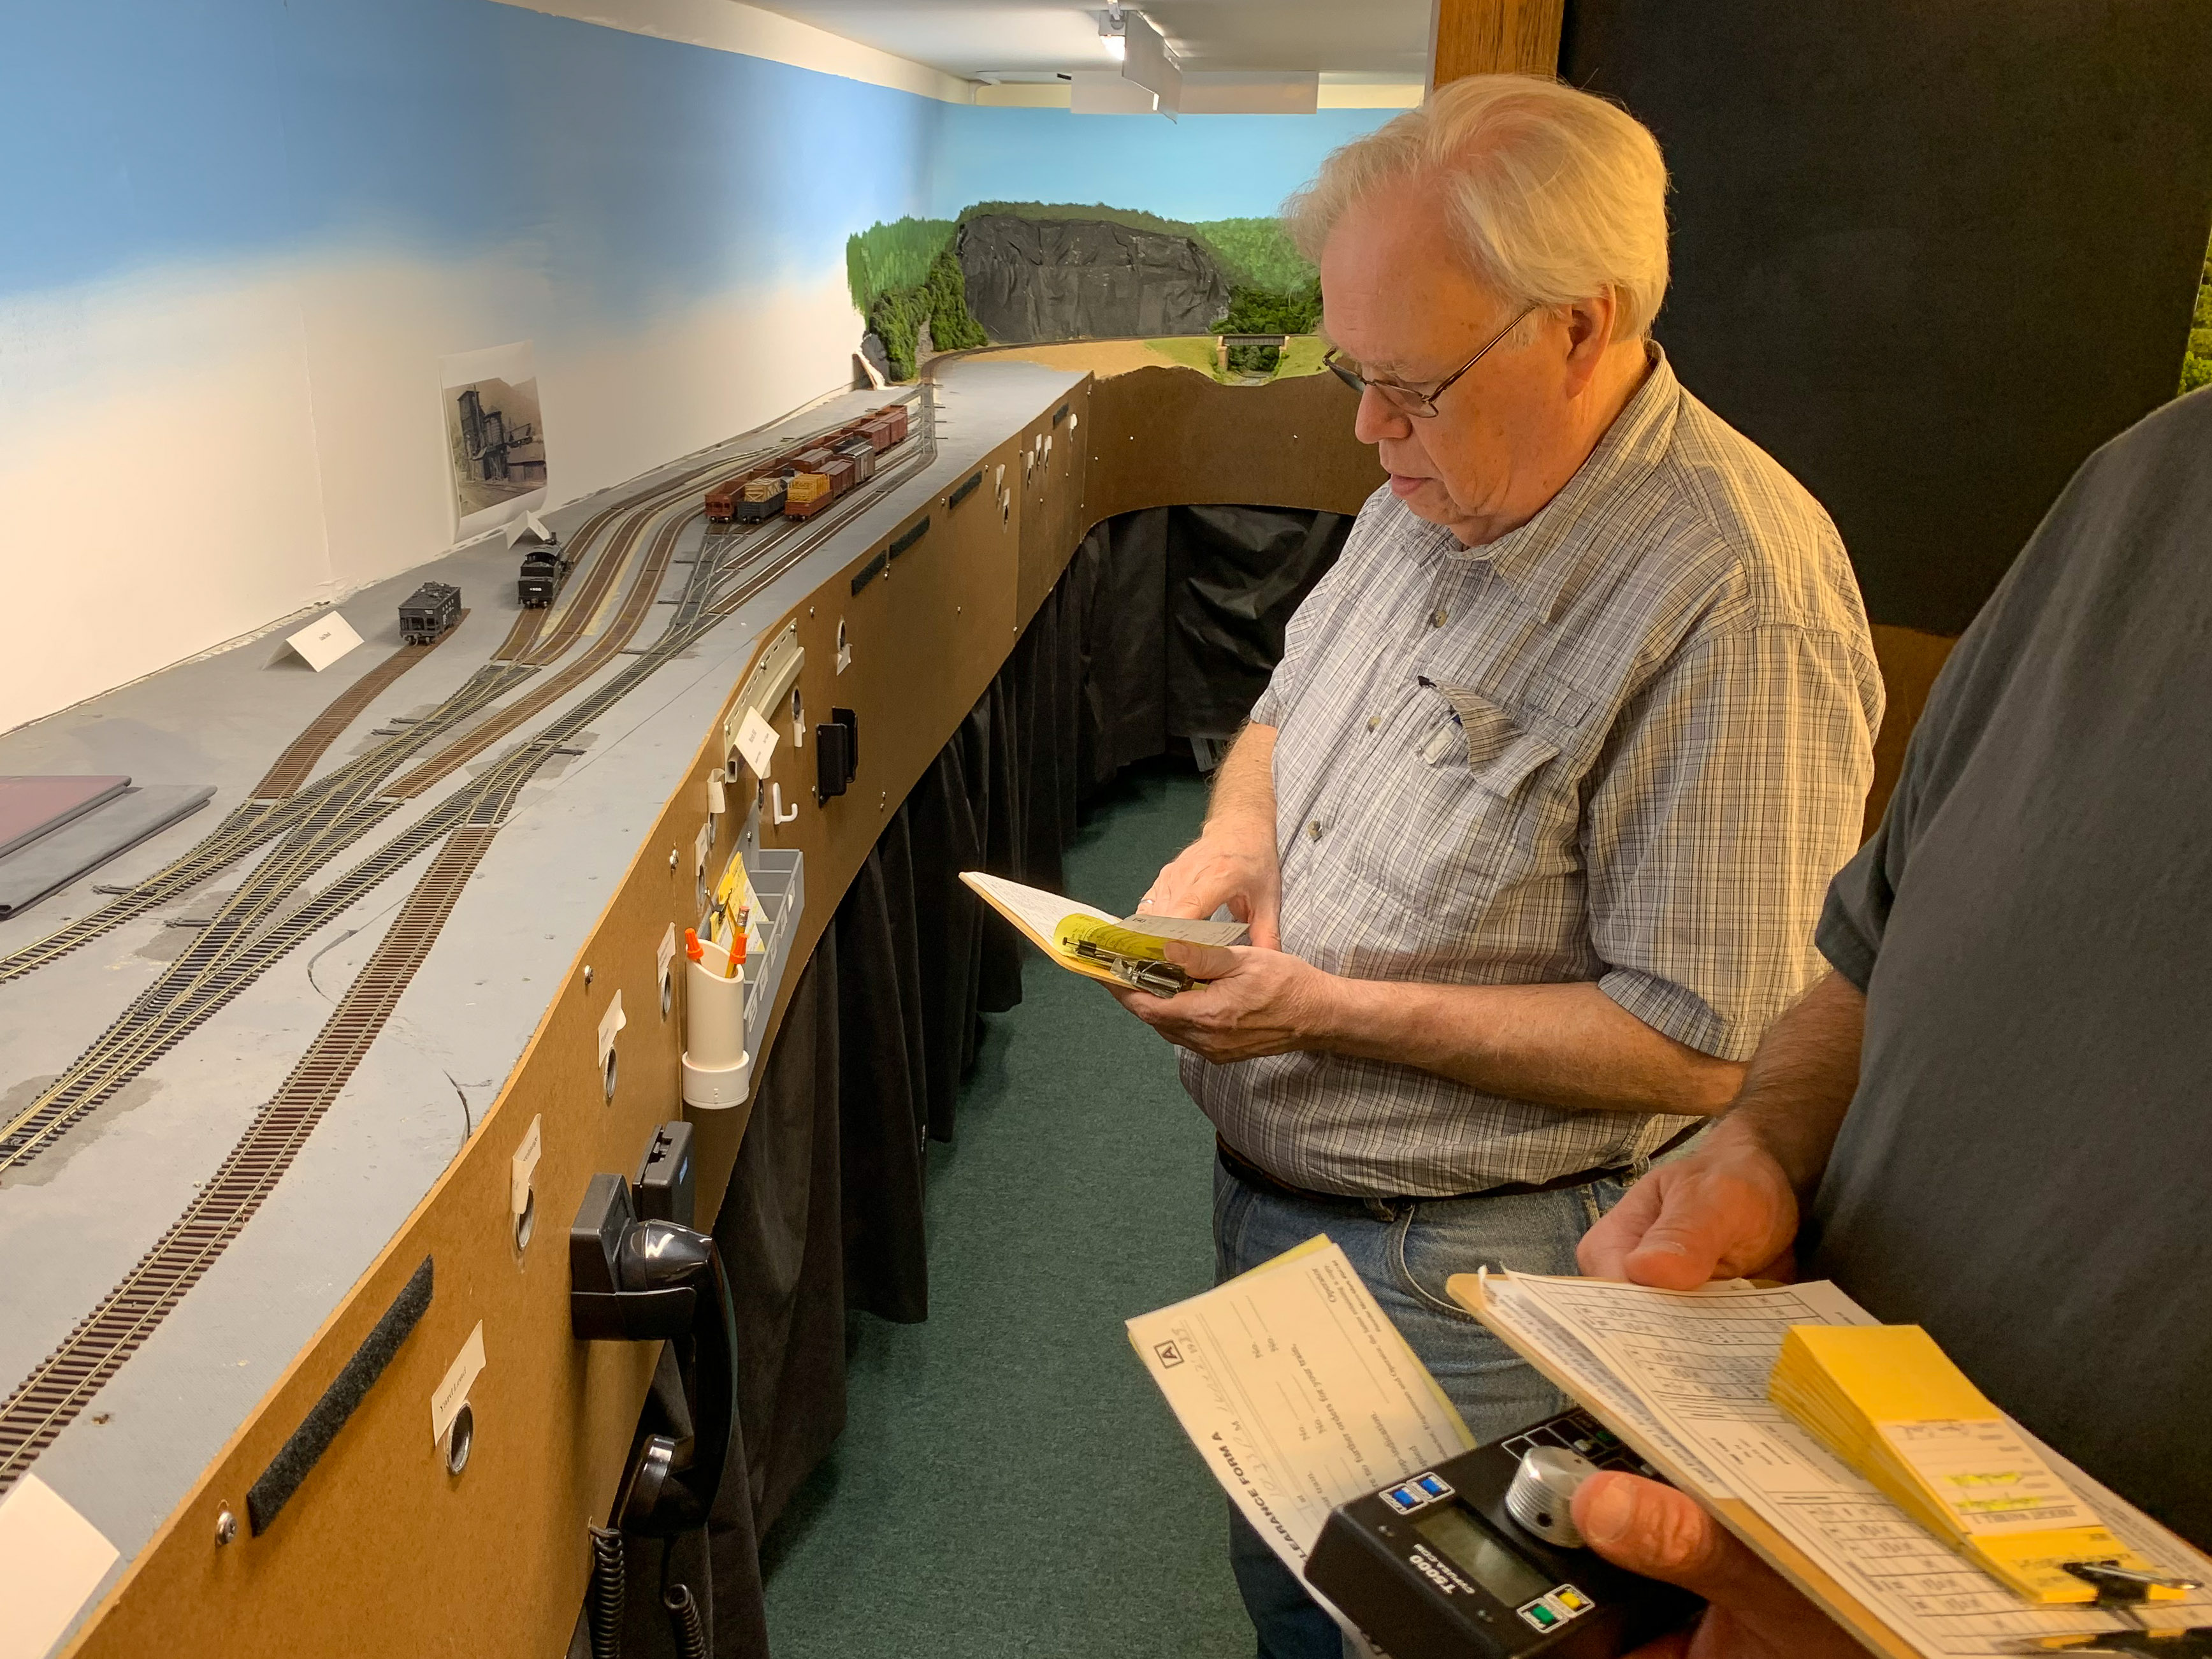
In any endeavor, sometimes trying new and different things leads to a dead end. Model railroading has its own pitfalls in that regard. To wit:
I recently started a project to scratchbuild at least 6 flat cars for the model S&NY, the reasons being 4 fold: The Barclay Chemical plant in Laquin needed more dedicated traffic coming in, in the form of hardwood loads, in order to give a local train a bit more to do during an op session; it would help fulfill the requirements towards the NMRA Achievement Program “Master Builder-Cars” certificate; it would help build my skills before taking on more complex projects; and it might be “fun”. The “fun” part is entirely subjective as we shall see…
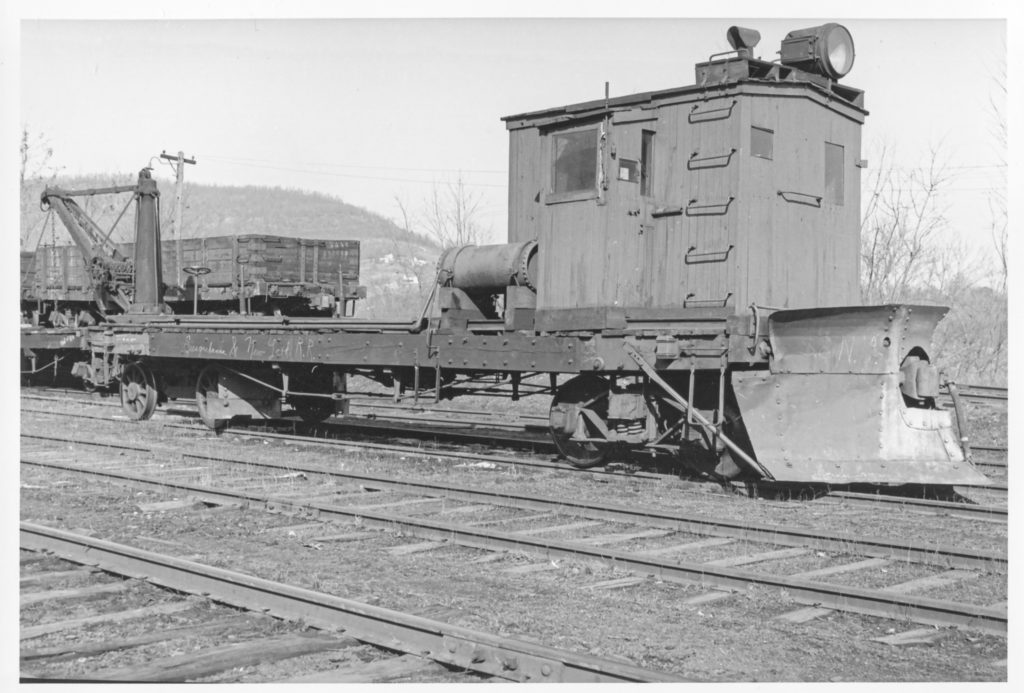
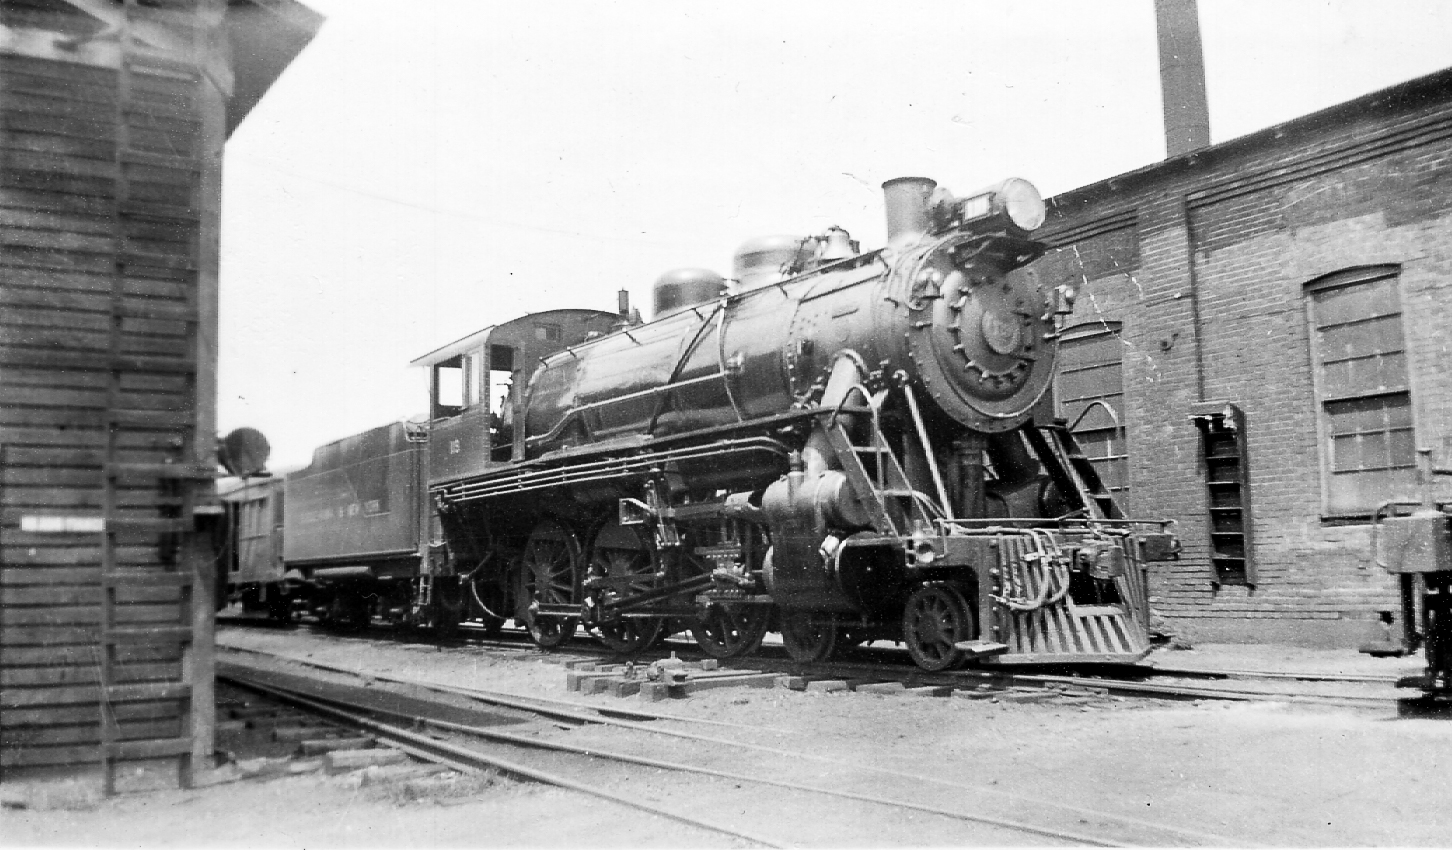
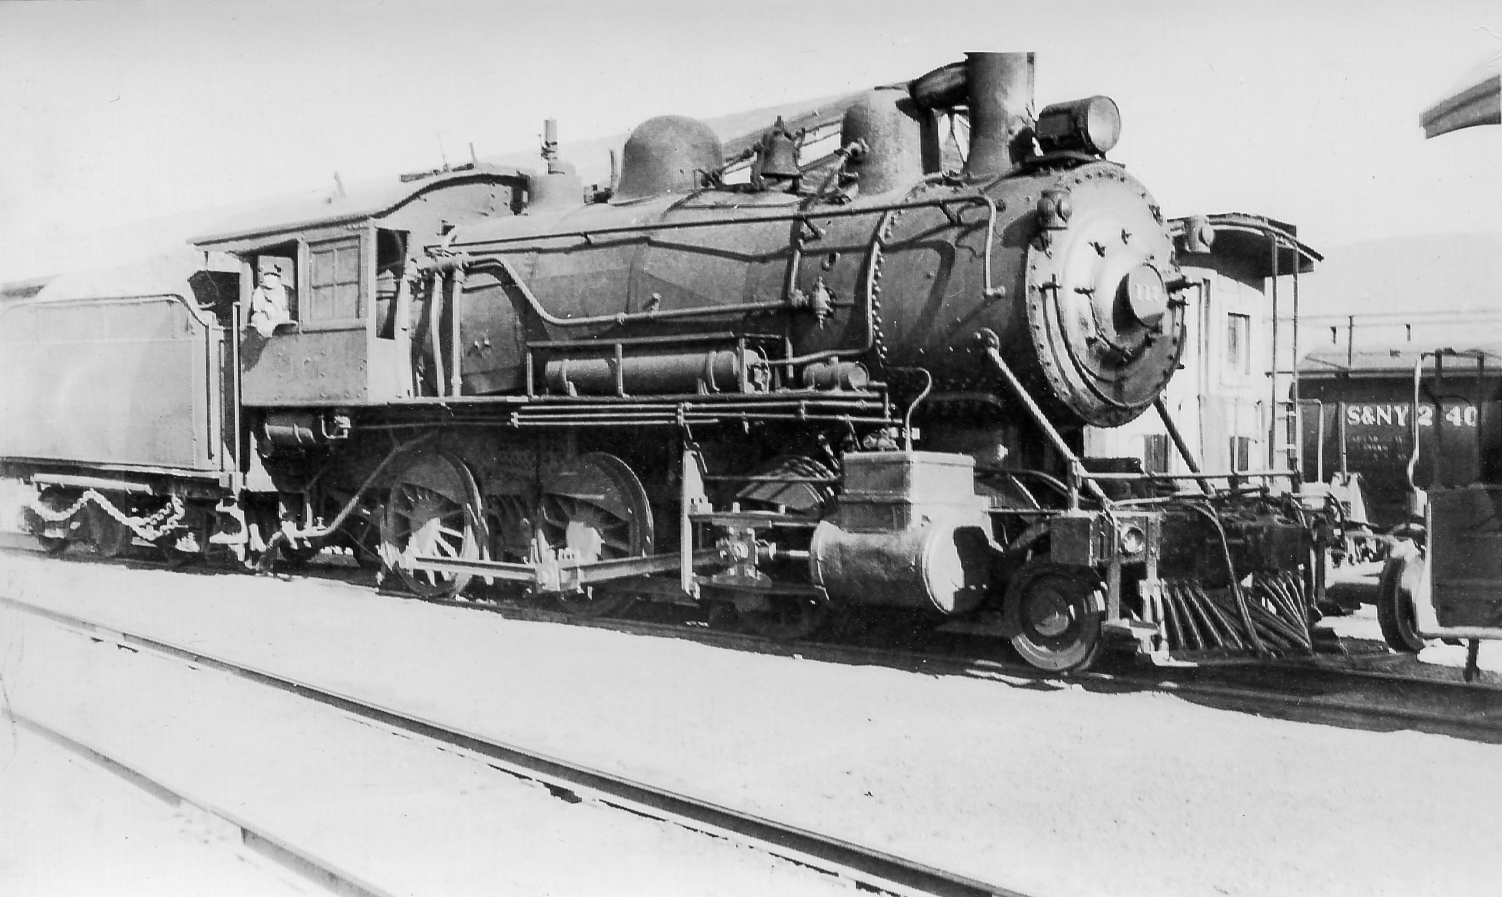
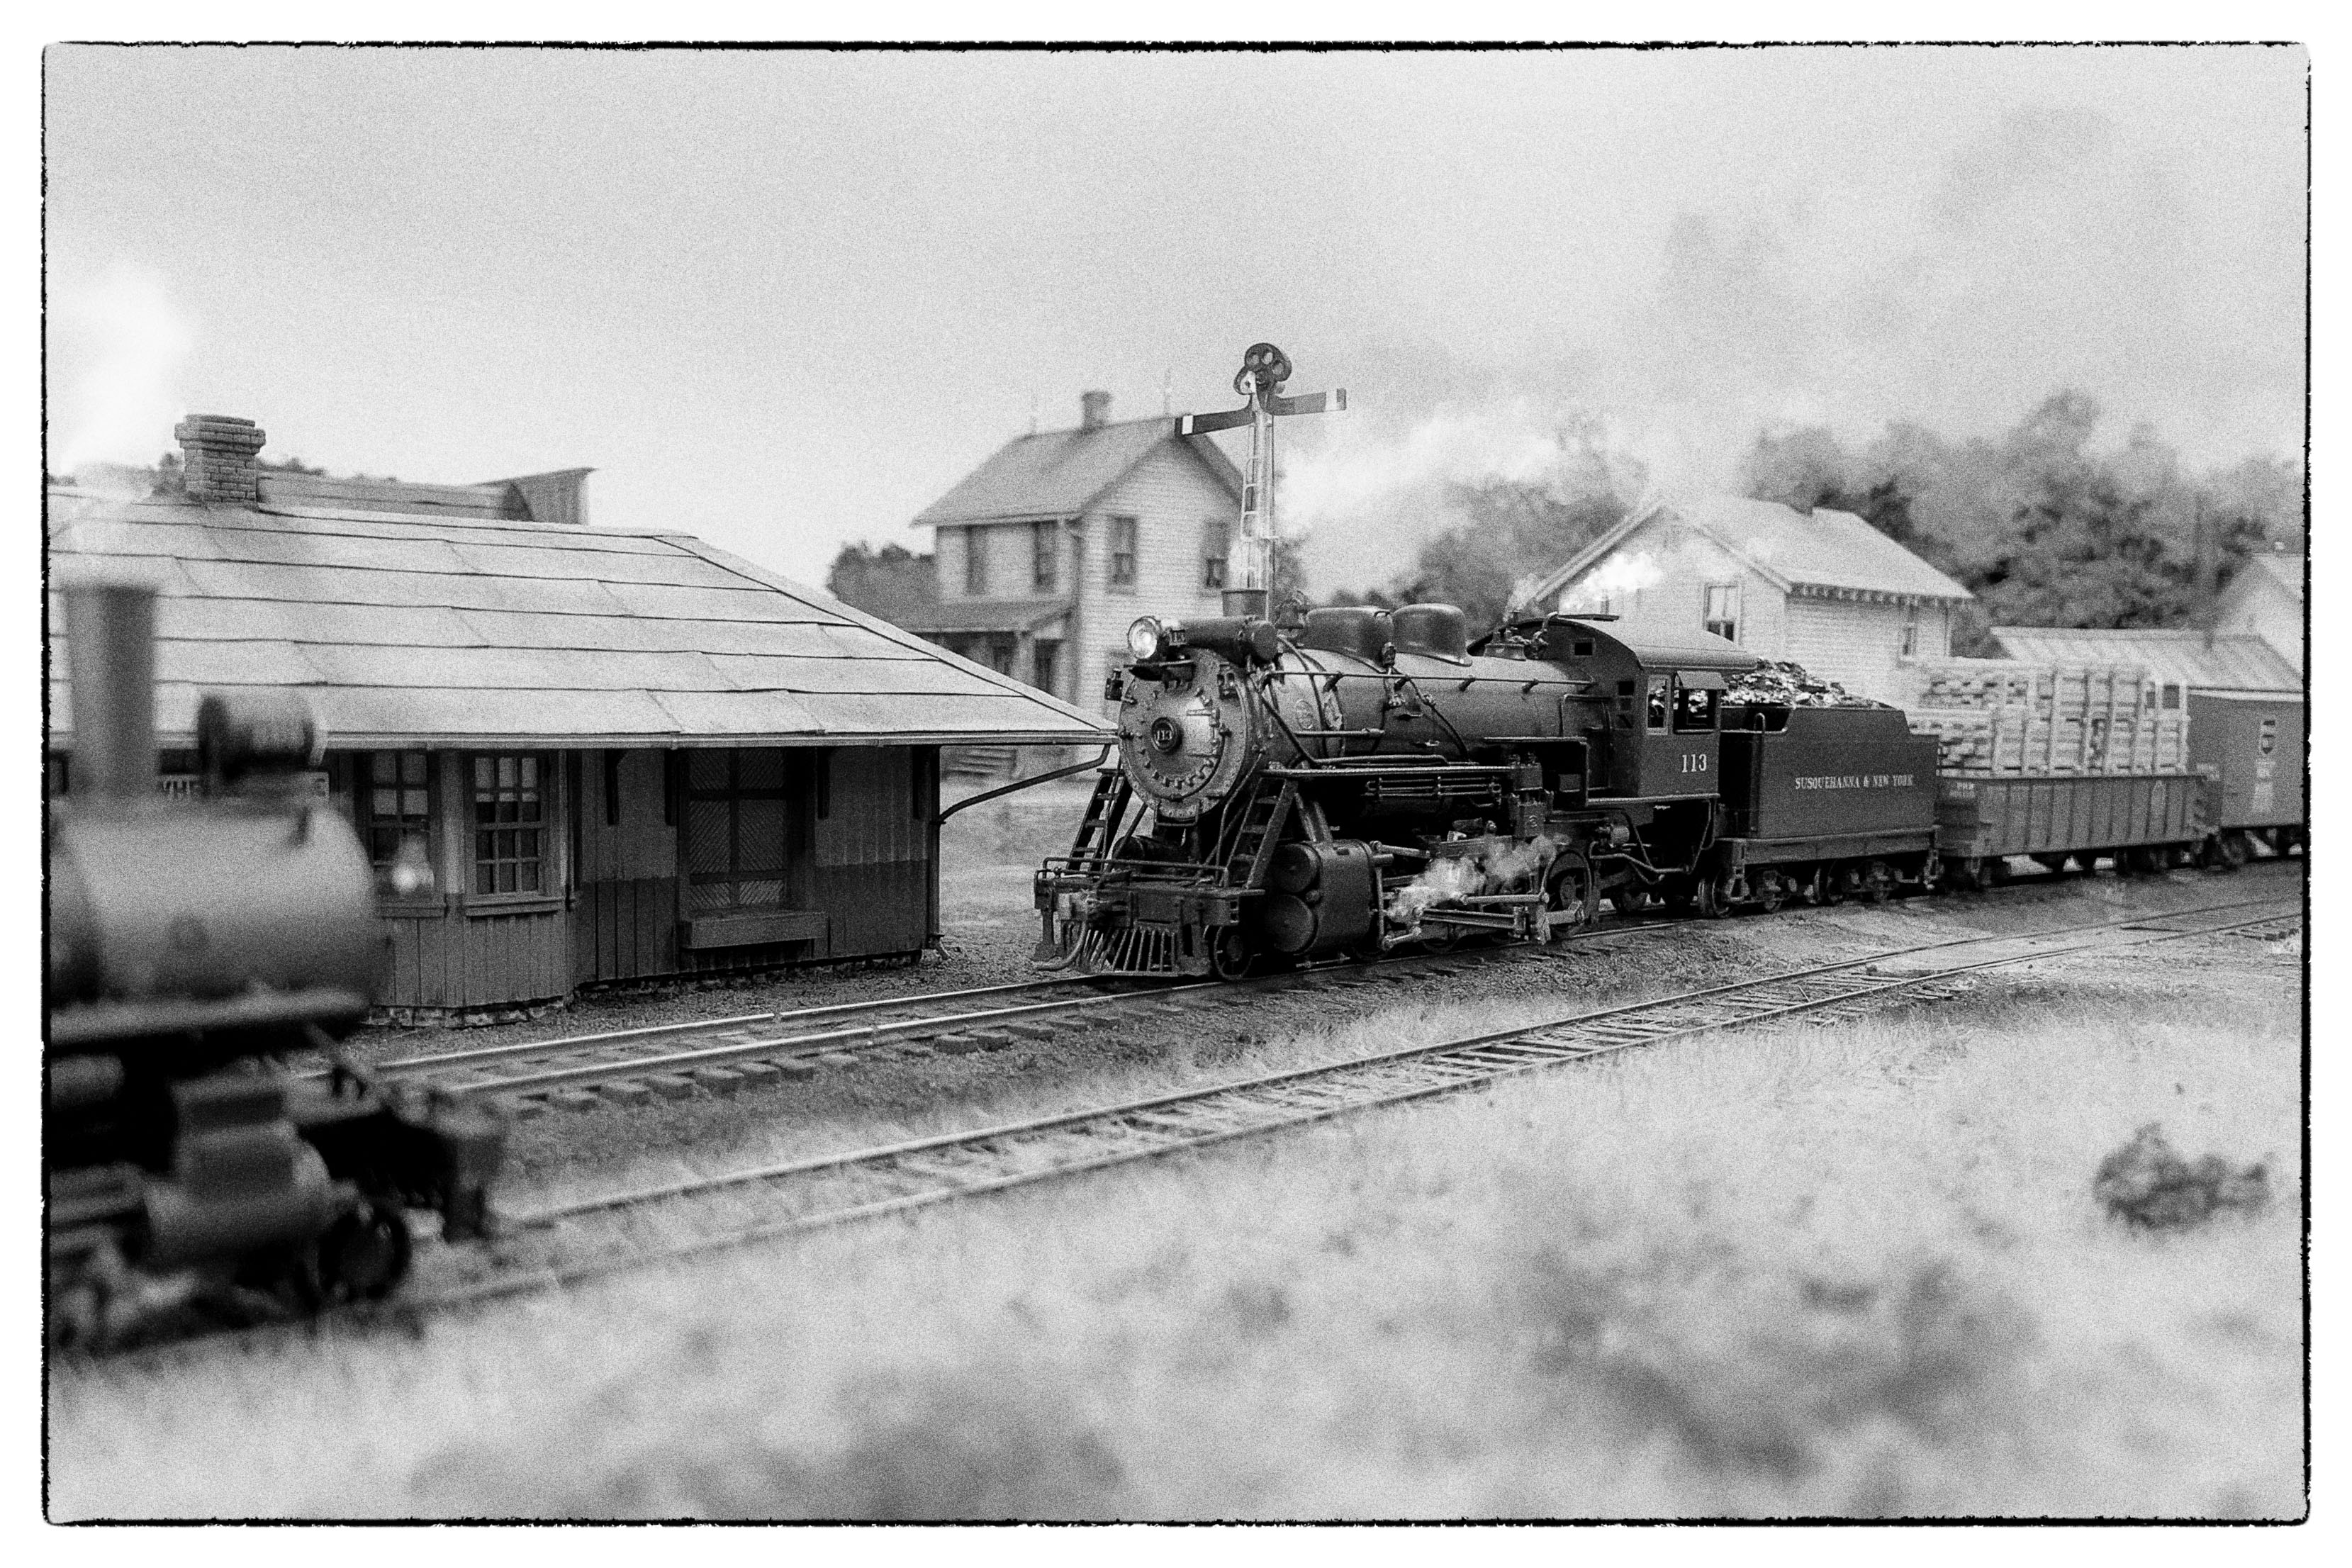
Anyway, I wanted to build several cars using these S&NY examples as a basis:
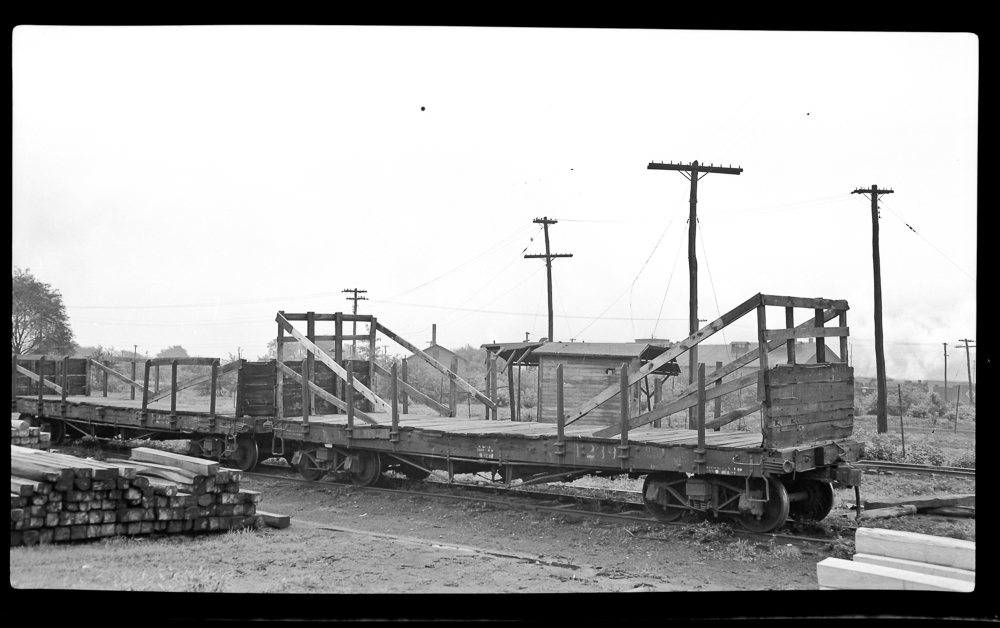
Bradley-Hahn Collection, RRMPA
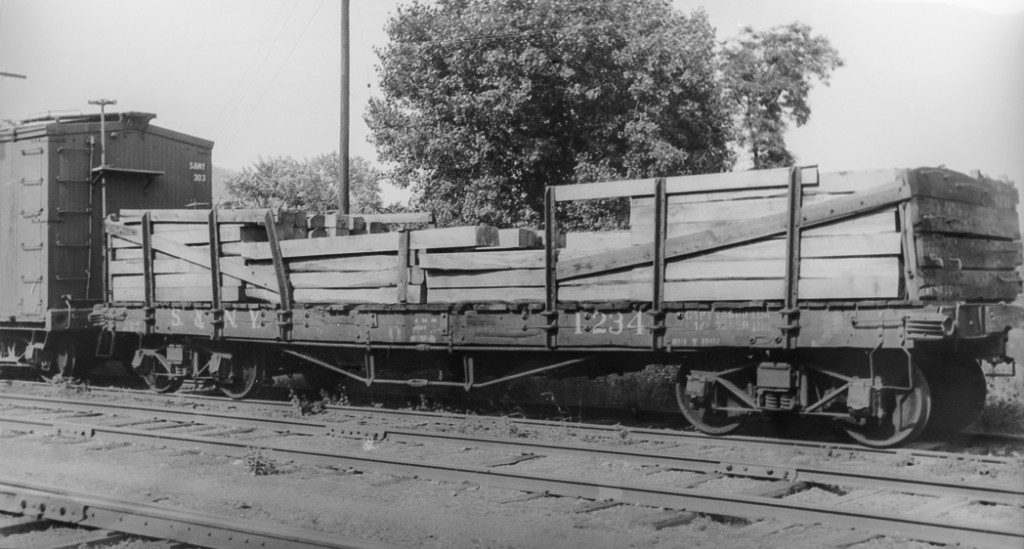
Bill Caloroso – Cal’s Classics
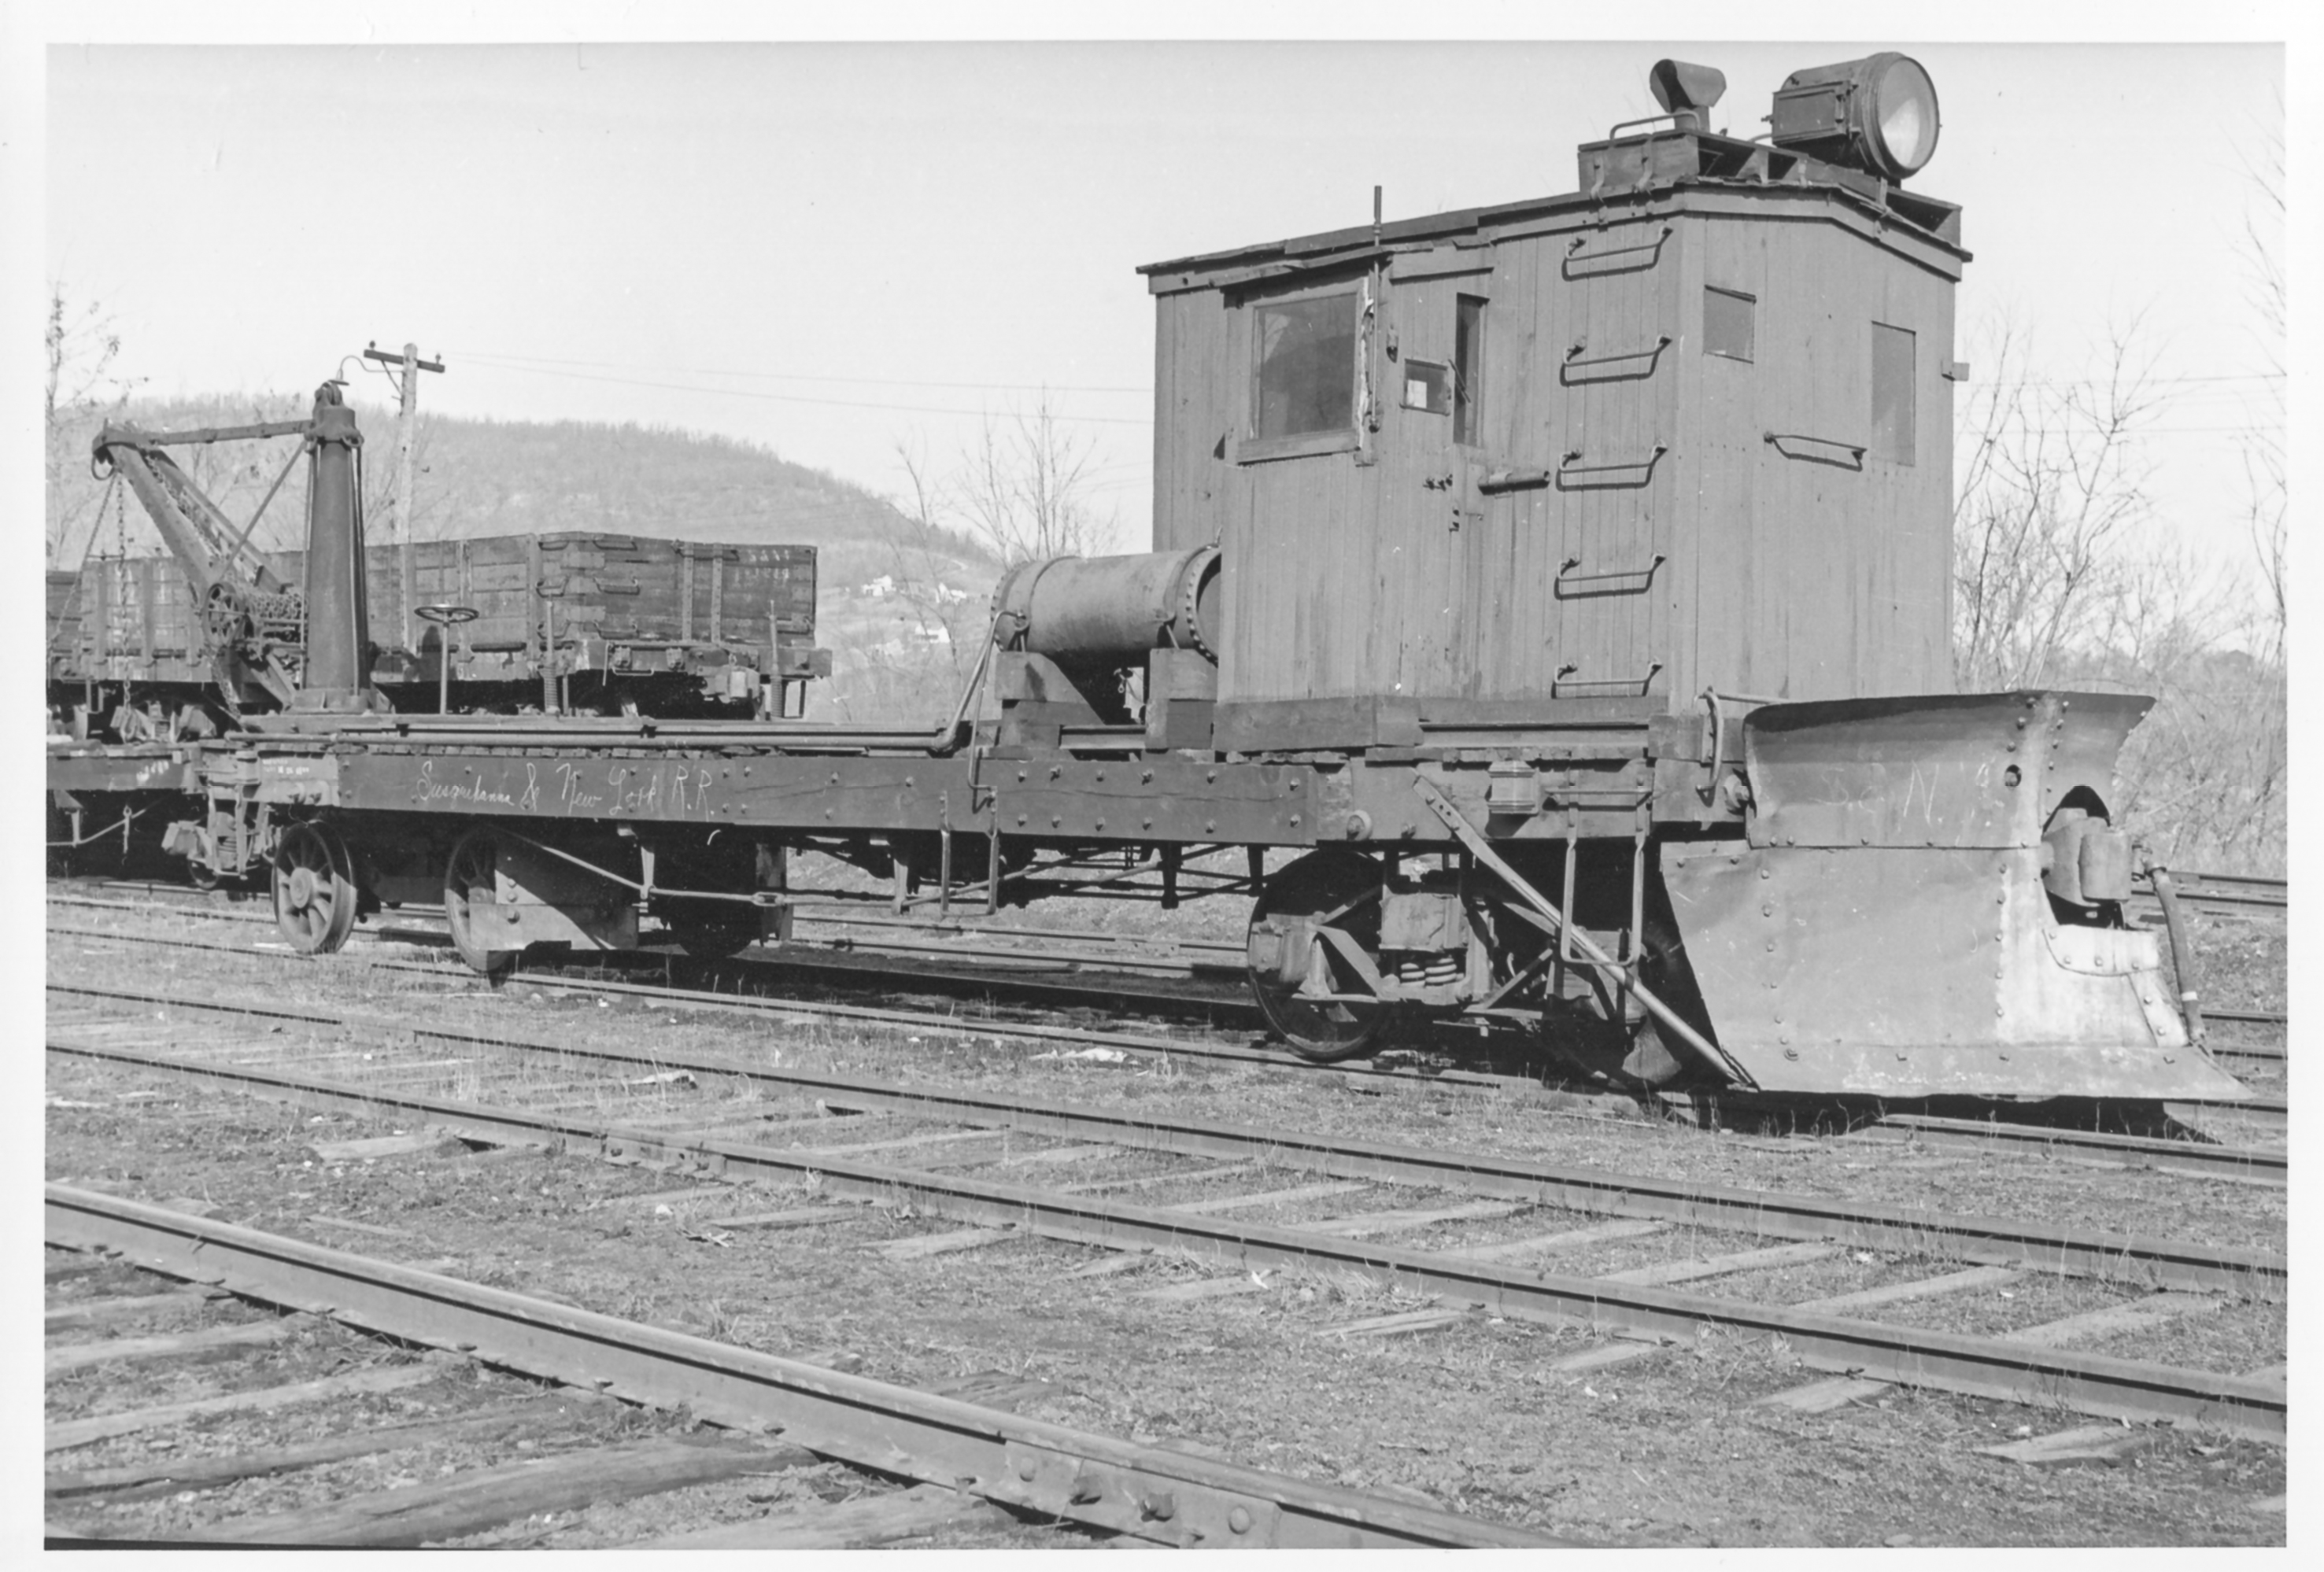
The basic flat car could also serve as a foundation for the S&NY flanger:
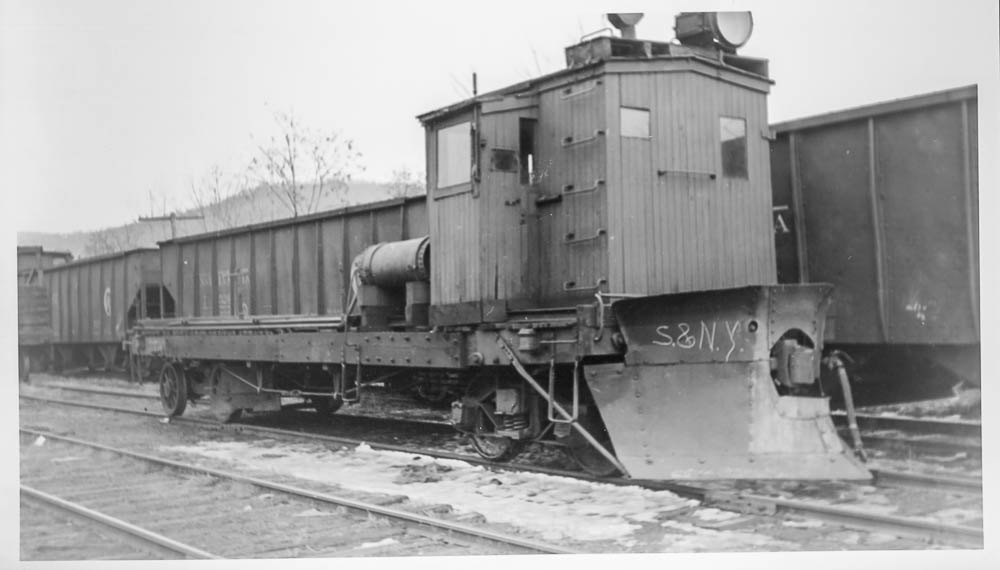
Bill Caloroso – Cal’s Classics
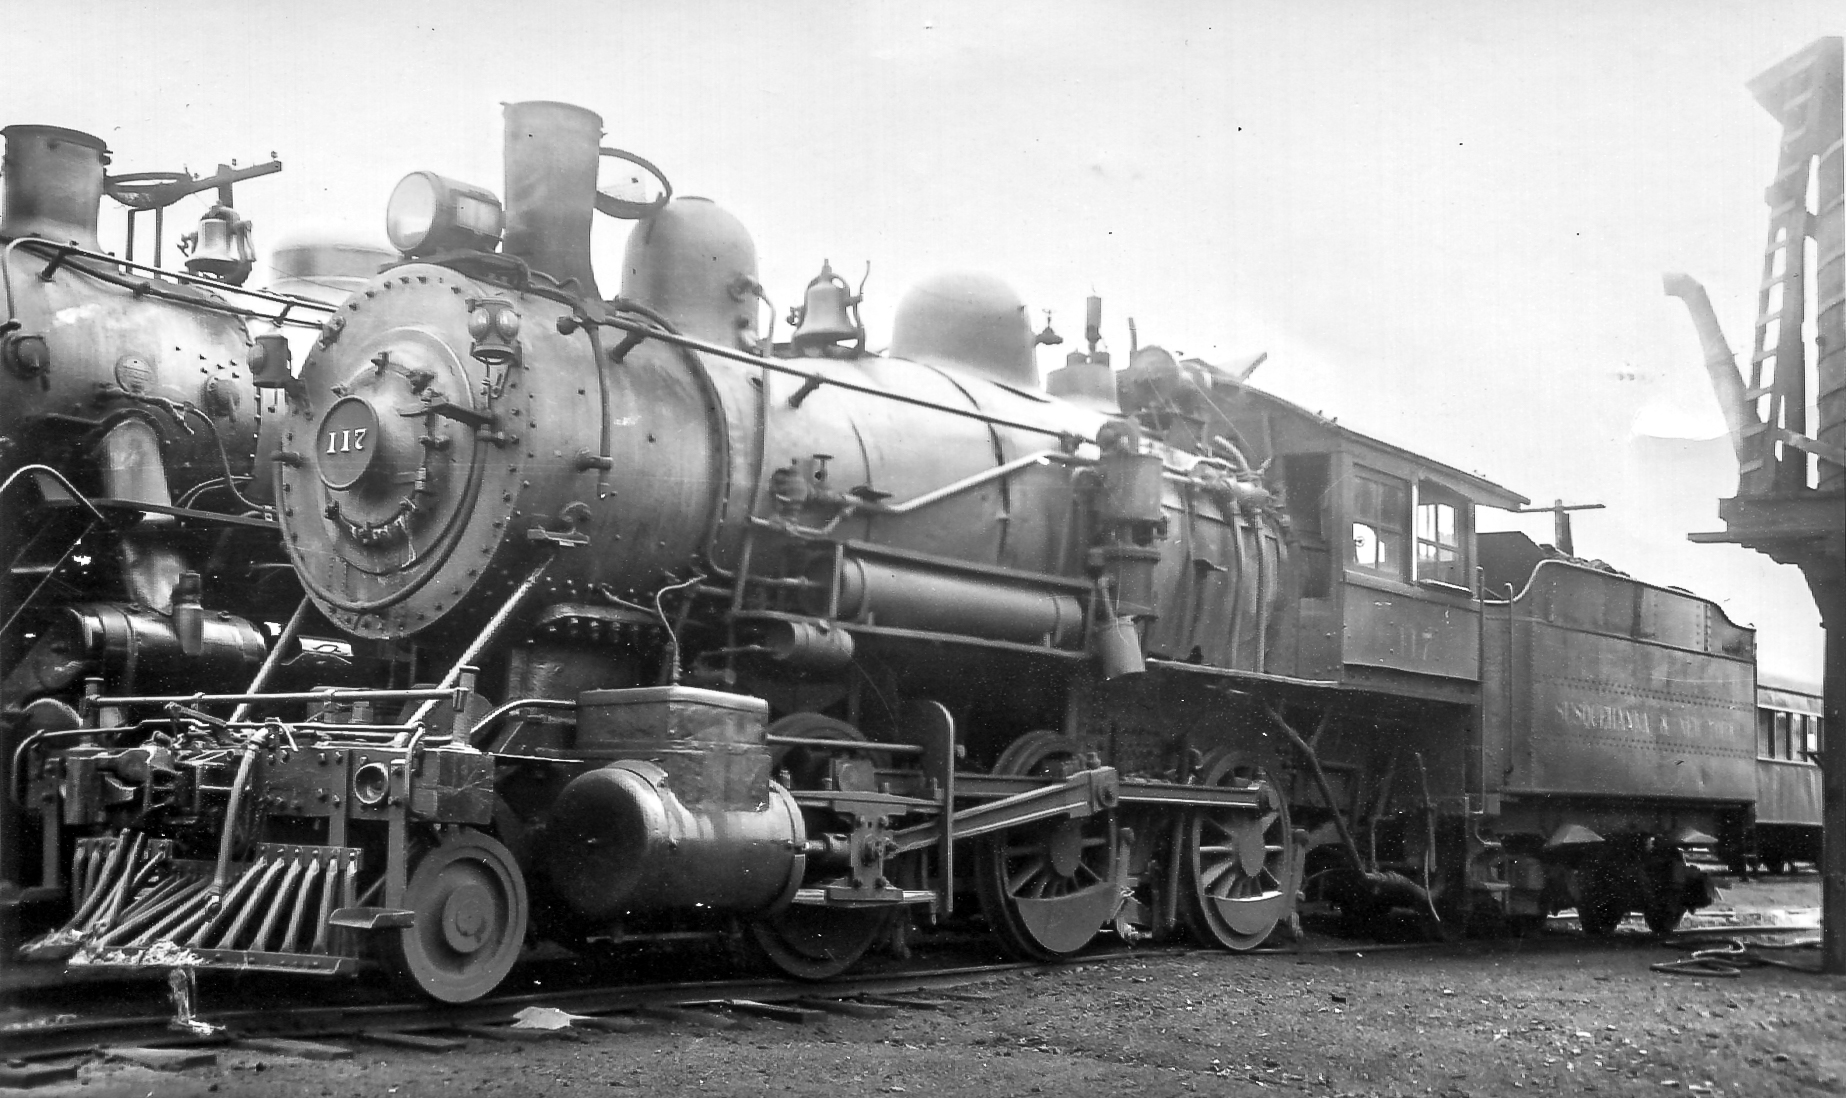
Also a crane-flat:
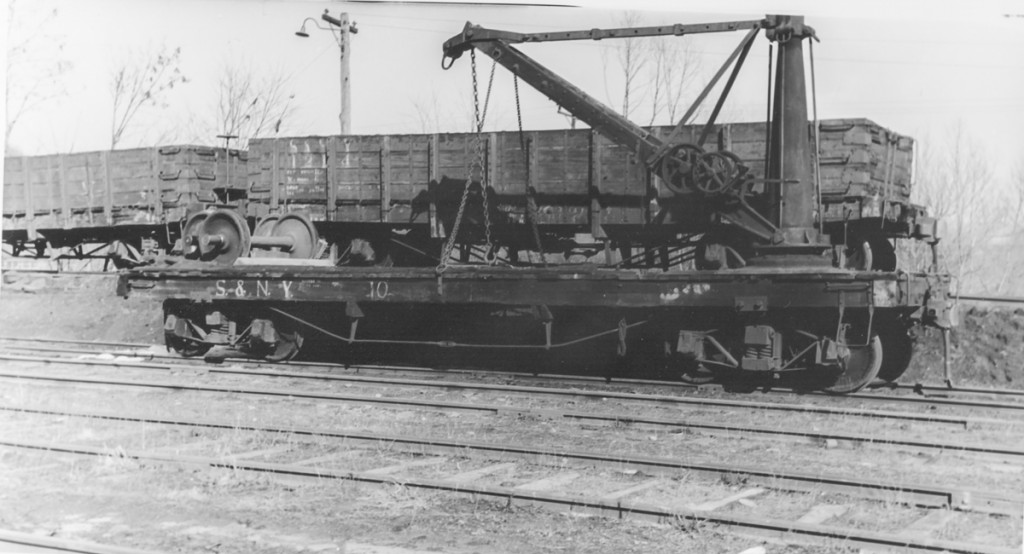
Bill Caloroso – Cal’s Classics
And also the gondolas seen in the background in this photo, and in the one prior:
Bill Caloroso – Cal’s Classics
Mr. Dave Vinci wrote an excellent article on scratchbuilding a PRR class Fk flatcar for “The Keystone Modeler No. 42 January 2007”, and the article is available here: Scratchbuilding a Class Fk Flat Car . I figured I would follow his techniques, but using dimensions from a PRR class Fh car instead. The Fh was shorter than the Fk, (36’5″ vs. 38’4″) and used archbar trucks with a 5’0″ wheelbase, rather than 5’6″ trucks on the Fk. I had half a dozen Tahoe Model Works trucks with the shorter wheelbase, and desired to use these as I think they give a really older feel, visually, than the “standard” archbars.
Mr. Vinci described the difficulty in adding adequate weight to the model in order to bring the weight up to NMRA standards, which should be about 3-1/2 oz. total. The article shows how to use lead shot in the underbody voids to accomplish this, but the weight still comes up short.
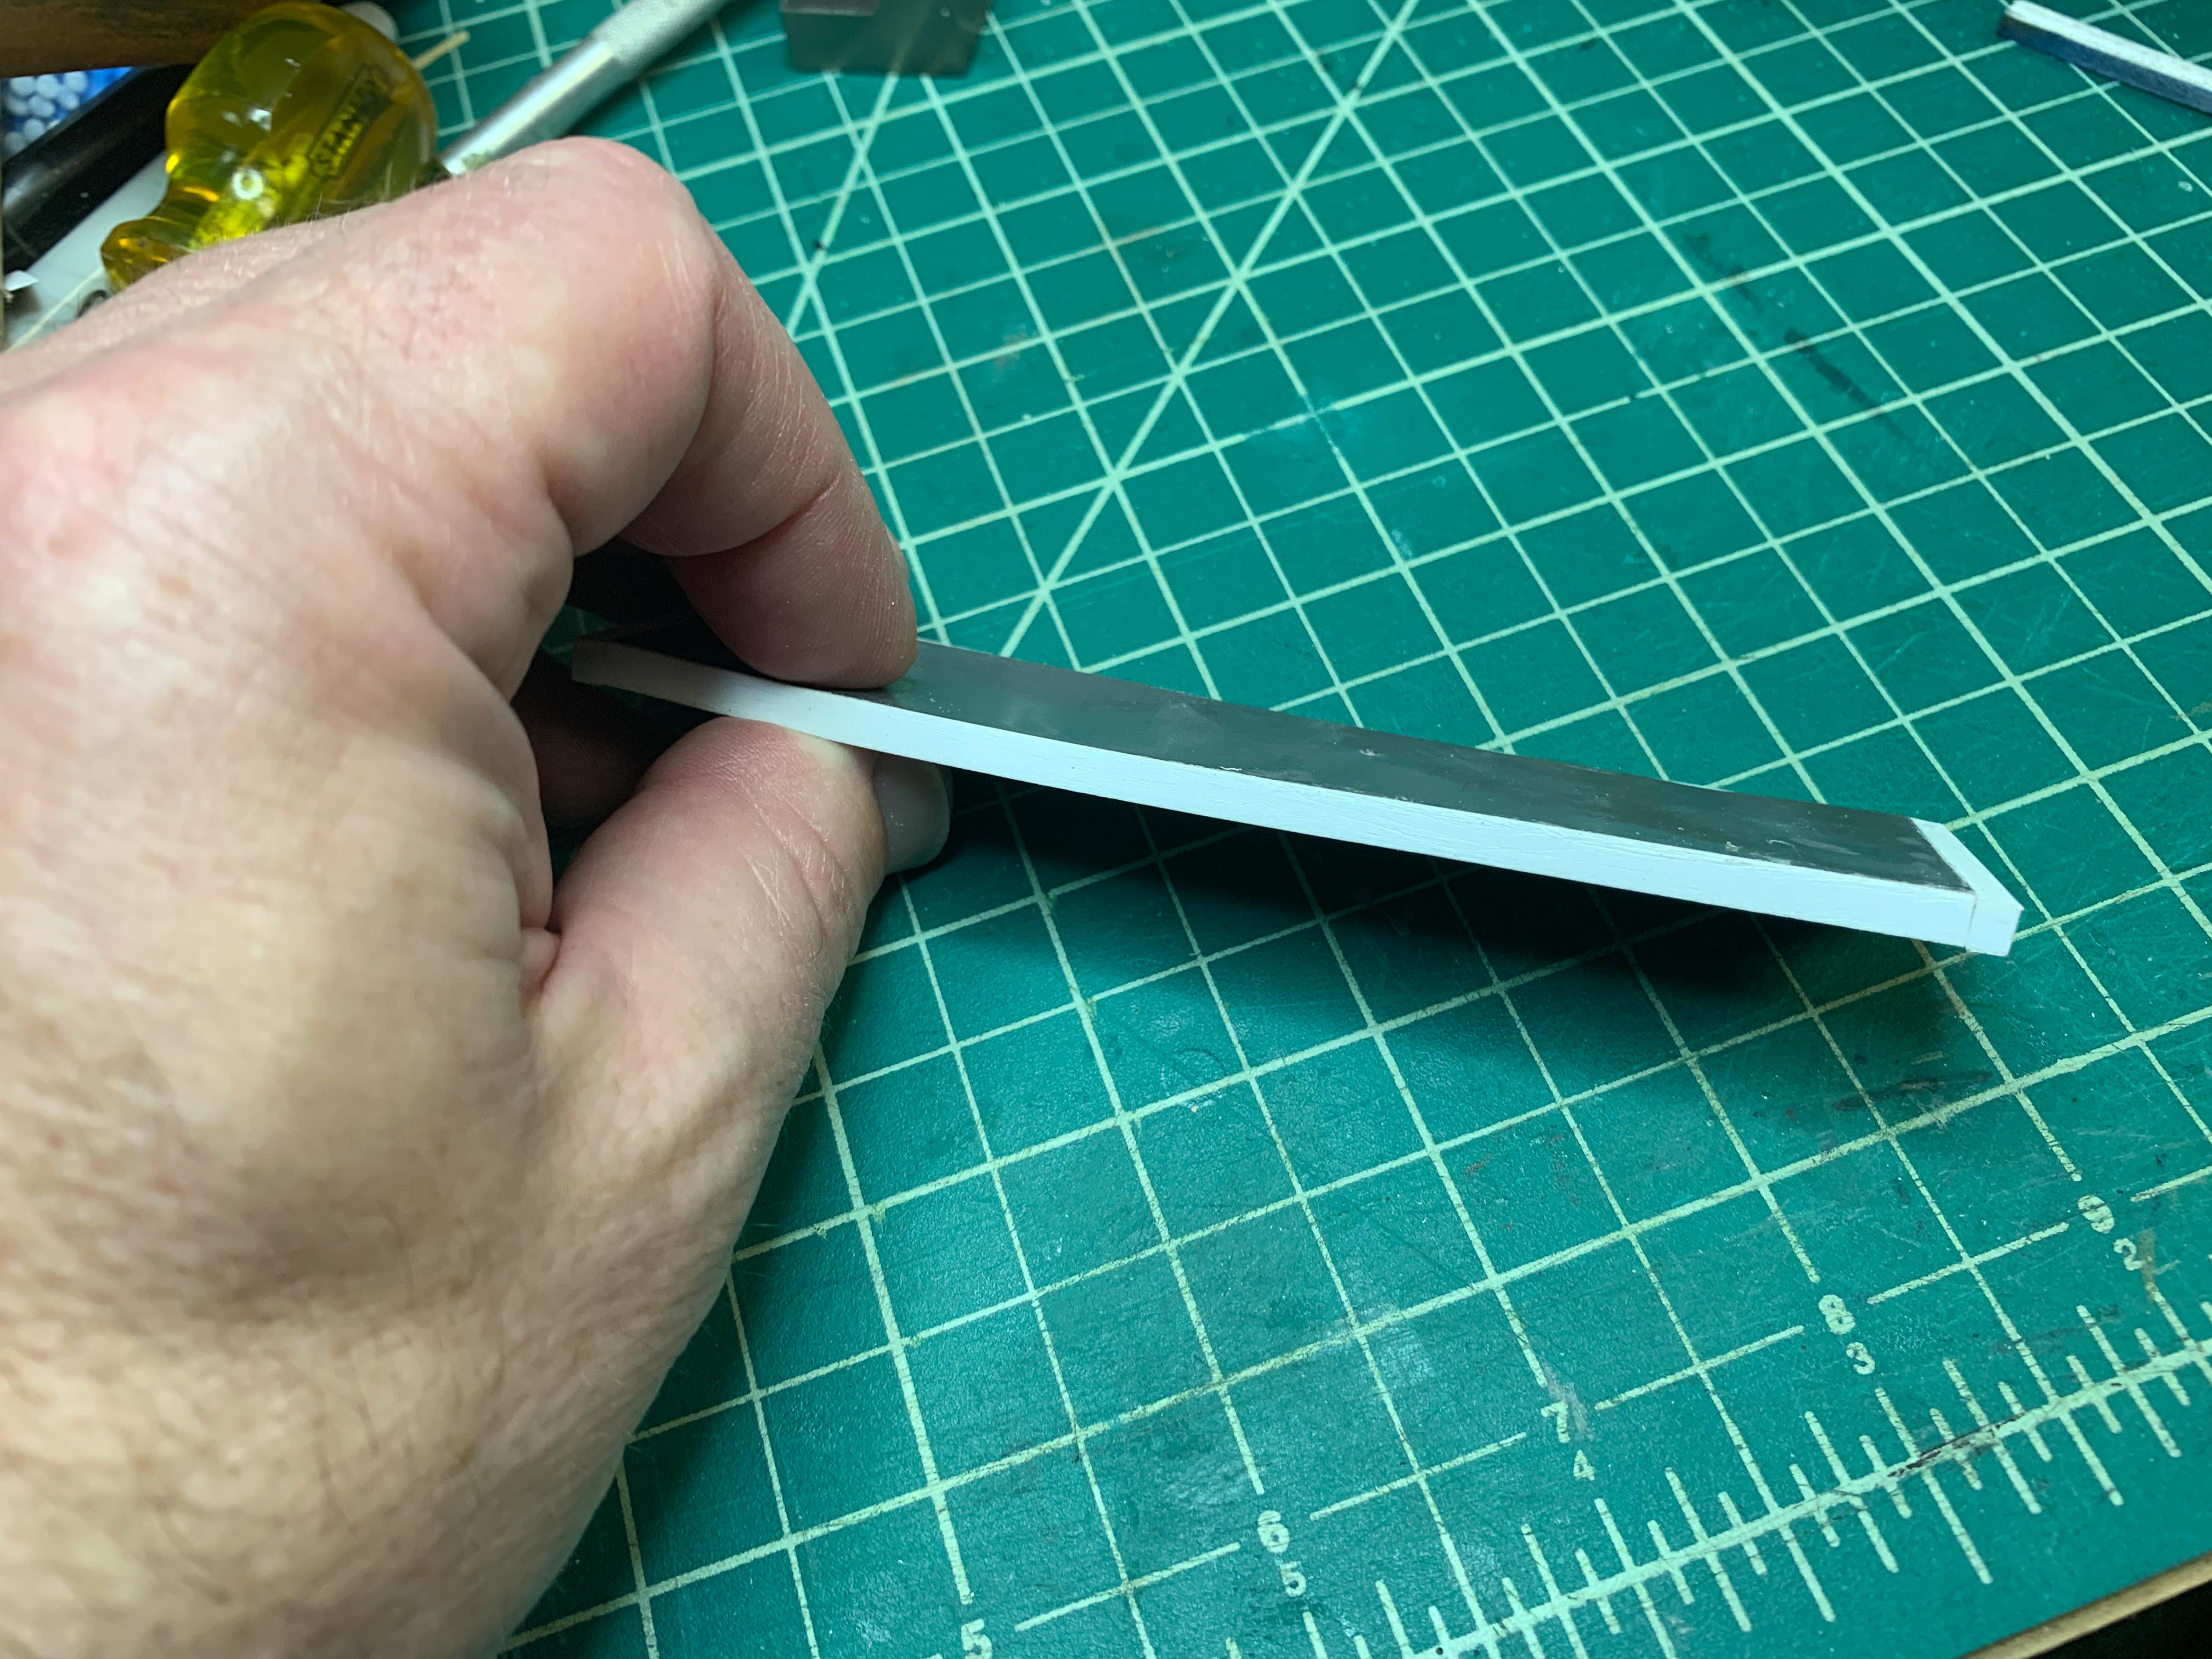
I had hoped to add more weight to my cars by laminating lead sheet into the flatcar deck during assembly. I had some 1/32″ lead sheet on hand, and smugly set about building the flat car deck. I had to tweak the dimensions of the end beams and side members a bit, but it looked like it might just work. I used contact cement to glue the lead to a piece of 0.040″ styrene, and used a small wooden roller to ensure even contact. Started to work on the bolsters and underframe, and the coupler height looked like it would be dead-on. So far so good…
Except today when I went to work on the car…something…was…wrong…:
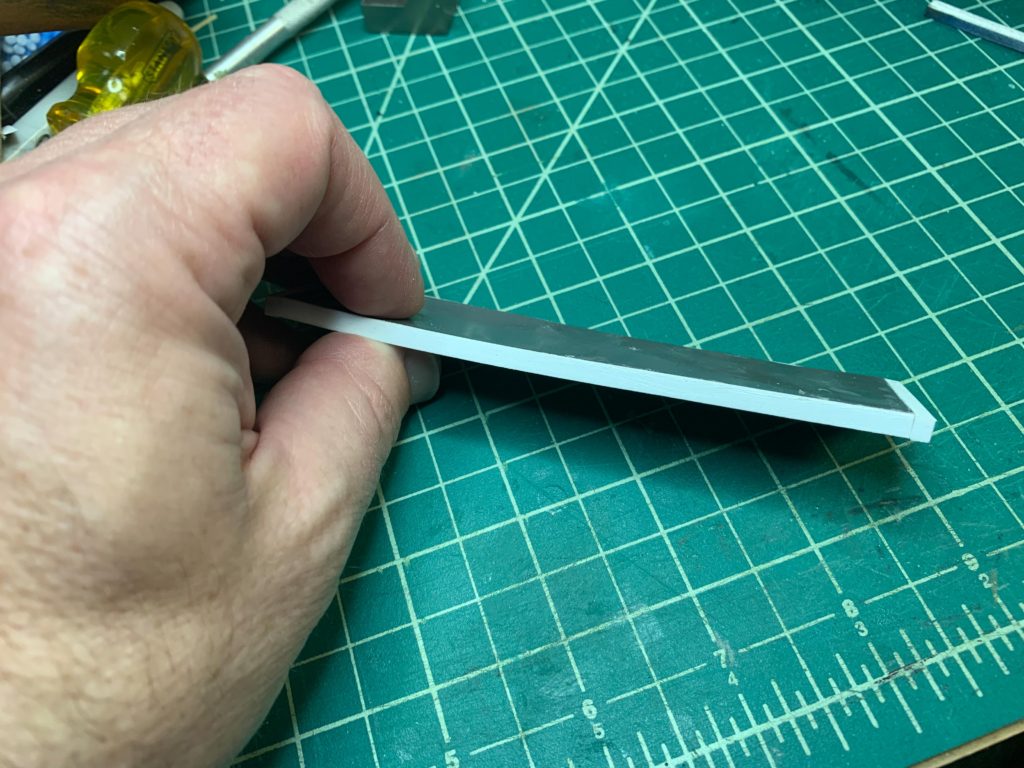

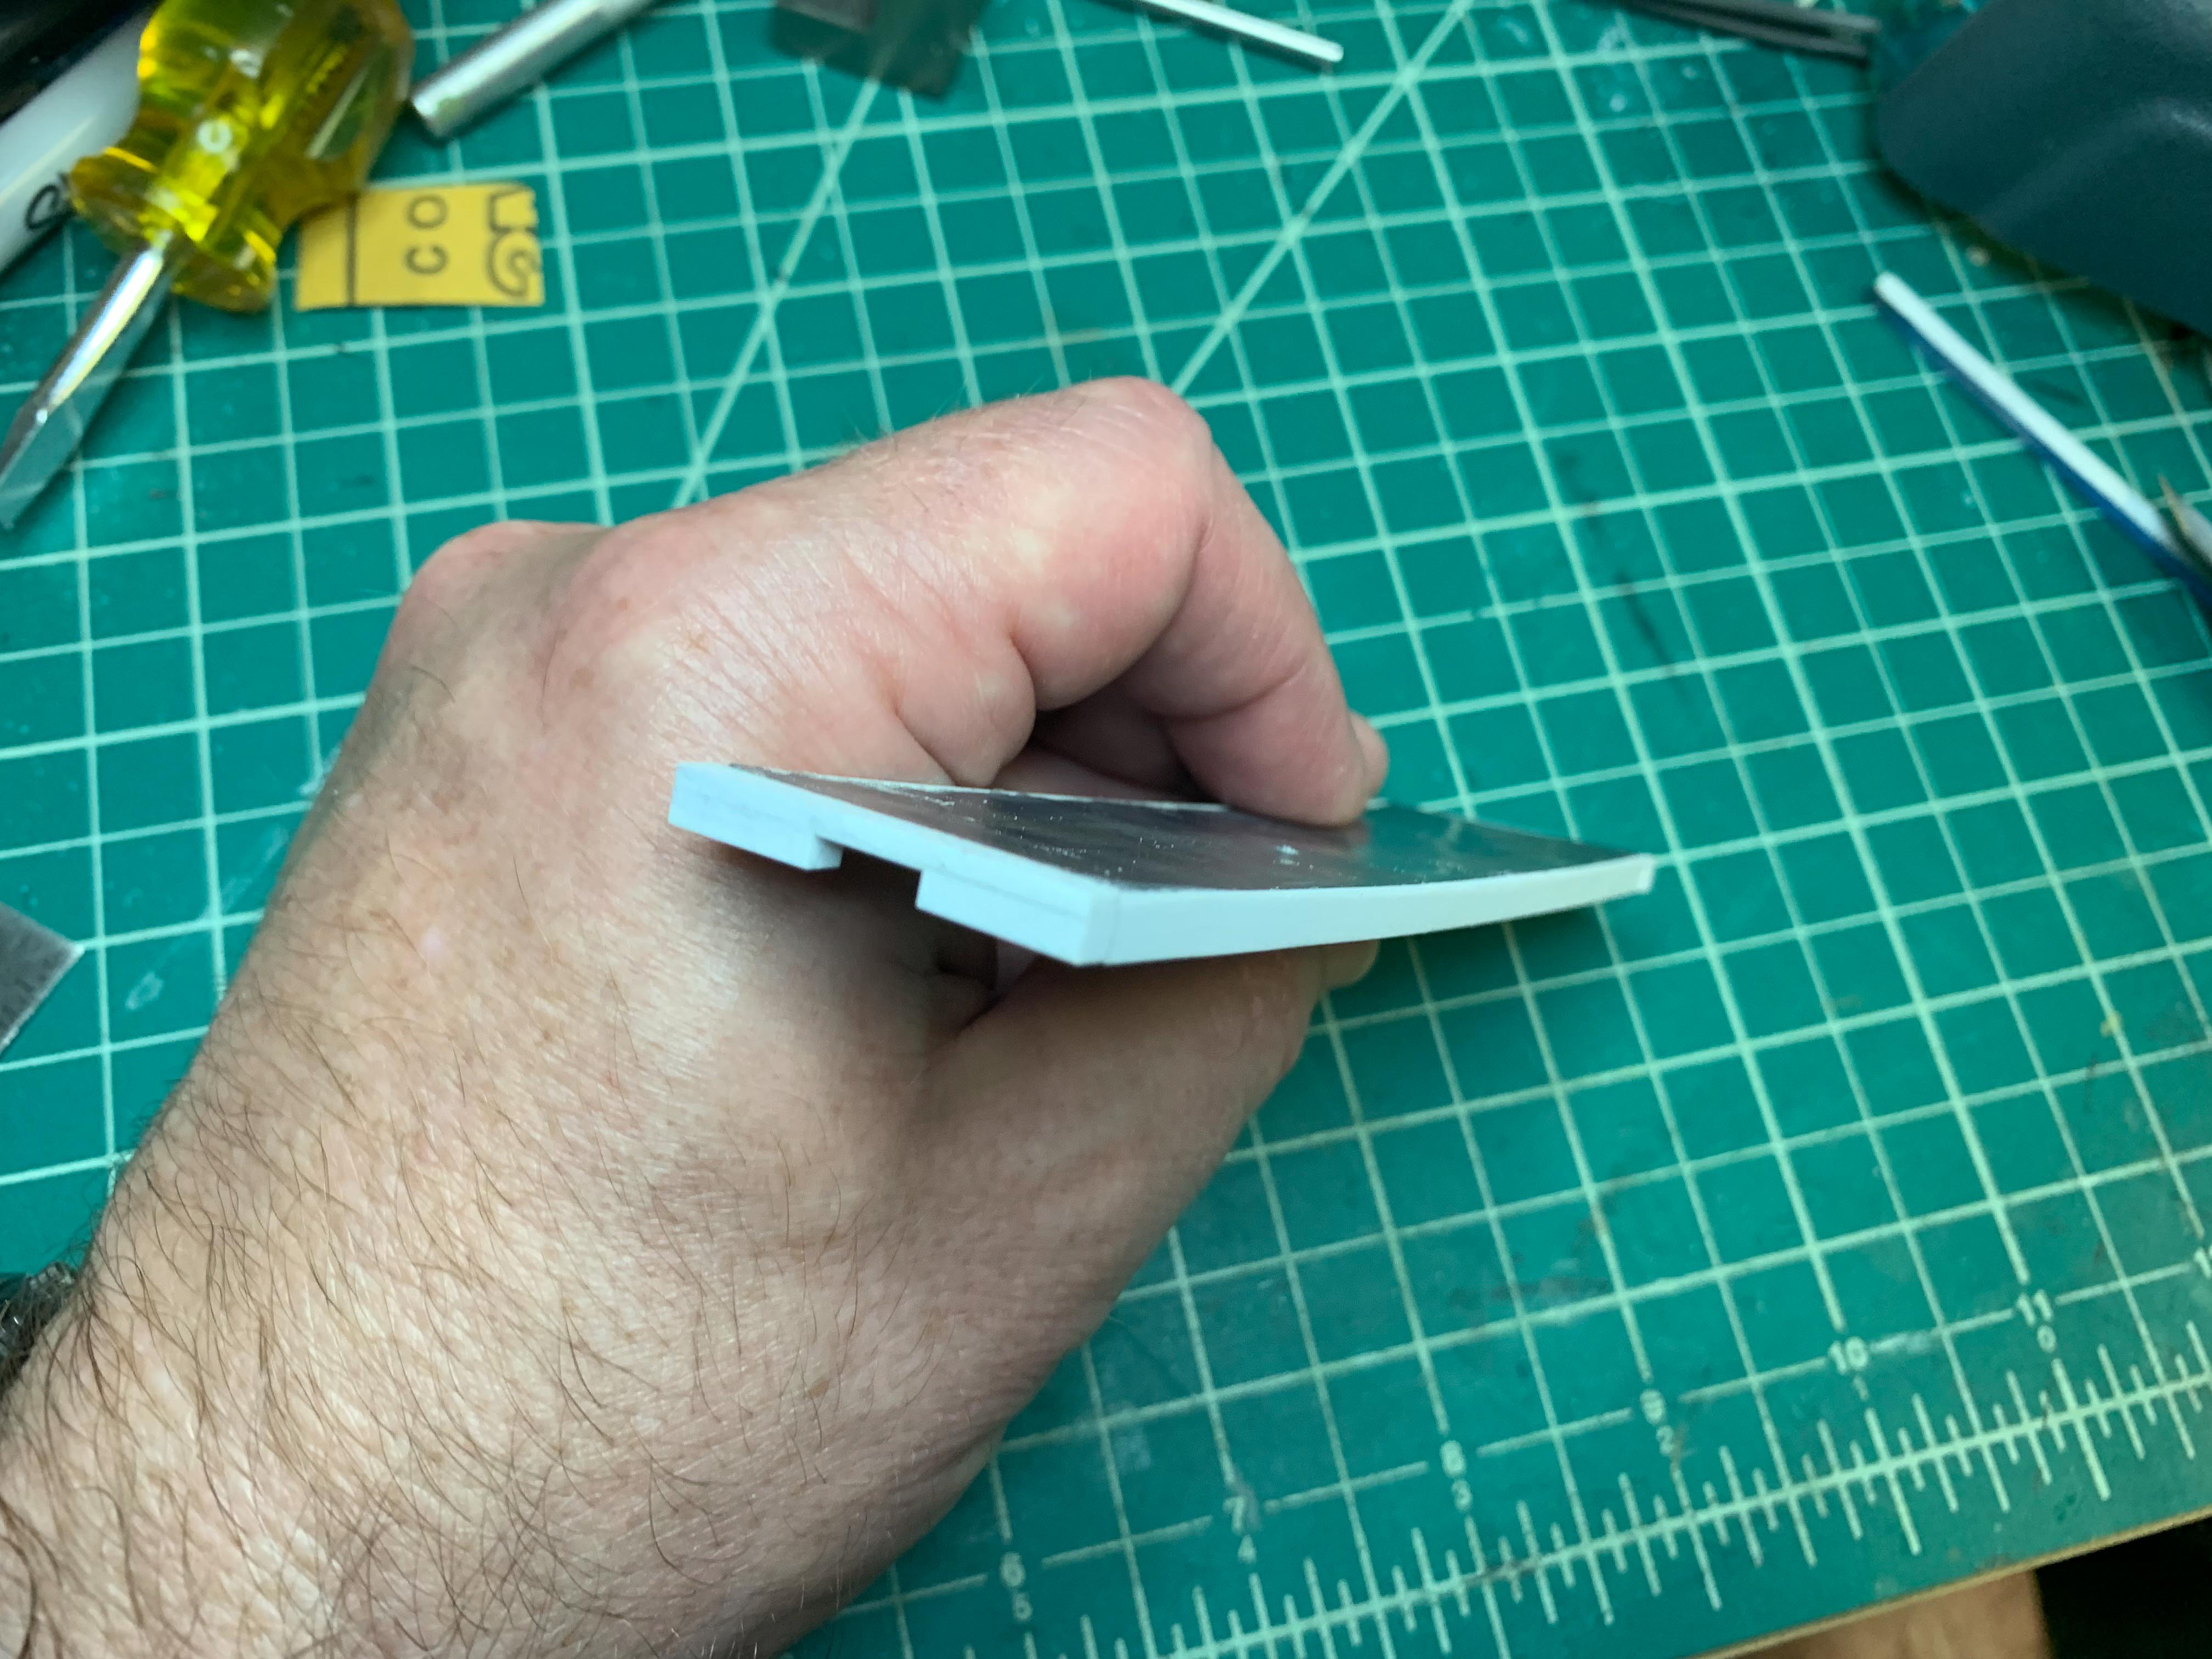
The deck was now all warpy and curved. What the…..?
I had built the deck during some hot and humid days when we had the house A/C on. Meanwhile, the weather cooled off and we turned off the A/C and kept the windows open. The basement warmed up a bit and the air got a touch more humid. Not sure if the lead sheet expanded a little relative to the styrene, or if there was air trapped between the plastic and lead that expanded, or if the glue continued to out-gas and caused some delamination and deformation of the plastic. Either way, the idea of using lead in the deck of the car was not going to work…
Thus, FAILURE!
Also, other issues arose at this point. The PRR Fh is 36’6″ long. The April 1940 ORER lists the S&NY flats as being 38’1″ long. Uh oh.
Further review of some of the photos shows what looks like hoppers underneath some of the cars. Could some of these “flatcars” actually be old cut-down drop-bottom gondolas? I really would prefer not to have to scratchbuild underbody hoppers for 6 or more cars. Double uh-oh…
Well then…What to do, what to do?
After a bit of soul-searching and creative use of profanity, I’ve decided to press ahead using the PRR Fh and Mr. Vinci’s article as a guide. I have no dimensions or more-detailed photos of the S&NY cars to work from anyway, especially the undersides. I’ll construct them to mimic the S&NY flats in appearance as much as possible (and practical!). I’ll lose some conformance points for the NMRA AP certificate, but that is a secondary issue. The ultimate goal is an operational model railroad based on the S&NY, and a few compromises will always be necessary to achieve that.
I’ve already built a new flatcar deck without lead this time, and so far no warping. I’ll update as I can!


Recent Comments