Monthly Archives: January 2015

You are browsing the site archives by month.

Some Scenery for the S&NY Pt. 5

Spent a little time this evening finishing up a fallow pasture in the back corner of the Wheelerville section on the railroad. I deliberately used a mix of smaller SuperTrees along the backdrop to give a little forced perspective effect, and make the scene seem a little deeper than it actually is. The pasture is various colors of Woodland Scenics static grass, mostly burnt grass, harvest gold, and wild honey layered together. The field looked a little too flat once everything was dry, so I lightly brushed over the field with an old toothbrush to give the ground a little more texture and relief. Once all the loose flock was sucked up with a hand-vac, the field looked much better.

The fence posts are wooden toothpicks drybrushed various browns and grays, and the “barbed wire” is .003″ rust-colored EZ-Line:

Fallow pasture-1

All-in-all, I’m pretty satisfied with the look. Onward to the next task…

Wordless Wednesday #30

Bill Caloroso - Cal's Classics

Bill Caloroso – Cal’s Classics

Talky Tuesday #1

It has been suggested to me, both online and in person, that some sort of follow-up posts be made to describe some of the locations and subjects of the “Wordless Wednesday” photos. So, for the enlightenment of those who enjoy the “Wordless Wednesdays”, and for the completeness of the online historical record of the S&NY, I present the first ‘Talky Tuesday”:

“Wordless Wednesday #29”: This photo was taken by me during a research/exploration trip up the Pleasant Stream and Schrader Creek valleys in early December 2000. The photo shows the abandoned town site of Masten, PA. My photo is roughly from the same location as this postcard view from the late 1910’s:Masten postcard hi-res-1

“Wordless Wednesday #28”: This photo taken on the same safari as “WW #29” shows the abandoned S&NY roadbed east of Marsh Hill along Pleasant Stream.


Some Scenery for the S&NY Pt. 4

Scenery progress continues a slow but steady pace. Spent an evening making puffball trees, a fairly tedious process. However, tearing off golf-ball sized chunks of polyfiber goes quickly while watching TV, and I was able to make about 100 trees in a little over an hour. I put a single layer of about 50 or so puffballs in the bottom of a large cardboard box after lining the bottom with newspaper. Then I misted them with dilute white glue, and sprinkled fine ground foam over them. Next, I tossed them around in the box until the non-coated sides were up, and repeated the mist-sprinkle-toss process several times until they had an even, but not caked, coating of foam. Last, I spread them out on newspaper to dry. The mist-and-sprinkle part goes really fast if you have everything laid out ahead of time.

Tree factory:

PuffballTrees-2

This afternoon and evening I started planting them on a couple of hillsides around some rock outcroppings I had finished painting and dry-brushing earlier in the week:

PuffballTrees-1 PuffballTrees-3 PuffballTrees-4

Finally the layout is starting to look like something!

To be continued…

Wordless Wednesday #29

Photo by Author

Photo by Author

For a view of this location 90 years earlier, click here.

Wordless Wednesday #28

SNYRoW-1

Some Scenery for the S&NY Pt.3

Spent a goodly chunk of last week plugging away at the current scenery project. I wanted to put the supply of SuperTrees I had built up to good use, since due to their fragility I have no good way to store them yet.

I added most of them to the small hillside behind the site of the future Wheelerville creamery:

CreameryHillside10Jan15-2

CreameryHillside10Jan15-1

Mixed in is Woodland Scenics green polyfiber lightly coated with green fine ground foam for generic low shrubs, briars, etc. in the understory. I am really very pleased with the effect, even though it is pretty tedious planting the all those SuperTrees in place. I’ll add more detail to the forest edge once the creamery is built and I have the road and adjacent ground cover in place.

I also had to break out the GrassMaster and plant a little static grass, just to try it:

SceneryProgress08Jan15-1

That stuff is like magic! I can’t wait to plant more. Maybe this coming weekend…

Wordless Wednesday #27

Bill Caloroso - Cal's Classics

Bill Caloroso – Cal’s Classics

Some Scenery for the S&NY Pt. 2

Due to work and the holidays, progress on the scenery project has been slow. Another factor is that I have never created model railroad scenery before, and I do not yet have a standard workflow. As a consequence, I tend to get immobilized by decisions regarding what to do next. Hopefully that will diminish as I get some experience, and progress will be quicker.

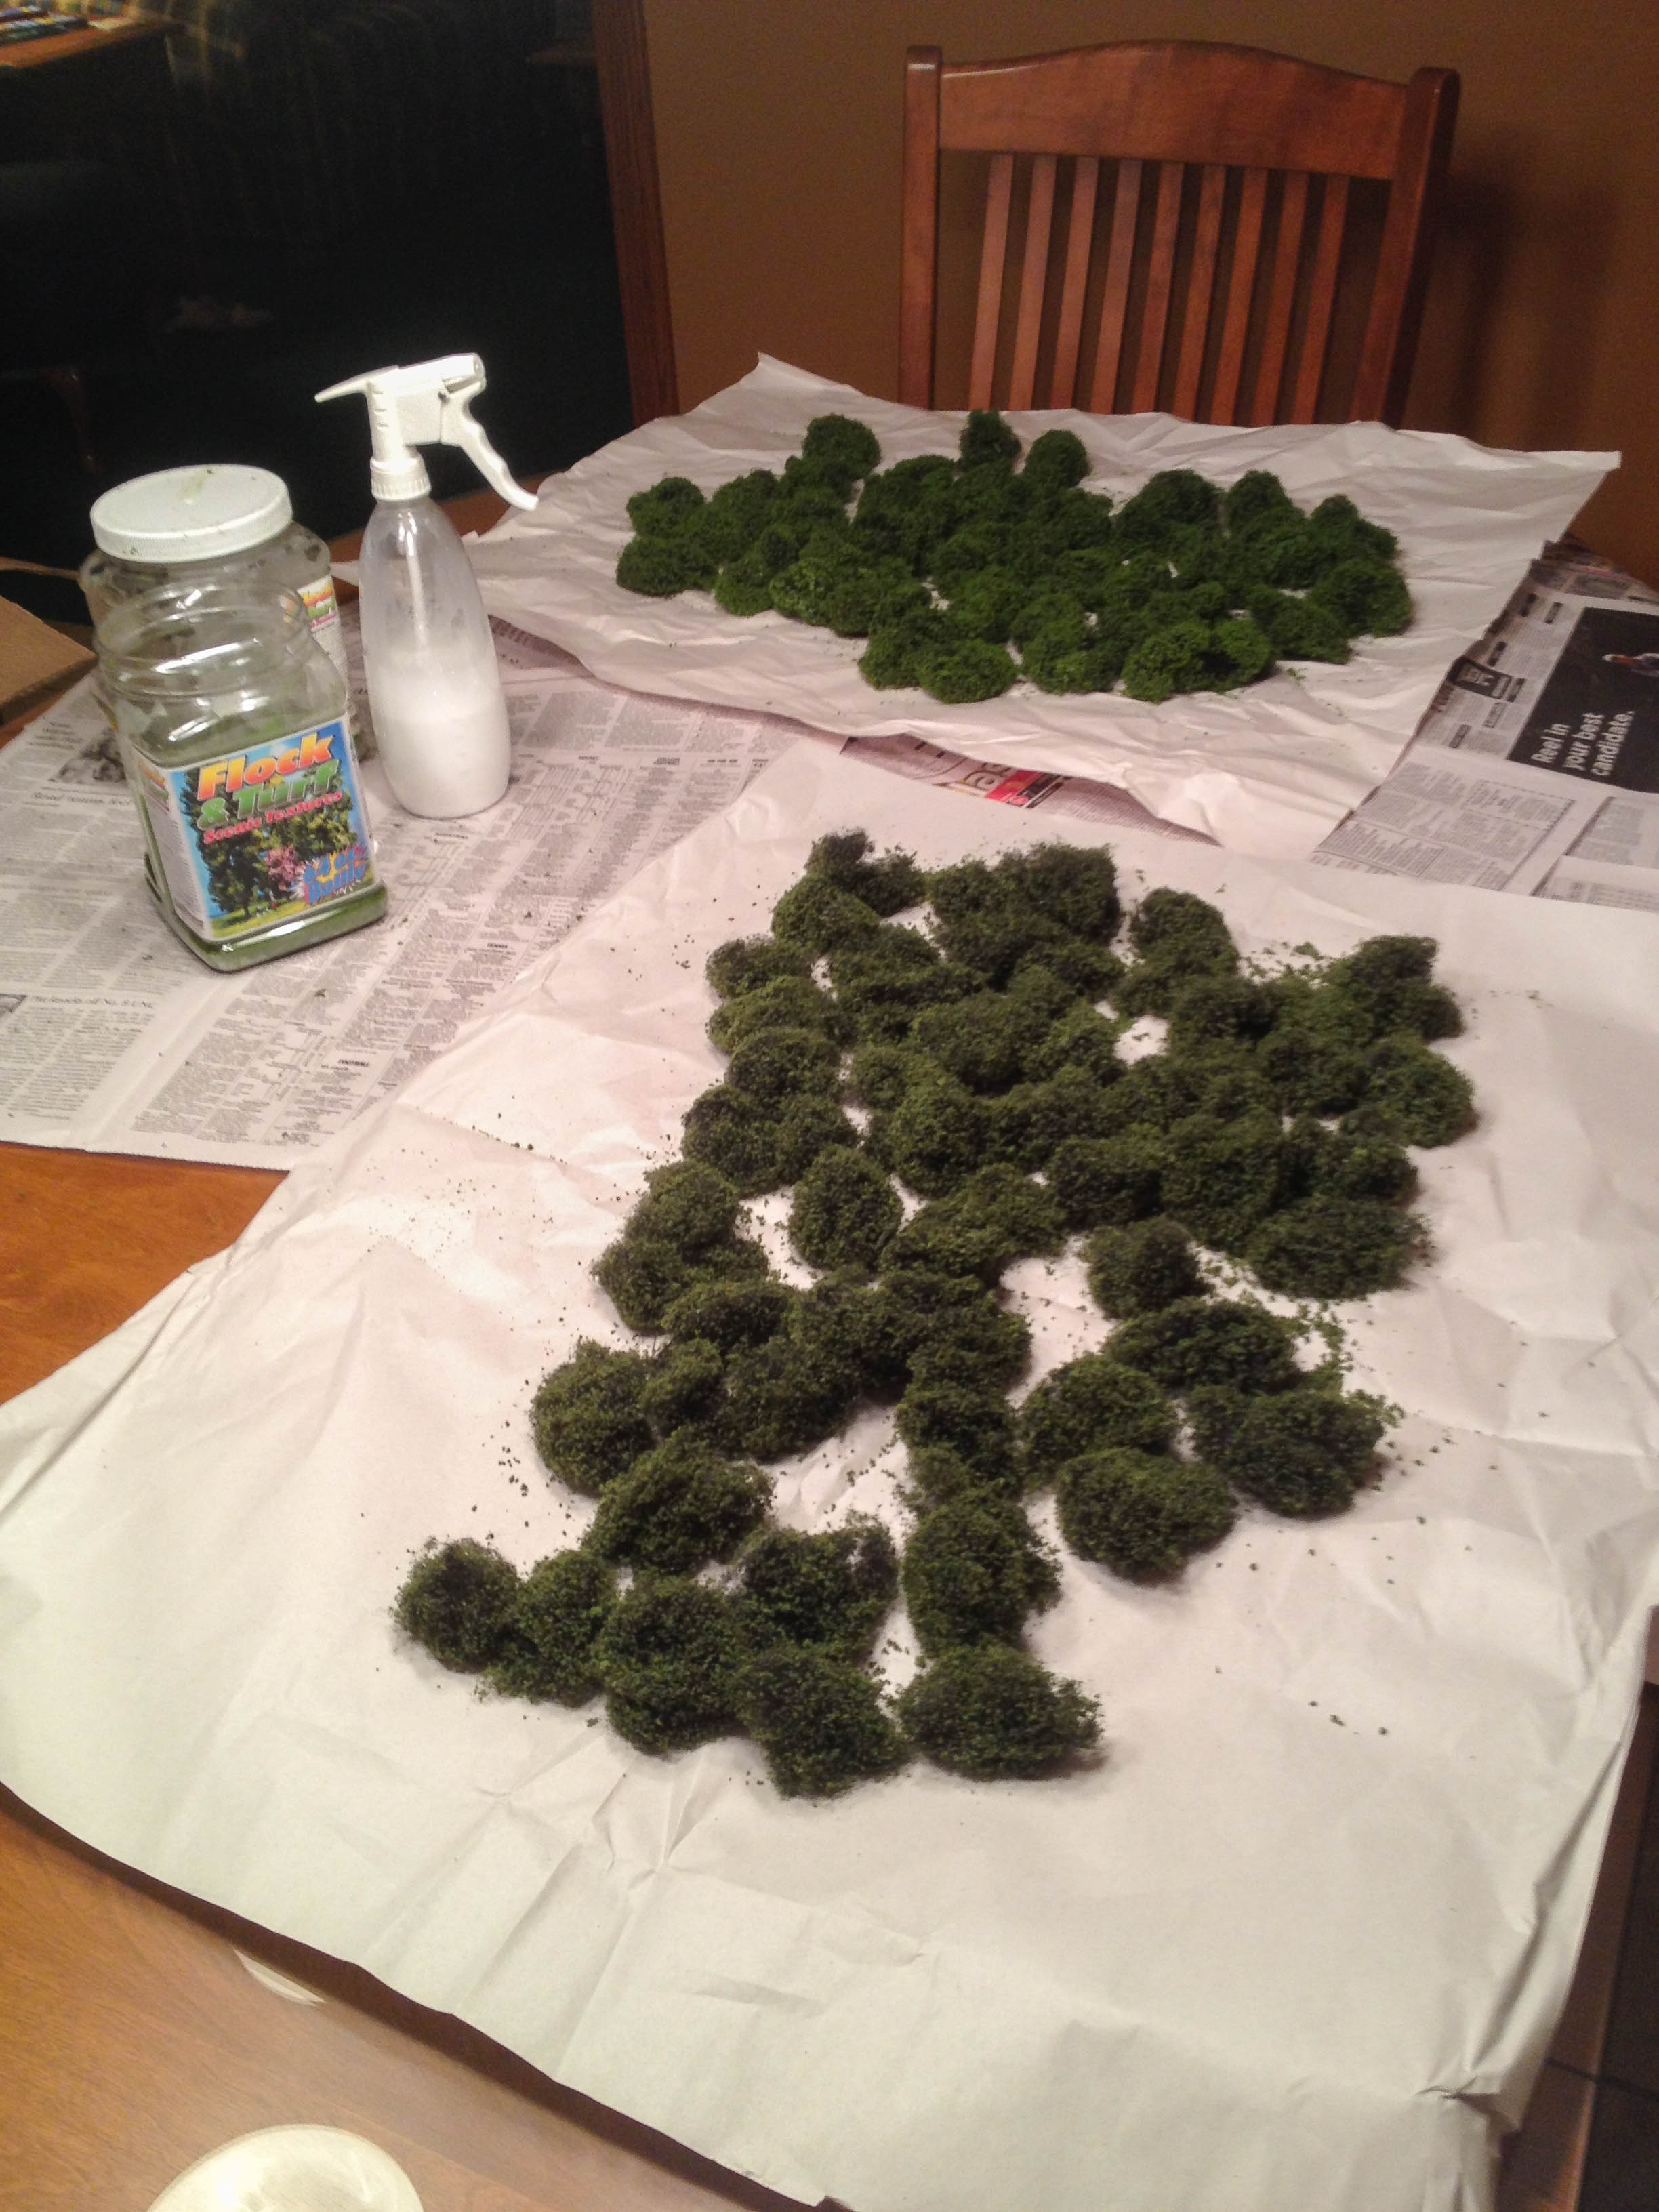
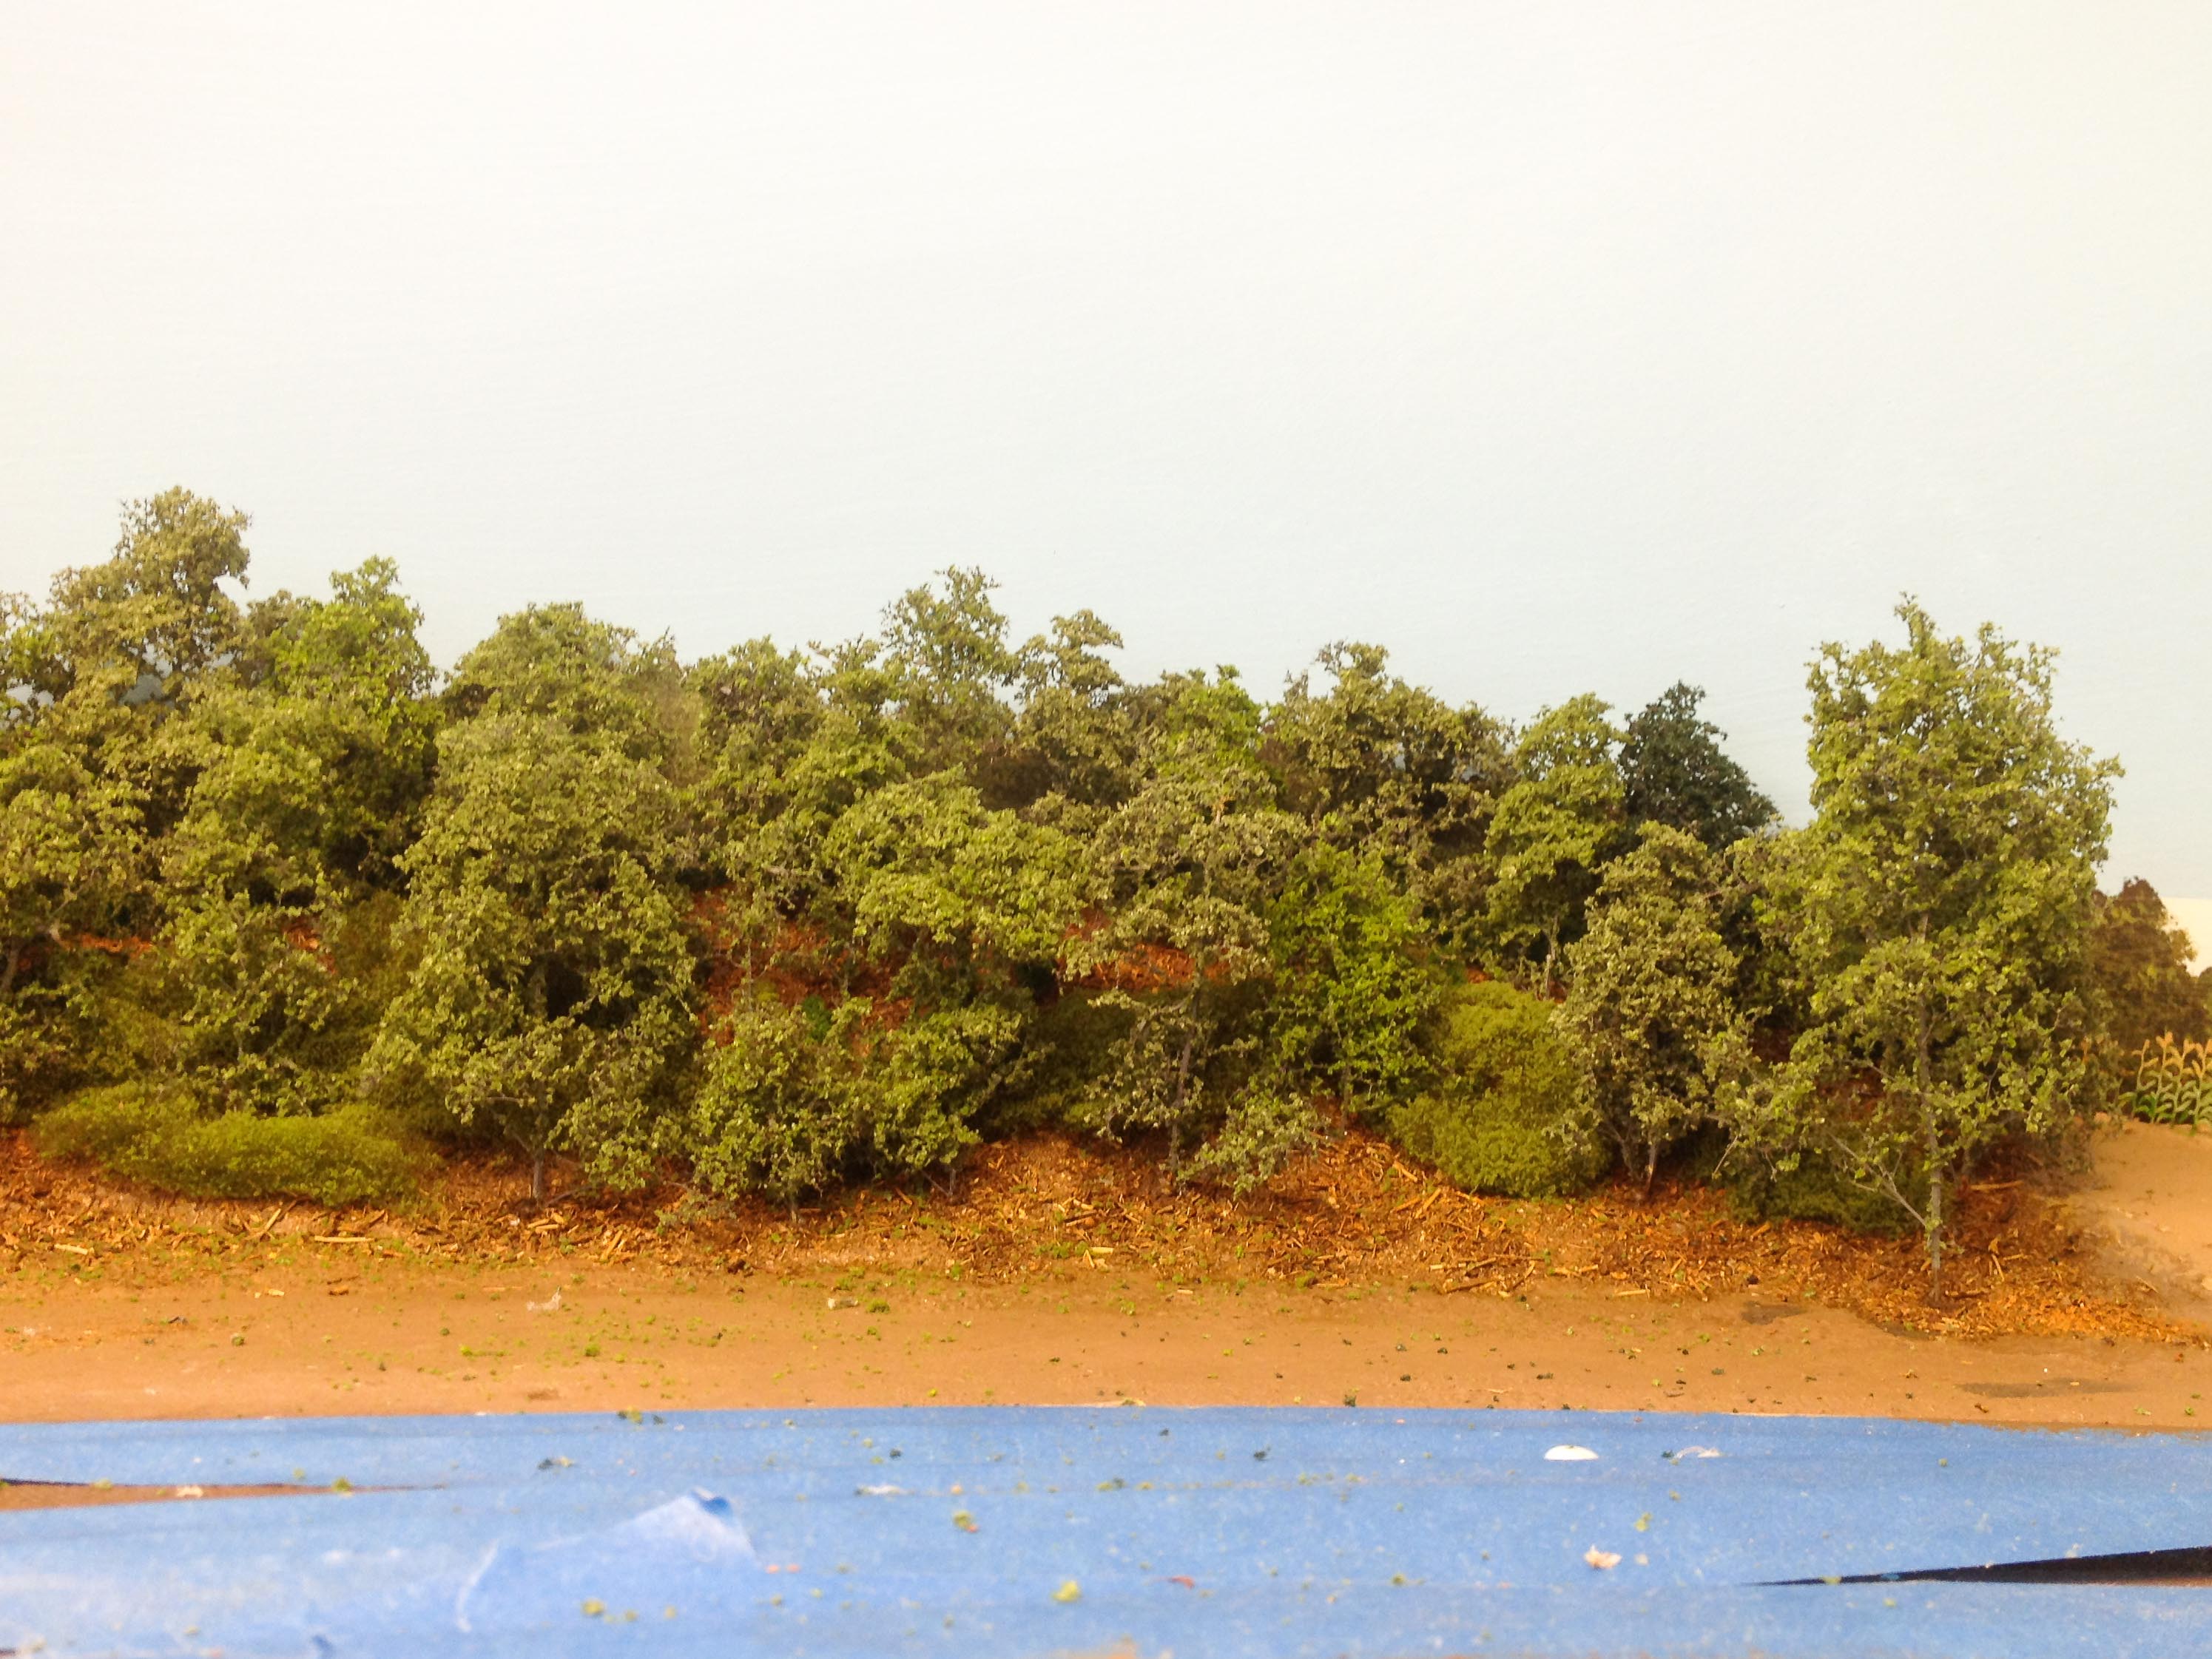
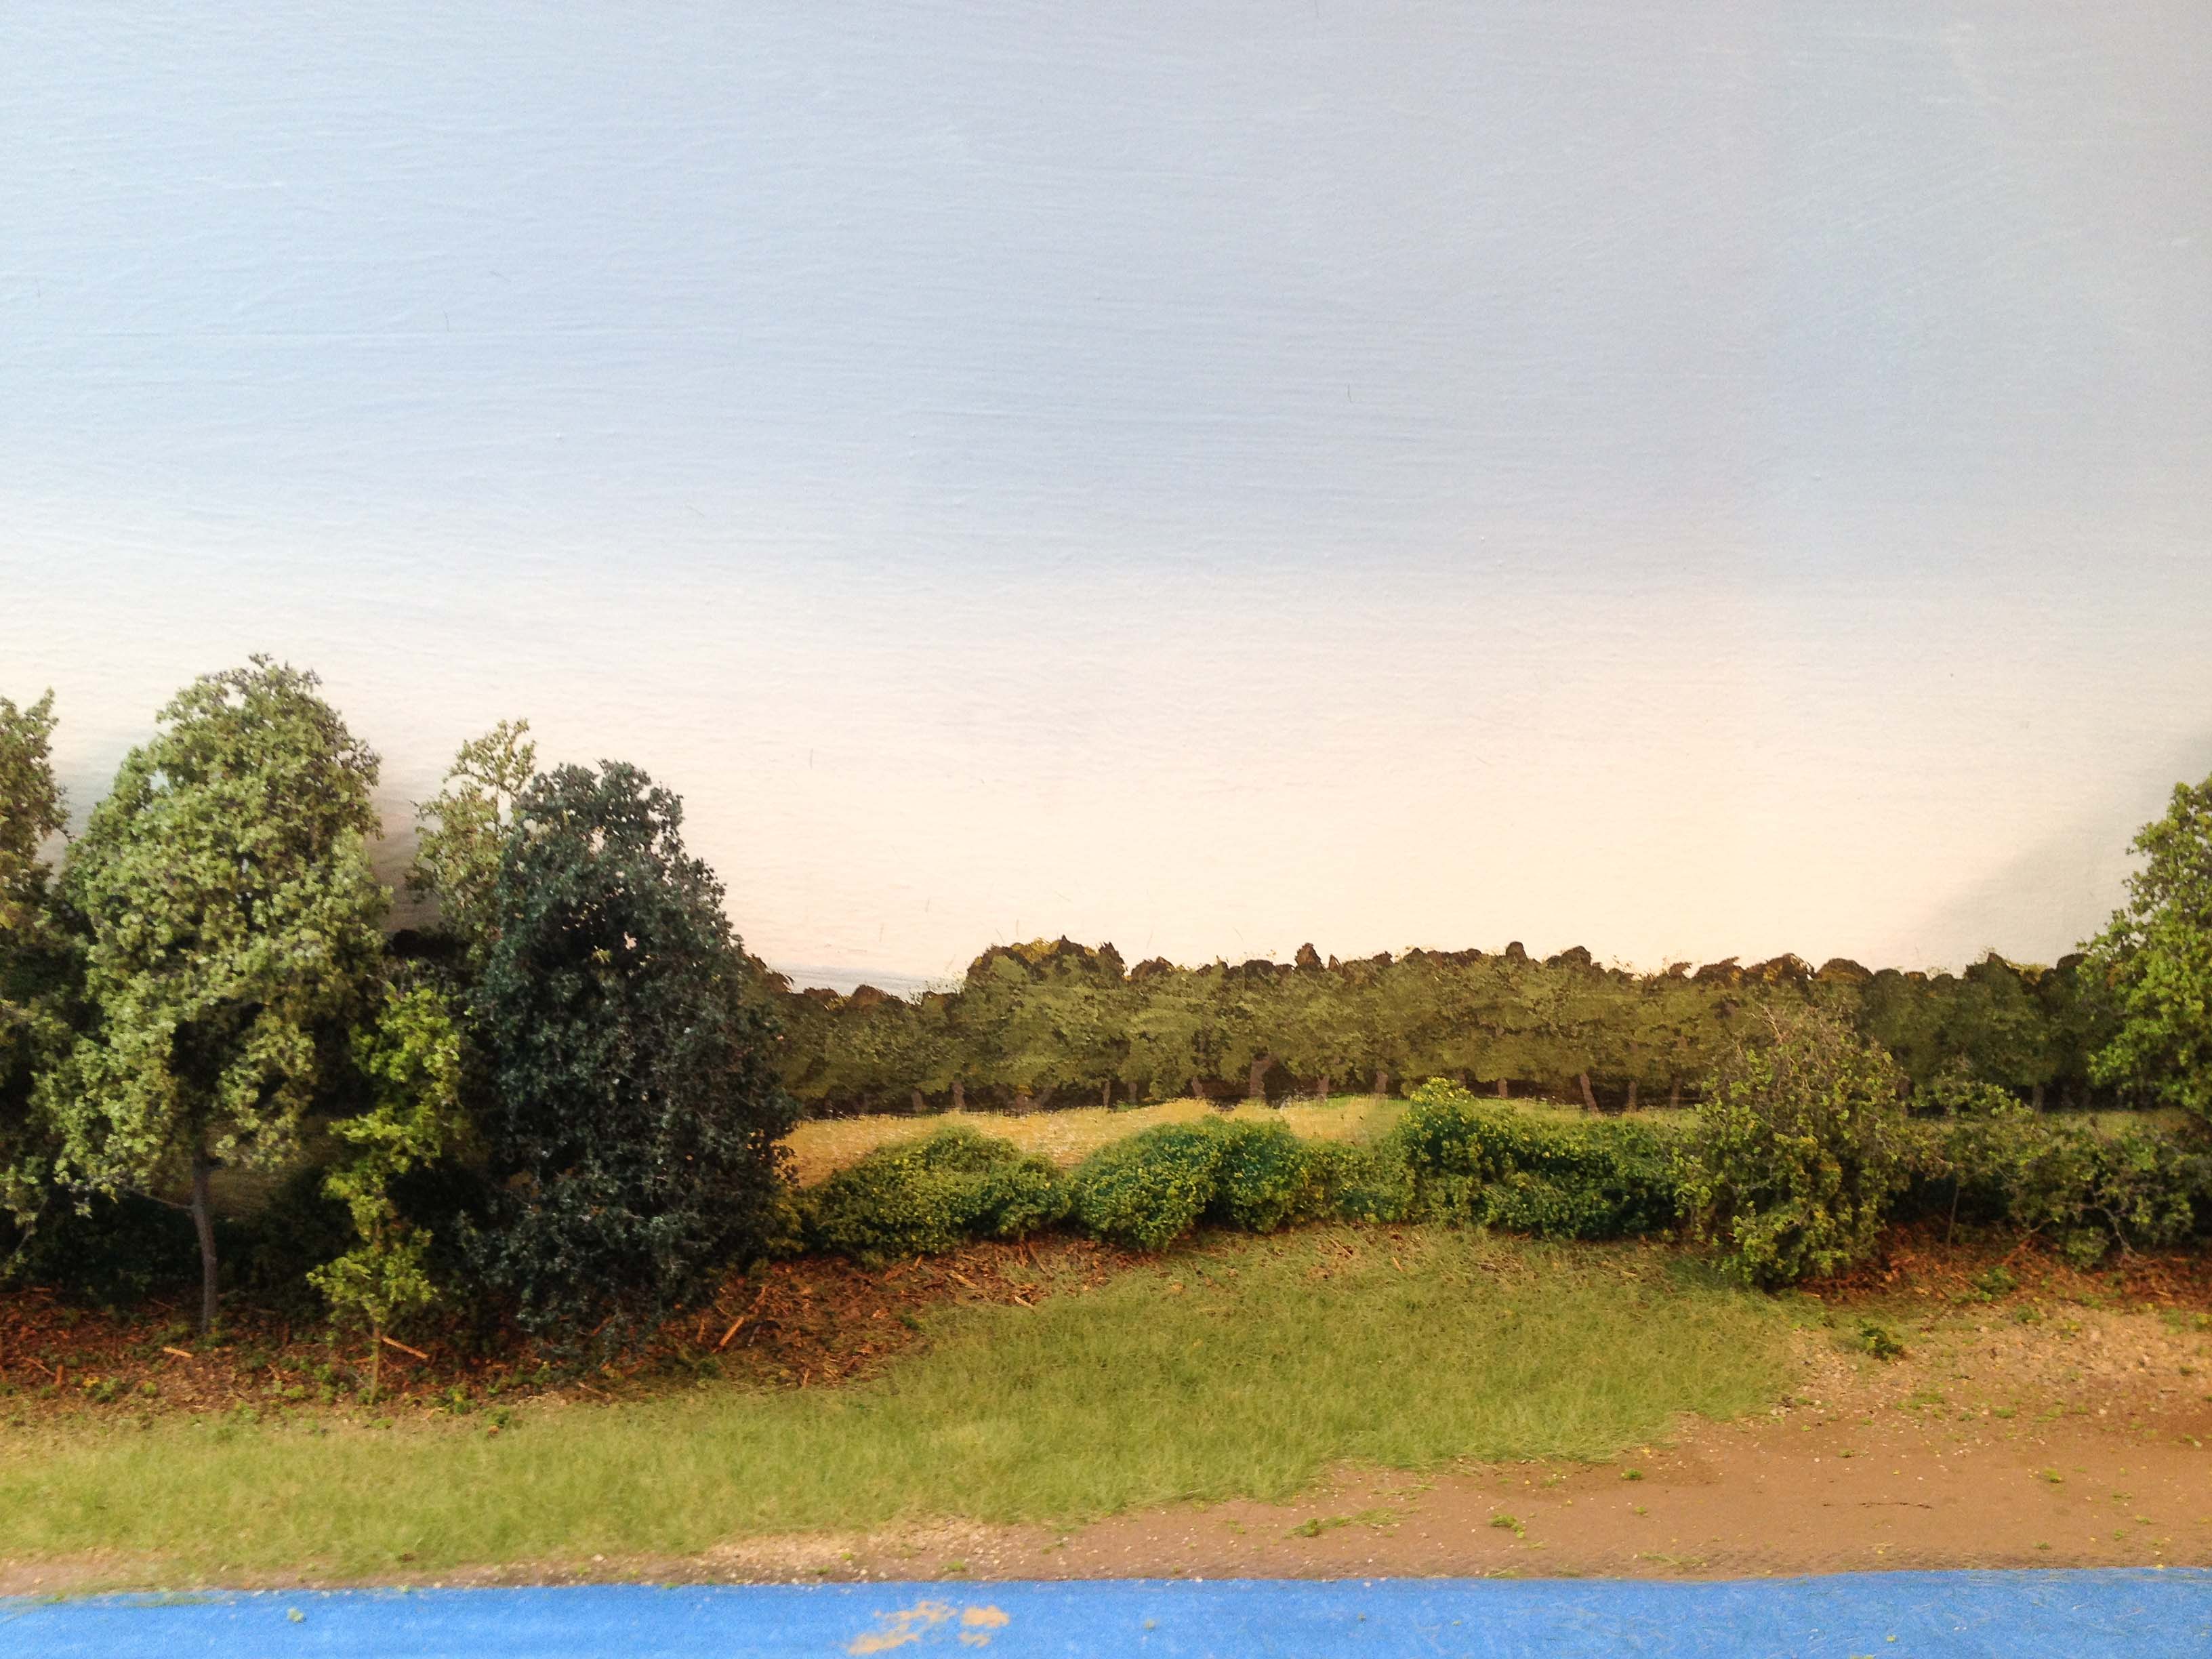
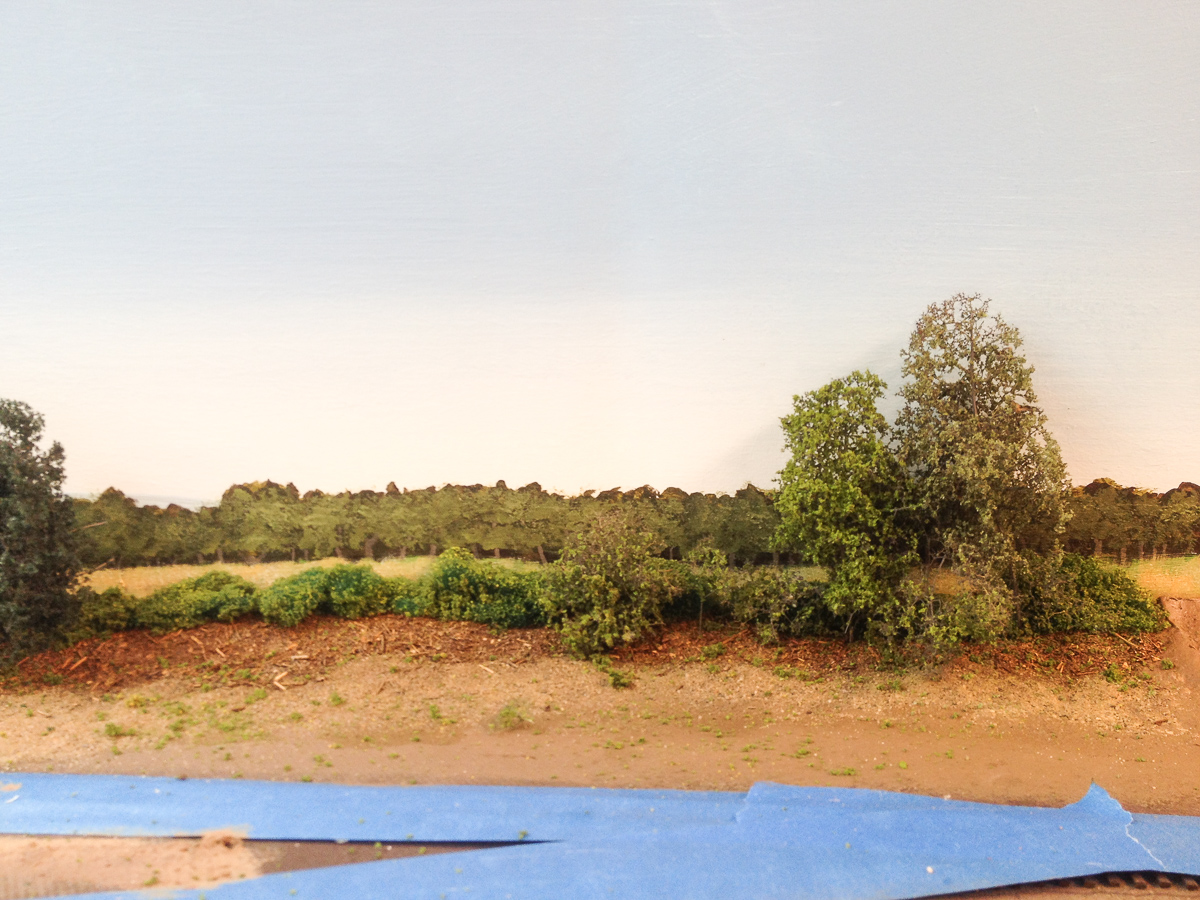
This week, I was able to assemble some “SuperTrees” from Scenic Express. They do indeed make very nice trees, but assemble is the operative word. The “trees” are actually a dried Scandinavian weed or somesuch (I am told), and come all matted together in a large box. They are quite fragile and brittle, and the process of trying to separate them creates numerous small “tree fragments”, some of which are useful as smaller trees and shrubs, some of which are too small to be of use. I am using the techniques outlined by Tony Koester in the May 2014 Model Railroader article, “Trees in 60 Seconds”. The actual instructions that come with the trees recommend soaking the trees in matte medium, coating them with the flock leaves, and hanging them upside down to dry. Like Mr. Koester, I don’t have time for that, and the only place I would have room for that process is the garage, the ambient temperature of which is currently around 15 degrees F.

Instead, I used the article as a guide, first painting the trees with flat grey primer, followed by a heavy dose of high-hold hairspray, then flocking with Noch leaves. The Noch leaves are relatively expensive, but do go a fairly long way when using this method.

Many of the trees are curved as well, which adds a separate set of issues. They usually cannot be straightened without breaking the tree.

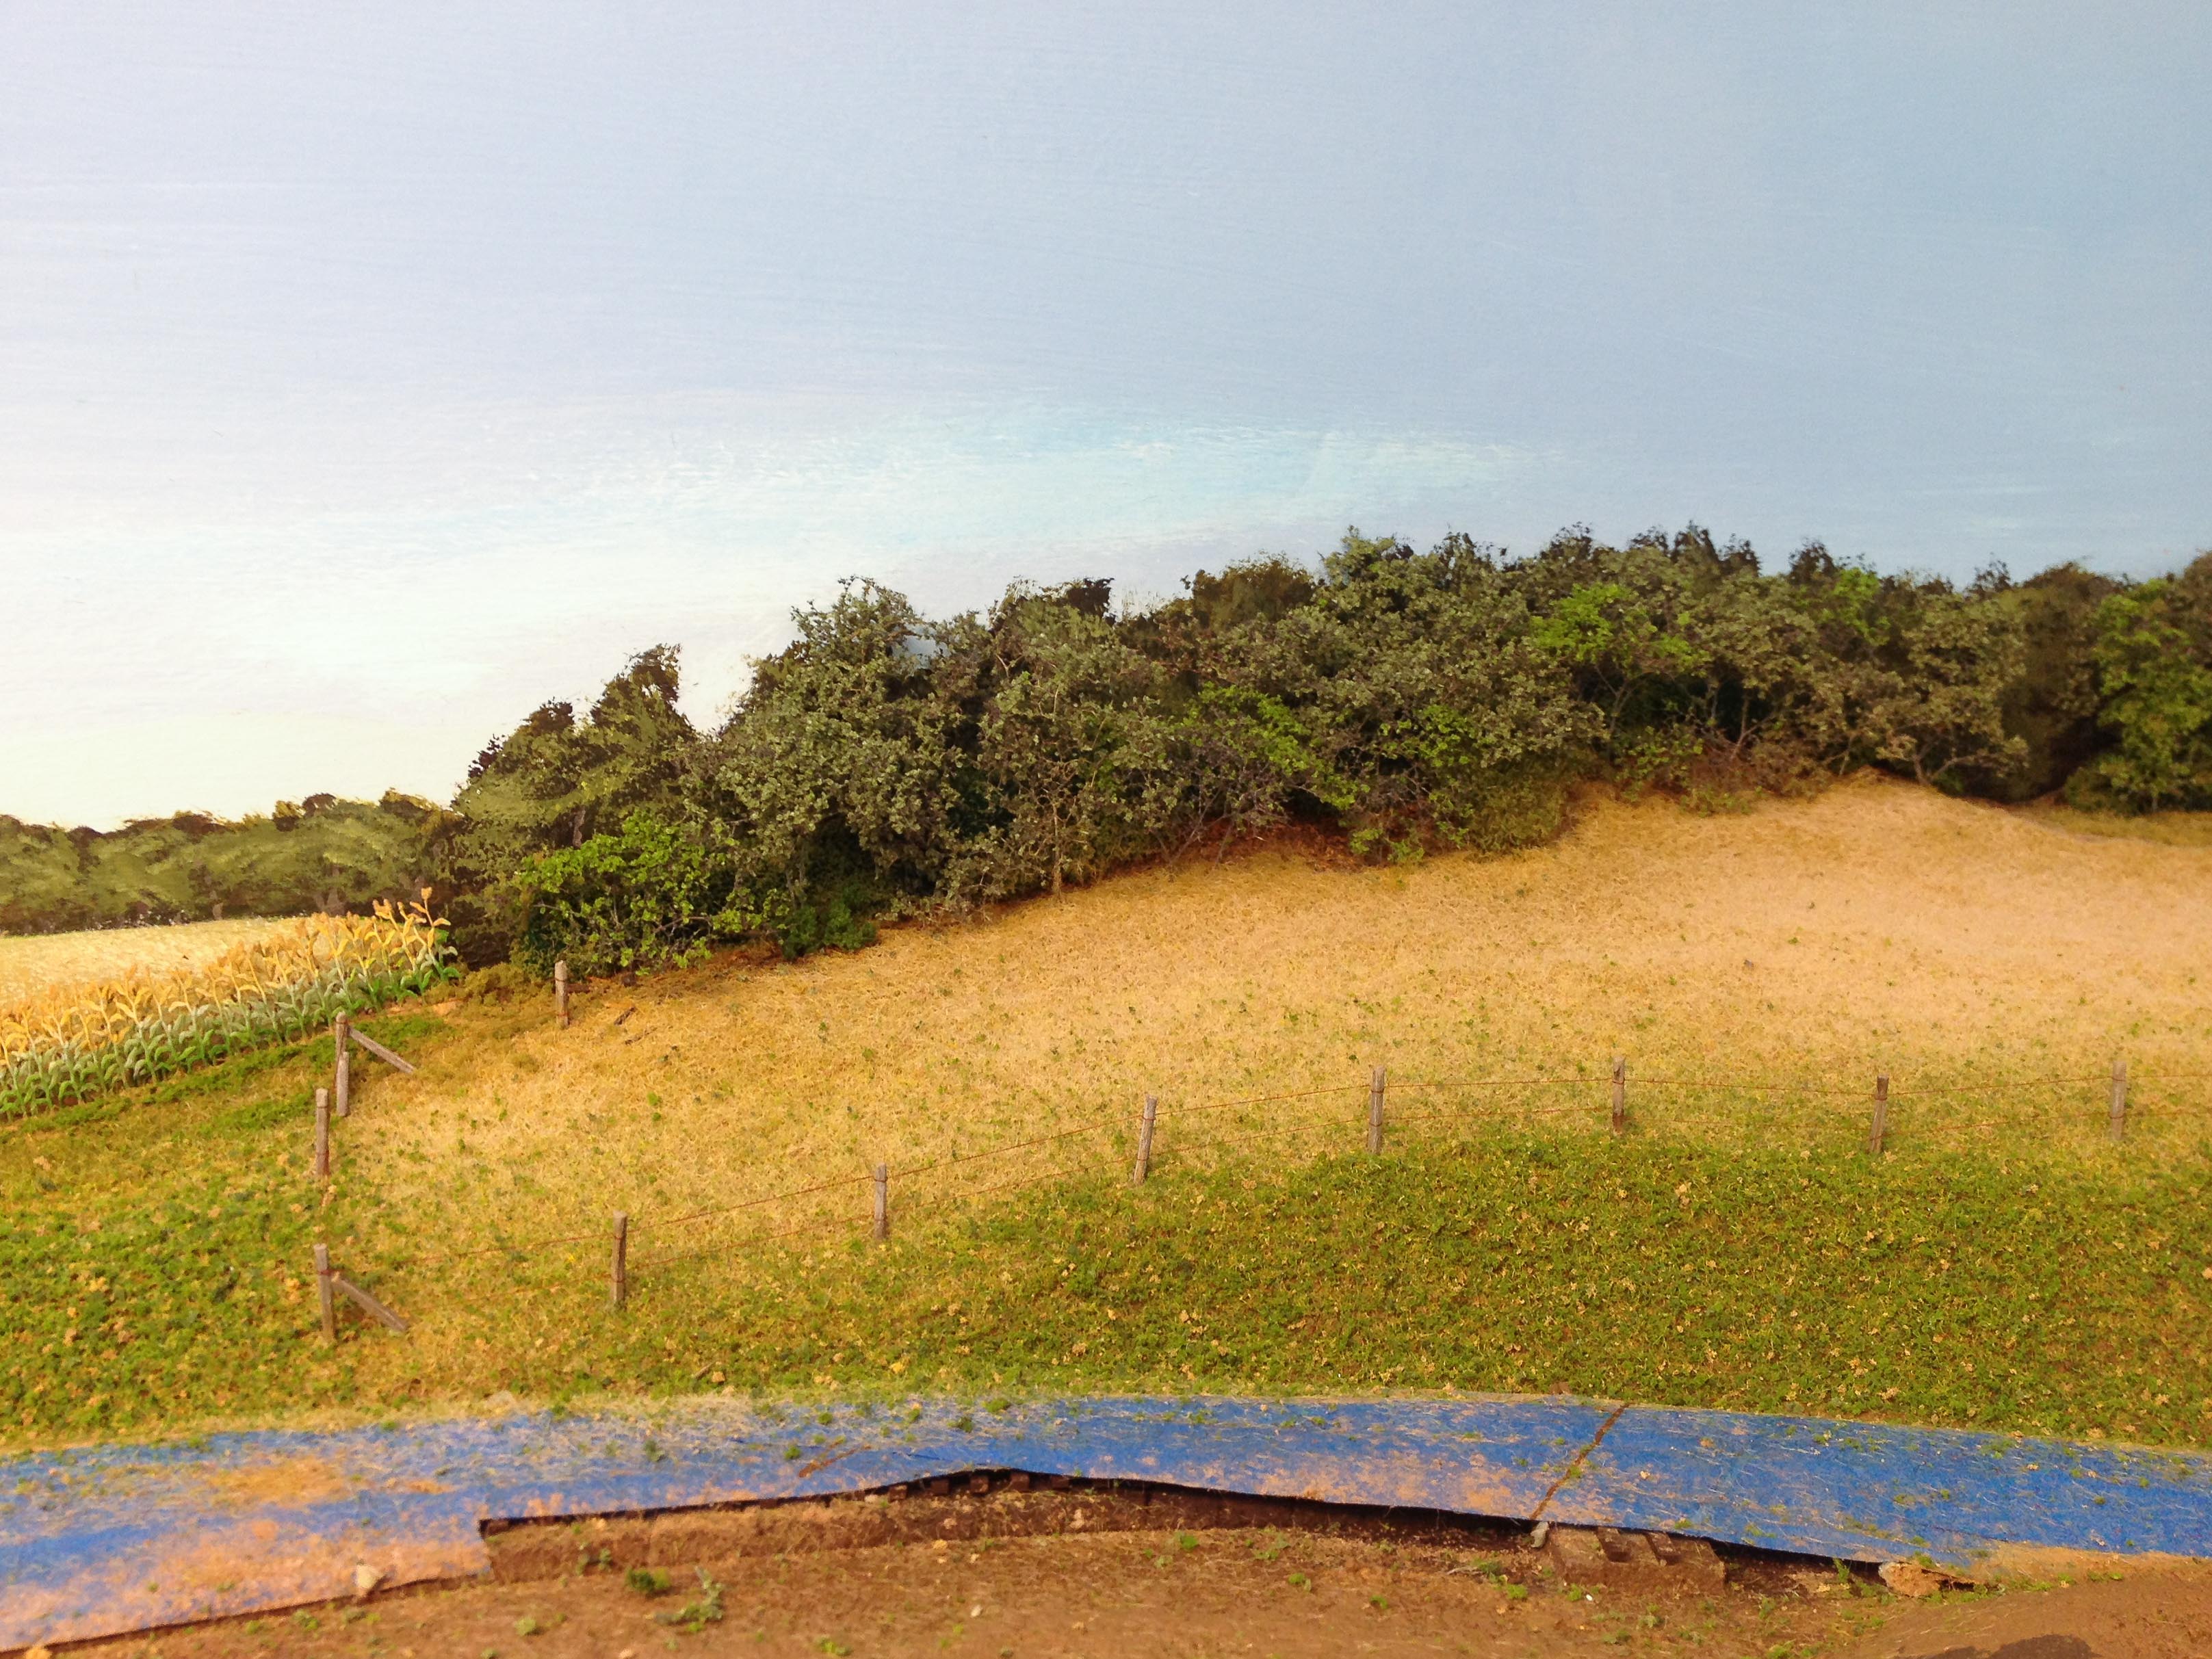
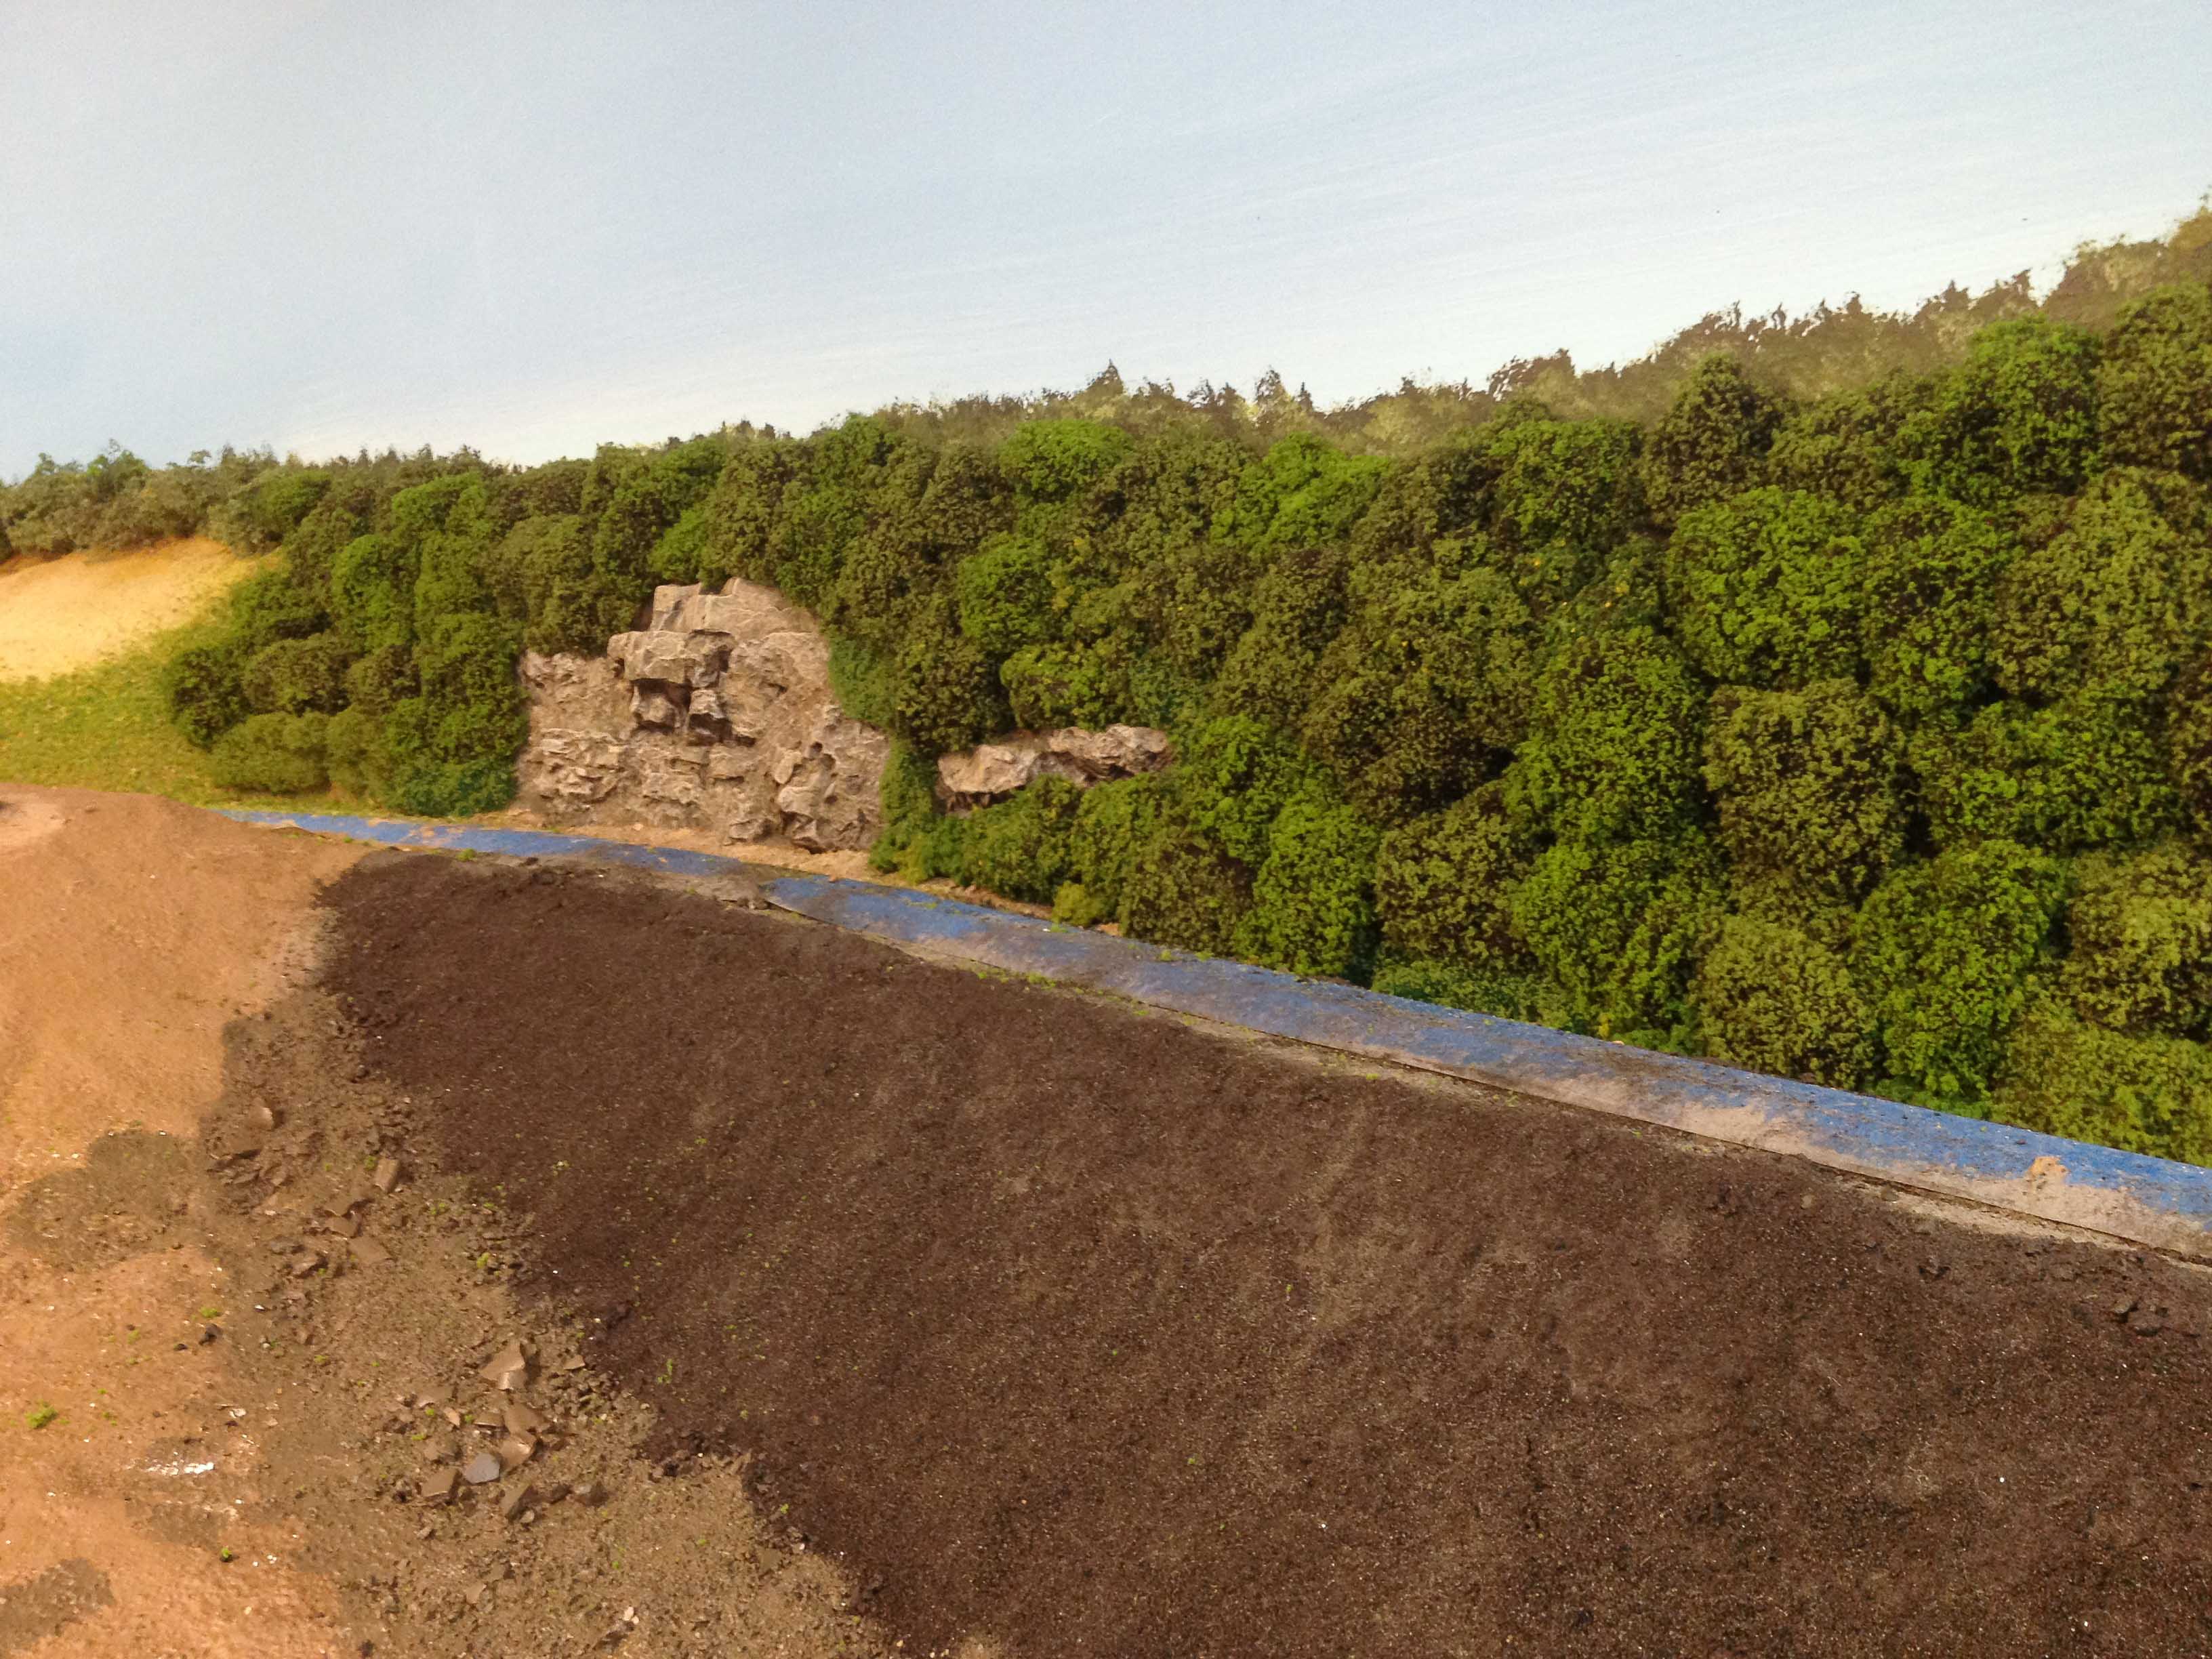
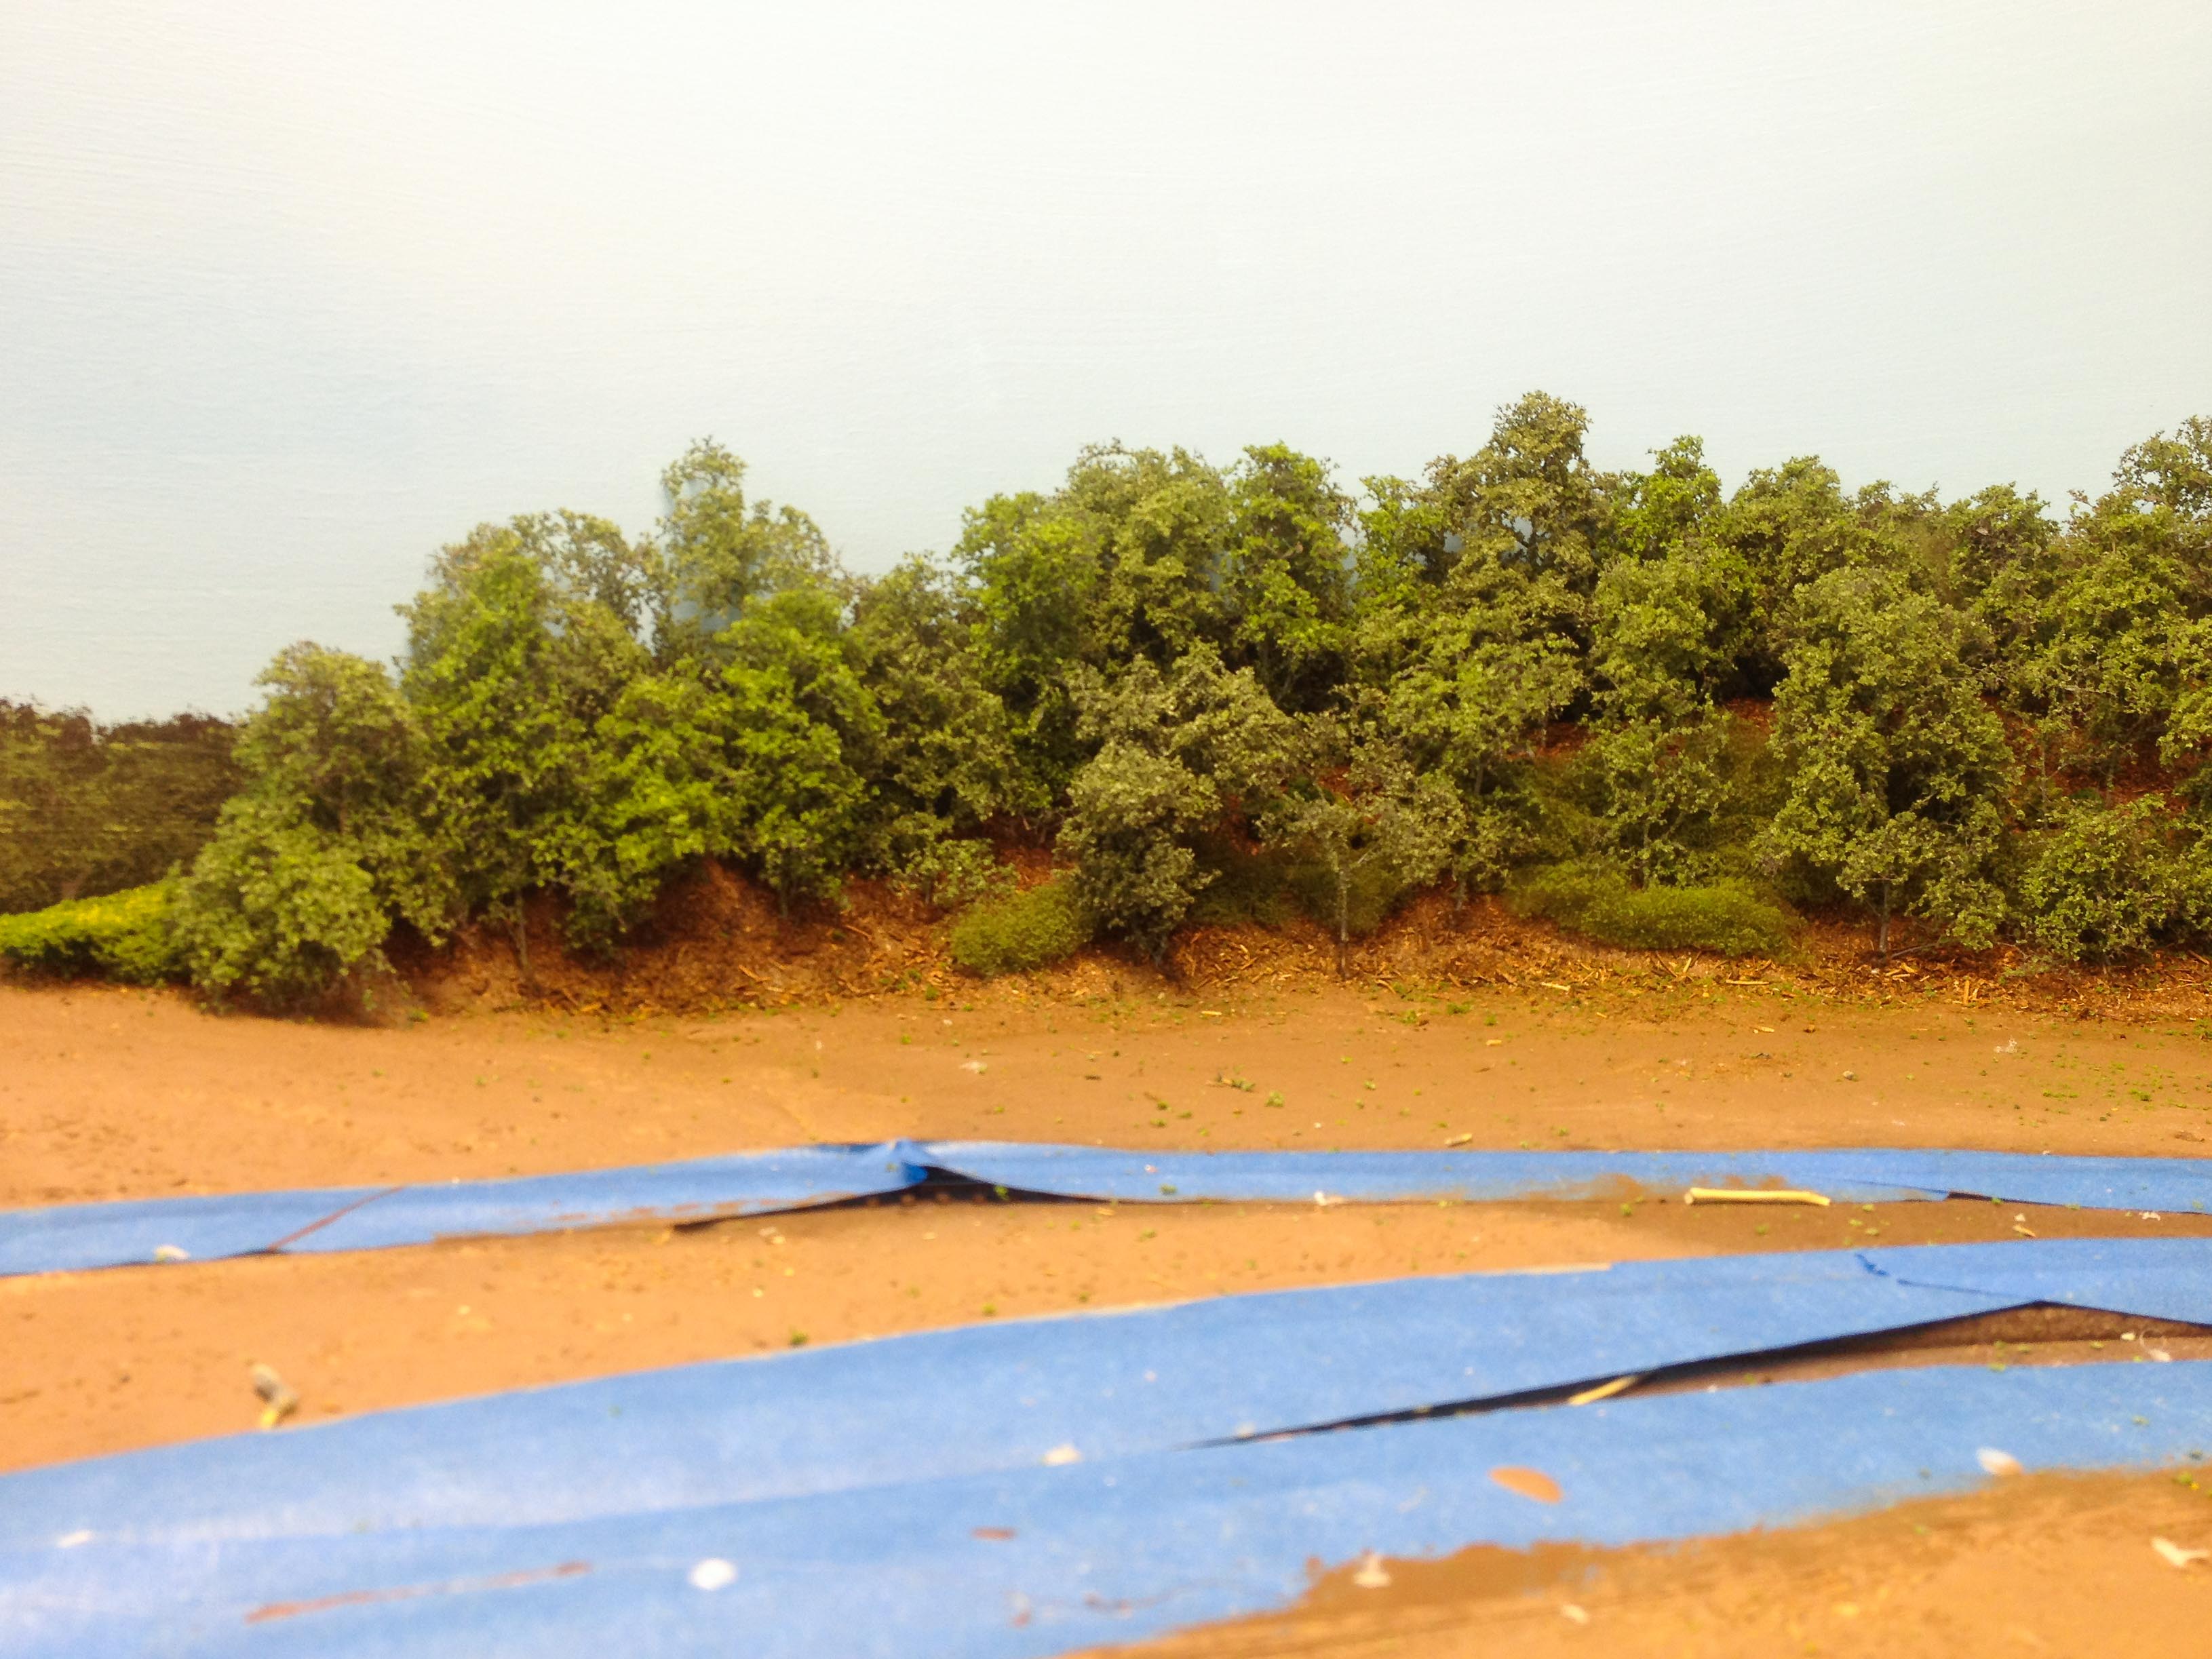
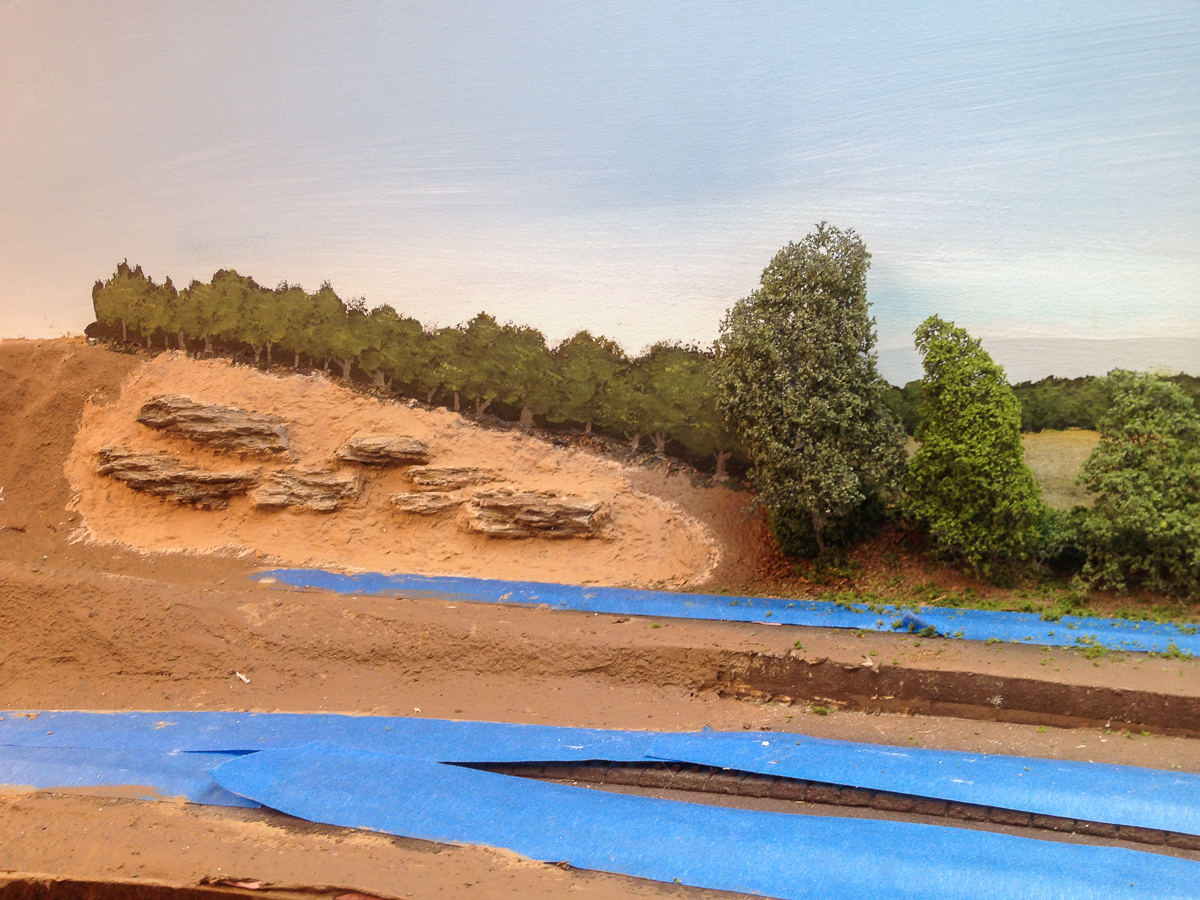
With those caveats, they do assemble into very nice trees:

SceneryProgress06Jan15-2


One thing that is not made clear in the model railroad press and blogs, is how to glue the dang things to the layout. As I mentioned, they are very fragile and brittle, and are often curved. I initially poked a hole in the scenery base with an awl, then dabbed some full-strength white glue on the lower trunk and stuck it in the hole. Unfortunately, some of the trees tend to lean, so I switched to a hot glue gun instead of trying to keep the trees vertical while the white glue set. This works better, but the downside is that the hot glue sometimes will show at the tree base, and will have to be touched up with paint or covered with ground foam.

Once I had a group of trees in place, I slid a piece of clean paper behind them to protect the backdrop, and misted them with dilute matte medium. My hope is that this will cause the leaves to adhere better and make the entire tree a little less fragile. Time will tell on that one.

As I said, the results are really worth the effort, in my opinion. I will not use them on the entire layout, only in scenes relatively close to the viewer. I plan on using good old puffball trees on more “distant” hills and ridges. I’m not sure yet how to manage that transition visually, but I have a vague idea or two for now.

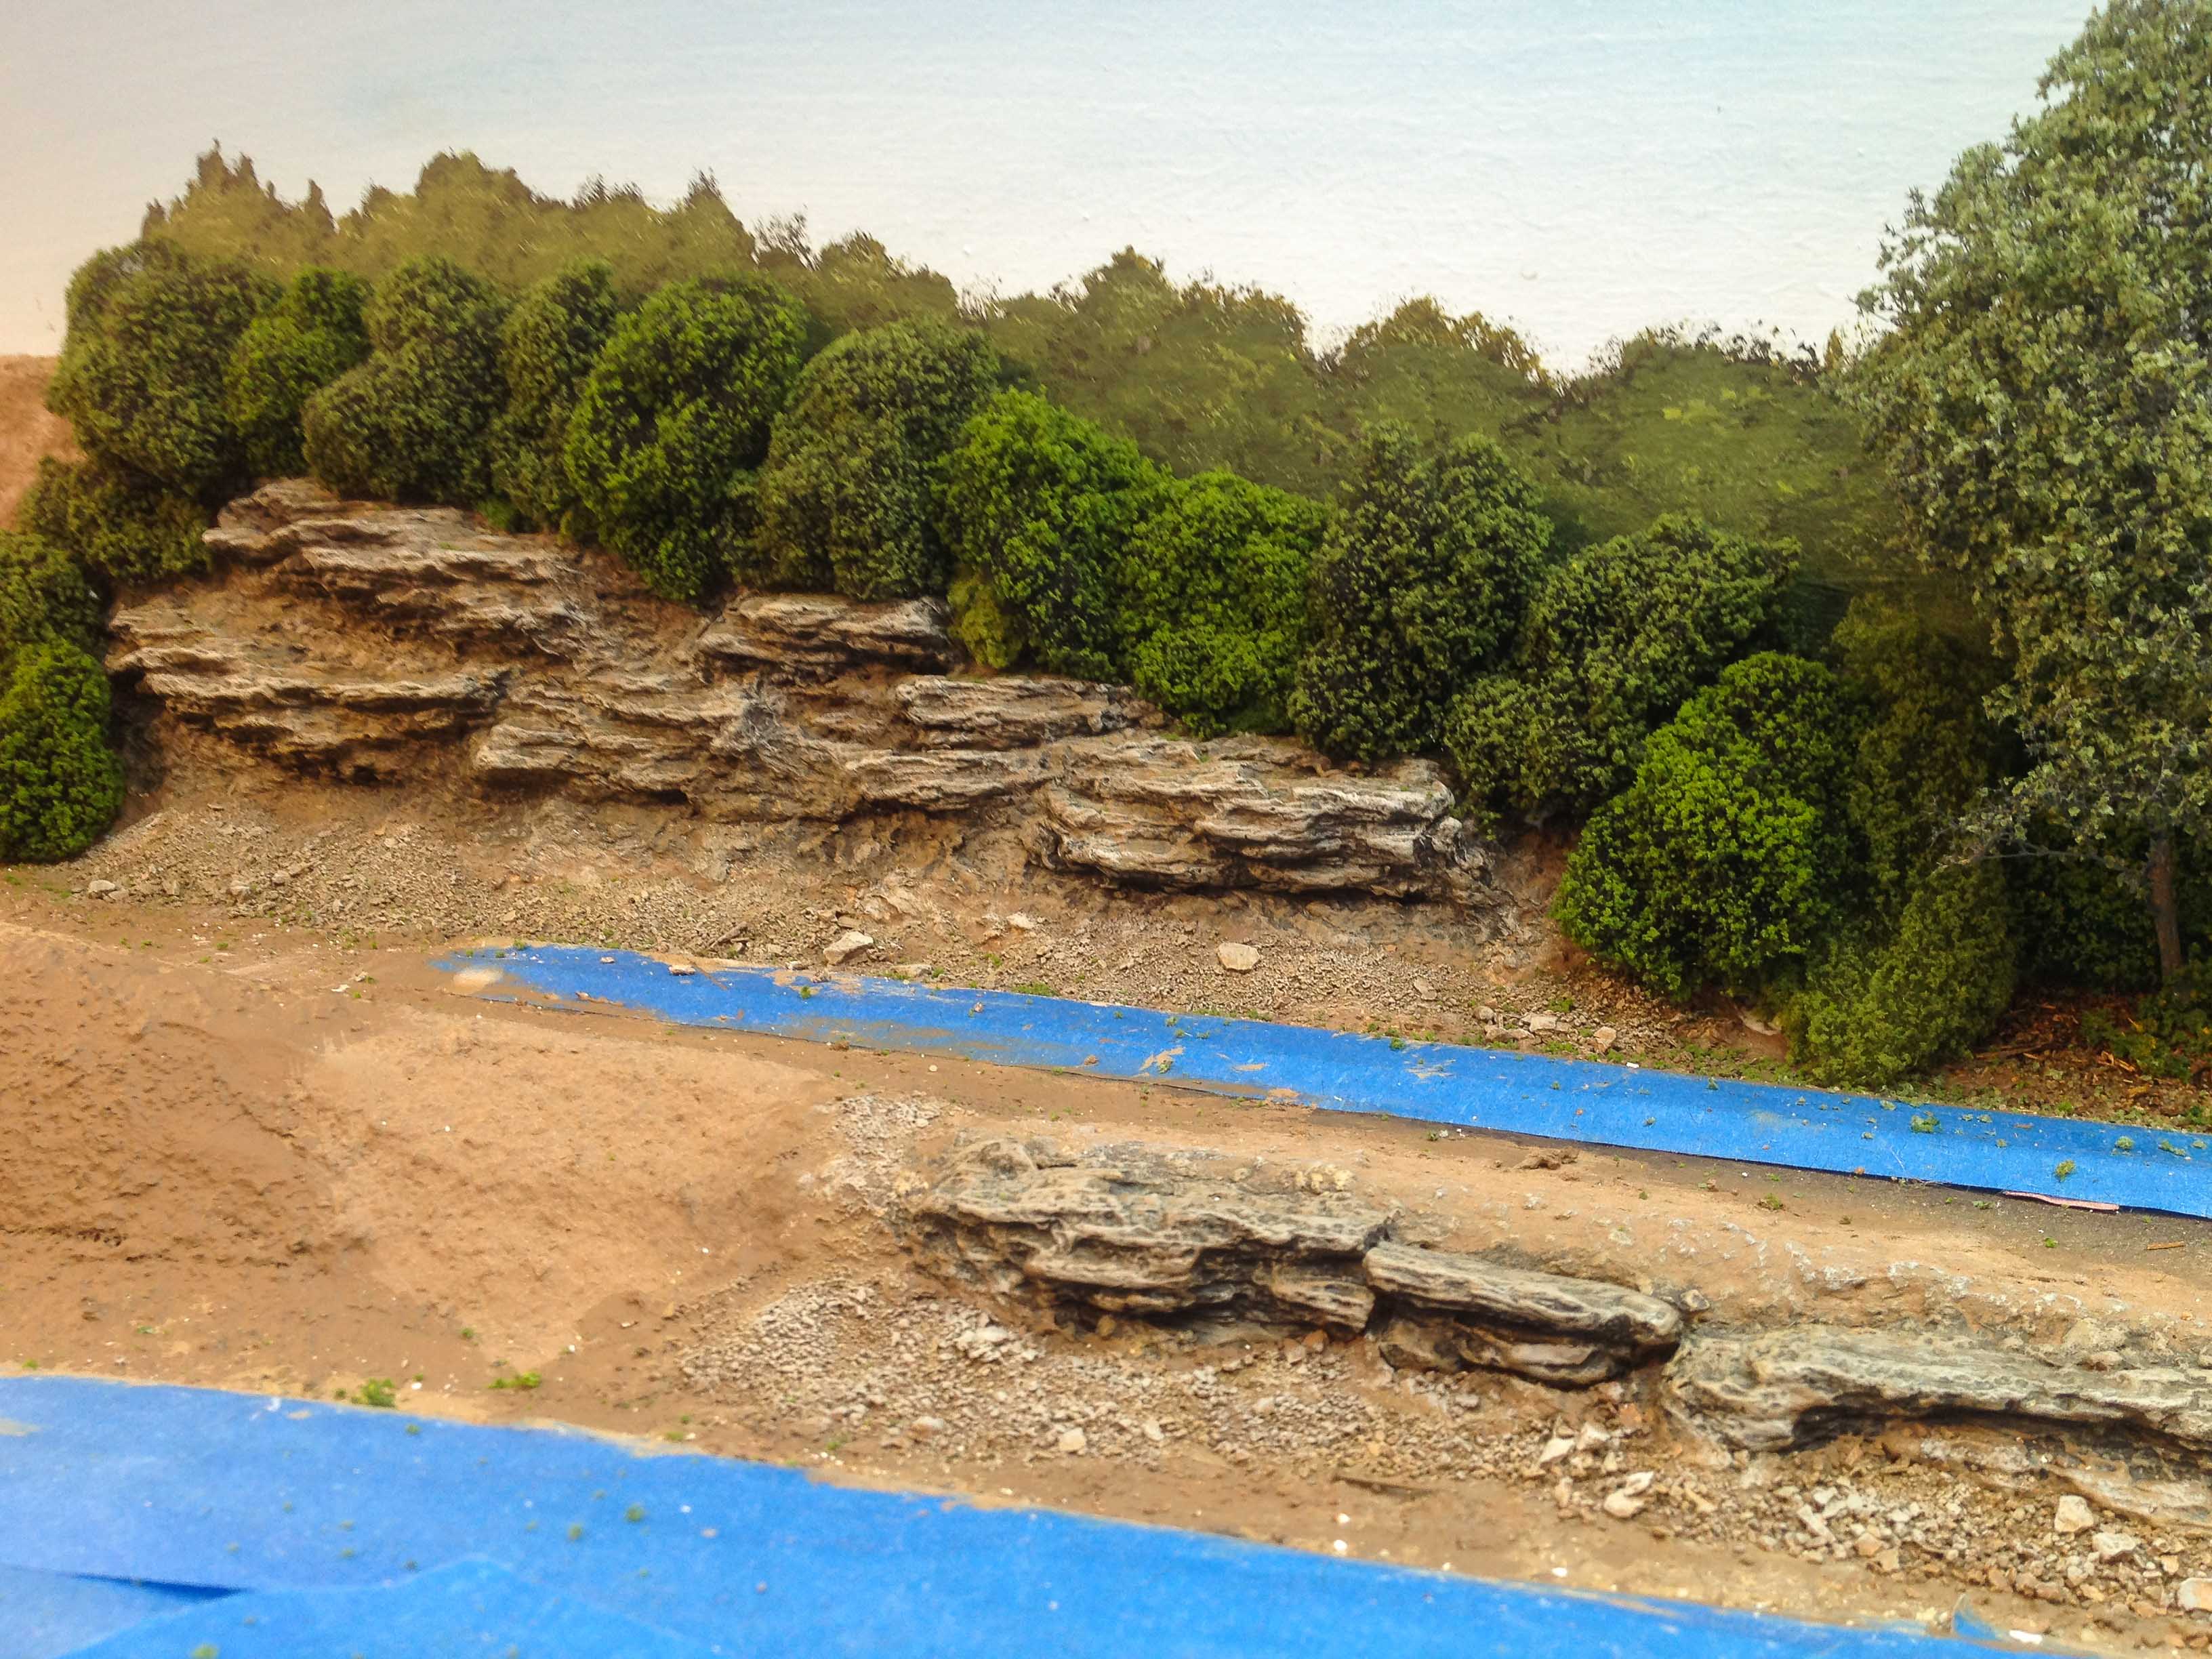
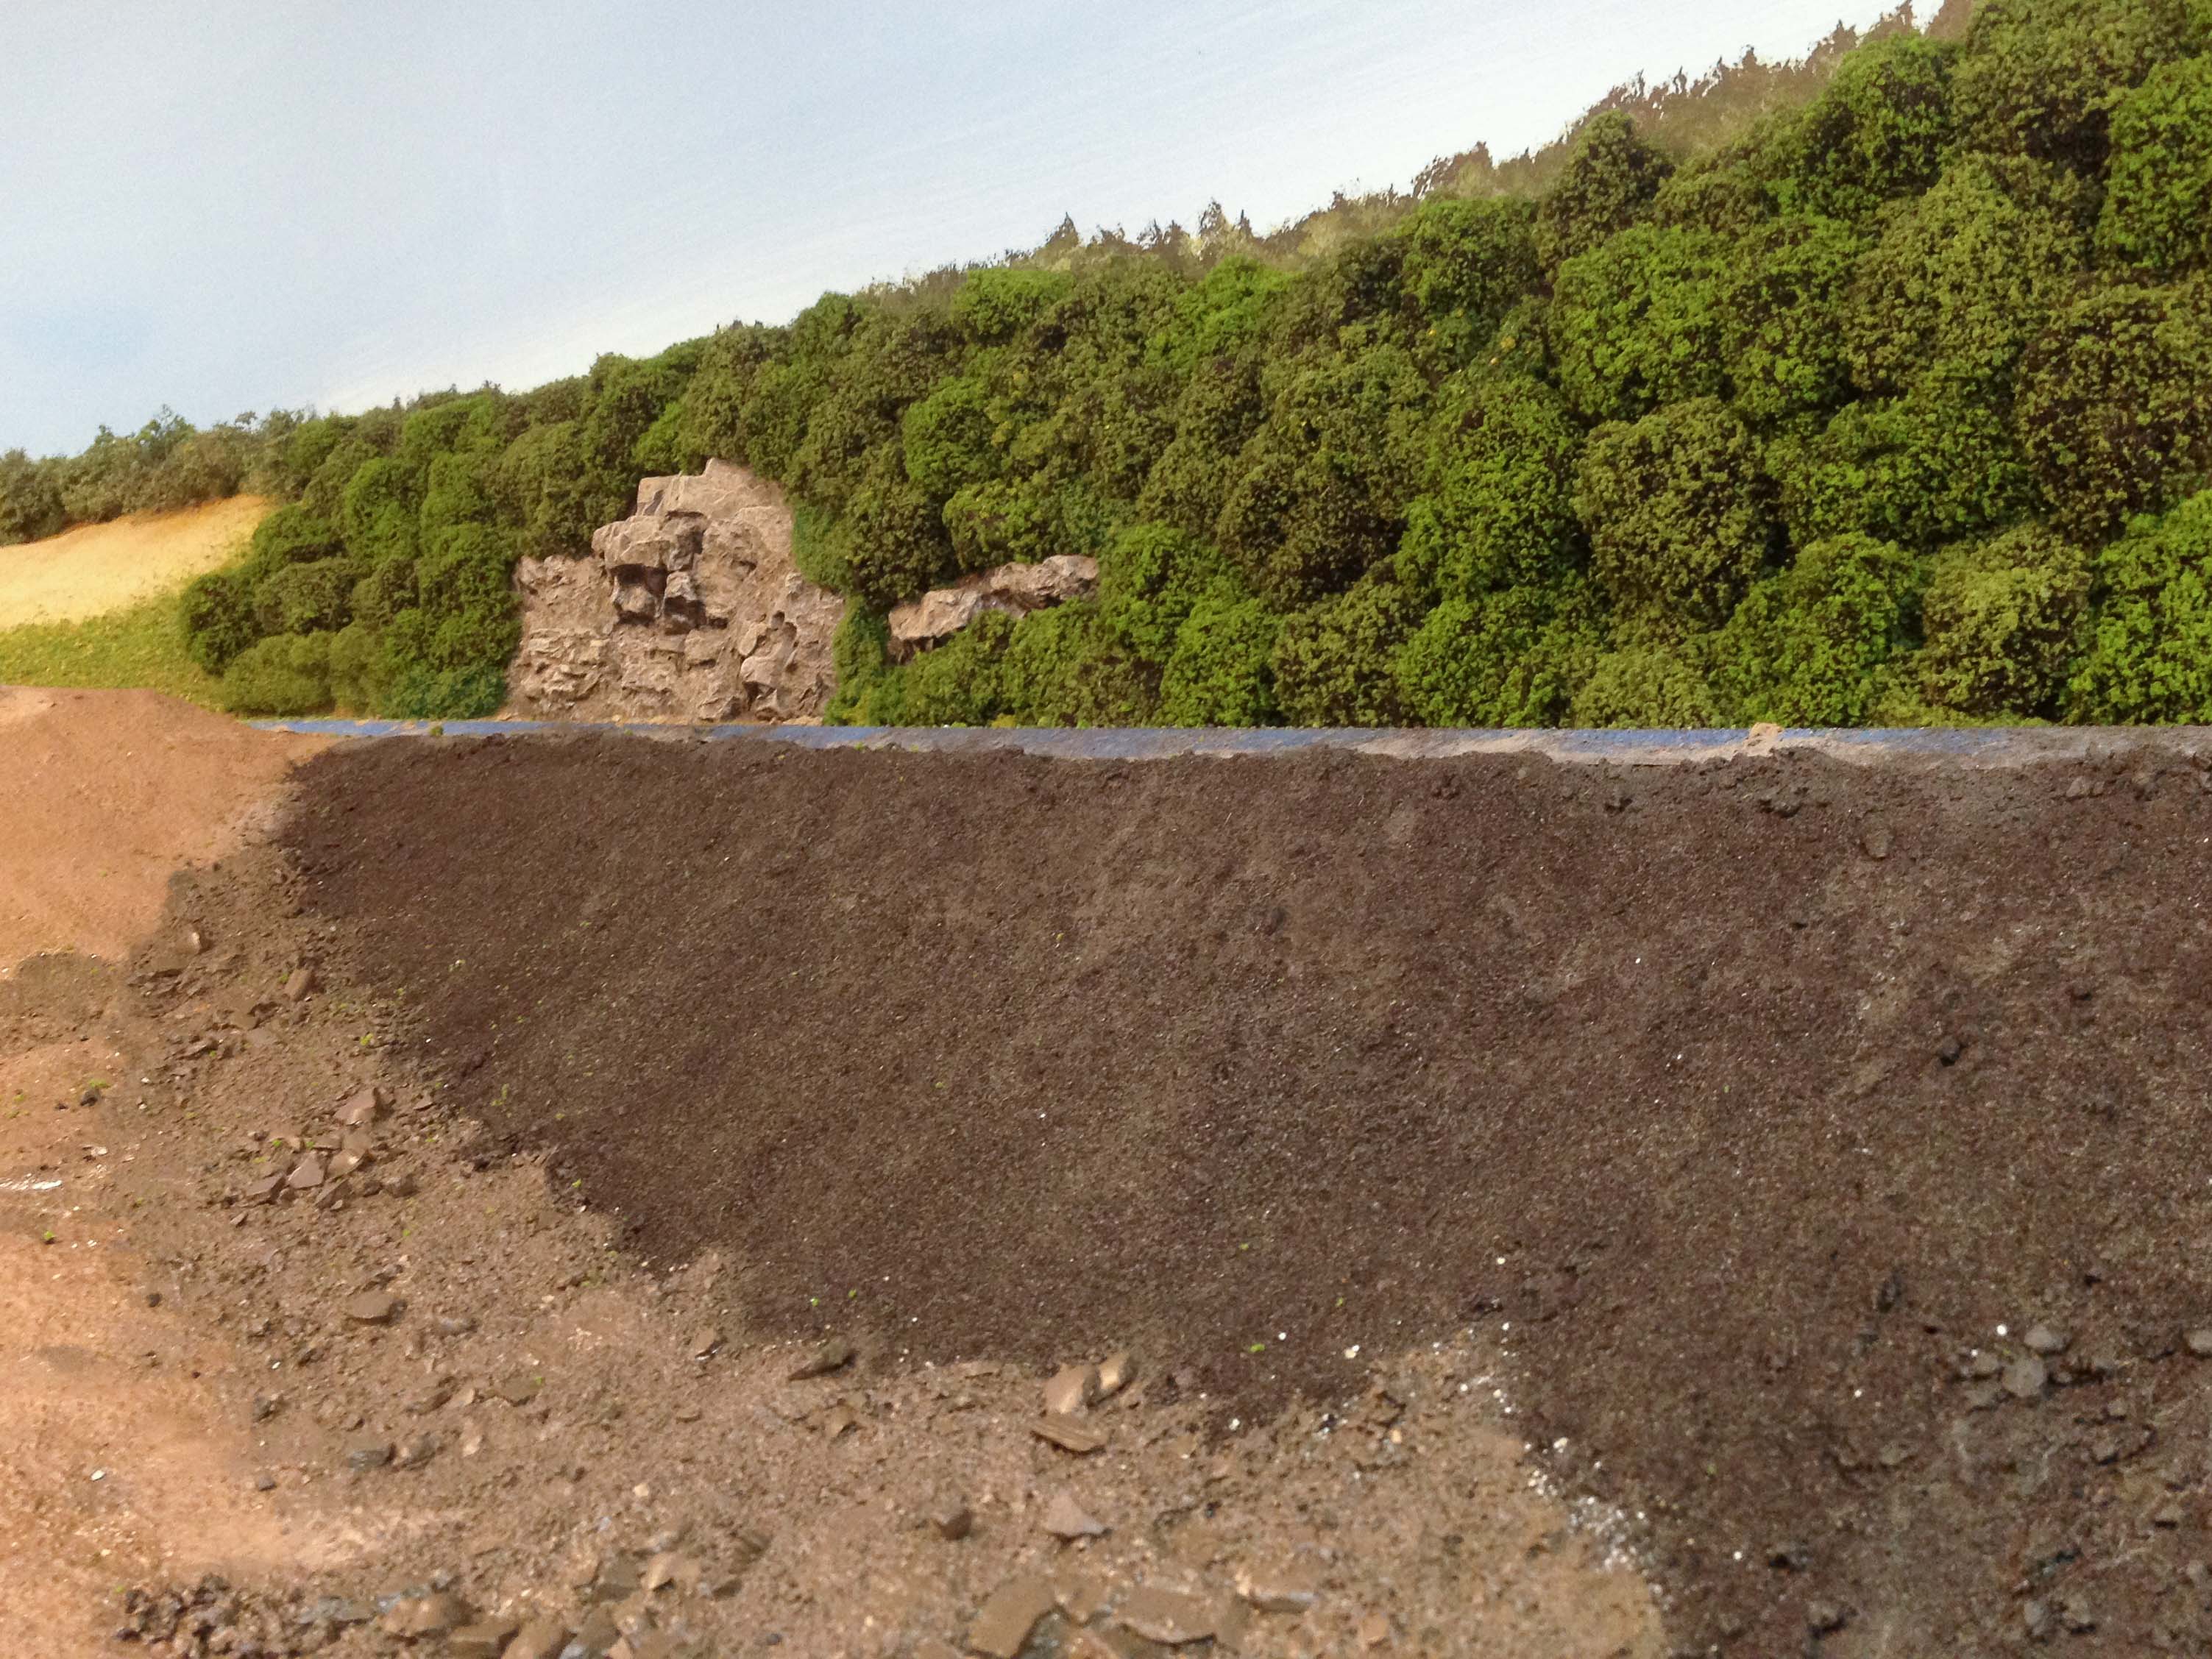
While the trees were drying from the matte medium, I applied some rock castings to a hillside:

SceneryProgress06Jan15-1

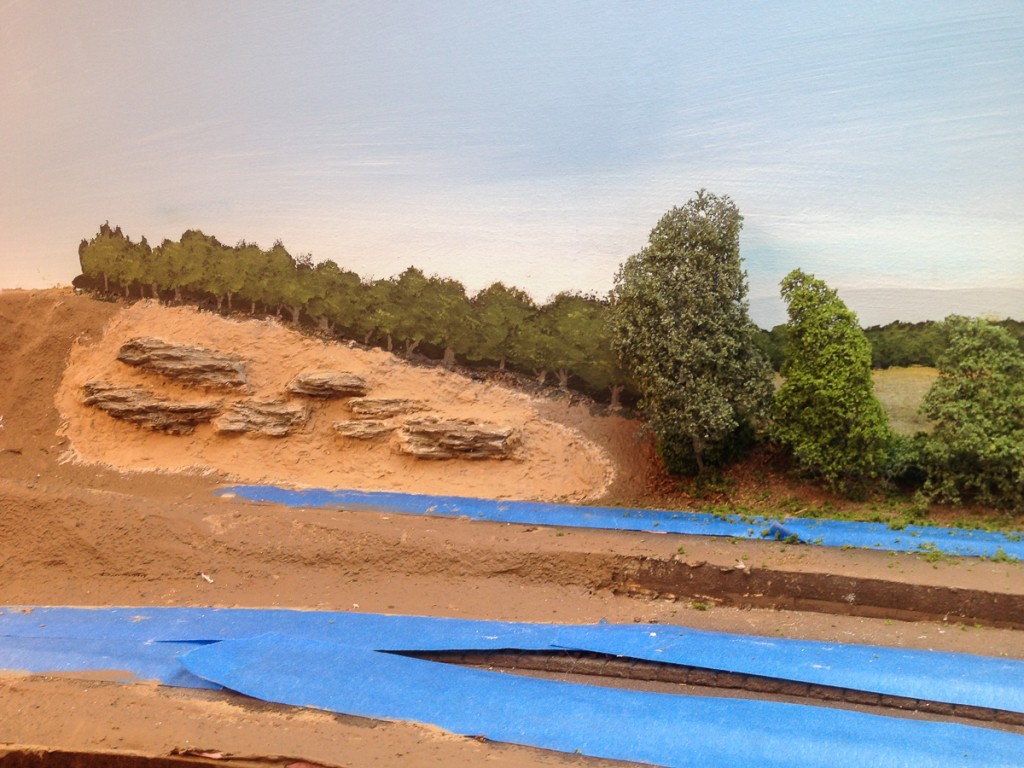
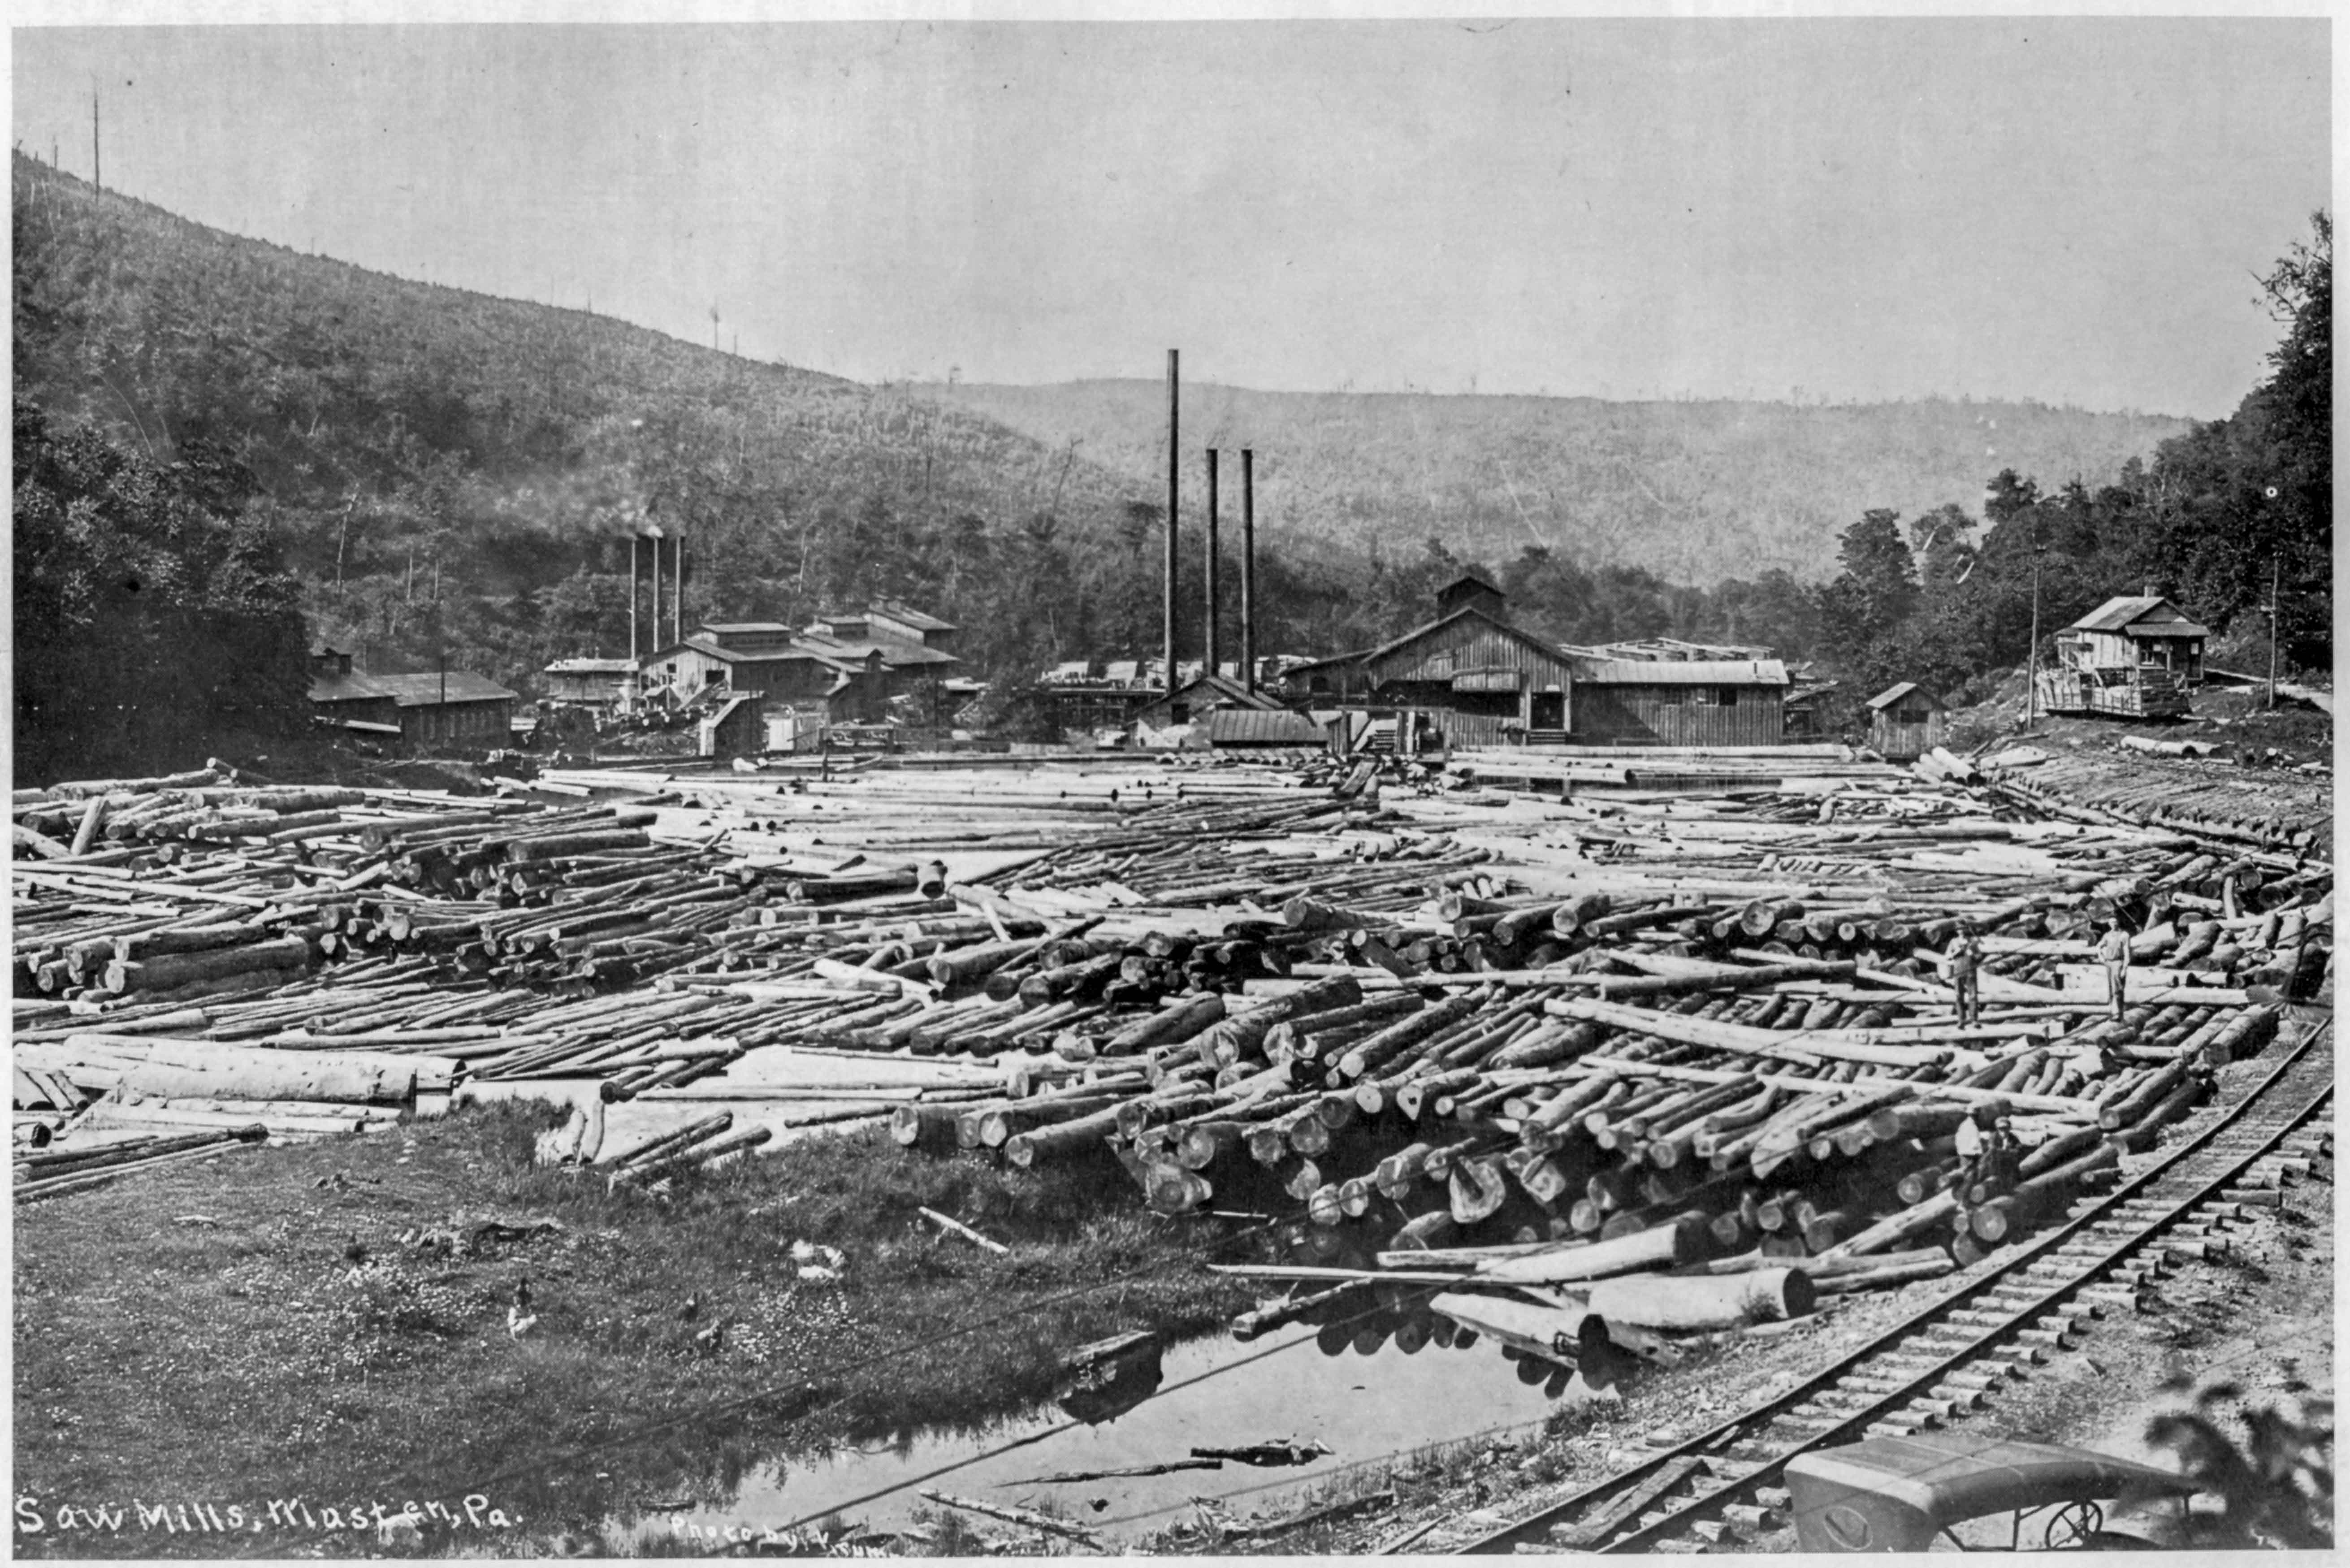
This area will represent an abandoned cut from the old Central Pennsylvania Lumber Co. logging railroad, so I figured it would be a good place to get my feet wet on the whole rock thing. My thought is that if it doesn’t look satisfactory, I can cover the whole area with brush and trees, since it is supposed to be “abandoned” anyway.

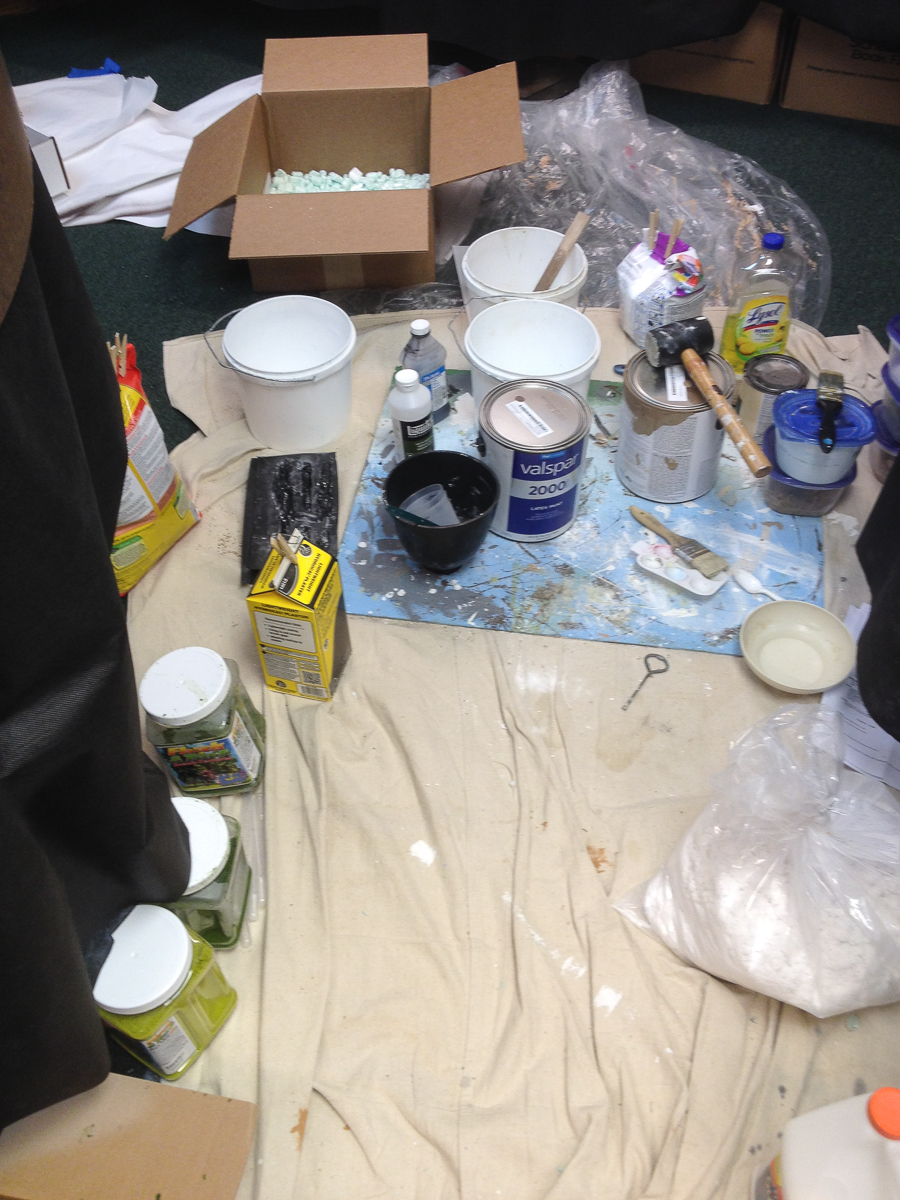
One thought I had over the past month while slogging away at this phase of the layout, is that the model railroad press and the popular bloggers never mention what a chaotic mess building scenery is:

SceneryProgress06Jan15-3

Building convincing model railroad scenery requires a lot of different textures and colors; which means an incredible amount of different materials and colors, each with their own techniques, pitfalls, and modes of spillage.

SceneryProgress06Jan15-5


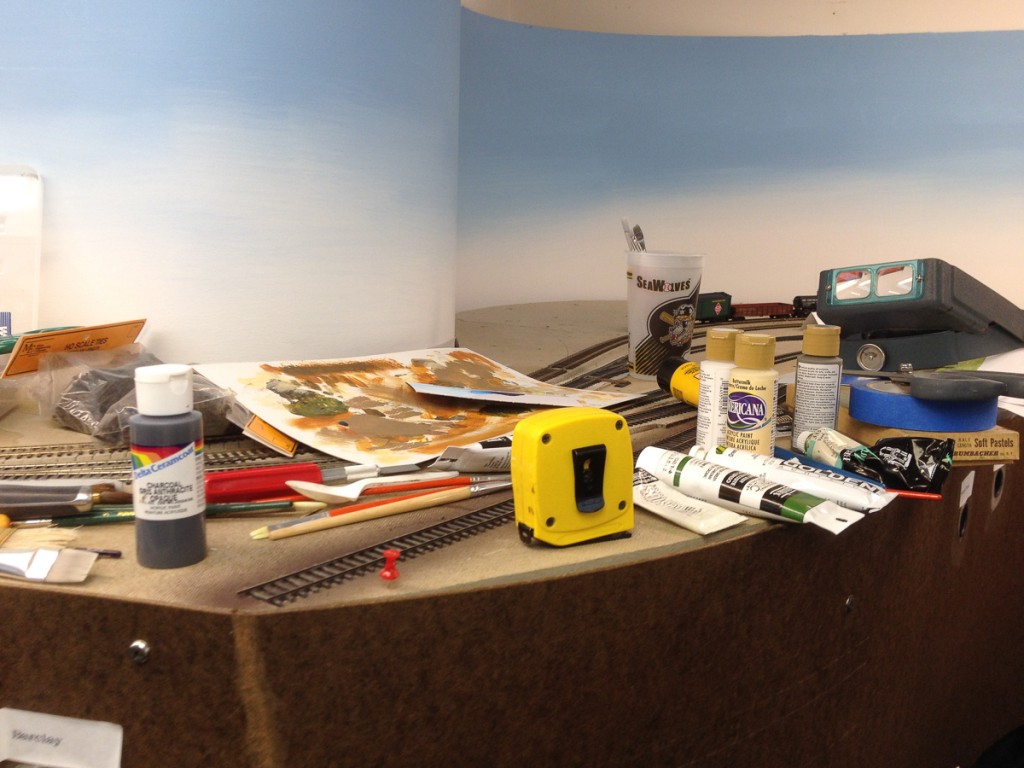
In turn, this means an incredible amount of “stuff” gets scattered all over the rest of the railroad:

SceneryProgress06Jan15-4

I think a close ratio would be about 6 cubic feet of materials and mess for one square foot of scenery. However, 1 square foot requires the same supplies as 100 square feet, so I figure I might as well scenic a decent sized piece of real estate while I’m at it. The chaos does get old though…(To Be Continued)