Since this is the “Spooky Season”, I thought I would share an interesting way of using technology to find ghosts in in the woods. Specifically, the ghosts of railroads past…
This technology is called “LIDAR”, for “Laser Imaging Detection and Ranging”, and has been in use in various forms since the invention of lasers in the early 1960’s. It is commonly used to make 3-D terrain maps for various purposes. The increasing resolution of LIDAR systems (down to elevation differences of mere inches), and the ability to subtract light reflections from vegetation, has made LIDAR an invaluable tool for archaeologic research. This also applies to industrial archaeology, I.E., abandoned railroads.
Mapping LIDAR data removes existing structures as well as vegetation, but foundations of no-longer-extant structures can often be seen. The data is also most useful in more remote areas, where later alterations of the ground are less likely to have occurred over time.
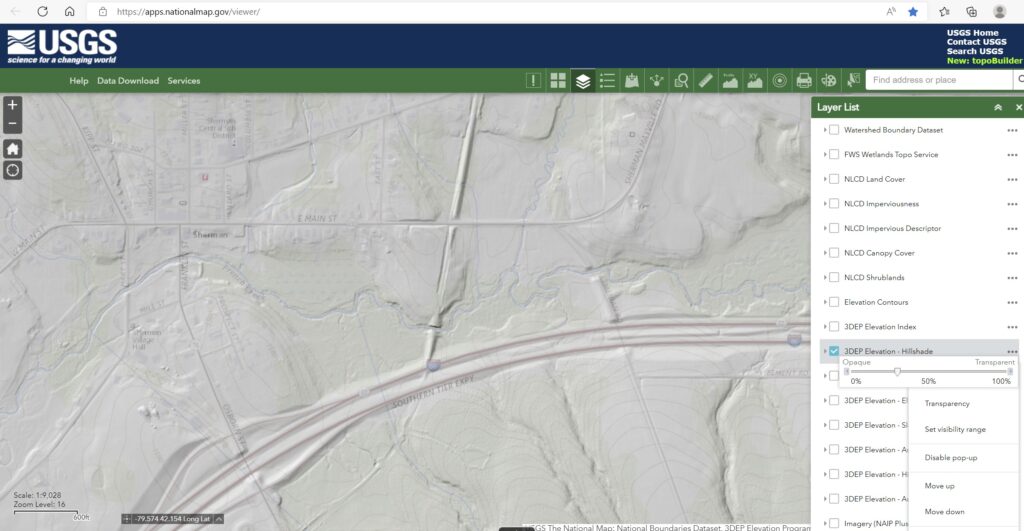
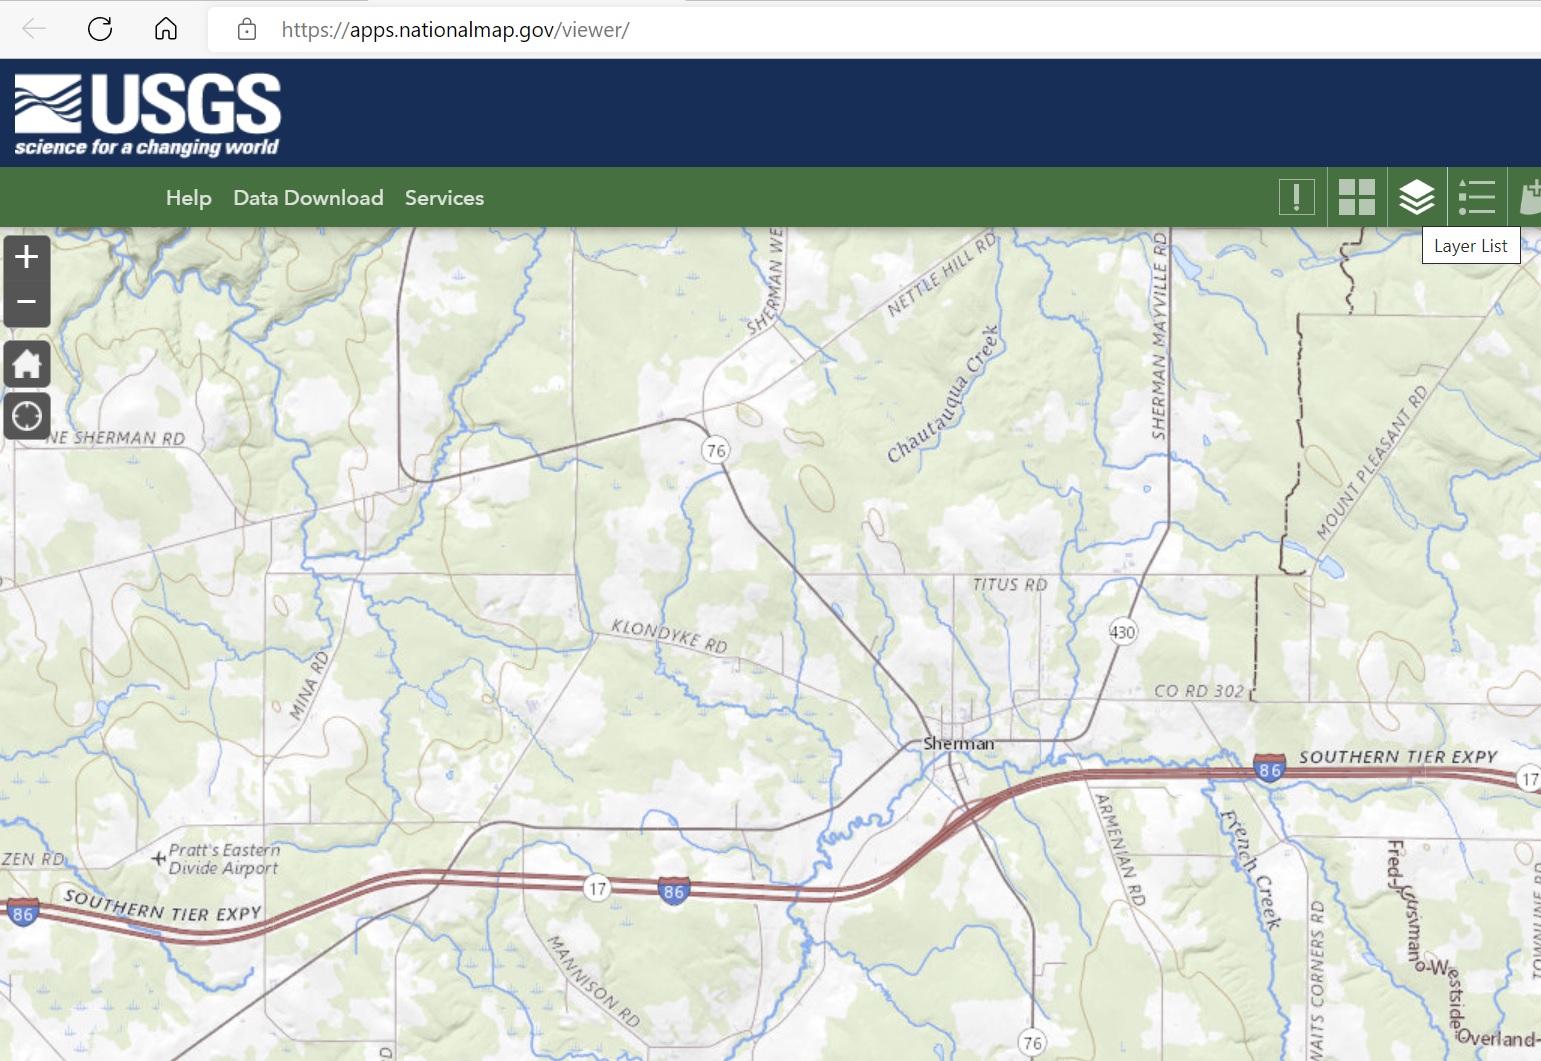
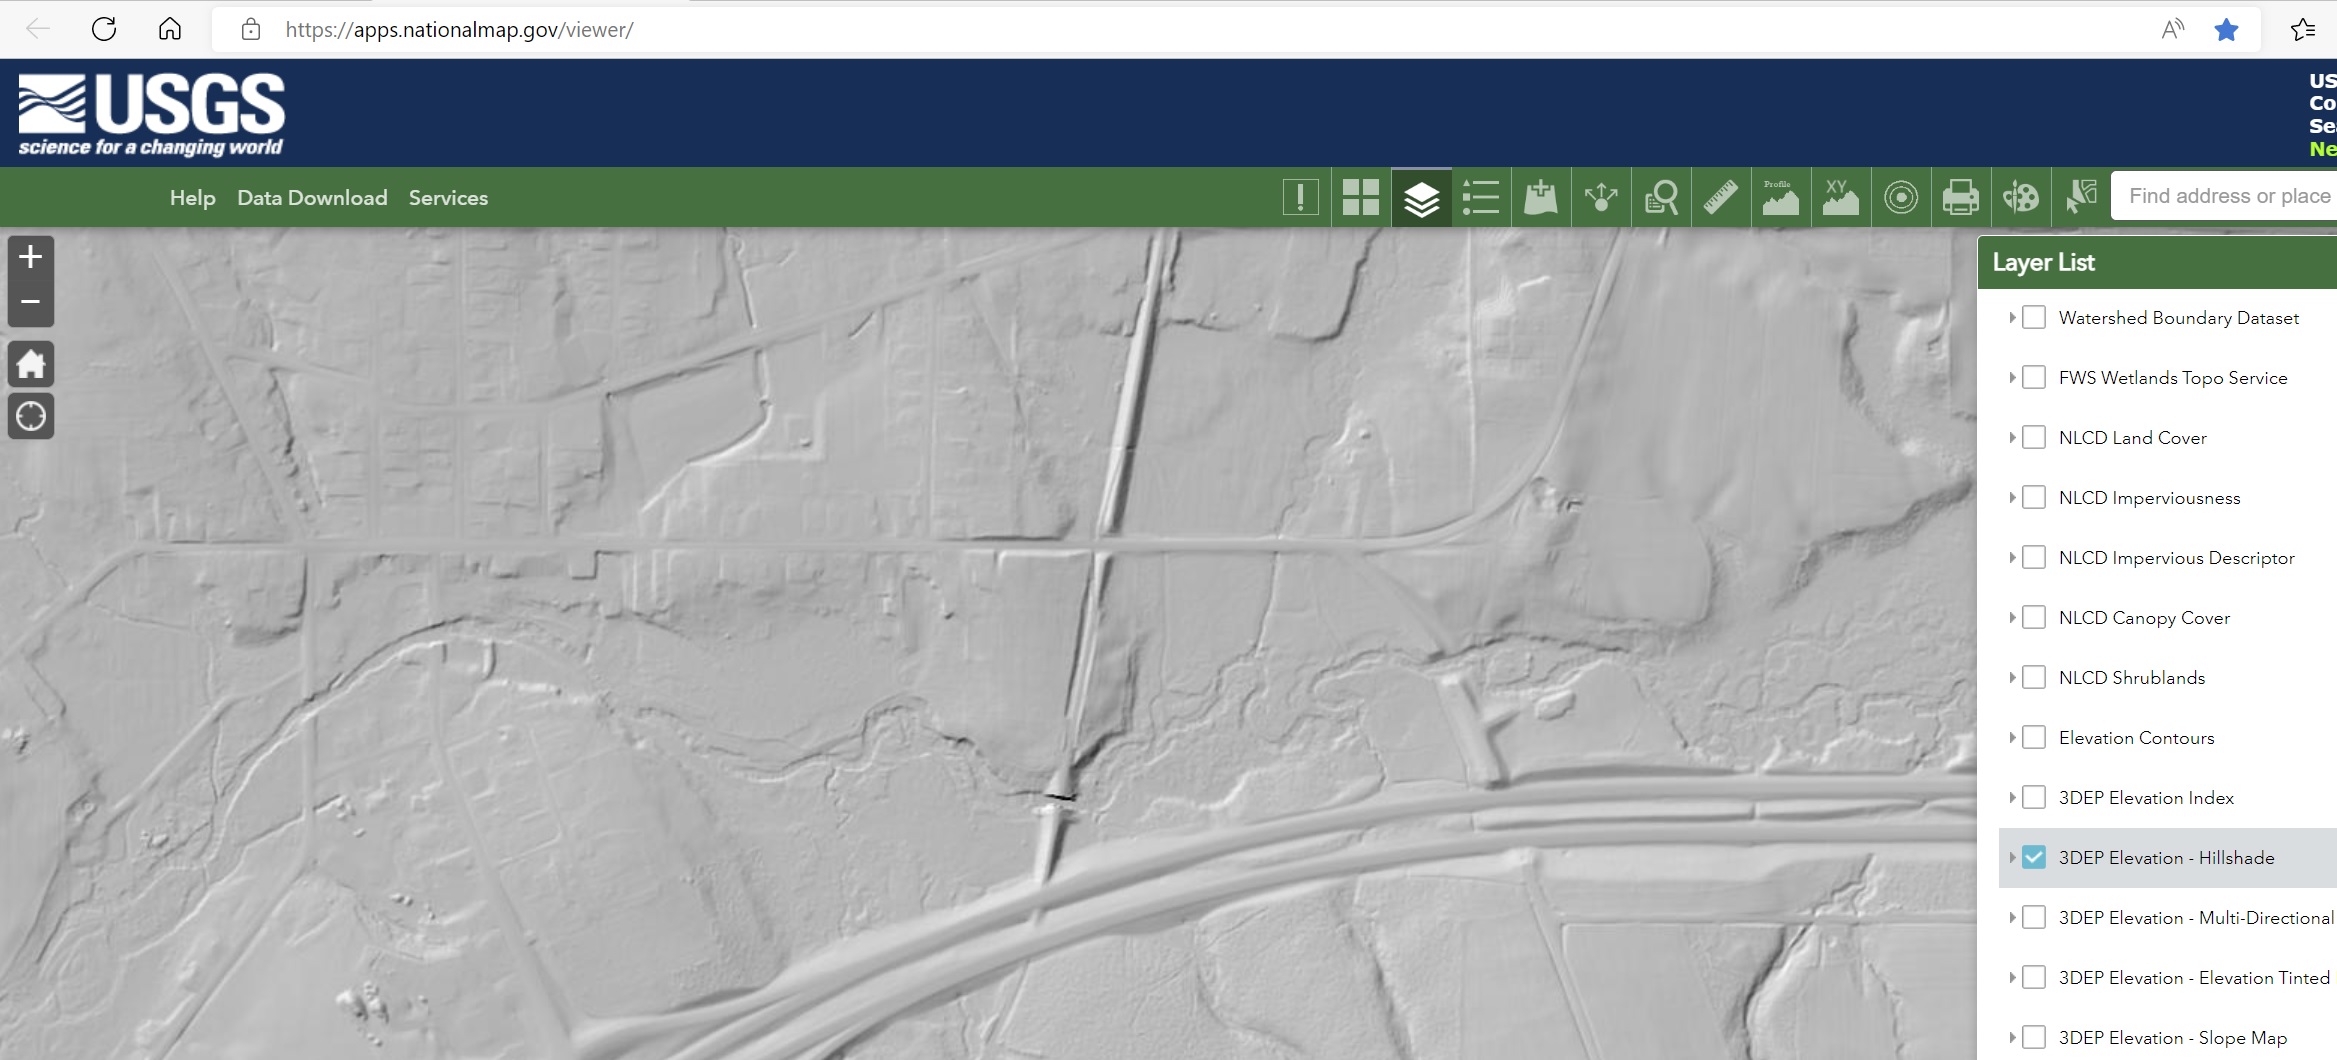
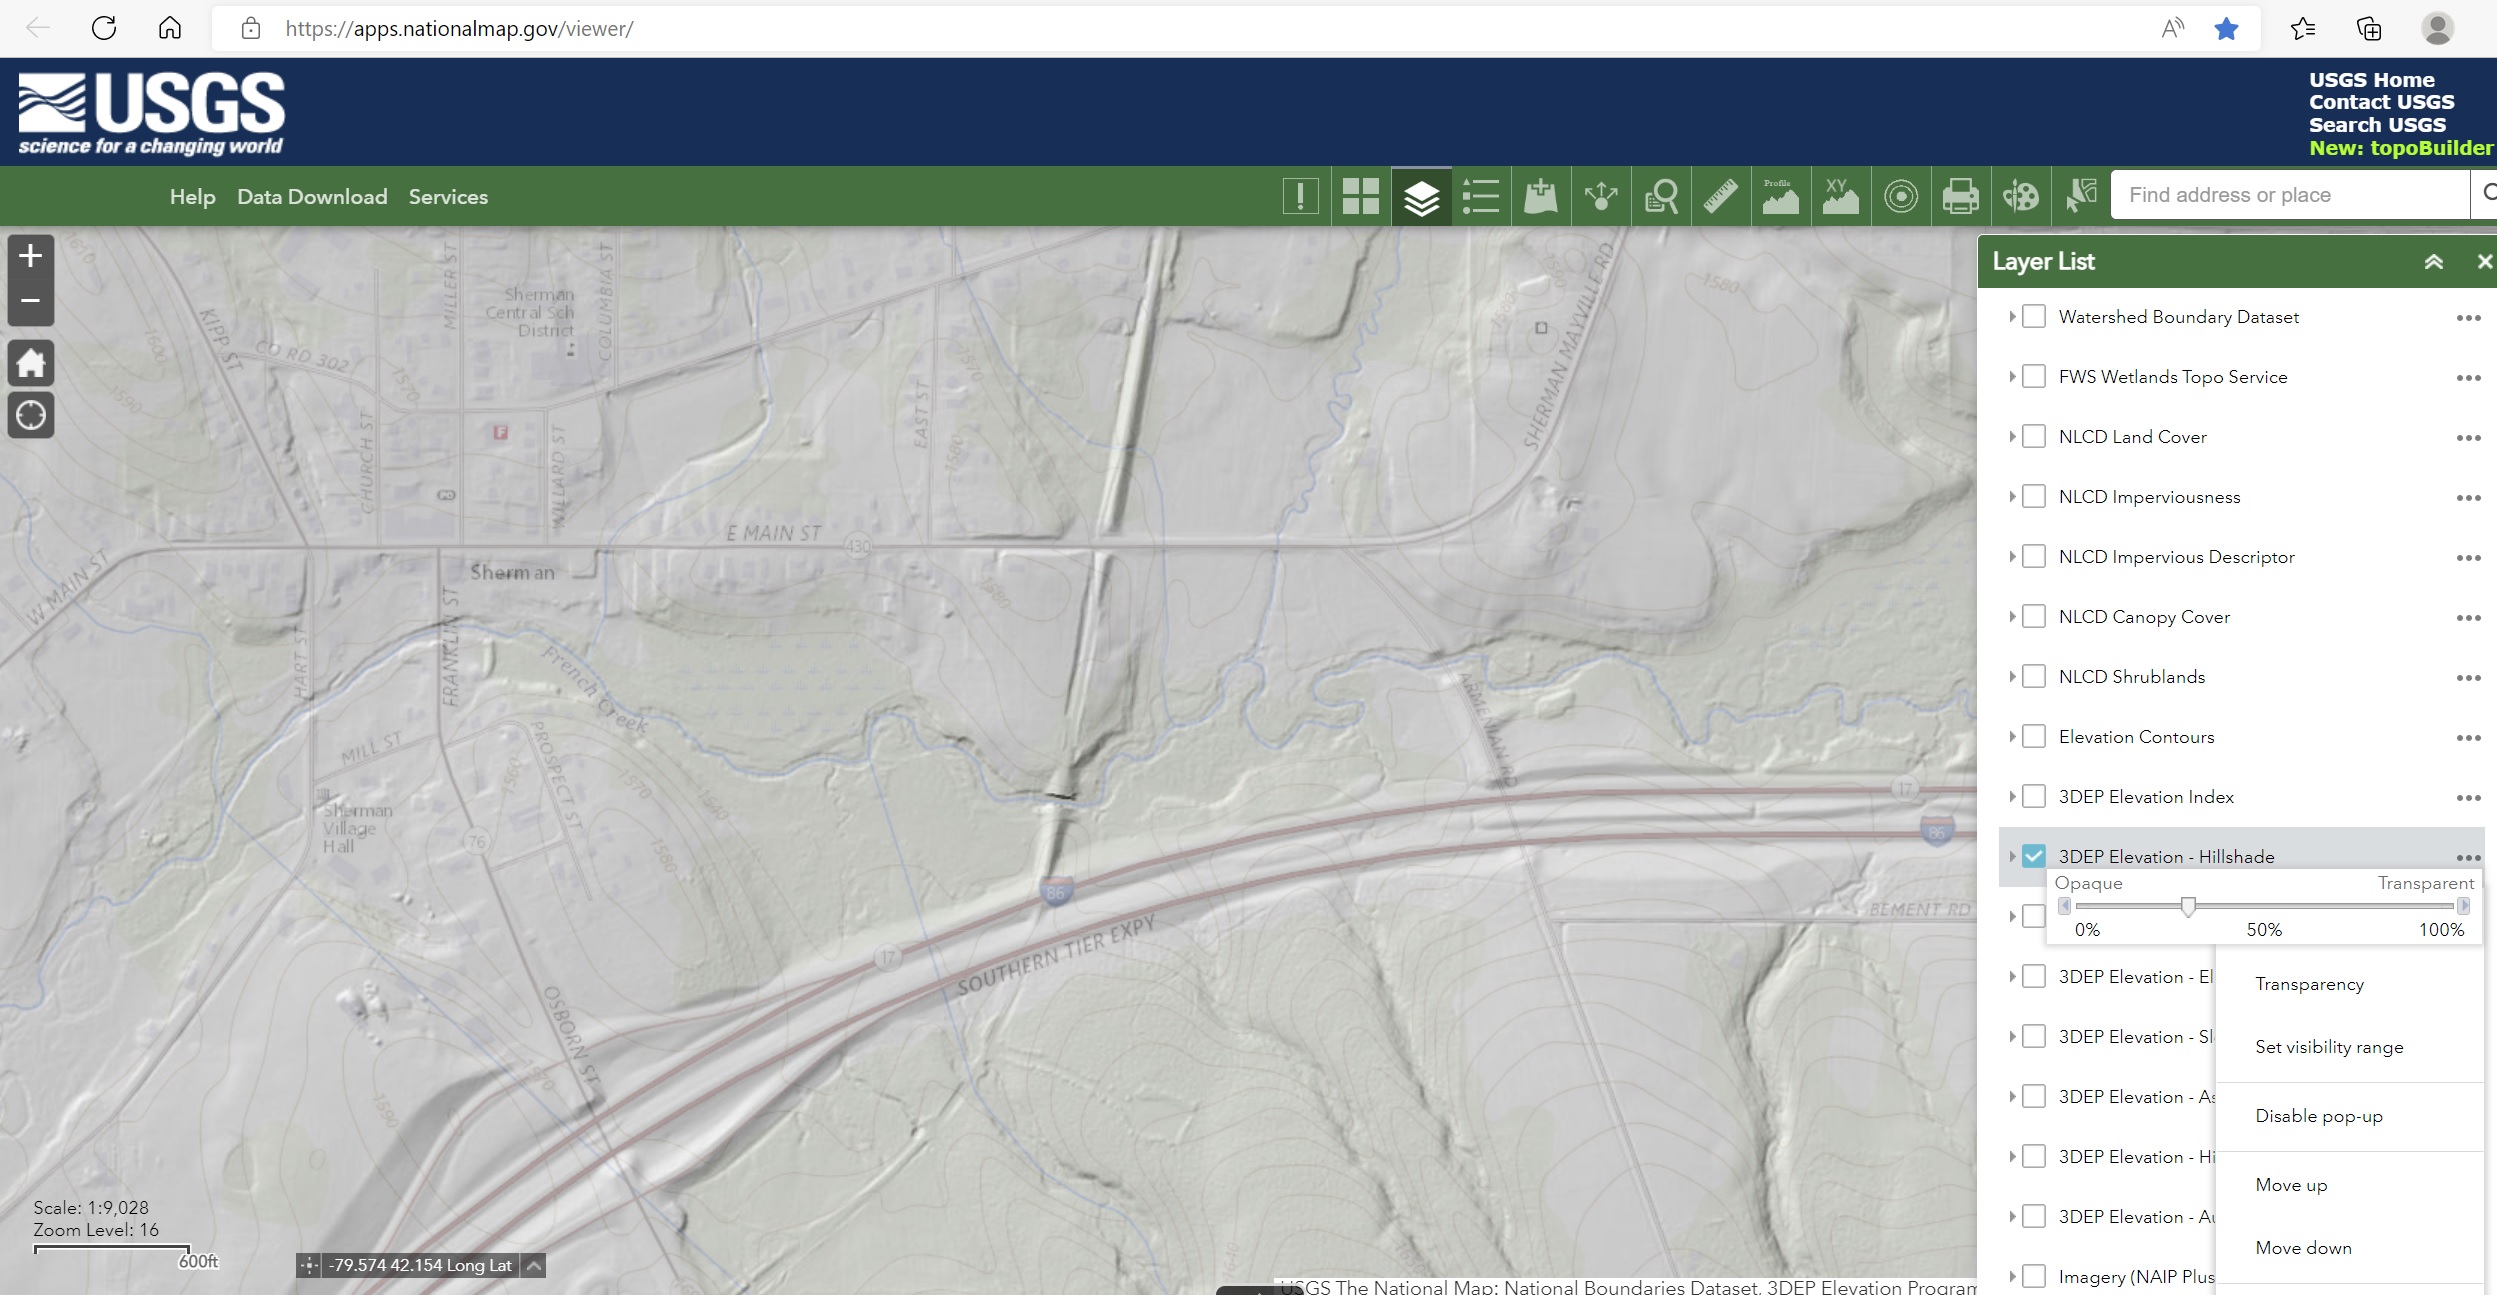
This mapping technology is available on the internet from the United States Geologic Survey (USGS) at: The National Map – Advanced Viewer. To use the online browser, navigate to the site, use the map to navigate to the area of interest, open the “Layer List” tool on the toolbar, check the box next to 3DEP Elevation – Hillshade, and zoom in a bit to your area of interest. It will take a few seconds or a bit longer to load the data into the browser, so if you have a slow internet connection, be patient. You should be rewarded with a shaded grey-scale image of the ground. Clicking the three black dots opens another set of tools, one of which allows you to adjust the transparency of the shaded layer so the associated map layer can be seen.
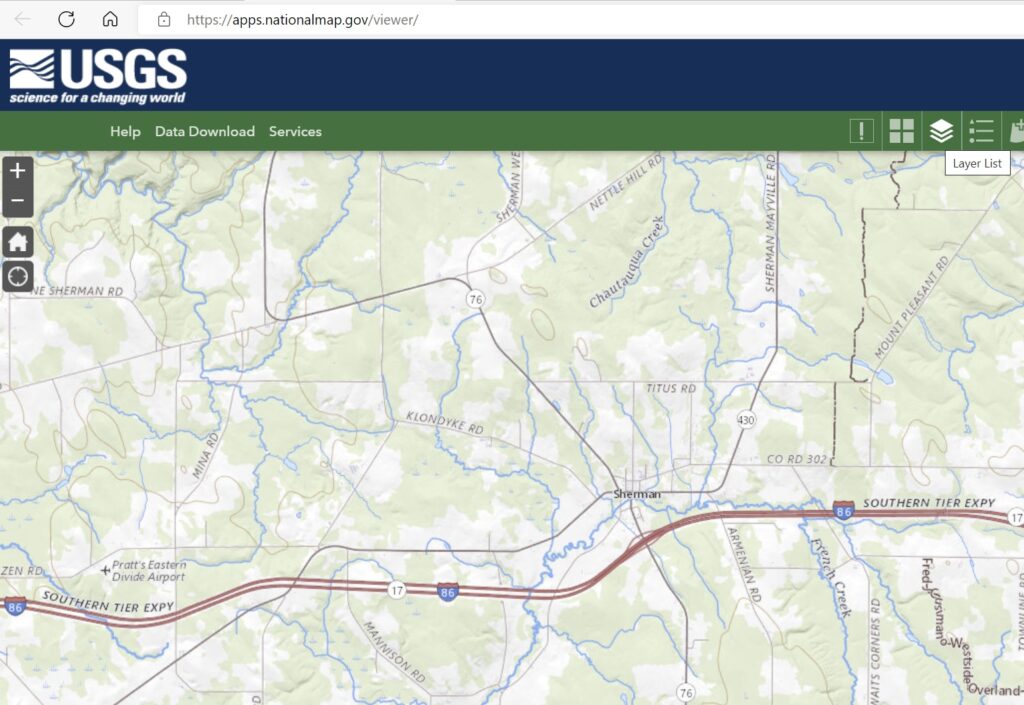
USGS website and navigation map

3DEP Elevation – Hillshade
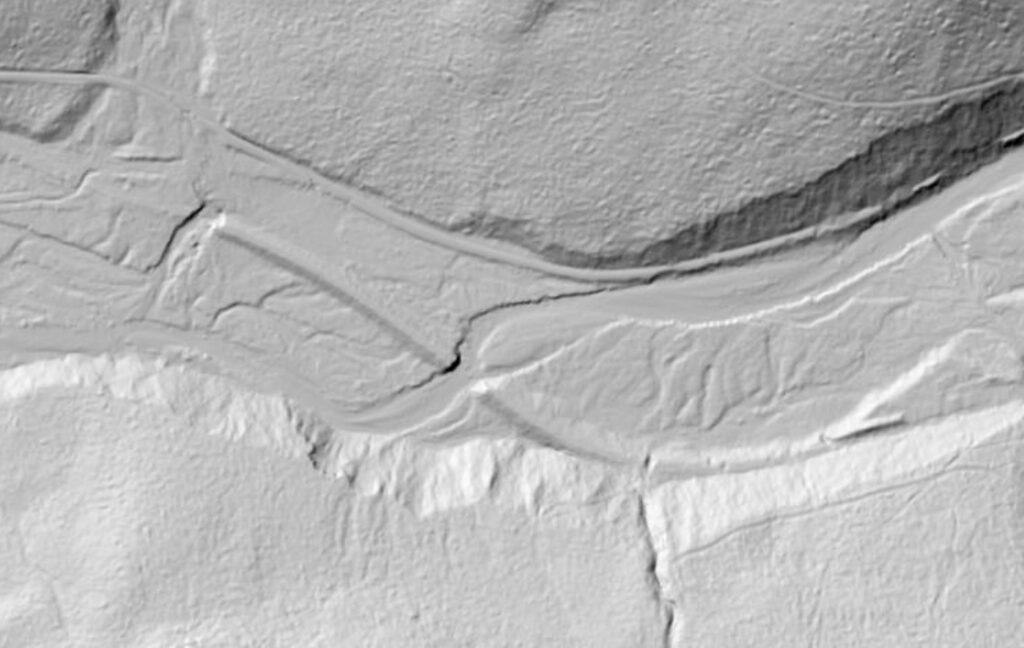
Topo map overlaid
The above examples show the course of the long-abandoned PRR Chautauqua Branch roadbed and the still-extant bridge over French Creek near Sherman, NY. This bridge can still be seen in the winter months from westbound Interstate 86.
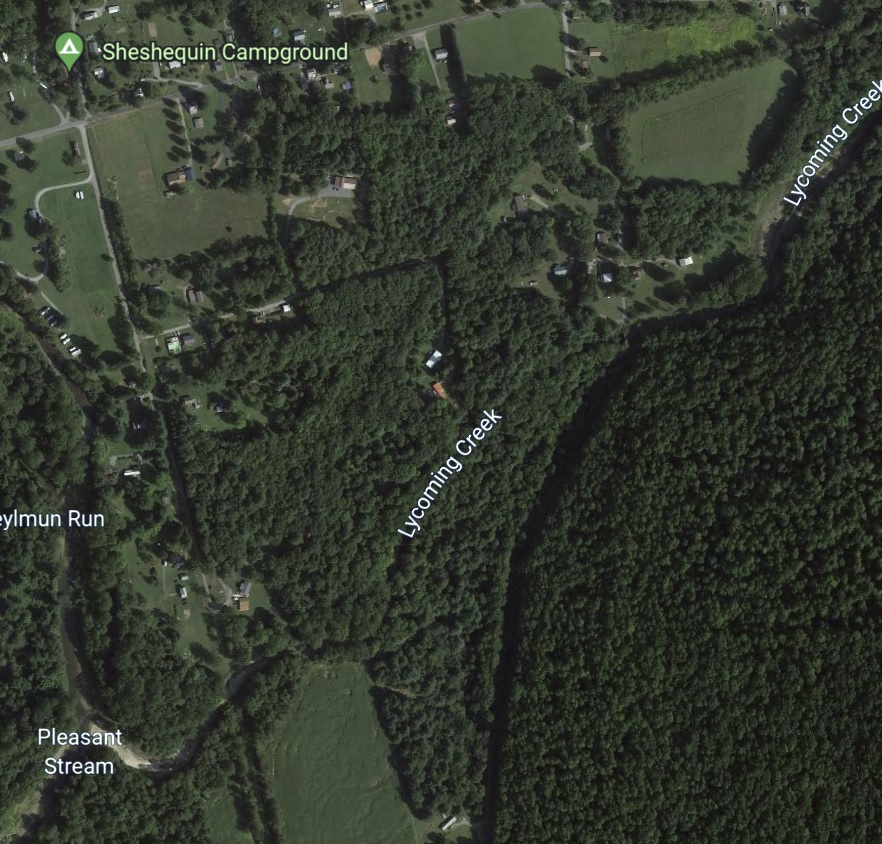
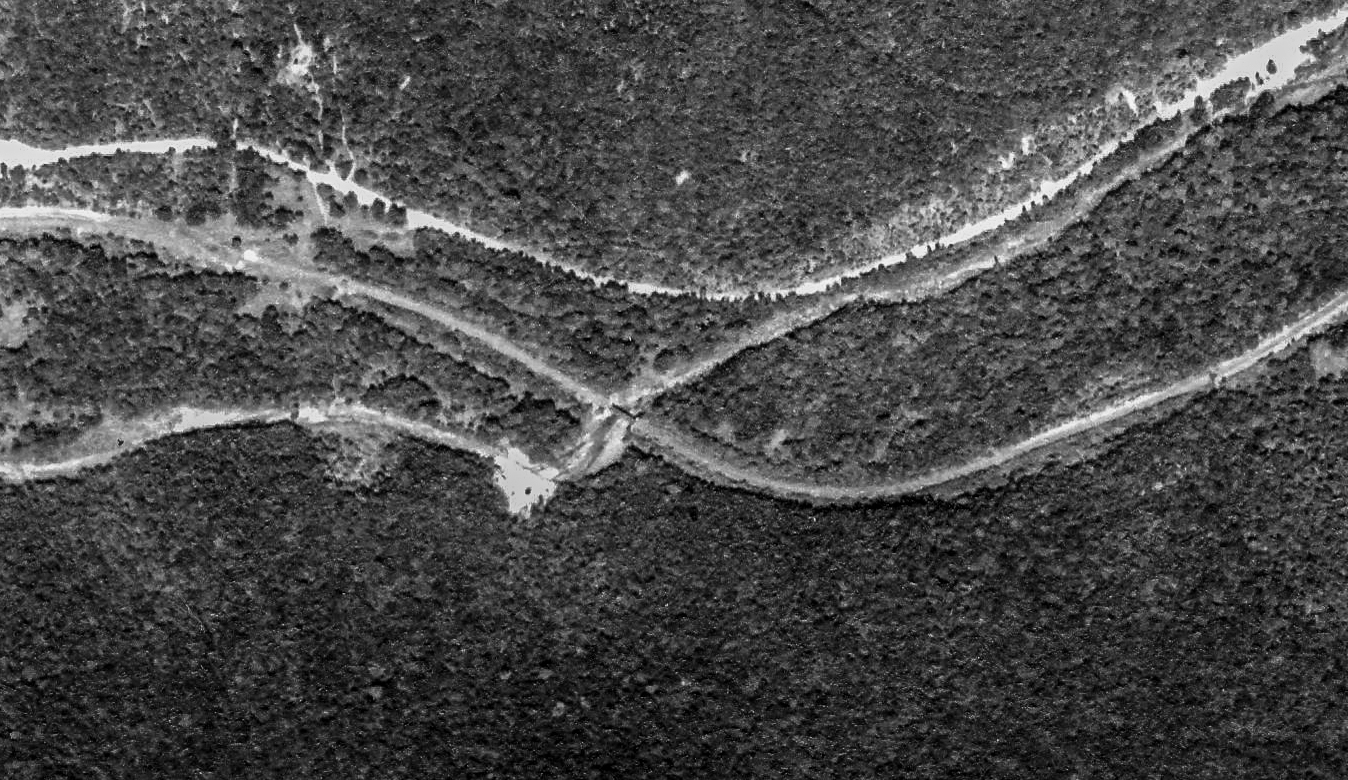
We can combine the USGS LIDAR information with data from other online resources such as Google Earth as well. In this instance, the Susquehanna & New York Railroad roadbed and bridge site over Pleasant Stream dating to circa 1917-1920 can still be seen, despite several severe floods in the early to mid-2000’s which significantly altered the streambed. Images from Google Earth are not useful due to tree canopy cover, but the bridge can be seen in aerial photographs from the late 1930’s available online at: Penn Pilot (arcgis.com). The photos show the bridge abutments as they looked in 2000.

Penn Pilot
USGS LIDAR
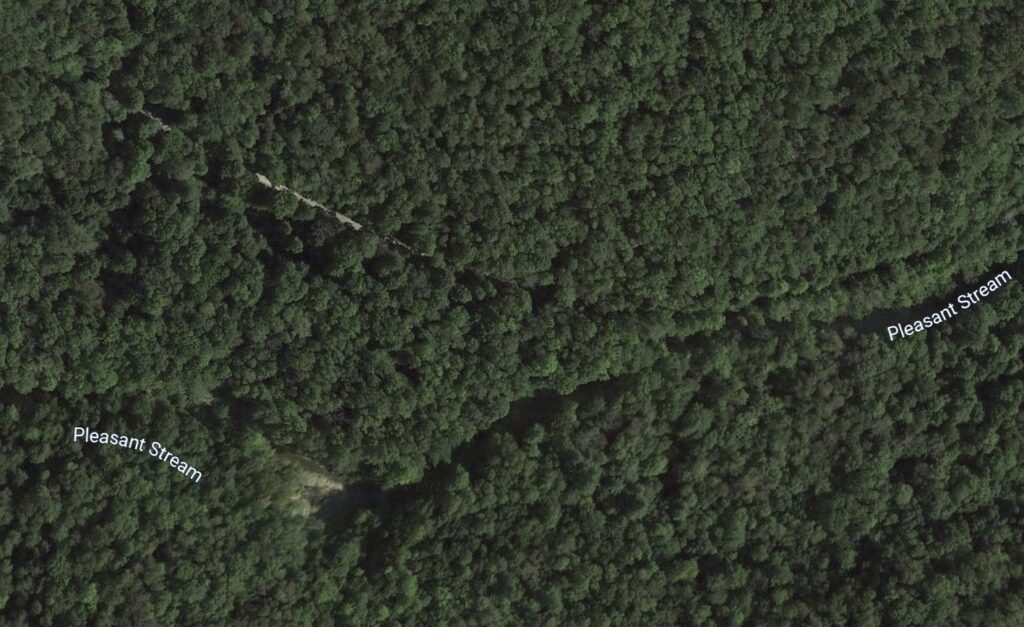
Google Earth
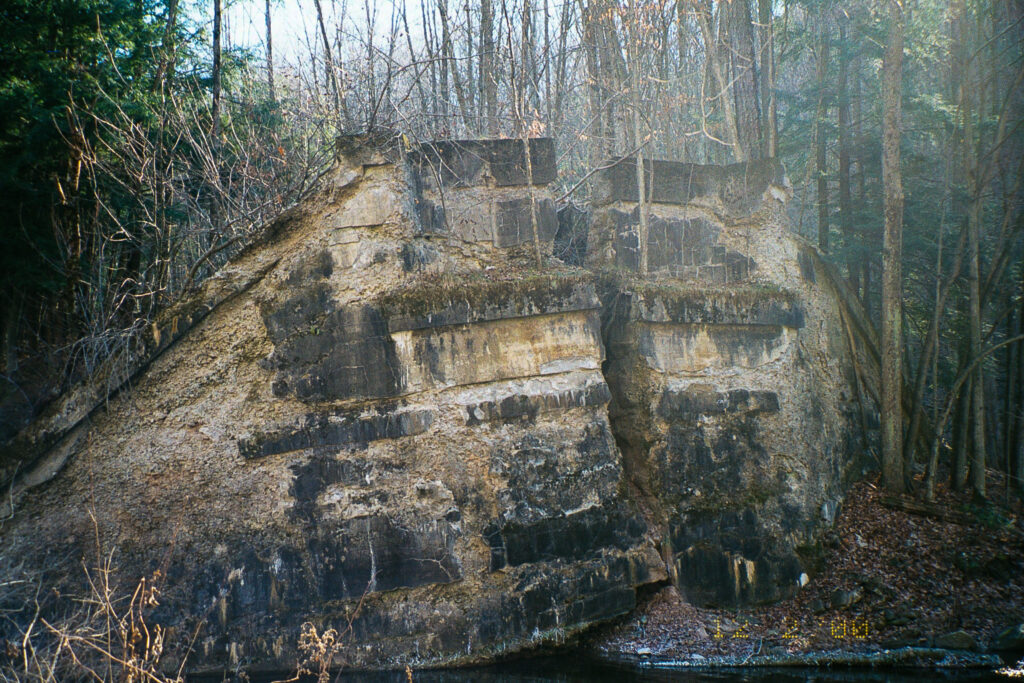
Photo by Author
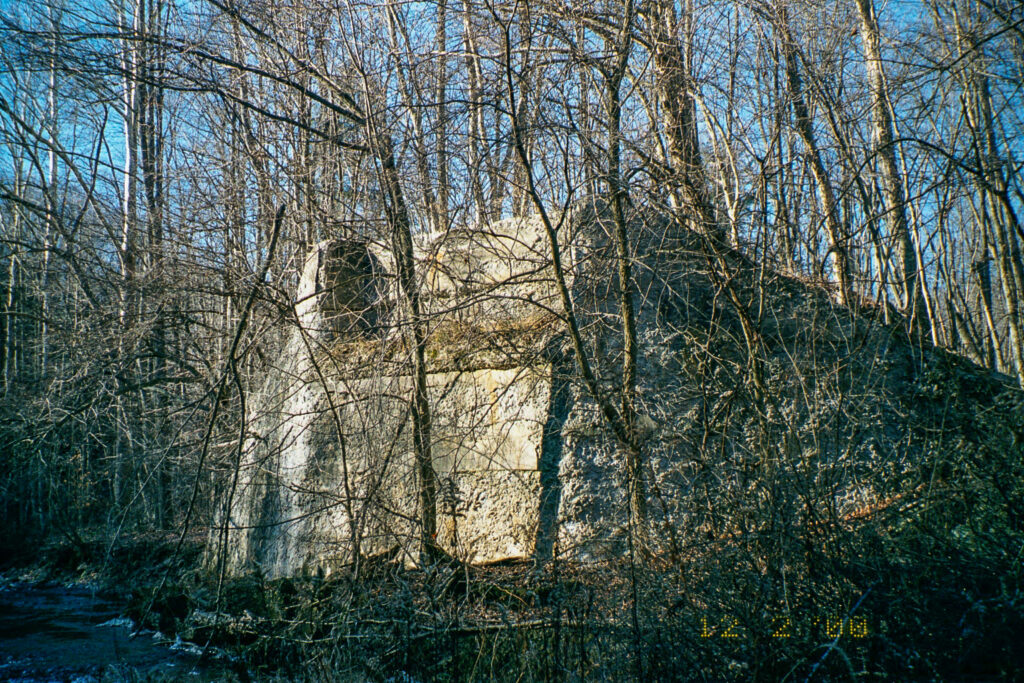
Photo by Author
Another interesting example is at Marsh Hill, PA. Here, the standout feature is the elevated ramp serving the coal dock along one leg of the wye track, still visible due to laser light and the power of applied mathematics 80 years after the S&NY was abandoned. The faint traces of the S&NY yard, the rest of the wye, and the roadbed heading east along Pleasant Stream can also be seen. These traces correlate with the Penn Pilot photographs but are nearly completely obscured by trees and modern structures on the Google Earth view.
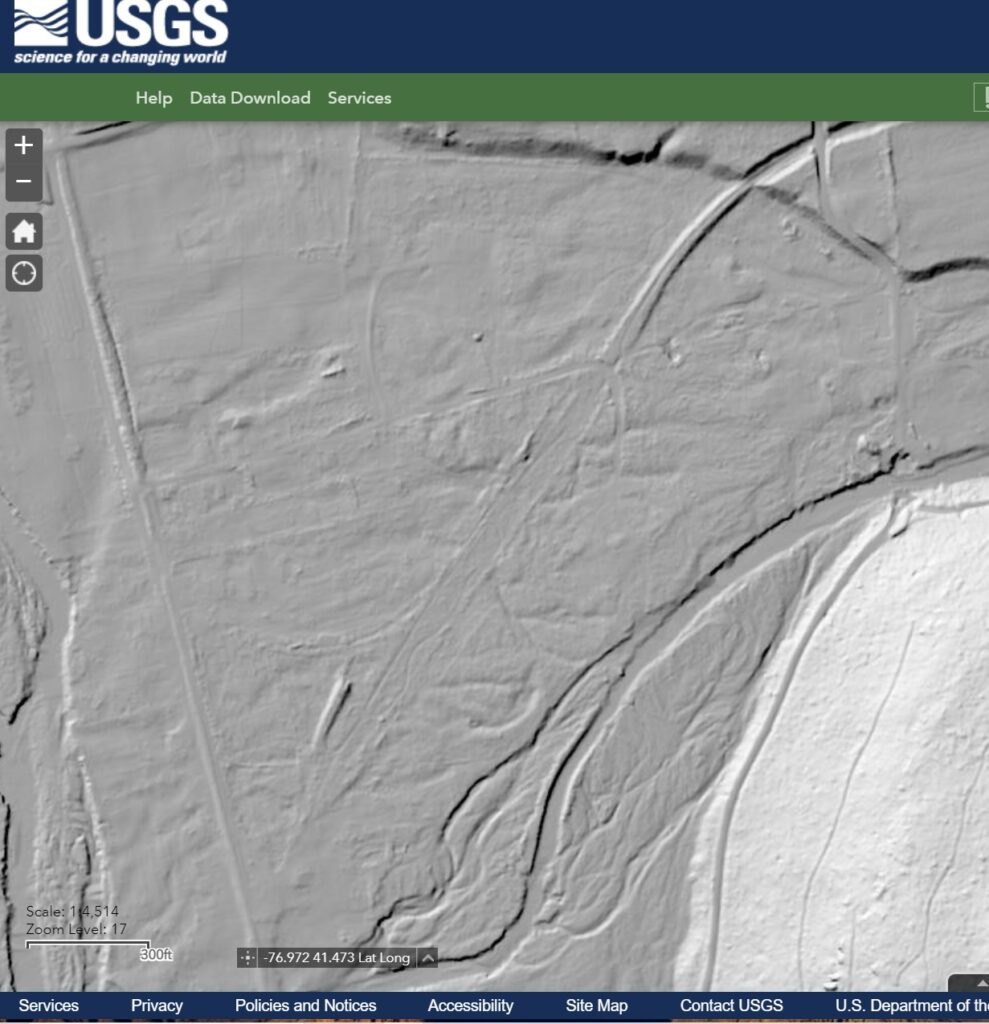
USGS LIDAR
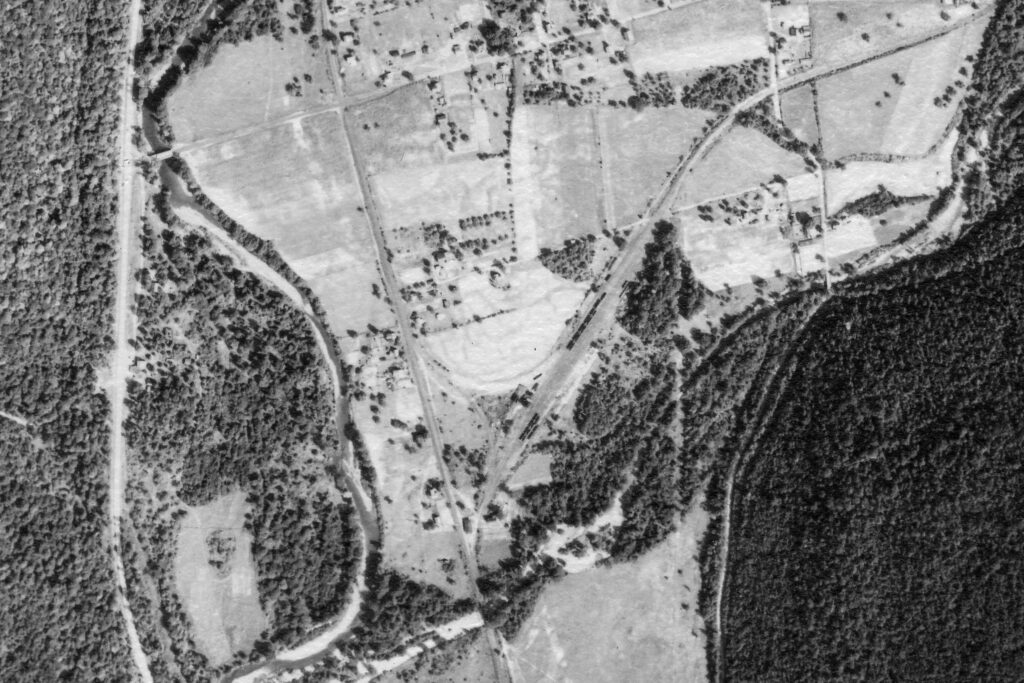
Penn Pilot
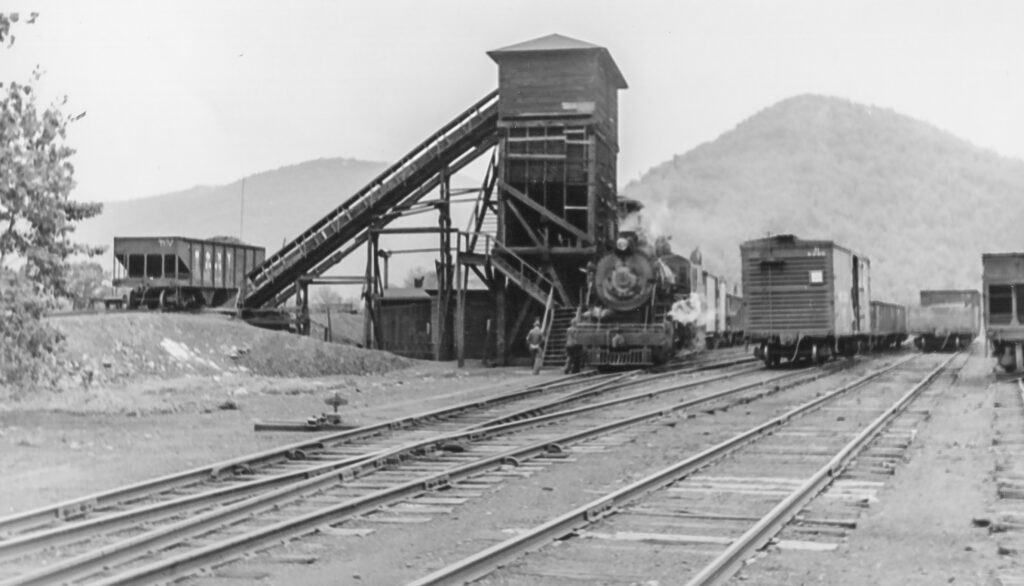
Bill Caloroso- Author’s Collection
Google Earth
One can spend hours following old roadbeds and hunting traces of “what once was” for fun, but the usefulness of this technology for model railroaders researching a particular prototype railroad cannot be understated.
Let’s do a couple more:
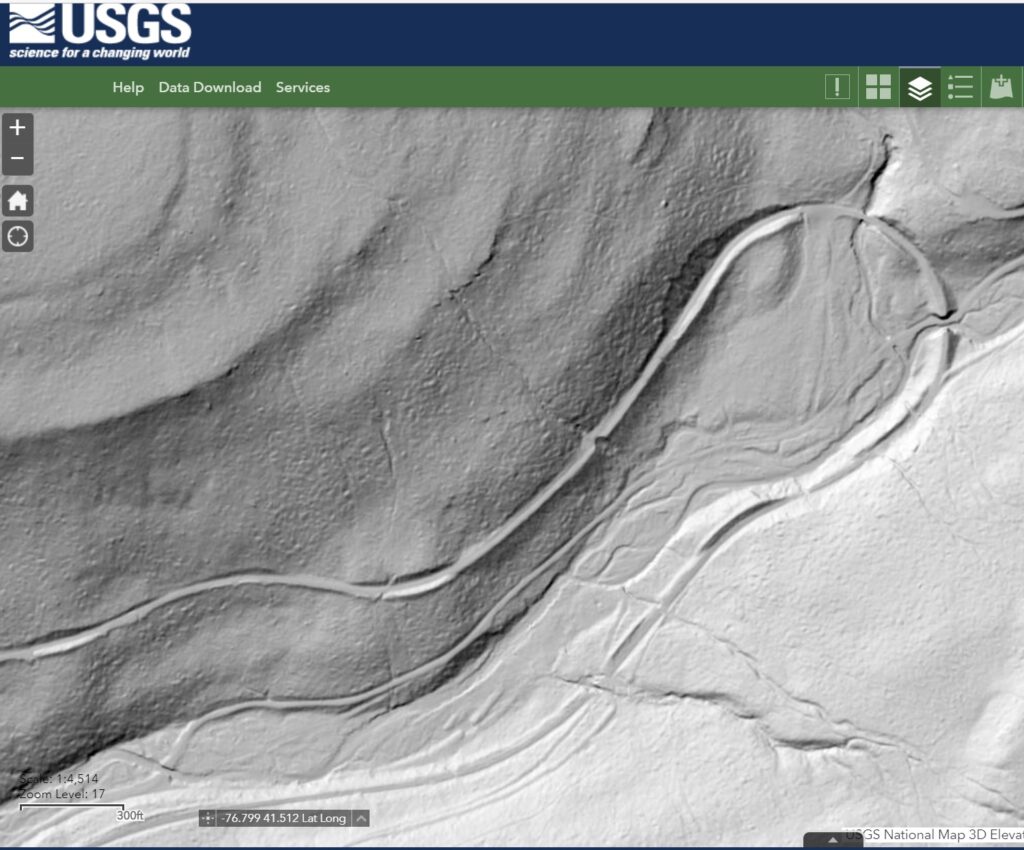
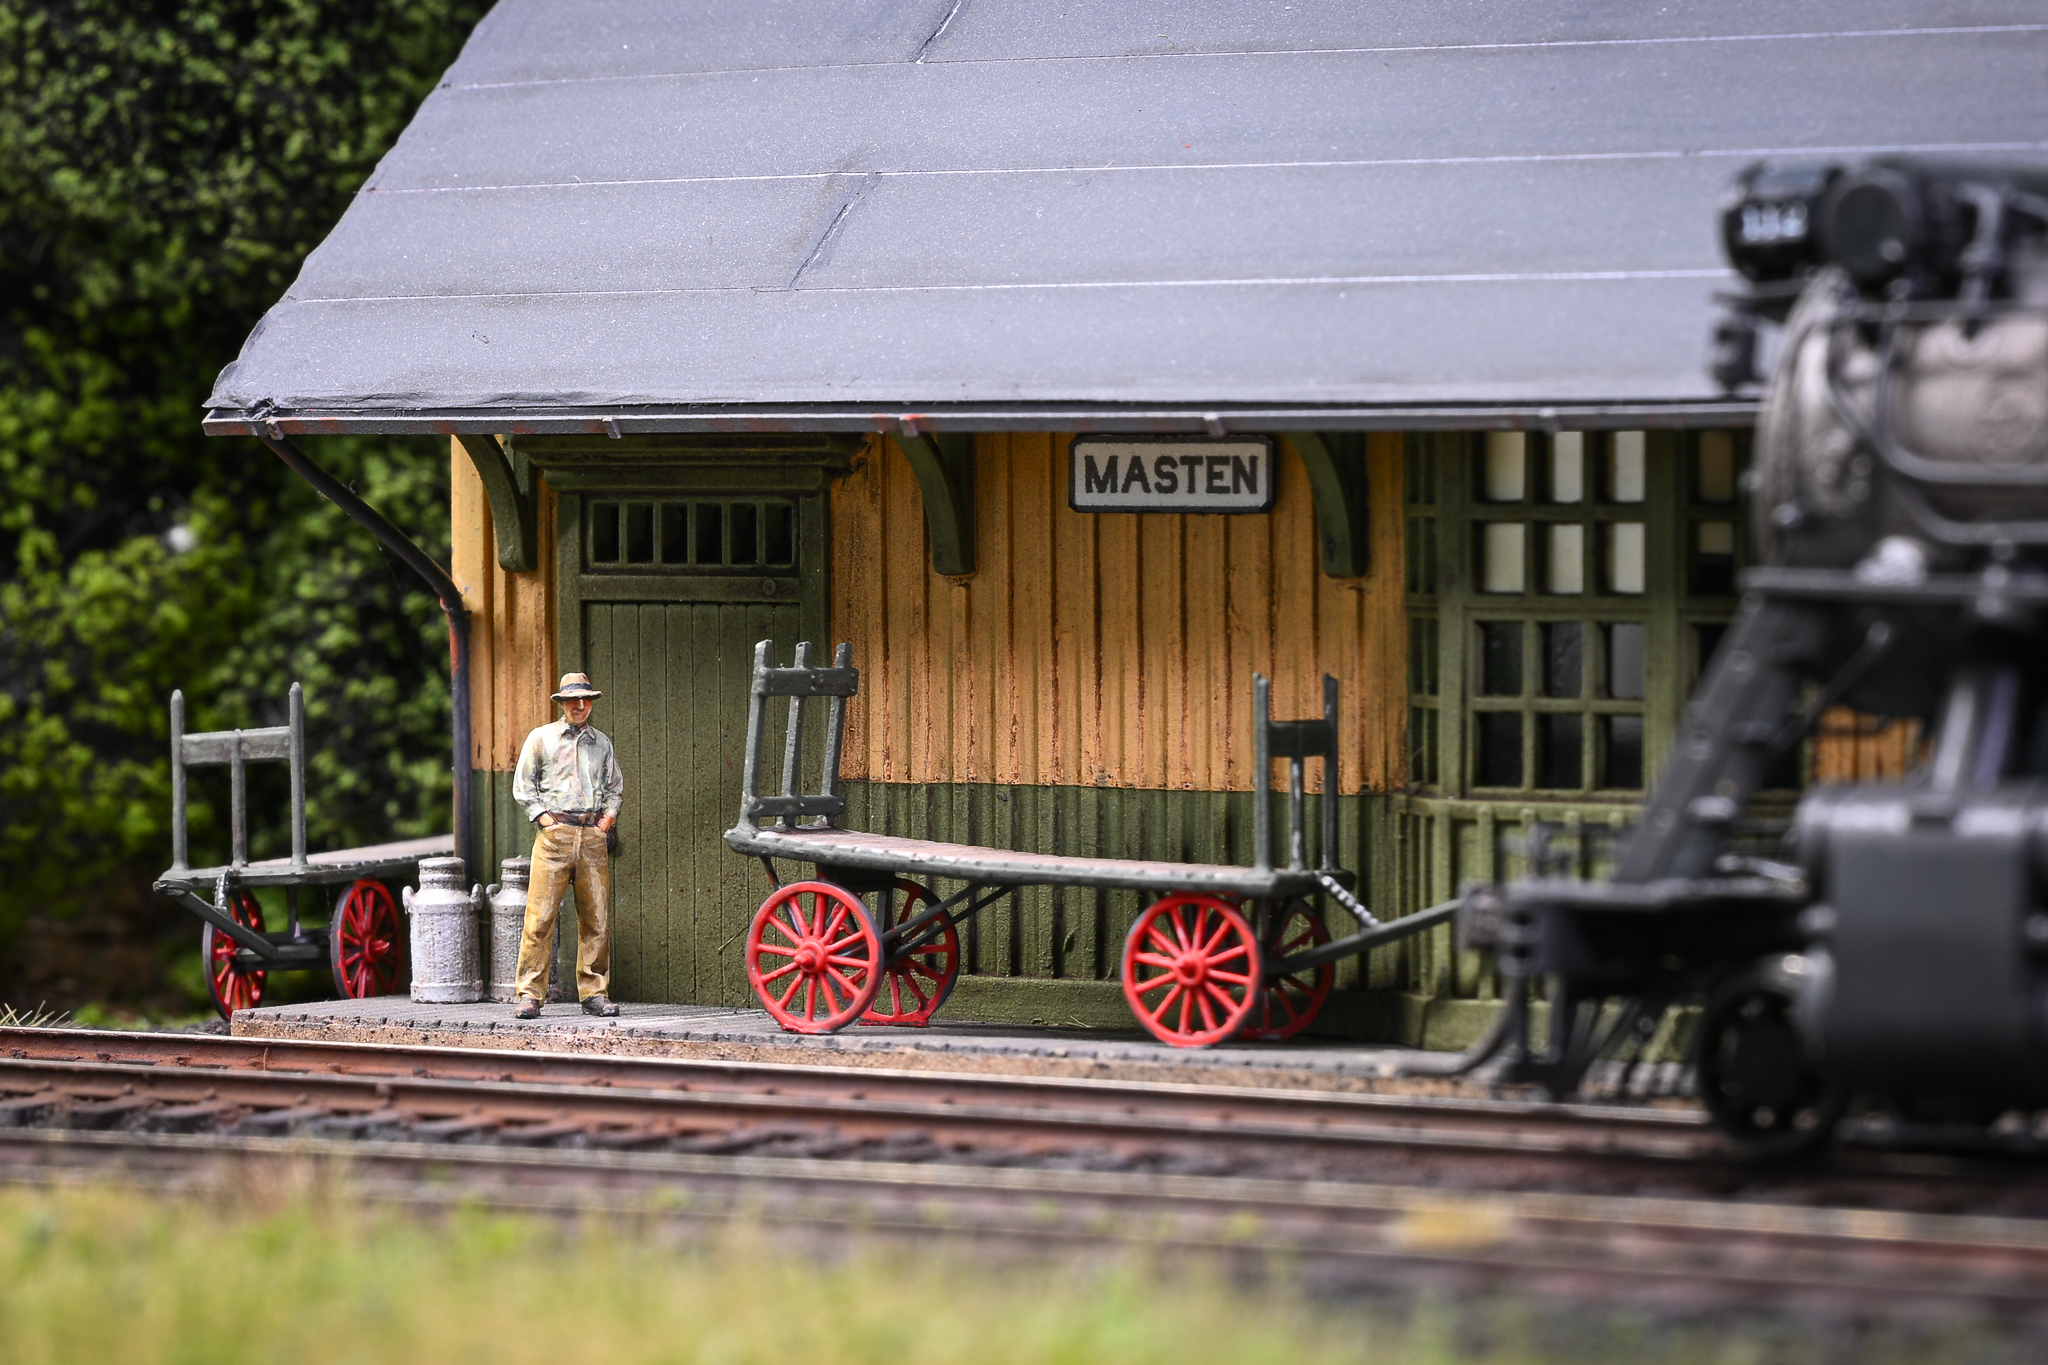
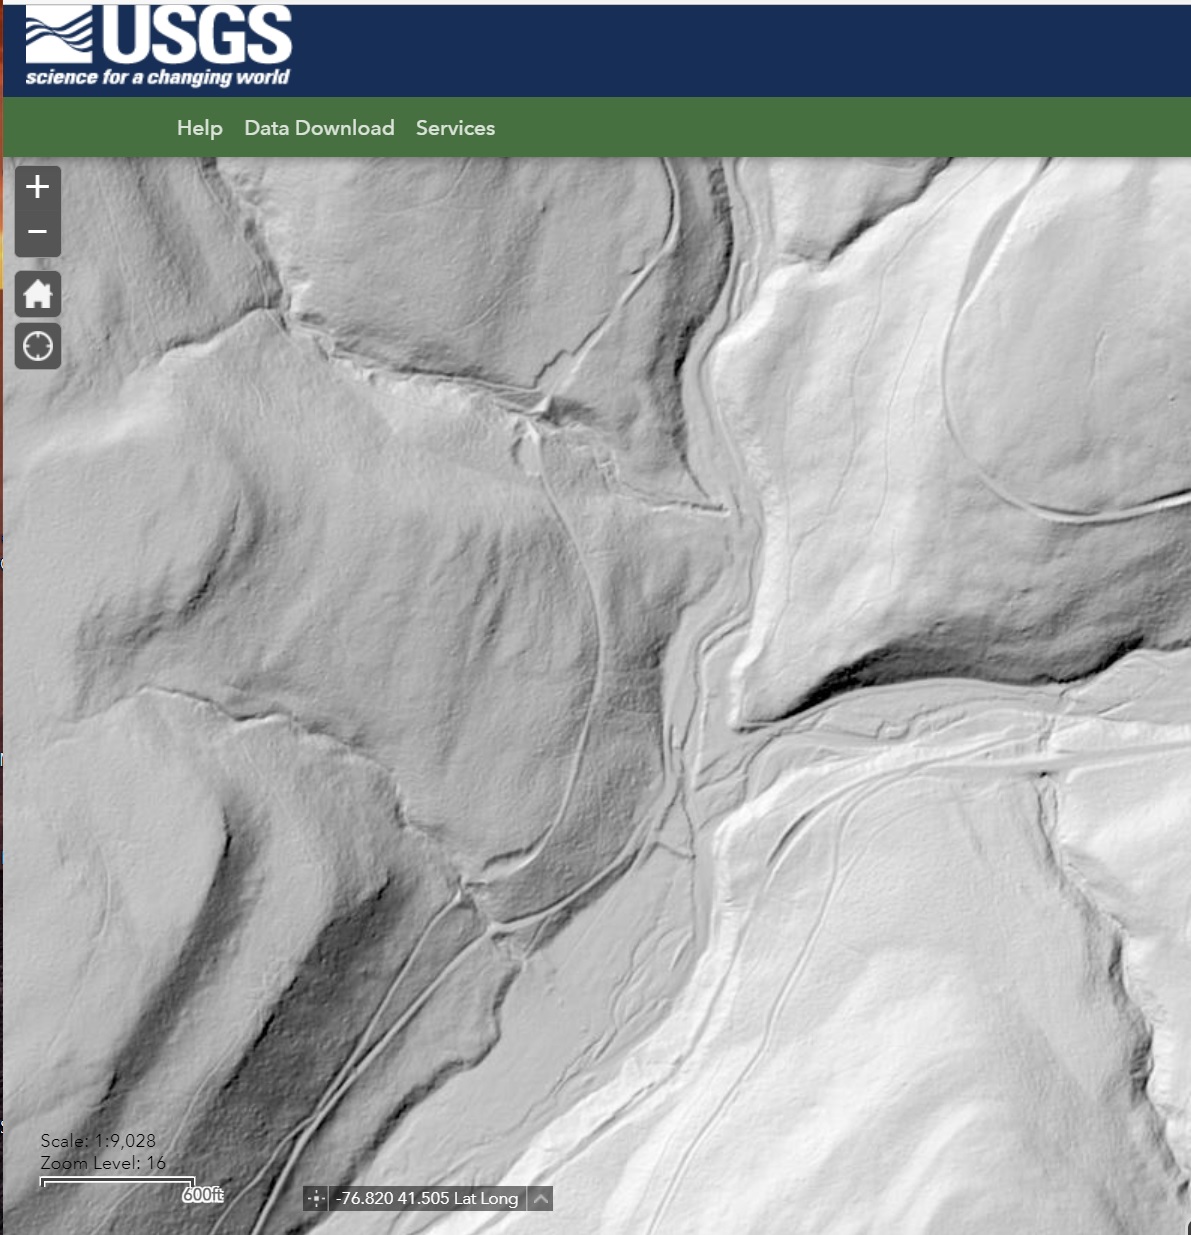
Here is a LIDAR view of the Masten area. In addition to the modern roads, both the “old” S&NY right-of-way and the “new” ROW leading to and from the Masten Loop (out of view to the right) can be seen. In addition, the remains of the log pond dam are revealed in the center of the image.

USGS LIDAR

Author’s Collection
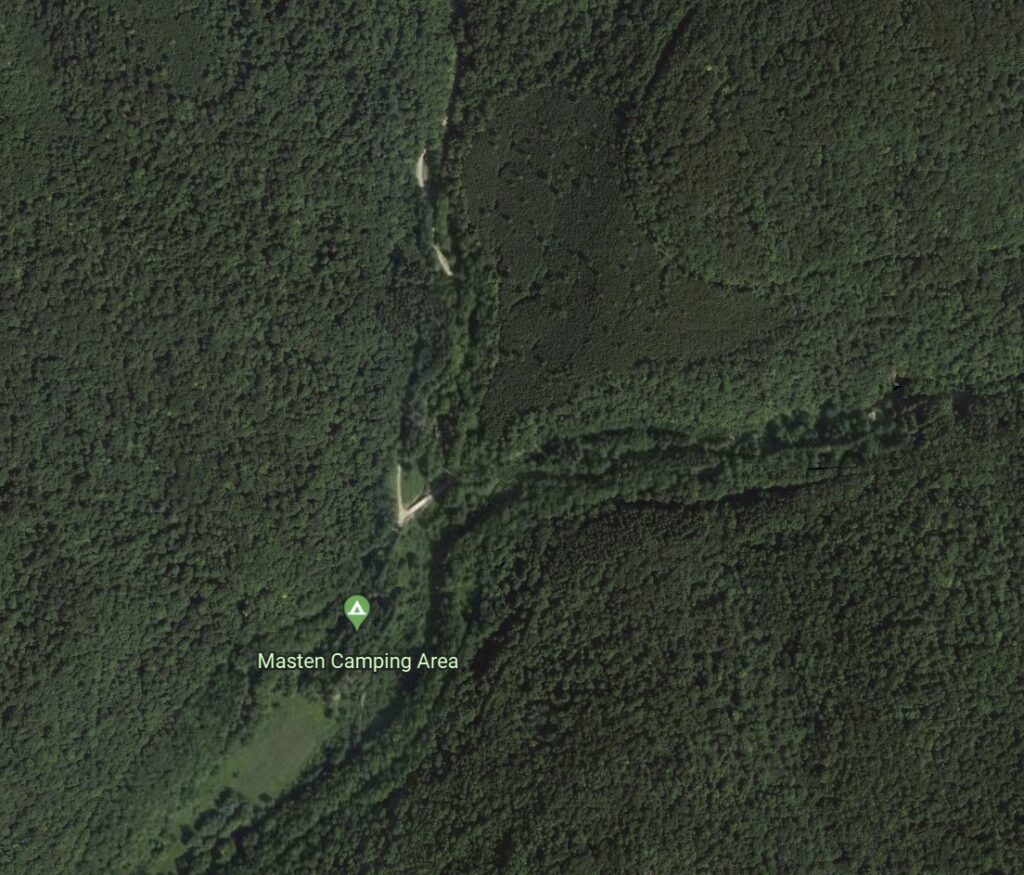
Google Earth
Again, the ground surface details are completely obscured by forest canopy on the Google Earth view.
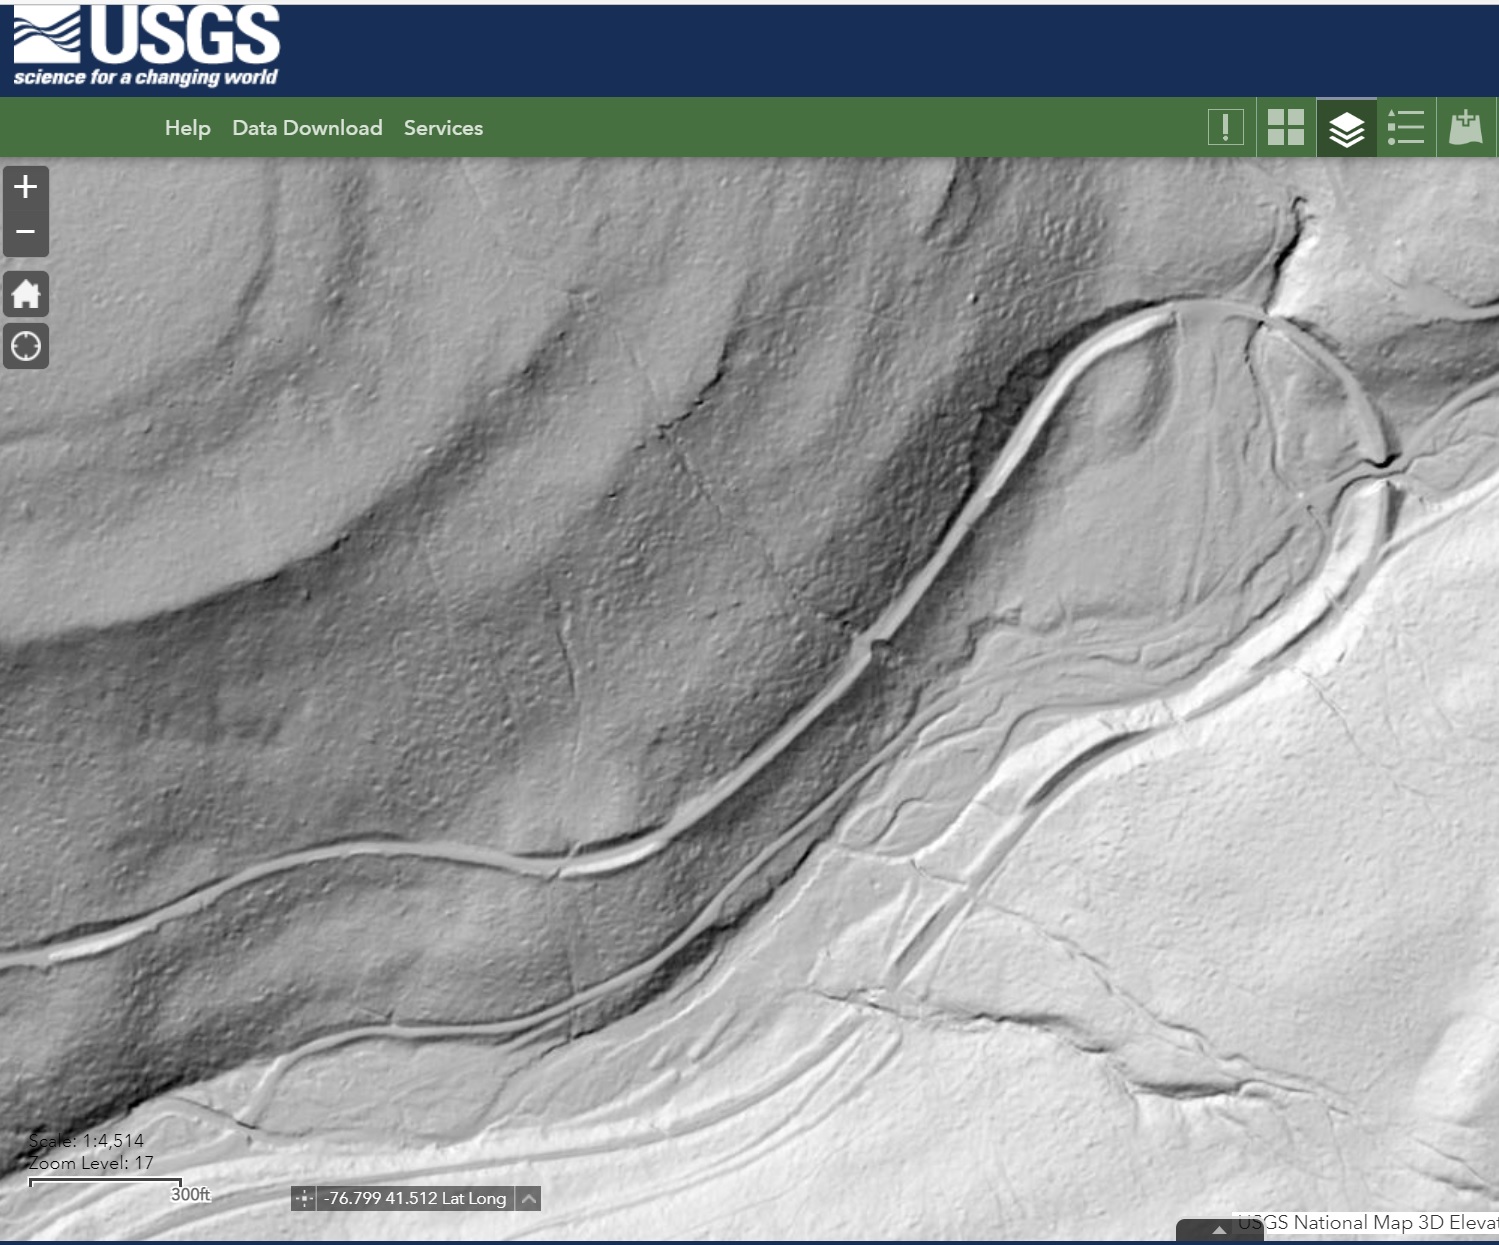
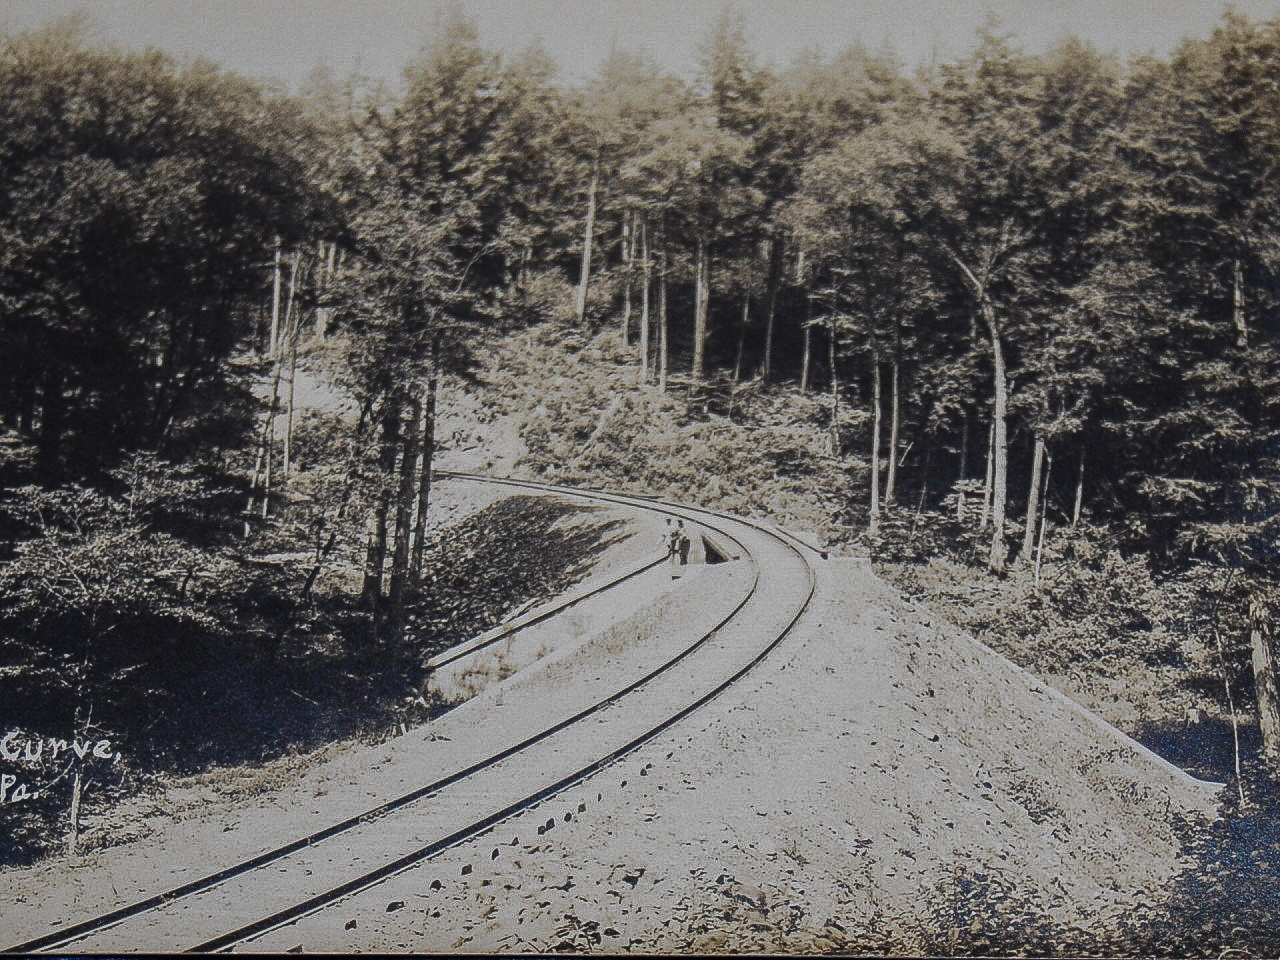
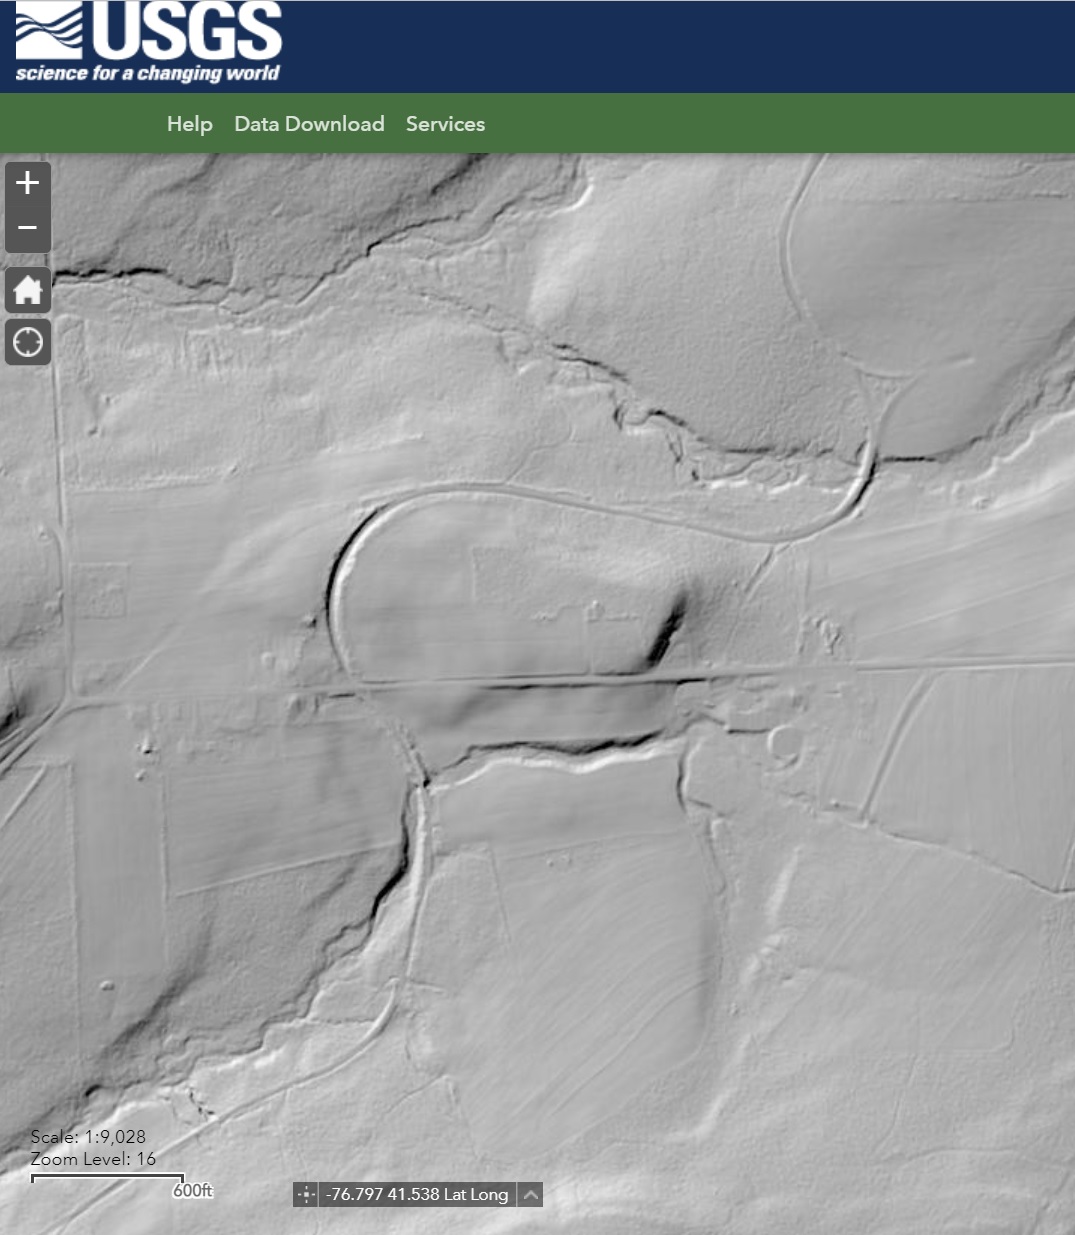
Let’s move to the Masten Loop area. The USGS LIDAR data gives us this view of the roadbed, associated cuts and fills, and the bridge site over Pleasant Stream:
USGS LIDAR
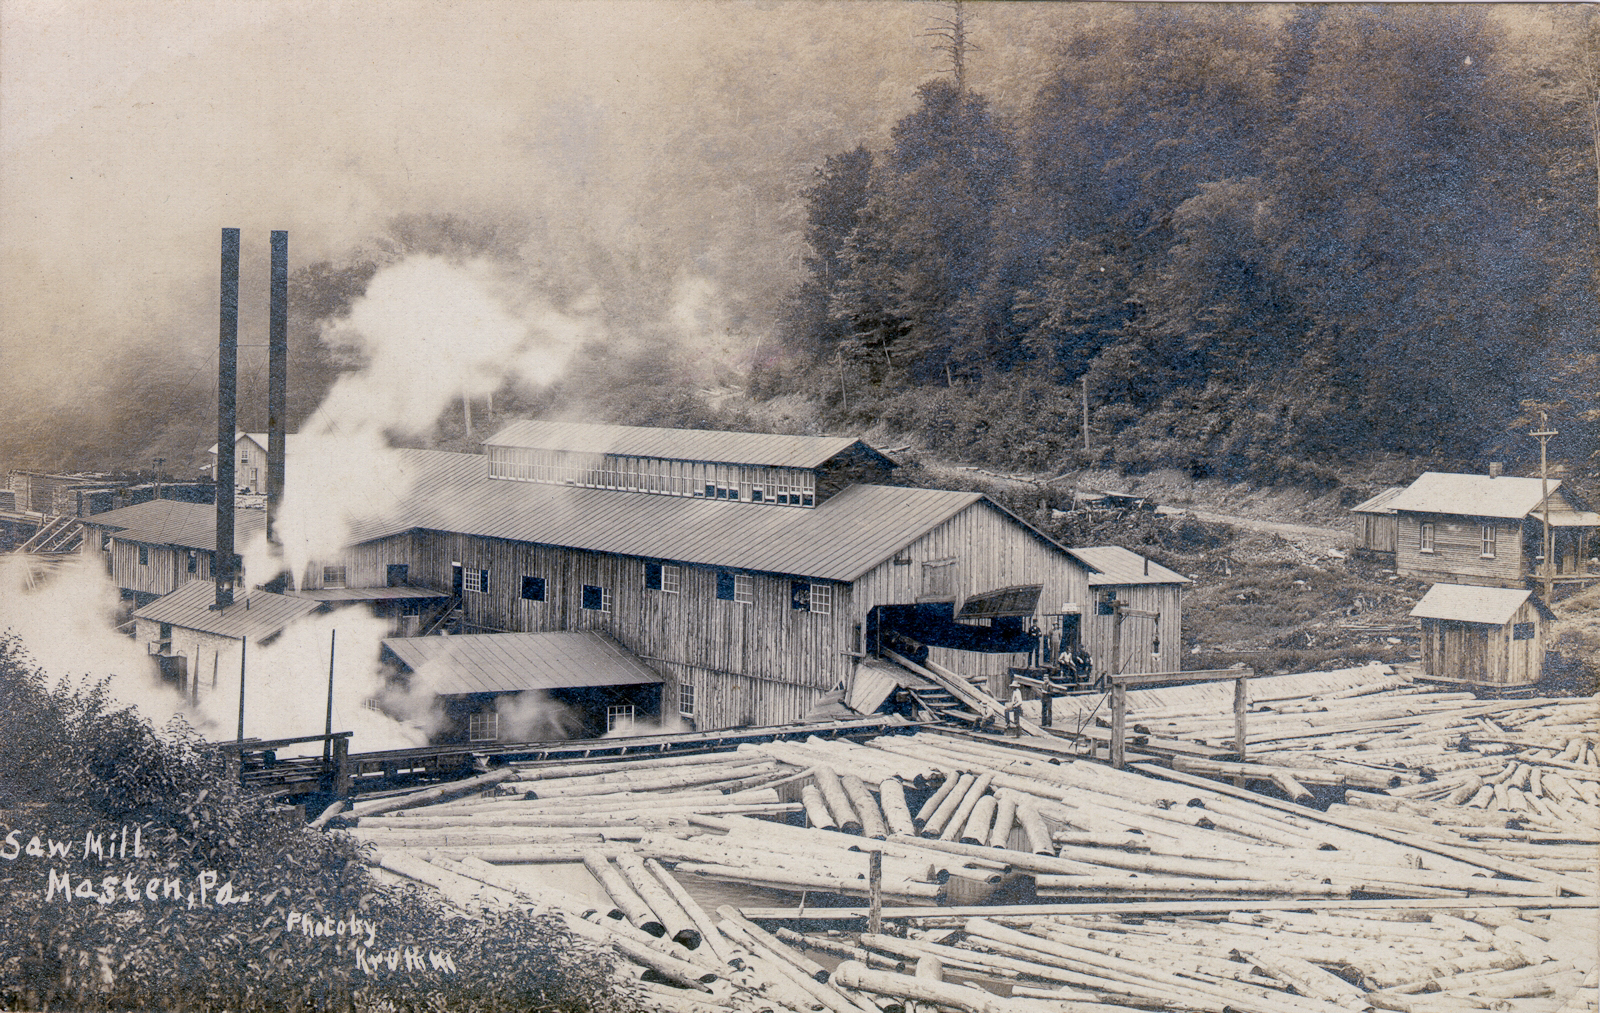
An old postcard view:
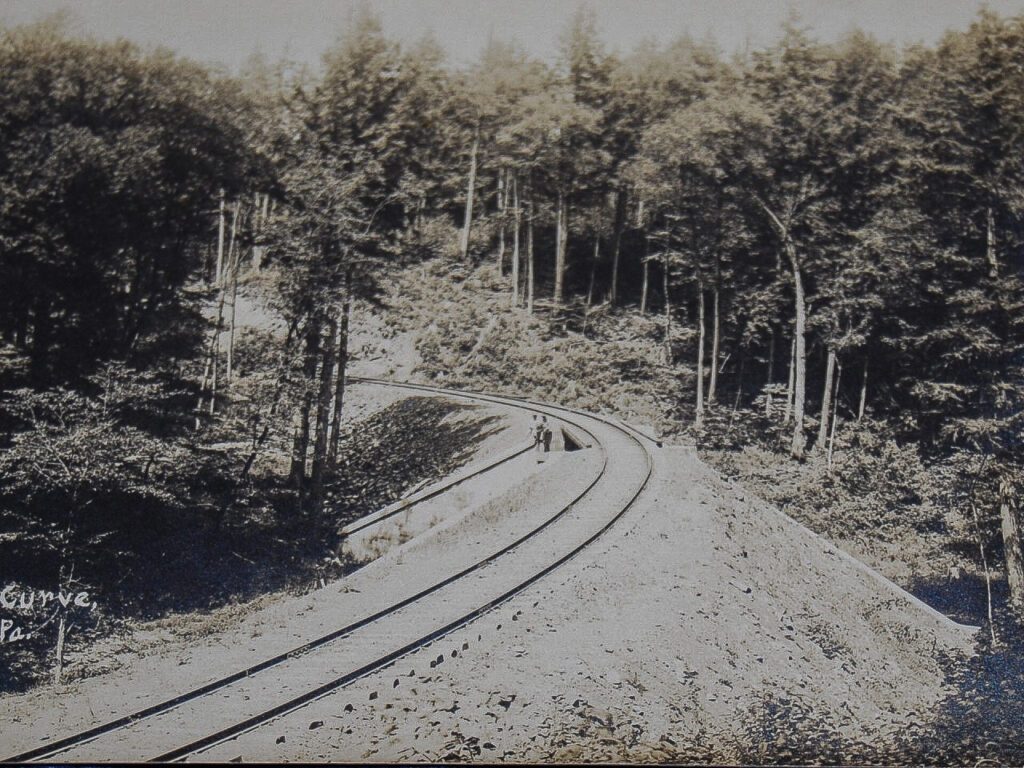
Author’s Collection
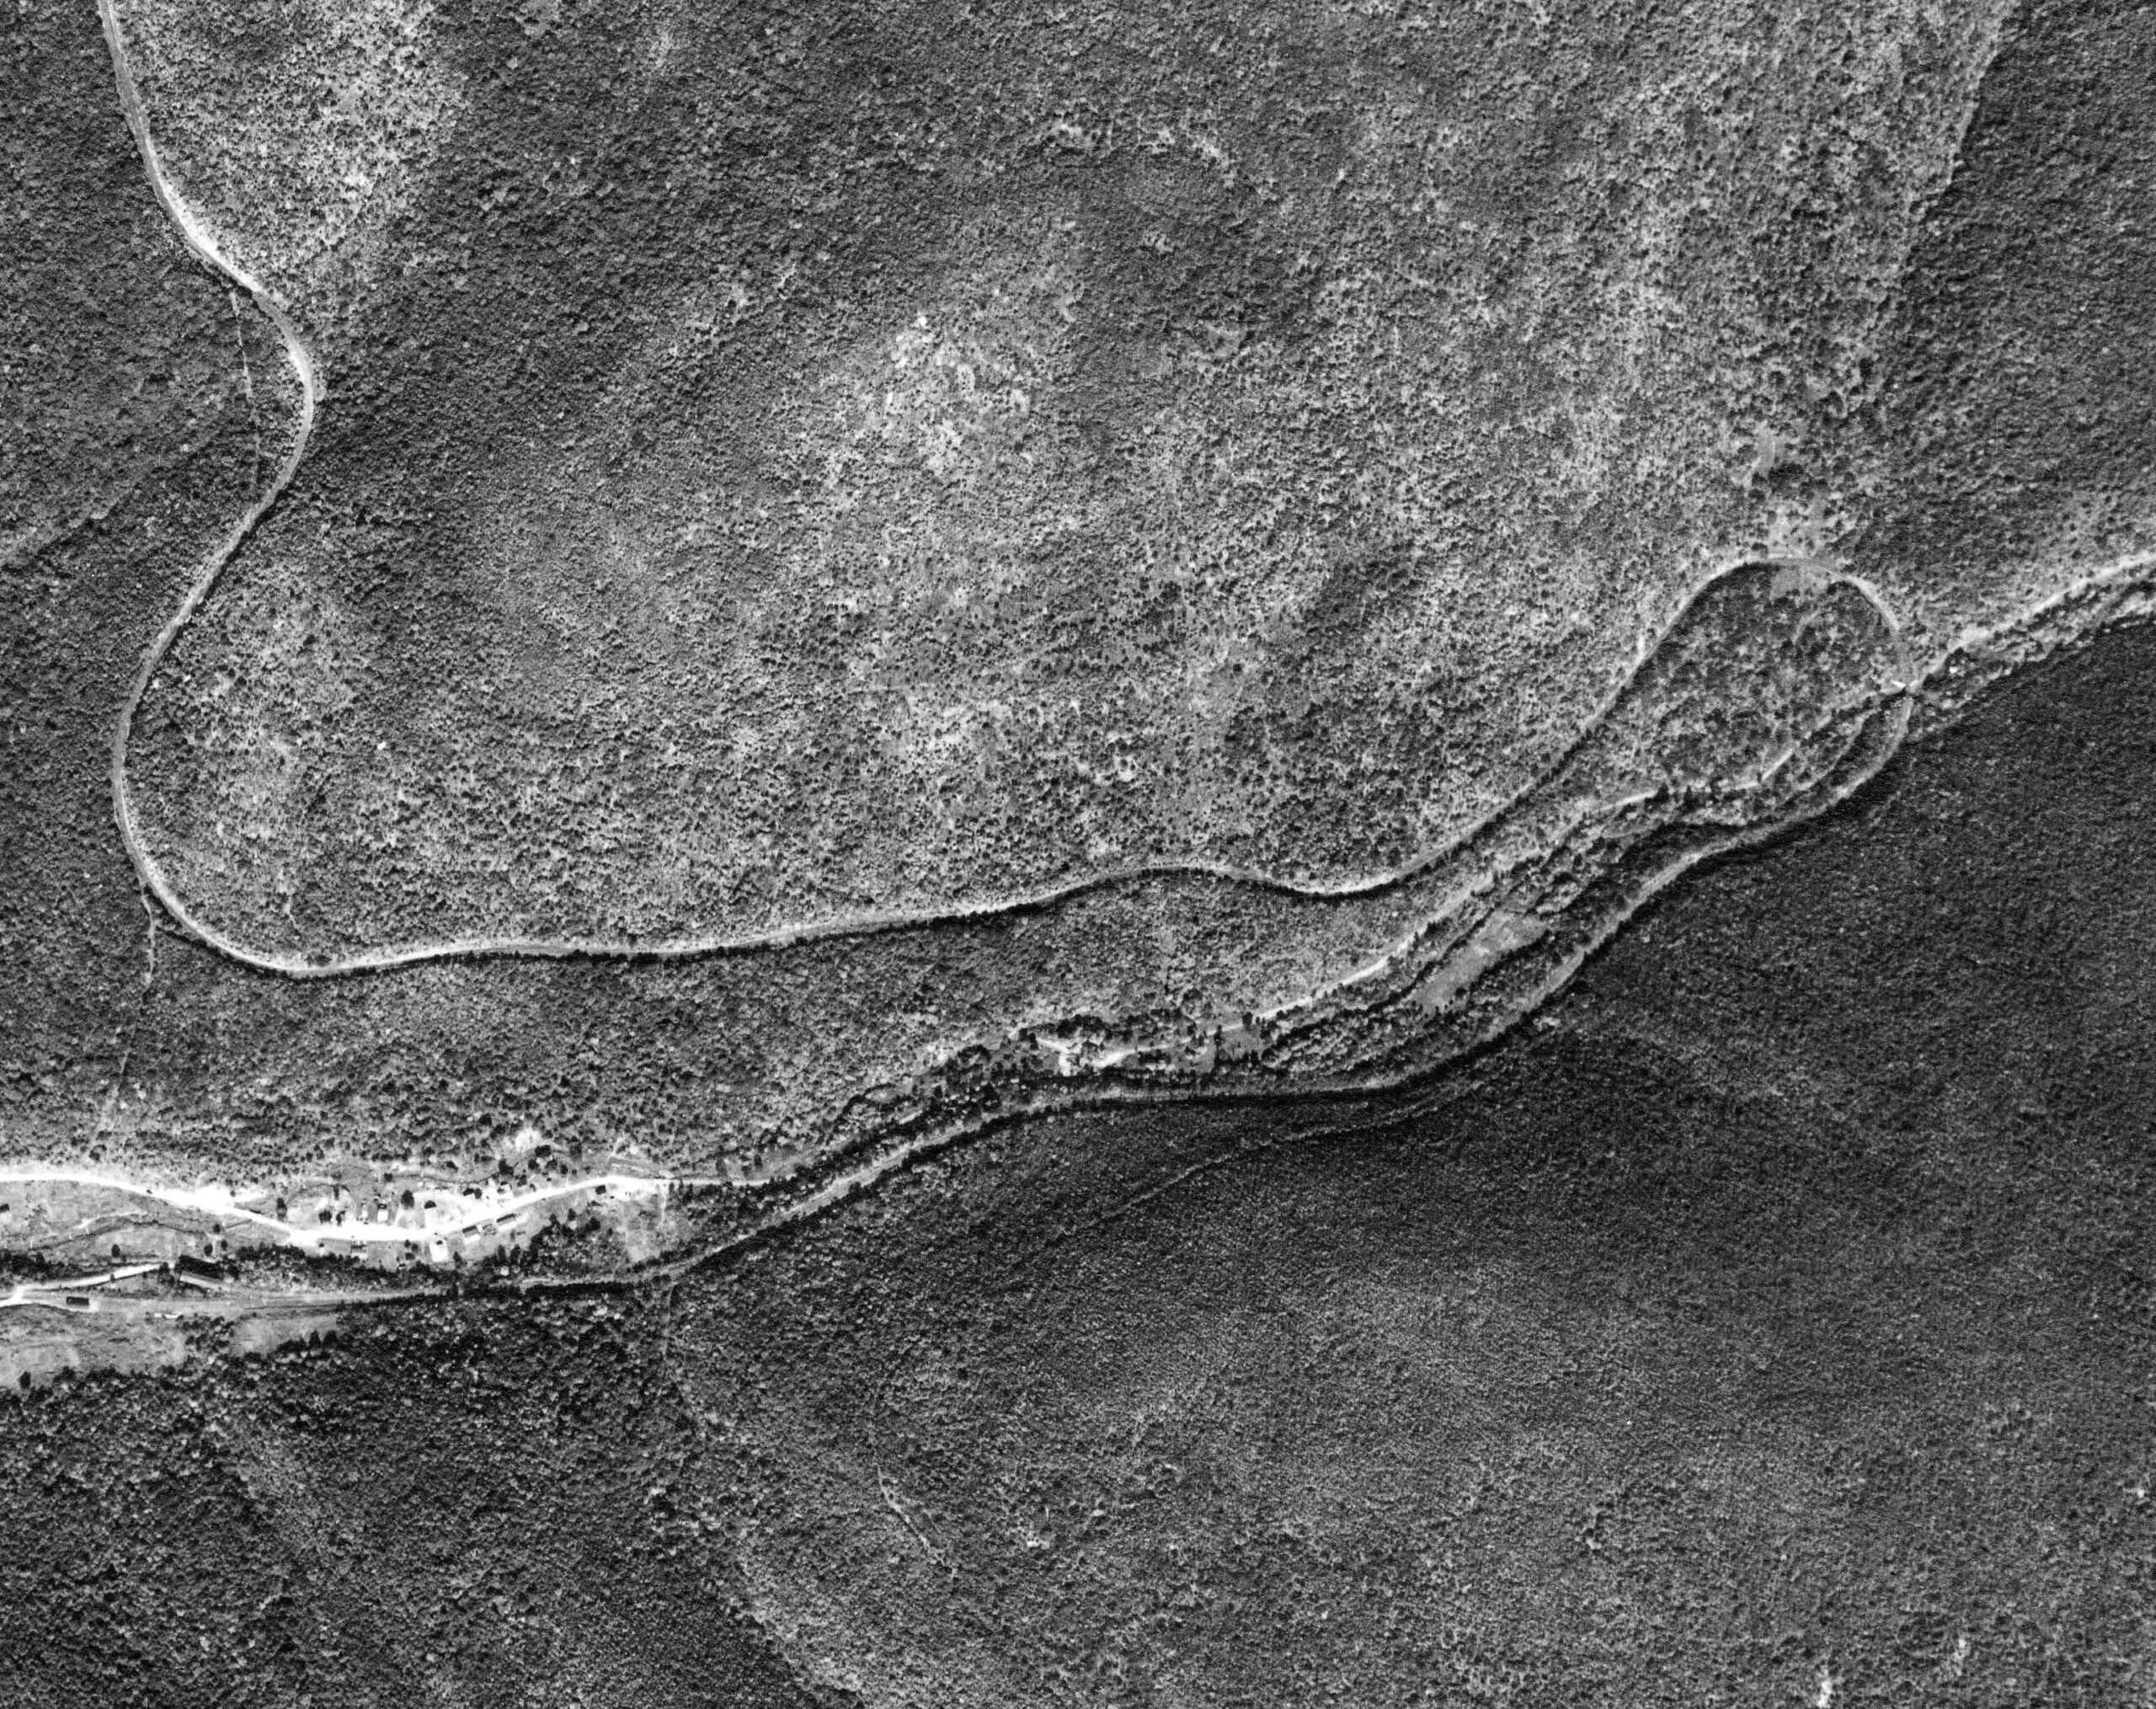
The view from the air circa 1938:

Penn Pilot
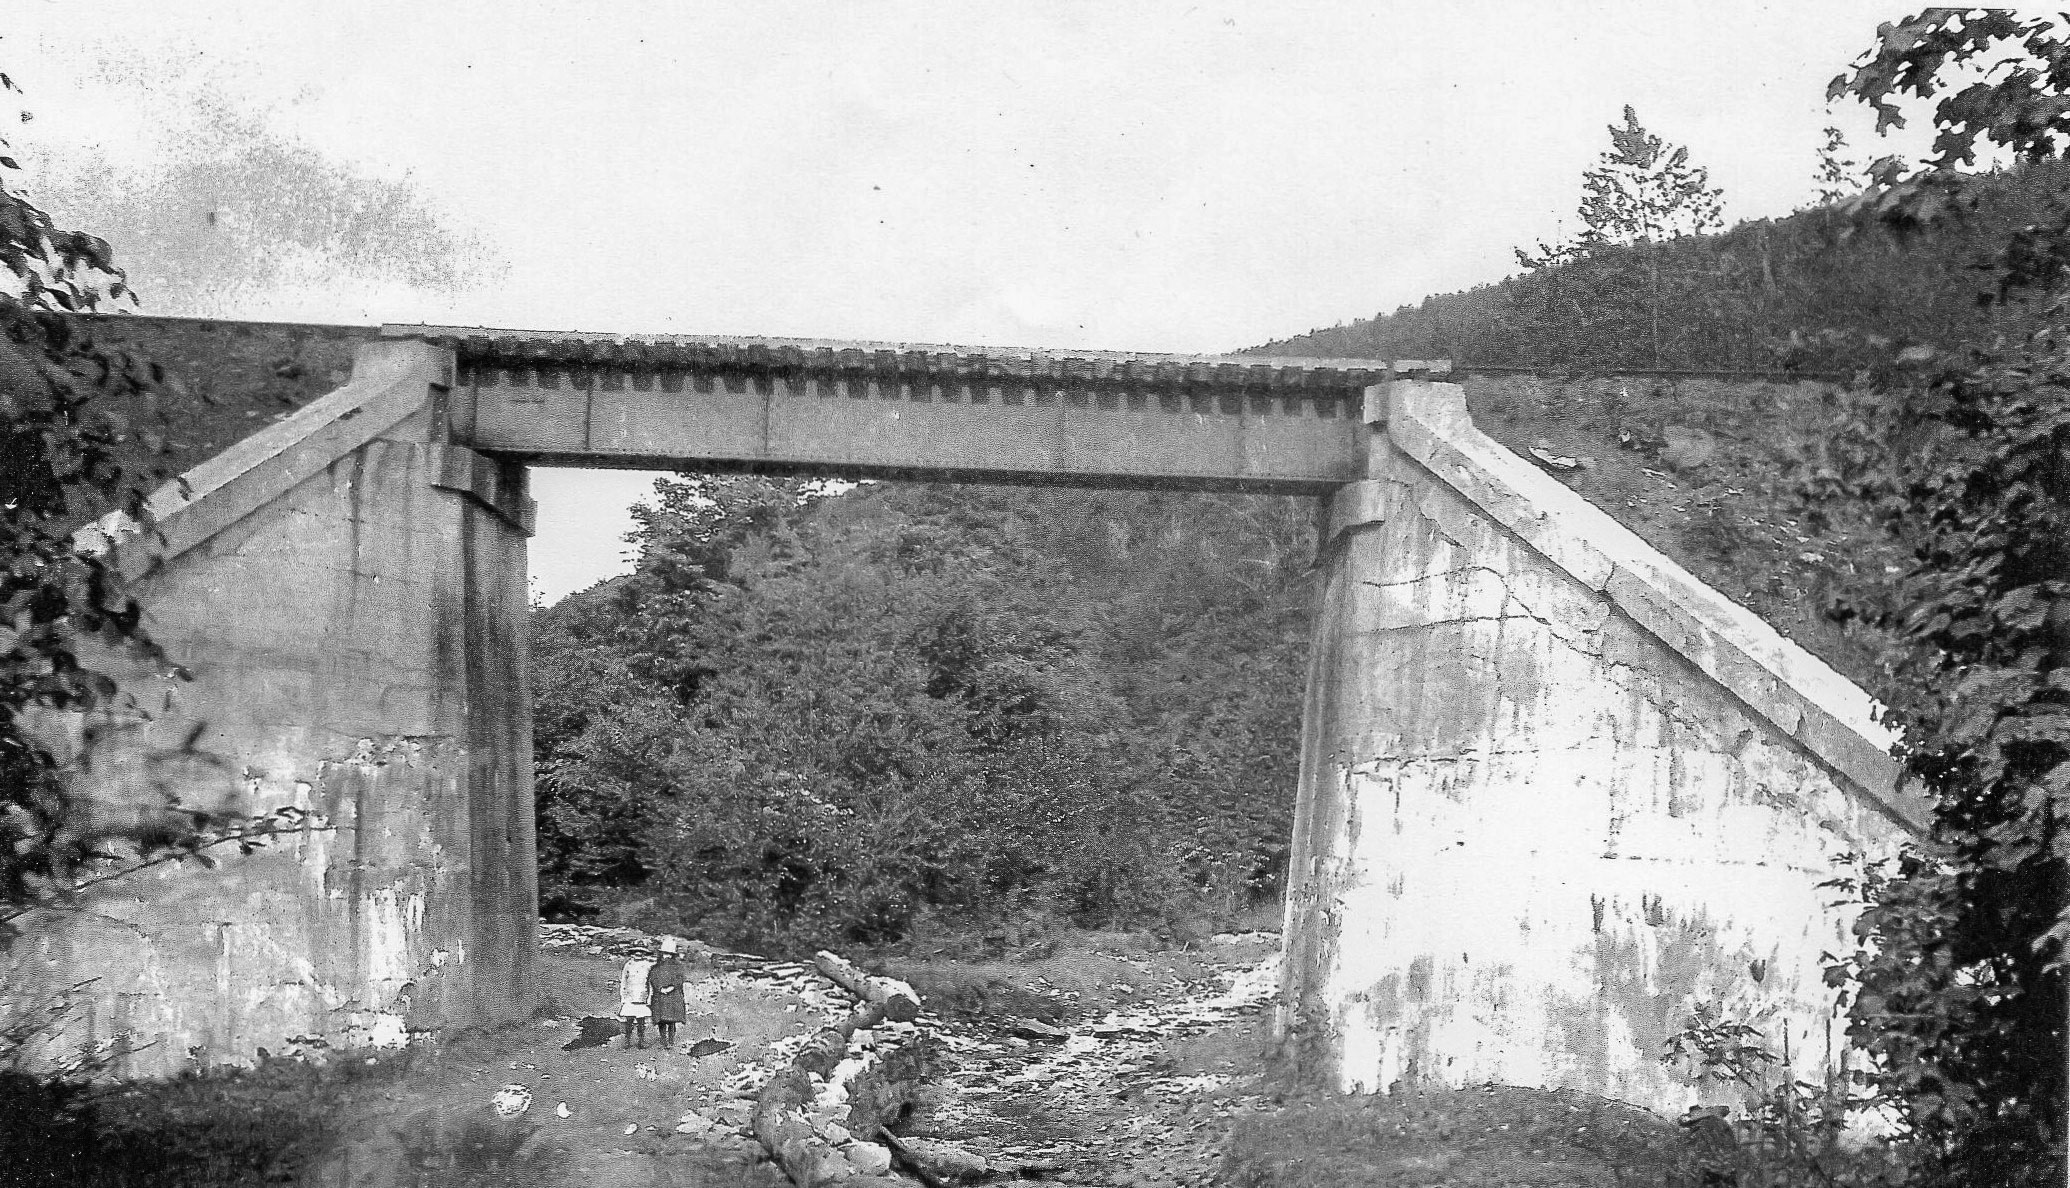
Ground view, date unknown, possibly mid-1930’s:

Walter Parmeter Collection via John Eastlake
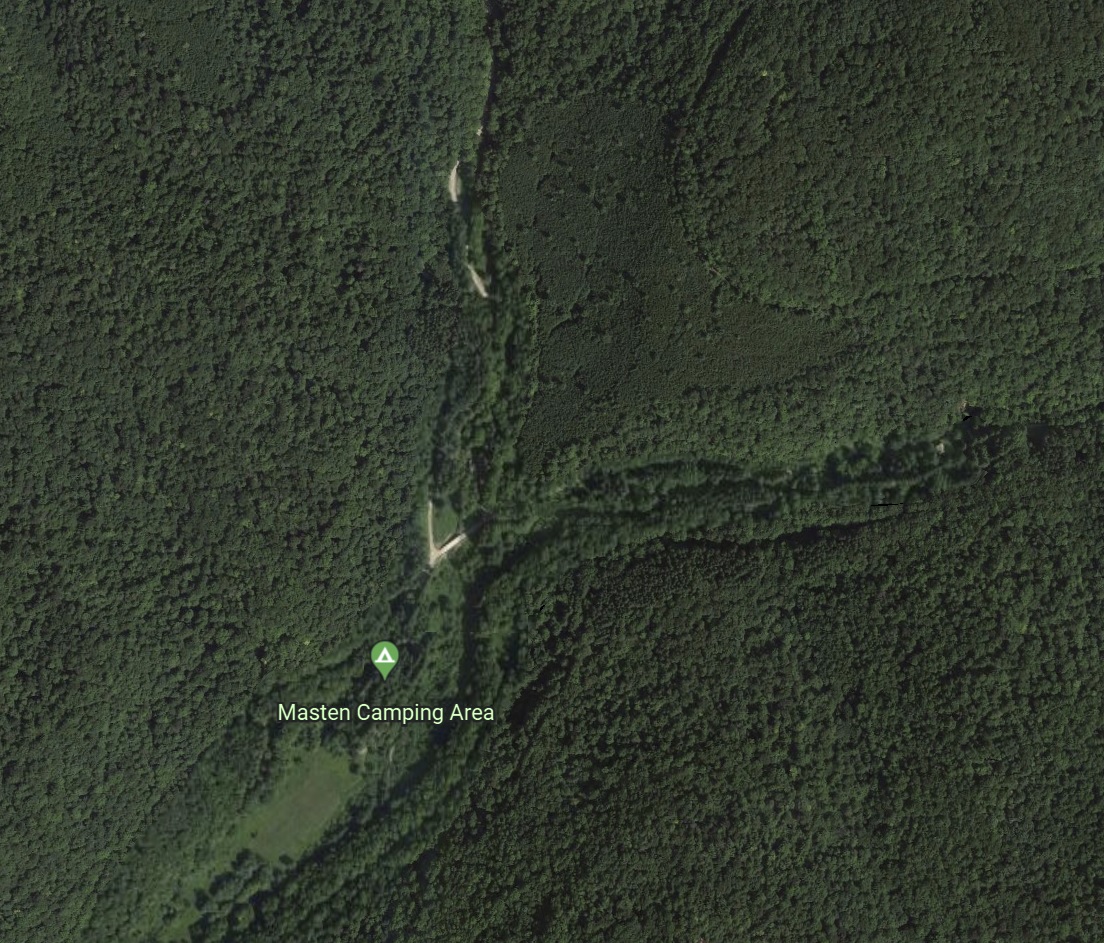
And finally, the modern view via satellite:
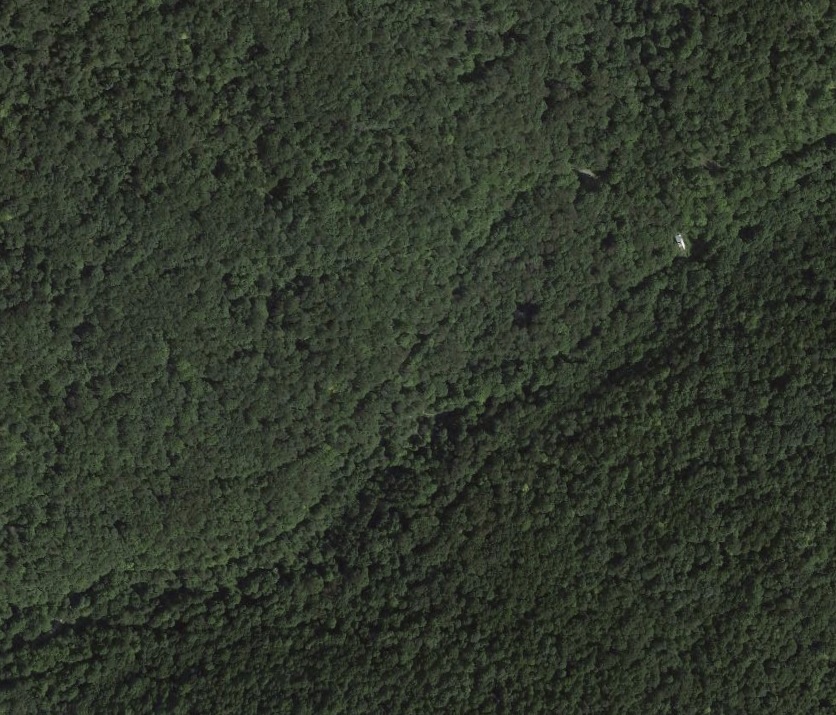
Google Earth
Moving upgrade and northeastward, the outlines of the wye track at Ellenton can still be made out:

USGS LIDAR
1930’s aerial view:

Penn Pilot
Valuation map of the area: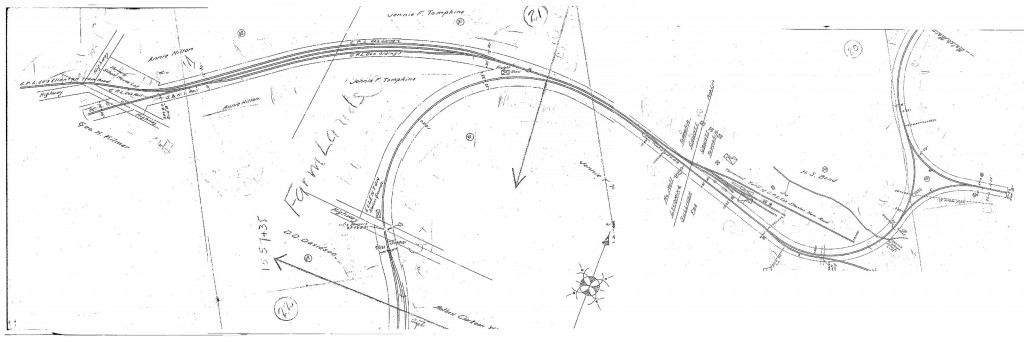
Ground level view, likely during abandonment in 1942:
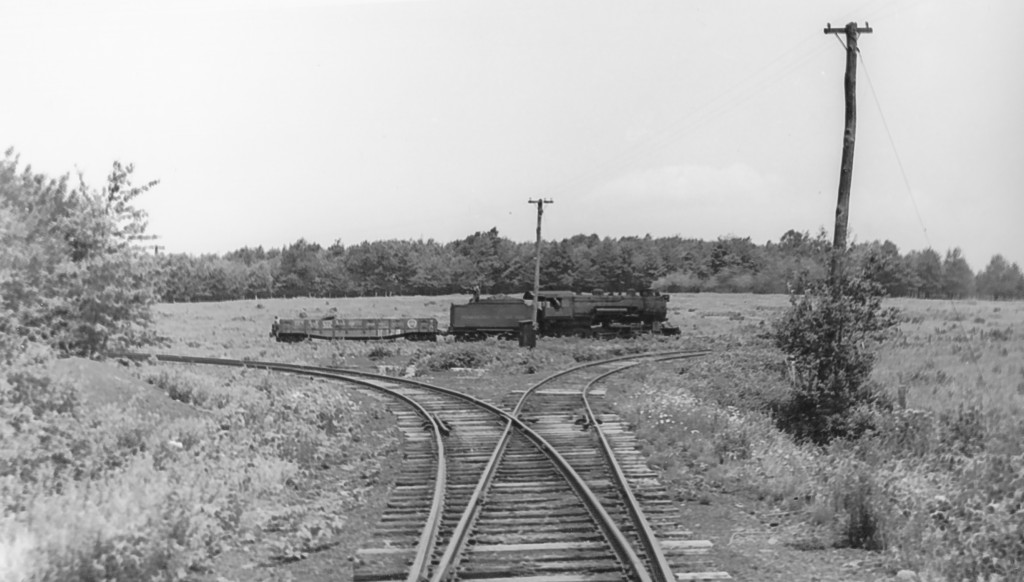
Bill Caloroso – Cal’s Classics
Current Google Earth view:
Google Earth
Foundations of long-gone structures can also be seen using this tool. In this view of Wheelerville, the foundation of the old creamery is visible adjacent to the S&NY roadbed, now called Schrader Creek Road:
USGS LIDAR
View of the creamery foundations in 2017:
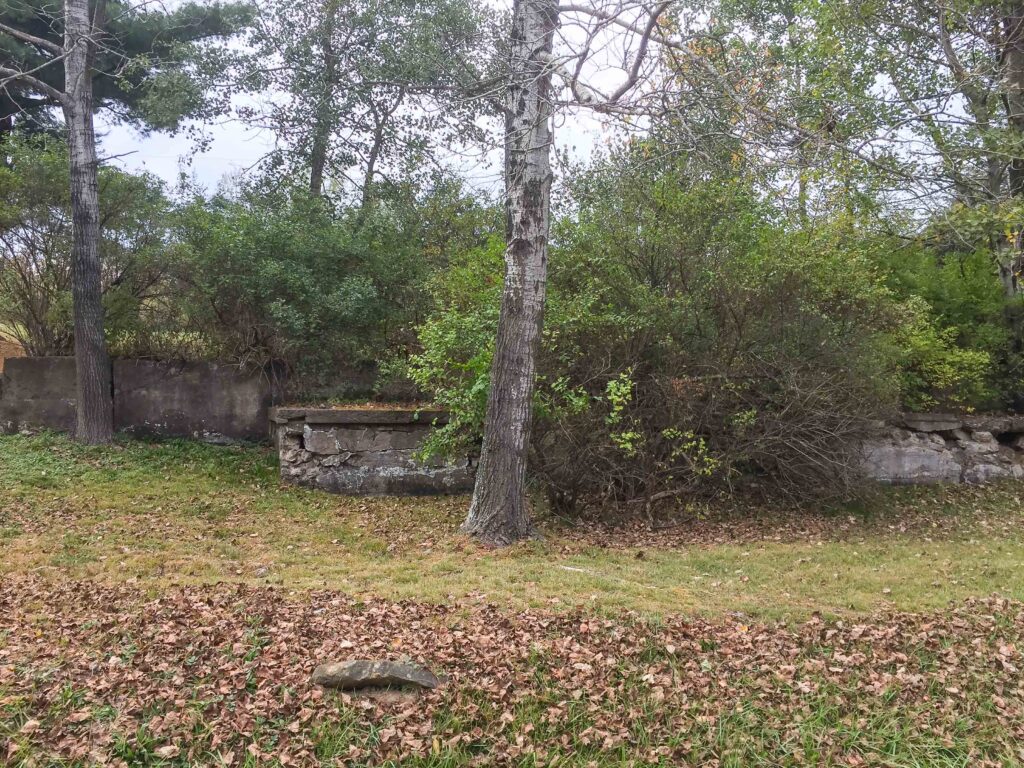
Photo by Author
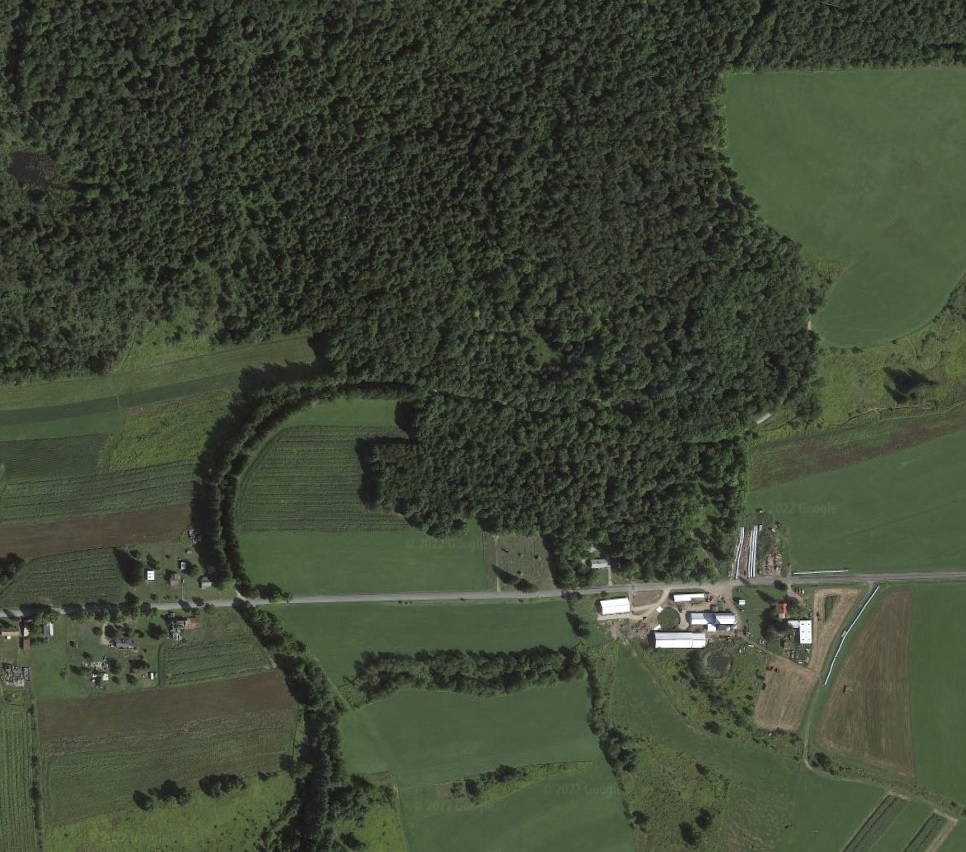
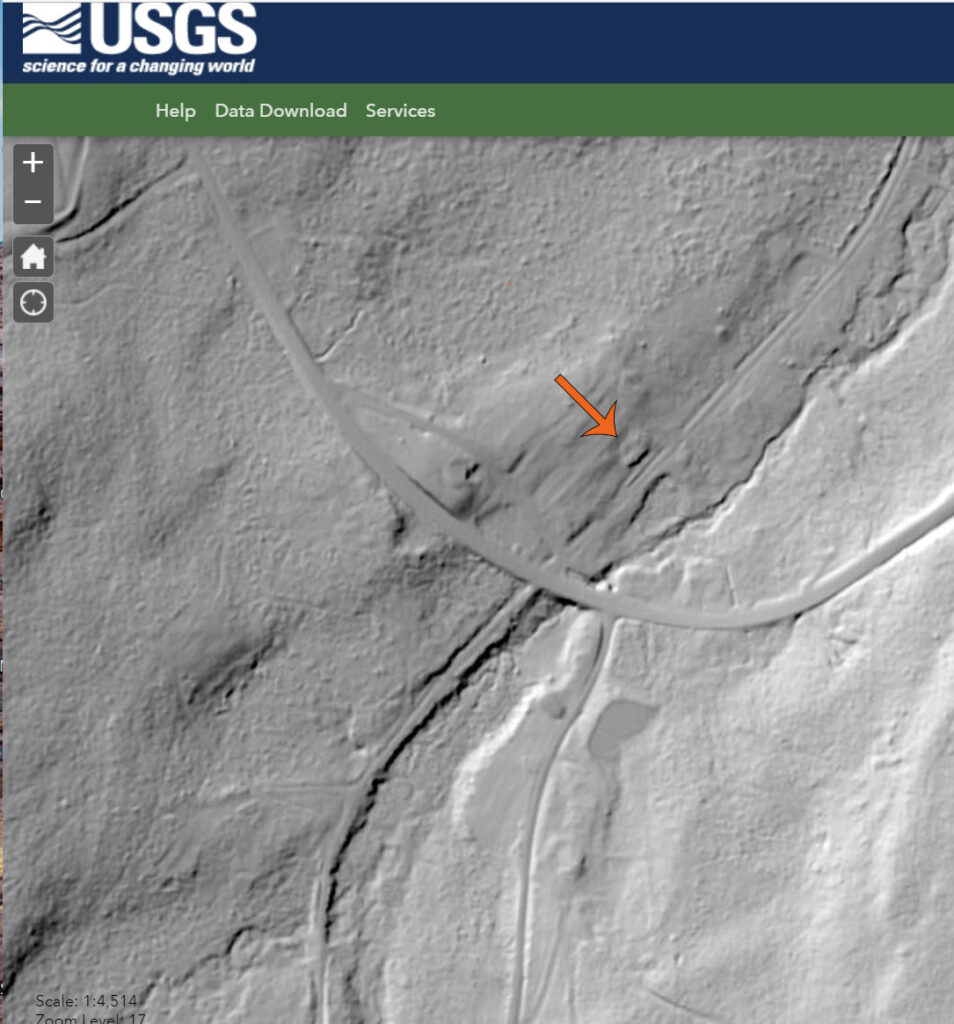
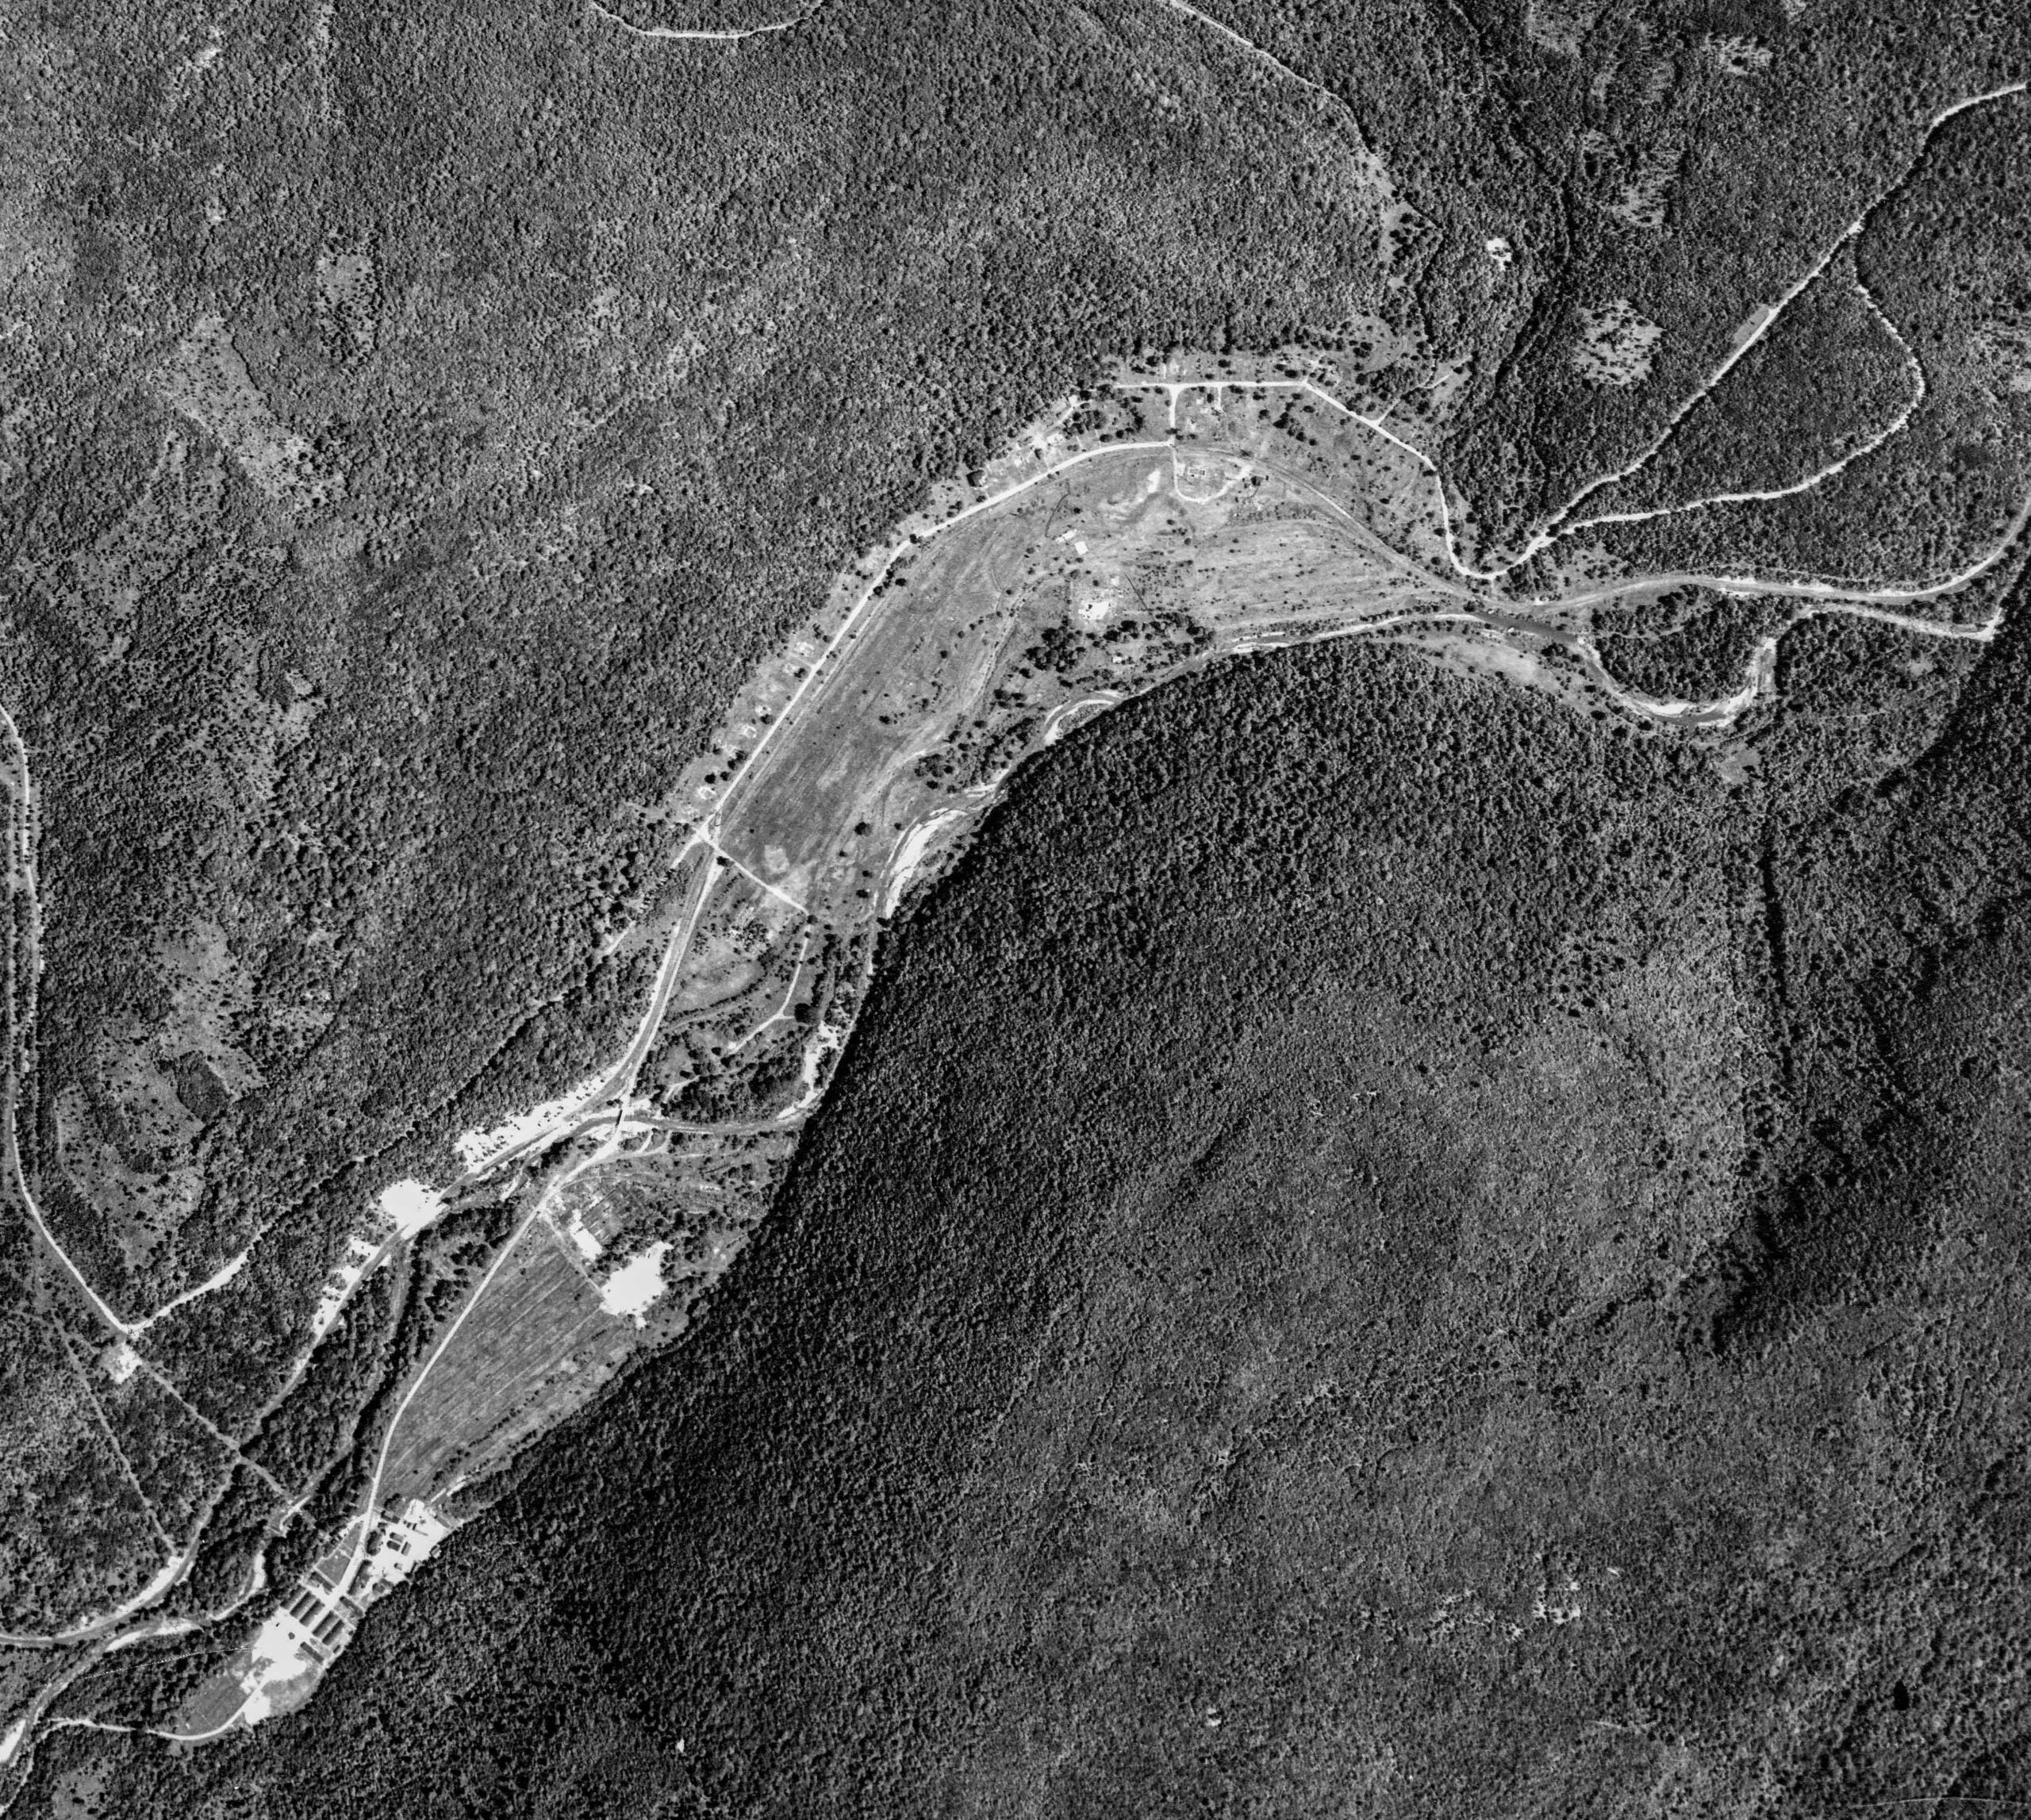
Lastly, let’s have a look at the Laquin area. Hard to make out much detail due to later flooding and the construction of a CCC camp. This is where other resources can come in handy:

USGS LIDAR
We can get an idea of what to look for, based on a map from Tom Taber’s book “Ghost Lumber Towns of Central Pennsylvania” and the Penn Pilot aerials:
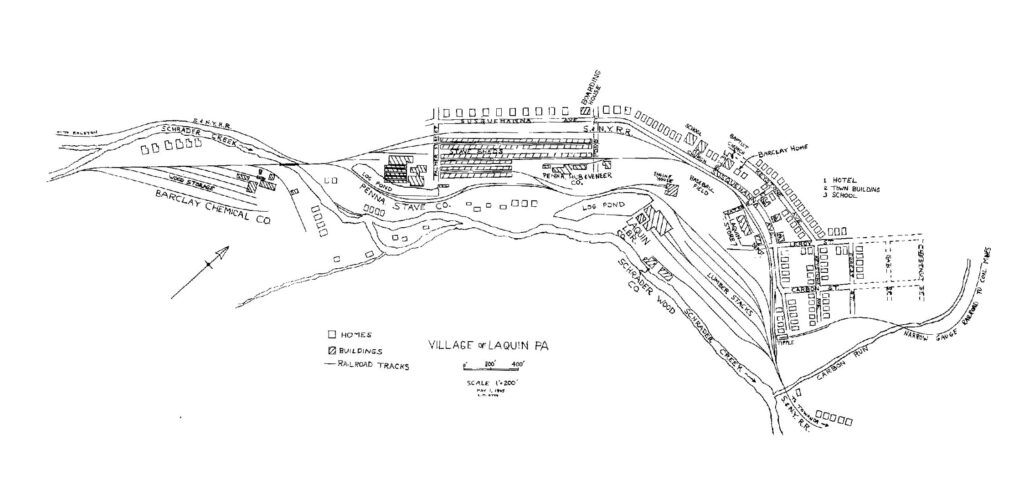
Excerpted from “Ghost Lumber Towns of Central Pennsylvania”

Penn Pilot
On the LIDAR image, we can still see faint traces of the lumber stack area at the lumber mill, the stave mill area, and the chemical plant and associated trackage.
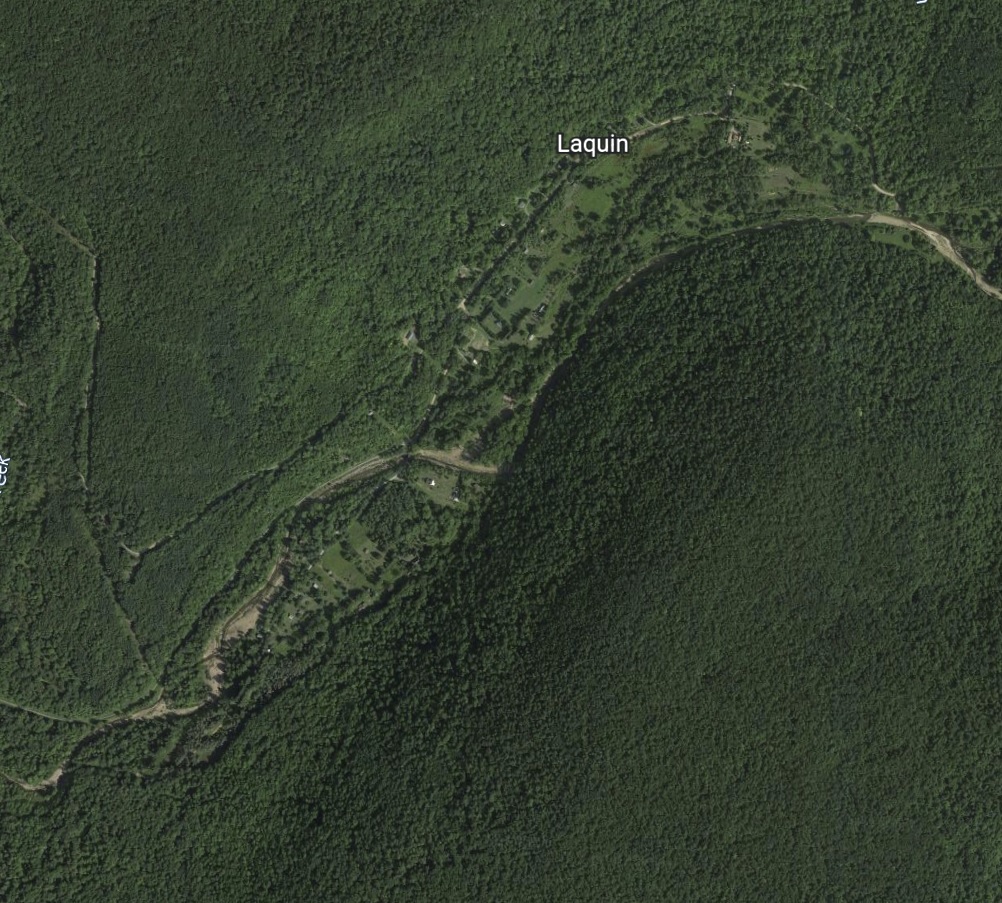
Google Earth
The modern Google Earth view is much less useful, again due to the tree canopy.
Hard to believe we have this technology to research the past right at our fingertips. Truely, we live in an age of miracles. Give these tools a try, and maybe you’ll find your own “ghosts”!


Recent Comments