Author Archives: Exnavydoc@hotmail.com

Infrastructure

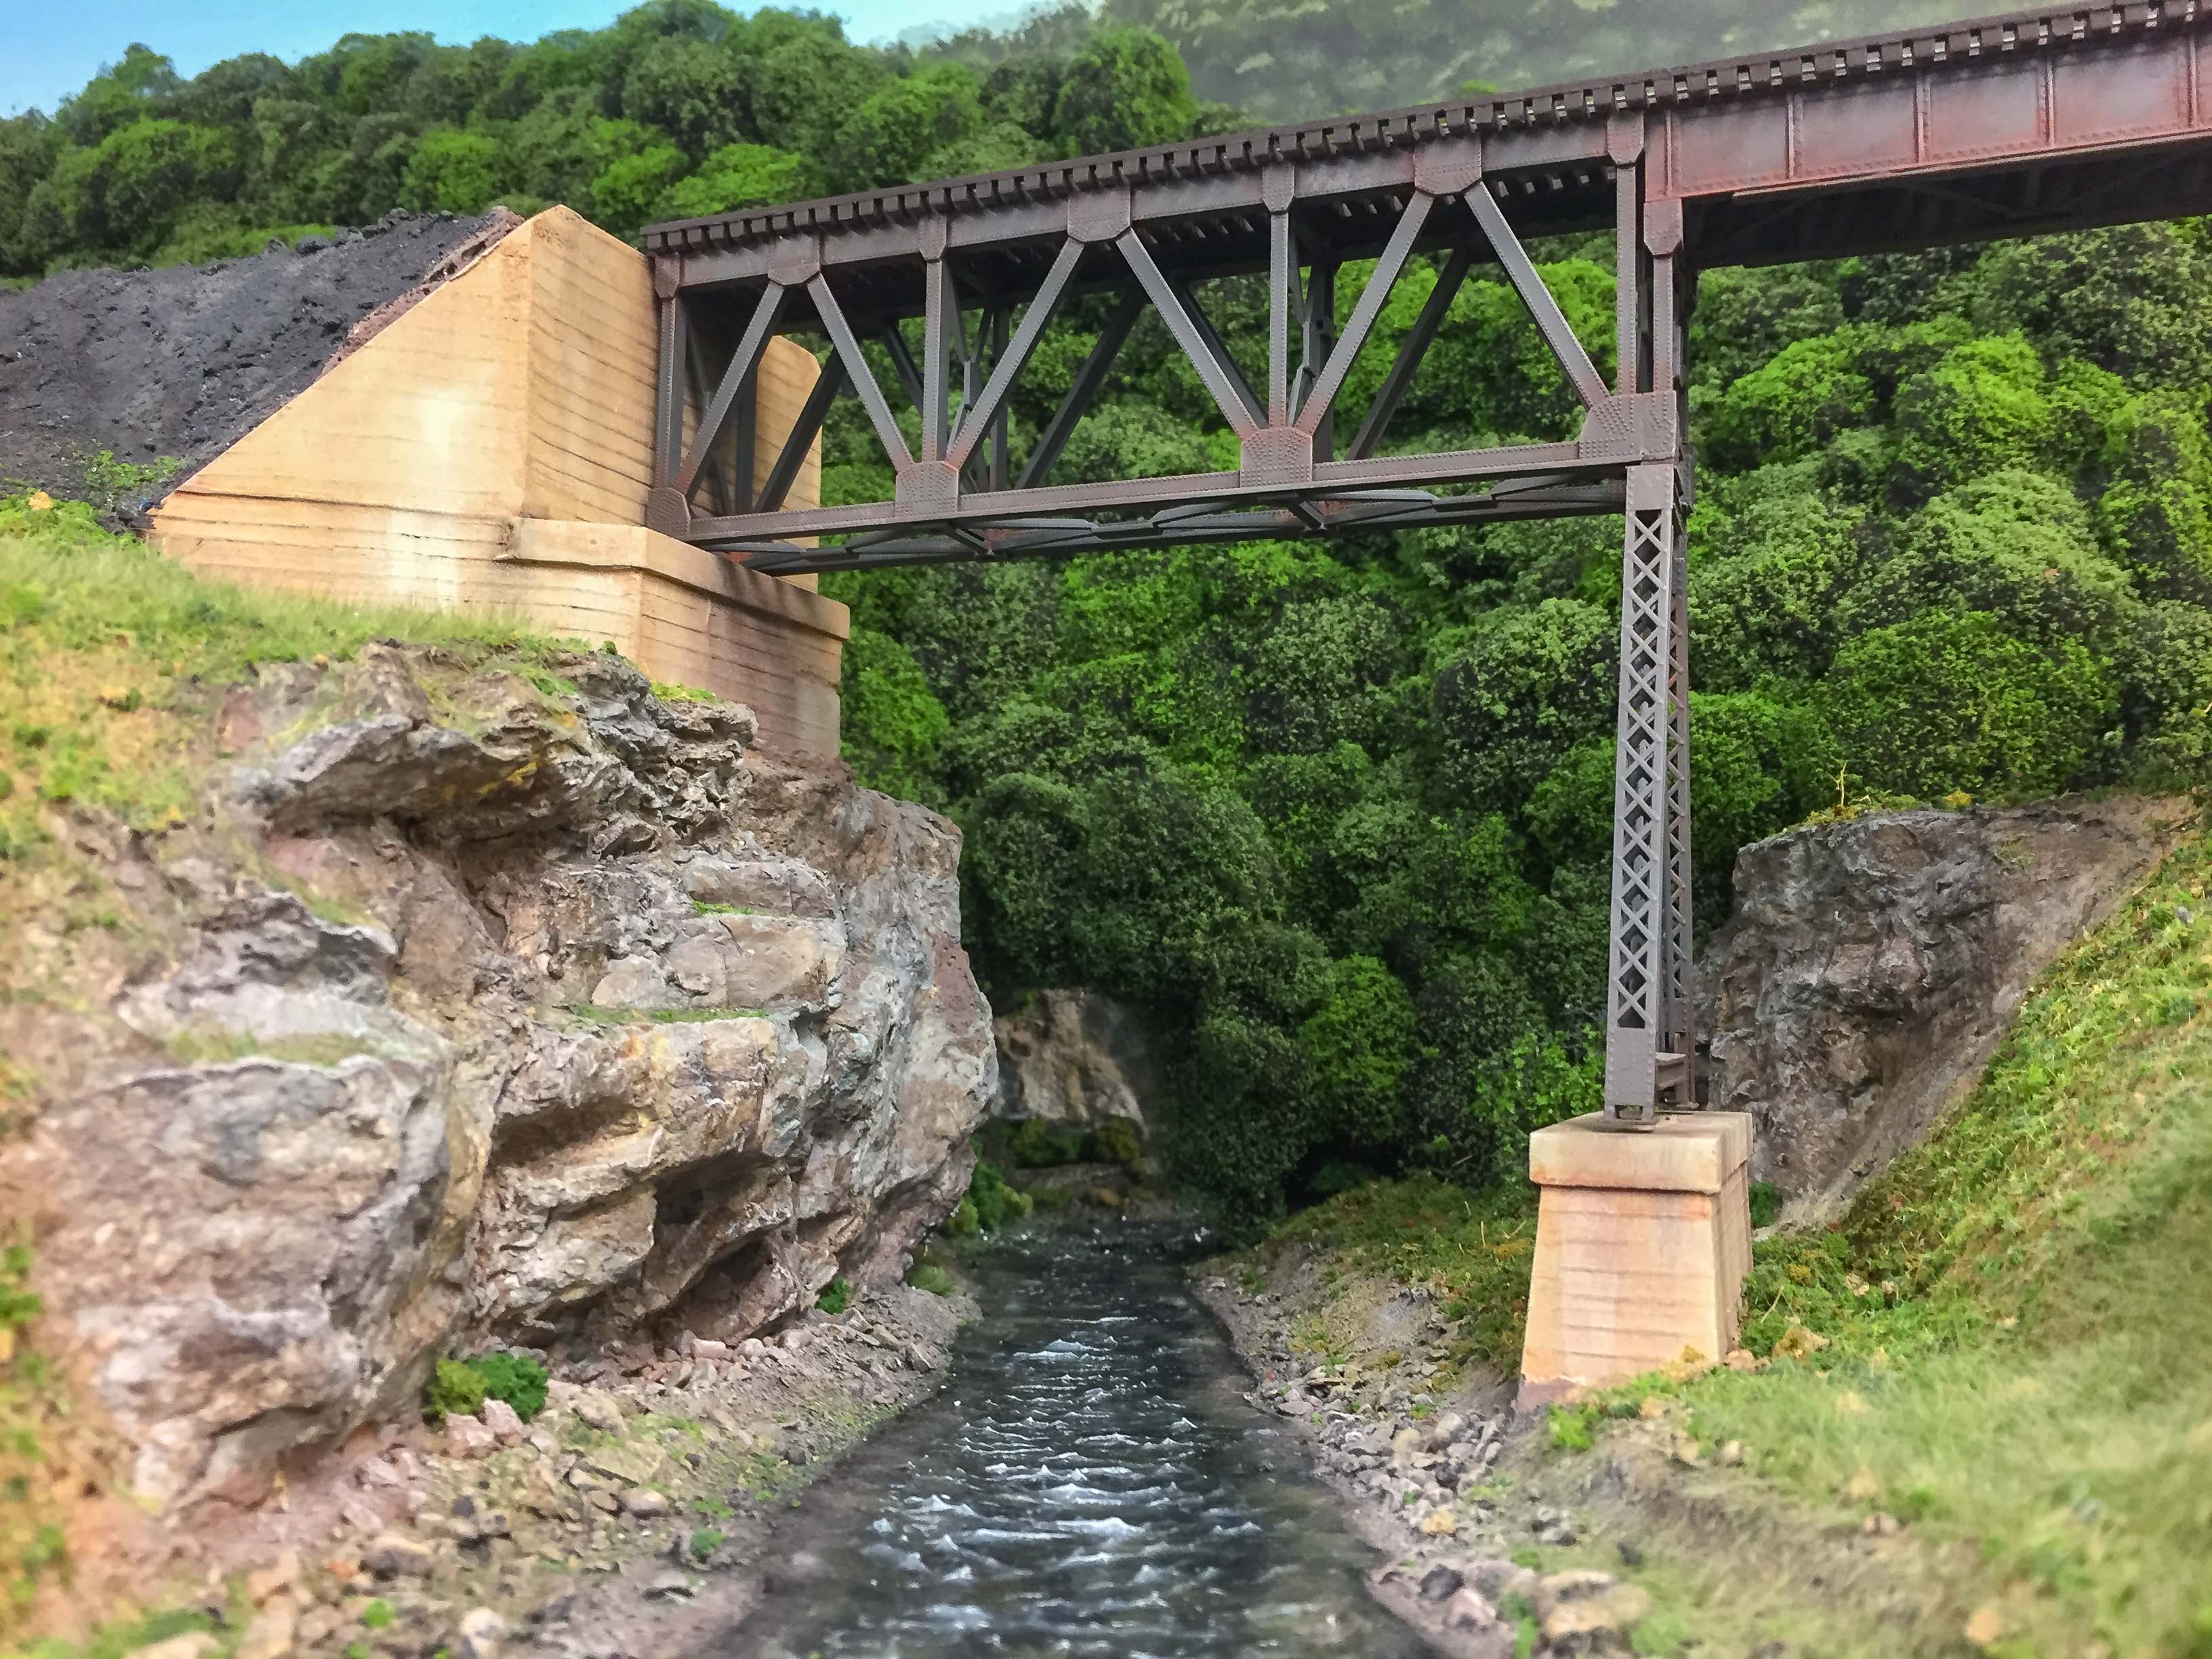
Building a large-ish model railroad, often necessary projects crop up that I lump under the term “infrastructure”. This is the un-sexy non-model railroad stuff that gets glossed over in the hobby press, and is usually covered in one short sentence in layout articles: “After prepping the basement, construction began on the X,Y & Z Railroad”.

Well.

“Room prep” covers ALOT of ground, and often involves ALOT of grunt labor. But, if the owner wants to have a comfortable, warm, well-lit space to work in, and for visitors to enjoy, that work has to be done.

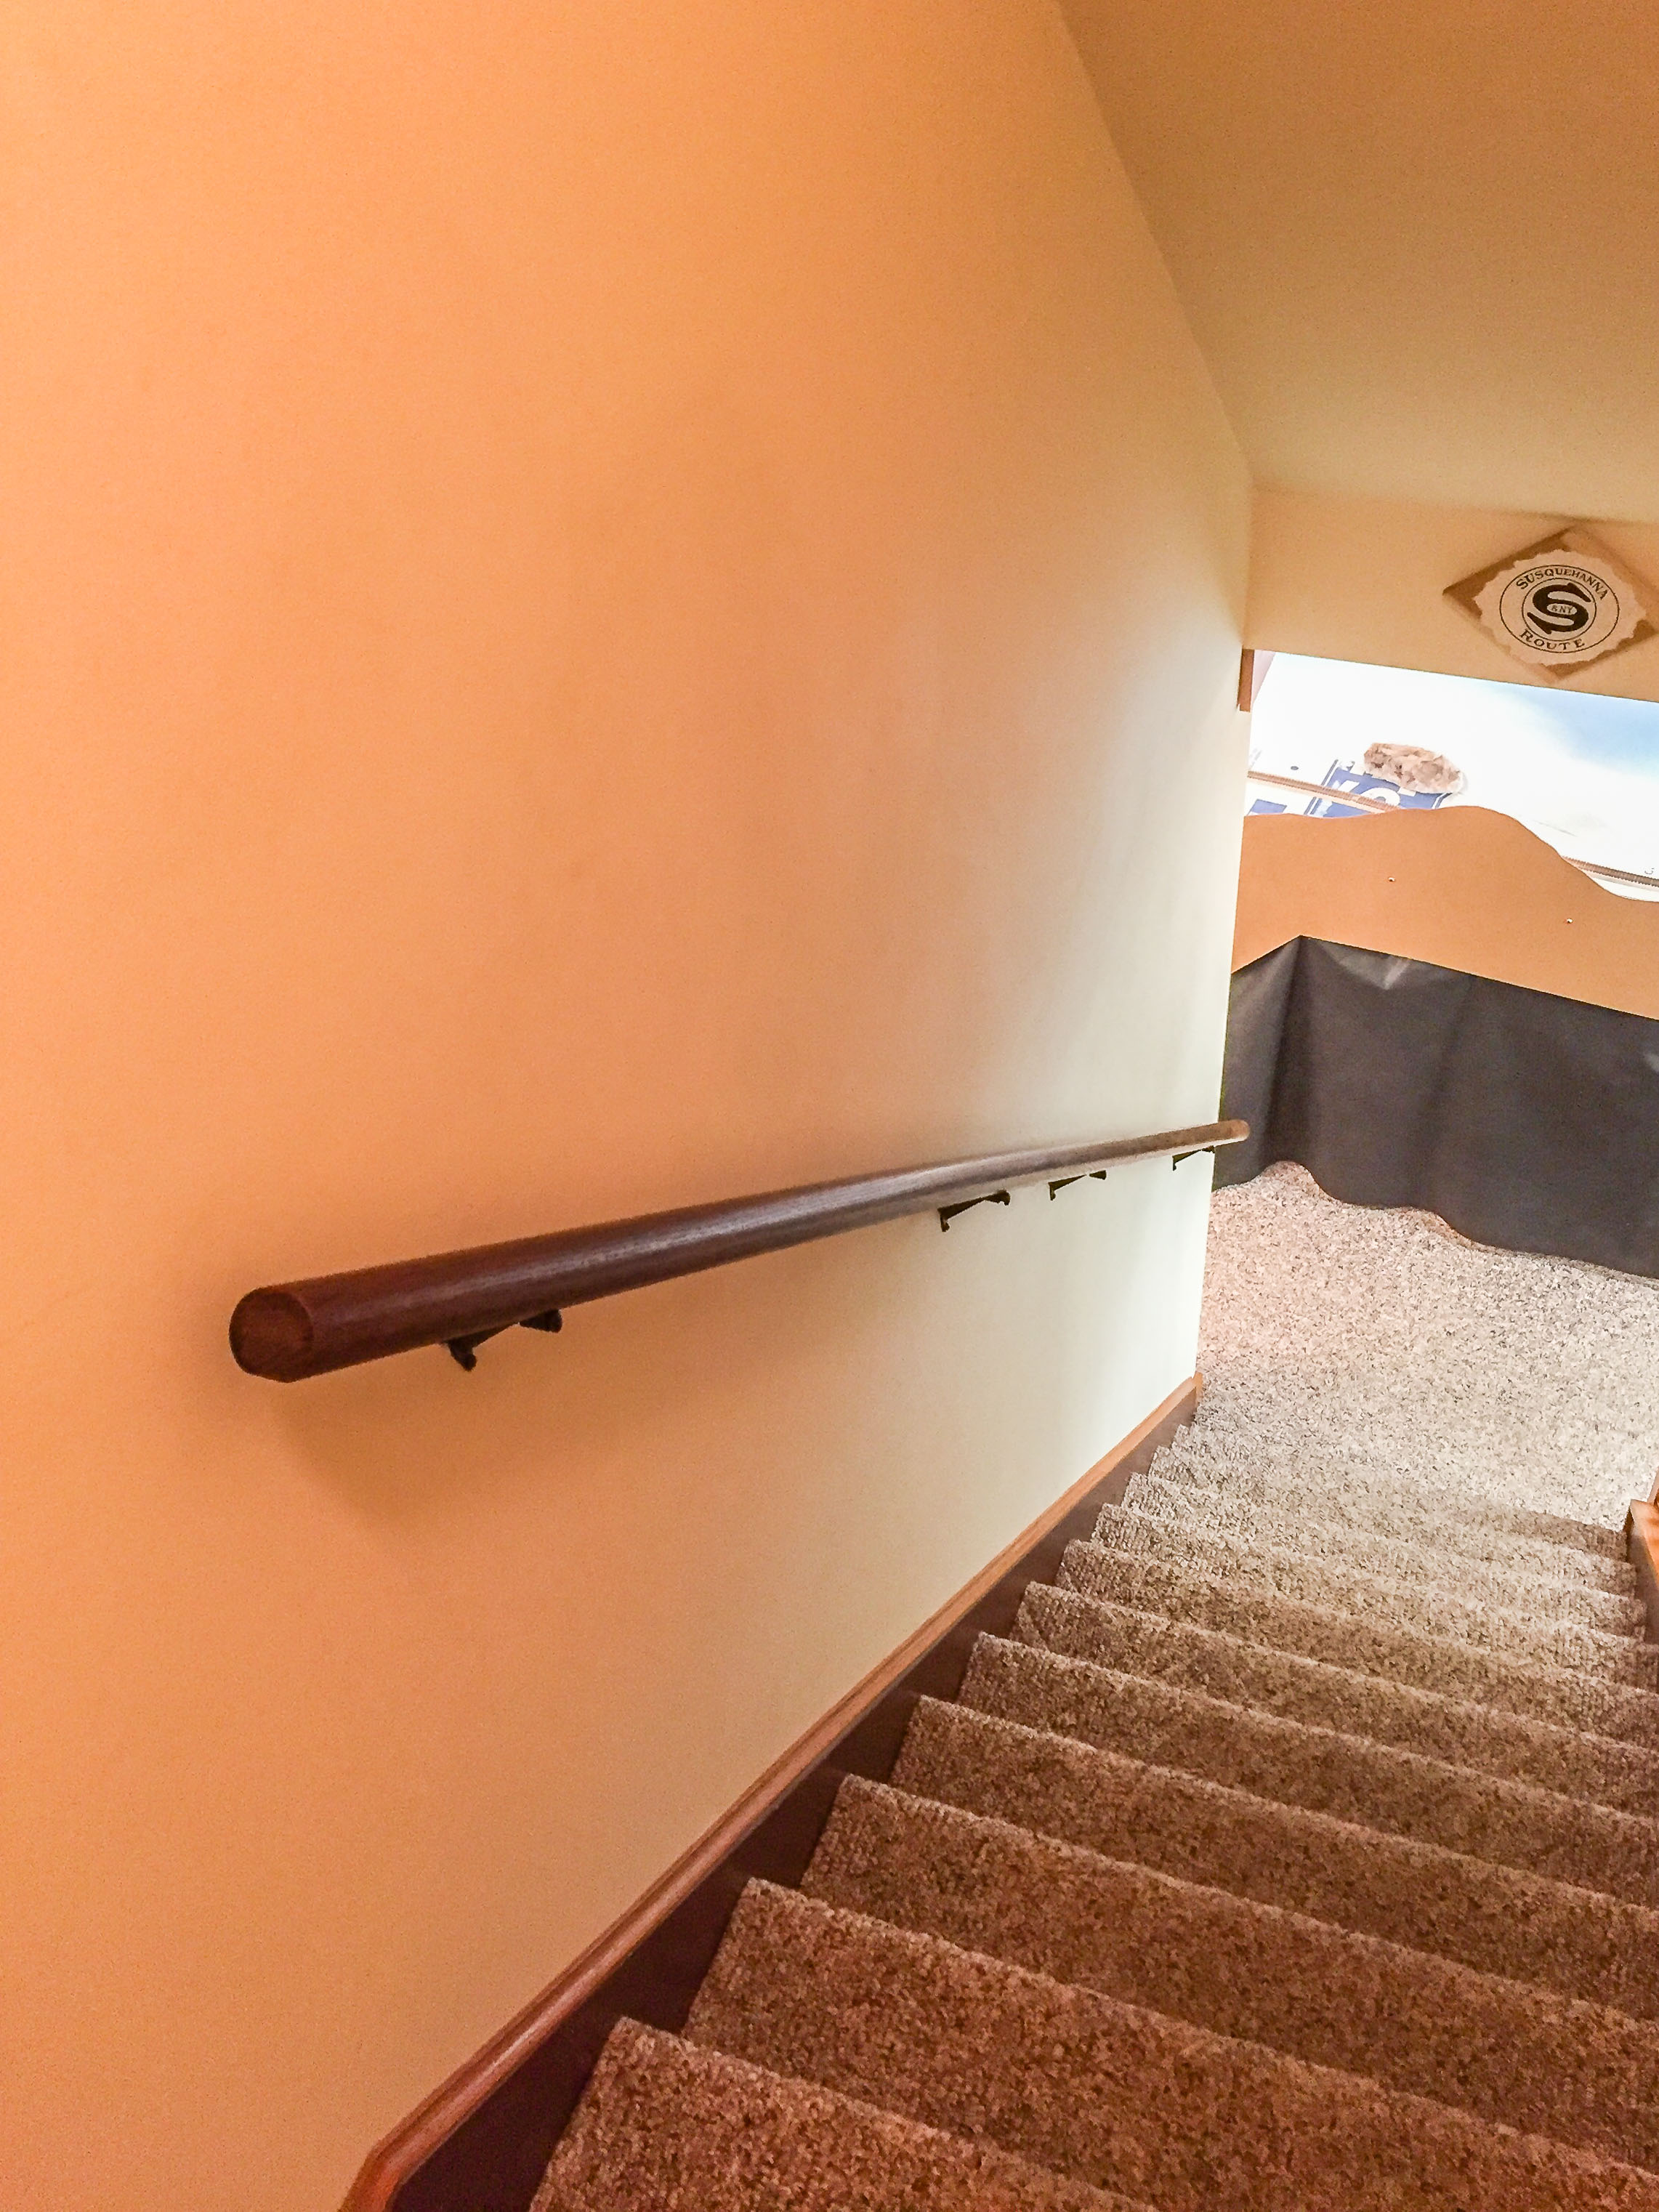
Sometimes “infrastructure” projects become necessary well after railroad construction has begun. Case-in-point: Our NMRA Division (MCR Division12) had layout tours for members this past November. During the tour, I suddenly realized that many of our members are a bit older, and several have a bit of a “hitch in their giddy-up”, so to speak. This resulted in some difficulty navigating the stairs to the basement, as there was no handrail for about 2/3rds of the way. This was not something that had ever been a problem for the family, but for some visitors it obviously was. Besides, it really was not up to code. Thus, putting in a handrail became top priority before the next op session:

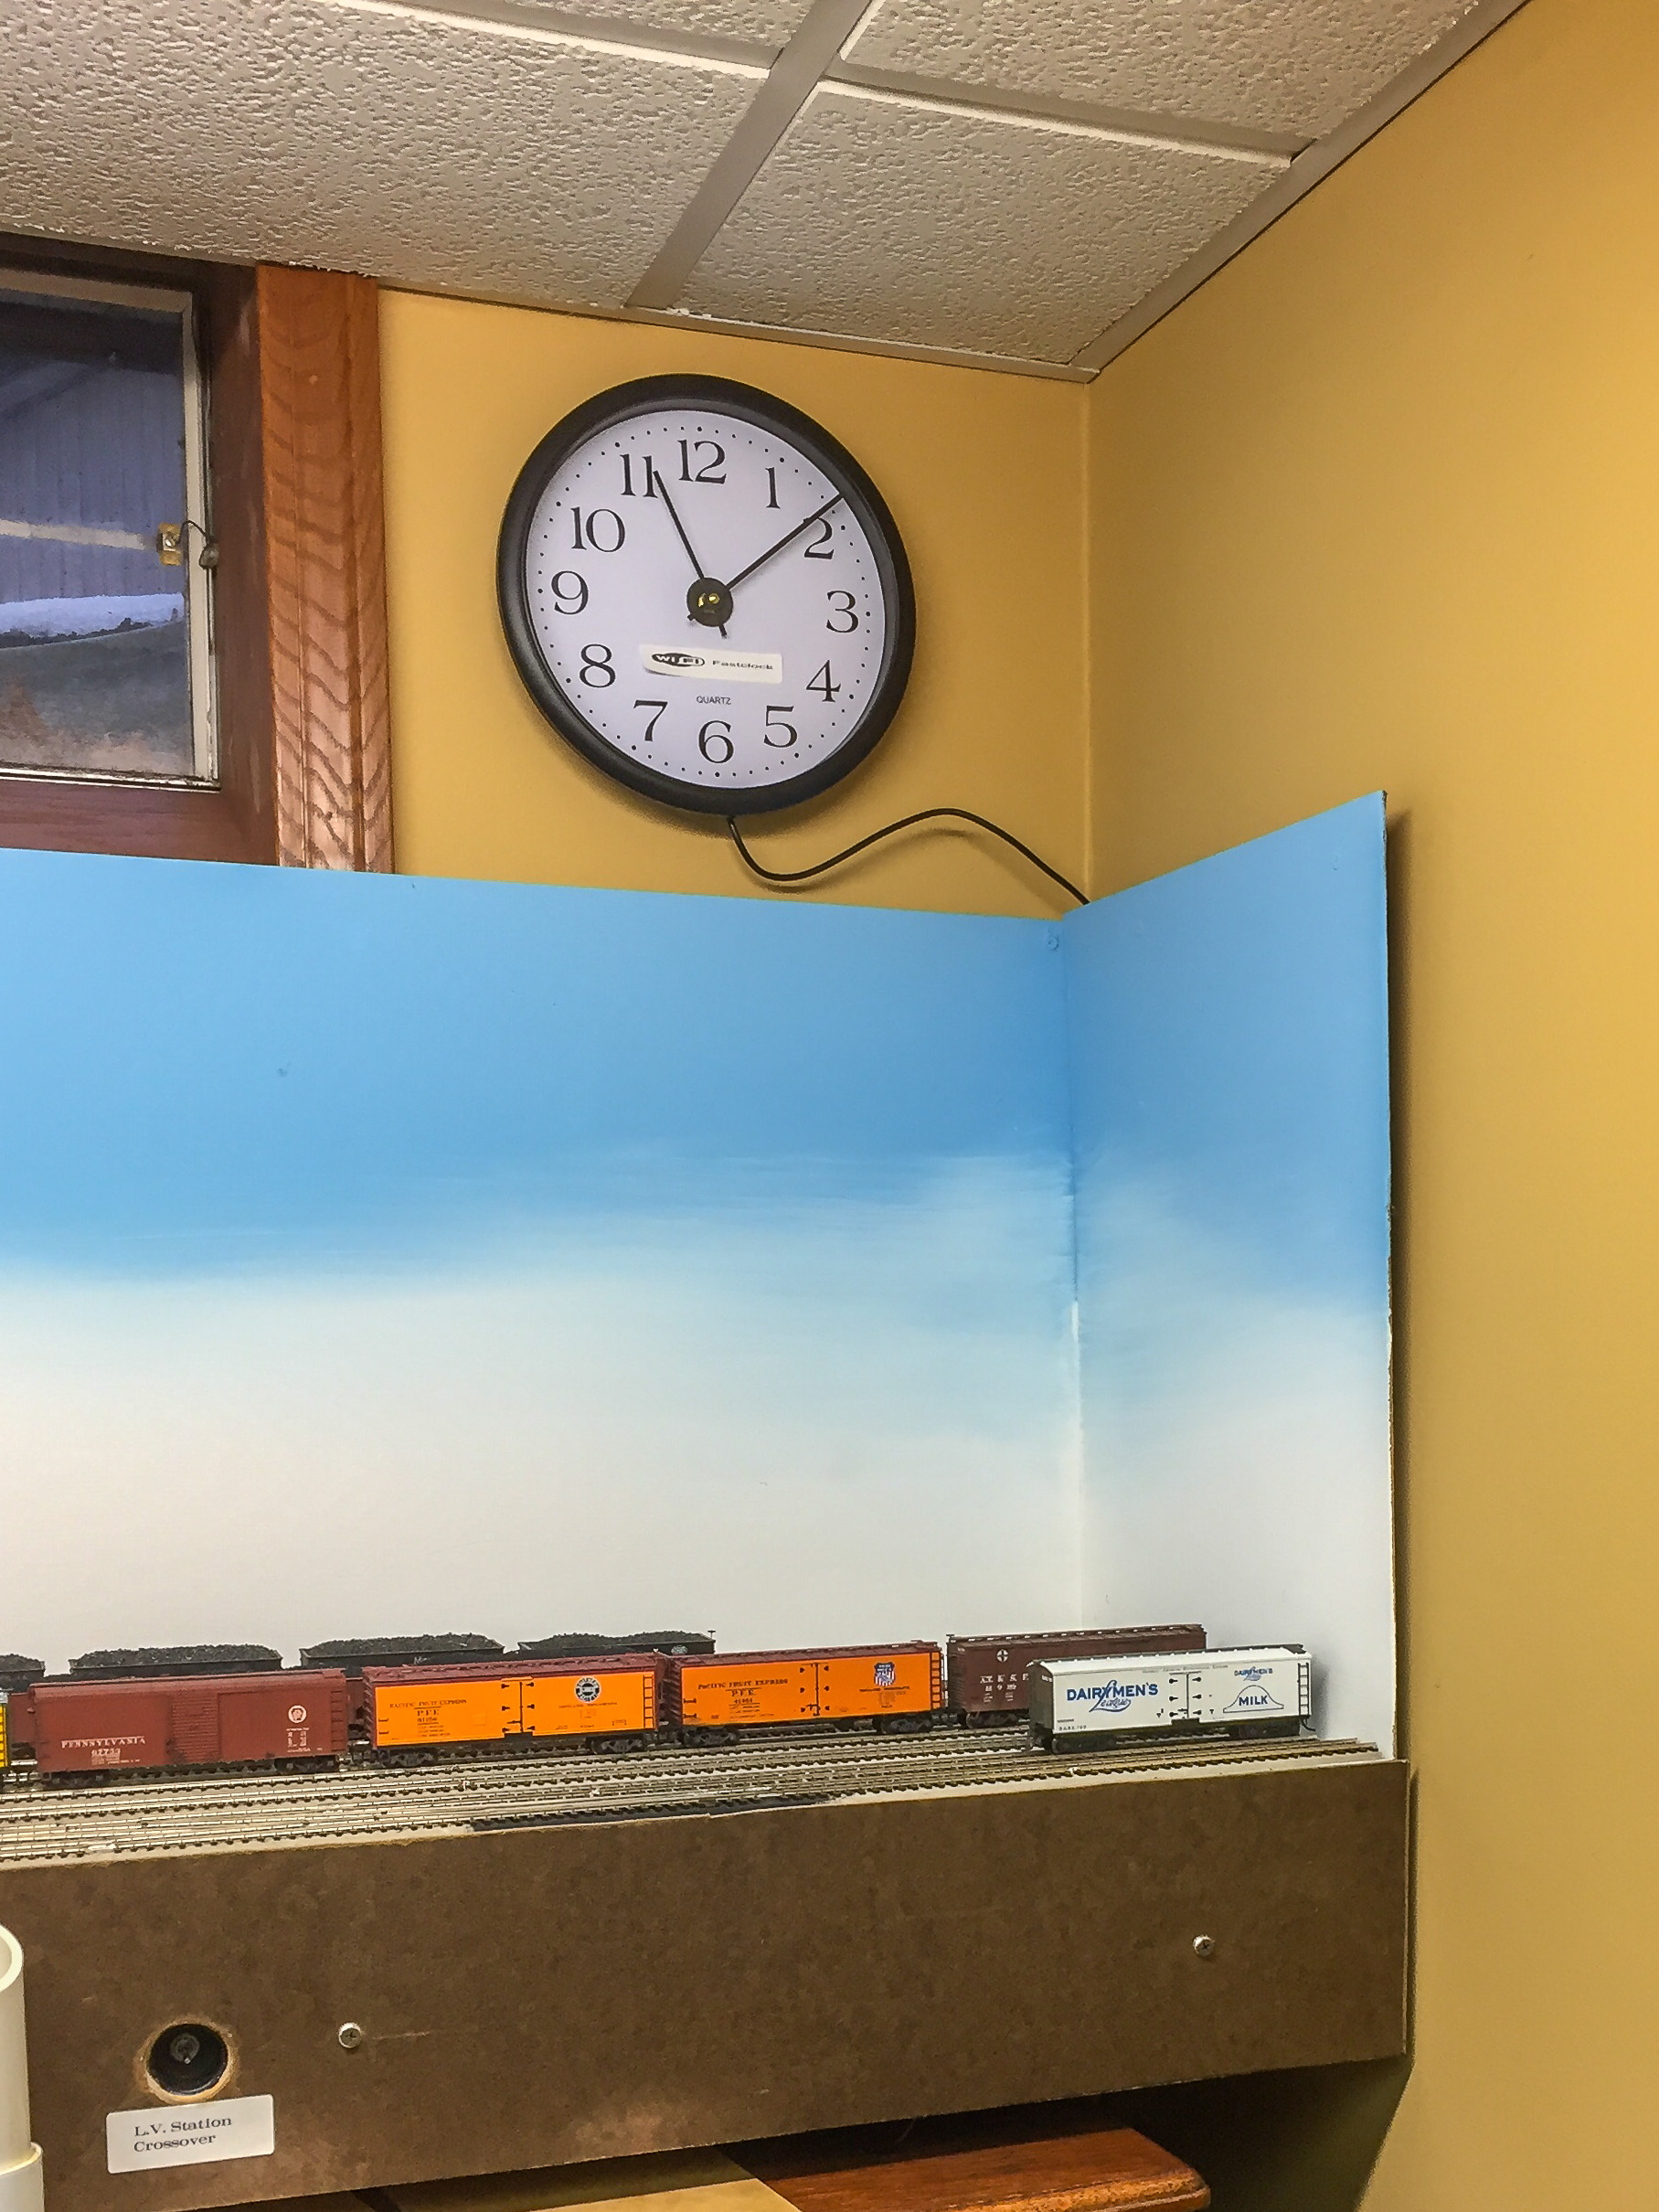
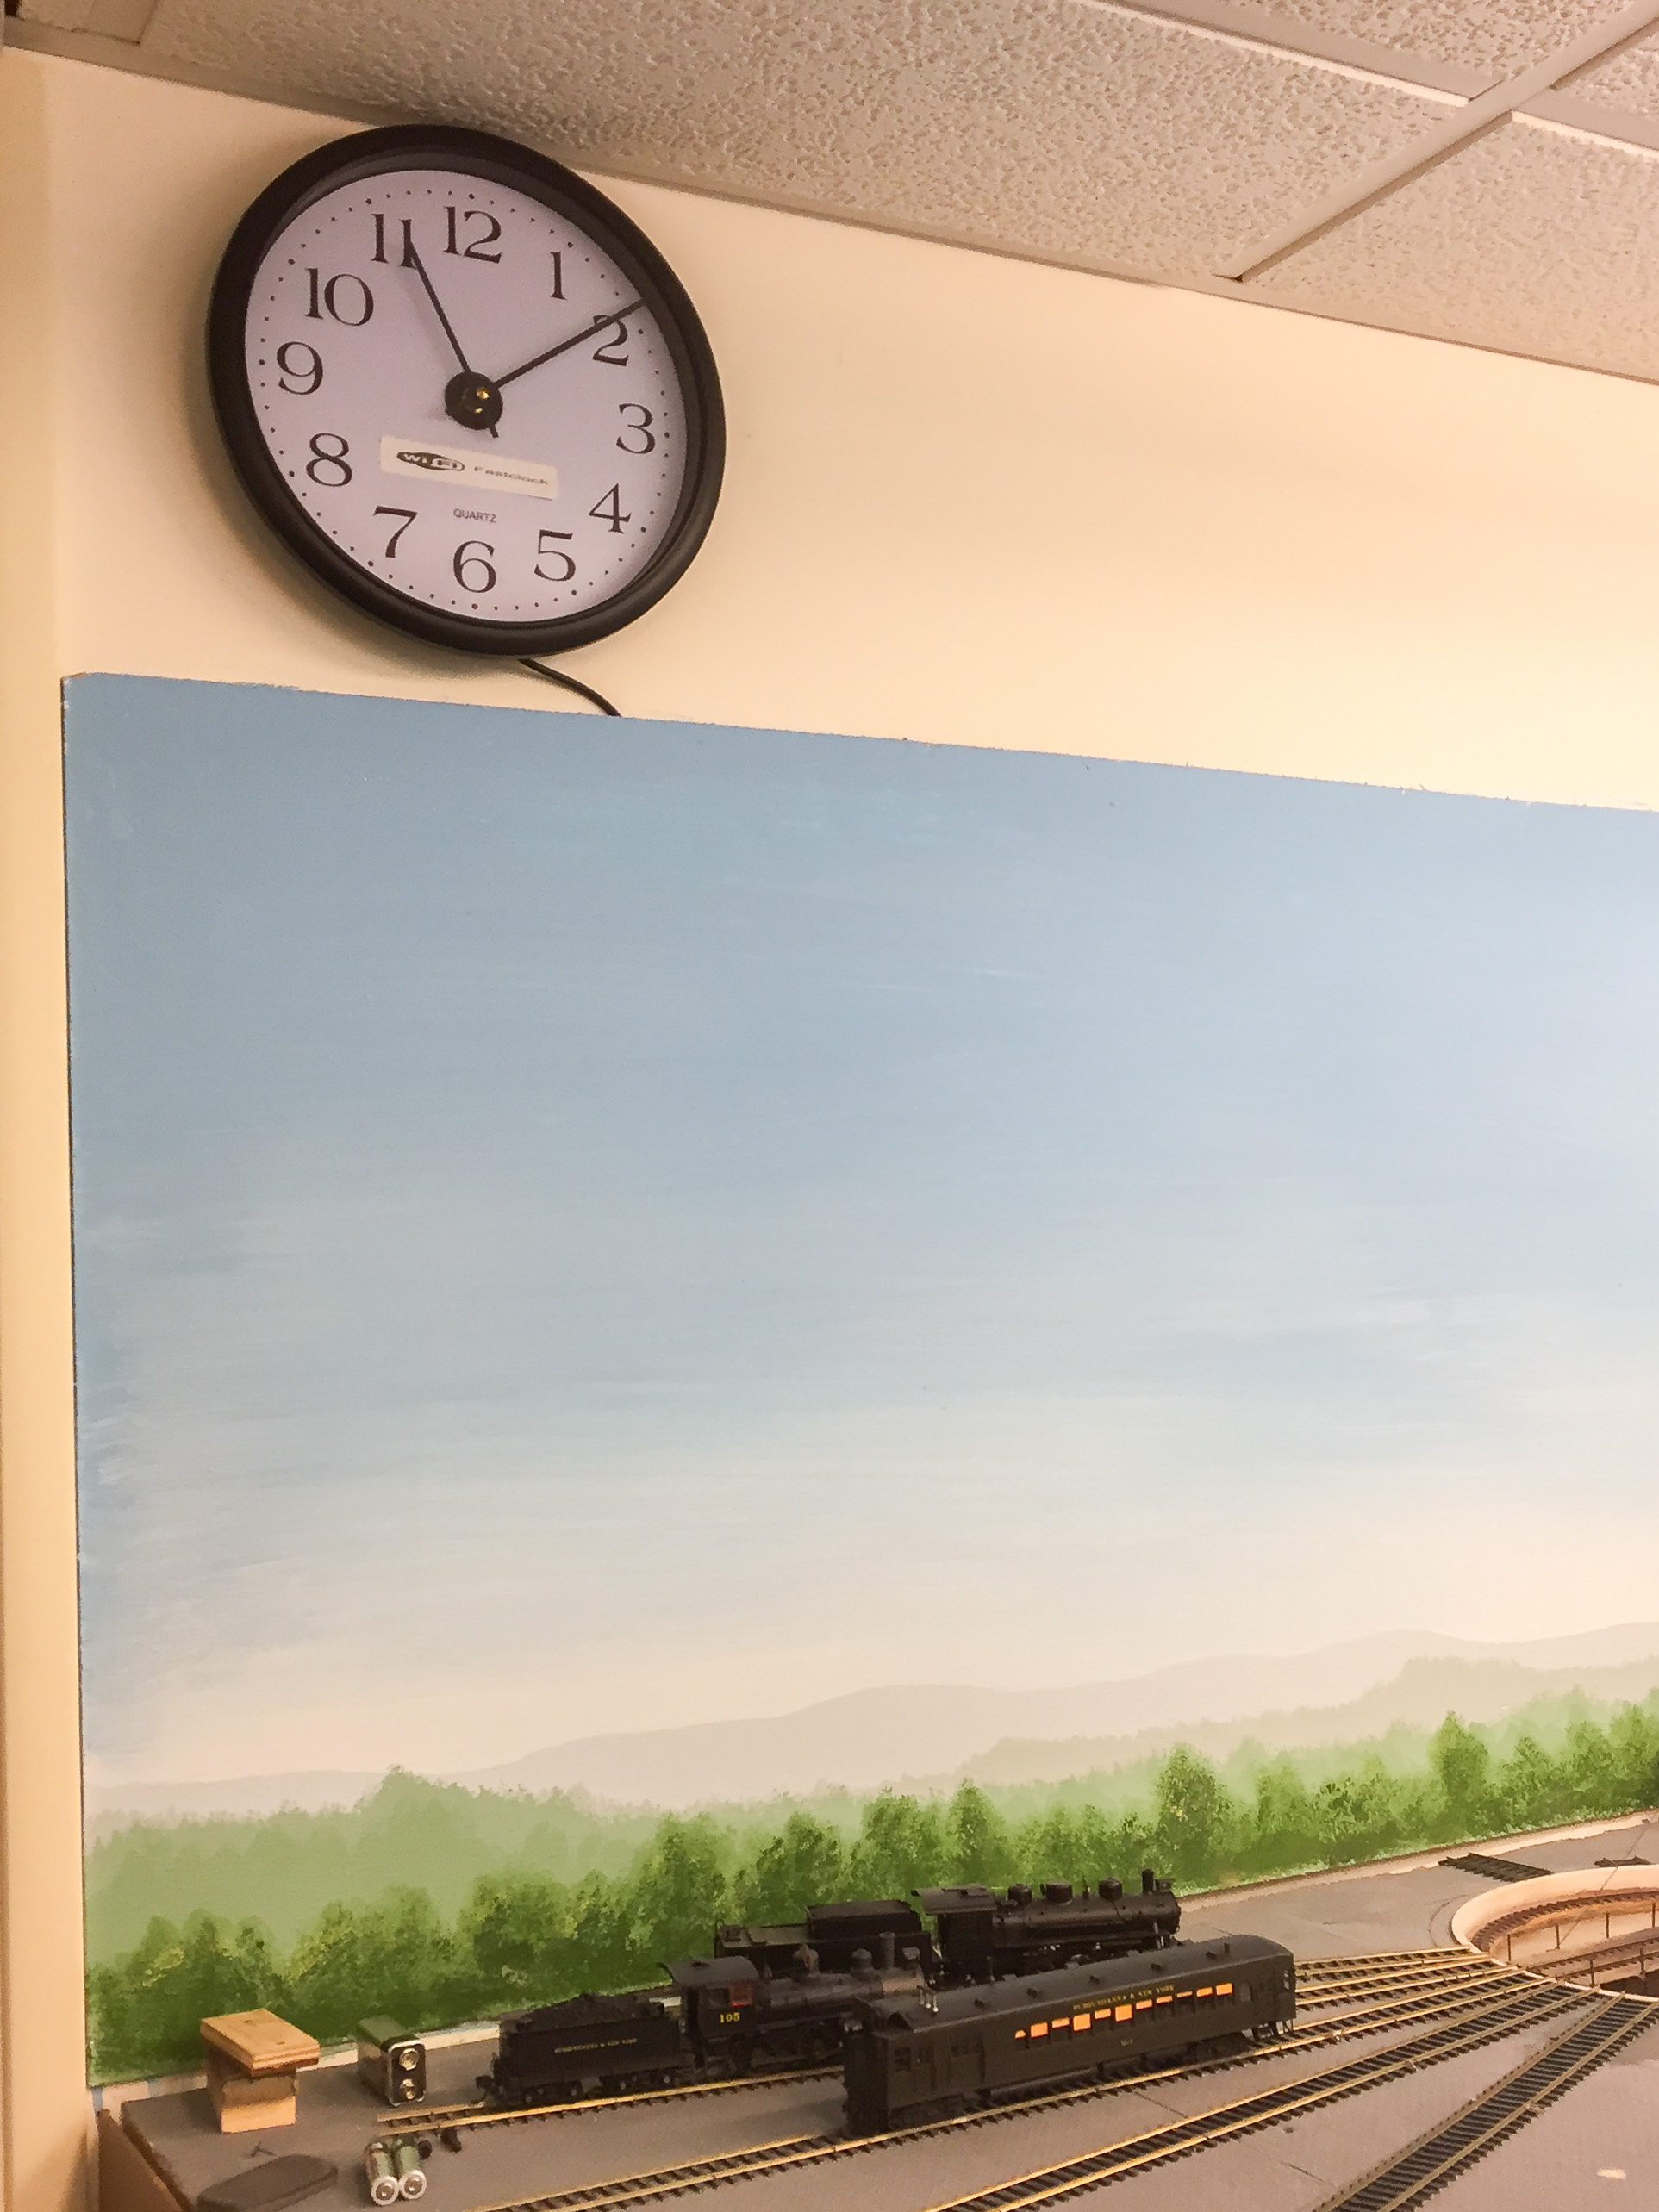
Another order of business was getting Wi-Fi clocks installed around the railroad. The S&NY runs on 1:1 time during op sessions, but the timetable begins at 7:30PM. This was done as most of the early sessions were Saturday evenings, and the crew just used their watches or phones to keep track of the time. The problem was that if there was a glitch that put a halt to ops for a period of time, the timetable and schedule would get out of whack with “real time”. Afternoon sessions were also a problem, in that a totally different timetable had to be used.

Enter Wi-Fi clocks from Model Railroad Control Systems: Wi-Fi Clocks. Finally, a perfect solution! I purchased 3 analog-style clocks, hooked everything up per the instructions, and everything worked perfectly! I put the clocks where at least one clock would be visible from anywhere on the layout. Another “infrastructure” project complete:

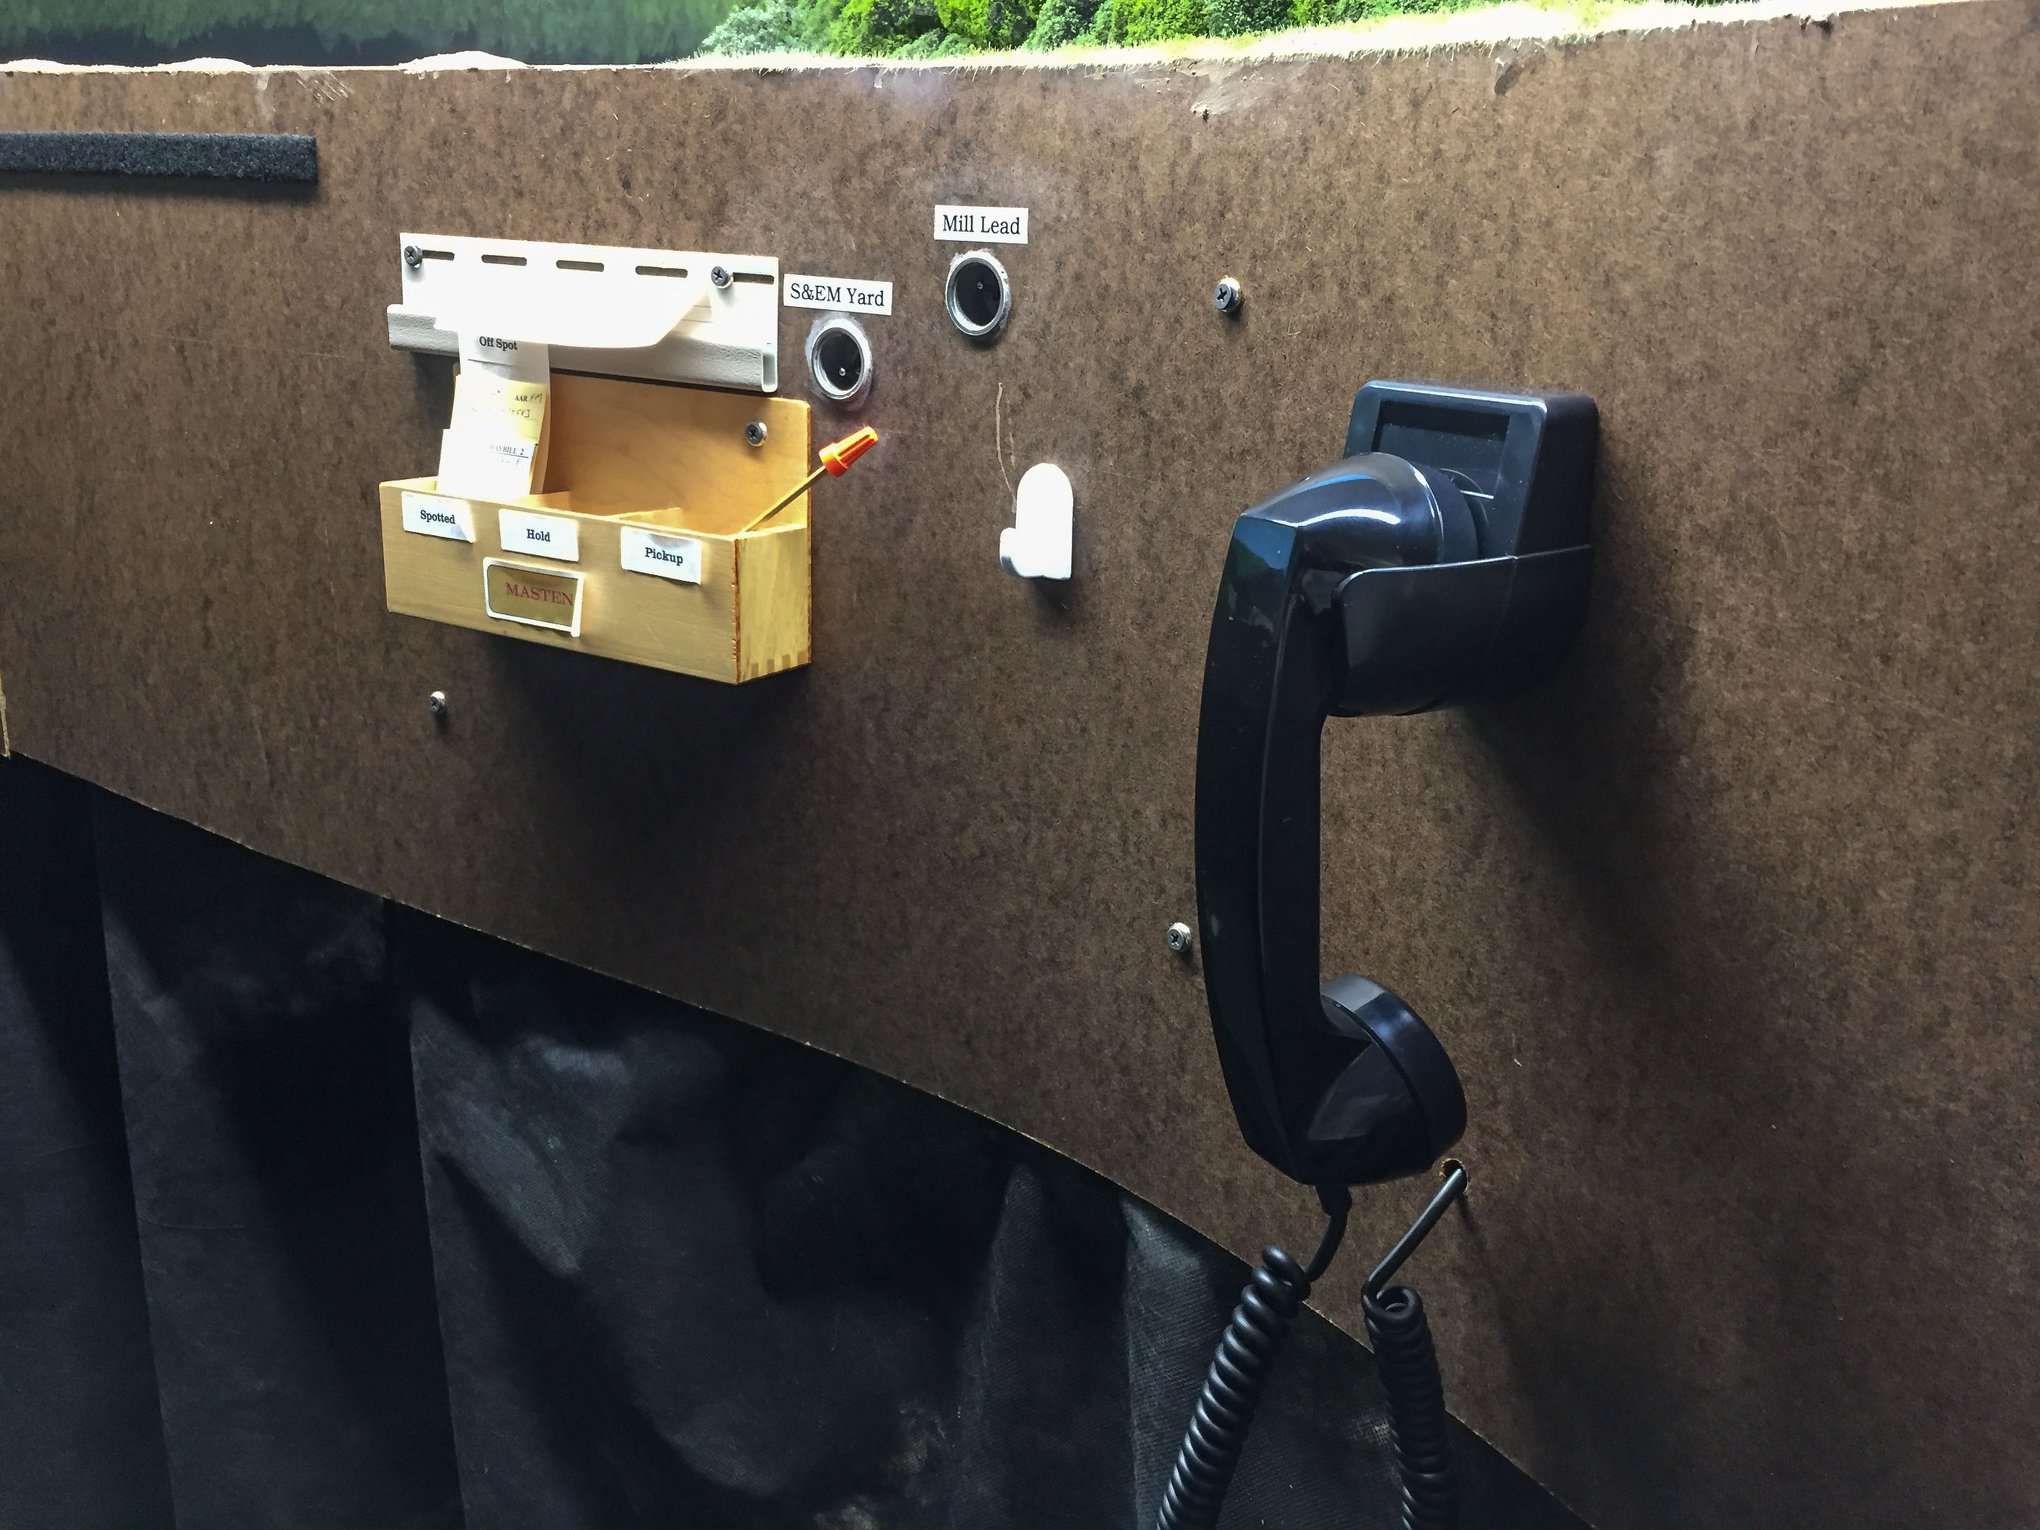
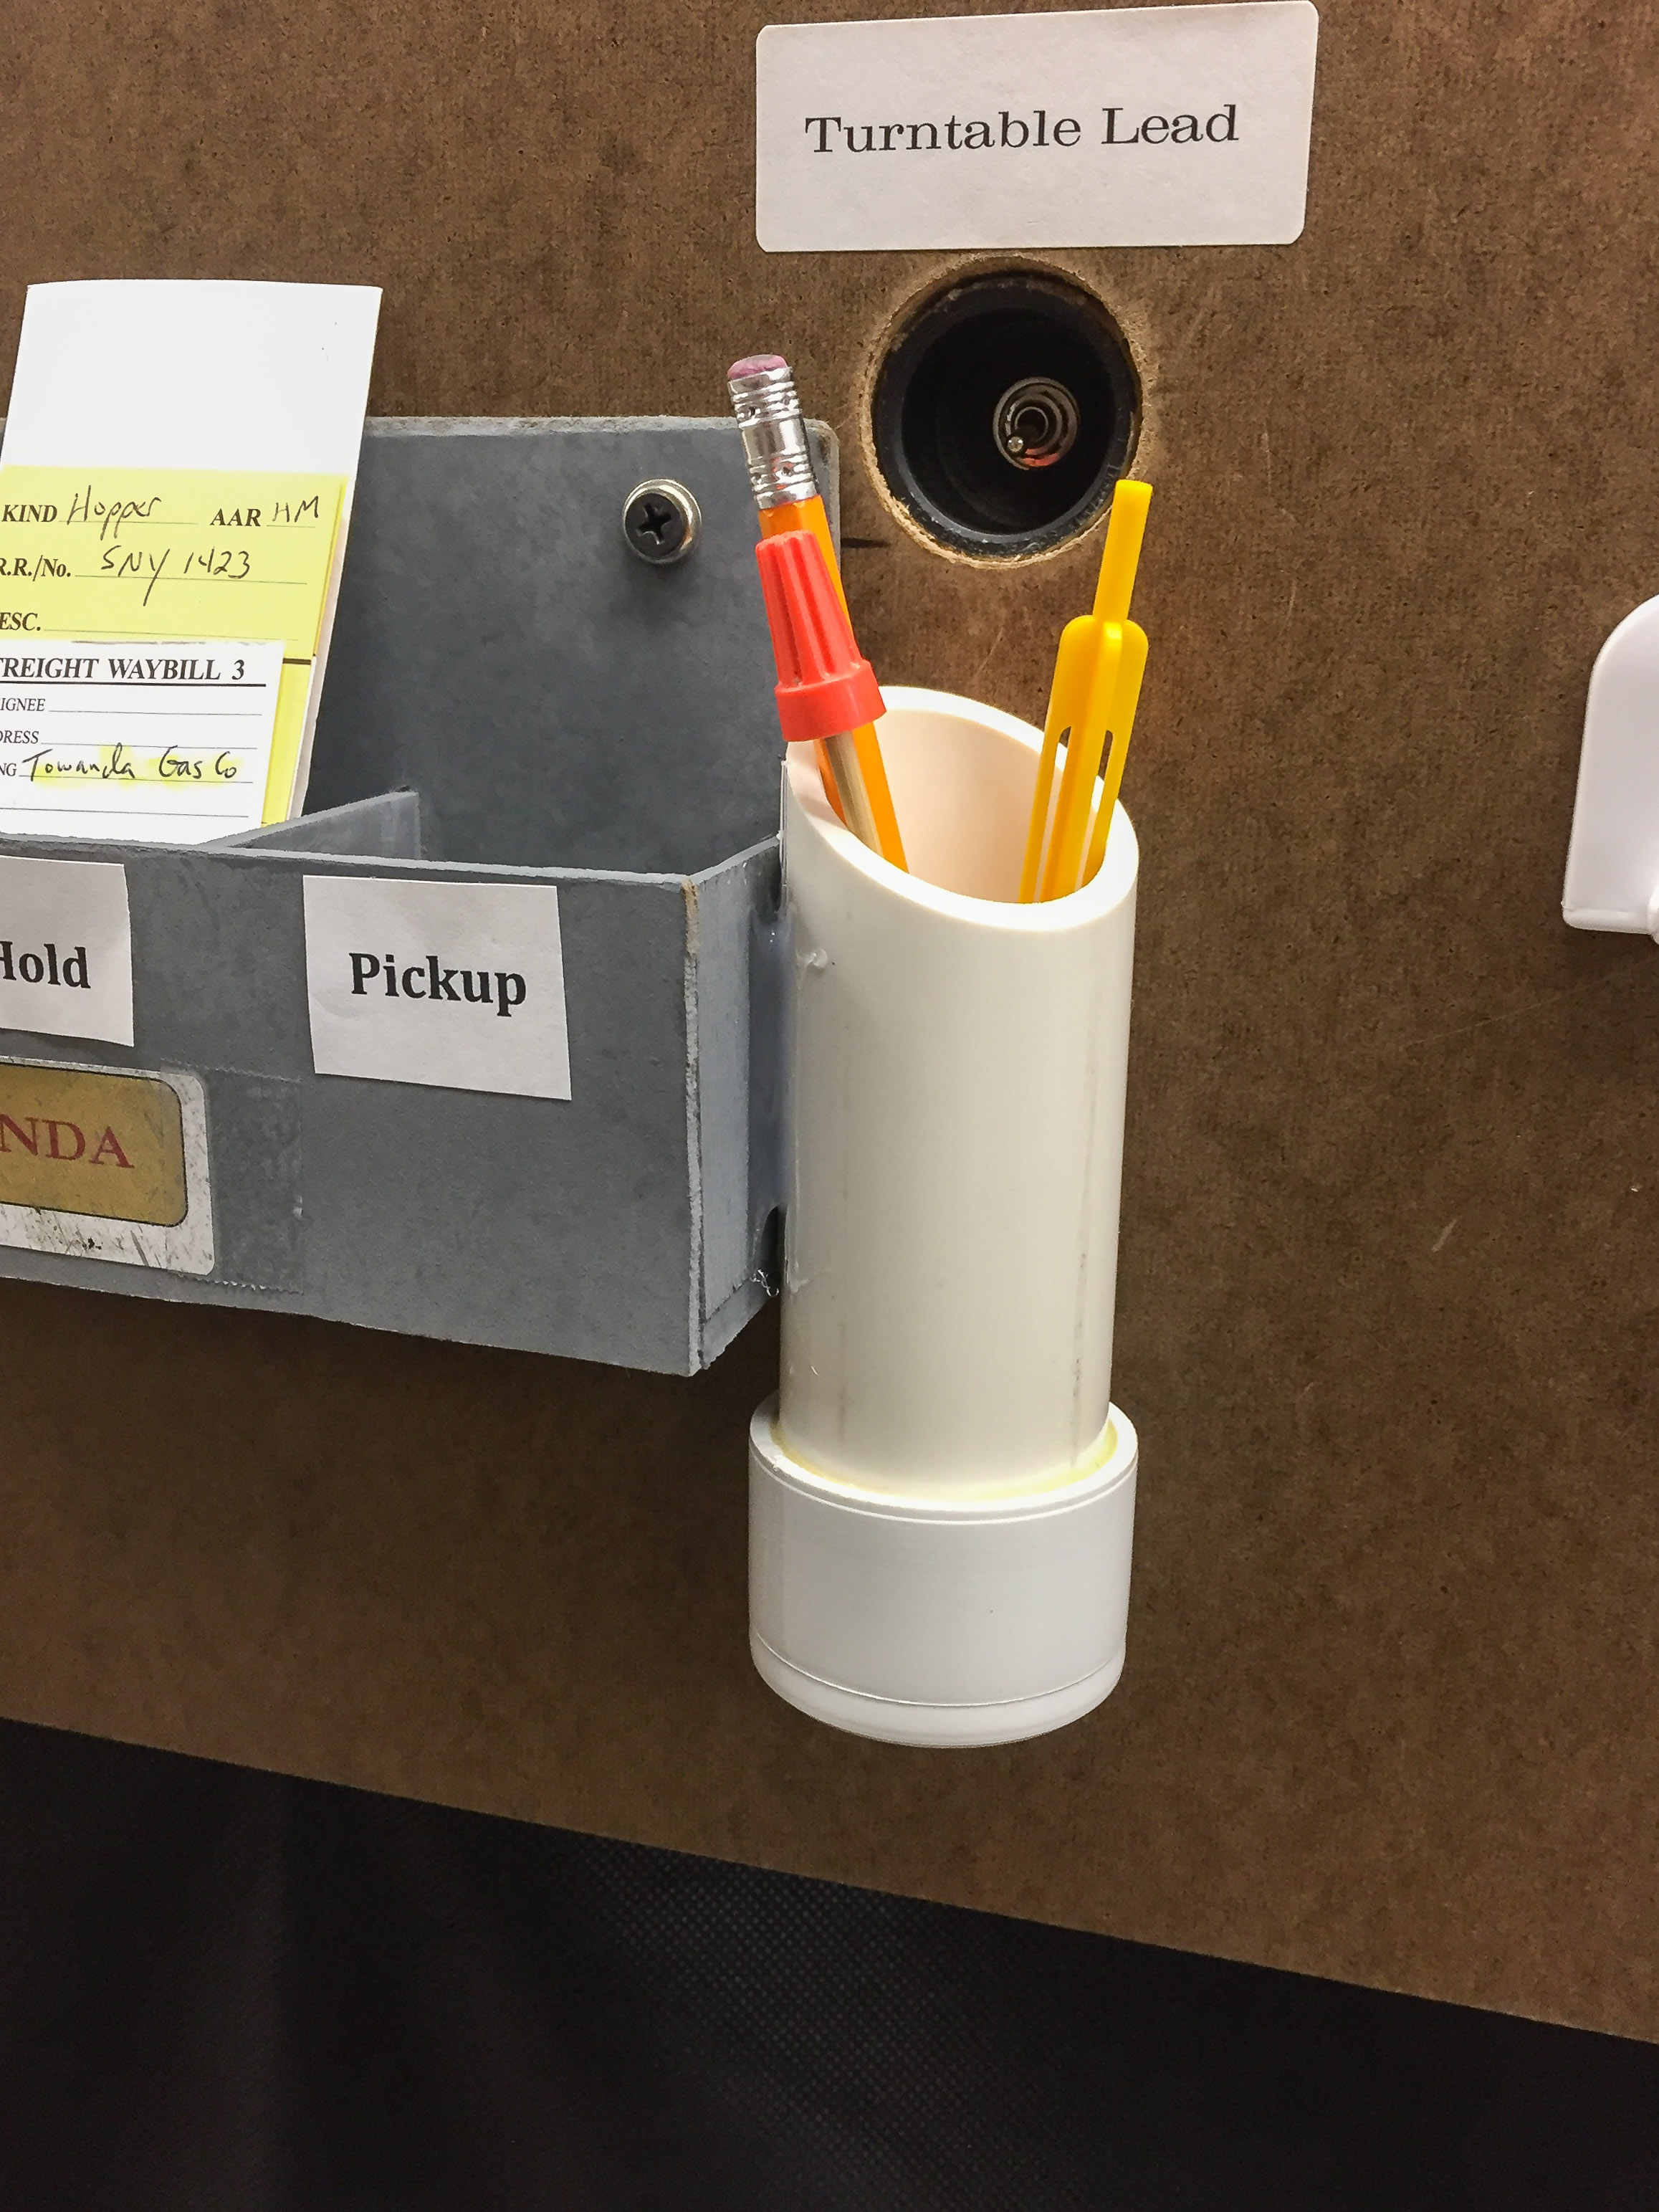
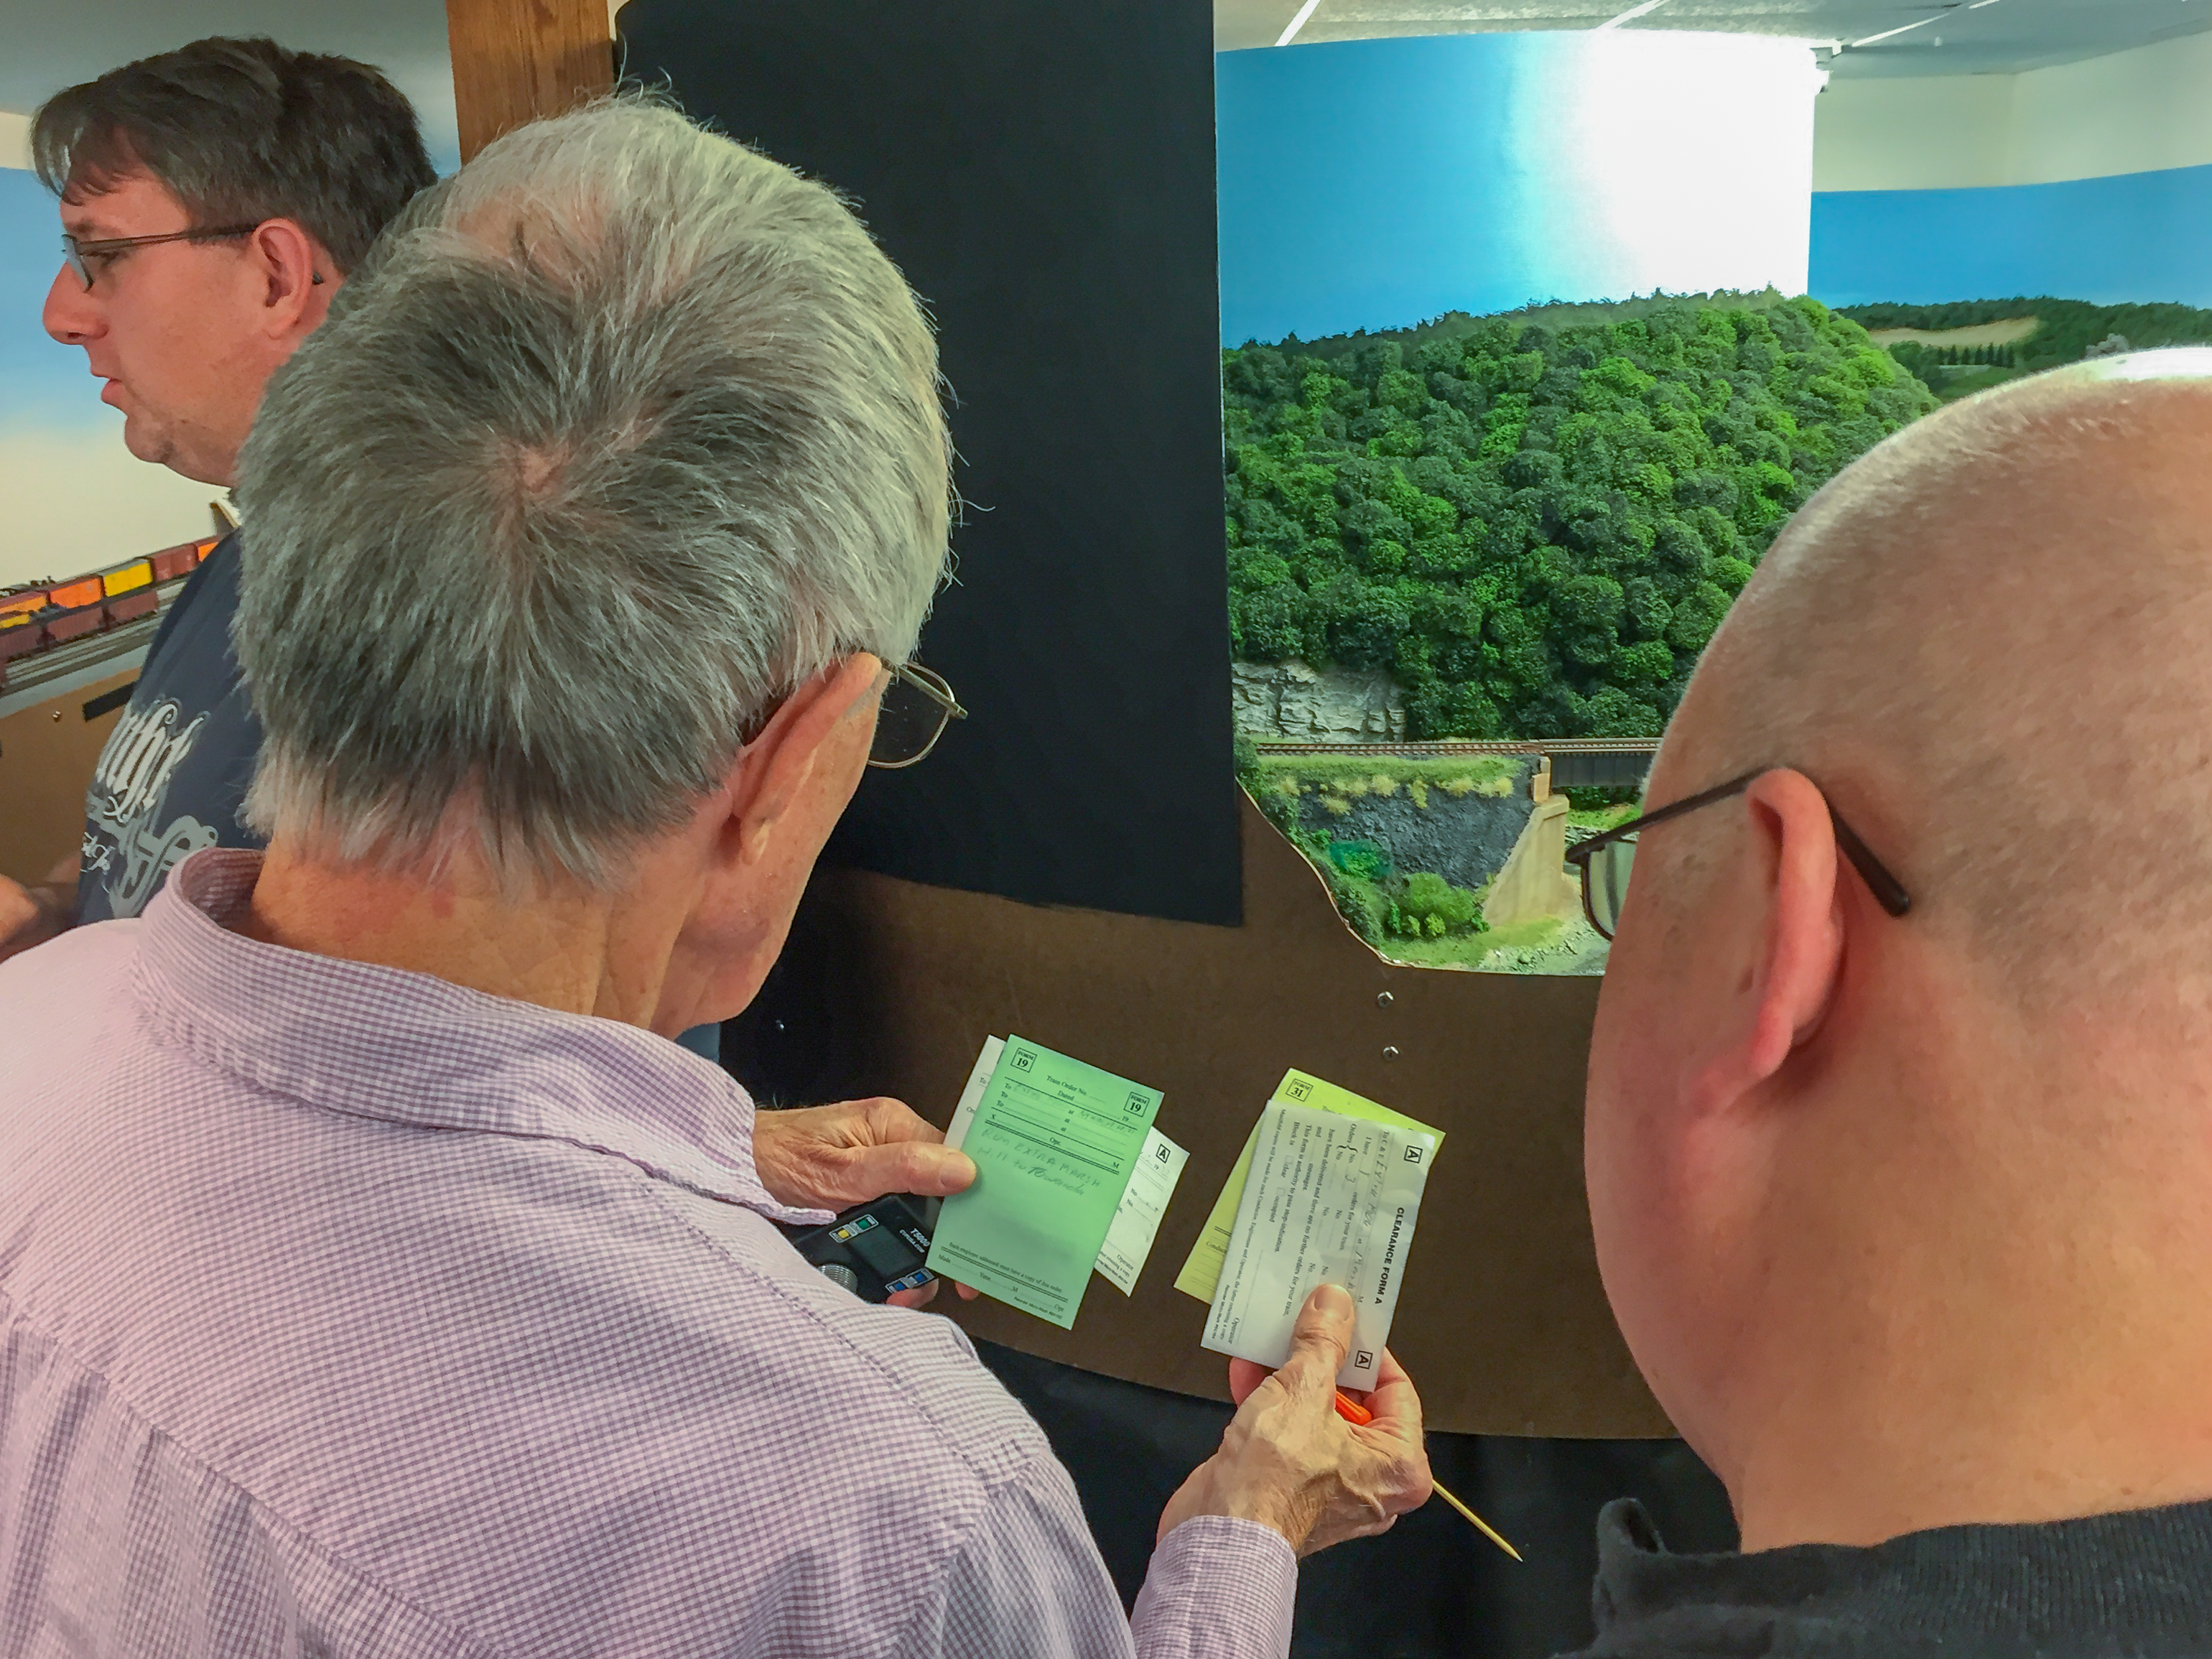
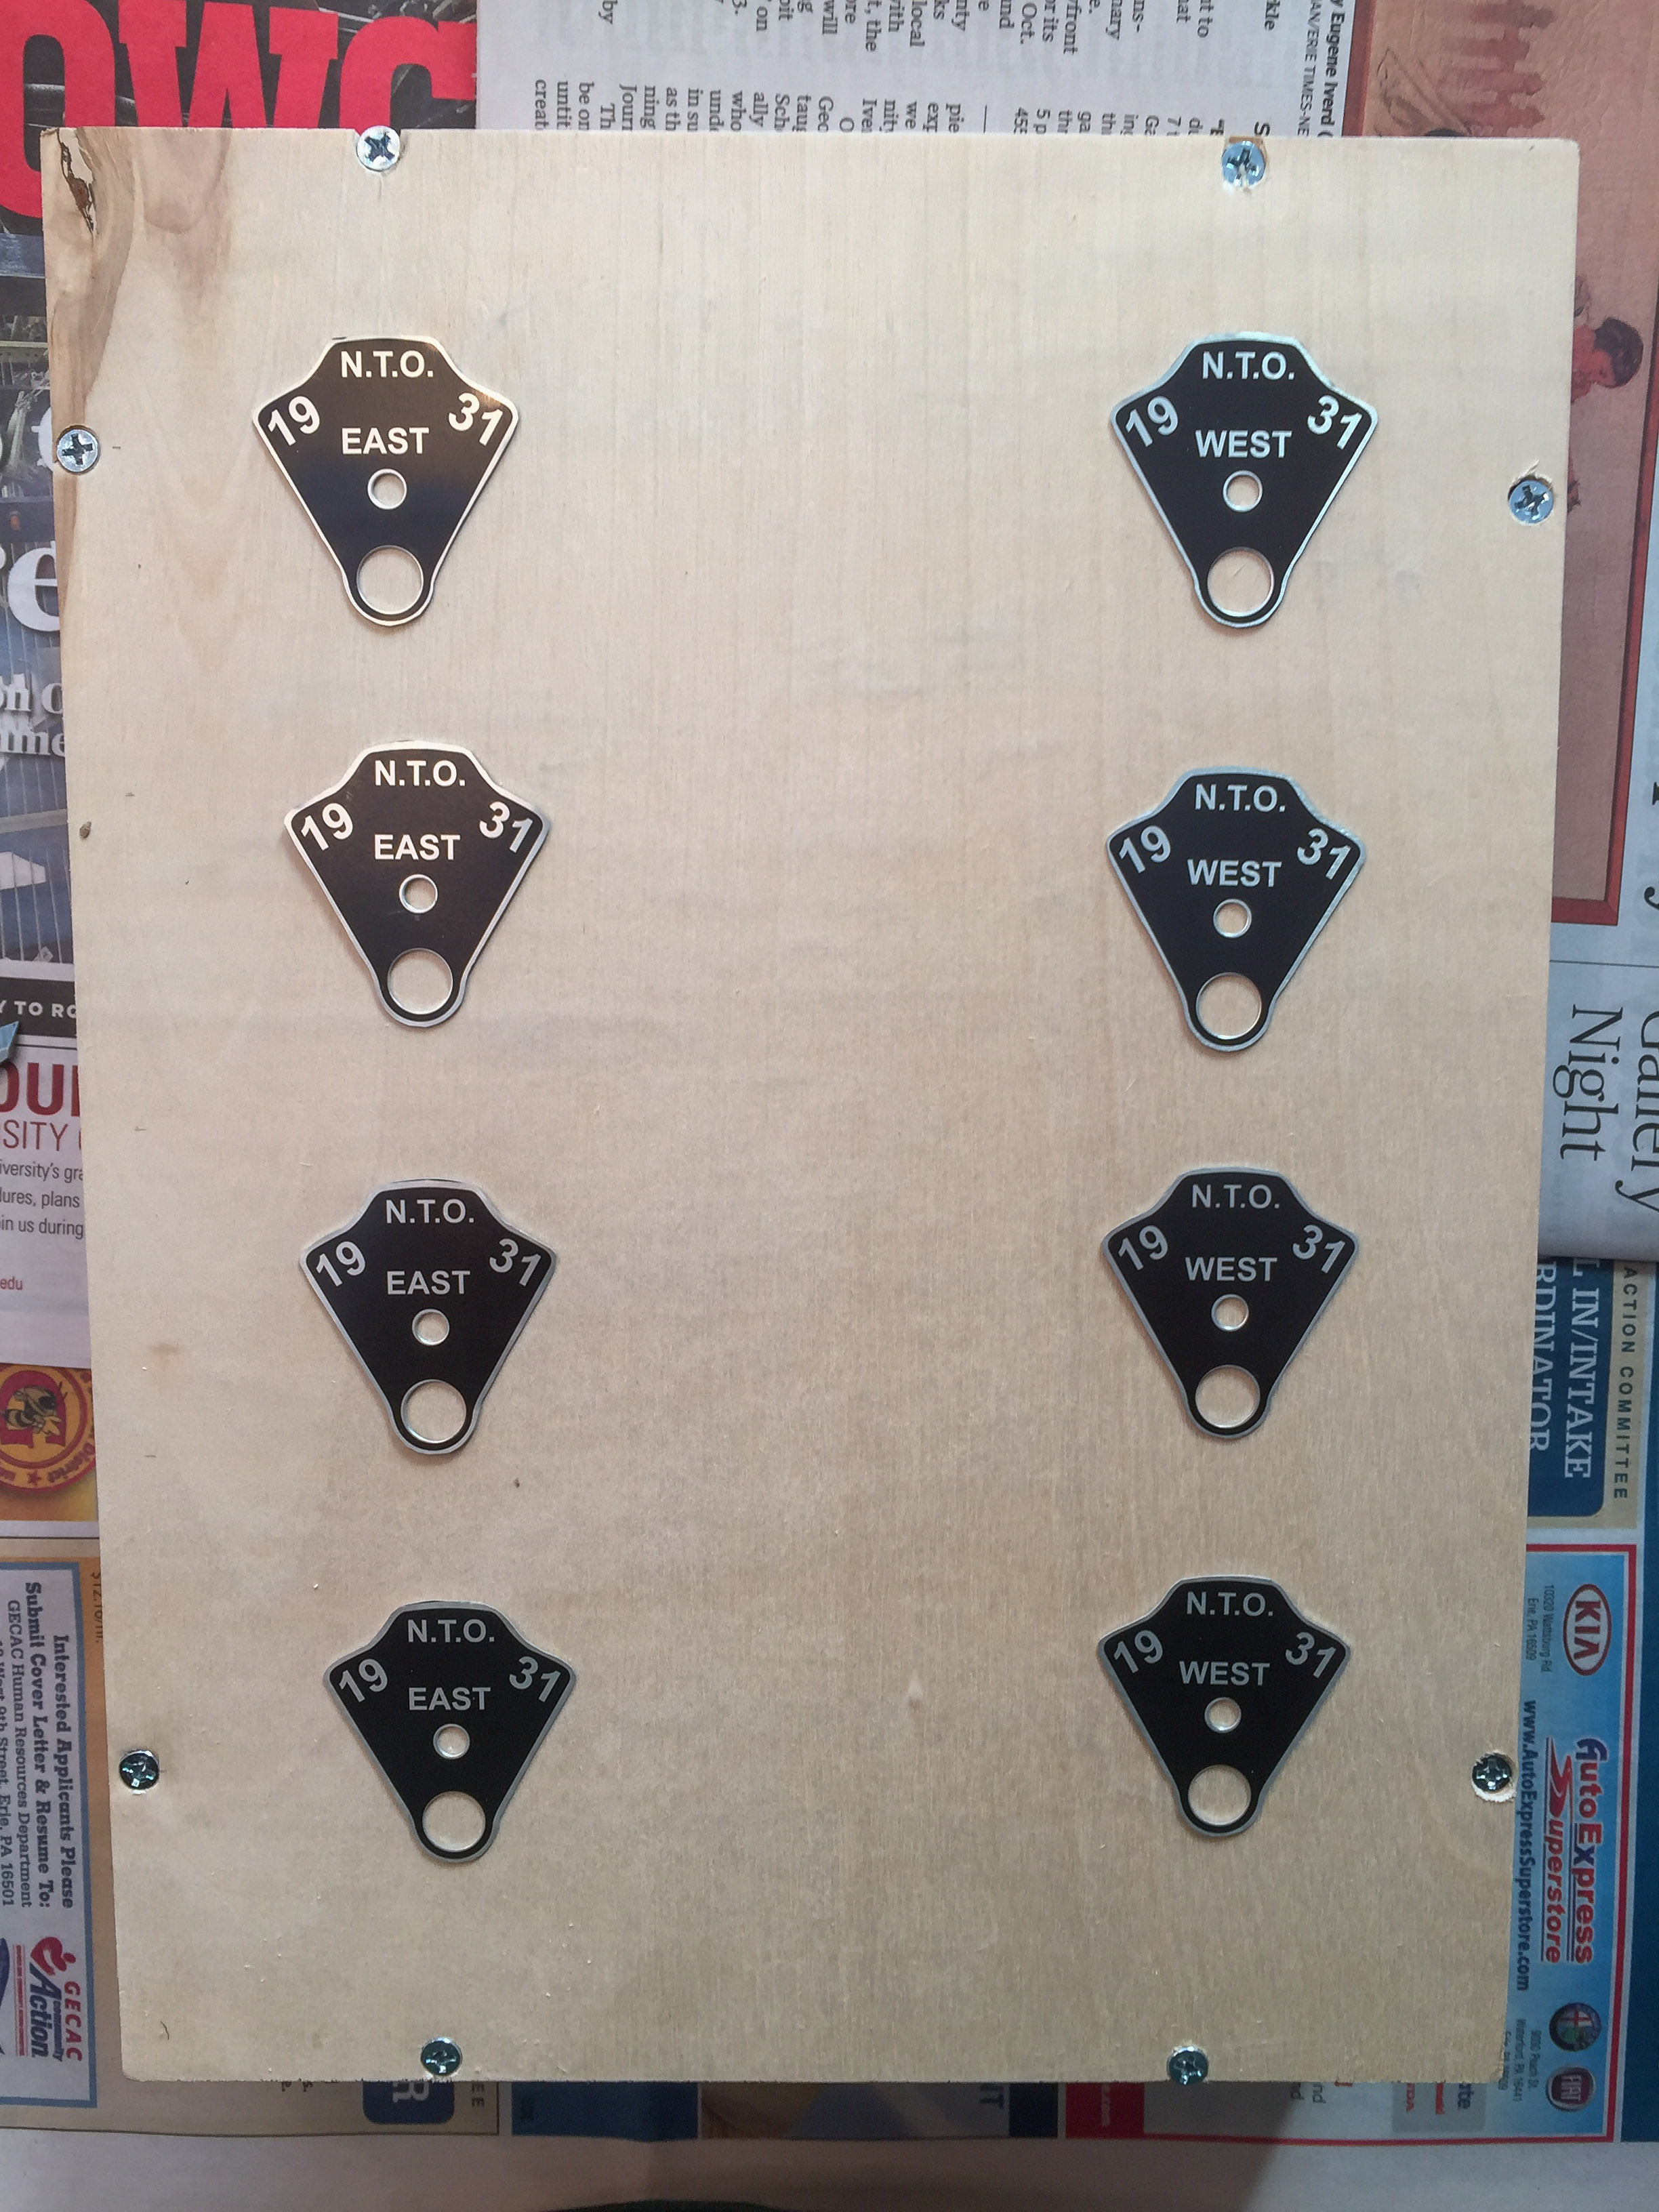
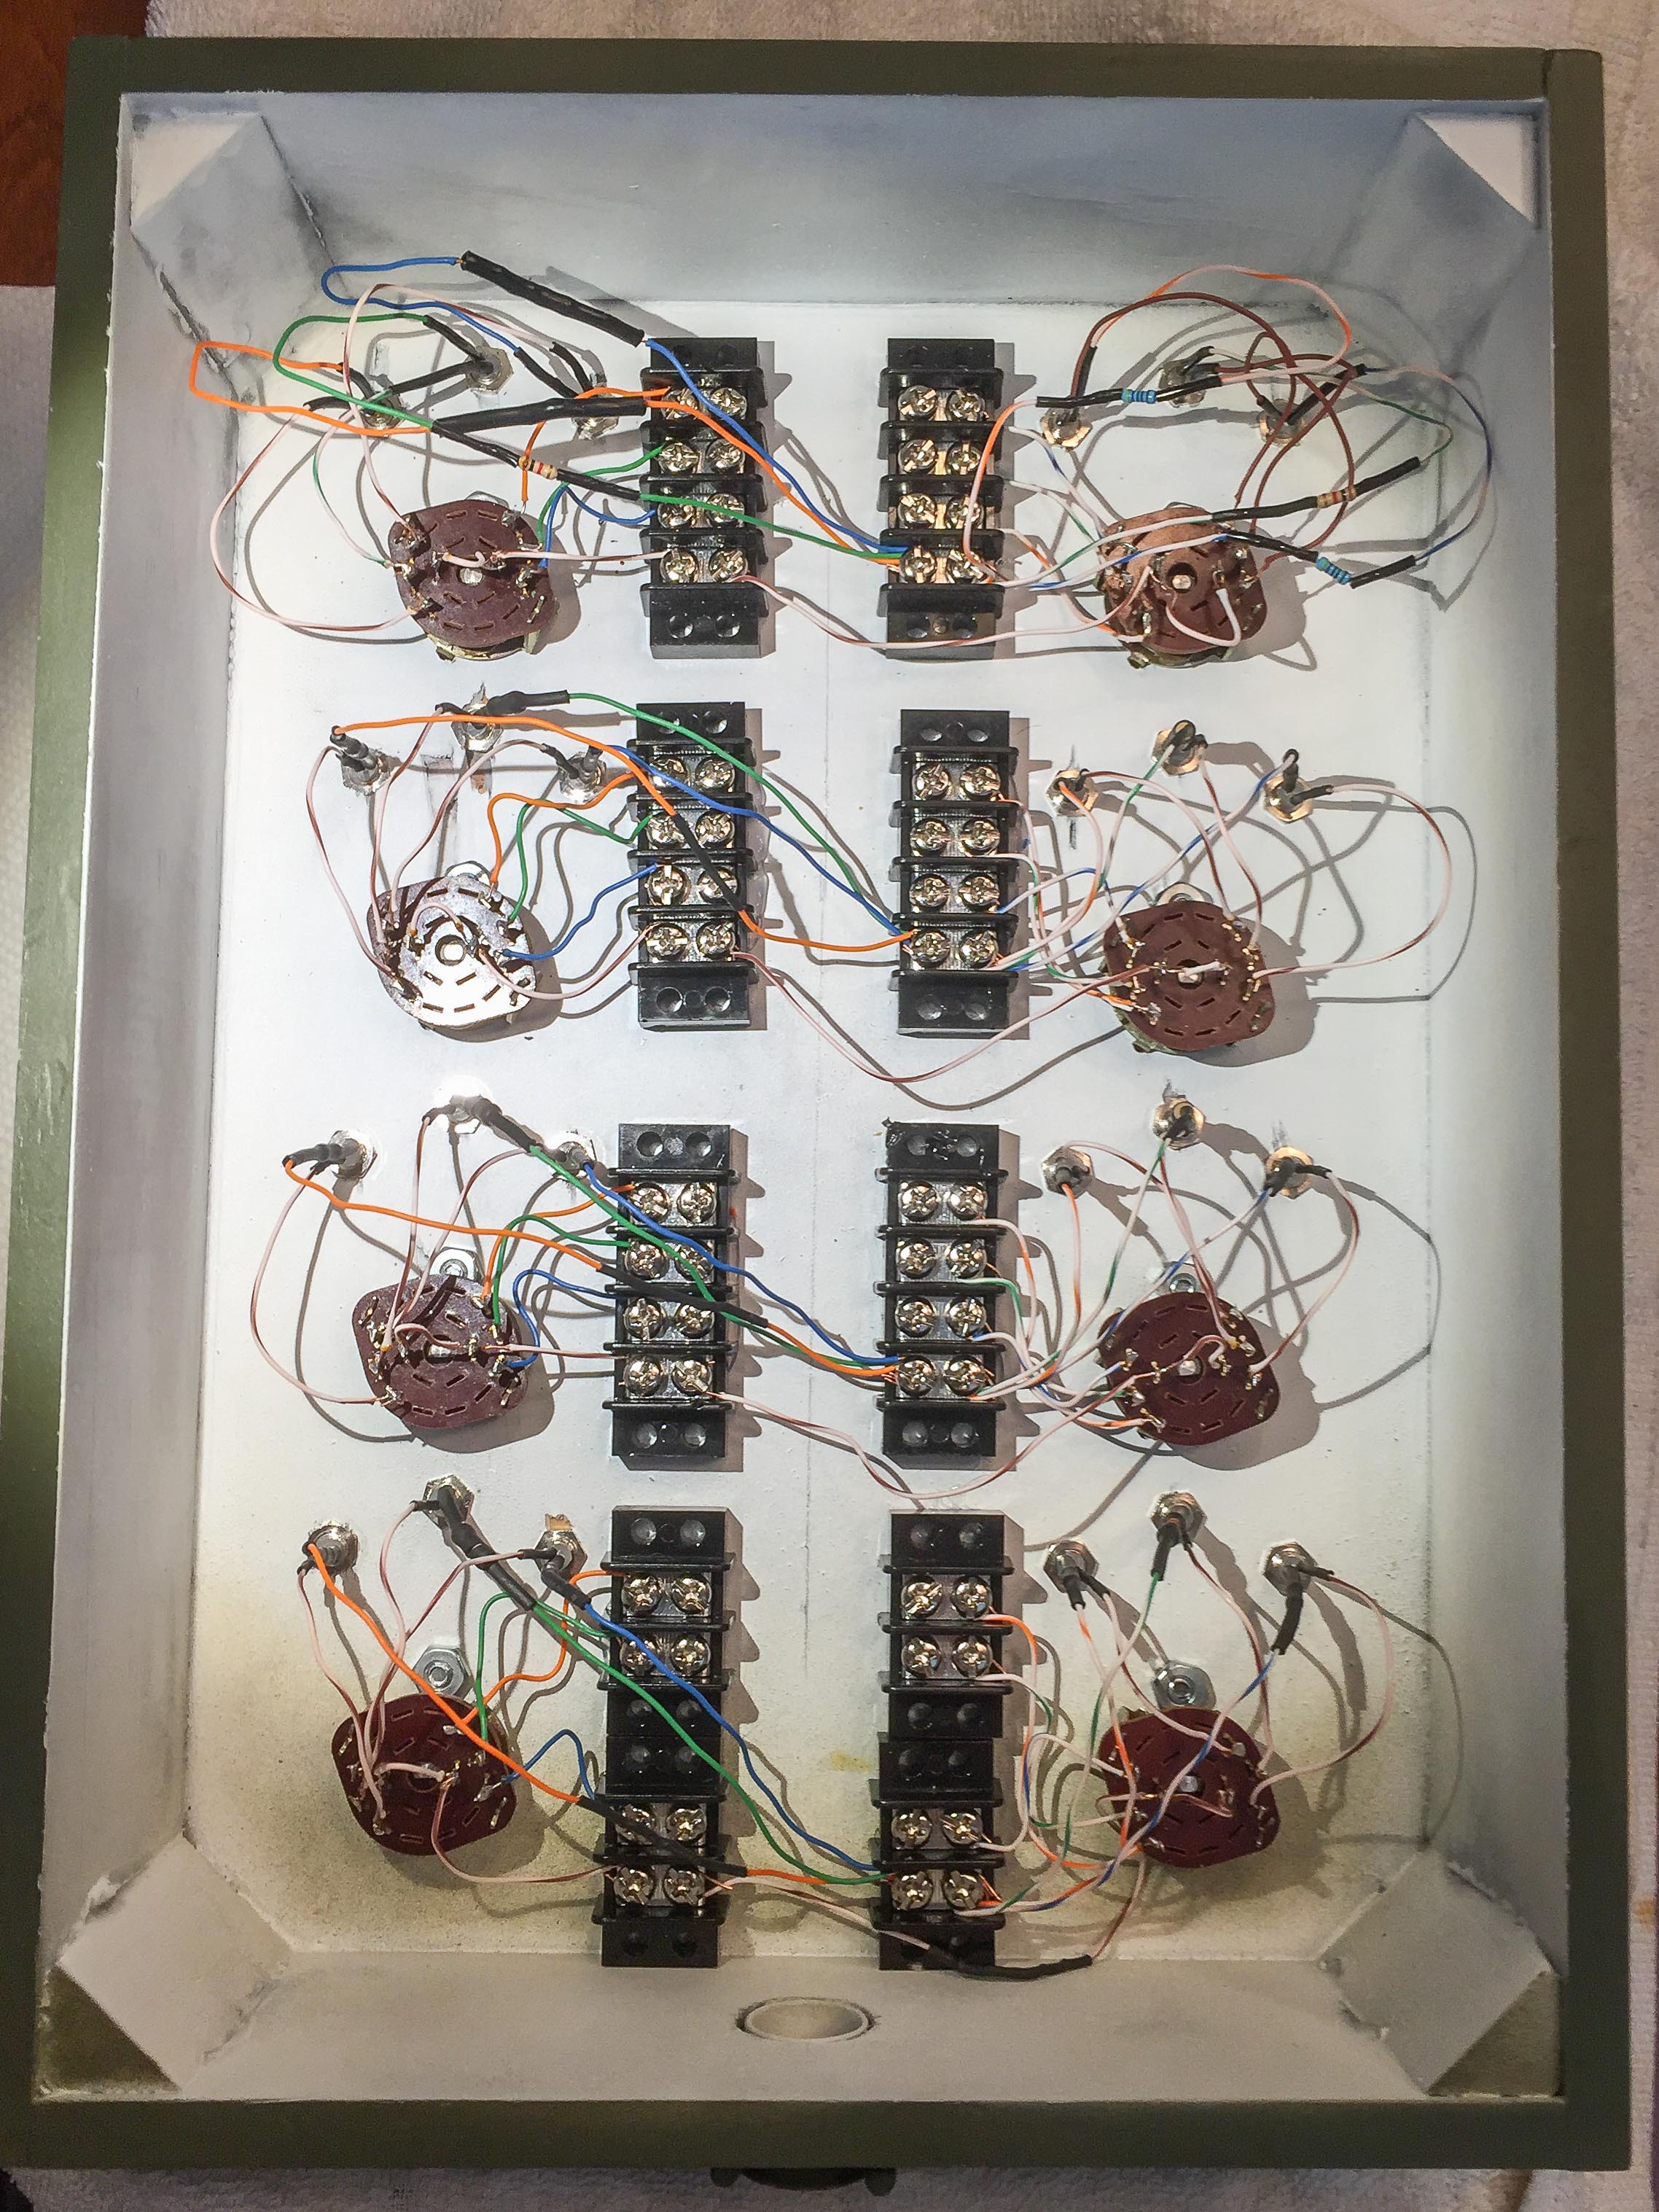
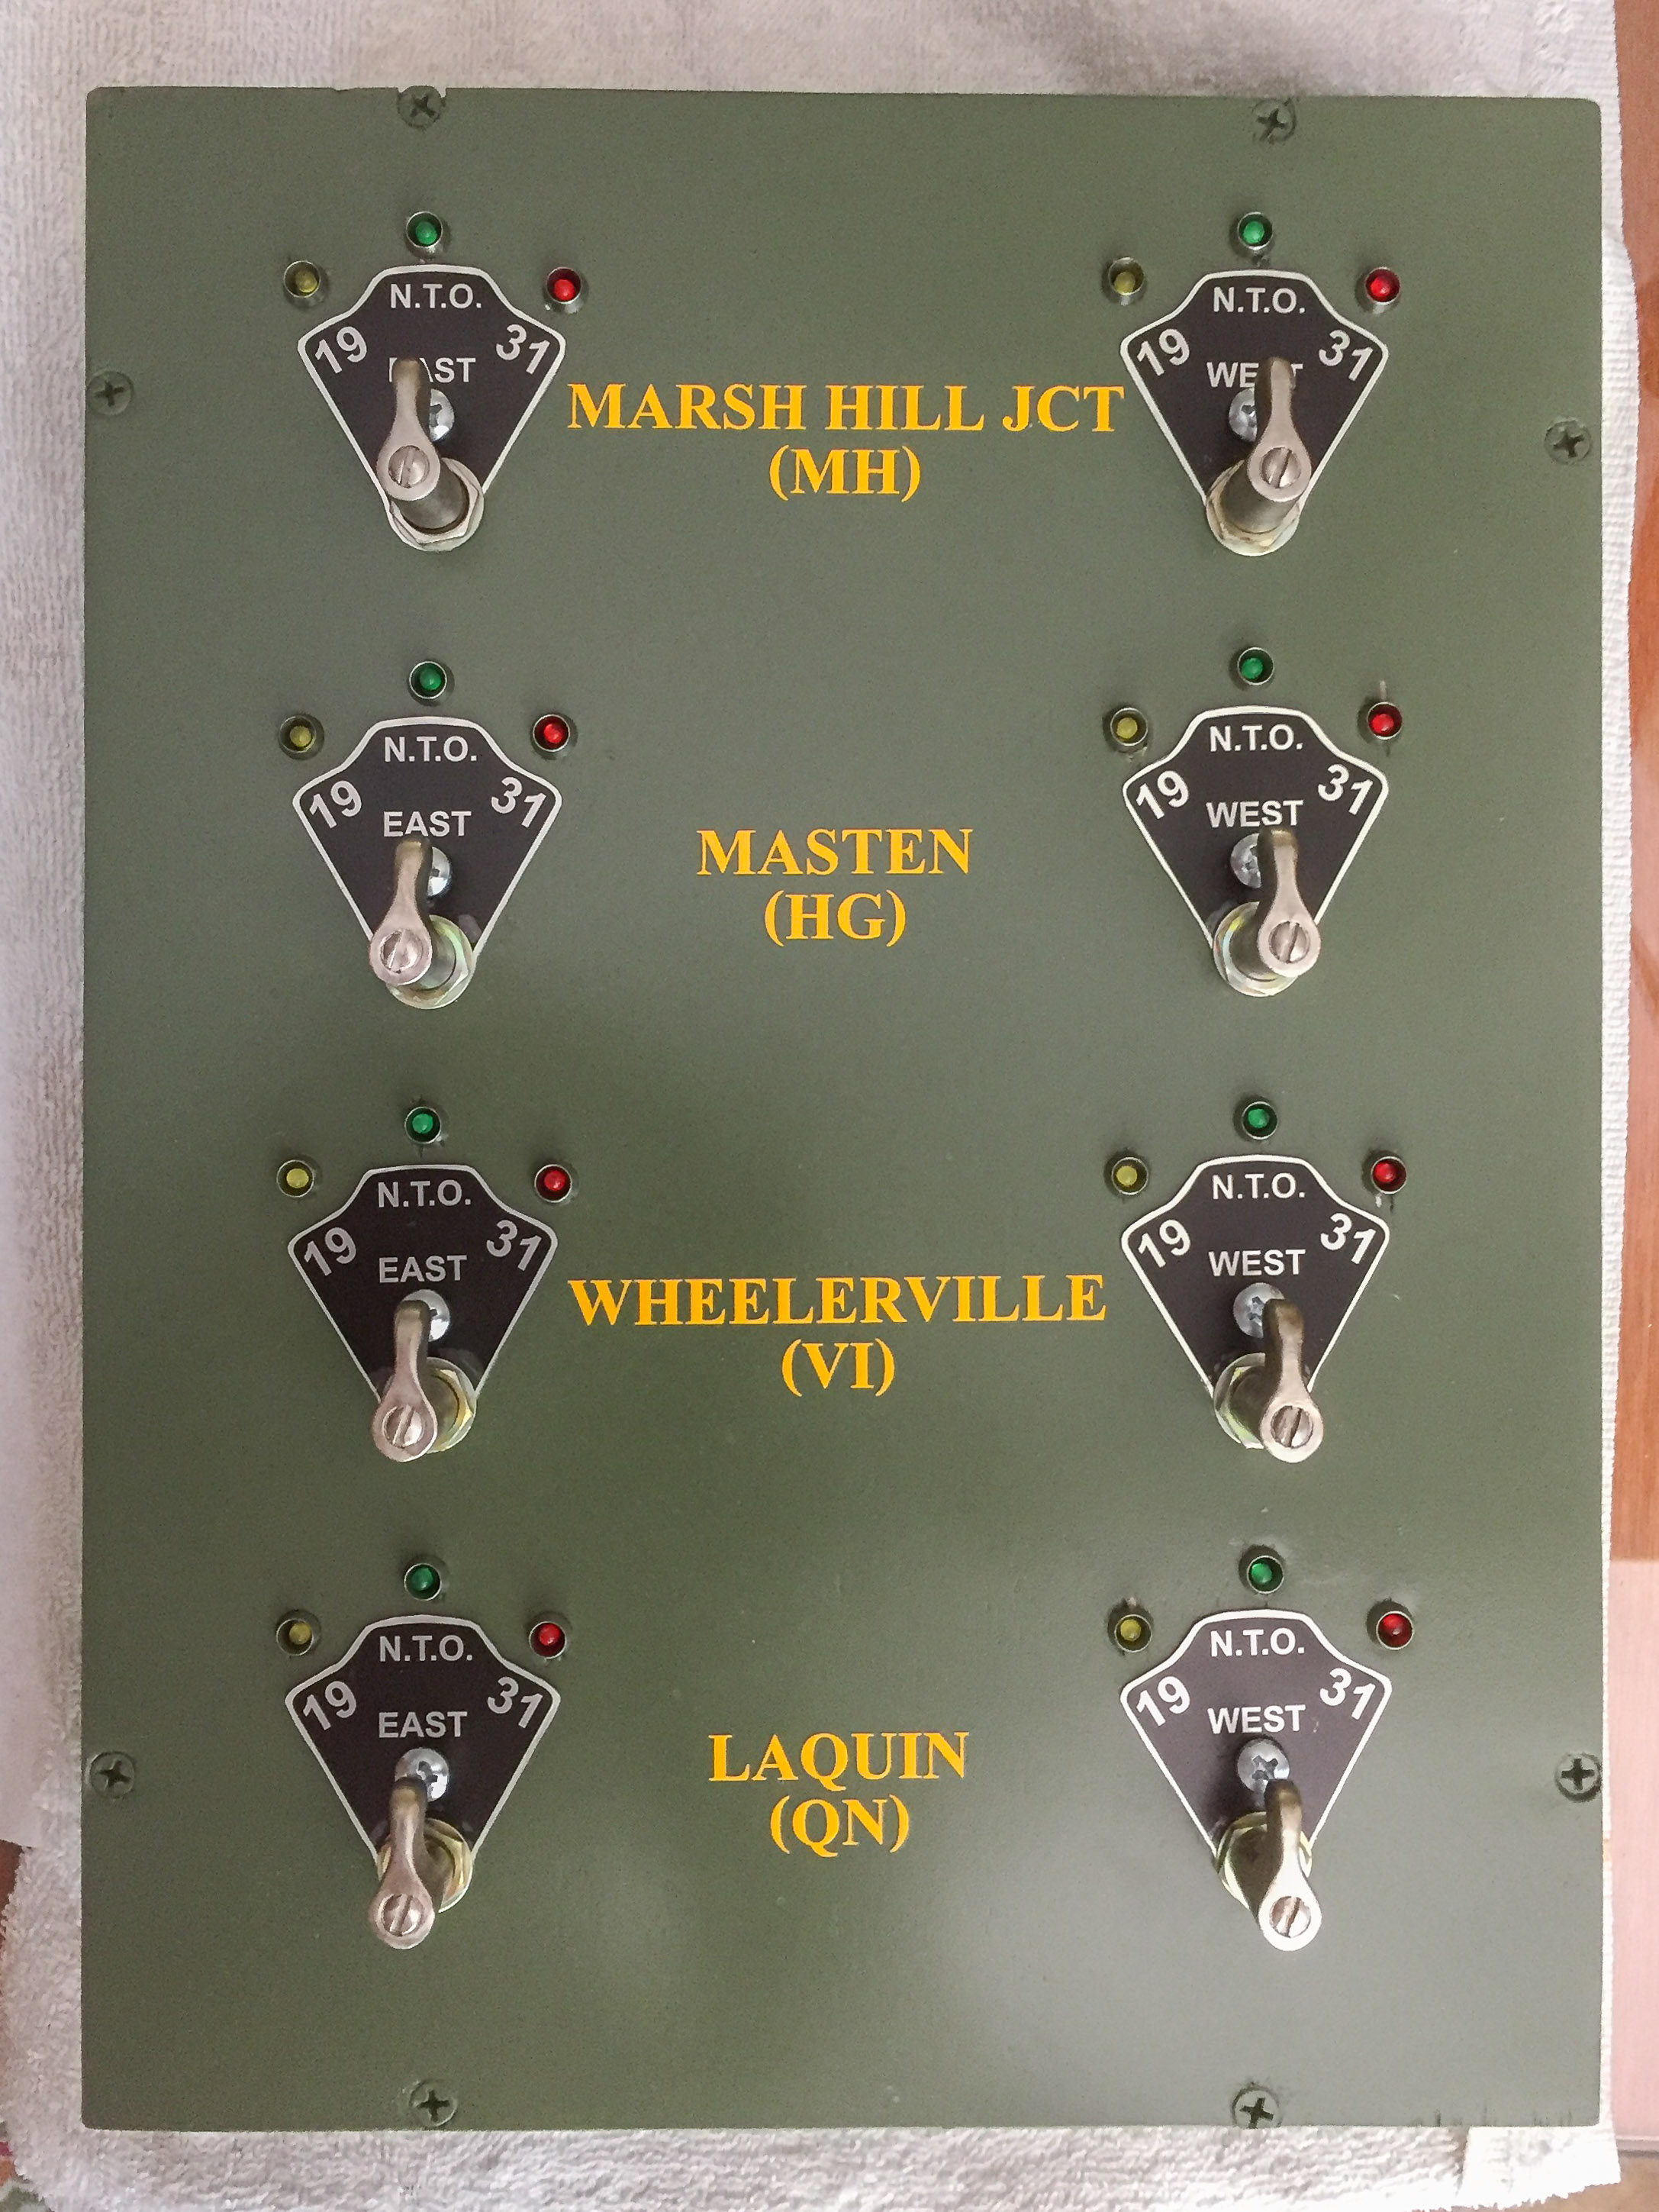
As op sessions progressed, it became increasingly apparent that some method had to be devised to allow crews to “OS” (i.e. notify the dispatcher) when they passed a station. I wanted a solution that would be relatively authentic without being cumbersome for the crews, and I hate FRS radios and headsets. Once again, MRCS came to the rescue: Model railroad telephone systems. While not exactly inexpensive, the phone system is easy to use and relatively authentic. Two op sessions has proved the money well-spent. Seth Neumann at MRCS was extremely helpful with advice and instructions on getting the system installed and operational. The downside was several hours spent underneath the layout with a headlamp, pulling CAT-5 cable. Another unglamorous “infrastructure” project complete:

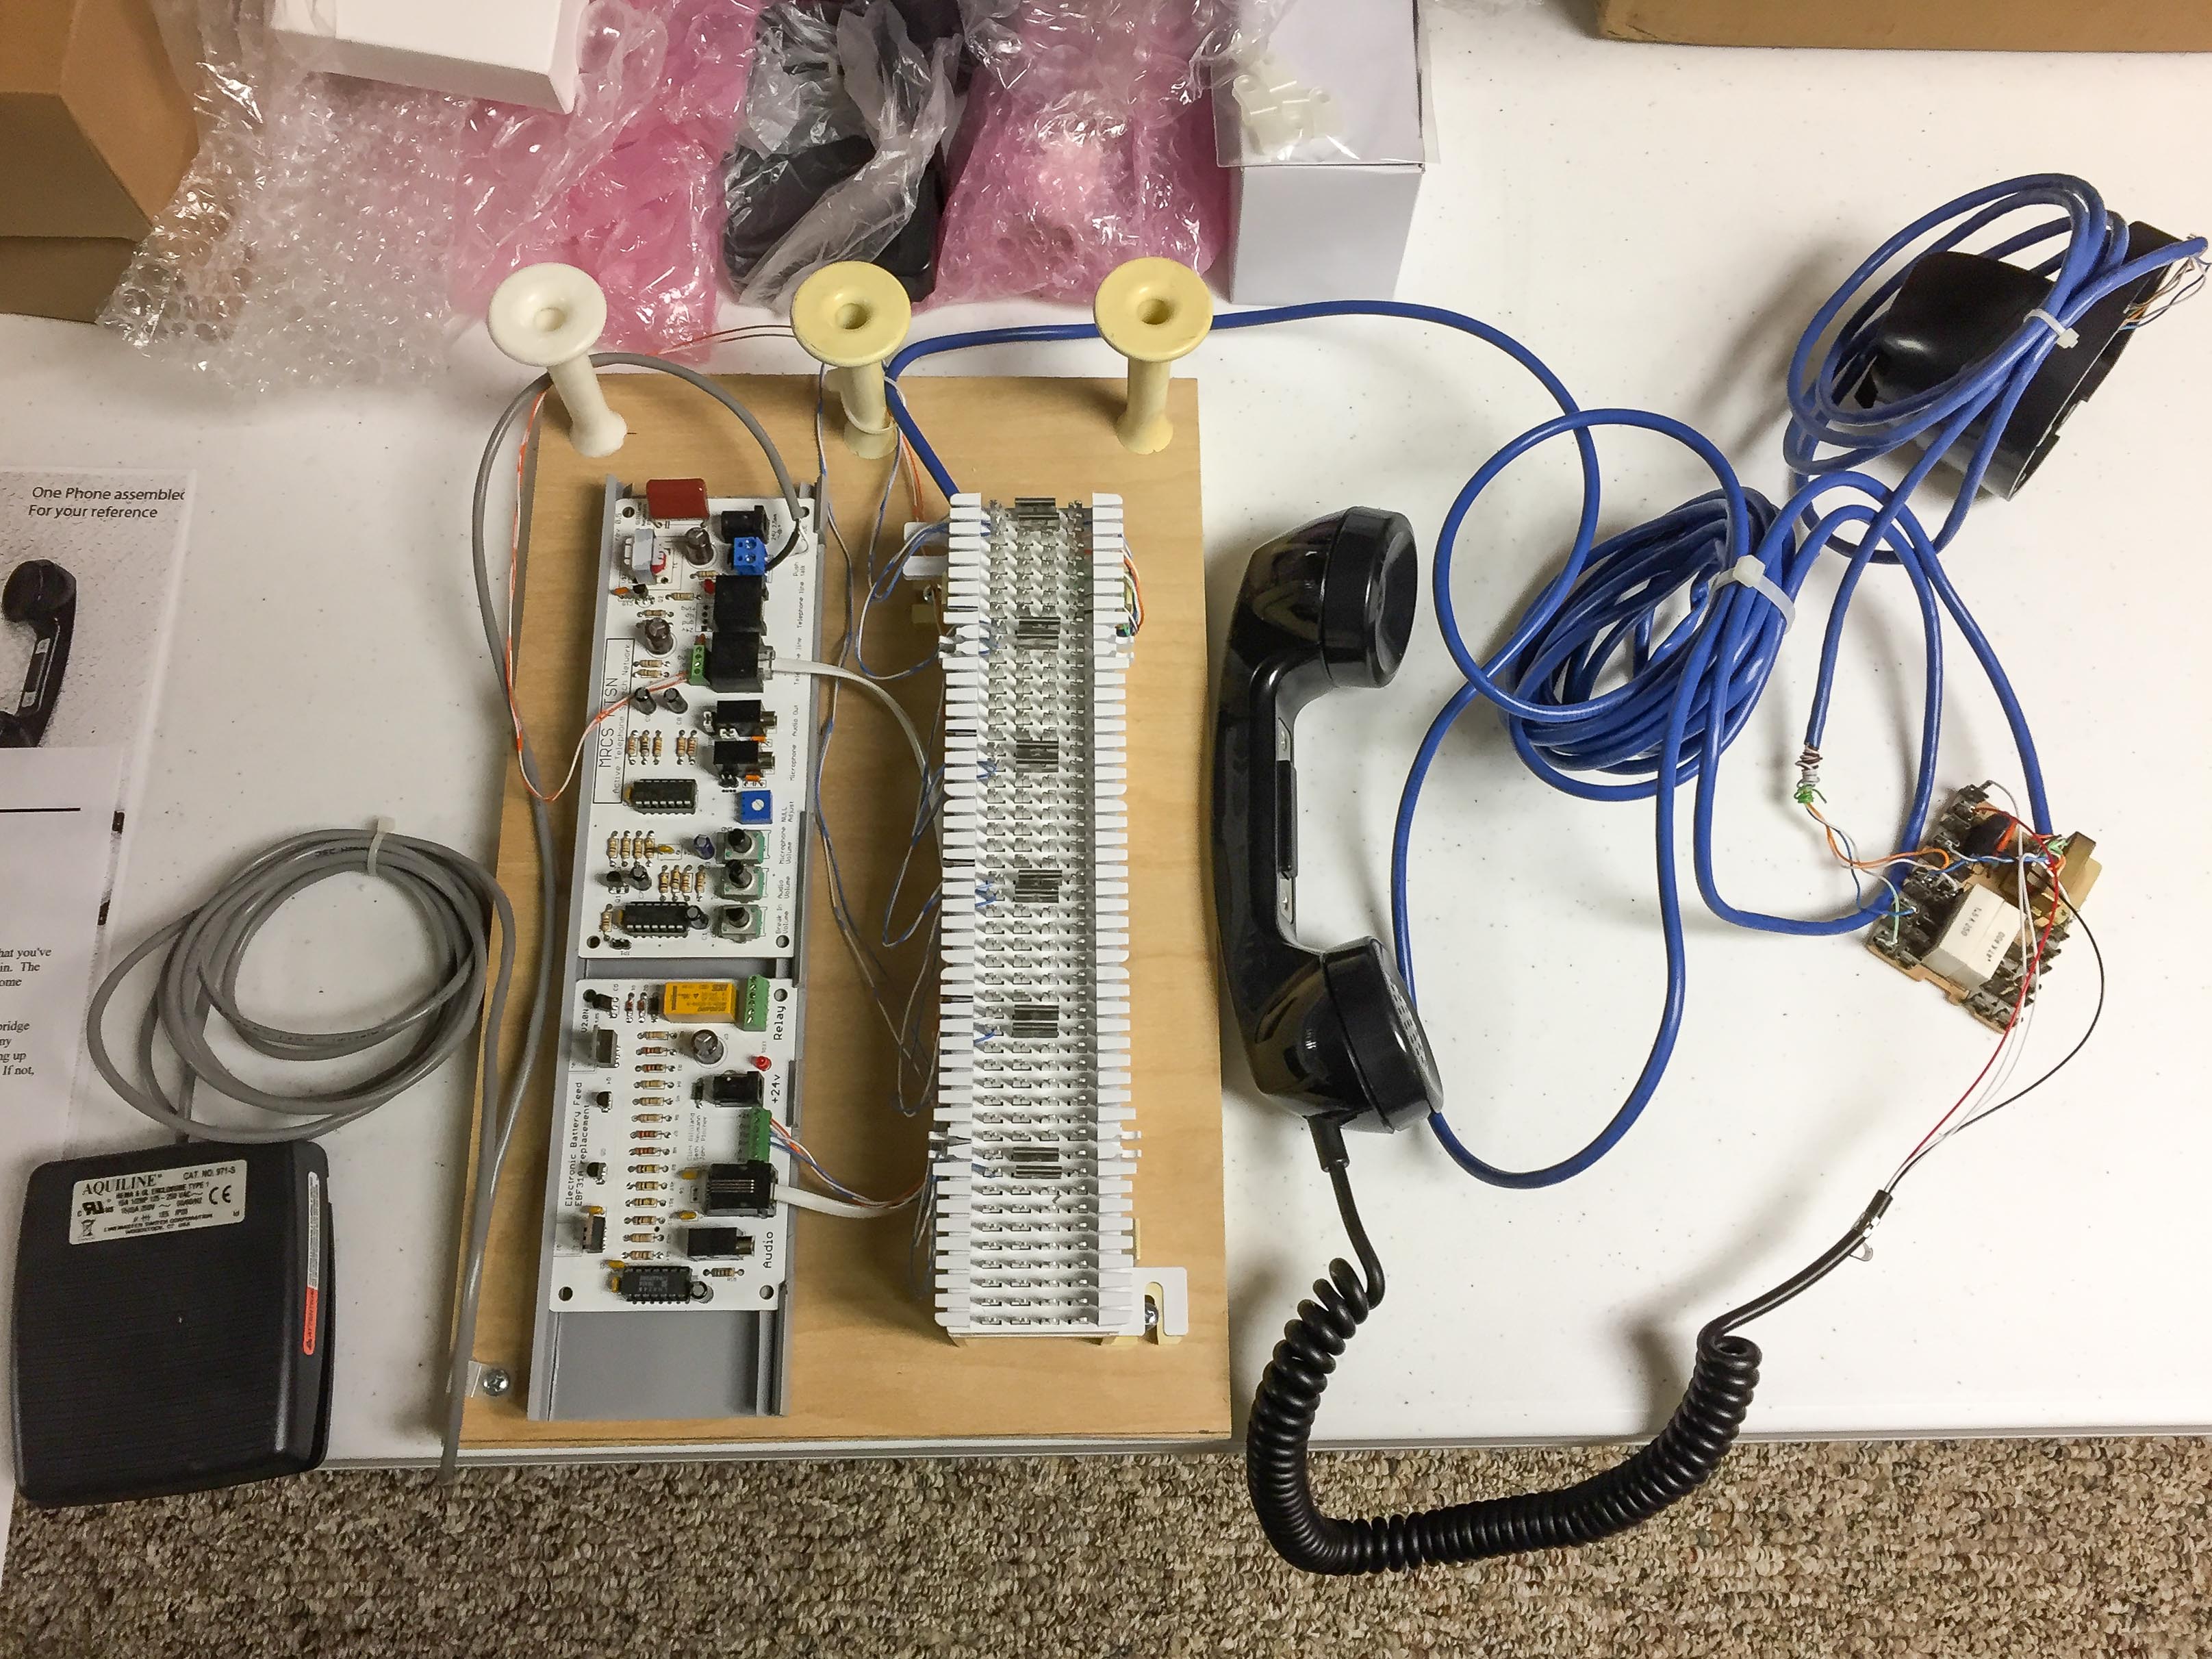
The last project is a minor one, but one that had been bugging me for a while. I used the car-card boxes to hold pencils and uncoupling picks, but the boxes aren’t really deep enough to keep the pencils and picks from flipping out onto the floor. So, over the holidays I picked up a scrap length of PVC pipe and some endcaps from the local hardware store and made pencil and pick holders for all of the station areas. A couple of quick whacks with the chop saw and some hot glue, voila!:


Another small “infrastructure” problem checked off.

Again, none of these things were very sexy, but they all add up to benefit operator comfort, safety, and ease of use. So, that’s what I’ve been doing on the railroad for the past 6 months or so. Looking forward to more actual railroad modeling this Spring!

Wordless Wednesday #156

Talky Tuesday #113

This “Talky Tuesday ” will refer all the way back to “Wordless Wednesday #155” of May 02, 2018. How time flies! (Mostly due to family and work obligations.) Hopefully any future hiatus will not be so long. However, my supply of decent unscanned and unpublished S&NY photos is dwindling, so the “Wordless Wednesdays” will definitely be spaced out further, and future posts perforce will tend to be centered on the model S&NY.

Anyway, “WW #155” is a simple shot of #119 at rest in the Towanda engine facility, date unknown.

Book Review: “Model Railroading as Art” by Lance Mindheim


Wikipedia: Art is a diverse range of human activities in creating visual, auditory or performing artifacts (artworks), expressing the author’s imaginative, conceptual ideas, or technical skill, intended to be appreciated for their beauty or emotional power.

A friend of mine has the opportunity to visit a lot of layouts, and one N-scale club layout he visited is located in the midst of an artist’s colony of sorts. Interestingly, after public open-houses, the artists usually congregate at the N-scale layout. Why? In their view, the layout is art:

  • It is multi-media.
  • It is 3-dimensional.
  • It is kinetic.
  • It evokes memories and thought.

In my view, the artistic side of model railroading has generally gotten short shrift. In large part, this is likely due to the origins of the hobby being rooted in technical craftsmanship, rather than artistic vision. Also, the hobby tends to attract more left-brain personality types, who in turn prefer more technical/analytical topics that lend themselves to tidy articles in the hobby press.

However, with the increasing numbers of highly-detailed ready-to-run rolling stock on the market (How much detail does a boxcar model need, really?), the incredible extent and variety of scenic materials available, and the creative ferment provided by social media like YouTube, I think the hobby is headed for a major sea-change in direction and outlook towards the artistic becoming co-equal with the technical. Witness the beautiful weathered cars on The Weathering Shop’s webpage, for just one of many examples now “out there”. (www.theweatheringshop.com) The cars shown there are amazing in both the artistic AND technical sense.

Lance Mindheim’s new book, “Model Railroading as Art”, is part of the vanguard of this potential coming change. Mr. Mindheim is already a pioneer in designing small, room-sized, almost minimalist artistic layouts. He also has developed many revolutionary modeling techniques, such as building structures using photographs laminated to basic shells.

“Model Railroading as Art” is ground-breaking in a number of ways, and perversely I think the average model railroader will thereby be disappointed by it for the following reasons:

  • It is not a book filled with pretty pictures of model railroads, a la Kalmbach’s “Great Model Railroads”, though the production values (including the photos) are very good.
  • It is not really a “how-to” book with step-by-step guides on scenery, model photography, or any other technical model railroading subject, though there are many how-to-do-it sidebars throughout.
  • It is not a book trying to sell product, I.E. “Cool scene! Where can I buy that kit?” In fact, the author decries the “more is better” approach to model railroading, and continually emphasizes the use of “negative space” when designing model scenes. I doubt an author telling people NOT to buy so much stuff will find popularity in the mainstream model press, who of course must answer to advertisers, who want to sell MORE stuff.

However, I believe anyone striving to create something more than an “average model railroad” will find it extremely useful.

The book is:

  • A guide to scene composition when placing structures and other scenic elements.
  • A primer on the use of negative space when composing scenes.
  • A guide to the use of light, shadows, and color and how those relate to scene composition.
  • A guide to the selective use of details within model railroad scenes.

In short, Mindheim’s book is a distillation of many concepts of what constitutes “art”, into a format applicable to model railroading. I think it would be especially valuable when planning a new layout, or even a smaller module, and thus I believe it deserves a place in any model railroader’s reference library, right alongside more technically oriented books on track planning, wiring, DCC, etc.

Trains Run Again

After 18 months, trains run once again on the model S&NY. It has been a mad scramble over the past 6-8 weeks getting projects wrapped up and the basement cleaned in preparation for the Division 12 , MCR layout tour. As part of that, I held a shake-down op session this past Saturday, 03 November to stress-test the railroad prior to the open house. This also gave a couple of fellow Division members who will also have layouts open a chance to see the current level of progress on the S&NY. Only a few minor glitches were encountered, mostly due to dirty/tarnished wheels and pick-ups. The train-order boards also need a little tweaking due to the lash in the movement linkage. Other that that, the session ran fairly smoothly. Nothing forces progress like a deadline; and the best way to keep a model railroad running is to run the model railroad.

Bill S. and Rob B. check their orders before heading out with a coal extra.


Three-way meet at Marsh Hill. Jason G. looks on in amazement at the display of dispatching skill…


Extra 1906 East waits in the hole at Masten.

Wordless Wednesday #156

Train Order Signals

Before I can continue with the scenery project (which turned out to be much more than just scenery, but I digress…), I need to get the train order signals installed. Placement of working TO boards was on the to-do list, but that turned into a whole ‘nother project in itself. One of the hold-ups was authentic knobs and plates for a control panel of some sort.

Mike Burgett of Control Train Components (http://www.ctcparts.com) sells cast brass knobs mastered from real US&S CTC panel knobs. He also formerly stocked appropriate plates, but they were no longer available, but he offered to make me some if I was not in a hurry. I wasn’t, and good thing too! In any event, good things come to those who wait, and after about 10 months the parts arrived in the mail.

Anyway, I set about constructing a panel for the signals this past July. A centralized panel for train order boards is not really prototypical, as the signals would be controlled individually by the operators at each station, but in model railroading compromises must be made. I still wanted an analog way of controlling the boards, as using PanelPro or some other virtual computerized control method would not be conducive to the feeling of running a 1930’s-era railroad. I wanted something “tactile”, even if it wasn’t 100% correct.

Mockup

My carpentry skills are not the highest, and I thought about using thin aluminum or even steel for the panel front, but I figured that would delay the project even further. I used thin luan plywood instead. That was a mistake, as the luan I used was very splinter-y and not great to work with. I also found out the panel saws at Lowes don’t quite cut square. Oh well, press on…

Layout

The 3T-DP rotary switches I used were probably some sort of Commie East-bloc mil-surplus from All-Electronics (https://www.allelectronics.com), but luckily the 3 positions corresponded to the plates. I ground flats on the soft aluminum splined shafts and epoxied strip brass in the gap. The knobs from CTCParts were not splined and used a set-screw, and I wanted the knobs to be secure and not strip the soft aluminum. I also had to grind away part of the upper part of the frame of the switch assembly to clear the mounting screw and bolt for the plates.


I wired up the first set of knobs to a Tam Valley Dual 3-way servo controller board to make sure I had things connected properly. I had some confusion regarding the correct way to wire things up, not being electronically inclined, as the Tam Valley instructions did not include diagrams for a multi-pole switch and LED’s. A few emails quickly solved the problem, though, and my plan to use Cat-5 cable to each set of train-order signals was going to work after all.

136 separate solder connections later (yuck), the panel is ready for installation.

I gave the panel a couple of prime coats of Krylon gray auto primer with light sanding in-between, followed by a couple of top coats of Rustoleum Italian Olive. That color is a little too green compared with the standard US&S color, but the Rustoleum was fast, easy and “close enough”. I used laser-cut vinyl adhesive letters from Small Vinyl Lettering (http://smalllettering.com) that were applied in a way similar to dry-transfers. It was worth the 20 bucks or so for the letters to save the aggravation of individually-applied letters or decals. I then sealed the whole thing with Krylon matte clear coat.

Next, I affixed the Tam Valley boards to small sections of wood and pre-wired them to make installation under the layout easier. The Tomar train-order boards also had to be prepped with a coat of Dullcoat and by soldering the LED leads to a resistor and pigtails that would then connect to the controller voltage input leads from my 9 volt DC accessory bus.


The last step will be to run Cat-5 cable to each of the train order stations, and drill holes and mount the signal masts to the layout.

To be continued…

A station for Masten

Building a model railroad is a complex project, and like any similar project, one runs into “horseshoe nail” situations ( For want of a nail, the shoe was lost; for want of a shoe, the horse was lost; etc.).

In this case, in order to finish the on-going and interminable scenery project, I have to install working train-order signals at 4 places on the layout. In order to do that, I have to figure out where the station structures will be located so they don’t interfere with each other. In order to do THAT, I have to have at least a footprint of the stations.

So, as part of that concatenated process, I built a station for the Masten location on the layout.

I used a quicky snap-together kit from Atlas:

The kit is not bad; it is small enough to fit where I wanted it, it is board-and-batten and thus fits with the era and location of the S&NY, and has an interesting bay window. The down sides are the awful shingled roof, which does not really fit aesthetically; and the heavy appearance of the roof brackets, and window mullions and muntins. I found this kit for $8.95 on Ebay, so the price was right. Also, I didn’t feel like spending the time to scratchbuild a copy of the real Masten station at this point. However, I probably could have scratchbuilt a station in about the same amount of time in retrospect. As it turns out, constructing the basic building shell is relatively easy. Most of the construction time, whether kit-built or scratch-built, is on painting, details, weathering, and touch-up.

I did chisel off some cast-on anachronistic details that represented an electrical junction box and some sort of mail-slot thing. I also scratchbuilt a new roof from .040 styrene. The kit chimney was atrocious and looked like something from a bronze-age mud hut, so I replaced that with a white metal casting. Other added details include a waybill box, station name signs, Western Union sign, gutter and downspout, and roof-edge fascia boards. I glazed the windows with microscope cover glass glued on with canopy cement, and added shades cut from a manila folder. The signage was made using Photoshop, scaling larger signs to HO size, then printed at high resolution on a color inkjet printer. The paper signs were sealed with fixative, then mounted to .010 styrene with Scotch 77 spray adhesive.

I painted the building using craft paint from Michael’s heavily drybrushed over a dark gray prime coat to give a streaky weathered look. Trying to mask a straight tight line over the boards and battens without some sort of natural dividing line was a pain, but that’s how the S&NY painted some of their structures. The roof was scribed to mark out lines for tarpaper rolled roofing material, and I used matte Scotchtape to simulate the tarpaper material itself. (Scotchtape worked out ok as an experiment, but next time I’ll use a commercial paper product or masking tape.)

Weathering was a wash of turpenoid and Van Dyke brown oil paint followed by Dulllcoat. The wooden platform was primed dark gray, with individual boards highlighted with acrylic craft paint, followed by the turpenoid wash and Dullcoat. The roof got a prime coat of Krylon dark gray auto primer, followed by dark gray craft paint, Pan Pastels, and a light sealer coat of Dullcoat.

I mounted the finished station on a piece of black gatorboard to bring the platform height up to proper level with the track.

Test-fit in place on the layout:


All-in-all, I’m pretty satisfied with how the station turned out, considering its origins.

On to the next project!

Barclay Mountain Heritage Day, Sat. 11 Aug 2018

I hope to have a small S&NY display set up at the event. Stop by and say hello if you attend!


Scenery Update 6-18

The on-going scenery project begun in May 2017  involved lifting 3 bridges on the model S&NY, and was supposed to take, oh, 3-4 months, I thought. Well, the best-laid plans, etc., etc. (See prior update here.)

Slow progress has been made, however, and this week the bridges were returned to their places on the layout:


Repairs still need to be made to a section of the layout that got thoroughly soaked when the washer valve leaked on the first floor above, but that is also moving along as well:


The local NMRA Division is planning an open-house type event in October, so I hope to have trains running again well before that. We shall see…